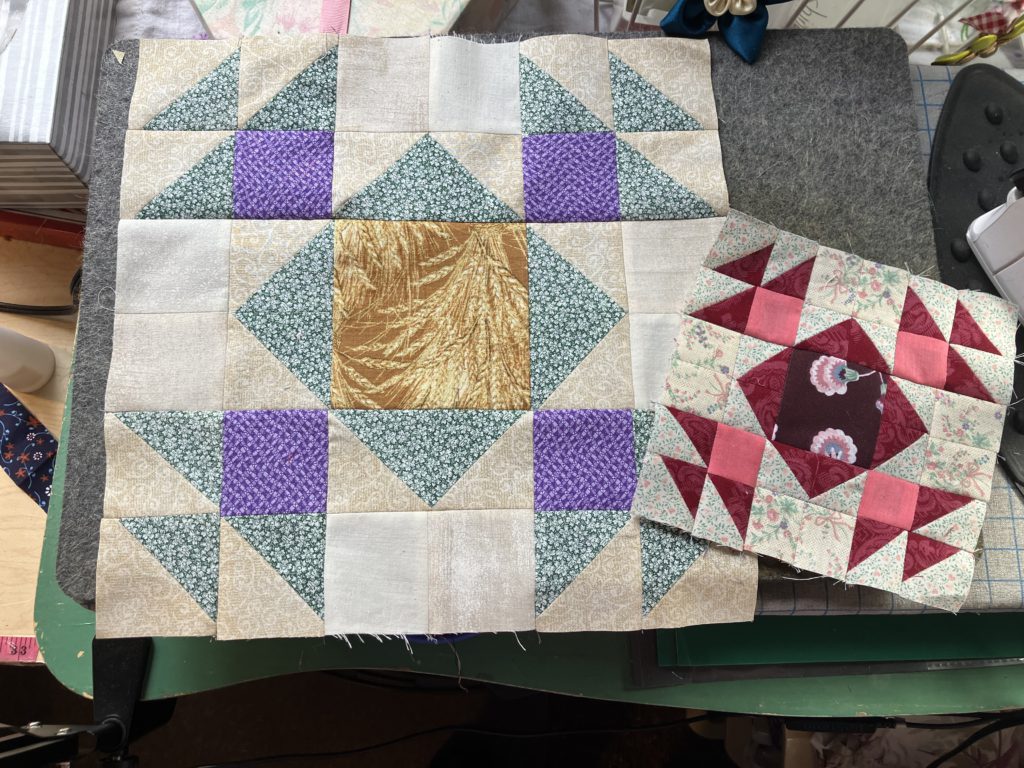
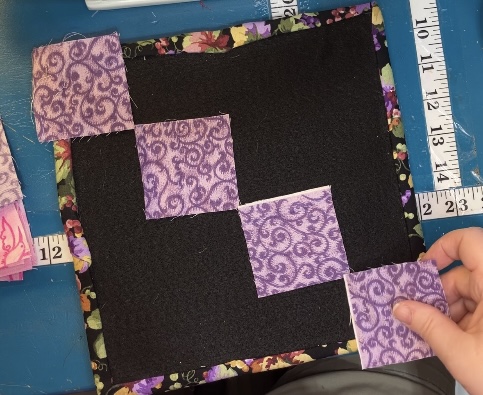
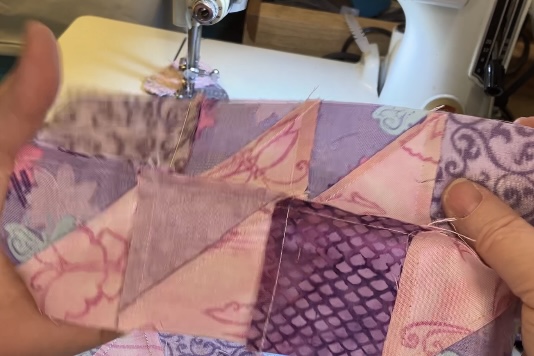
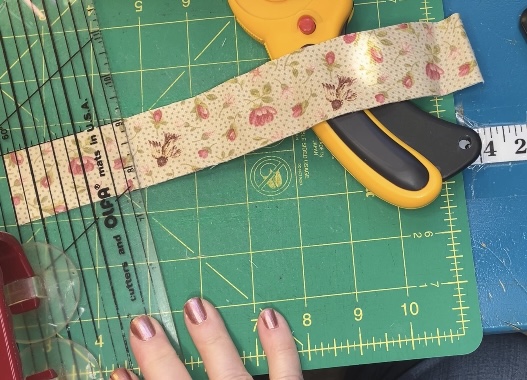
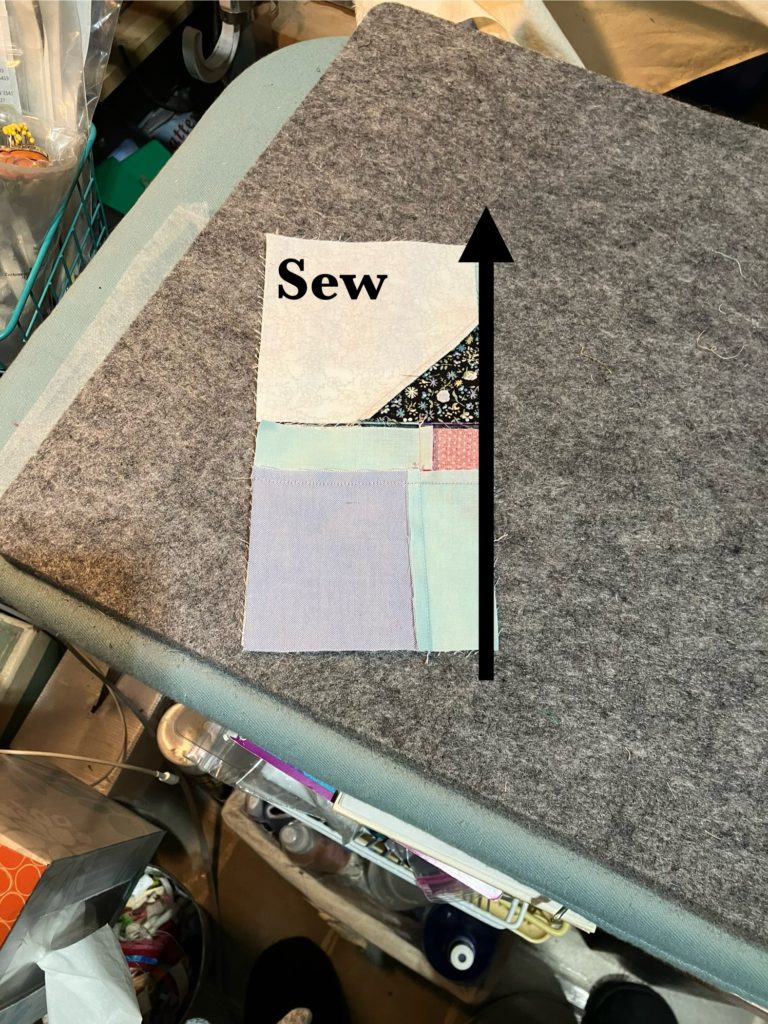
I had an epiphany in the shower. The Road to Kansas block could be remade using larger block pieces…and a little more organization. Yeah…Let’s do that!
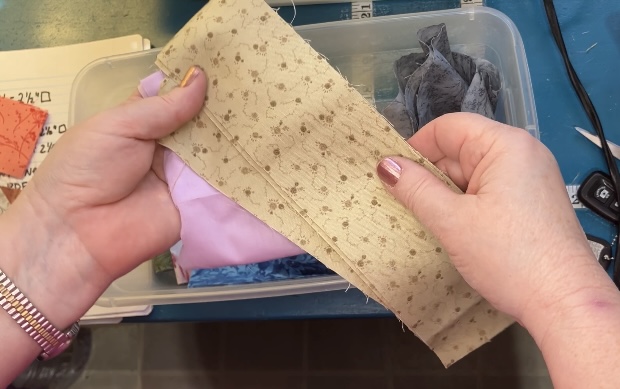
It is assembled in the same manner as last week’s block, but the cutting is different…actually more complicated.
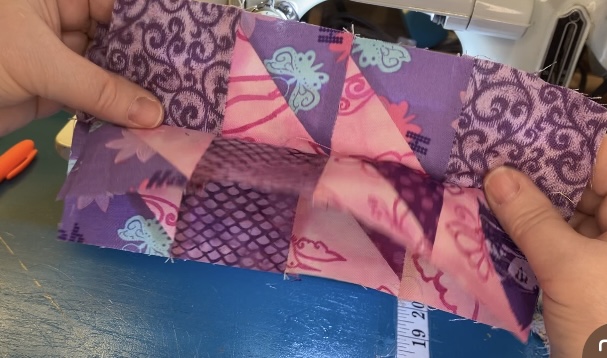
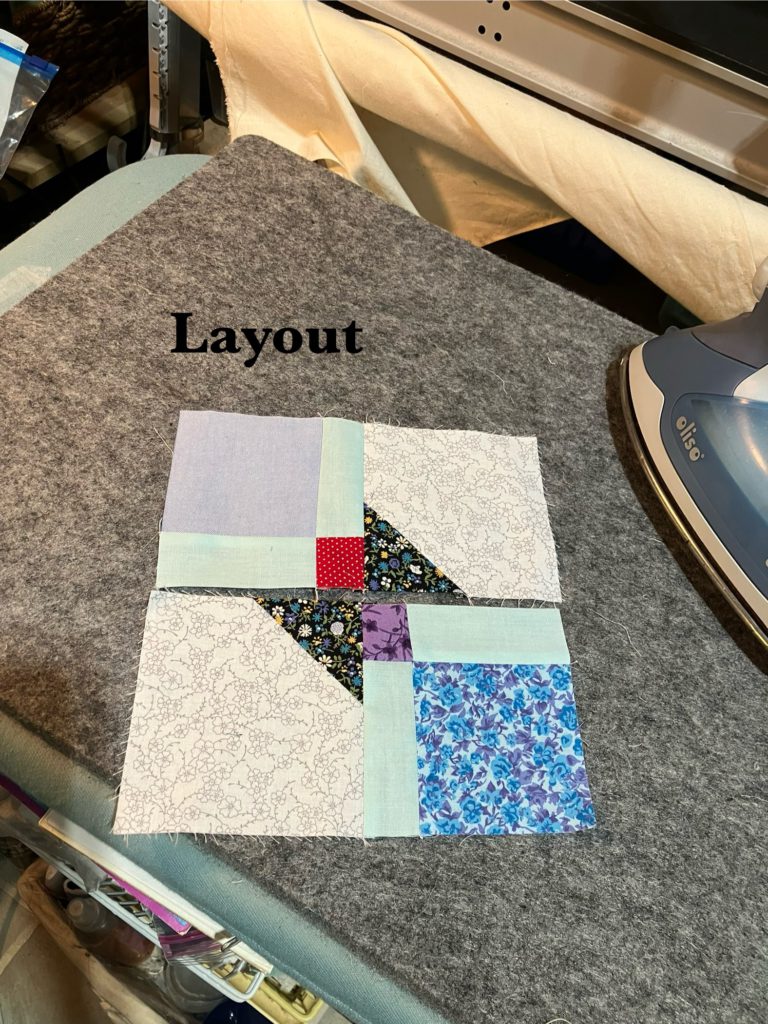
Please use the picture above the chart to help with placement. I will work on a repeat pattern at some point, but not today. A repeat would work if you put a 4 block unit under the one shown, but not to either side. Hmmmm! I will have to think this out some…
Here is the cutting chart:
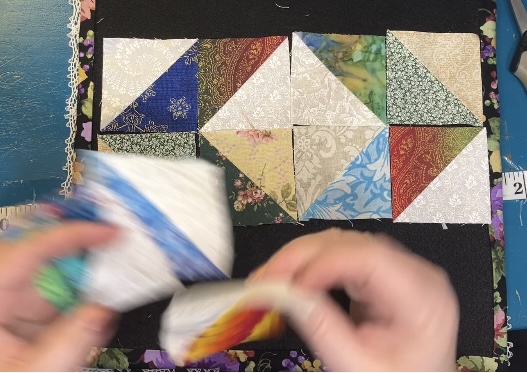
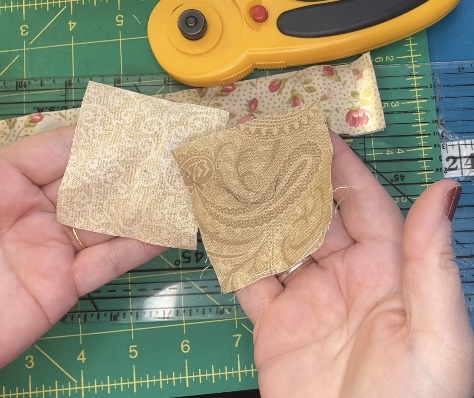
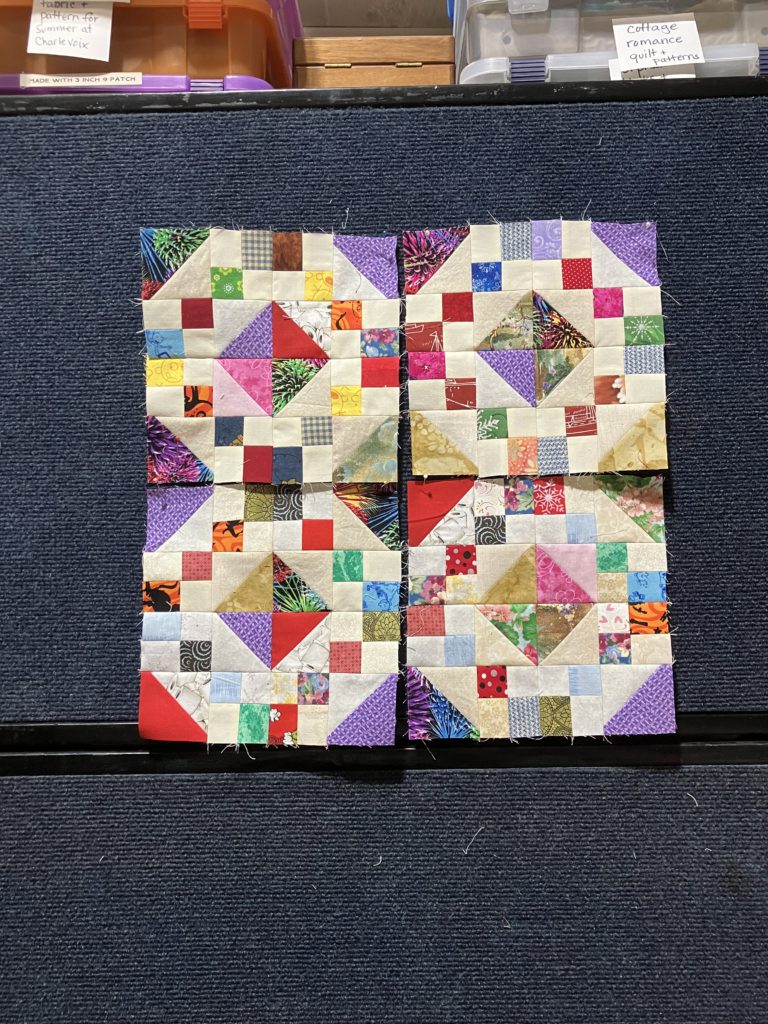
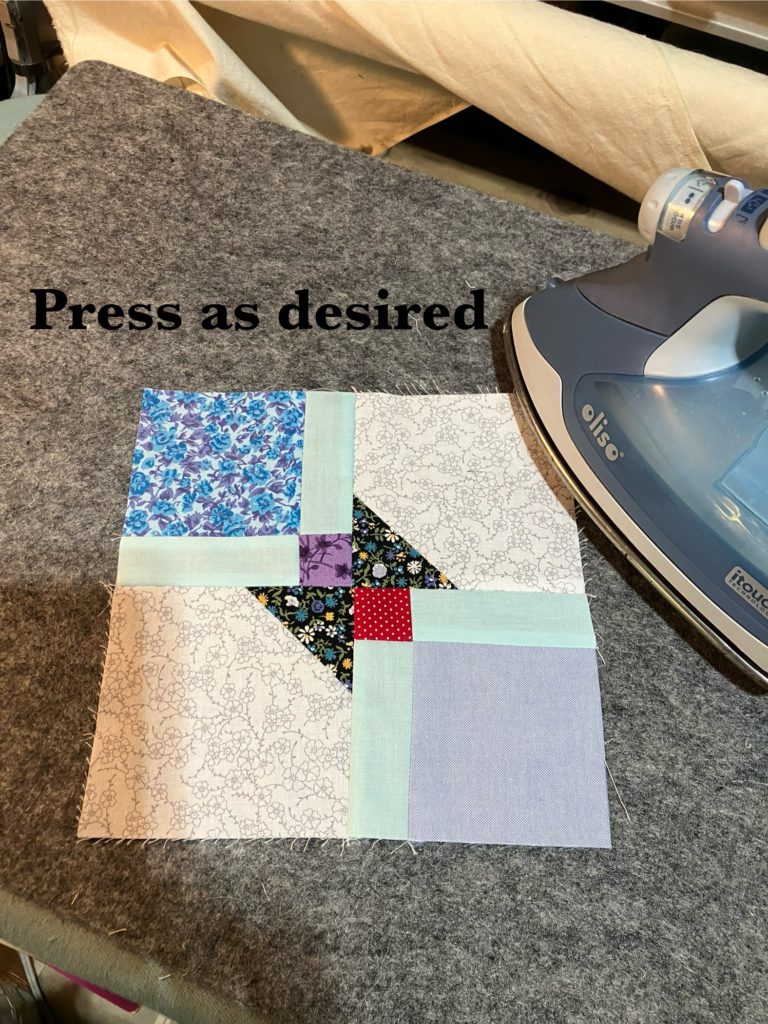
Hard to believe these are the same blocks!
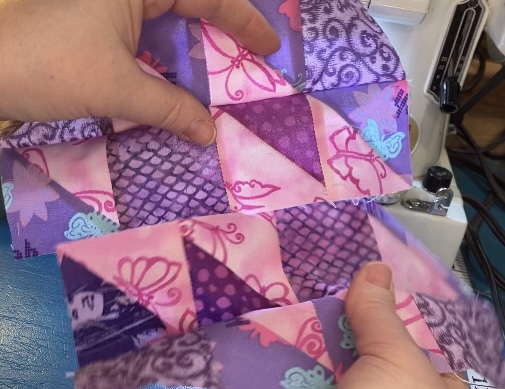
I enjoyed turning this block into a simpler, but yet somehow, more difficult version of its former self! I hope you are enjoying, too!
This is the last block from EQ5 inspiration for a little while! Don’t worry, I have many other inspirational sources so that I can continue to make blocks with you!
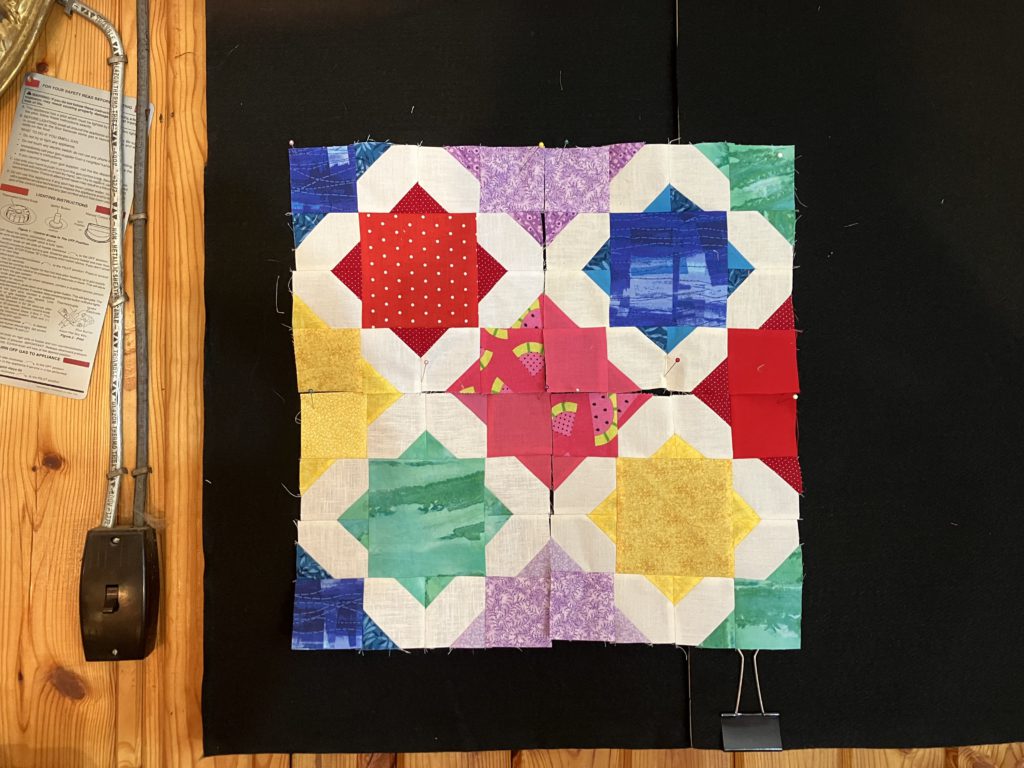
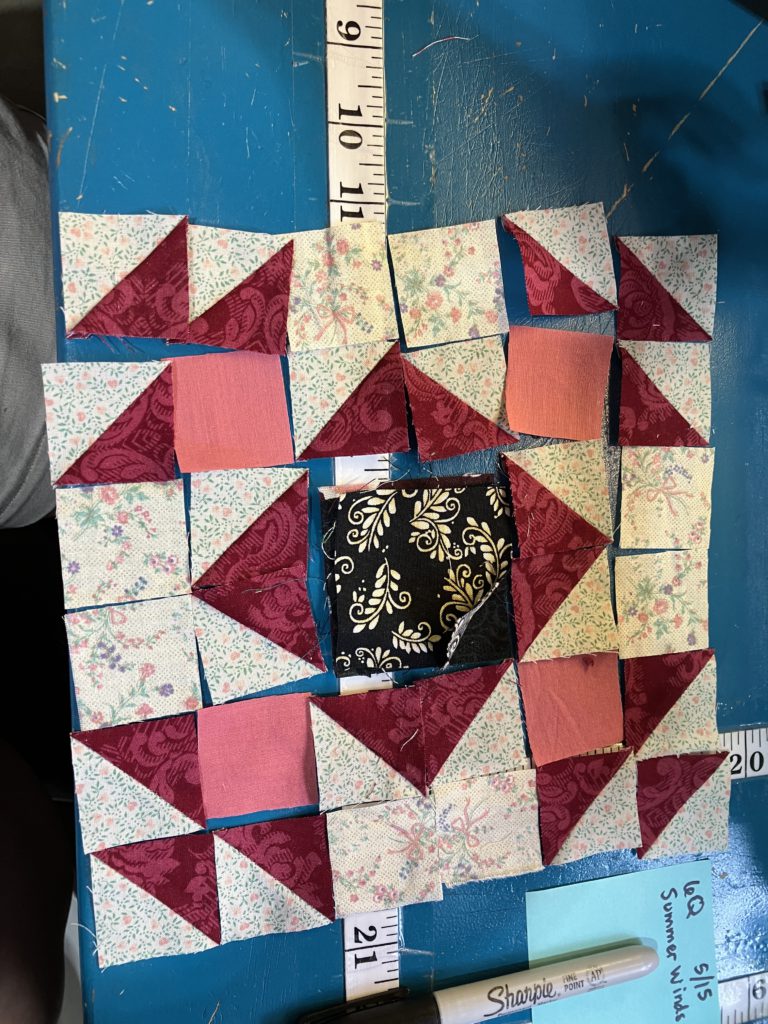
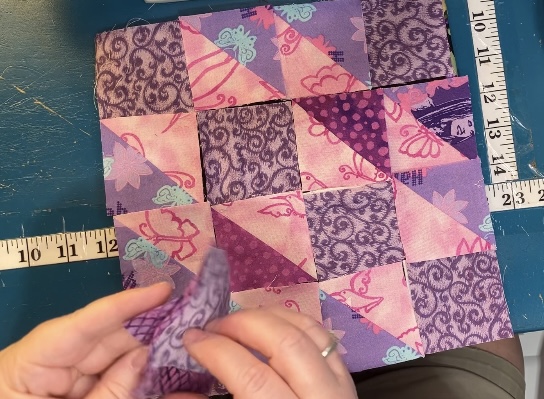
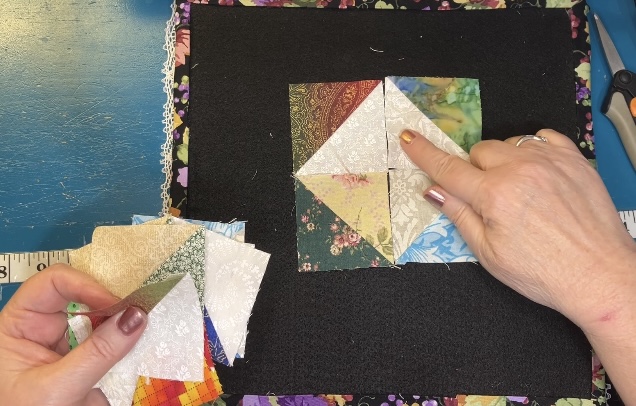
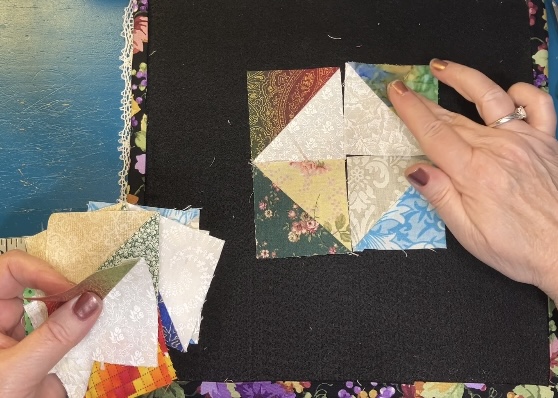
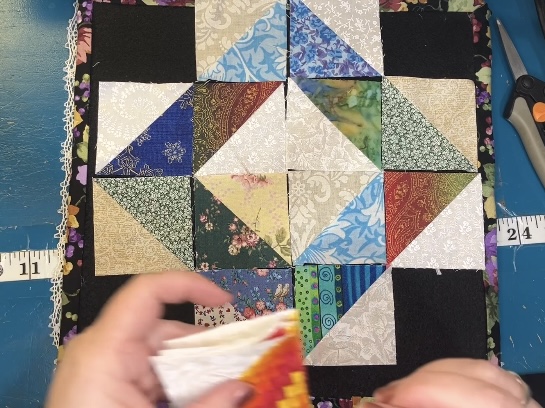
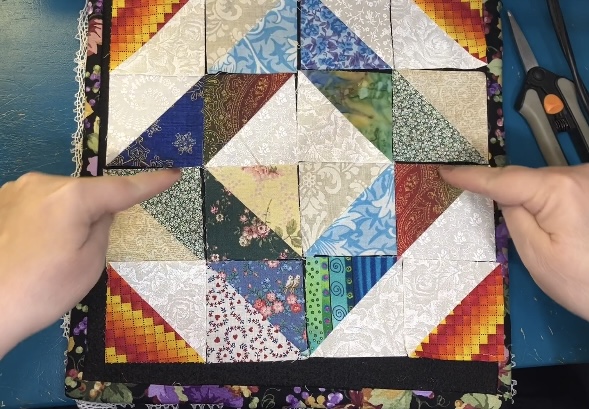
Here is the first summer winds block that I layed out for you in October of 2023:
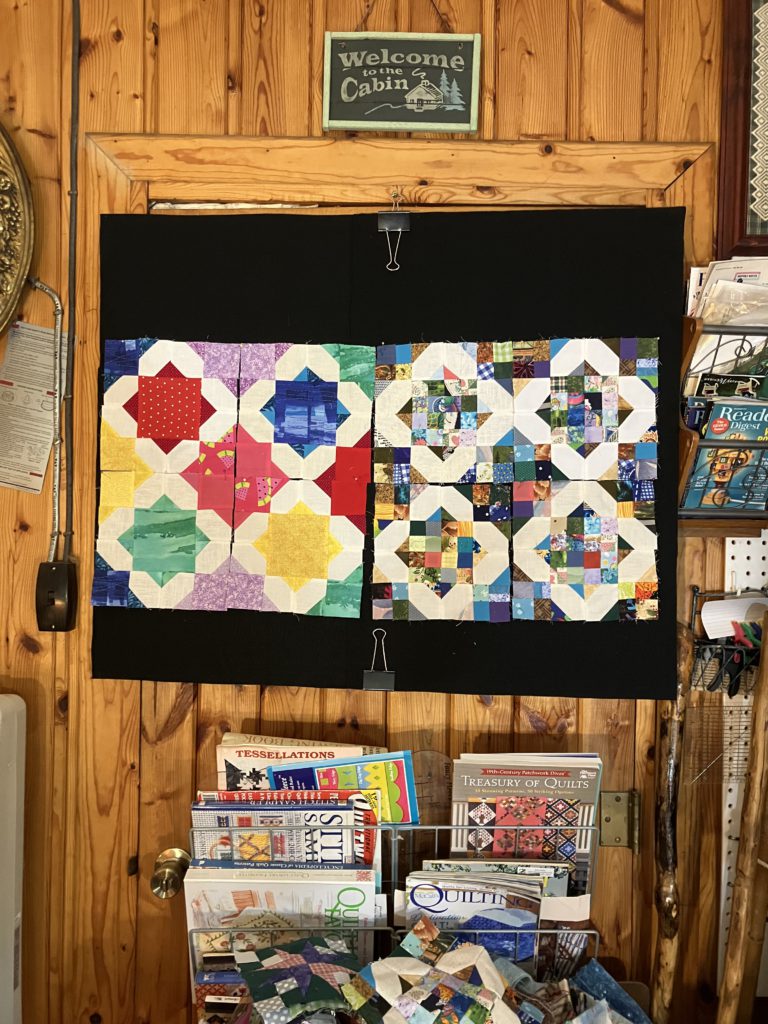
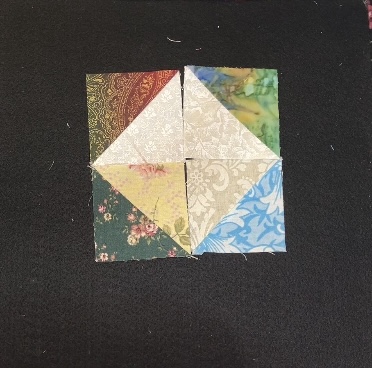
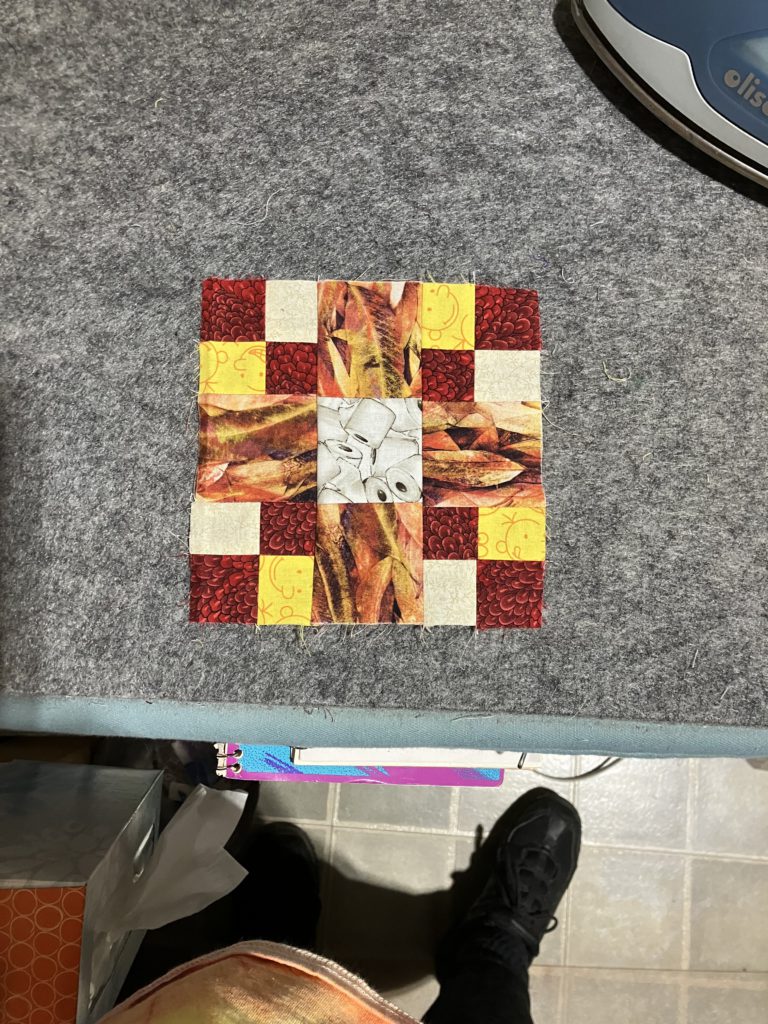
It is great in super scrappy. I did keep the center half square triangles the same color.
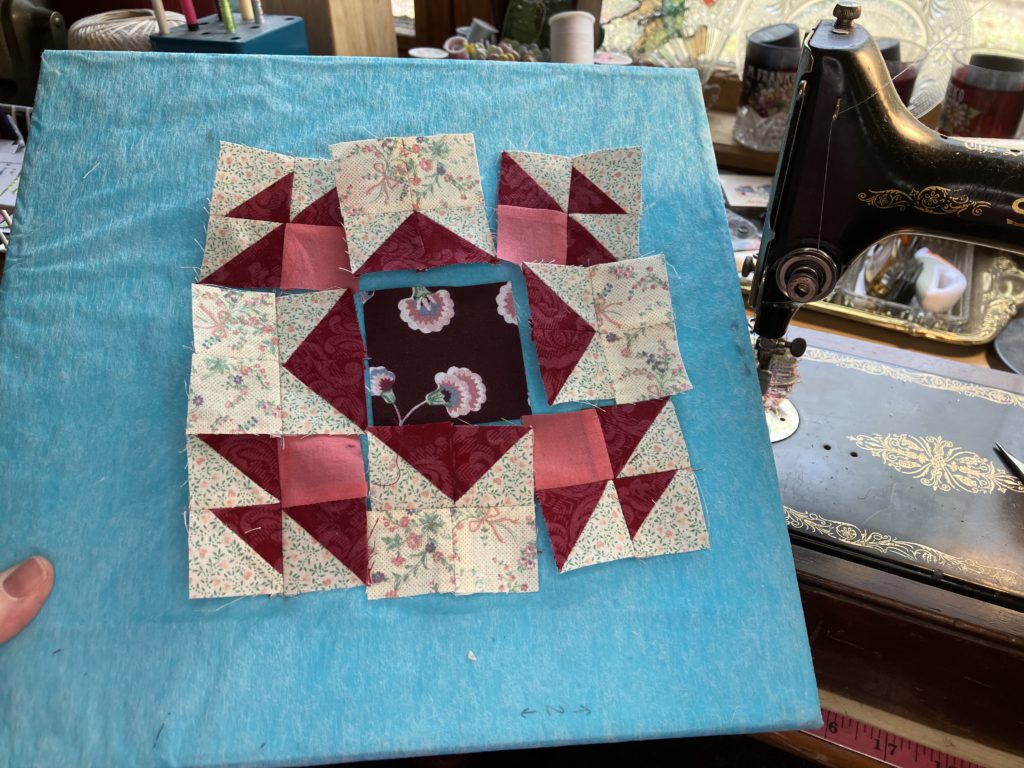
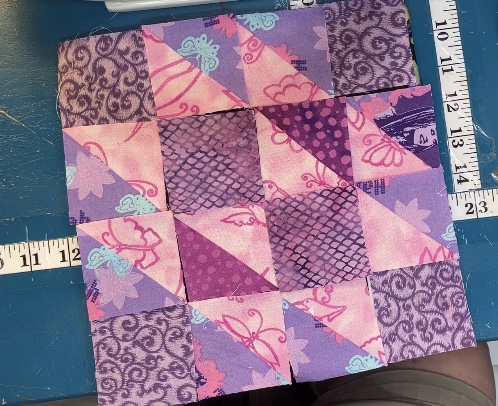
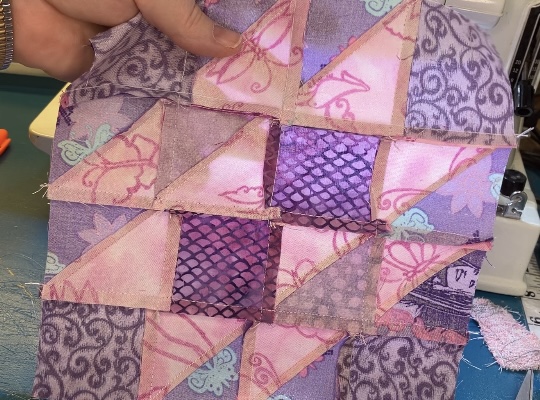
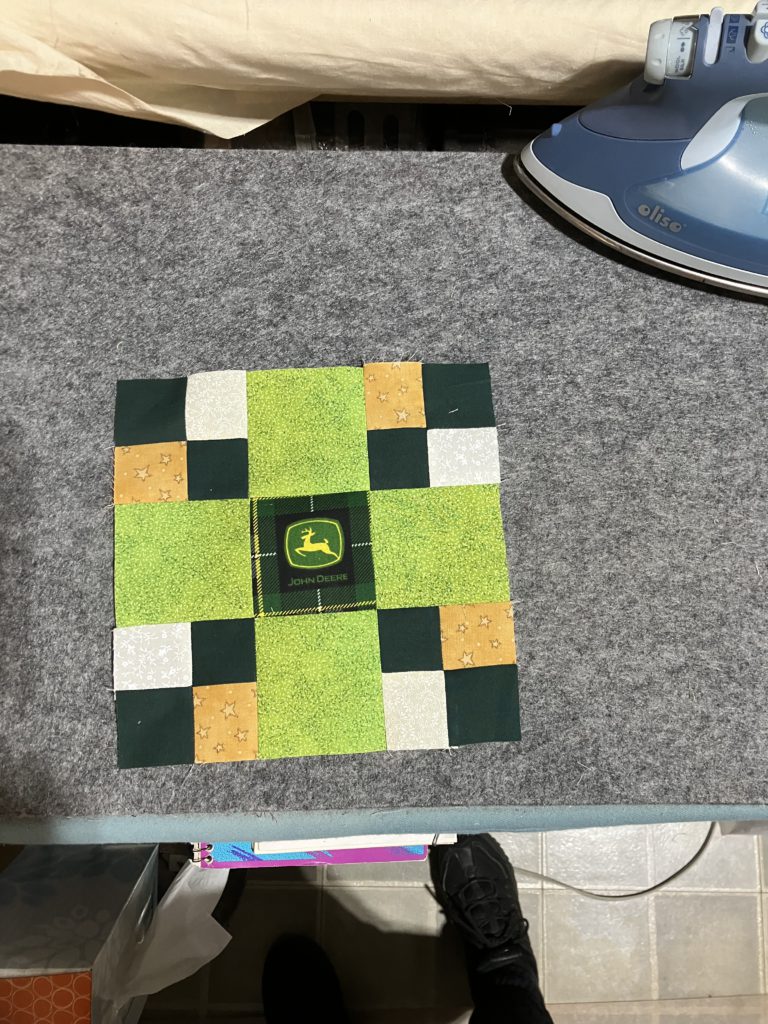
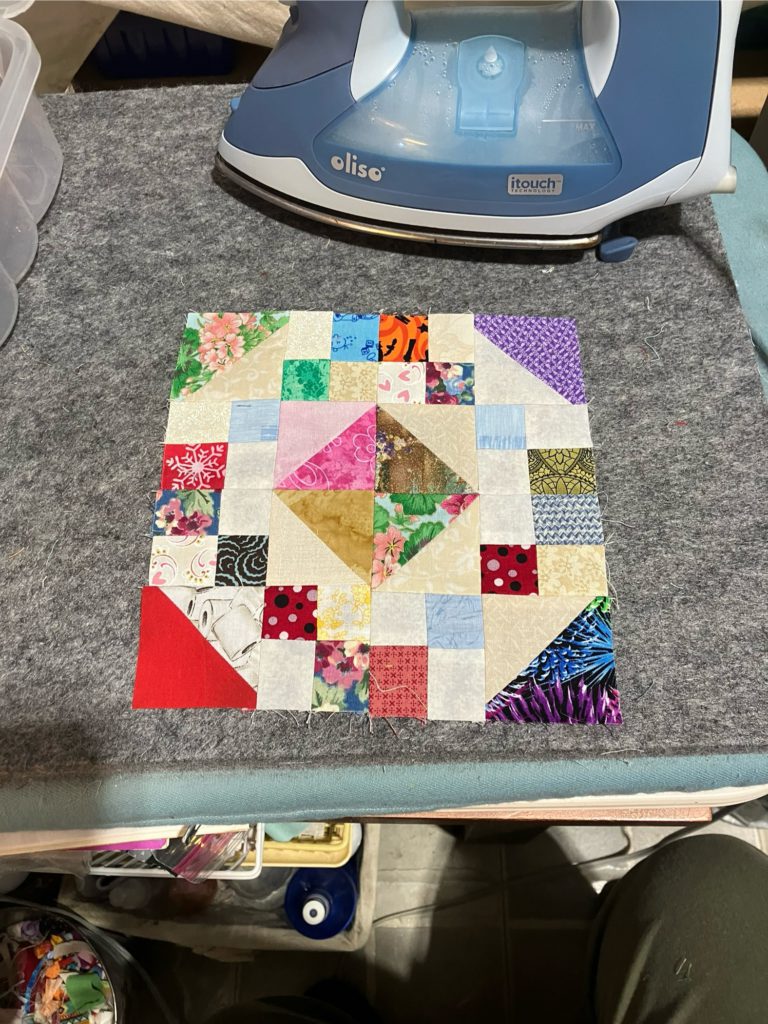
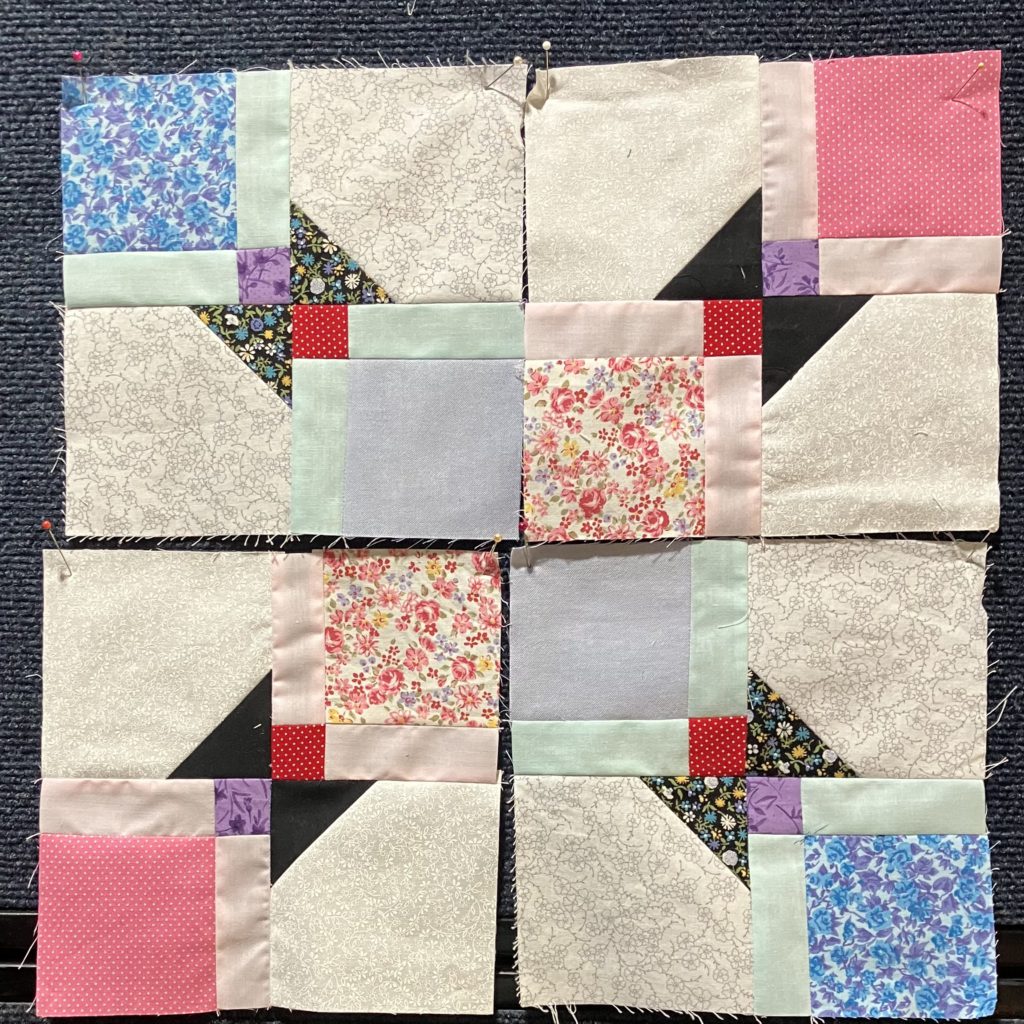
Here is the 6 1/2″ version that we are constructing today:
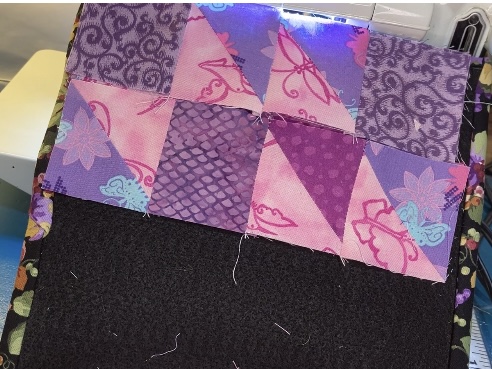
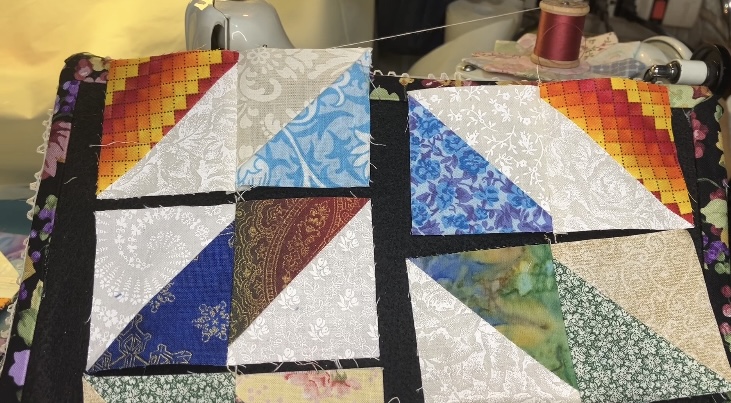
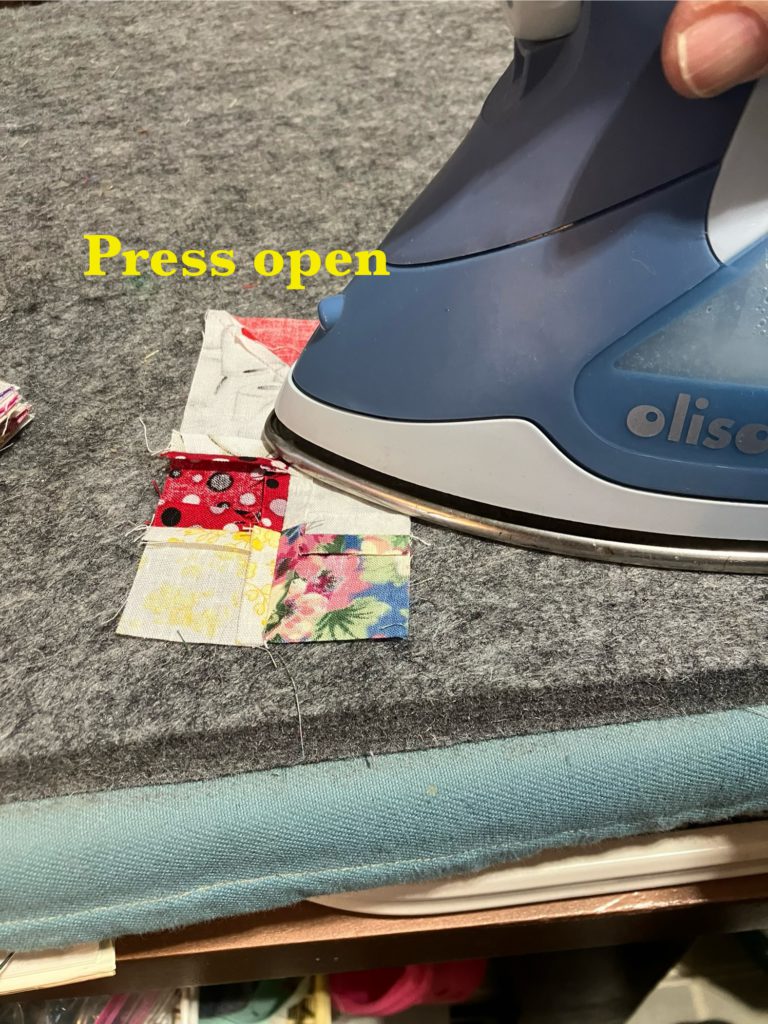
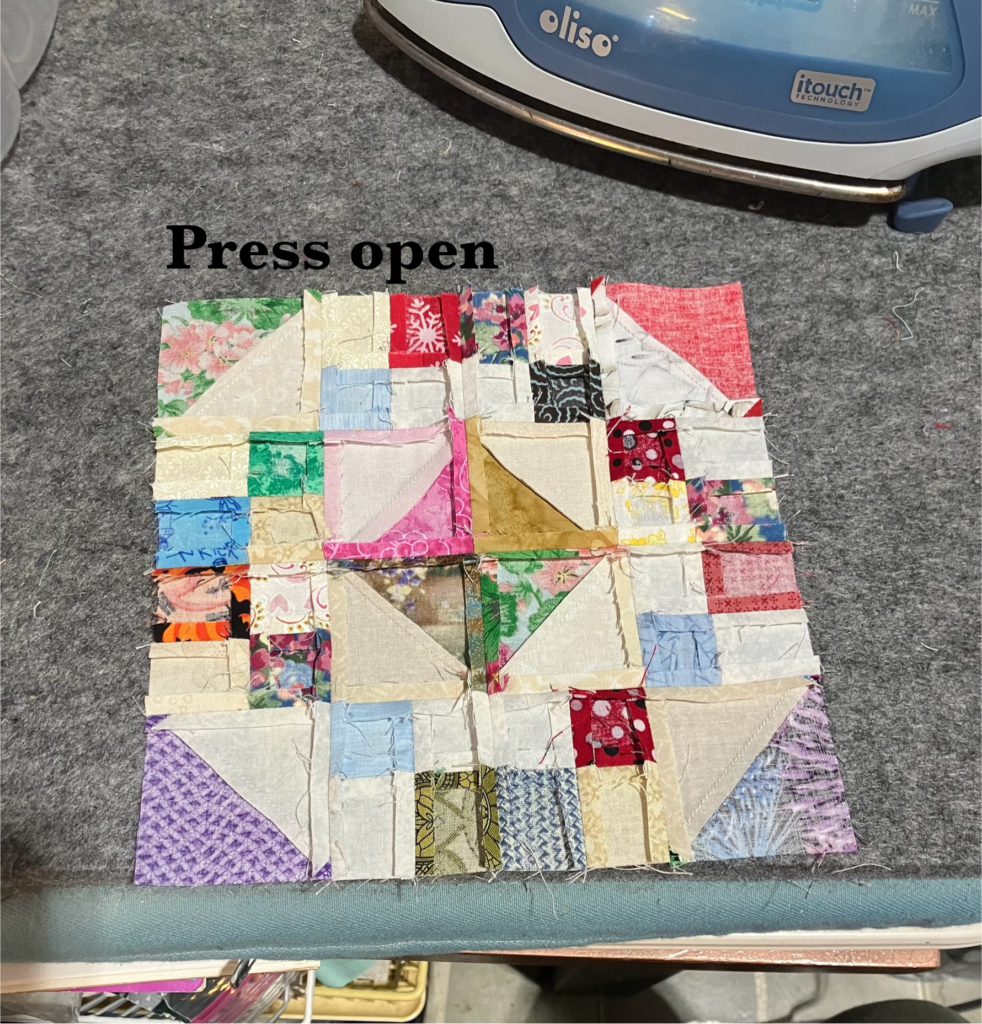
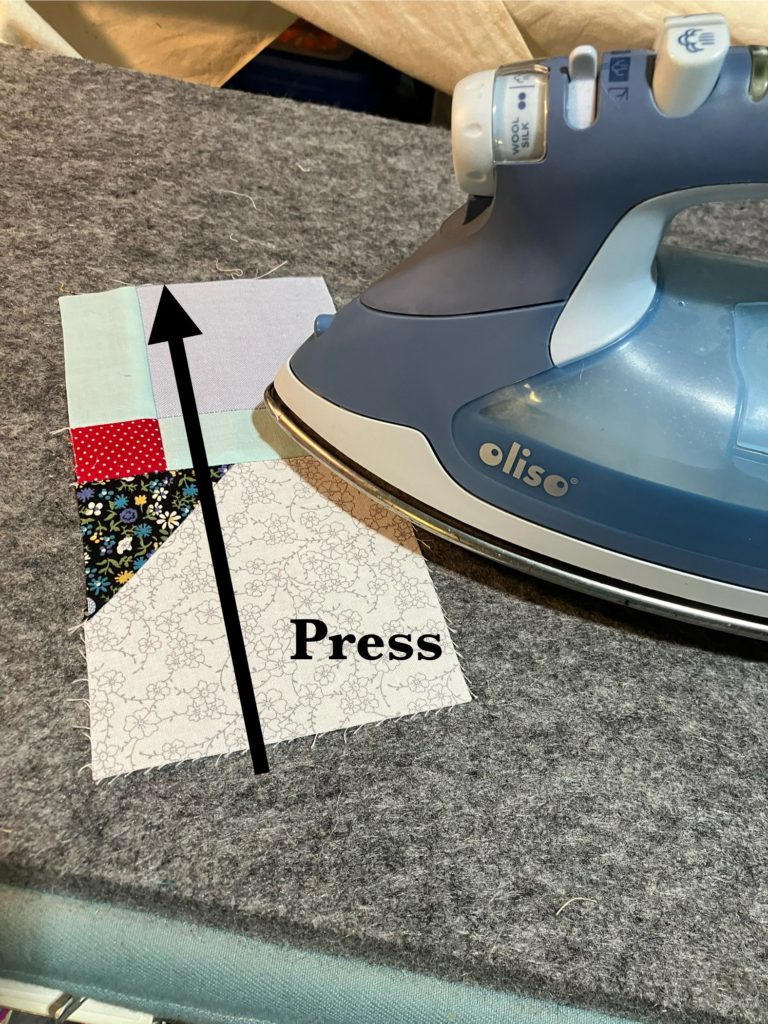
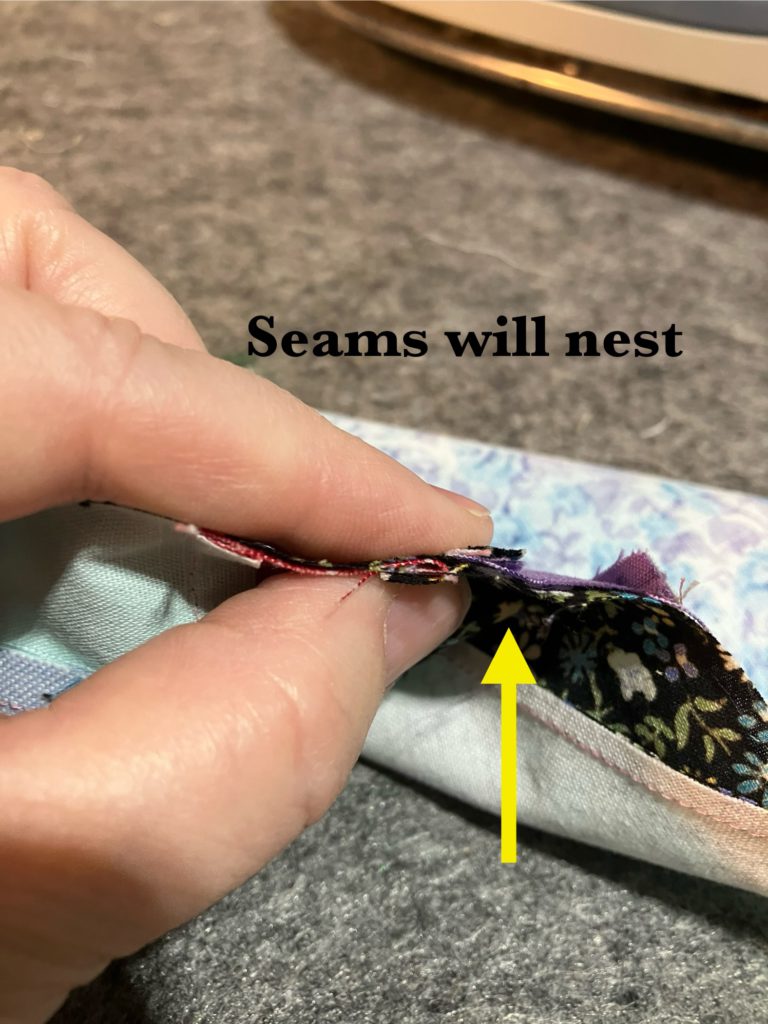
I changed the center block. I also pieced the block in units, so I could assemble it like a classic nine patch to finish it. I pressed most of the seams open to cut down on the bulk.
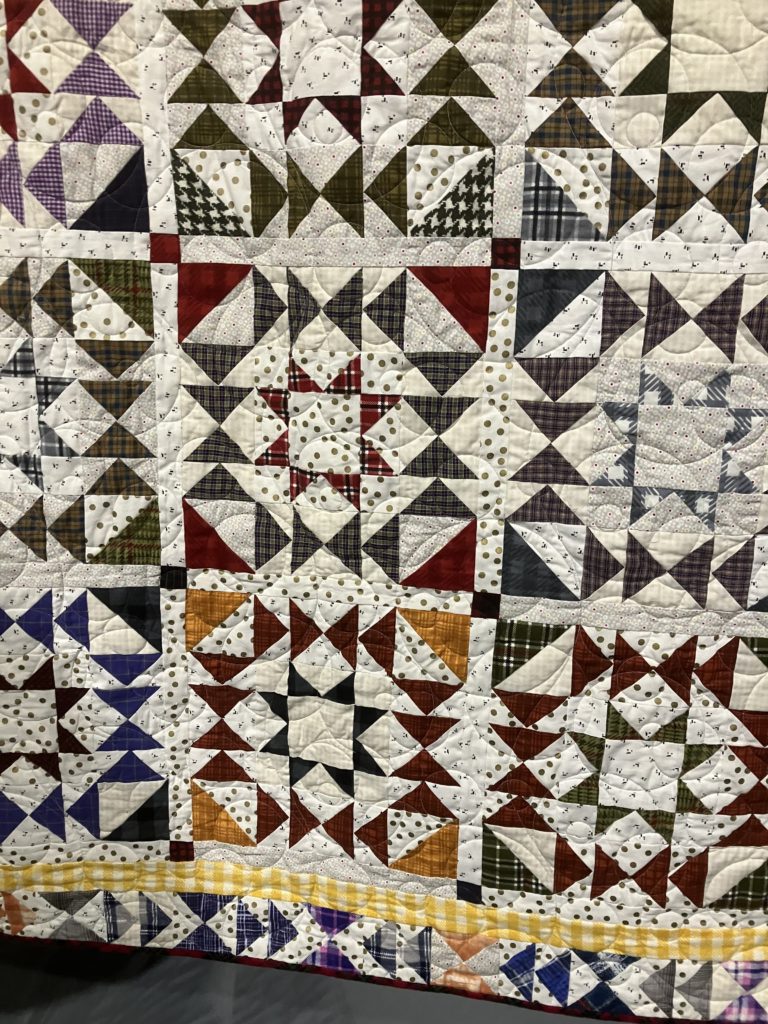
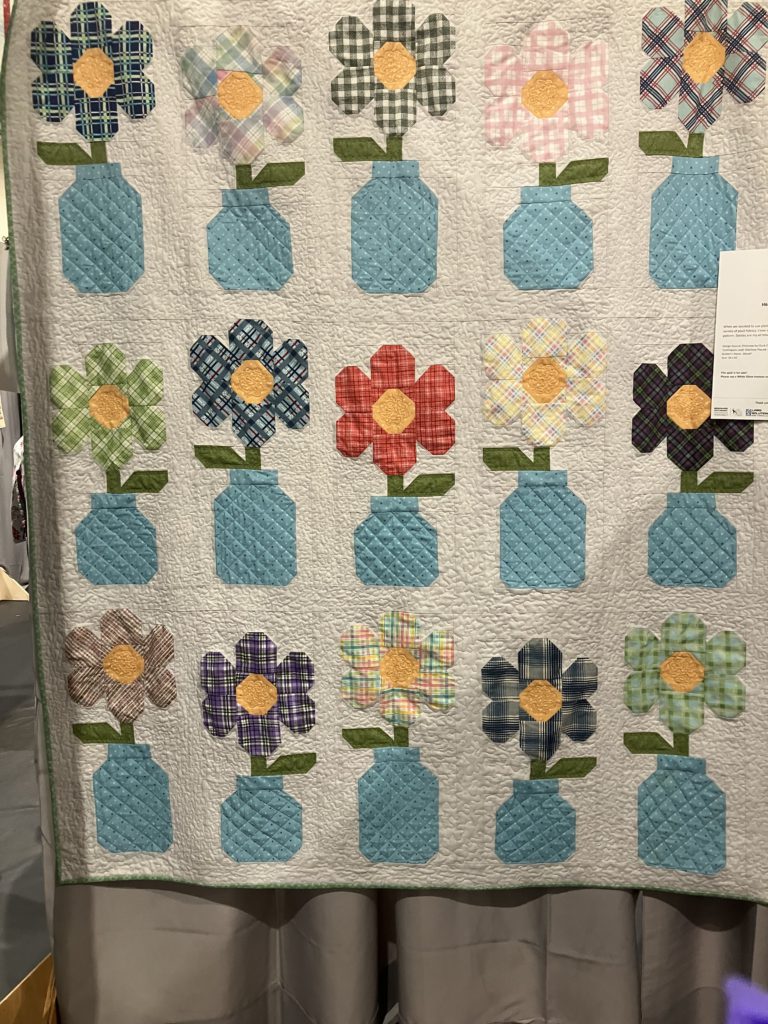
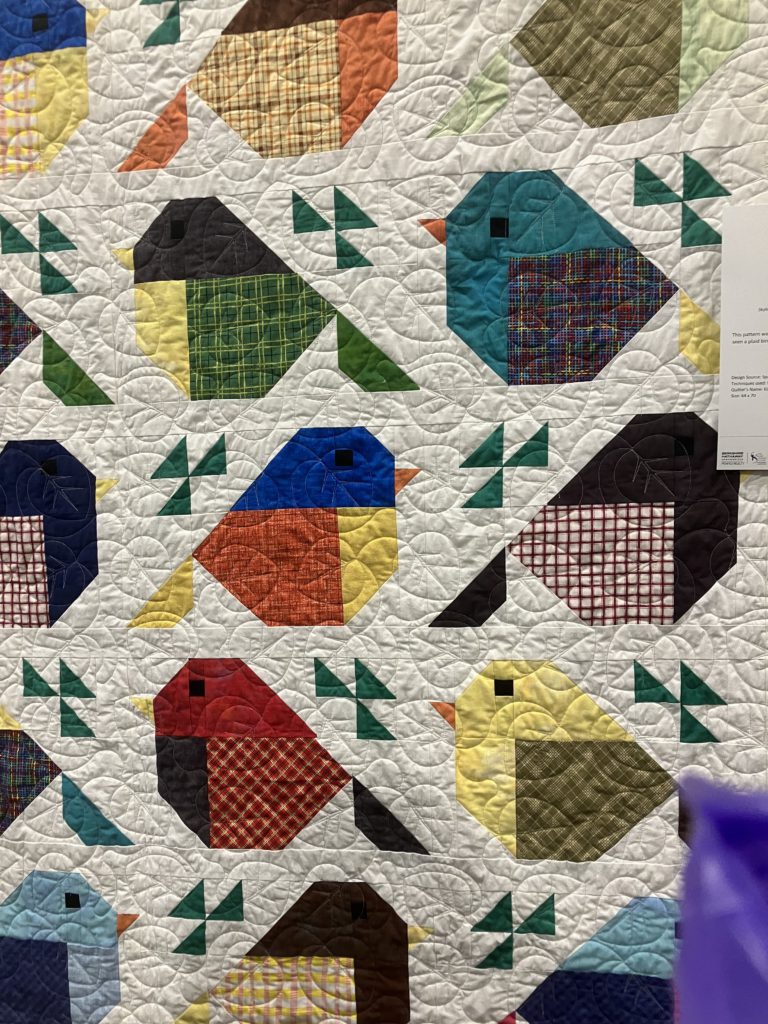
These pictures were taken at the Northern Shenandoah Valley quilt show held in Berryville, VA on April 13, 2024. My friends and I had a great time. I saw many, many beautiful quilts. It was well worth the $10 admission fee. This year’s theme was “My Favorite Color is Plaid”.
I only took a few pictures as I traveled along. Let me tell you why I took each picture…
I love the main star block in this quilt…scrappy…easy to assemble with “standard” parts…probably 16″ squares with sashing and cornerstones. Beautiful!
The blue jars for these flowers remind me of the Estee Lauder perfume that my grandmother wore…because of the color. The flowers are a simple with sew and flip corners on the piecing. One would be a great wall hanging.
Adorable little fat winter birds…do you see the beak of the one that does not line up with the slope of the forehead? I did not notice, but my friend did! I actually like it that way even better.
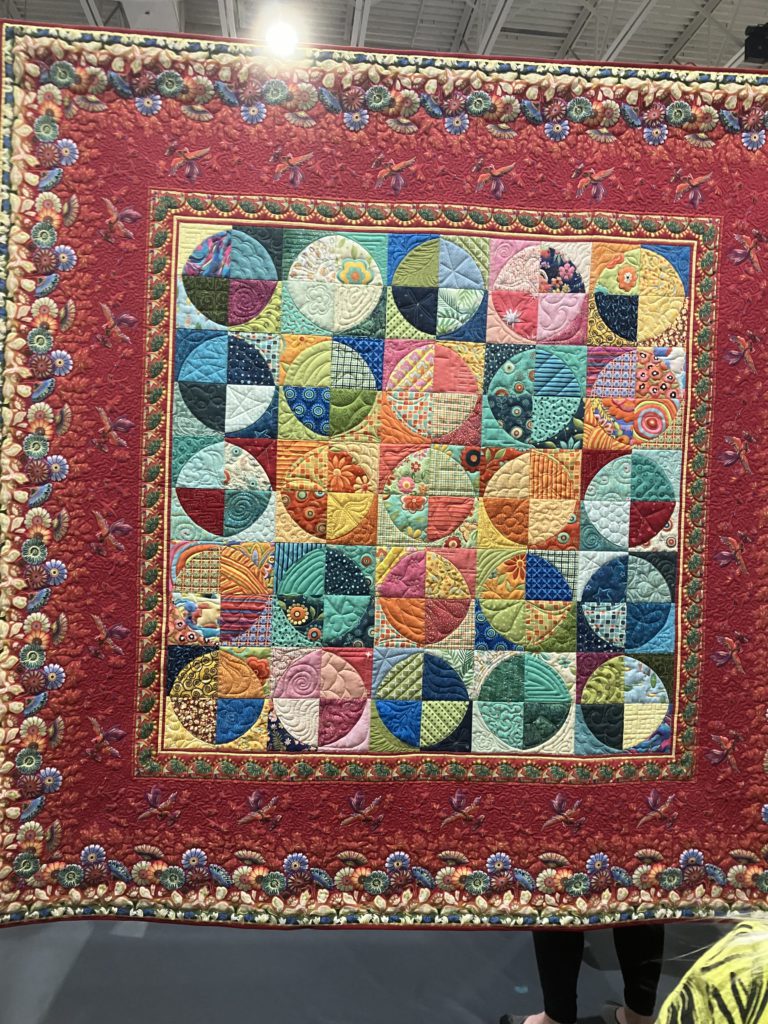
The border on this quilt sucks you right in. Then you start to notice details. This was a scrap quilt. Every colored piece in the center is different…and even brighter than they appear here. Each quarter circle is custom quilted. This quilt was a “for sale” quilt.
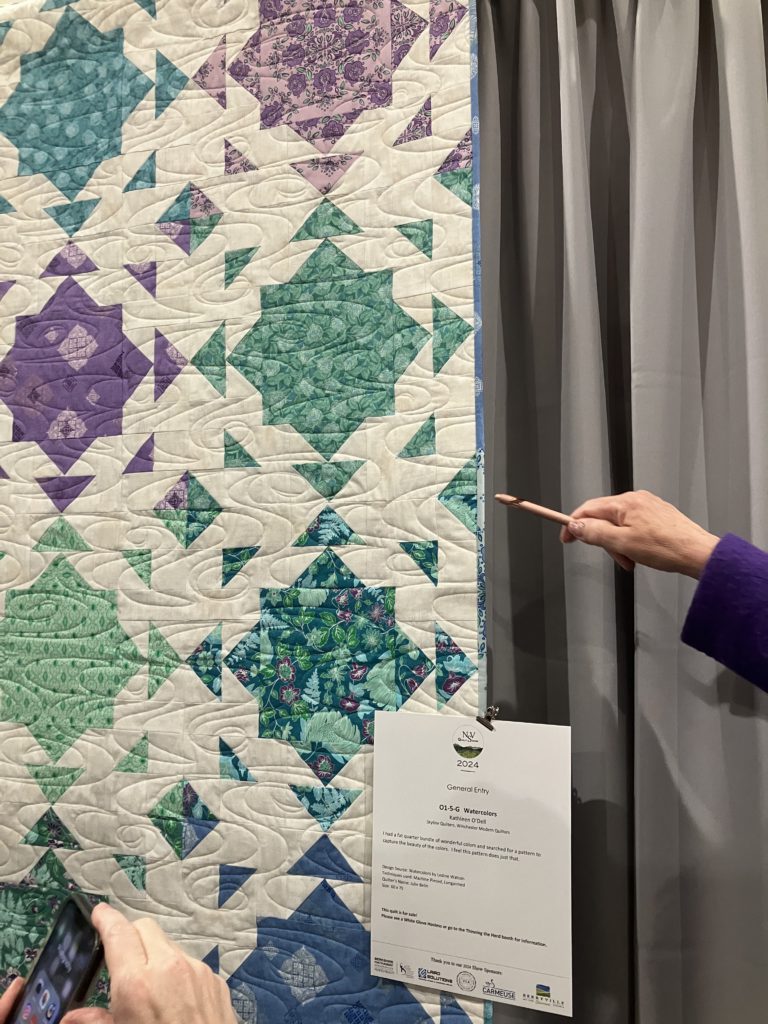
I love the colors on this quilt… a classic combination. The floating nature of the block makes me smile. There is also the secondary design element where the blocks meet. Nice quilting, too.
The nine patch blocks have 1 1/2″ squares…I love this setting with alternate applique blocks. Every applique block was unique. Sometimes setting makes thee quilt.
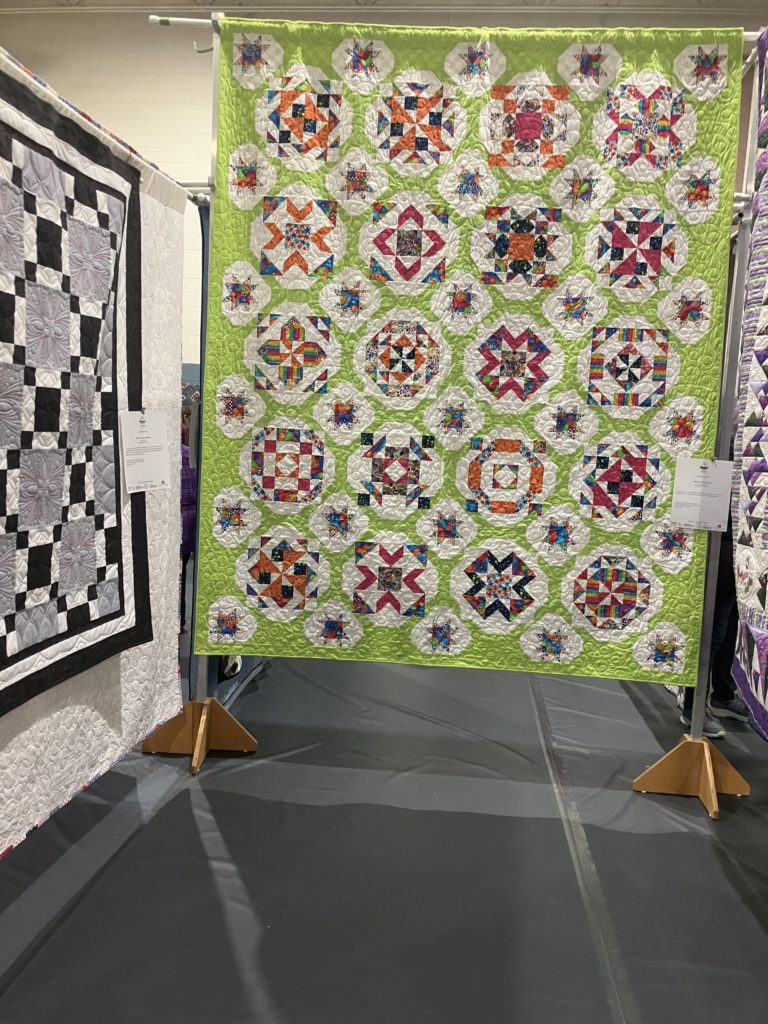
The sashing in this quilt made the setting seem like an impossibe piecing feat! (The sashing is a “dog bone” looking piece with a small star as a corner stone!) I love the choice of spring green and bright colors for this beautiful sampler.
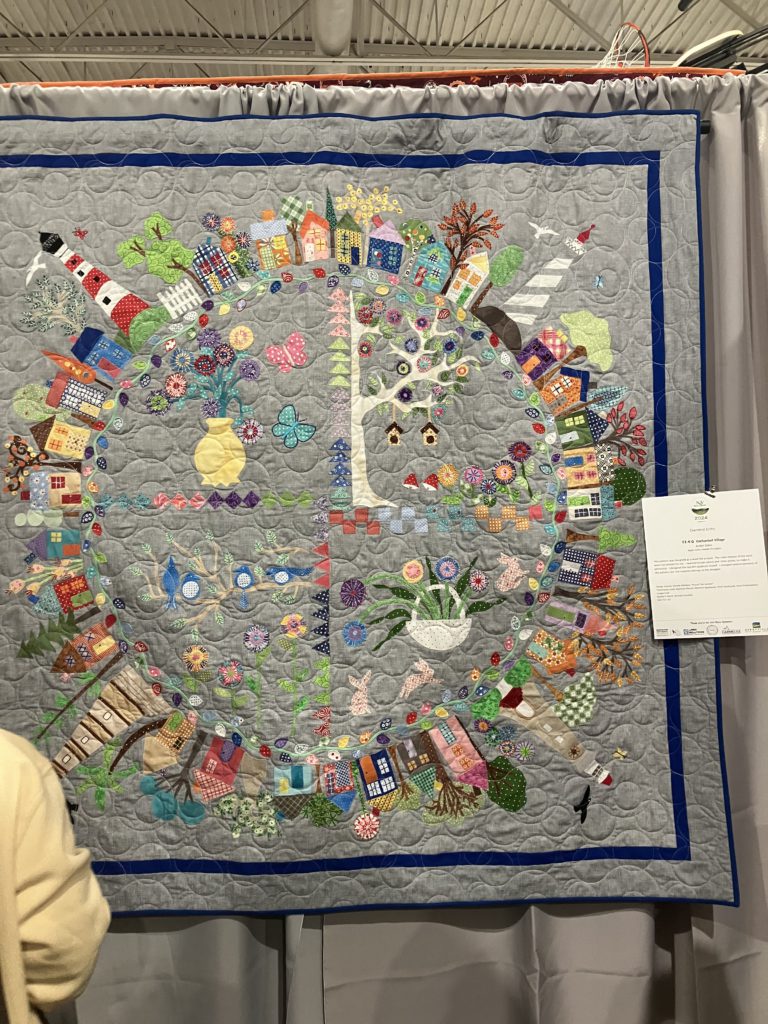
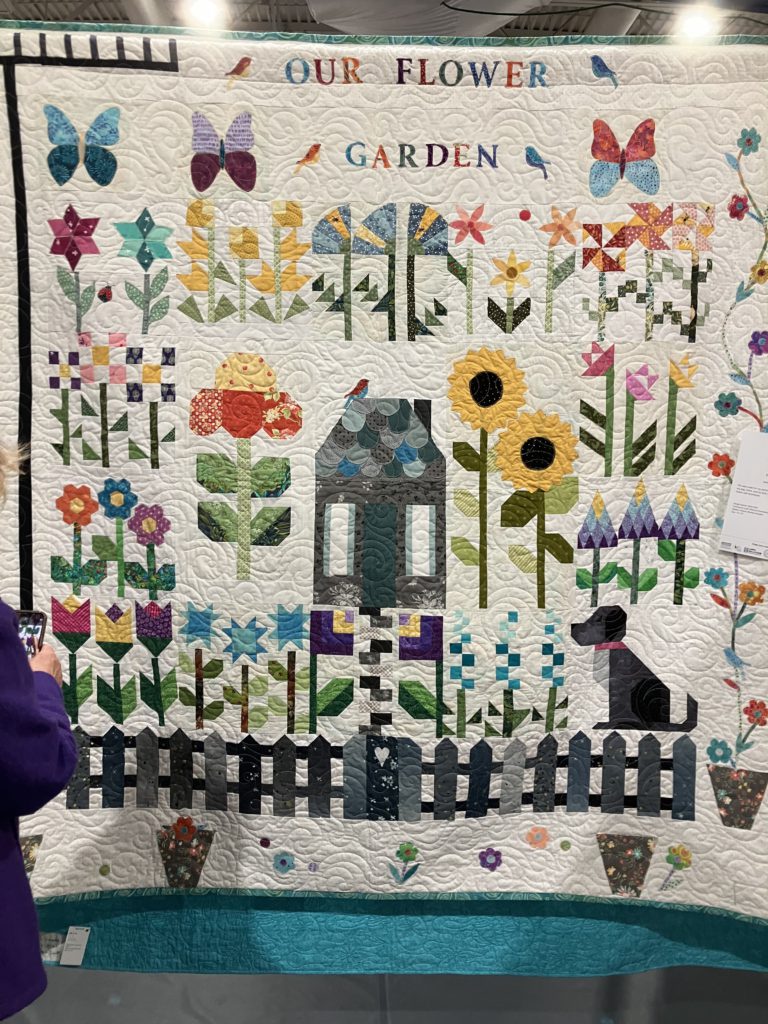
I love mandalas! This quilt is available in a pattern book…a very detailed book. This would be a great idea to make a personal story quilt! There is so much to love about this quilt…birds, flowers, trees, lighthouses…and quirky little houses, too.
For the record, I am not touching this quilt. It was made up of 3 inch blocks…there were 180 blocks. The quilter made this block during Covid to help get through the isolation of quarantine. My finger is there for size reference. I love those itty bitty pieces!
This story quilt was simply pieced, but those simple blocks add up to a big wow factor. There are pieced and appliqued blocks. Something for every skill level in this beauty! This would be a great scrap buster!
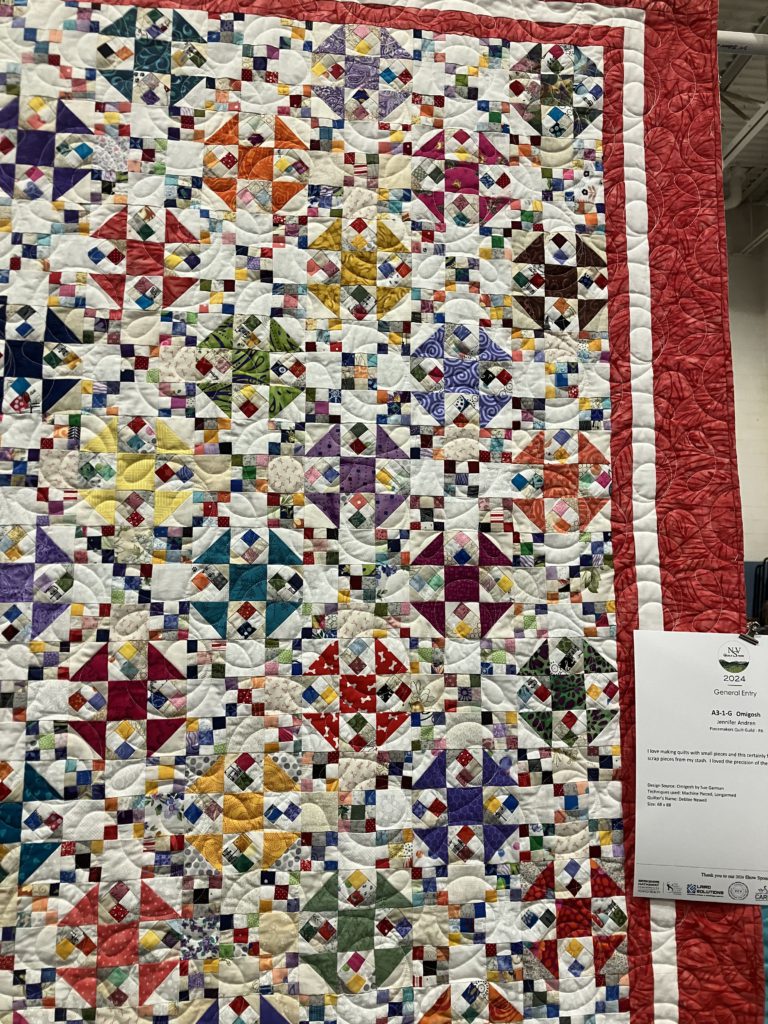
This quilt is the ultimate scrap buster. I think that the churn dash blocks are 6 inches. The more you look, the more your eye travels around the quilt to another fabric color choice. This would be a great leader-ender project.
This is the end of my mini quilt show. I enjoyed looking at all of the beautifully presented quilts on display. Great job by the sponsoring quilt guilds! (I think this is a yearly event. I am looking forward to next year’s show!)
I hope you enjoyed my quilt picks…and my logic for taking these few pictures. Please remember, if you would like to comment, return to my YouTube video and comment there.
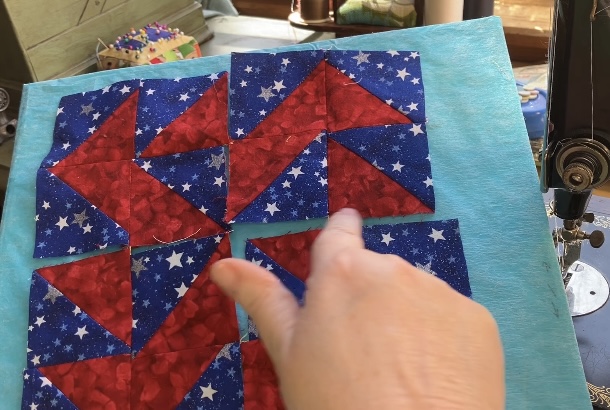
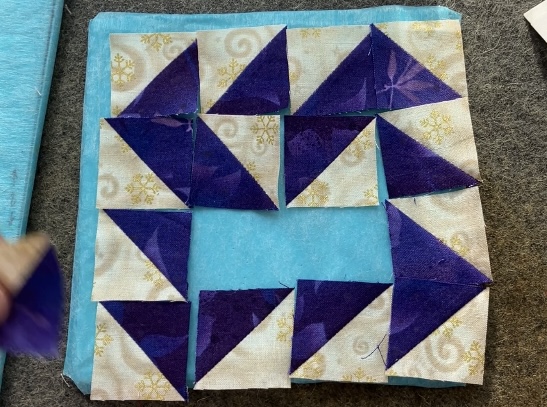
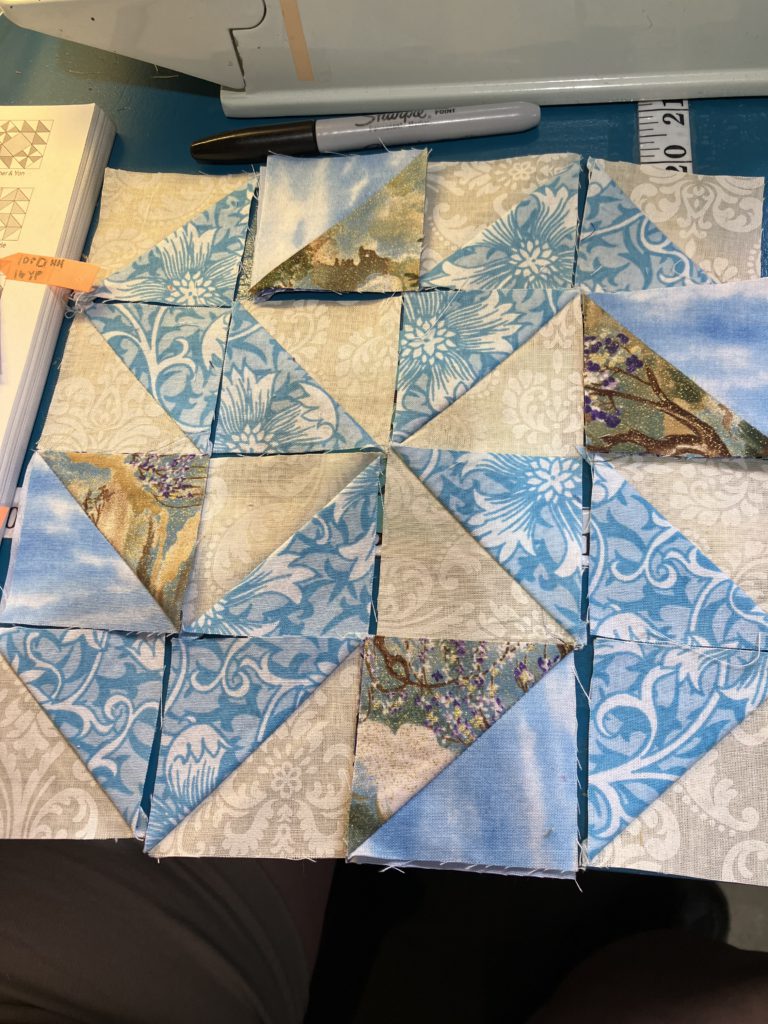
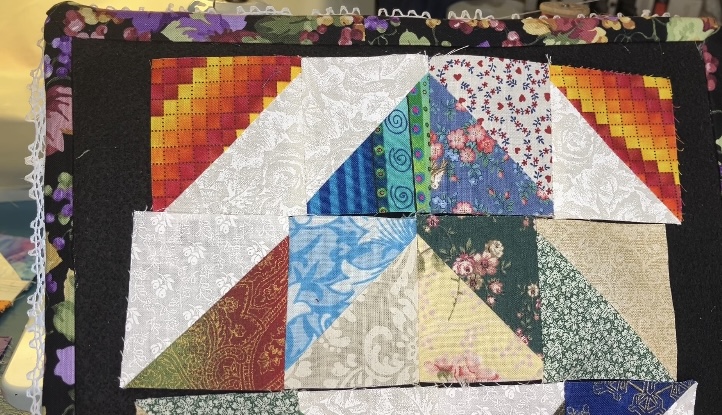
Another block with half square triangles! These triangles will spin and swirl their way into your heart!
Yankee Puzzle is made from 16 half square triangles. If you are making the two color version like the one below, you will need 12 units for the big swirl and 4 for the contrast color.
Here is the YouTube video. The cutting chart is toward the bottom of this post. It is a free printable.
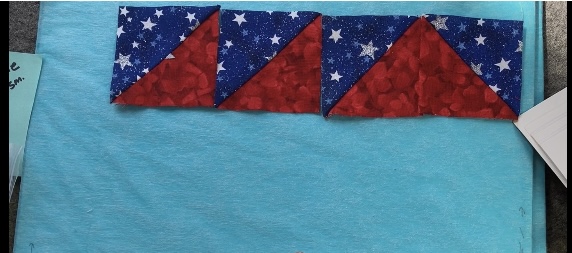
The example below and the red, white, and blue example are both made from 2 1/2″ half square triangles.
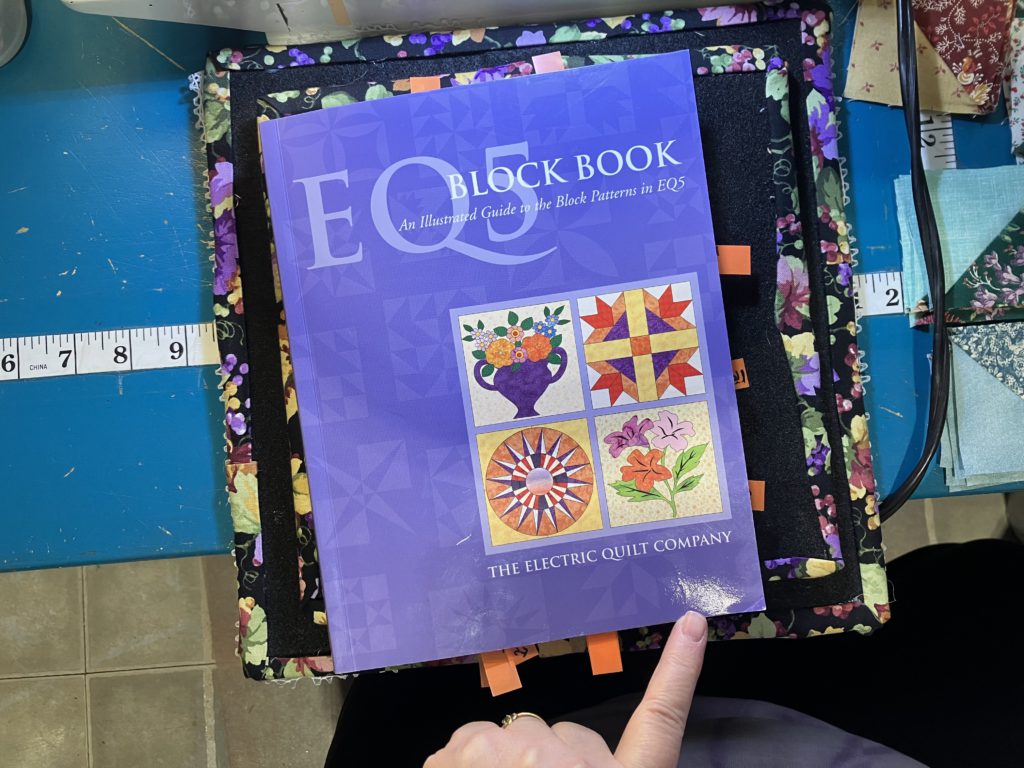
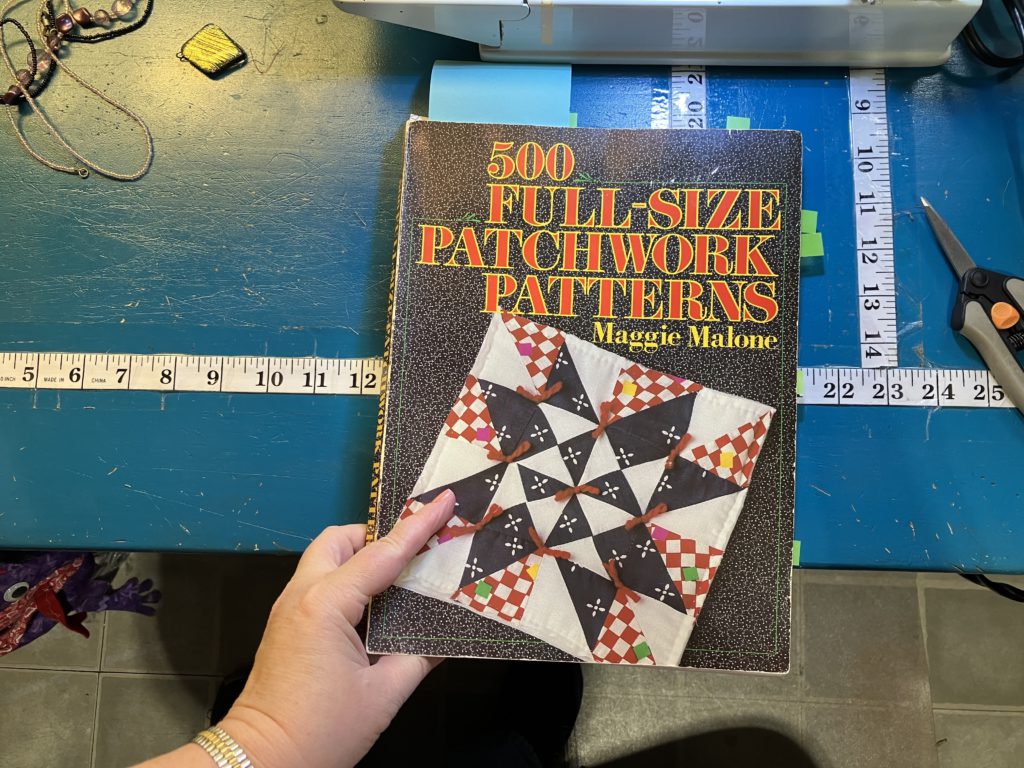
My inspiration is coming from this old EQ5 book again this week…best quarter I ever spent at a yardsale!
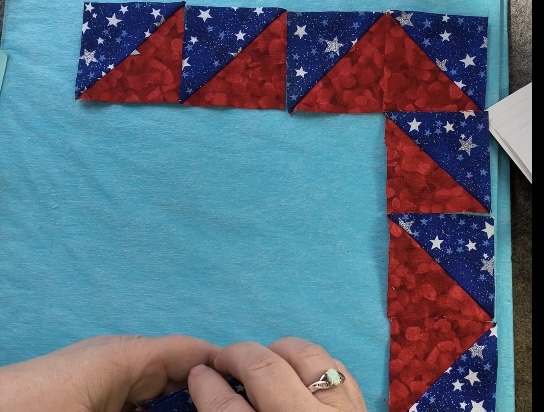
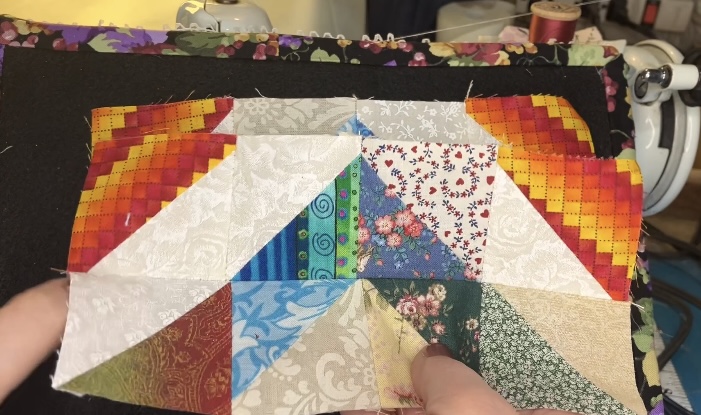
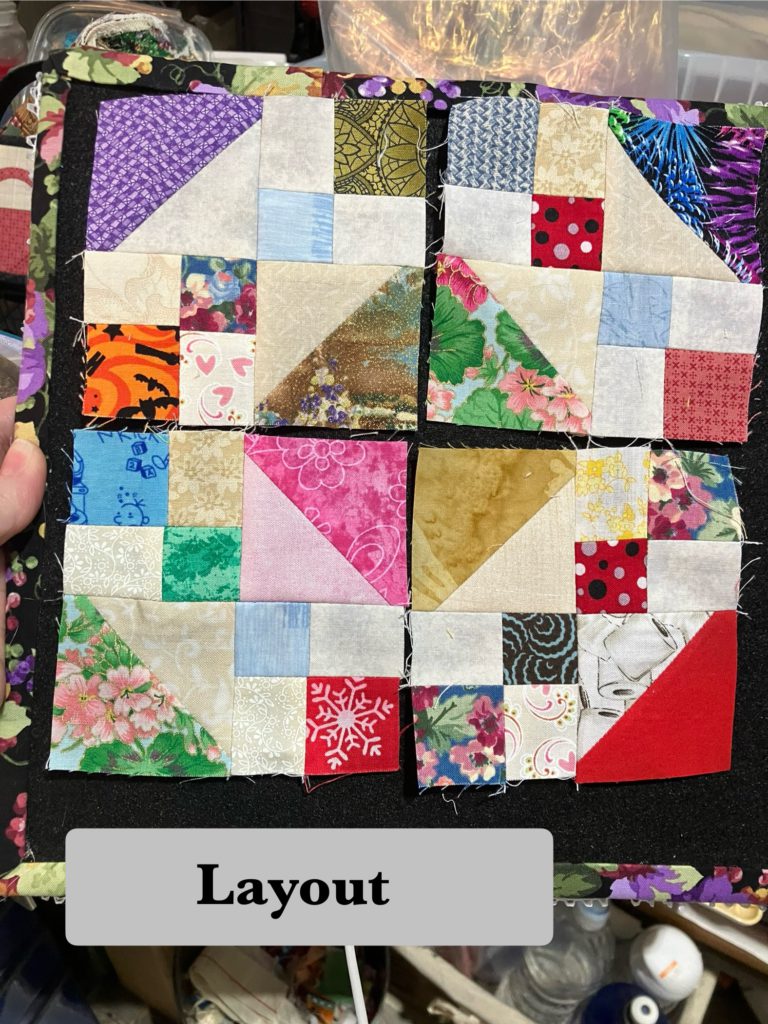
Here are the units layed out. Notice that three of the blocks, starting at the left, go the same direction. The last block on the right is turned a quarter turn to make a flying goose.
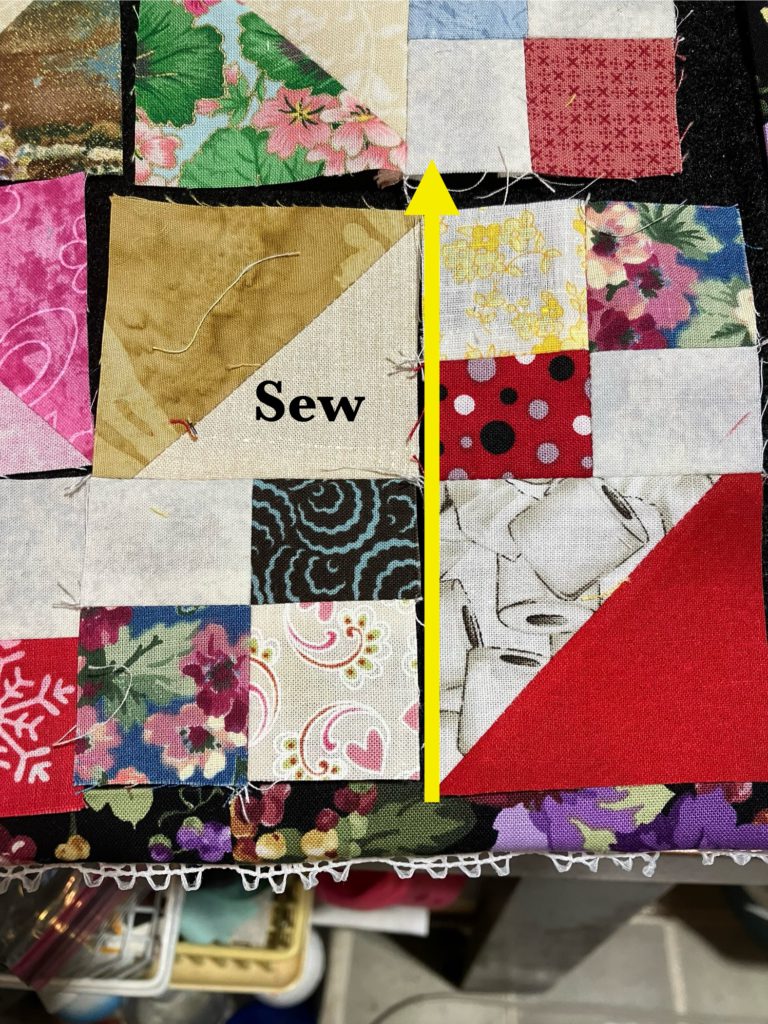
Continuing along the right side of the block…
Along the bottom…are you seeing the pattern yet? Three in the same direction, then goose…
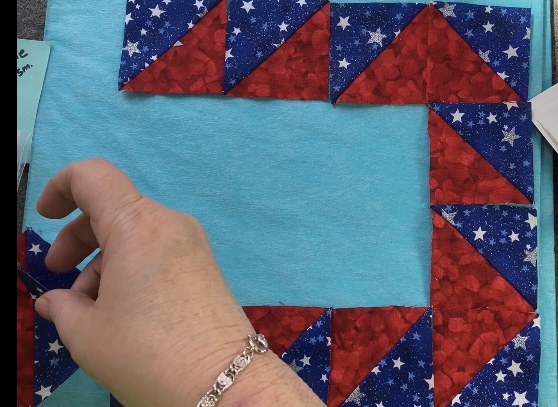
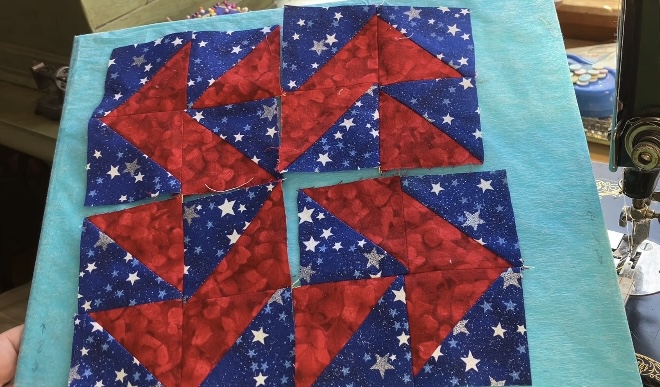
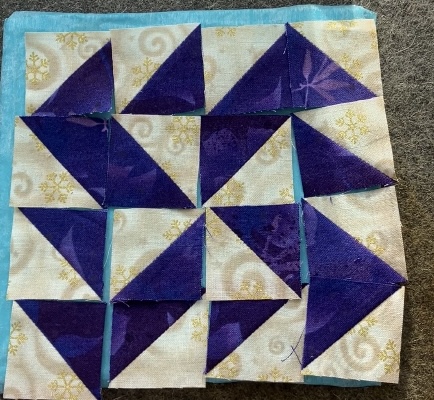
The rest of the outside frame…next add a pinwheel to the center (scroll down a little more to see…)
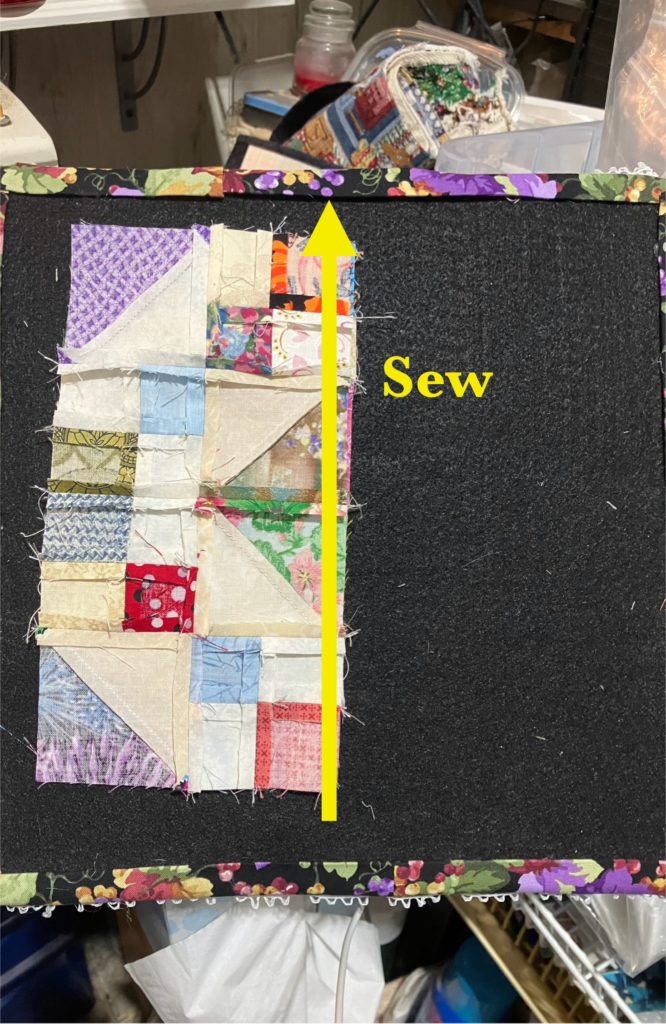
This block can be sewn in quadrant pieces. Here is the stacked pile of quadrants ready to sew…zoom, zoom, baby!
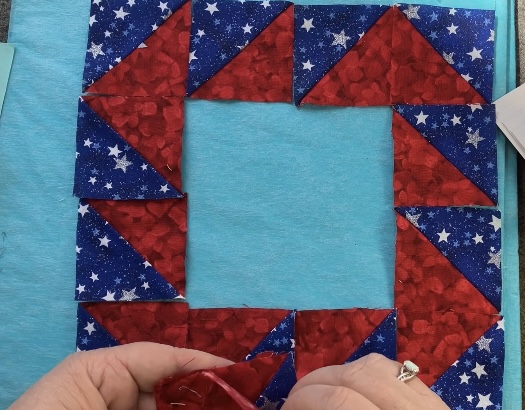
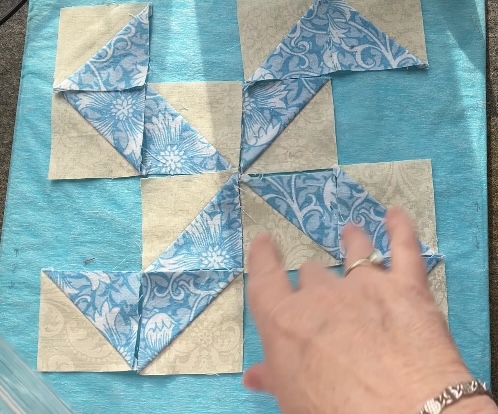
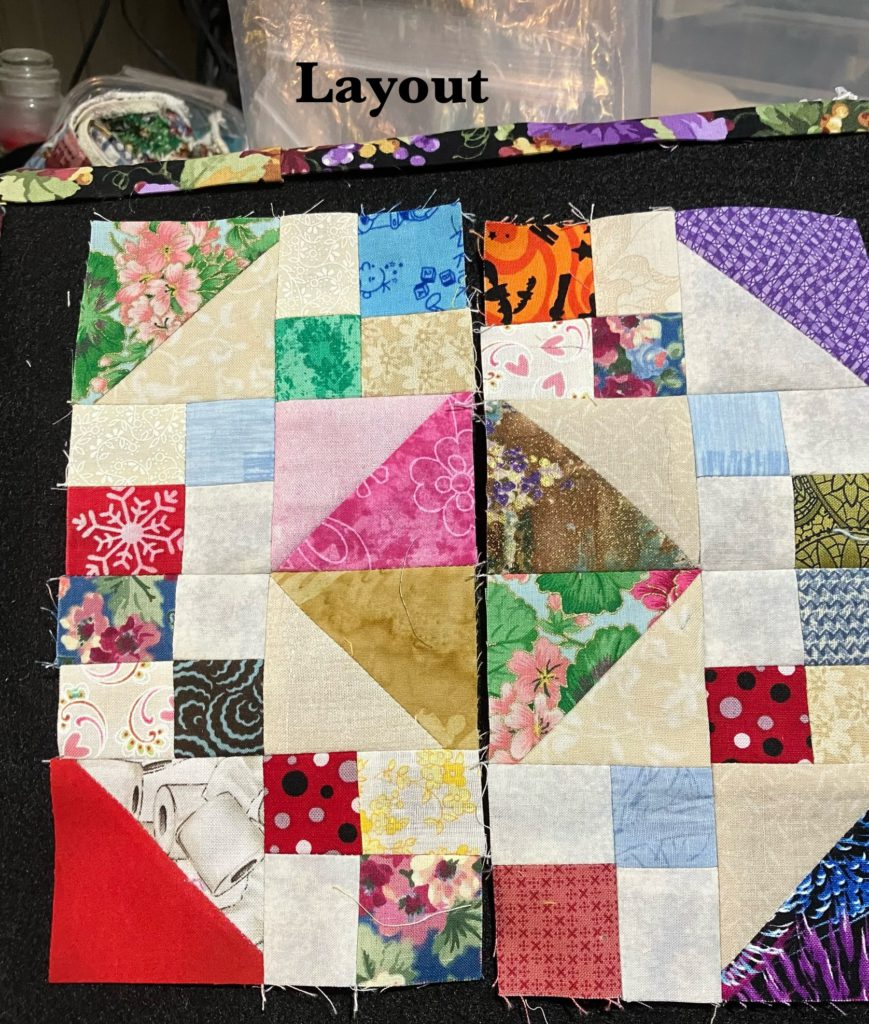
After the quadrants are sewn, lay out is as simple as a quarter turn. A large swirling pinwheel will form in the center when pieces are layed out correctly.
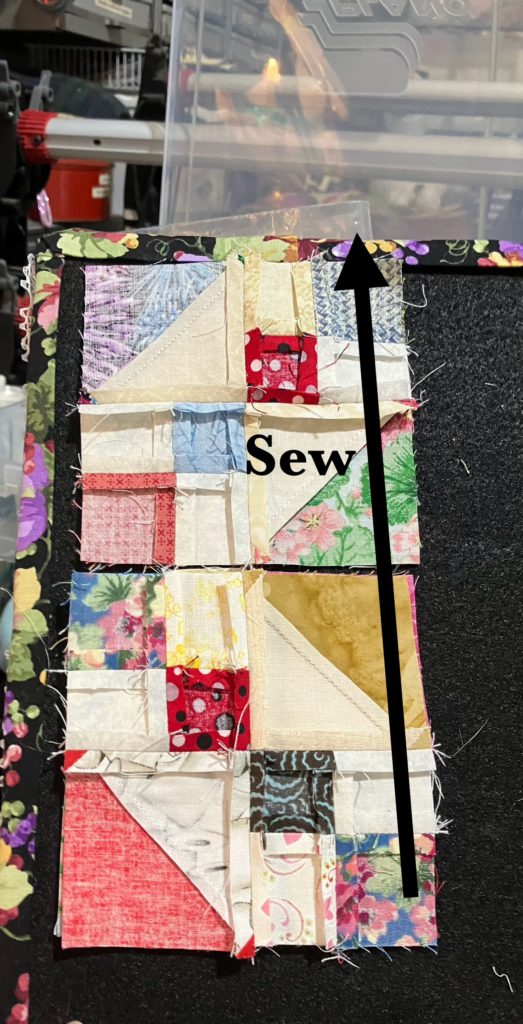
Sew the quadrants together…then sew the halves together…
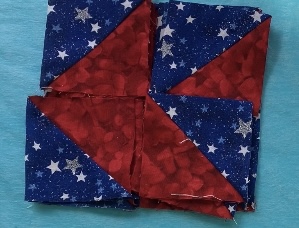
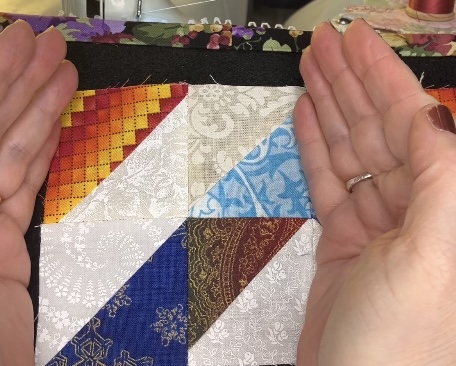
Ta-dah! Ta-done!
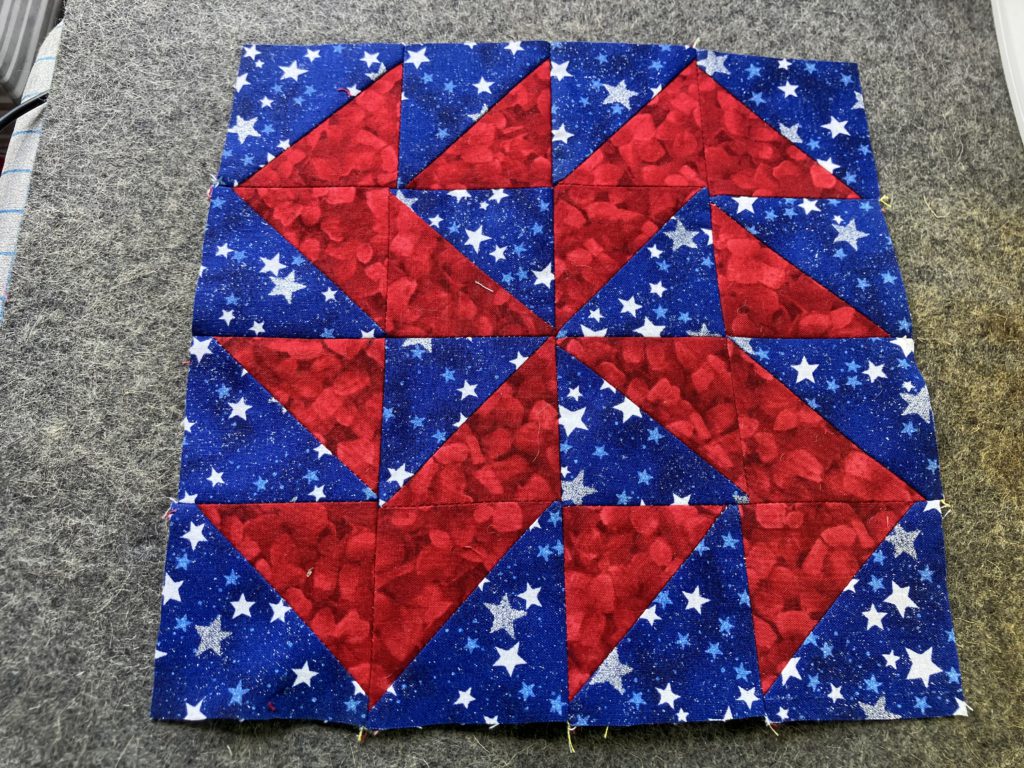
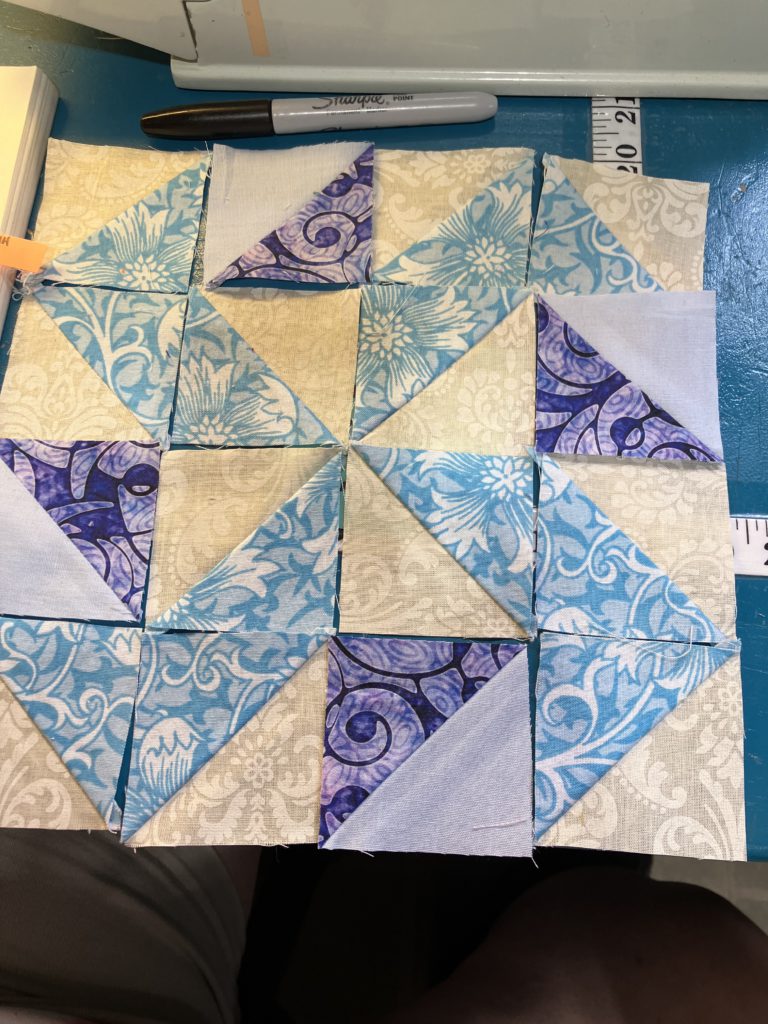
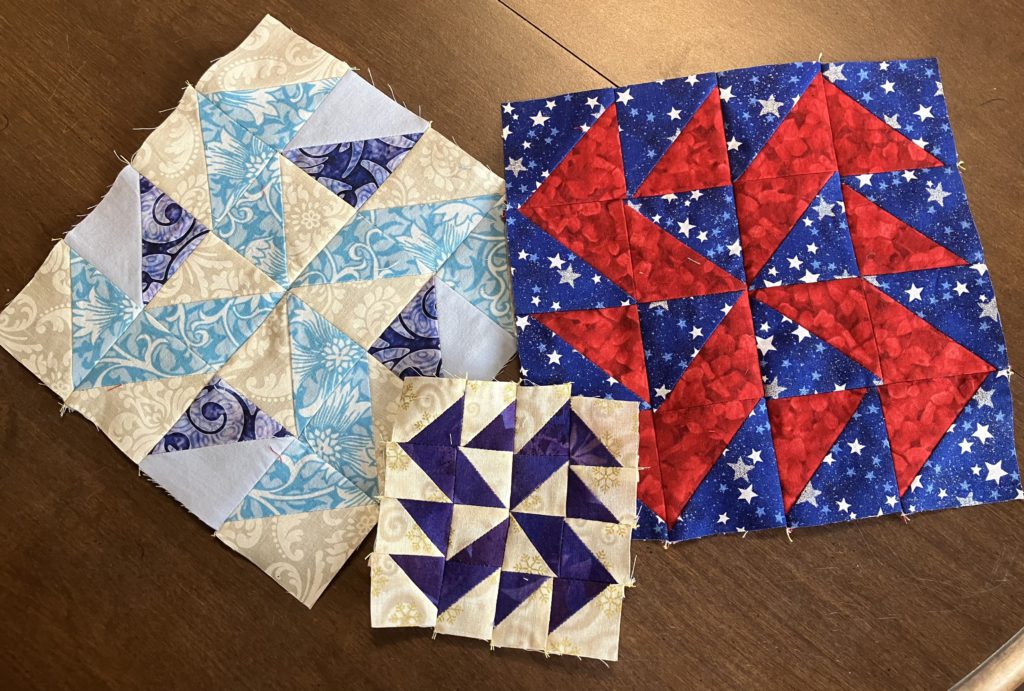
Now for the example made from 1 1/2″ pieces. It finishes at 4 1/2″. (You know I couldn’t resist!)
Finished reveal of this little beauty will be at the end of the post!
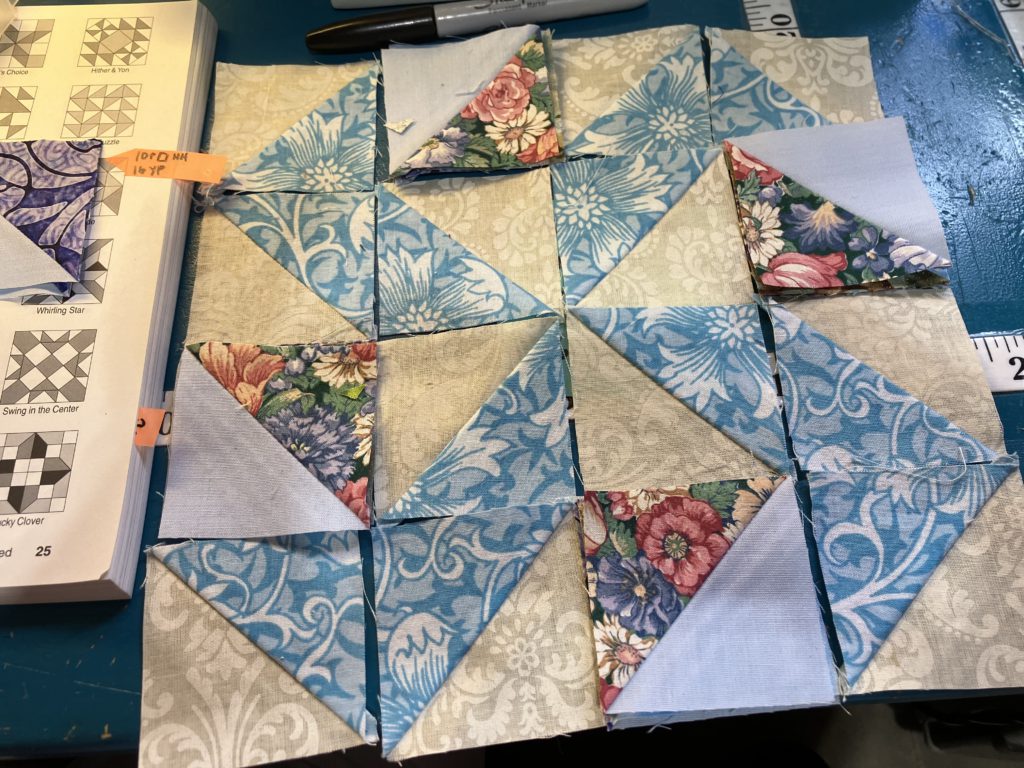
Now for my version of the 2 color layout! I creat the large swirling pinwheel (12 half square triangles) with one color.
I add in the second color…
Or maybe this version…
Or this one?? Oh, the decisions!
Here they are finished and ready to use in a beautiful scrap quilt!
Here is the printable cutting chart:
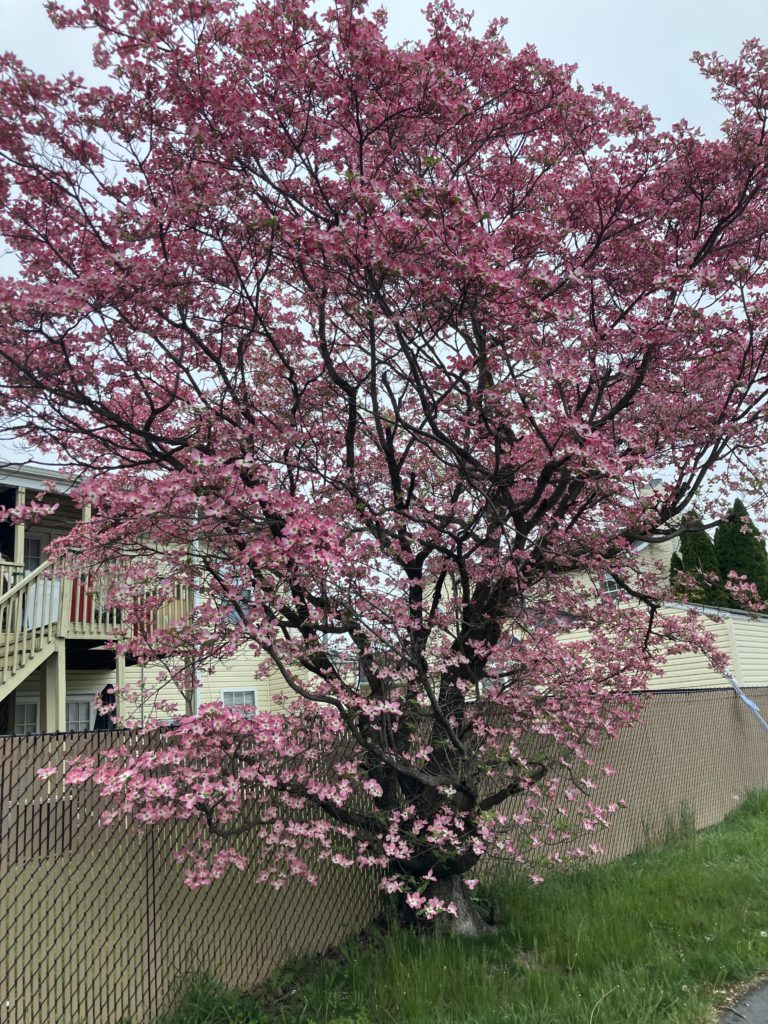
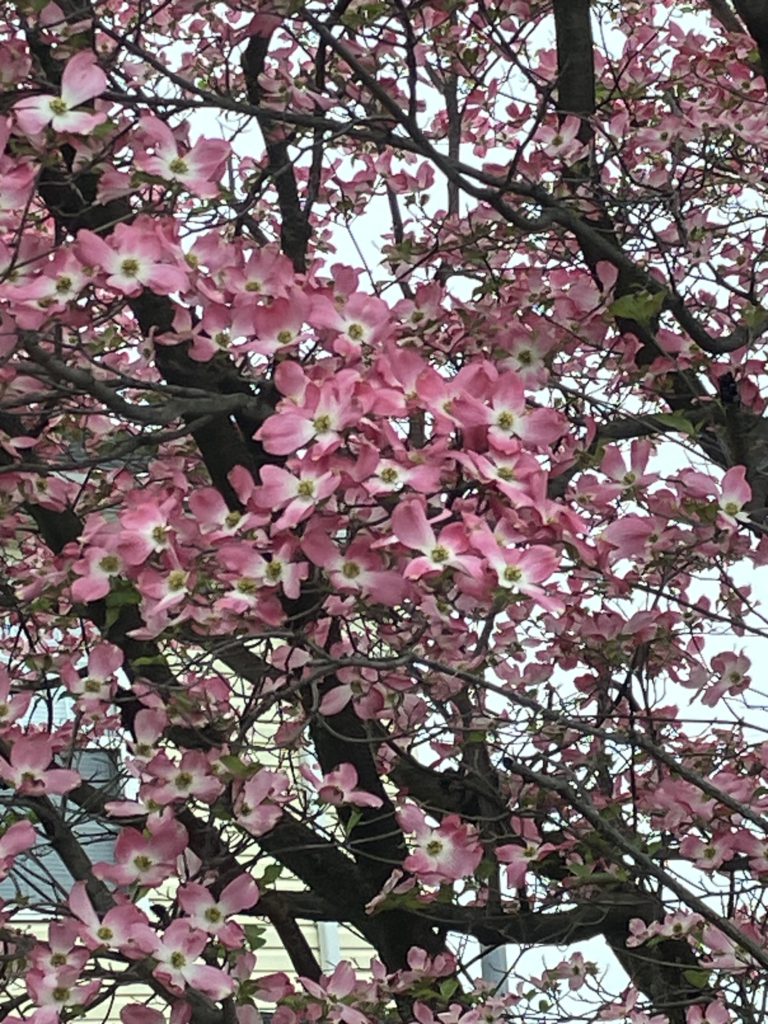
I couldn’t resist adding this beautiful dogwood picture from the post office in Inwood, WV.
And now for a close up…
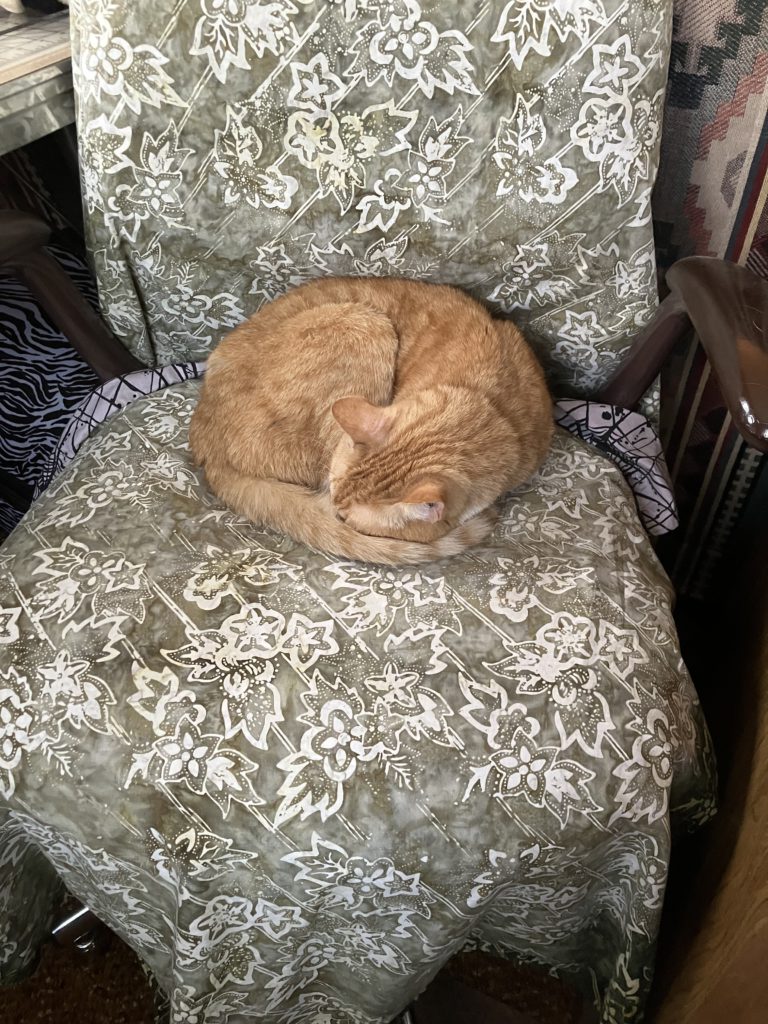
Simba is enjoying a nice nap on my sewing chair. (The green fabric was put on the chair to prevent her fur from becoming a permanent part of my upholstery!)
Just a few more weeks of inspirations from this book, I promise! This week I am presenting the Hovering Hawks block. This block has interesting diagonal movement. Four of them together would look fantastic…maybe for a future scrap quilt. It would also look good in a barn raising setting, if you are familiar with log cabin block setttings. Let’s get to making, shall we?
This block is really all about the contrast of light and dark fabrics. It is great for scrap busting! I am still using up those bonus half square triangles. Here is the link to the related YouTube video on my channel. Also, the printable cutting chart including various sizes is at the bottom of this blog.
This is the version of the block that I originally layed out in my YouTube video back in October of 2023. I tried to cram so much into that episode!
This version uses 2 1/2″ blocks: 6 dark blocks and 10 light/dark half square triangles. The block finishes at 8 1/2″. I start by laying out the dark blocks like pictured below:
Then I add in the half square triangles in the correct orientation. Half of the units (looking at the light part of the block), point to the lower left of the block. The others (again, looking at the light portion of the block) point to the upper right.
Here I changed the center two blocks with some beautiful batik fabric scraps. I think the visual interest here is better.
Recently, I have been sewing blocks in quadrants or fourths. This block does not work for that method…but it does work for assembling by halves! Here the halves are stacked and ready to speed sew:
In each row, I pressed to one side. The following row, I pressed in the opposite direction. Pressing open is always an option, too. You decide.
Half block reveal!
Turn one of the halves in a 180 degree turn…sew together. Yes, it is just that easy.
I pressed all the rows going in the same direction after I assembled the rows. Life should always be this easy!
Here is the version using 1 1/2″ blocks:
I love these little things!
Same layout!
Now with the half square triangles!
Stack to speed piece as half blocks…
Assemble like the bigger block.
Here they are…tah-da…tah-done!
The contrast in this one is so good…I just have to admire it for a moment longer! AAAhhhh! So cute!
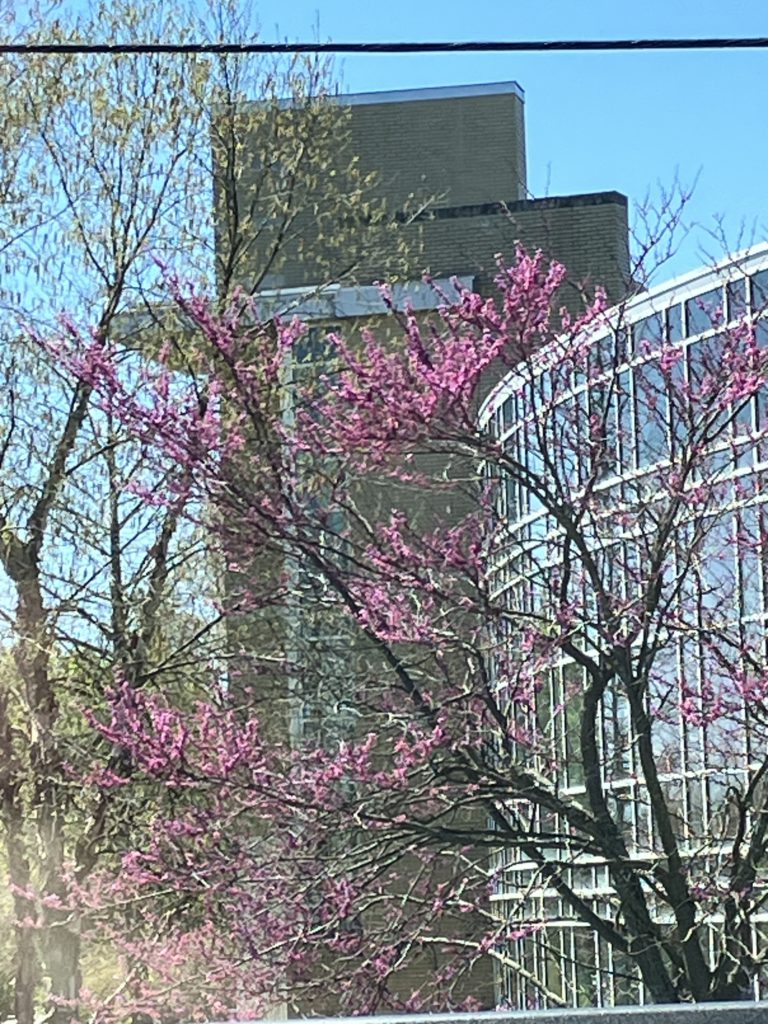
I just have to share a nature picture. I do love redbud!
I hope you enjoy making this block. If you have comments, please go to the video mentioned at the top and leave comments there. When I turn on comments here I get adds for Russian viagra and other “stuff”…Oh, my!
Here is the cutting chart I promised. It should be printable…and it is FREE!
Have a great week! Thank you for reading my blog! The next blog will be a mini quilt show with my commentary! (At least you will get some eye candy! I will mostly tell you why I was compelled to take a picture of those quilts…see you then!)
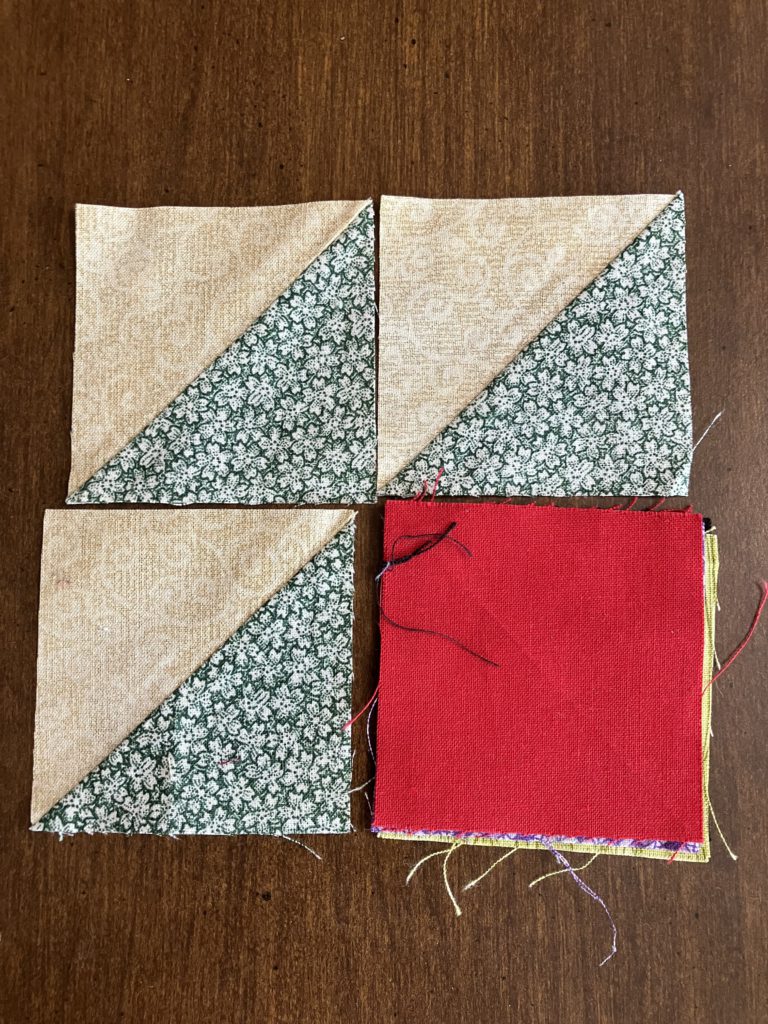
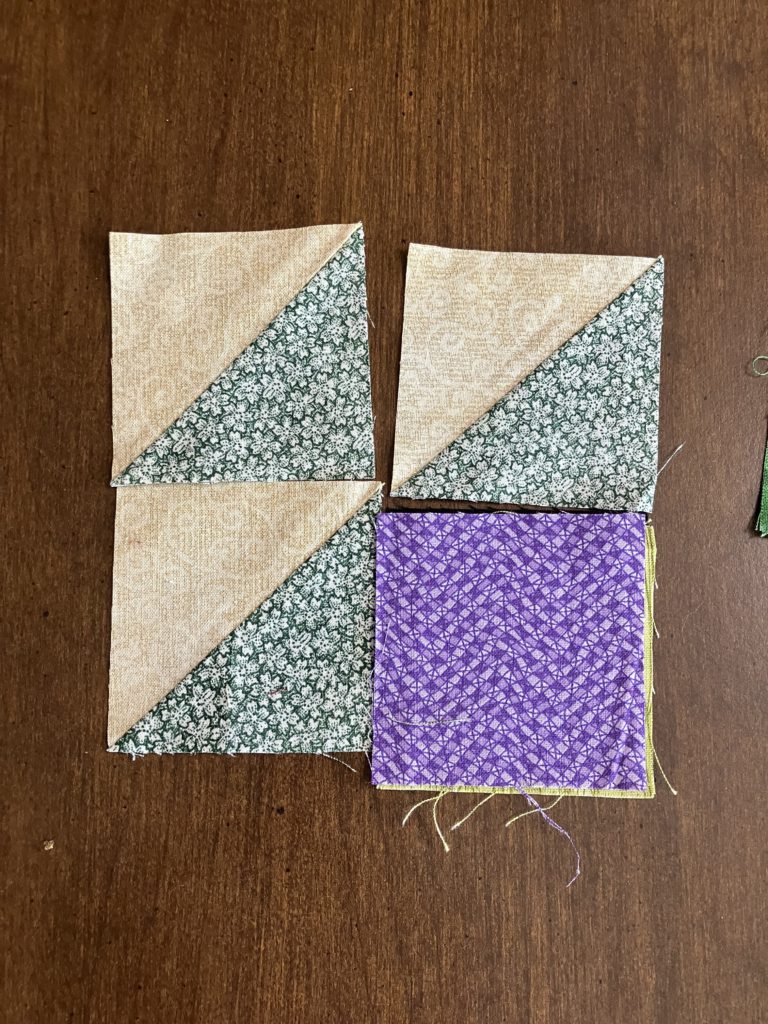
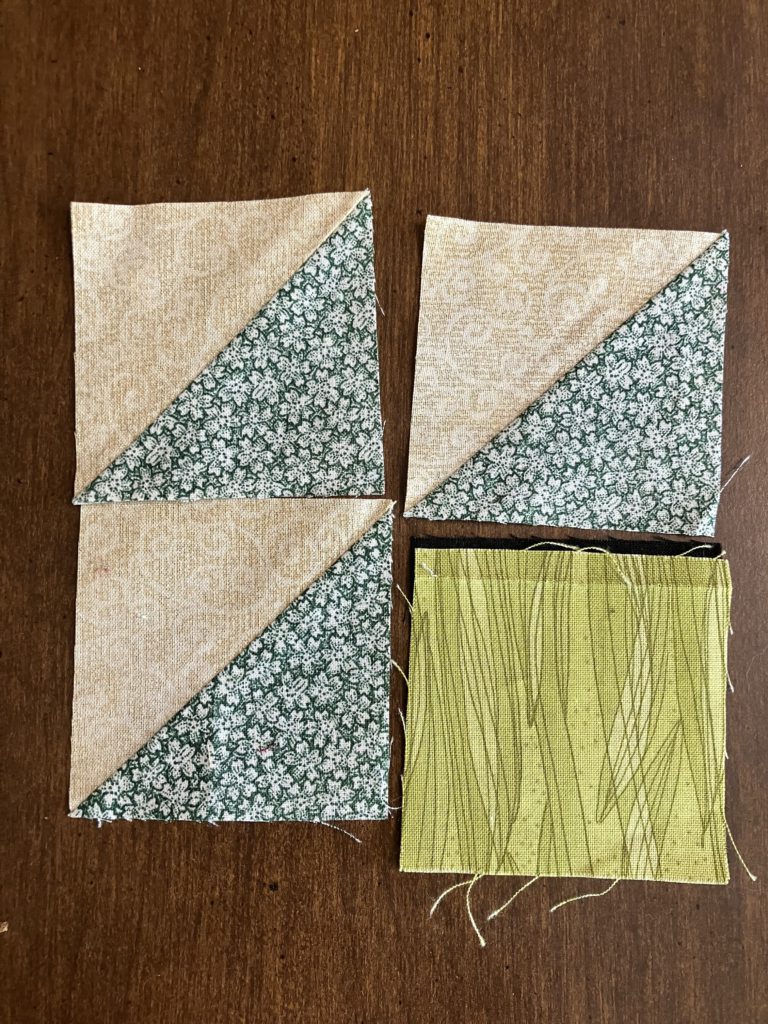
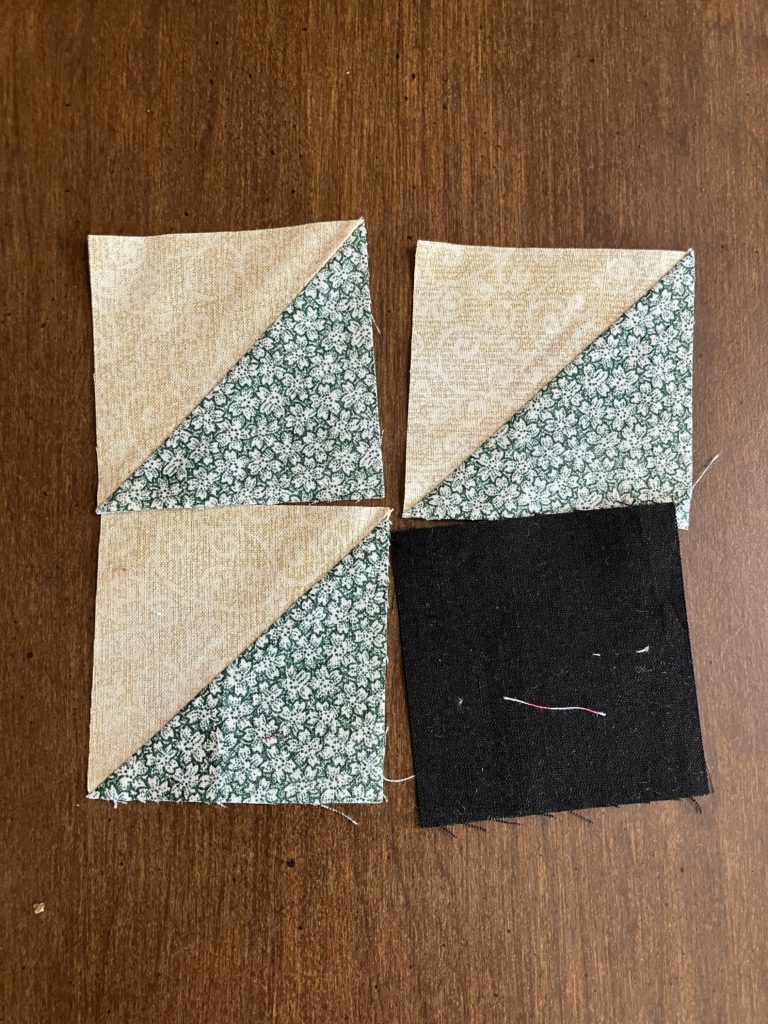
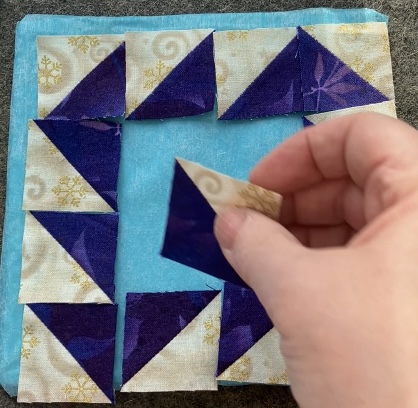
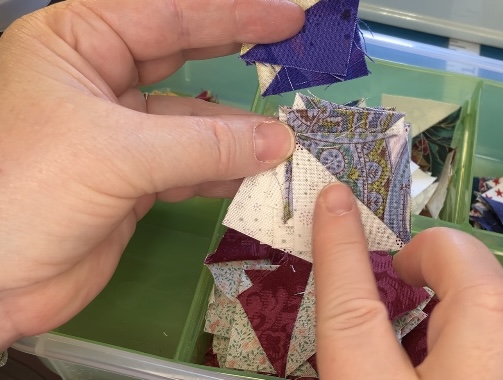
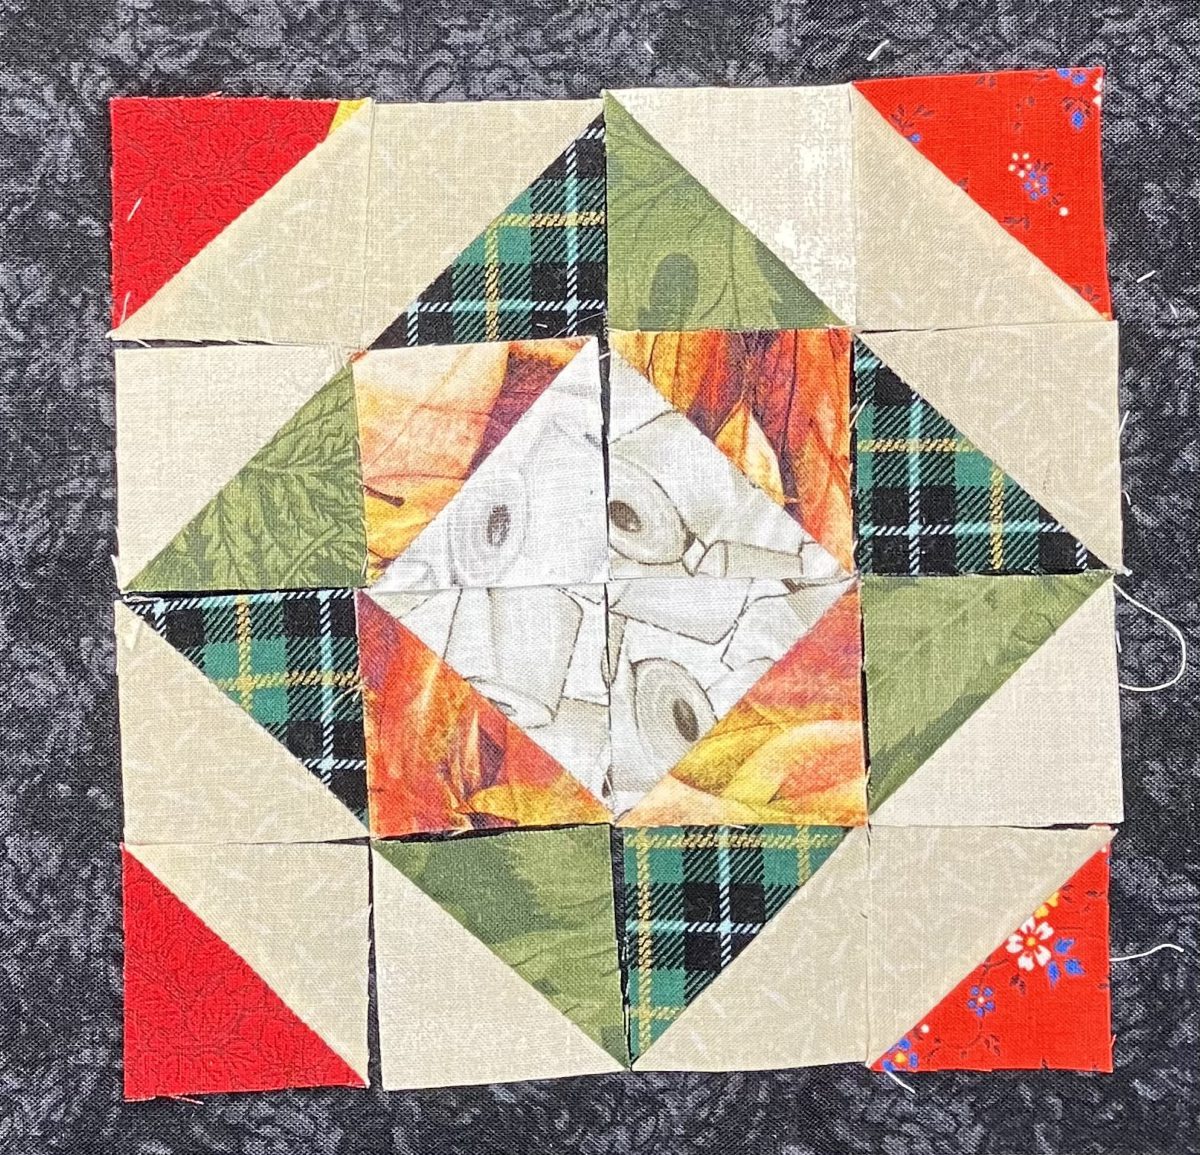
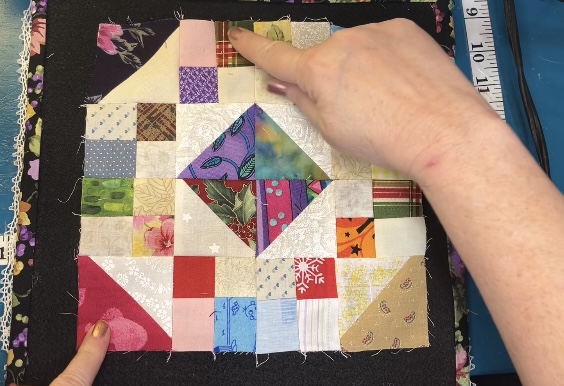
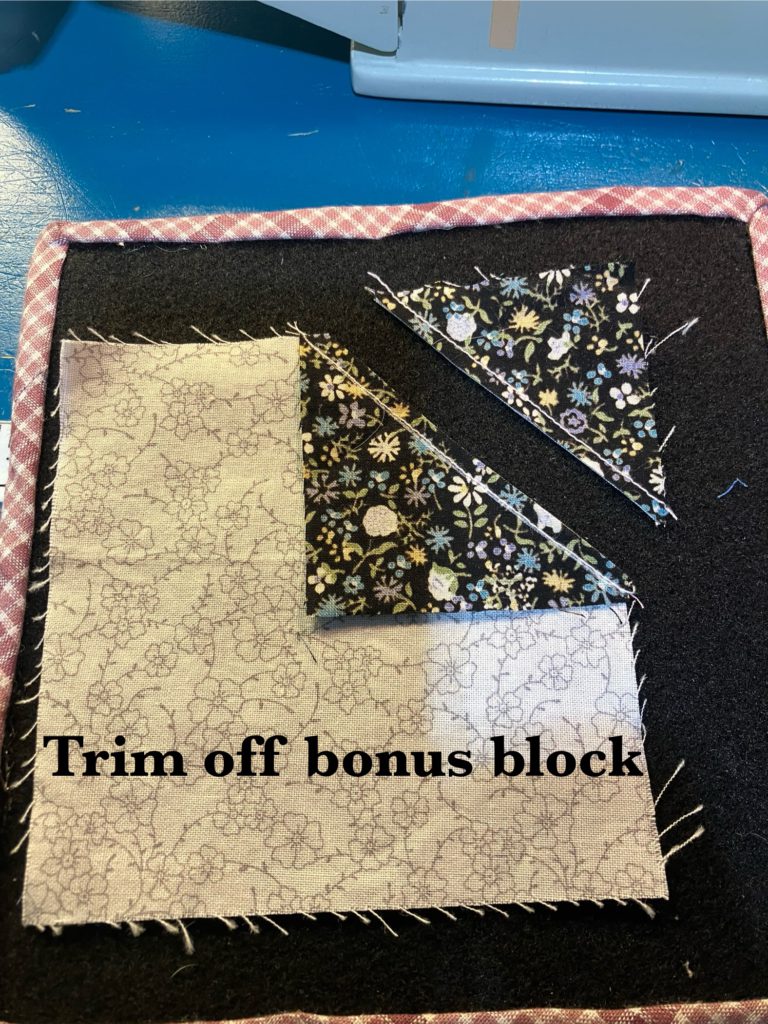
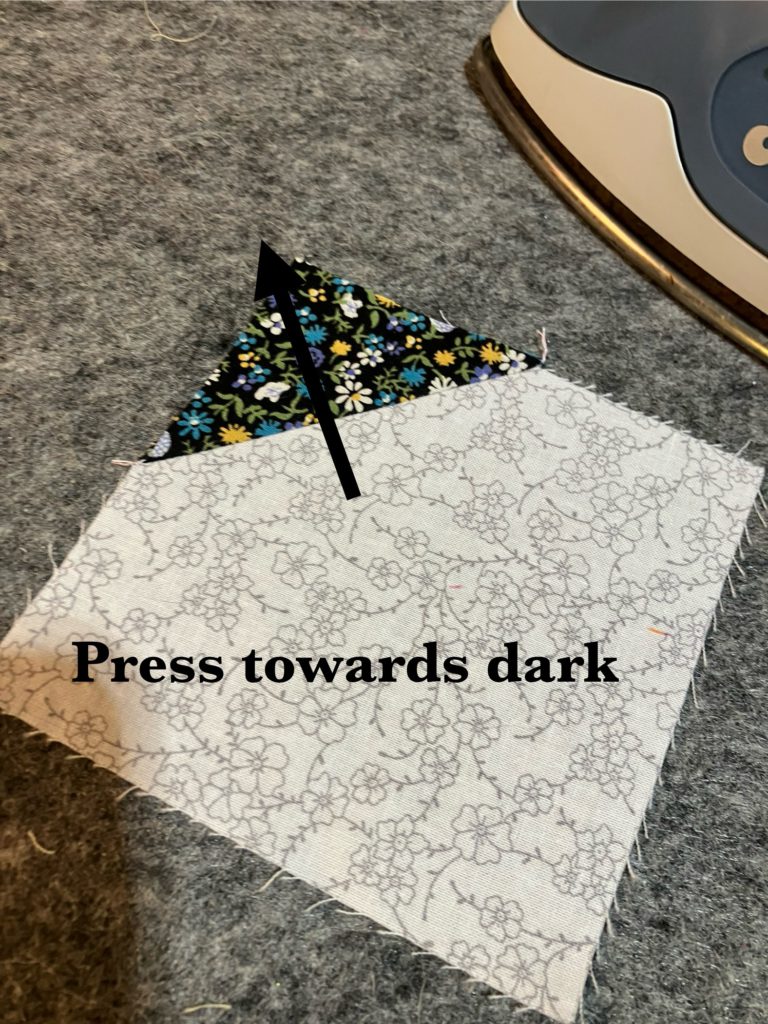
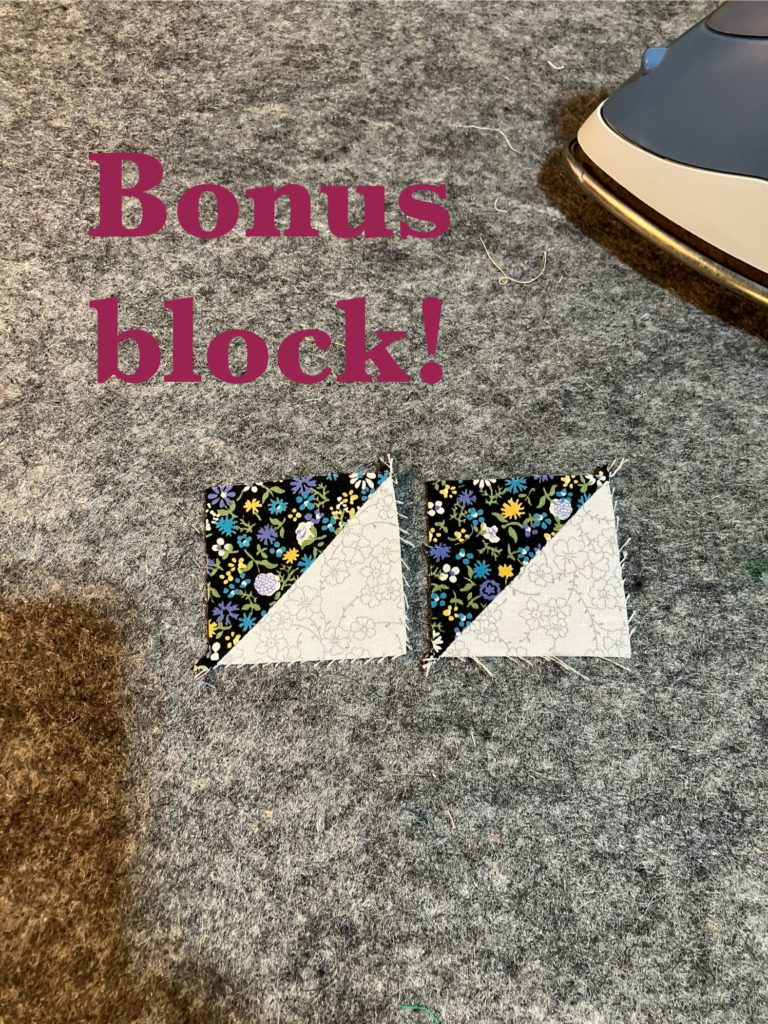
This is one of my favorite blocks to use up those bonus half square triangles. I am not sure that I am calling this block by its correct name. It is made up of 16 bonus half square triangle units. If you have a bunch of these hanging out in your sewing space, you will absolutely love this block. Grab a design board and let’s go!
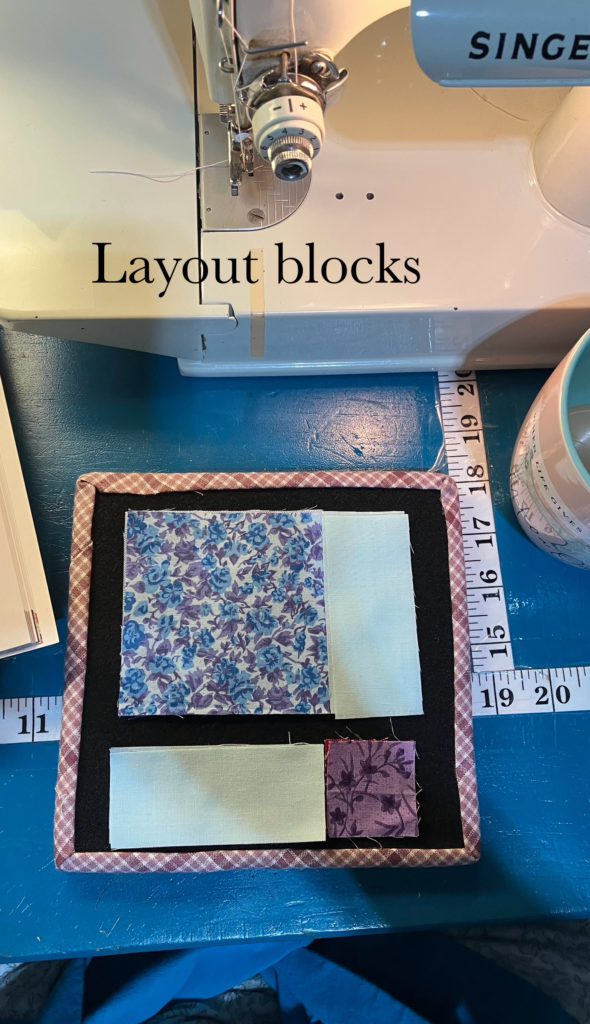
I am starting my layout in the center. The half square triangle pieces must be made from a distinct light and a distinct dark piece to be effective in this block. Color is not an issue in this scrappy block…only light and dark.
In this center, light fabric points towards the center.
Next add more squares to create points going left and right. The “frame” is beginning to emerge.
Add top and bottom pieces to complete the frame.
Add the outside corners to complete the block layout. In this case I used 4 matching corners, just because I could. Scrappy corners would have worked just as well…or better! Sew pieces together in pairs.
Now that you have pairs, lay your pieces out again. (I pressed seams open to reduce bulk.)
Join pair units into rows of four.
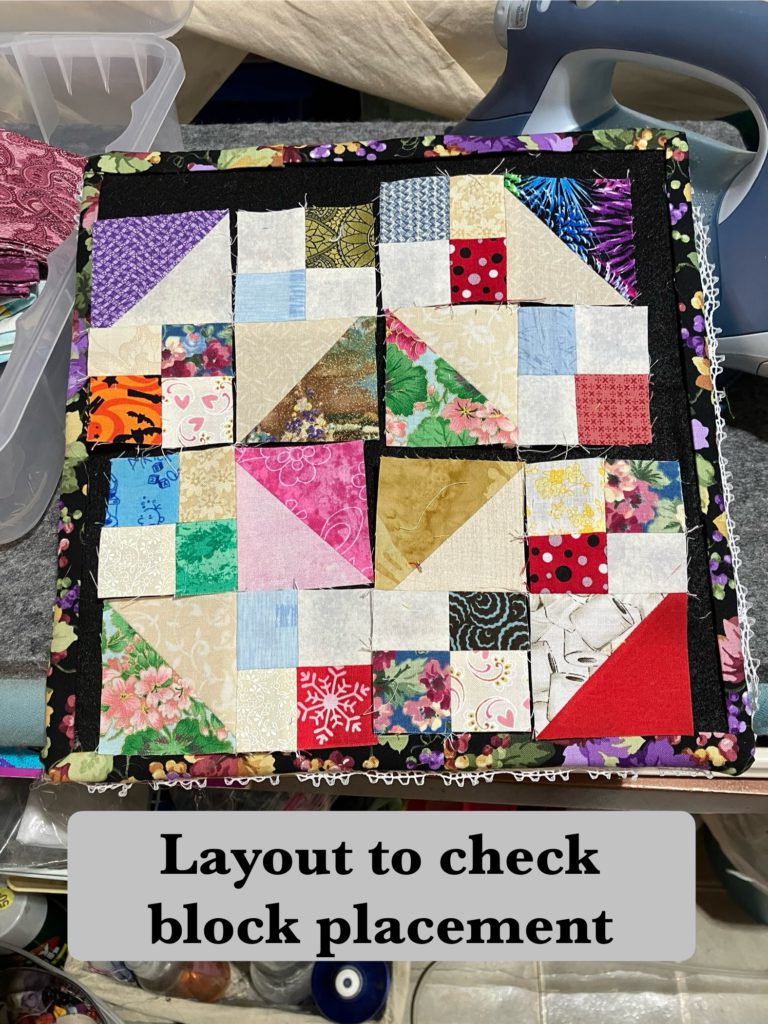
Lay your block out to check for correct placement.
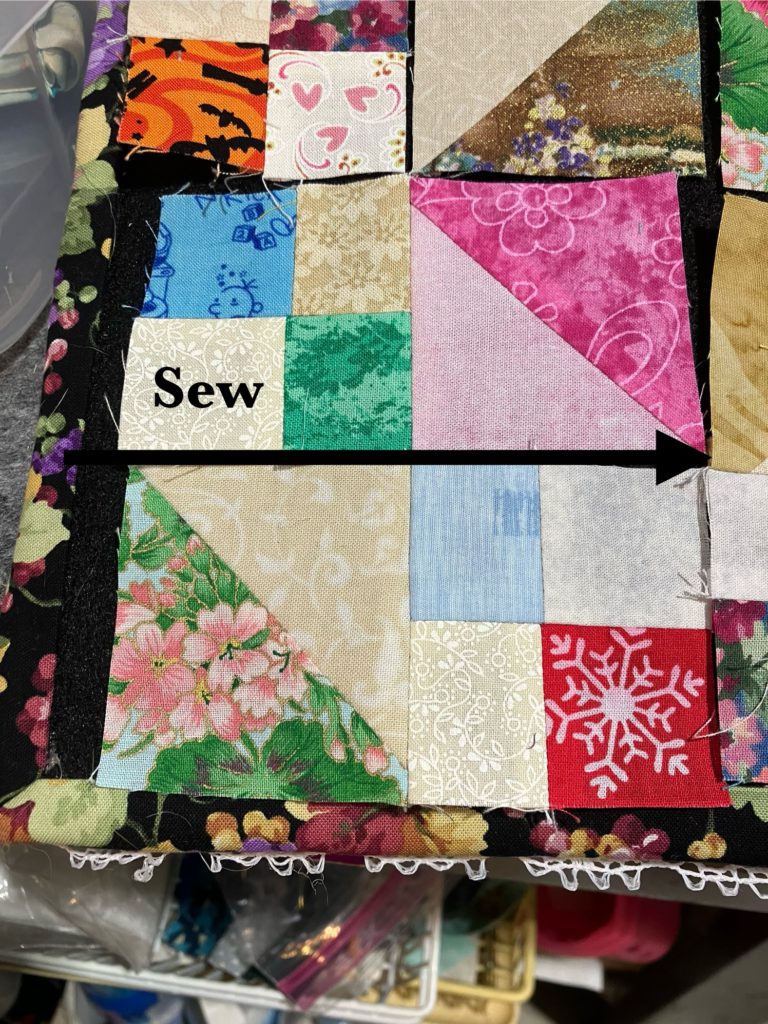
Join two rows to make larger units. Notice that the top and bottom halves are the same layout turned around.
Also notice that this block could be pieced in quadrants. This four patch unit makes up the entire block.
Join your larger units together to complete the block. Ta-done!
The jewel box block that we did a while ago also has the same “movement” as the frame in the economy block.
Here is the original version of this block from October in my YouTube series on Scrappy Blocks that use bonus half square triangle pieces. See the video here.
I hope that the cutting charts for this block are not confusing. They are presented in 2 charts…one for just using bonus blocks and the other for construction of half square triangles.
I hope you are enjoying this Build a Block series! Enjoy!
This is a great block to use up some of those bonus half square triangles. This block measures 6 1/2 inches for the purposes of this post. See the video presentation here.
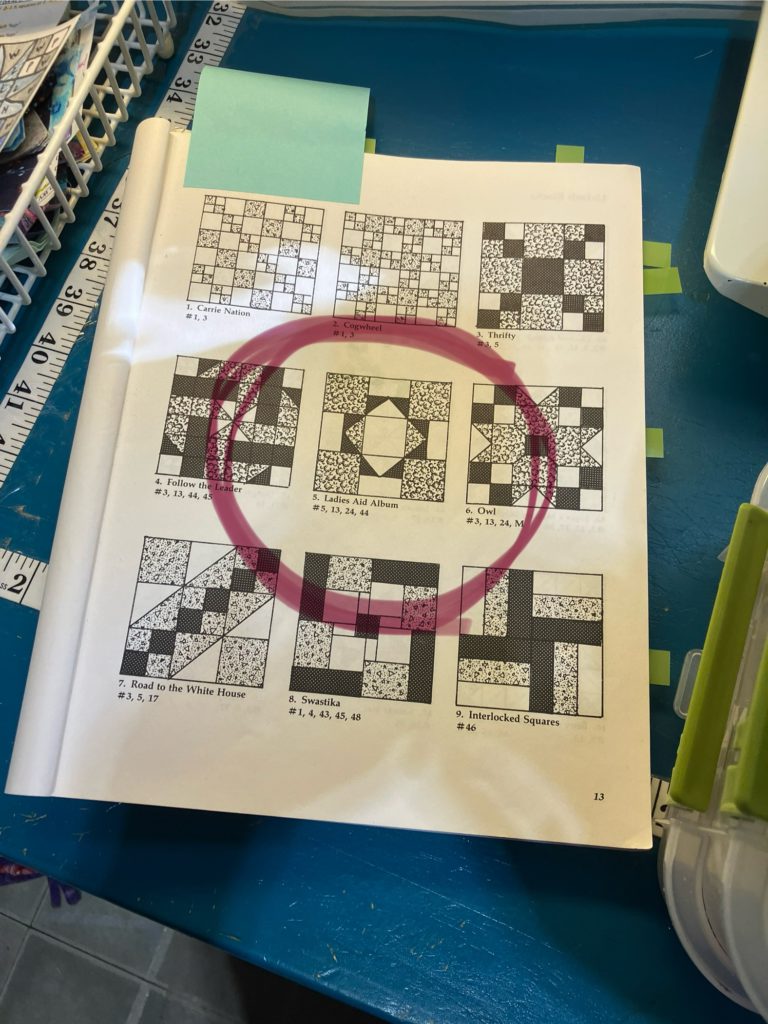
I got the idea for this block from this book. I think I changed the color placement by the time I was finished…and that probably changed the block and its name! Fundamentally, it is the same block in the end.
A cutting chart for the block and other sizes is at the end of this post.
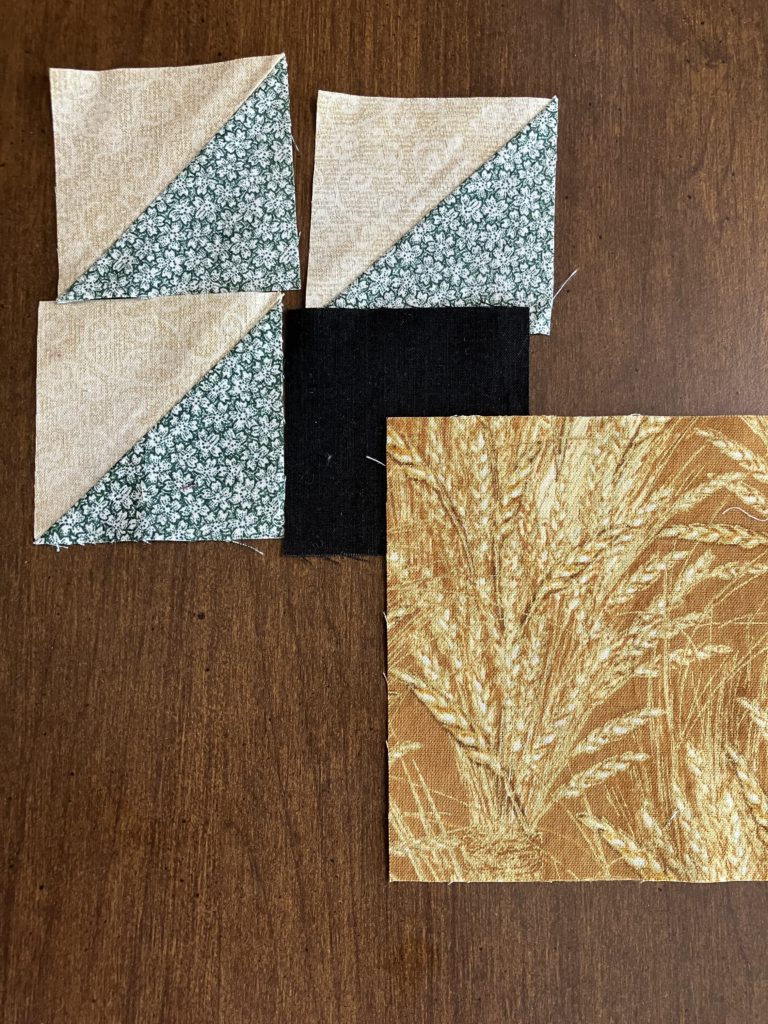
To make a 6 1/2 inch block, you will need the following pieces:
Note that the eight 1 1/2 inch half square triangles are bonus blocks from other projects. I have an abundance of these on hand…time to use them up. You could easily use the 2 at a time triangle method or whatever method you prefer. You could even use the four at a time flying geese method.
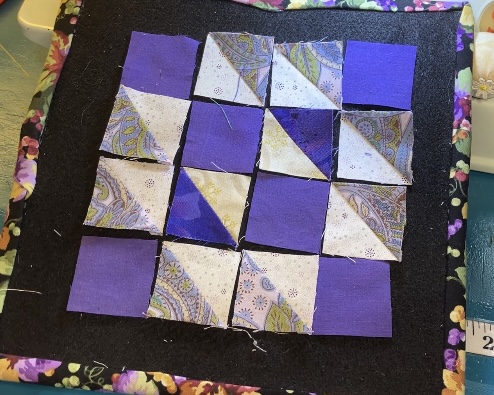
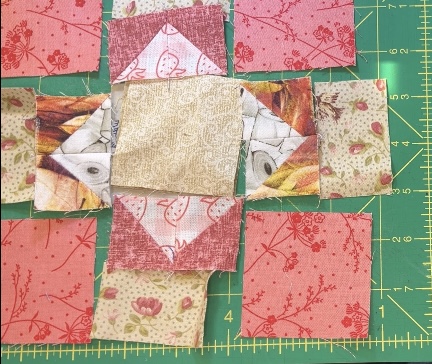
Here is my initial layout of the block:
I chose four 2 1/2″ squares for the corners from the scrap bin.
I found this great 2 1/2″ strip in that box for the rectangles.
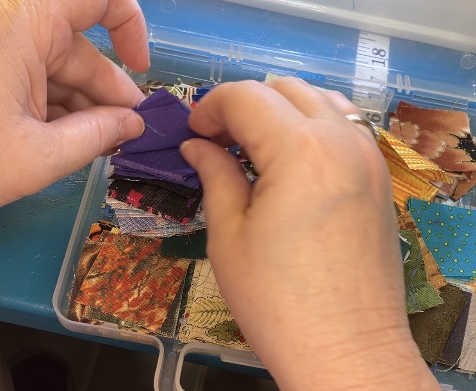
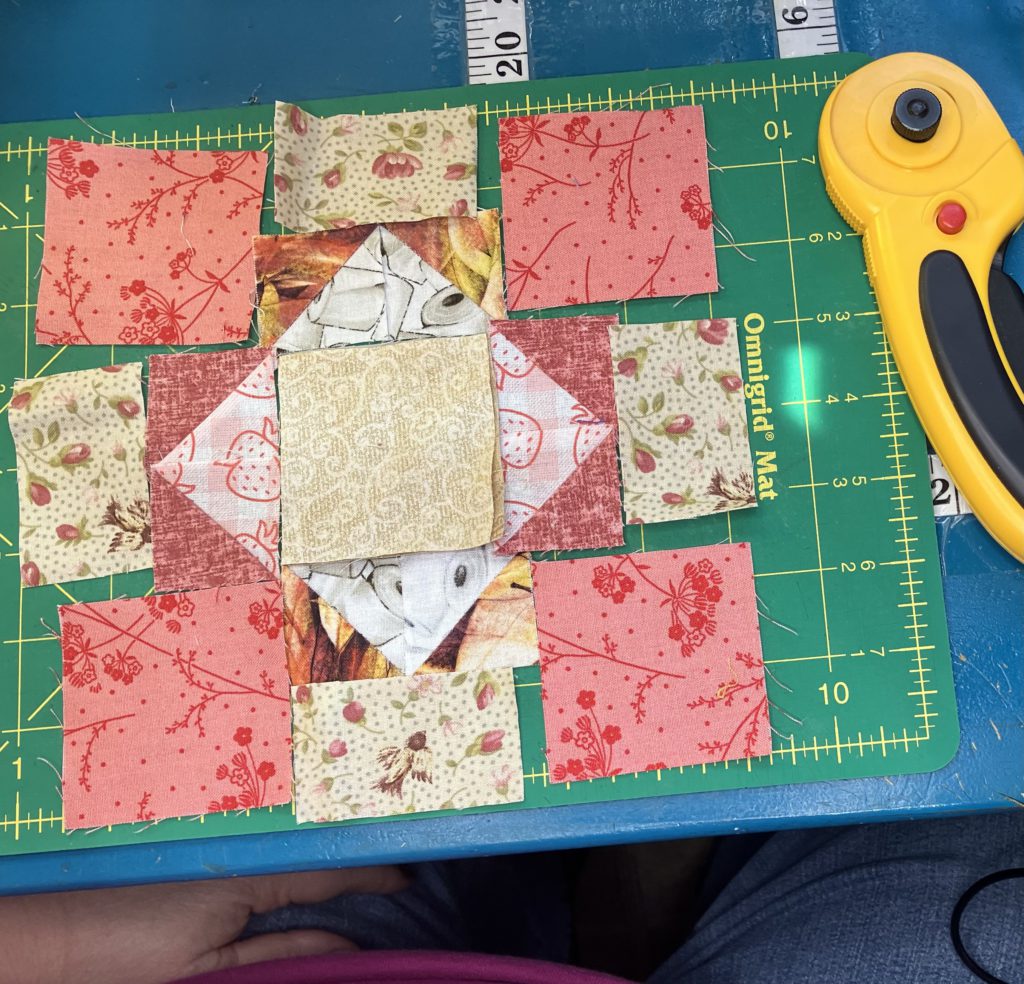
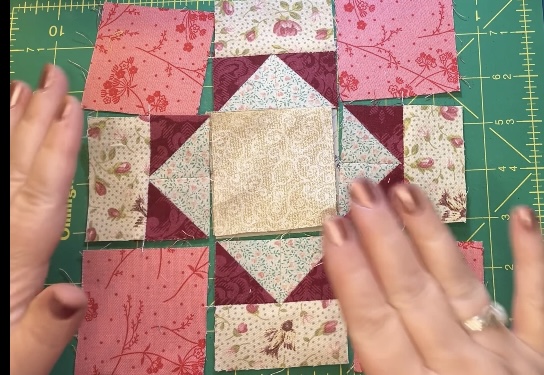
I couldn’t decide which block to use for the center…what to do?
When I went to the cutting table to cut that nice tan background fabric, I found this strip right on top of my pile of scraps! Fantastic! Why didn’t I think about using a 1 1/2″ strip to cut?
I cut the strip into four 2 1/2″ pieces for the background…better.
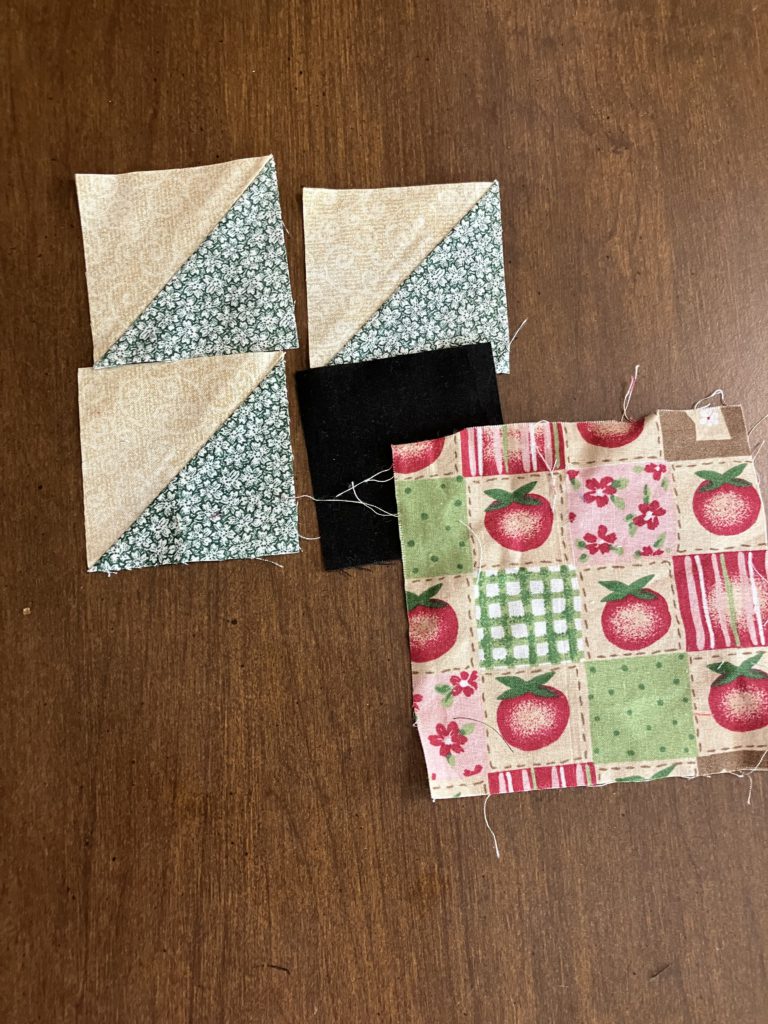
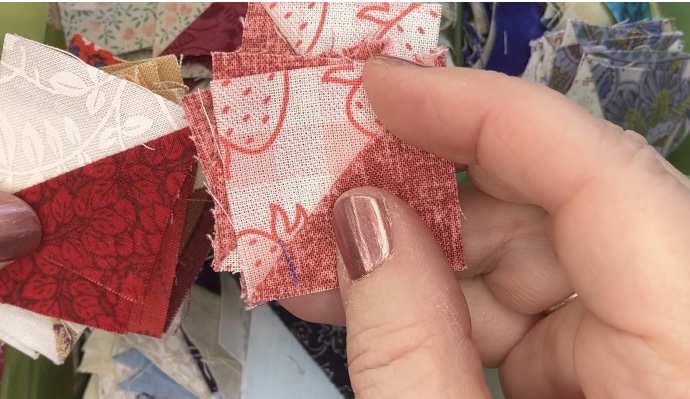
I was looking for four of one kind of half square triangle bonus block and four of another kind. I was looking for something with pink or red as dark colors in both. I was trying to follow the picture pattern. The strawberries are cute.
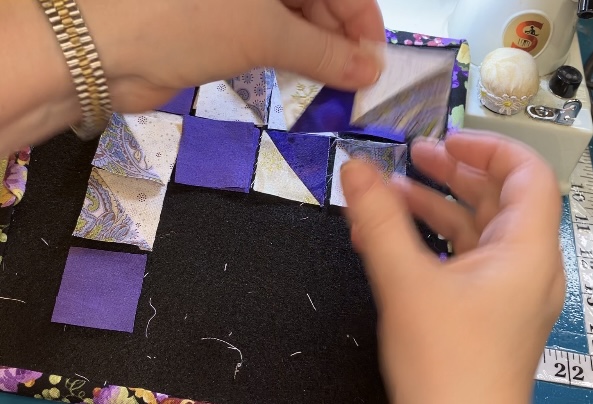
Here is what I initially came up with for the flying geese:
That looked so busy and disjointed to me. I keep looking at the box of squares sitting there beside the sewing machine. I decided to try these bonus blocks.
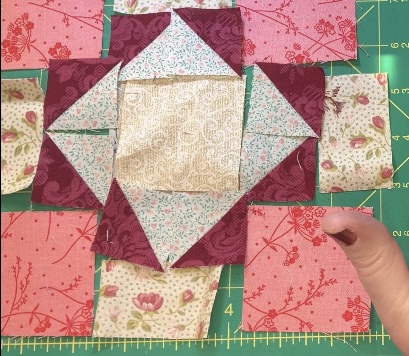
Much better for me! (The first one was okay, too, but I like this one just a little better…) Remember, make the block that you love! Now to choose the center!
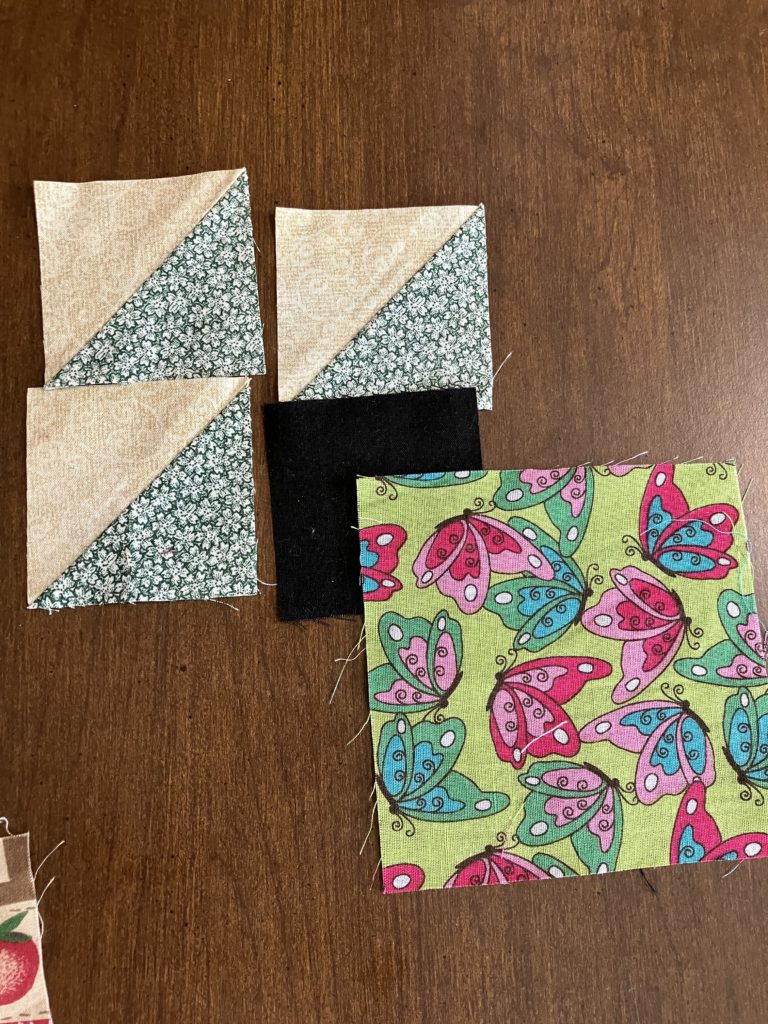
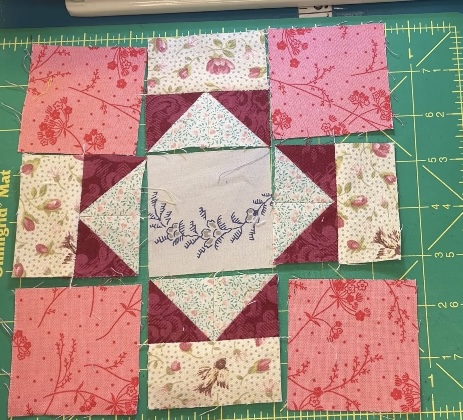
Light swirl fabric with a touch of glitter is nice.
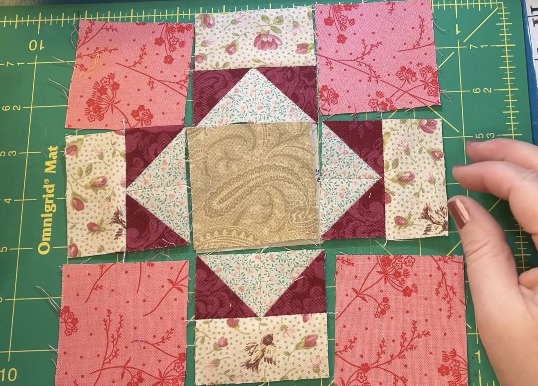
Slightly darker paisley looks good, too…a nice contrast…brings out the birds in the background a little.
Nice detail across the middle of this block, but the color isn’t quite right…and it looks flat compared to the first two choices.
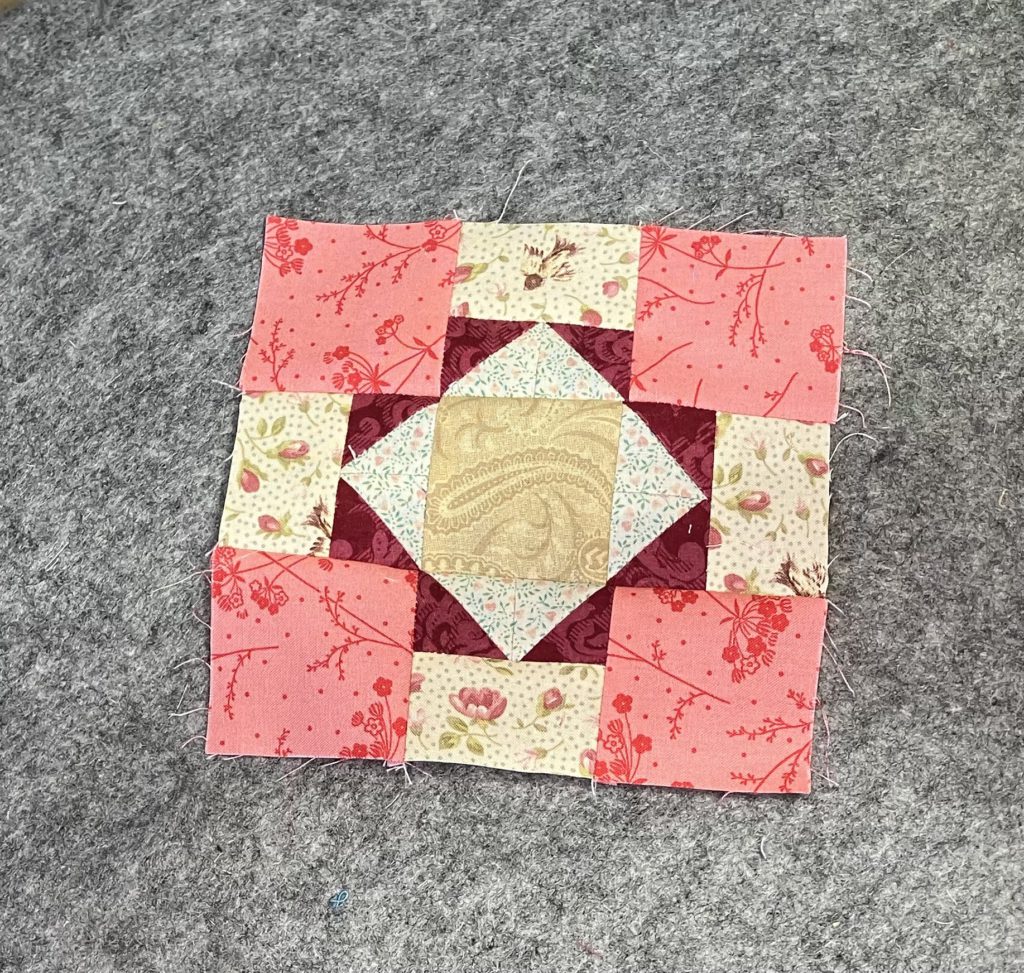
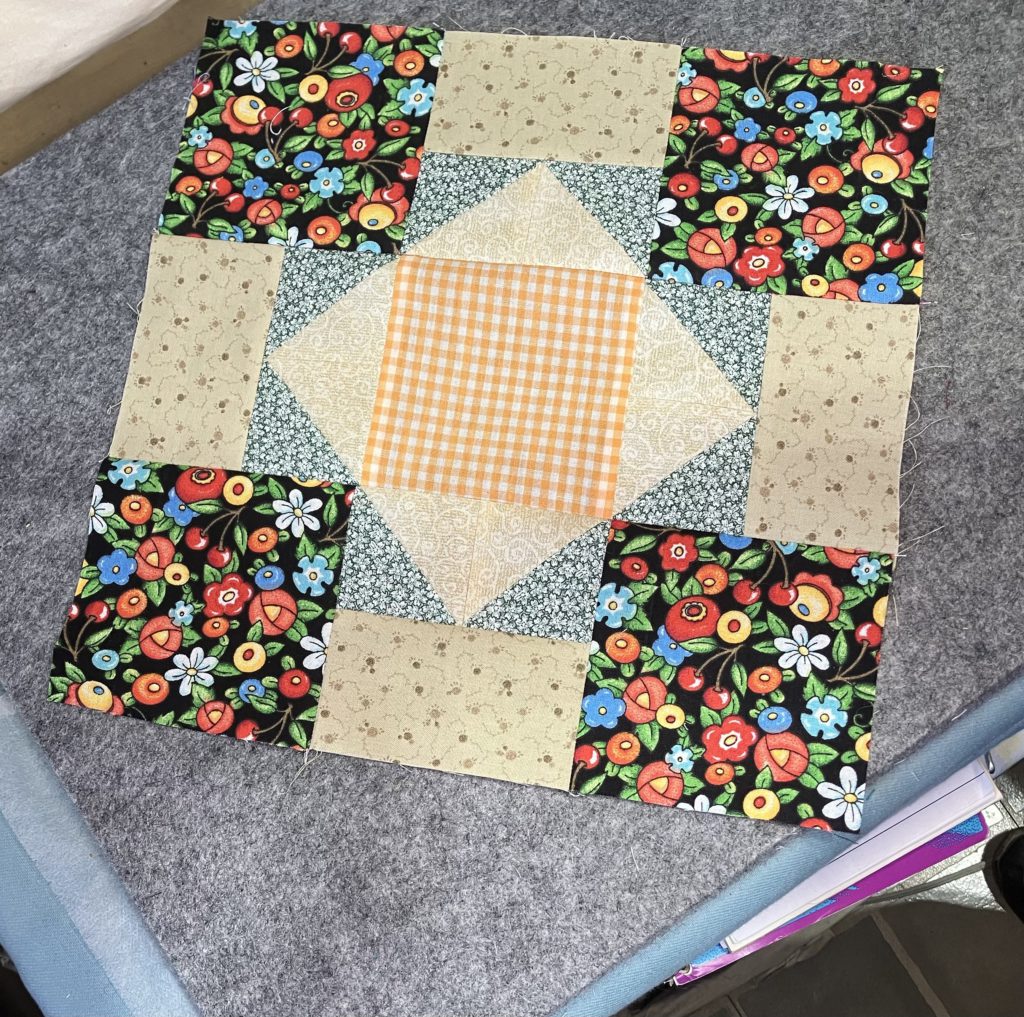
Here was my final decision in my finished block. (I probably should have pressed it so it was flat for its picture. It is straight, square, and true. I promise!)
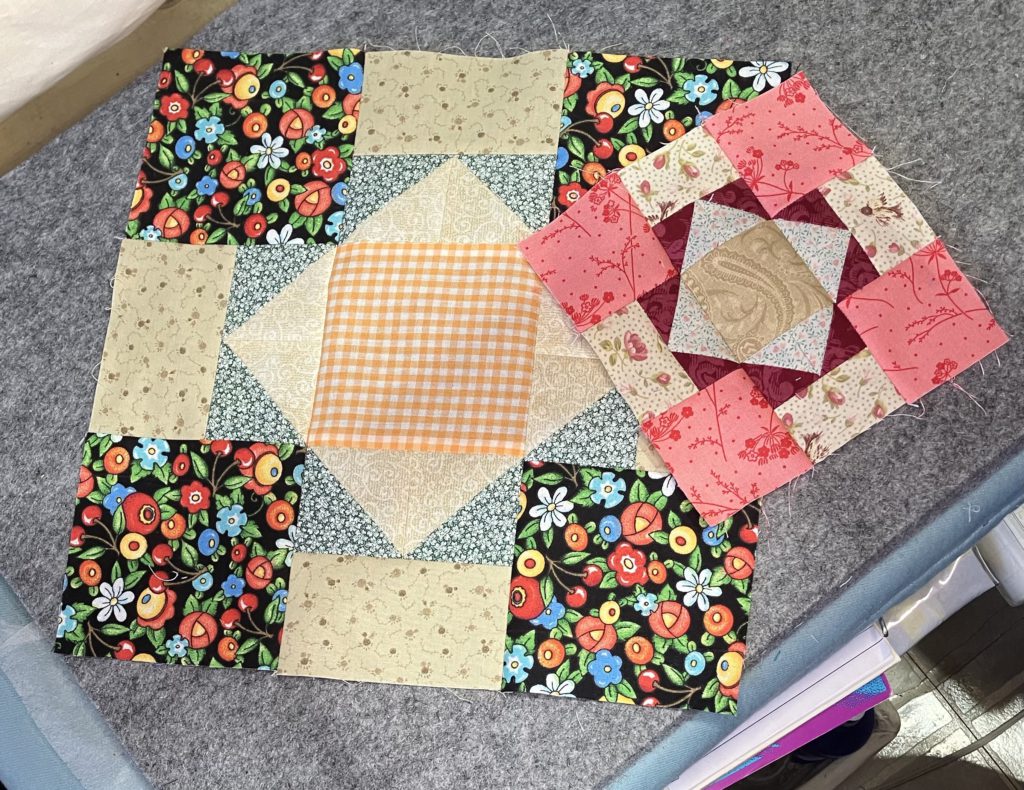
I couldn’t help myself. I just had to make a 12 1/2″ block.
I have lots of these green and tan half square bonus blocks…lots.
Eight of them didn’t even put a dent in the pile!
I chose four corners and a center. I will use that 2 1/2″ strip now…ha ha!
This larger block went together even quicker than the smaller one.
Ta-dah! Ta-done! The measurement for the pieces is listed in the chart below. I think a 4 x 5 block quilt made from 12 1/2″ blocks would be quick and easy! There would also be a nice secondary four patch design where the blocks meet in the corners if you didn’t use sashing.
Here are both of the blocks that I made today. There is also a 9 1/2″ version in the chart below.
I hope you are enjoying this series on scrappy blocks. The blocks I have chosen for the next couple of months focus on using up those bonus half square triangle blocks. Time for me to go trim up some more of those!
What scrap blocks are you making? Please feel free to share your thoughts and pictures with me here or at my gmail account.
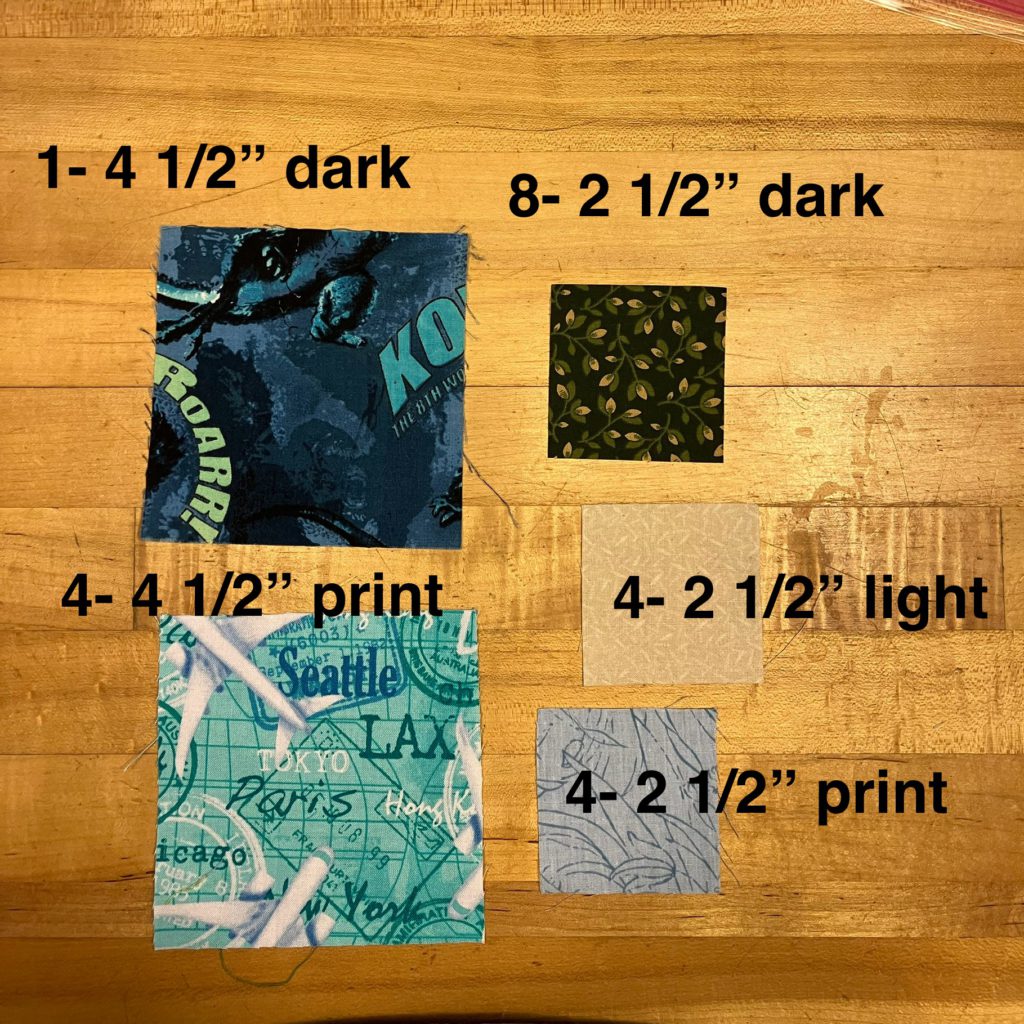
This is an easy, scrappy block, especially if you sort your scraps by certain sizes like I do…It just makes it faster to choose the bits and pieces to sew together. Here is a cutting chart for the three sizes show below:
This 12 1/2″ block is made from all 4 1/2″ and 2 1/2″ blocks…all straight line piecing! No triangles on this block!
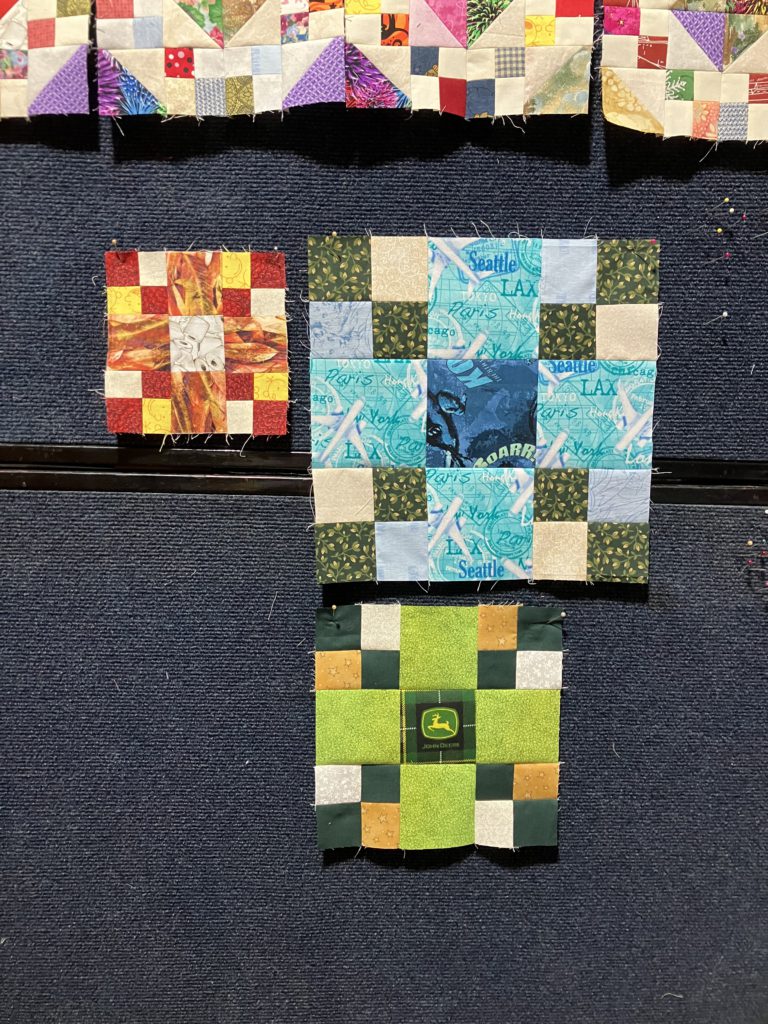
Here is the breakdown of my choices:
This block goes together SOOOOO quickly!
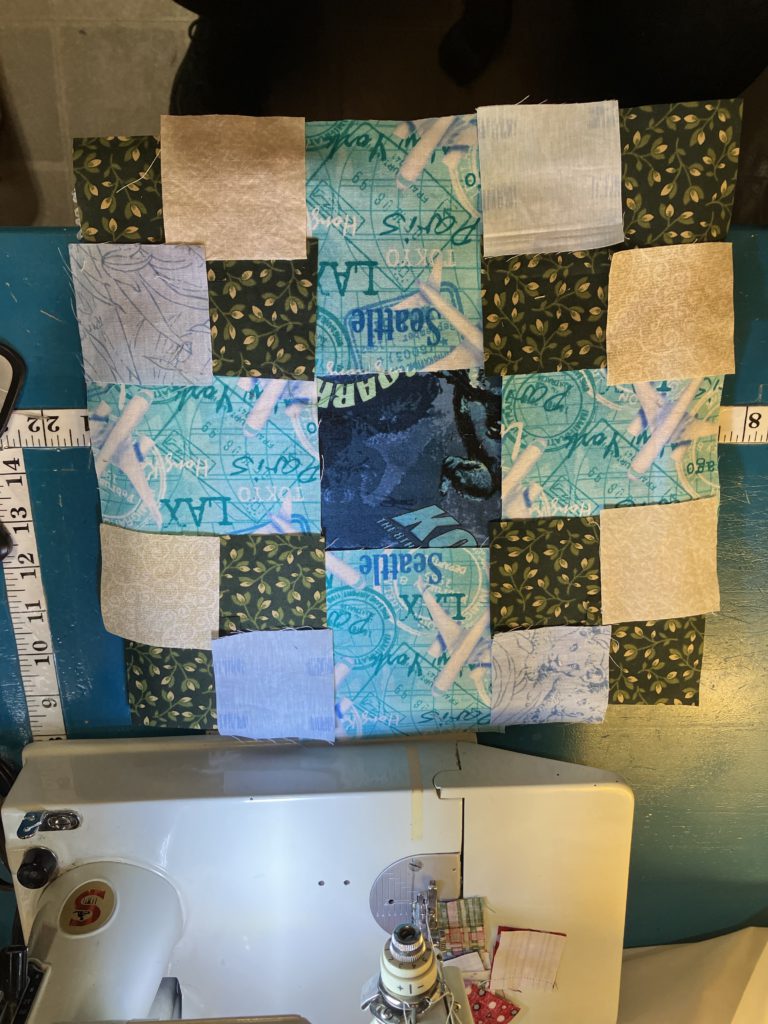
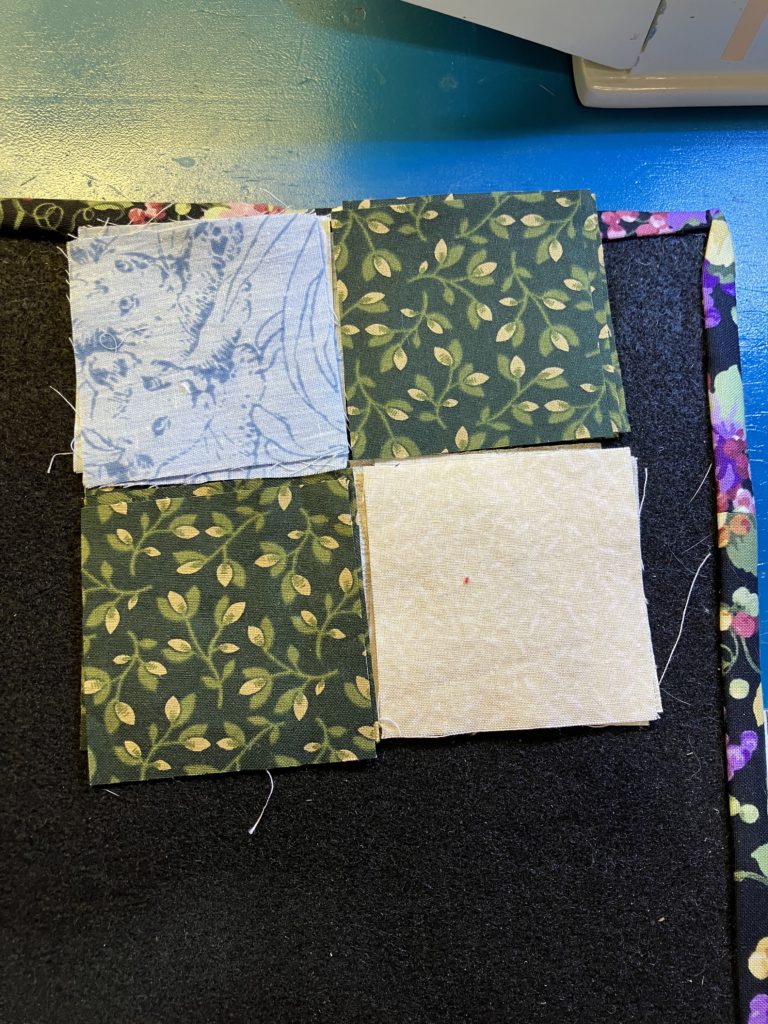
Make four 4-patch units. Please note the placement of the lights and darks in the picture below. All four units are identical. Zoom! Zoom! Speed piecing is a wonderful activity!
Normally, I show you an example of a small block with the seams pressed open. Since this is a bigger block this week, I pressed towards the darker fabrics in these 4-patches.
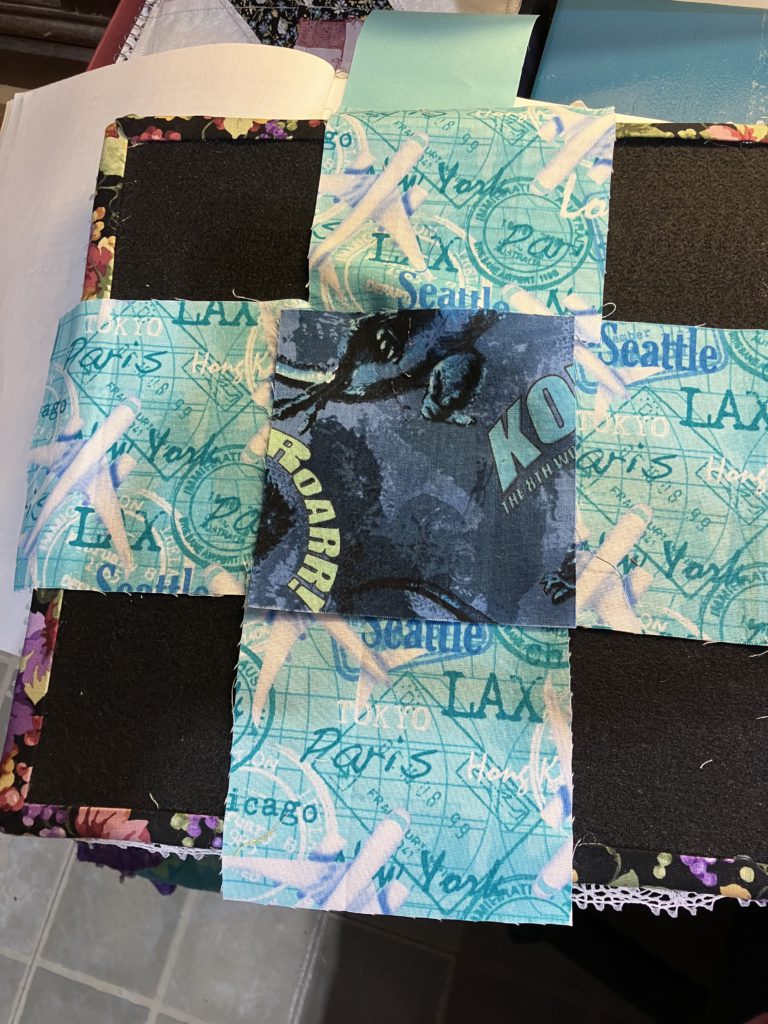
Now it is time to plug those beautiful and simple 4-patches into the main block.
Notice that all the dark blocks are towards the center block and radiate outward. Please note the placement of the blue and the background fabrics also.
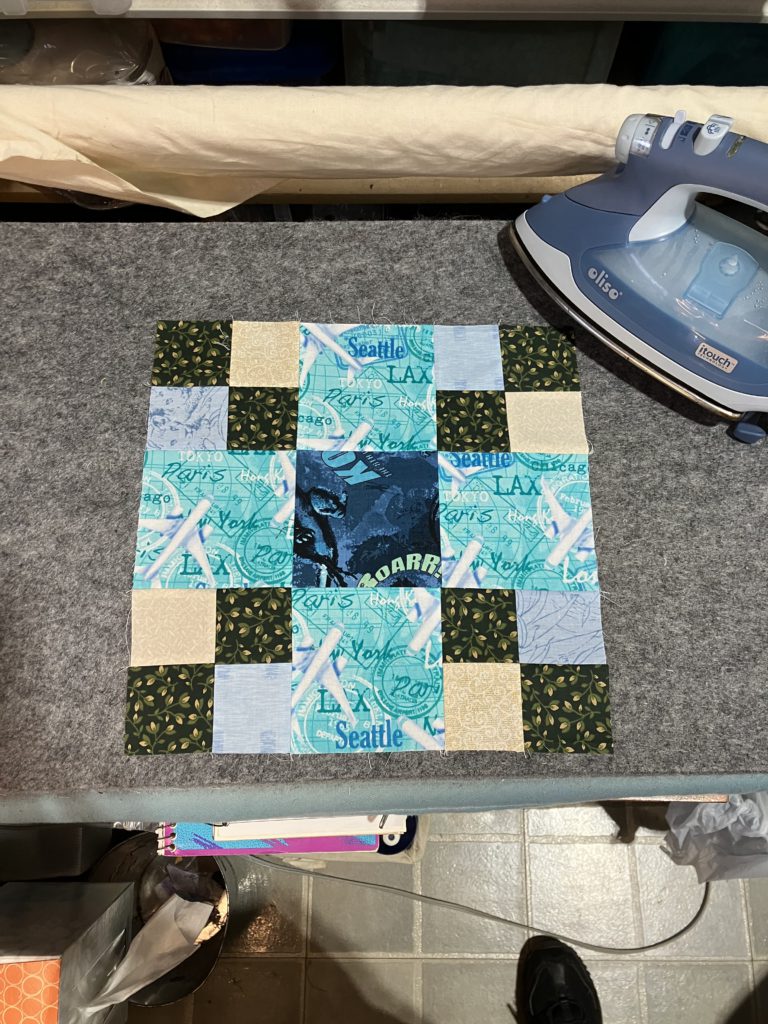
Here is the 9 1/2″ example:
Here is the 6 1/2″ example:
Ta-duh! and Ta-done! This block would have a great secondary pattern if placed together. Easy…it would be great as a kid’s or baby’s quilt, too! Let me know what you think about this block. Have you tried it? If you have, please share pictures to my e-mail. I look forward to hearing from you.
I decided to add some pictures because this was such a short, quick post.
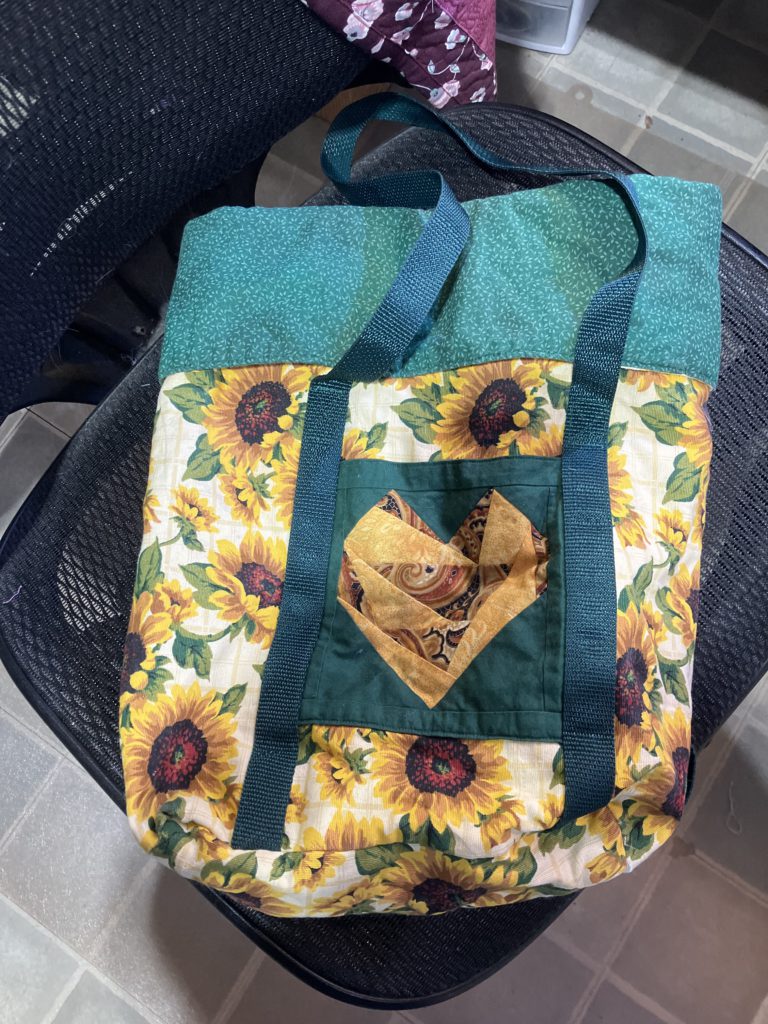
I found a stash of bags in my sewing room as I am zone organizing. I donated some. I washed the rest to repurpose.
This one was one that my friends and I made at quilt came with the Camp Frame Fireside quilters. The pocket is paper pieced and held on by the straps. It is lined. The top edge is a rolled down cuff, so the bag can actually be deeper if needed.
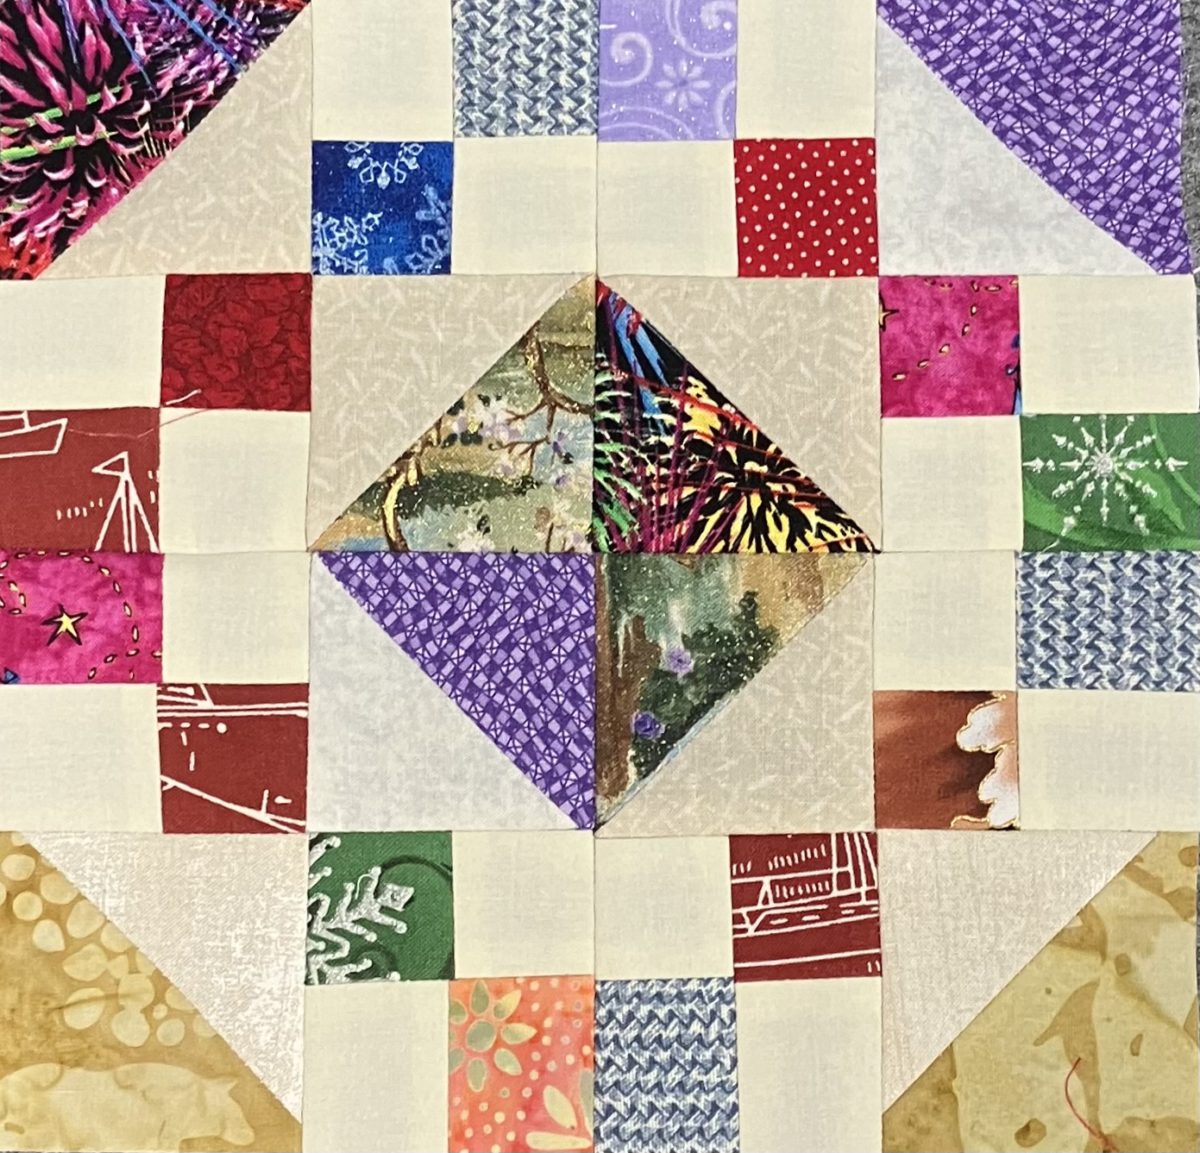
I am in love with this scrap block! After I made one, I just couldn’t stop. I still do not have these blocks out of my system. I love the contrast of the scraps in this block. When multiple blocks are assembled together, a fantastic secondary design appears. (I show four of these blocks together at the end of this post.)
If you would like to see this presentation in video form, please view it on my YouTube channel here.
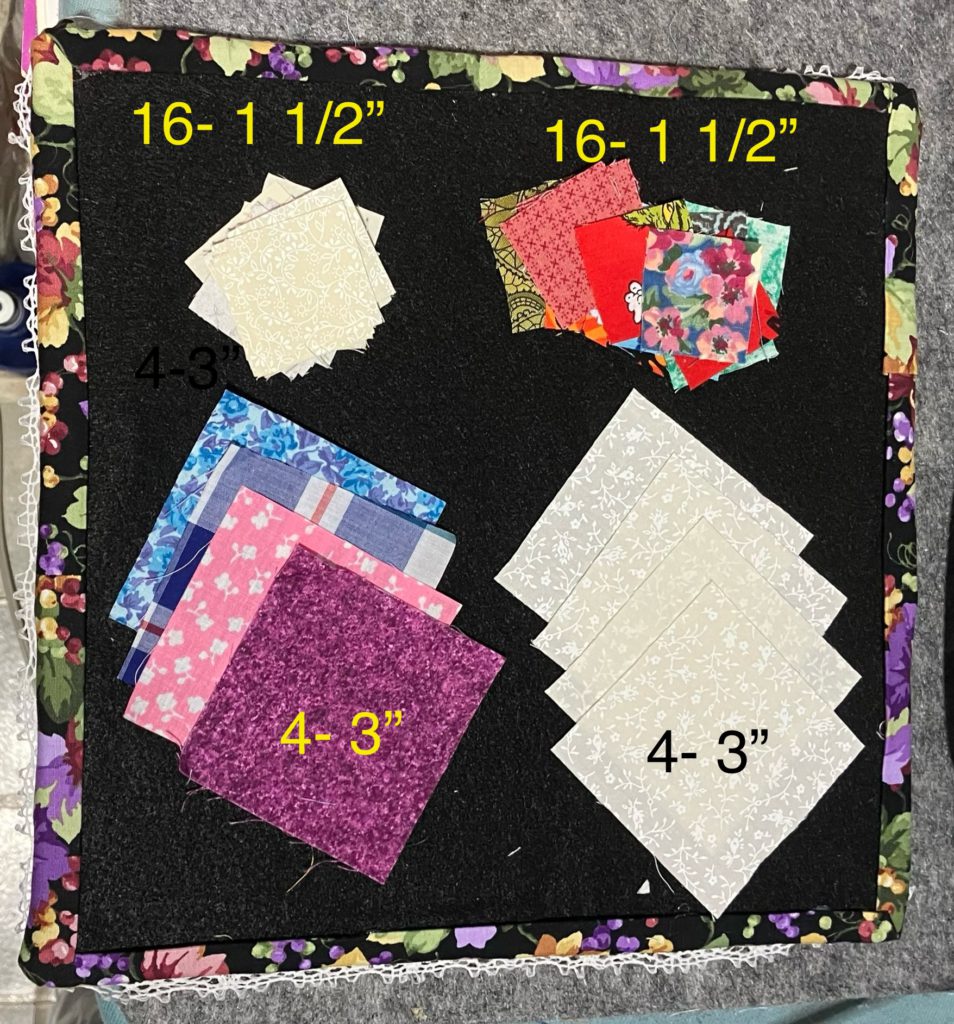
For this block, you will need: (alternate size chart is at the end!)
16- 1 1/2″ background squares
16- 1 1/2″ scrap squares
4- 3″ background squares
4- 3″ scrap squares
The pieces listed above uses the two at a time half square triangle method. That is a tutorial for another day.
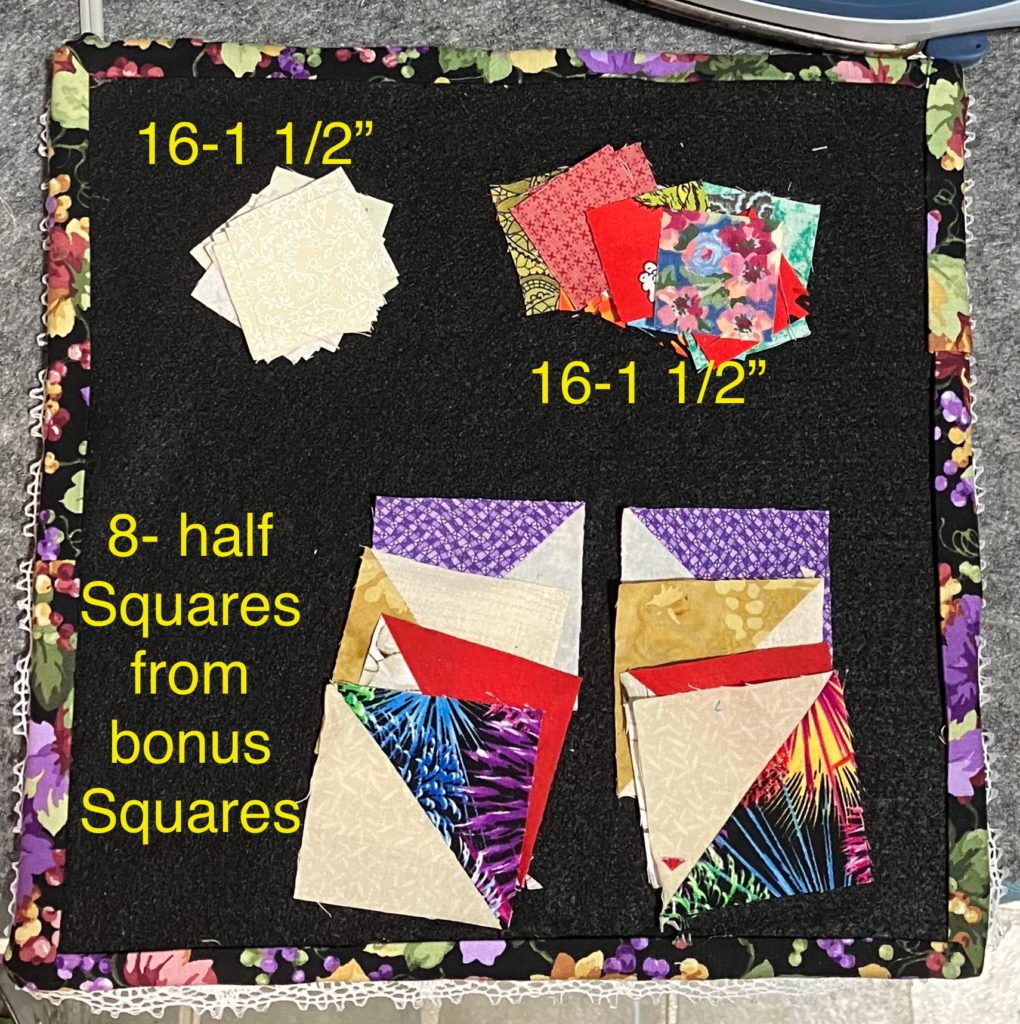
OR if you have a bunch of bonus half square triangles, you can use 8 bonus half square triangle units that are 2 1/2″.
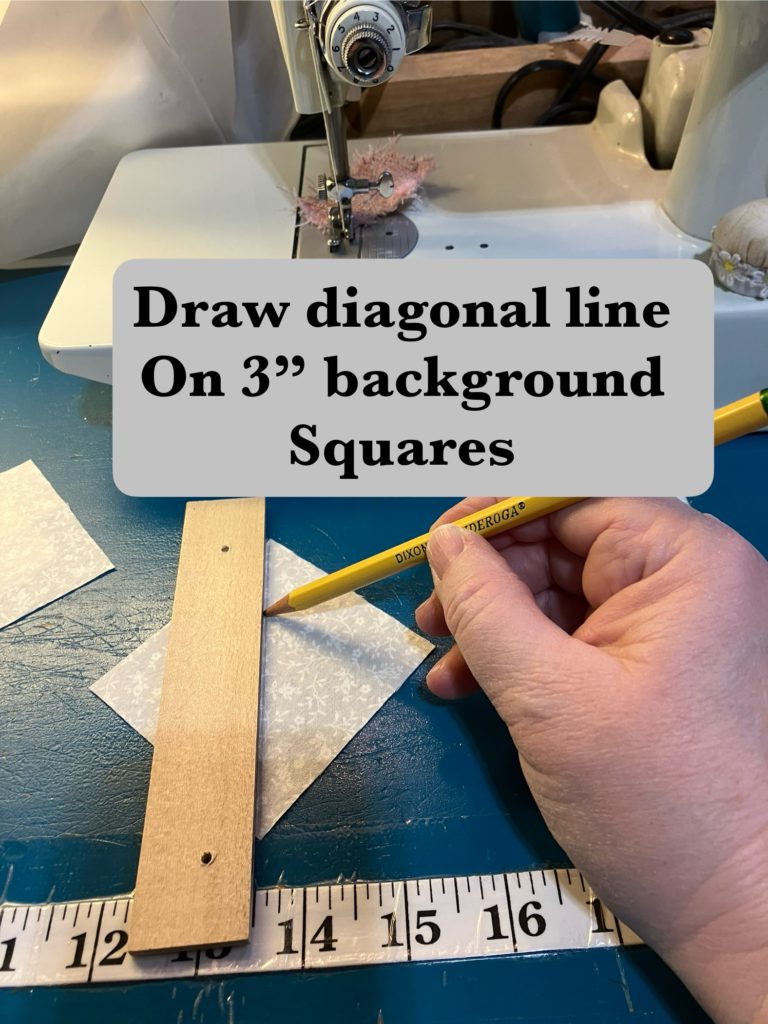
If you are using all squares, you will follow the next few steps to make your half square triangles.
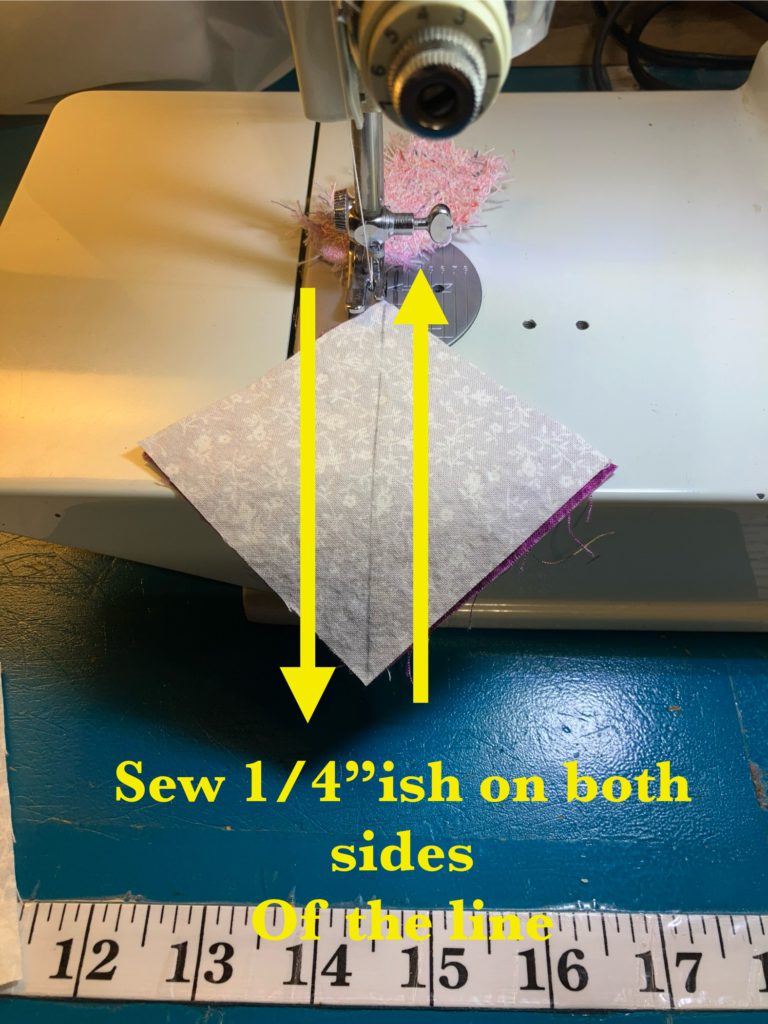
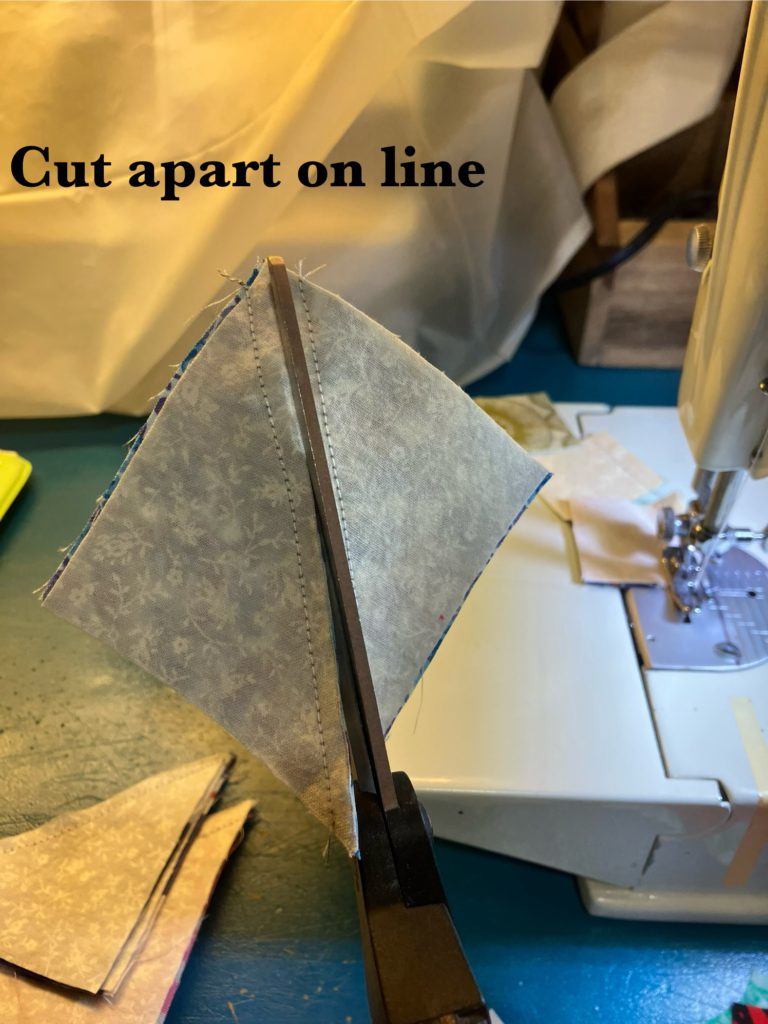
More often than not, my sewing is a scant 1/4″ when I use this method. I would rather have a little extra to trim off than have a unit that is undersized.
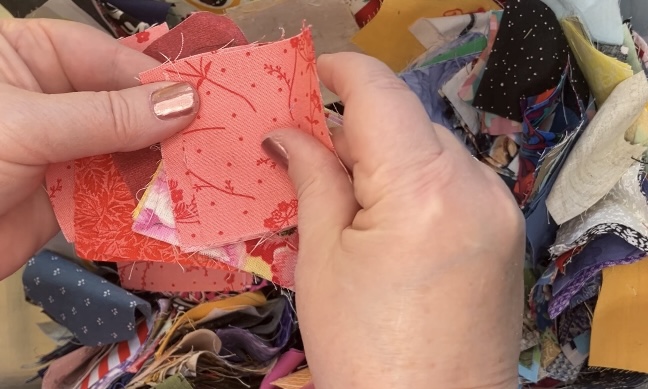
You can use your rotary cutter and ruler for this part if you wish, but I always just cut the pieces apart quickly with my scissors.
Press to the dark fabric. If you are using this method, you will need to trim. Fabric stretches, sometimes a little…sometimes a lot…during this method. Accuracy at this step will make your life so much easier when it comes to final assembly of the block.
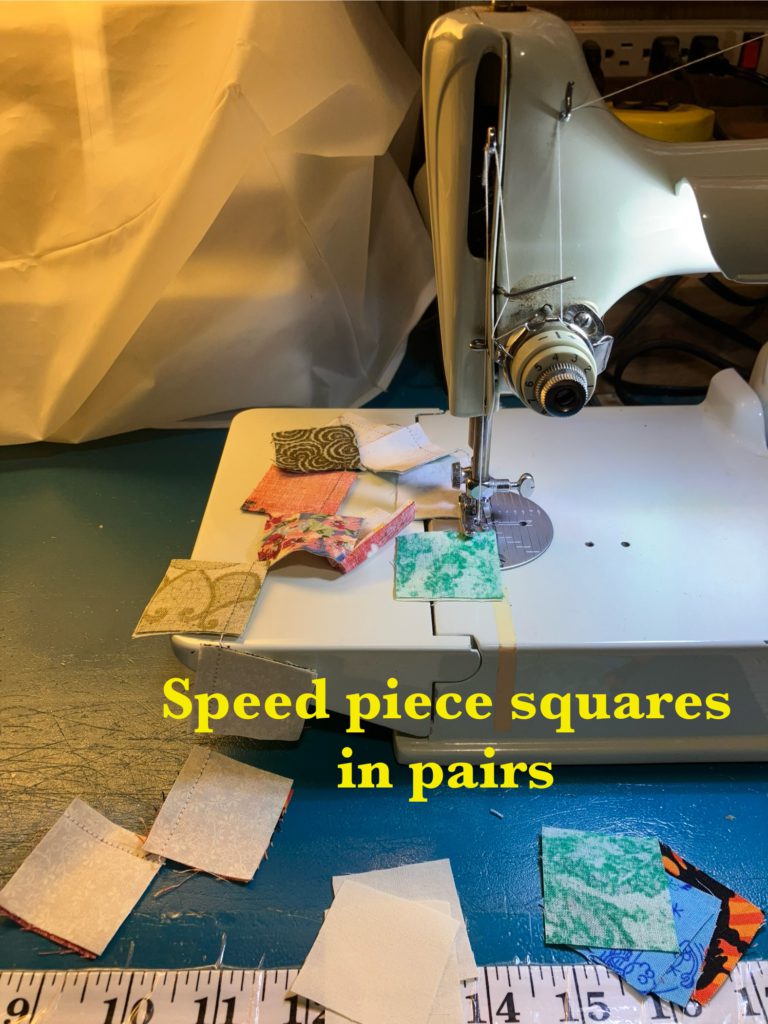
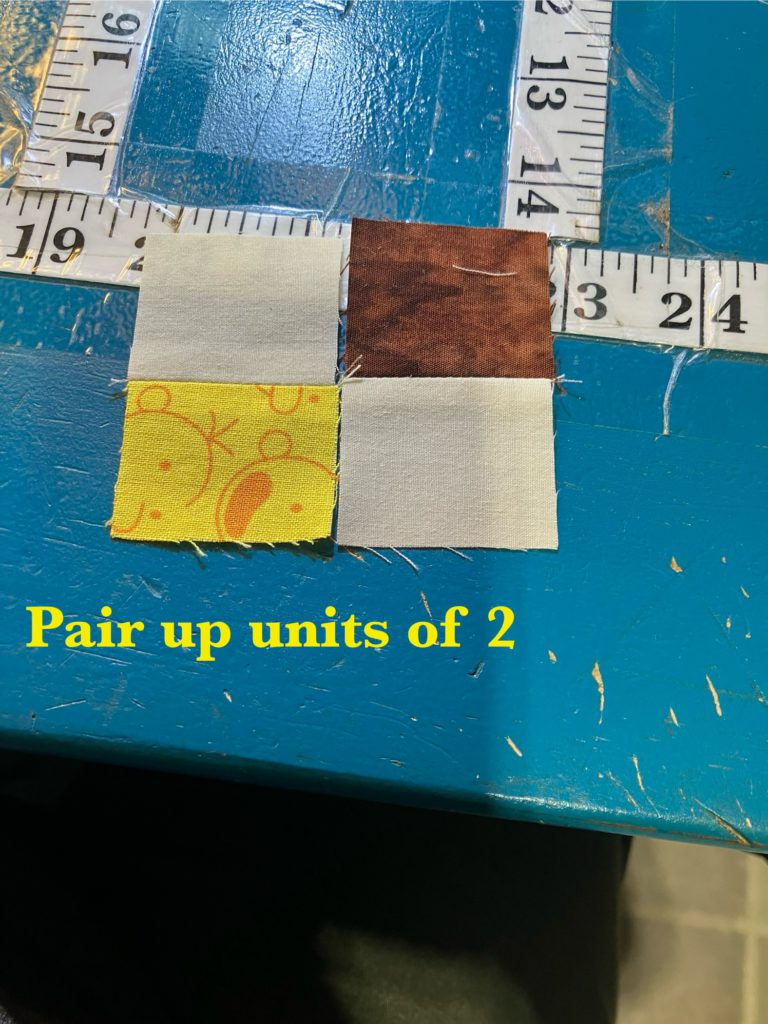
We are ready for the zoom zoom part of this block…speed piecing! Join all of the squares in pairs of 1 background to 1 scrap.
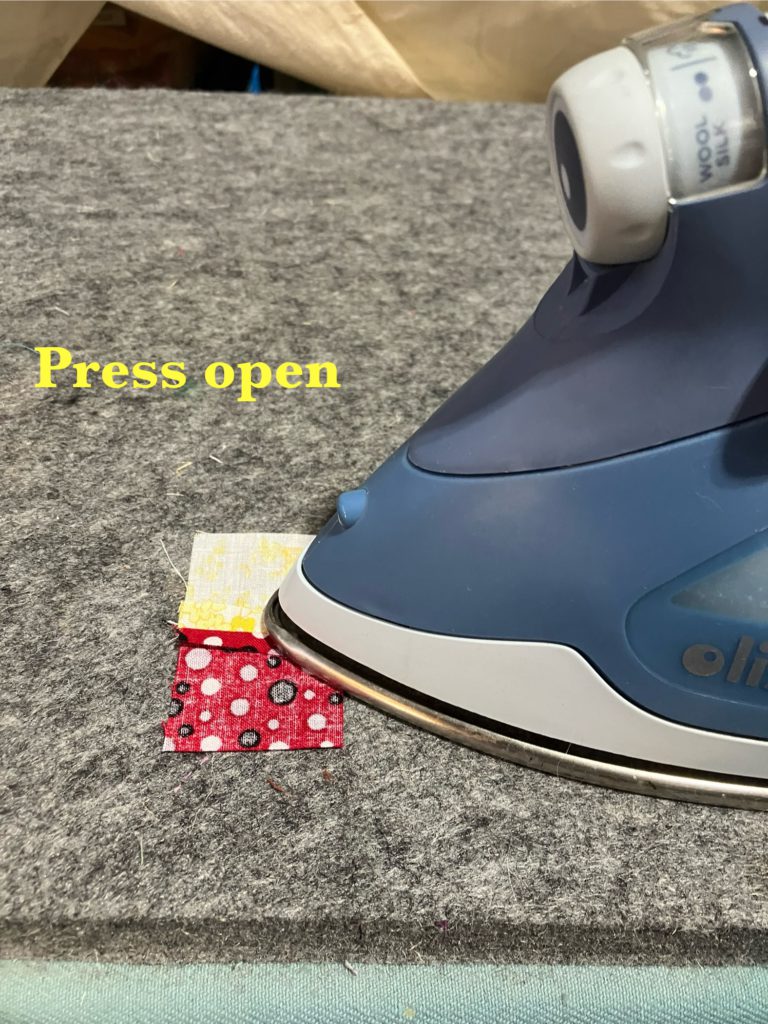
I am pressing open because I am piecing 1 1/2″ squares together. I want to reduce the bulk and chance of distortion. If I were making the largest size of block on the chart, I would probably press to the dark.
After you press all of you pieces to your heart’s desire, Match up pairs to make eight 4 patch units. If you pair them up before you start sewing, you can insure that you don’t have duplicates in any of your four patches…unless that does not bother you.
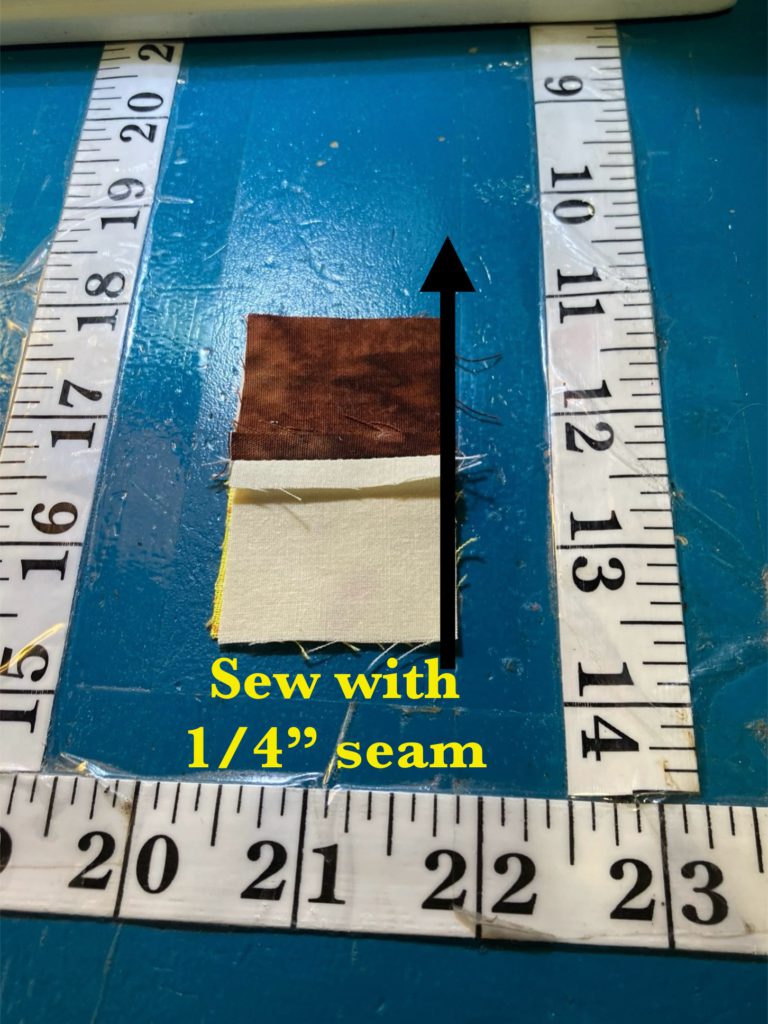
Sew pairs together.
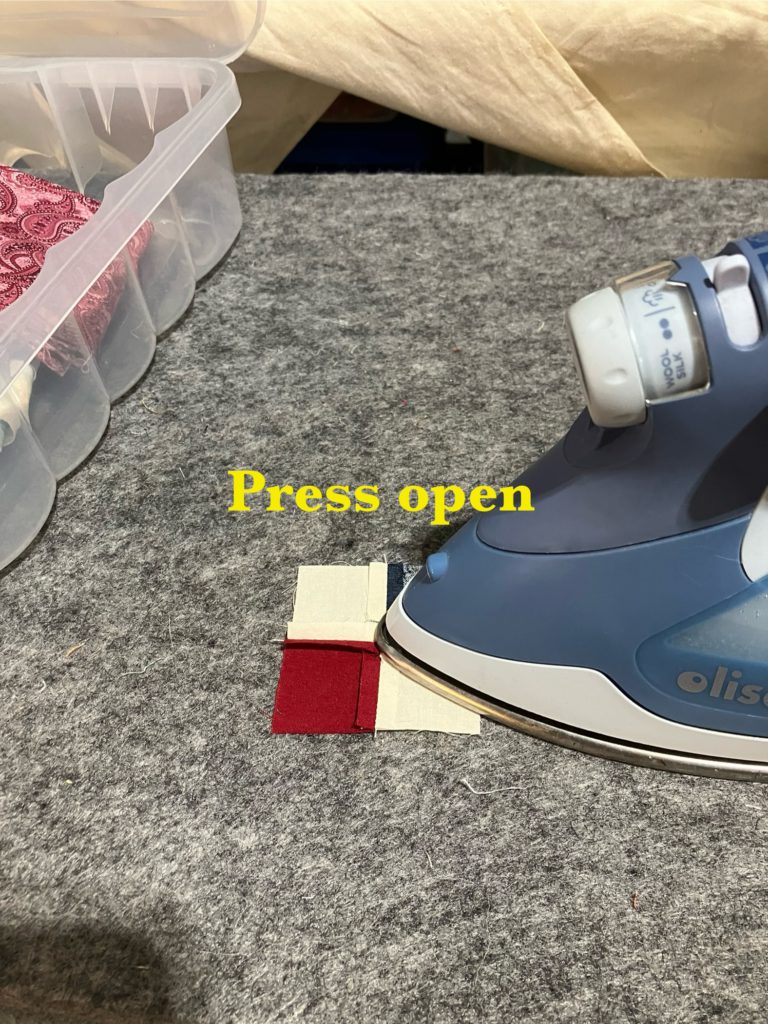
Press to your heart’s desire.
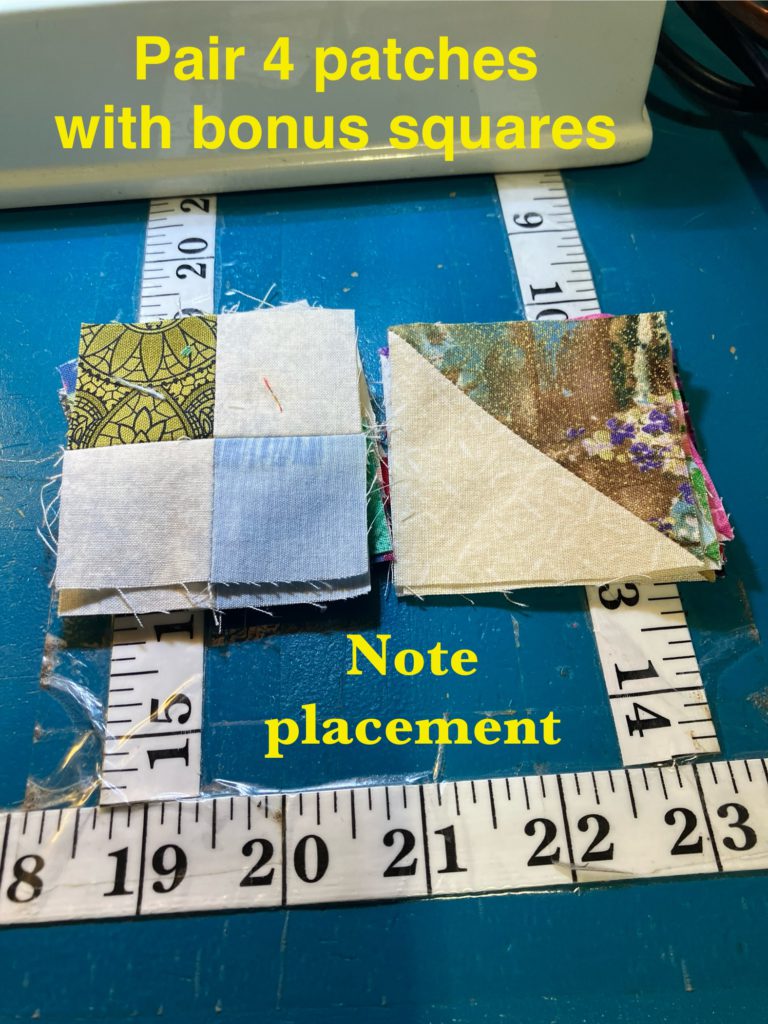
Here is the only tricky part…just be a little careful! You are pairing up the four patches with the half square triangles in this step. Pay close attention to the orientation of the blocks when you lay them out. You can stack all of the pieces in two piles to get ready for speed piecing. All of the units are the same.
Zoom, Zoom! Flip one block right sides together and sew together with an accurate 1/4″ seam. Be as careful as you can to keep seams flat. (If one gets flipped underneath, it is not the end of the world!)
Press to your heart’s desire.
Layout your pieces. You will notice that some of the blocks will be turned horizontally and some will be turned vertically. It is all good!
Sew the units together to make a new and improved 4 patch.
Press to your heart’s desire.
You now have 4 units. You are so close to being finished! Lay them out again to make sure they are oriented in the right direction.
Sew them together in pairs. You now have halves!
Press to your heart’s desire…again.
Sew the final seam…
Press to your heart’s desire.
Give the front of the block a nice press. Beautiful!
Here are four blocks set together.
When I showed this block to my husband, he made a “meh” face. He didn’t really like the block…too busy. When I stepped back, across the room, he was much more impressed. When I showed him the four blocks together, he was even more impressed. These blocks are like moss…they grow on you!
Here is the cutting guide for the other size pieces:
I hope that you enjoy making this block. It is a great way to use up those bonus half square triangle blocks. It would be a great leader/ ender project.
I think that I am going to add a round of these blocks onto my son’s car quilt…but that is another story for another day, too.
Have you tried this block? Drop me a comment below…or send me a picture at gmail. I love to see your work!
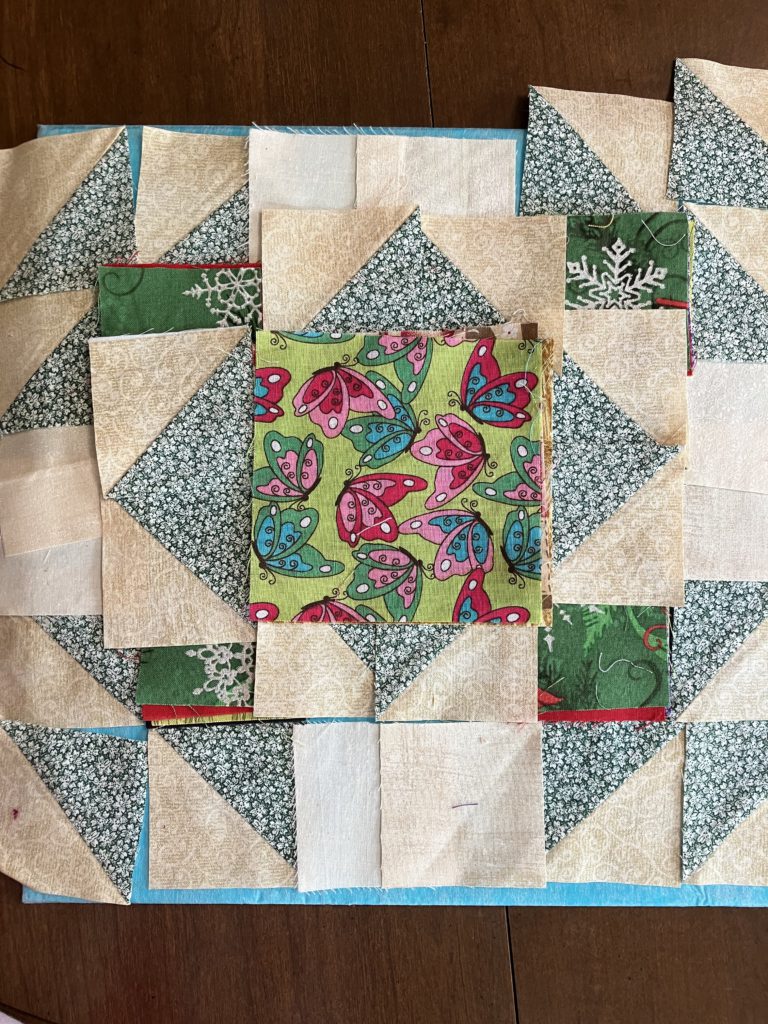
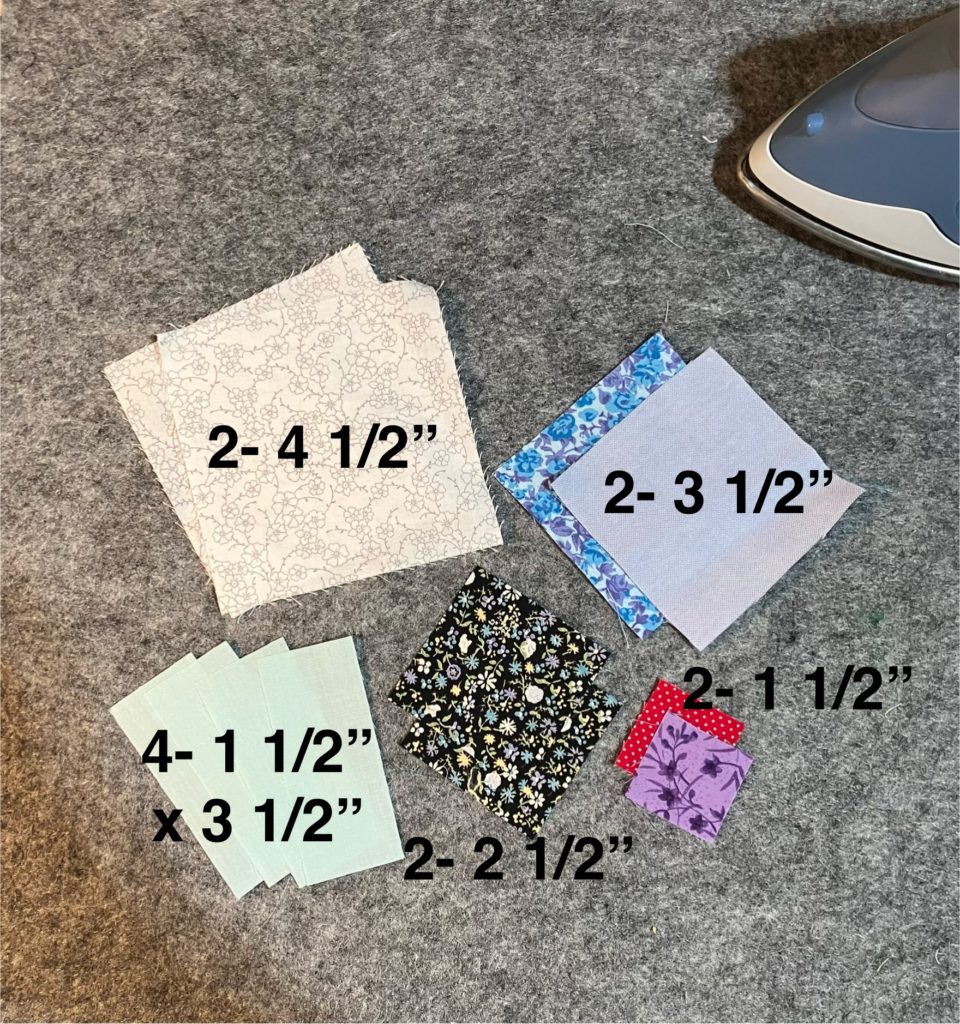
Welcome to another Build a Block post. If you prefer the video, less reading version, you can find it here on my YouTube channel. This makes an 8 1/2″ block. It has a wonderful secondary design as you can see at the end of this post.
Here are the pieces you need for the block:
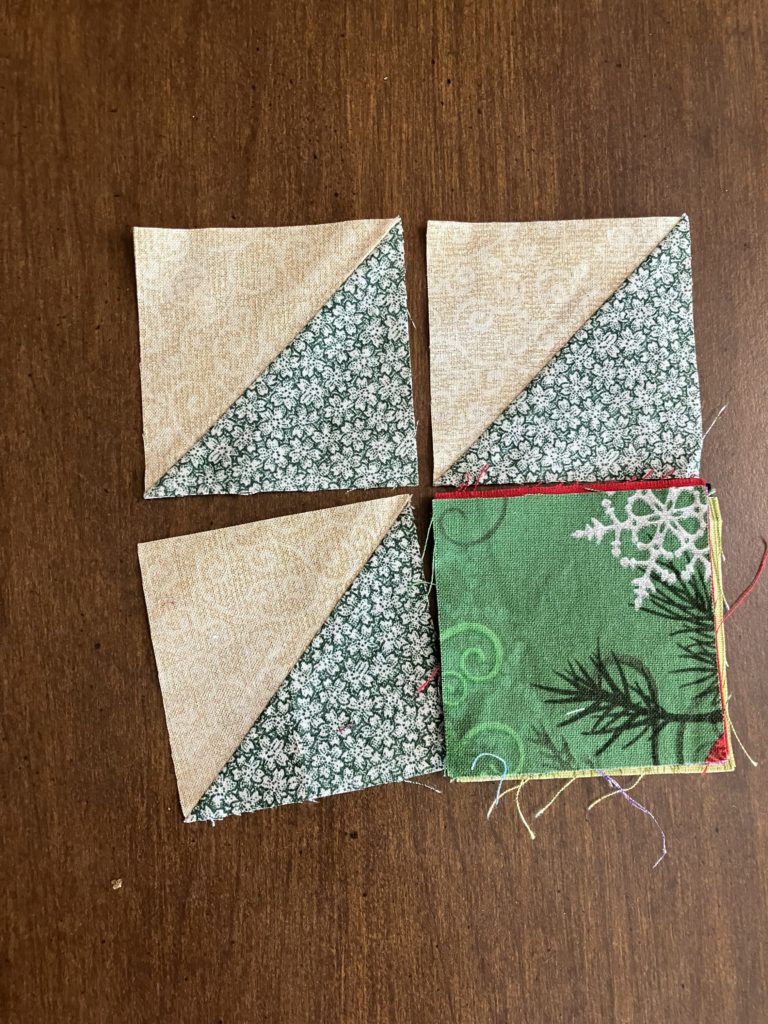
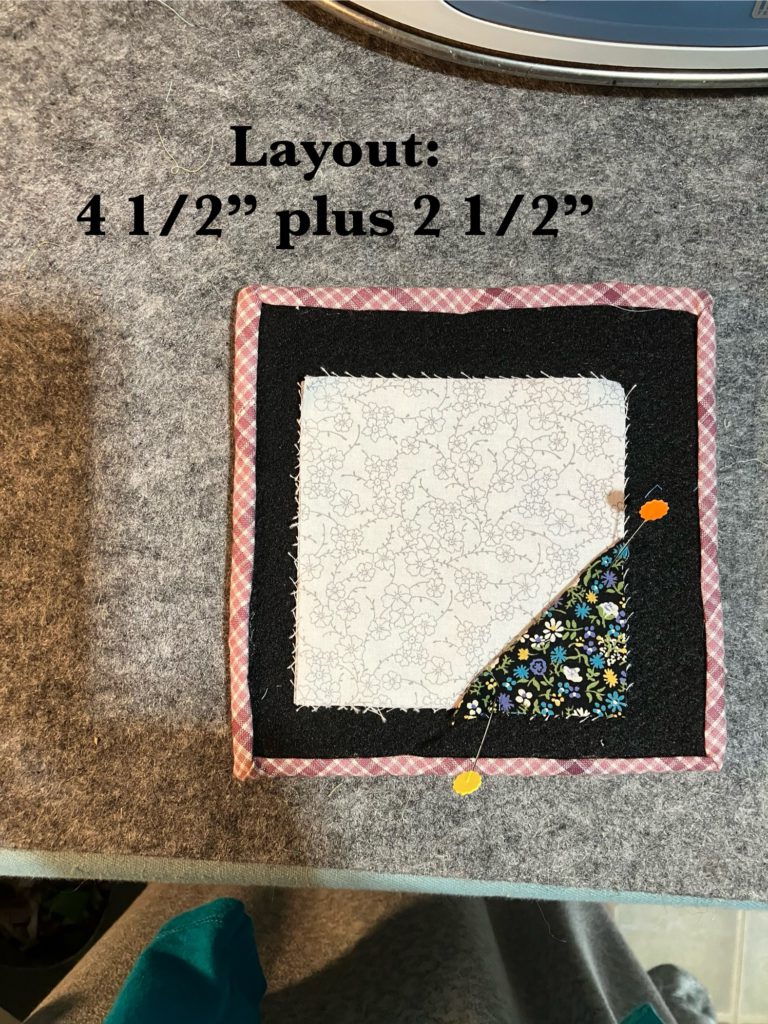
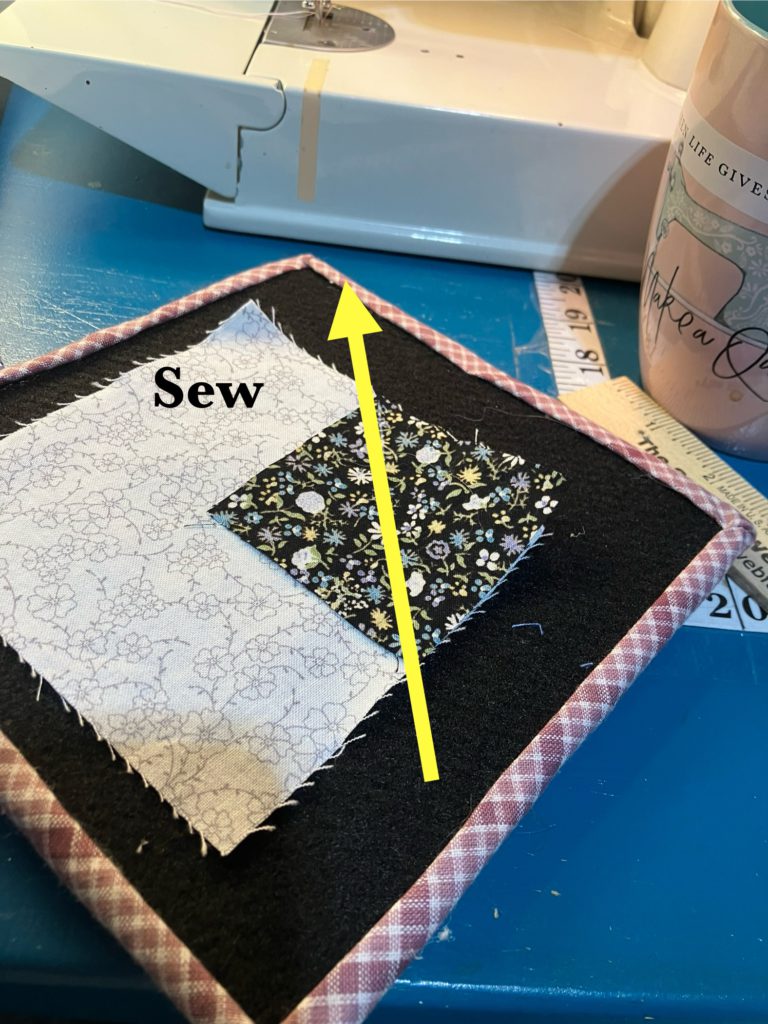
This block is assembled in two easy parts. First the butterfly pieces of the block. You will need the 2 1/2″ squares and the 4 1/2″ squares to create the two sections that make the butterfly at the end reveal.
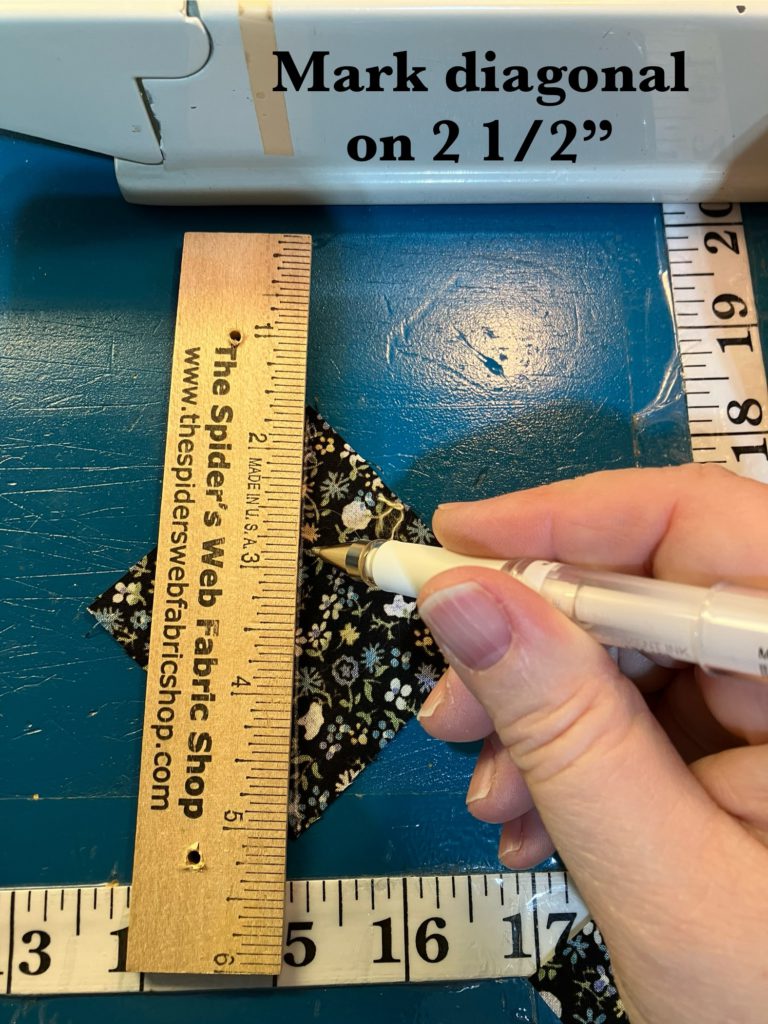
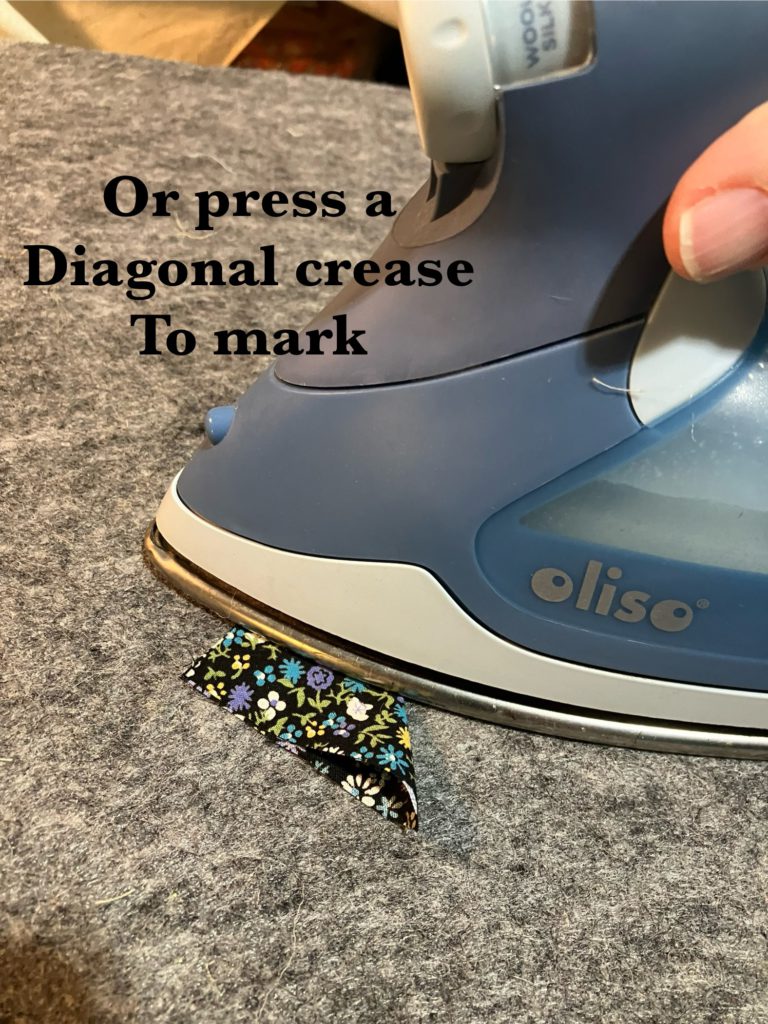
There are many ways to make that diagonal so that it is sewn straight.
Mark the line with a pen or pencil and a straight edge, like a ruler,
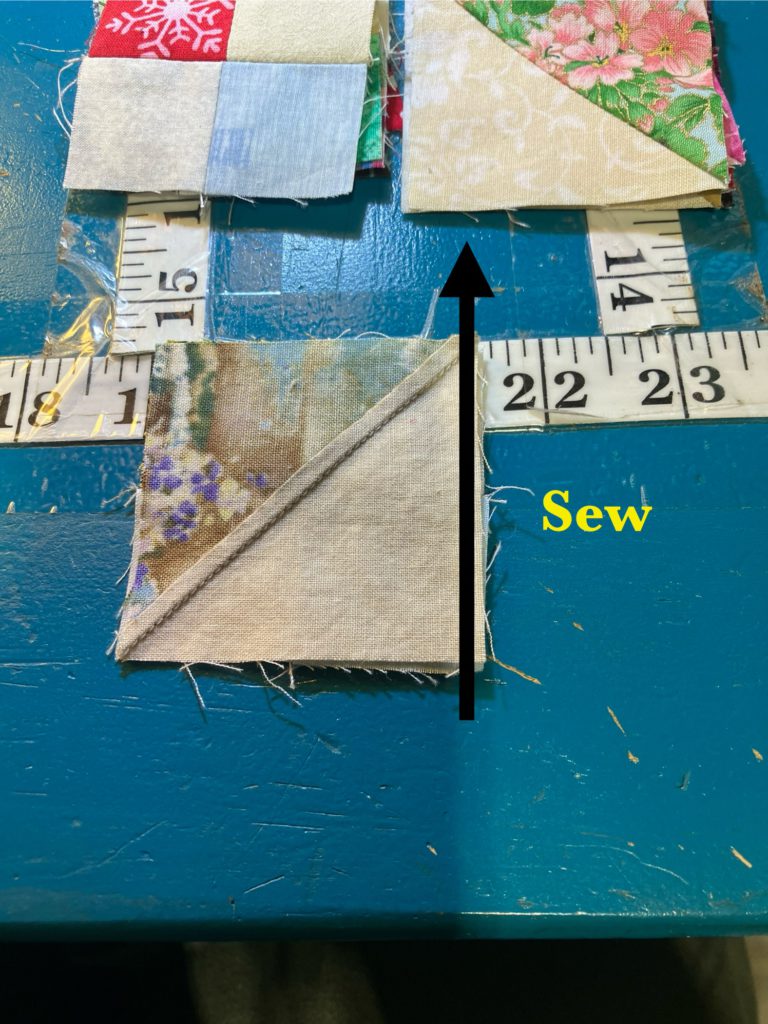
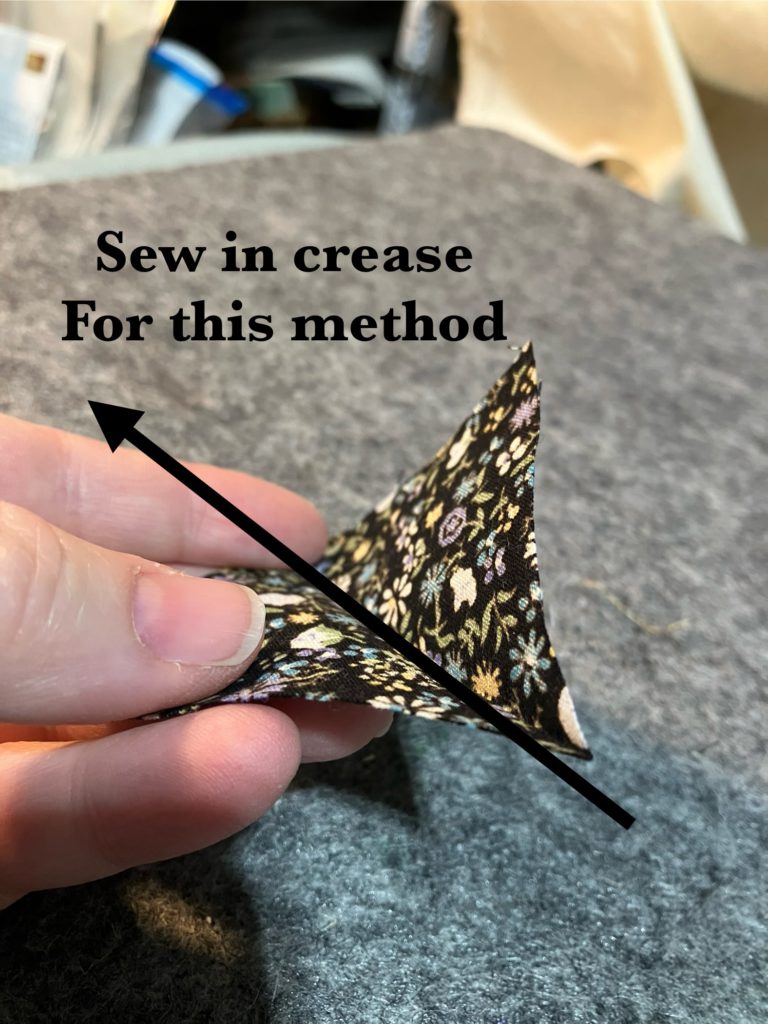
press a crease into the 2 1/2″ block as a sew line or
my prefered and very lazy method…the piece of tape to follow along with the corner of the square as I sew. You can see the tape in the picture below.
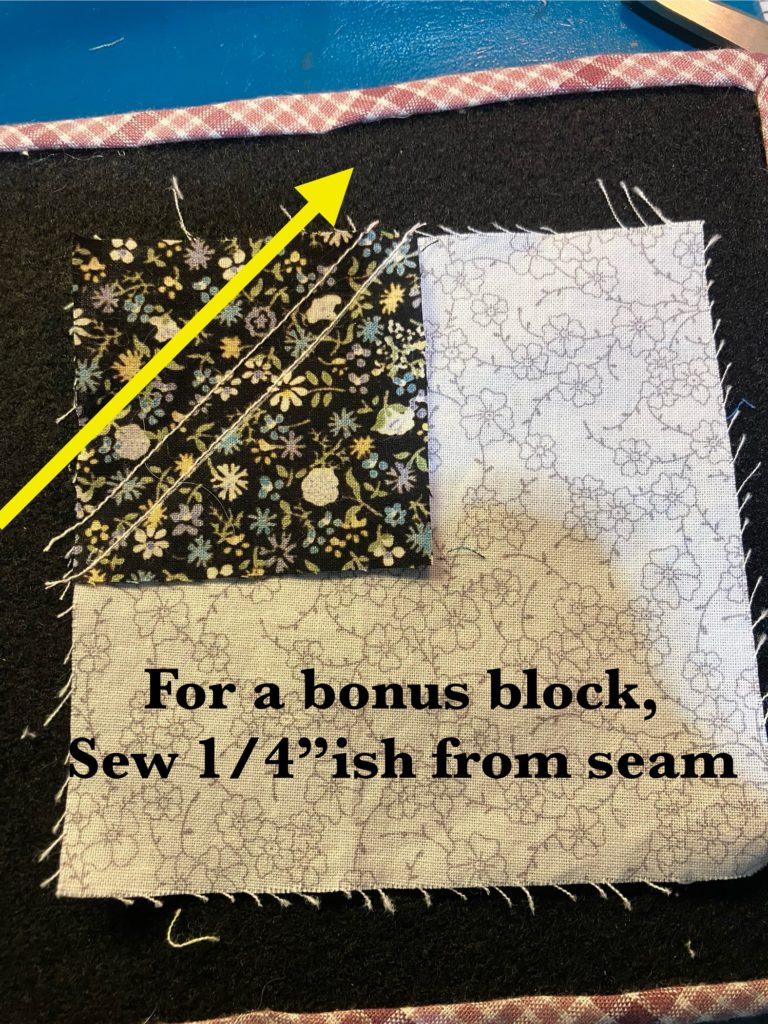
I always opt for the bonus block if the original square size is 2 1/2″ or bigger. That would be the reason I am being over run by half square triangles. I am working on fixing this little problem. There will eventually be a series of blocks on this blog that use up many of those bonus triangles! I promise!
I am a big fan of pressing pieces as you go, as you all know. Butterfly wing sections are now complete.
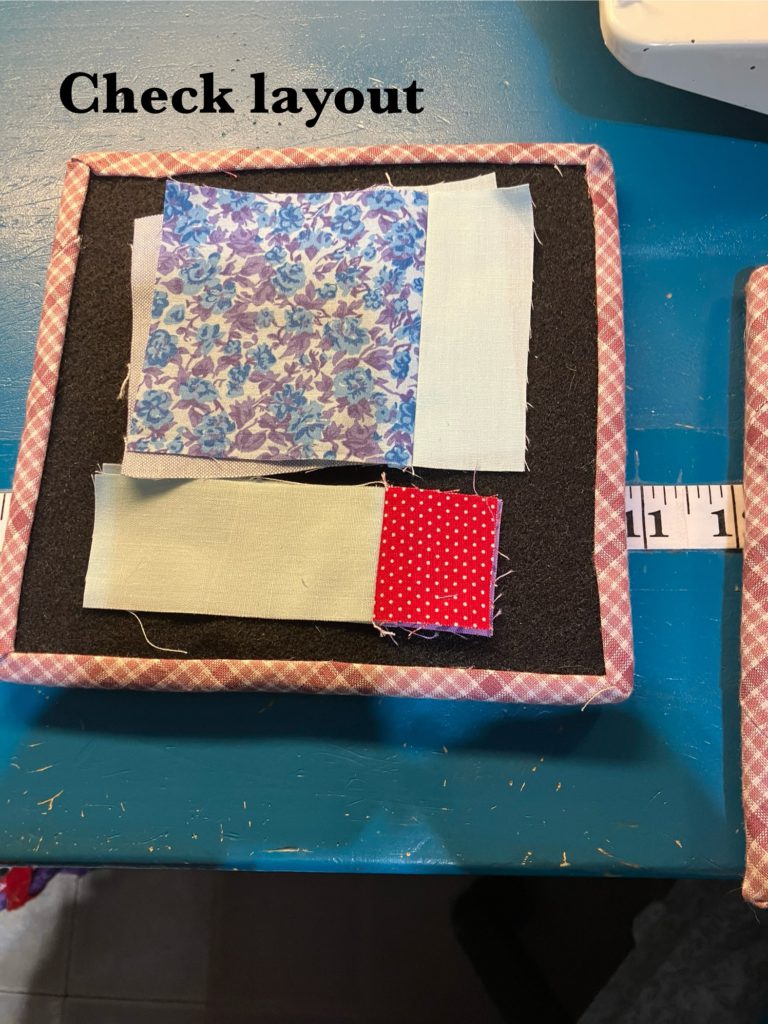
Now for the second section of the block. It is all straight line sewing for the rest. See the layout below.
Divide the layout into 2 sections…a big section and a little section. I show it in rows in the picture below.
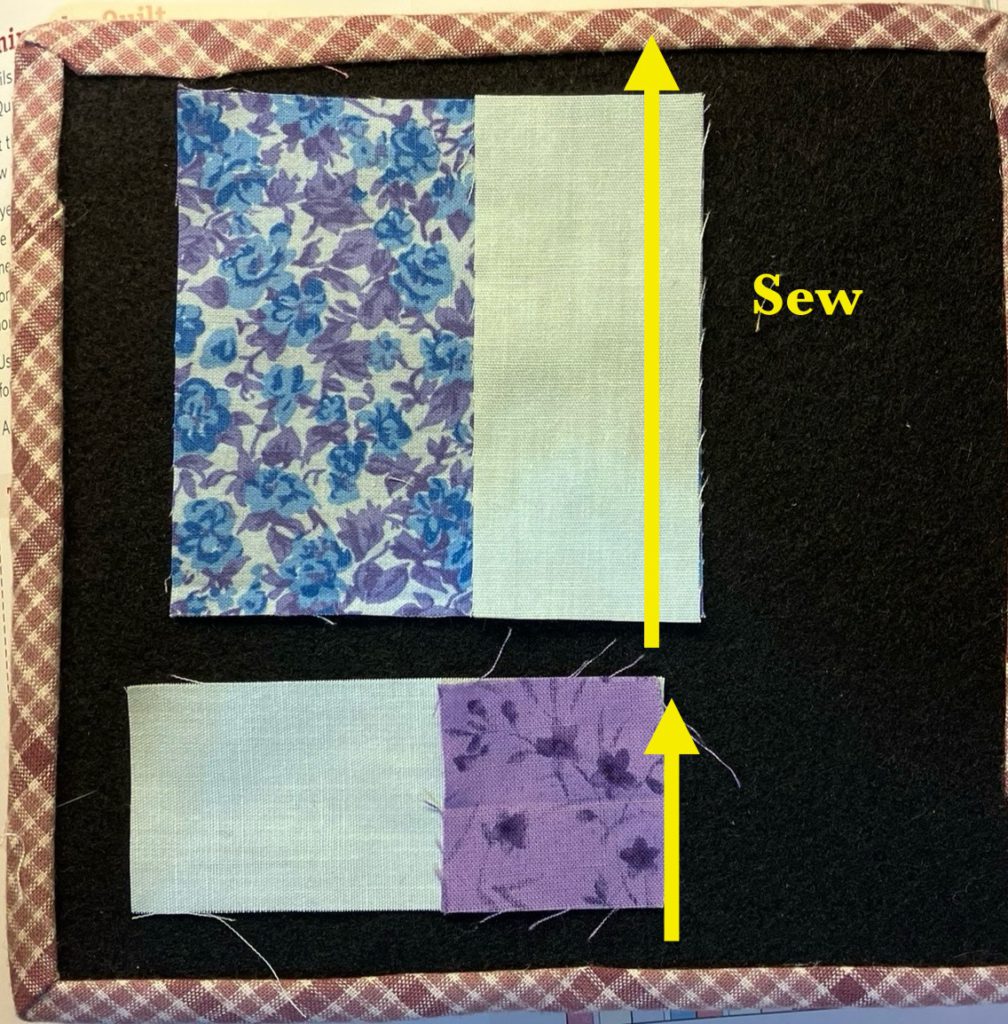
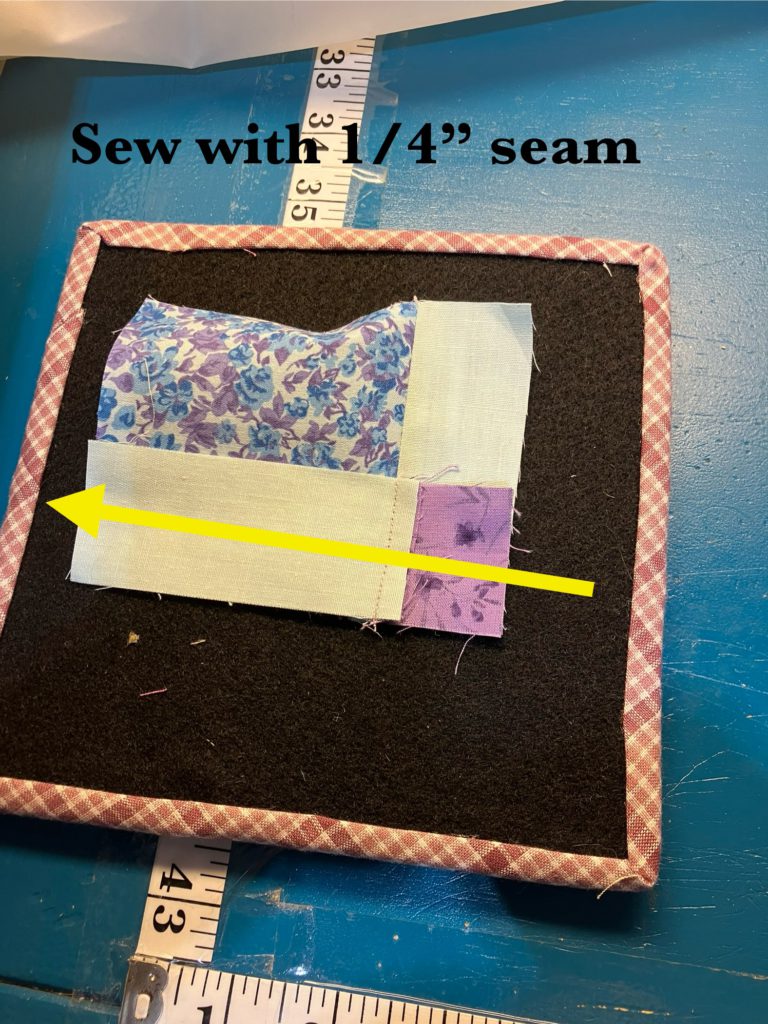
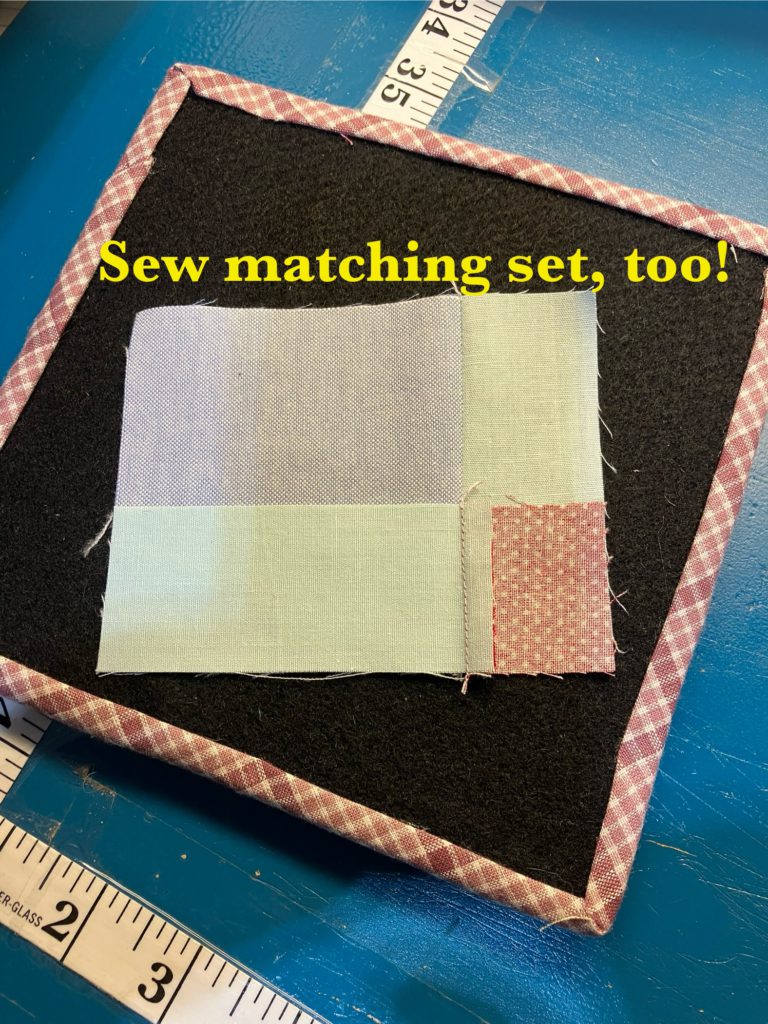
Sew the 3 1/2″ square to the side of a lattice piece. Sew the 1 1/2″ square to the end of the other lattice piece.
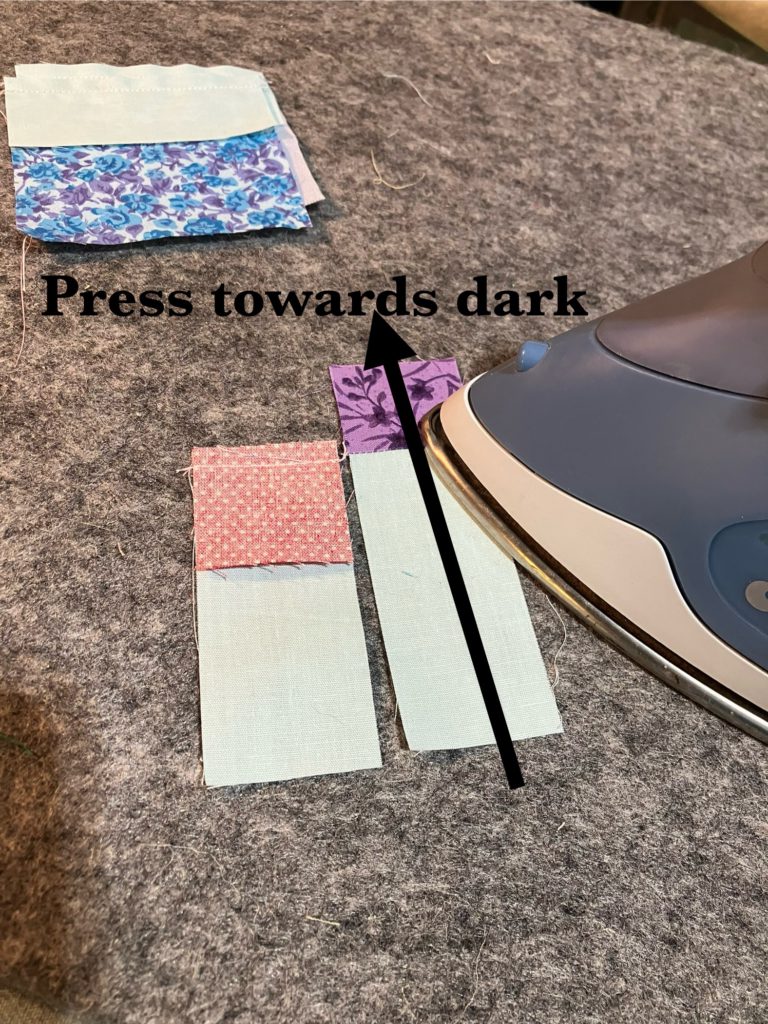
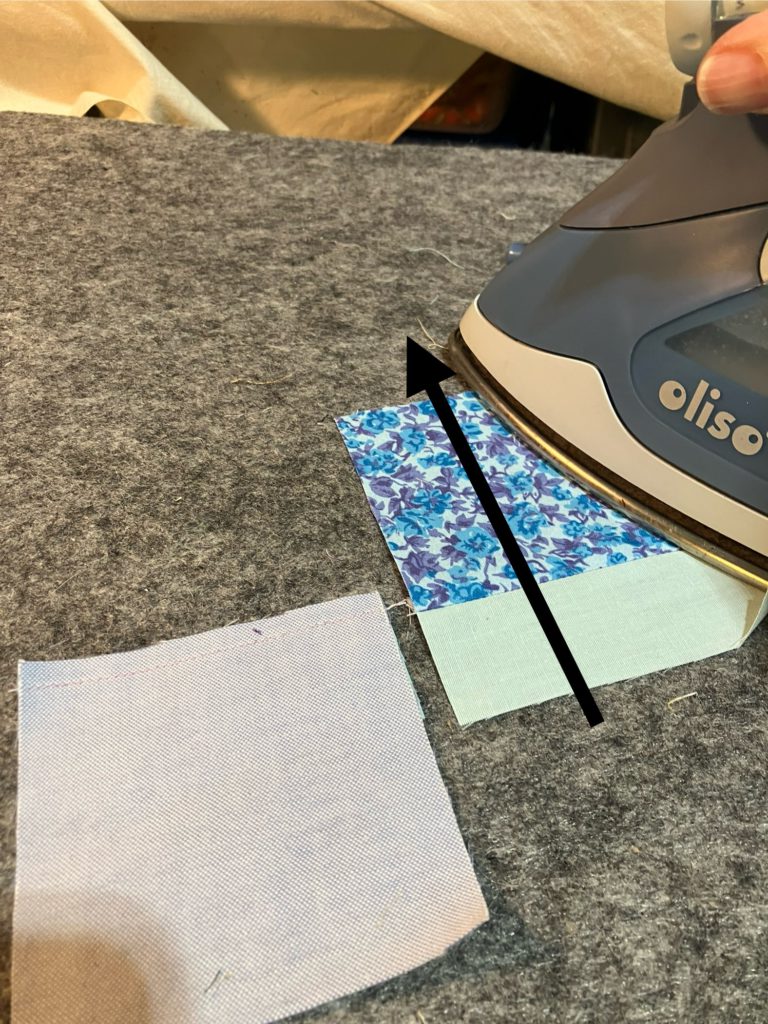
Press towards the dark fabric on both of these units…unless you prefer to press open.
Join the two units you created into one bigger unit. The other part of the block is now sewn together.
It really was just that easy.
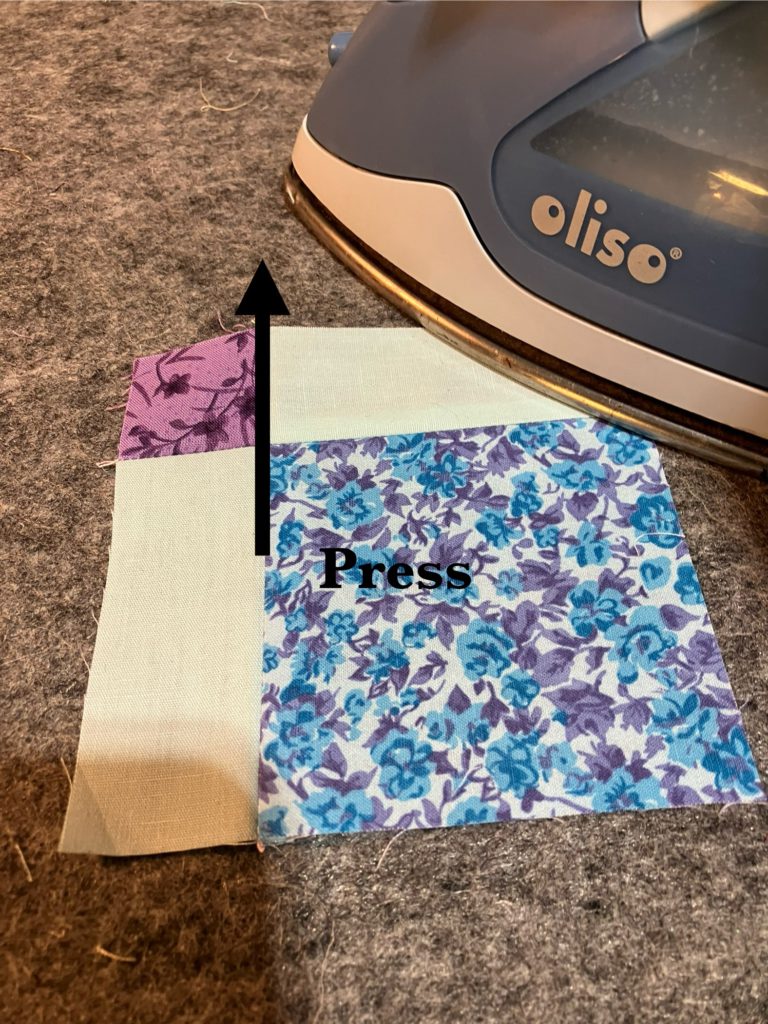
Press towards the straight lattice pieces…or open.
If you press towards the lattice, sewing the final seam will be easy!
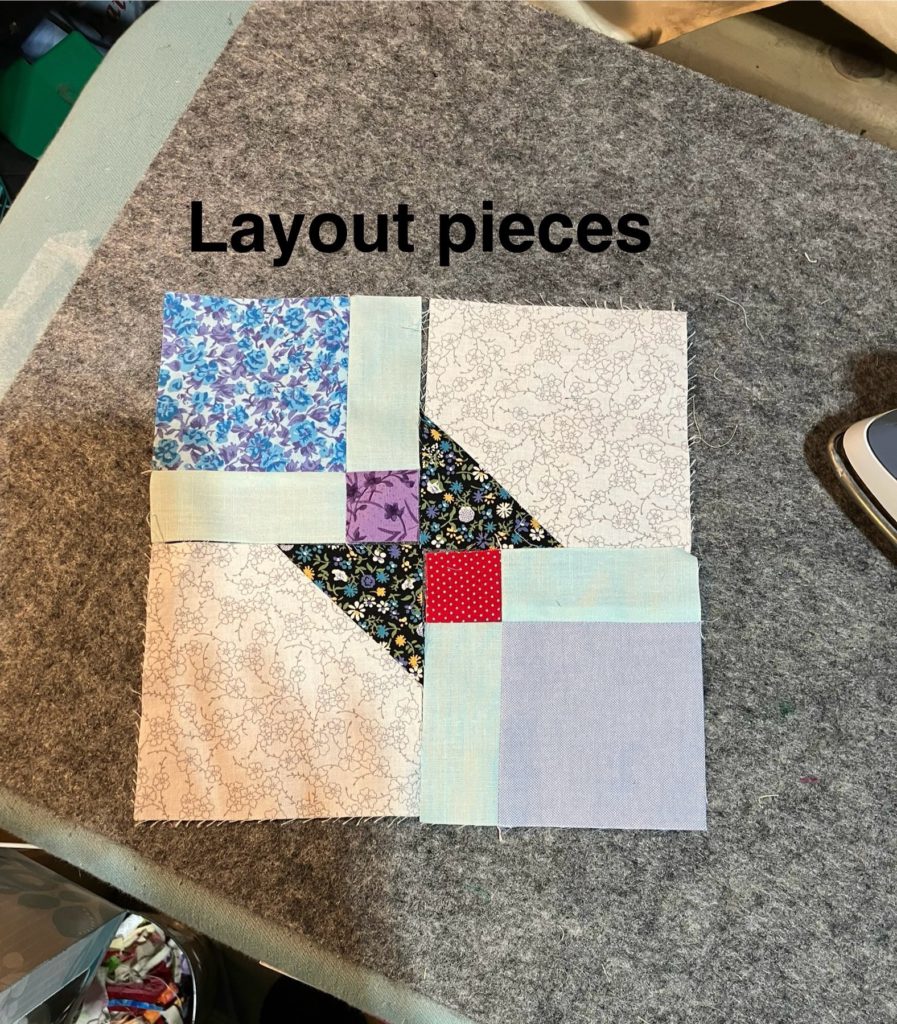
Sew that last final seam. Sorry, no picture of that seam!
Ta-dah…Ta-done!
Here are a couple sample layouts. This block could be much scrappier than I made it. I tried to control the scrapiness for an aesthetic pleasing effect.
I decided to make an additional four blocks and use up some other orphan blocks, too. This is the beginning of a car quilt for my son’s family. Everyone needs a quilt, a flashlight, battery cables, and a small tool kit in their vehicle. Just a thought!
Those borders will fit when they are all sewn together. I, too, am always amazed at how much is eaten up in a 1/4″ seam allowance!
If you construct any of these scrappy wonderful blocks, please share with me through gmail. I look forward to see your work!
If you are interested in making this a larger block, please use the chart below to help you resize the block.