Categories
Build a block quilting scraps

Build a Block: Pinwheel 9 Patch

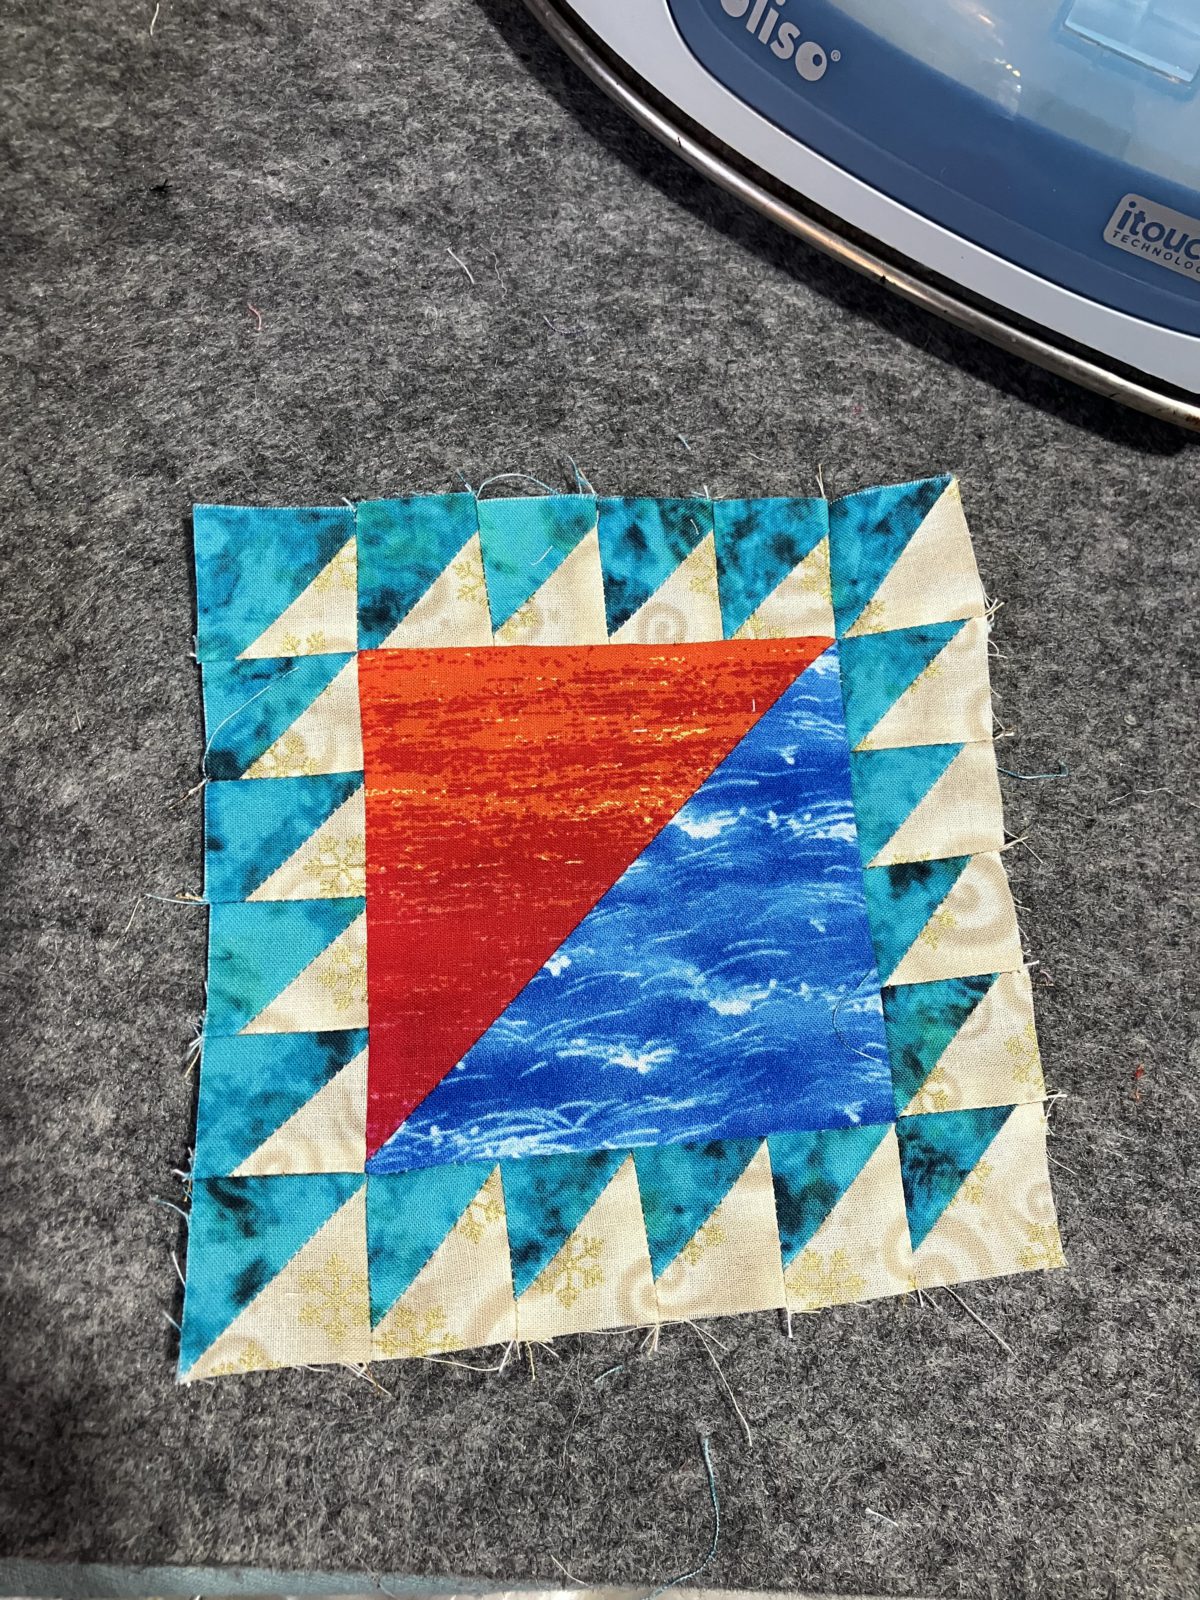
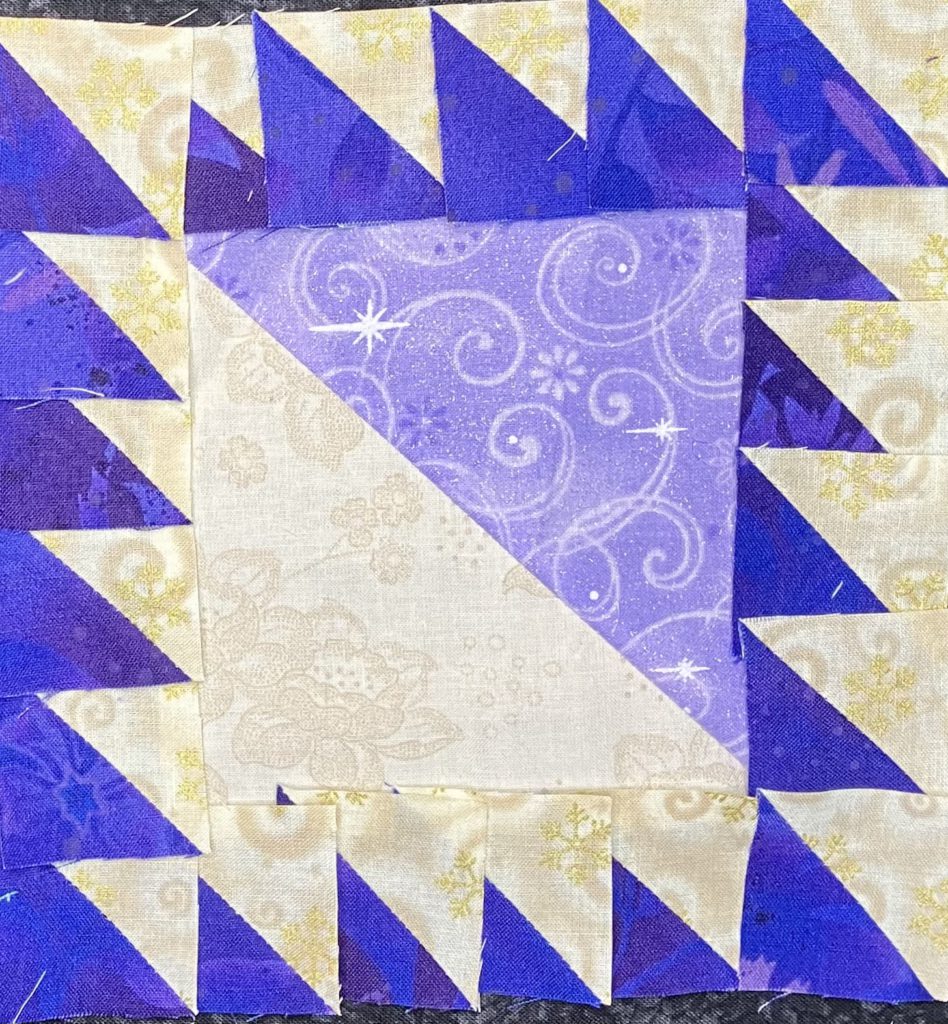
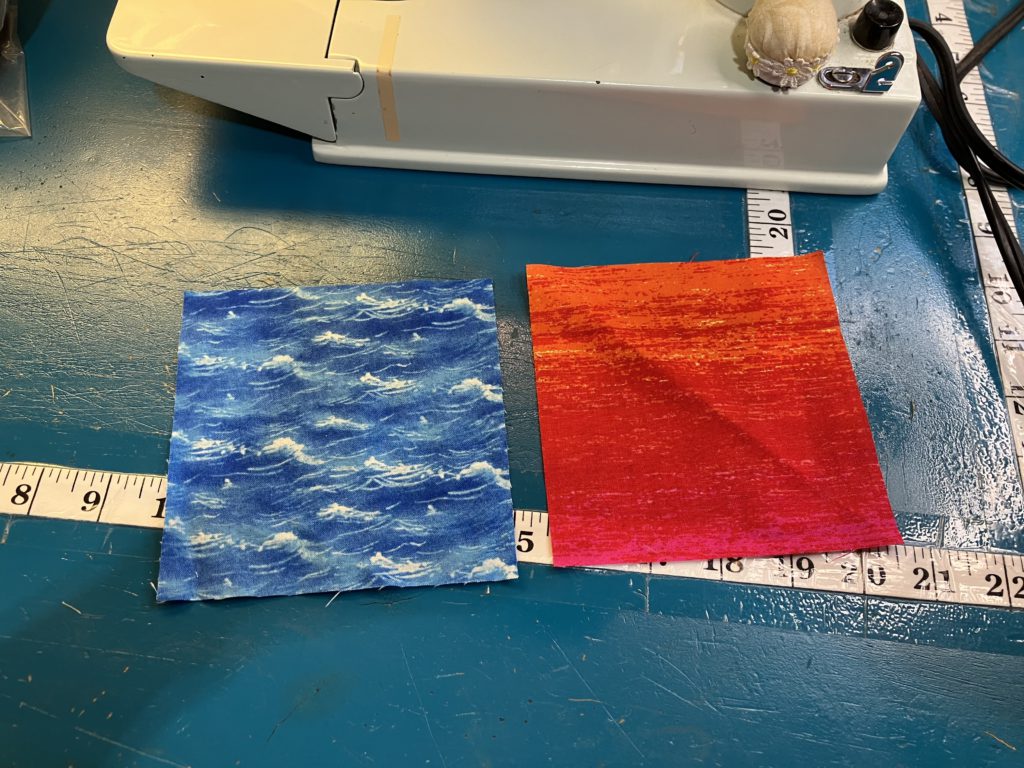
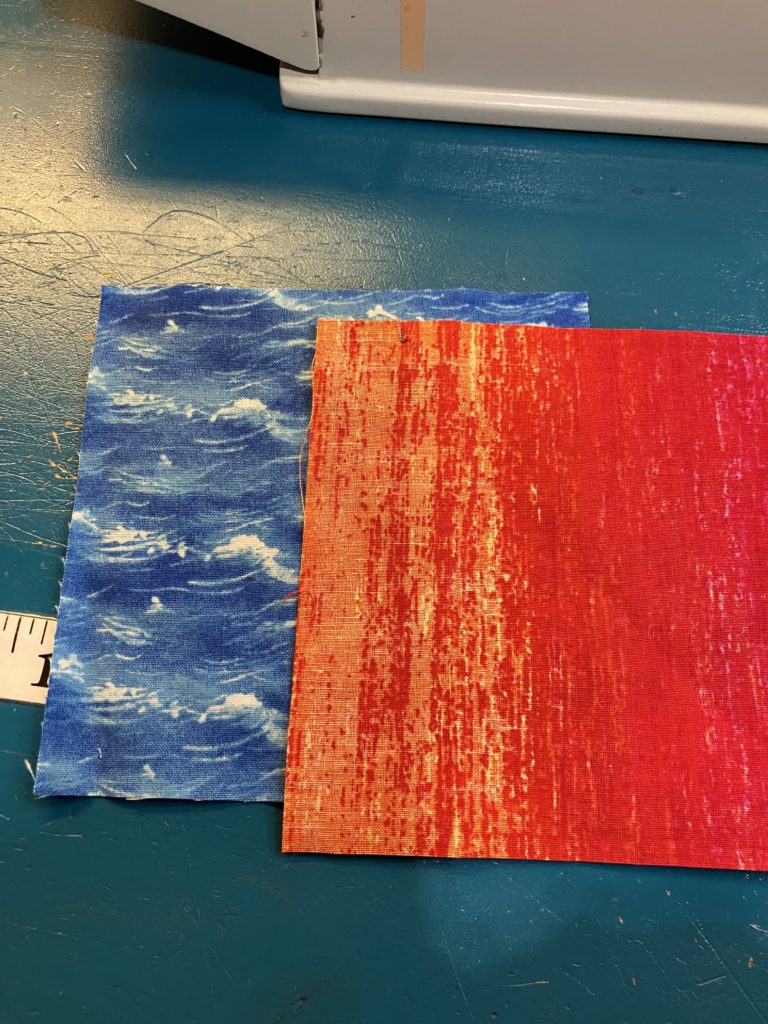
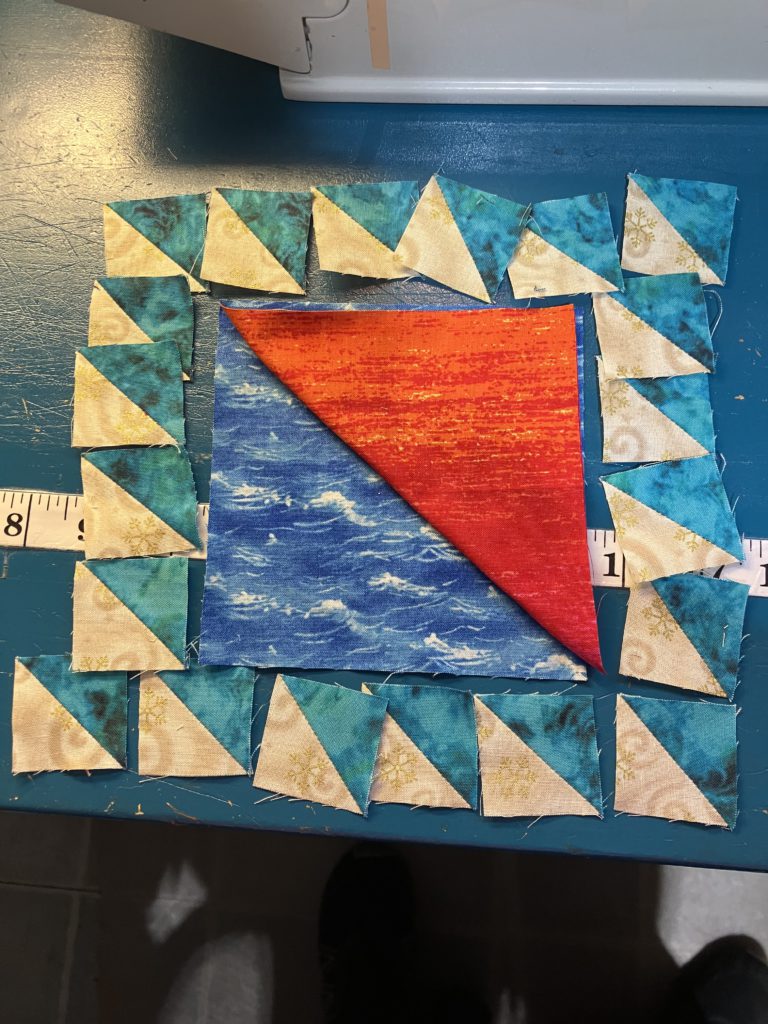
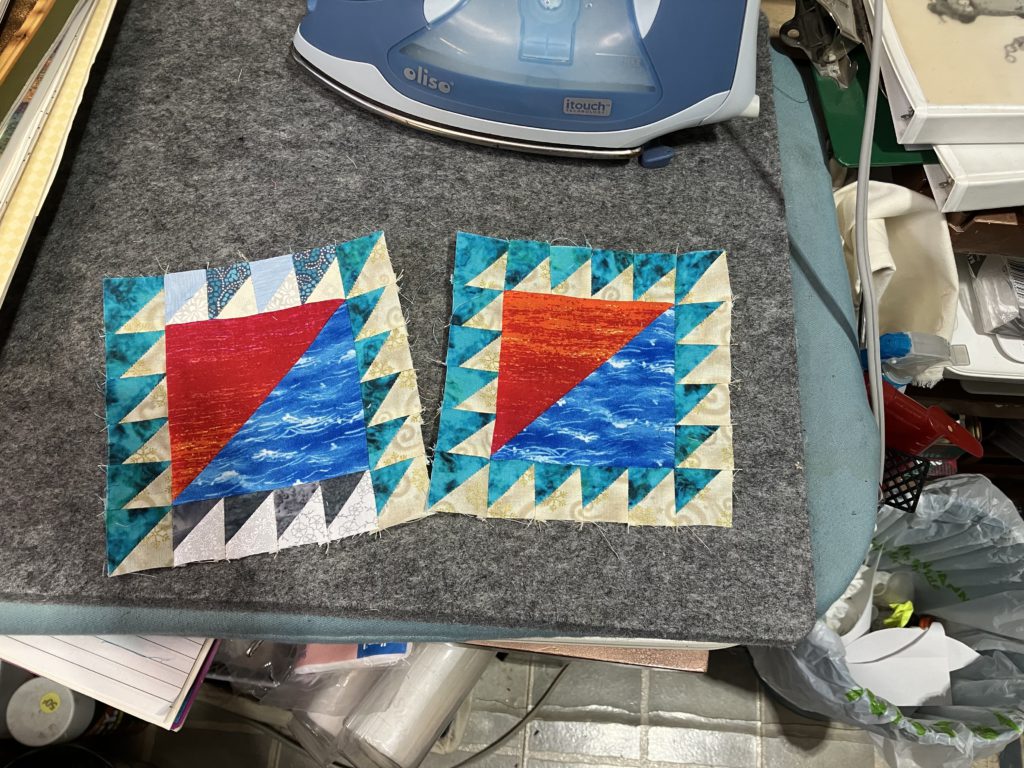
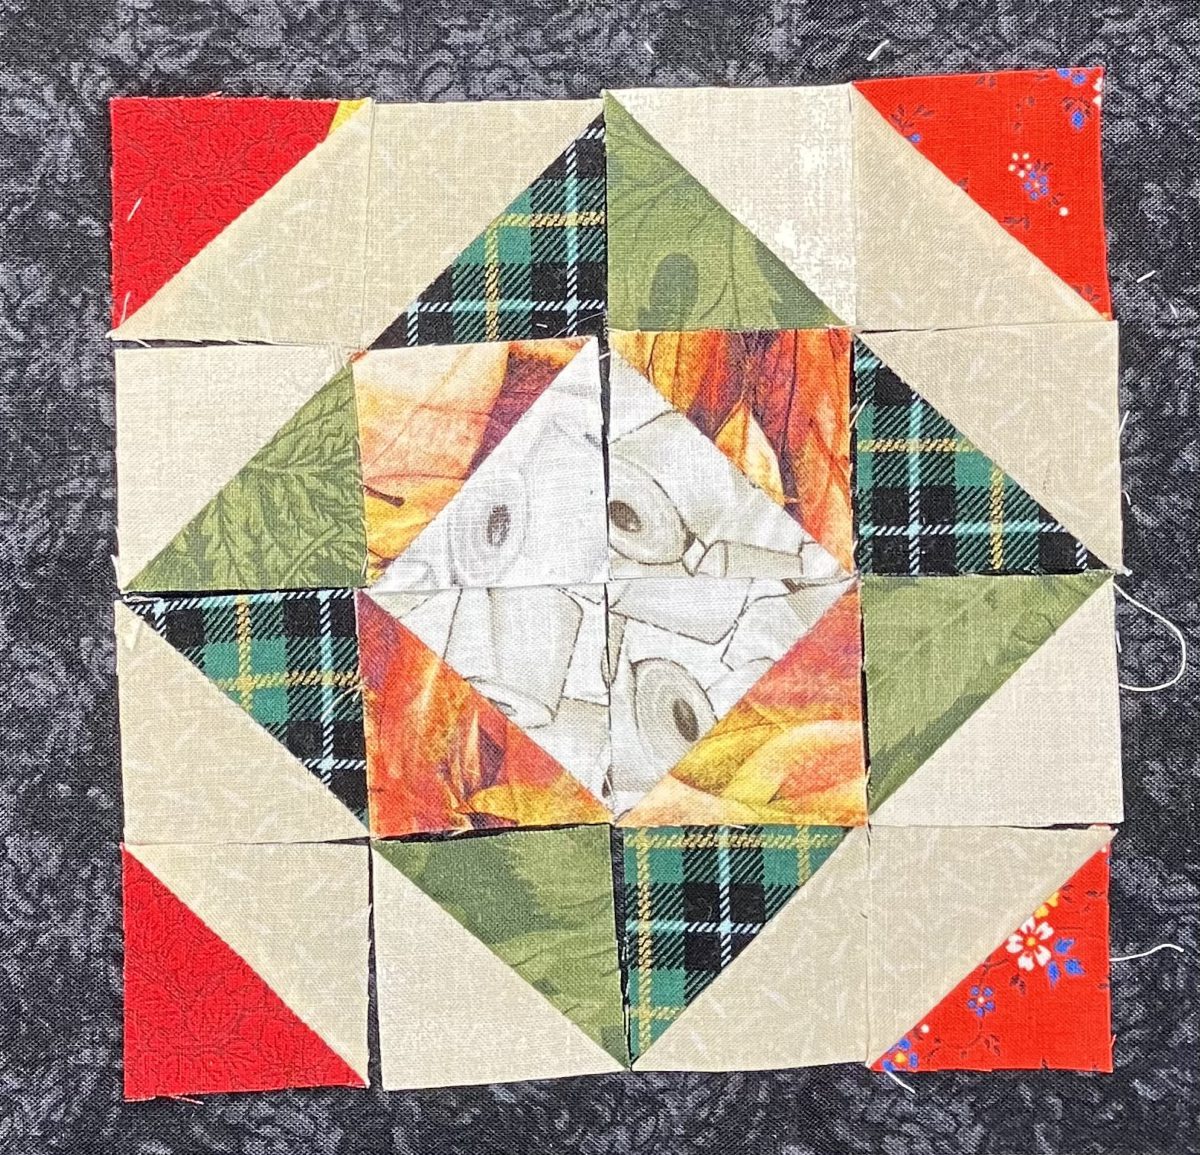
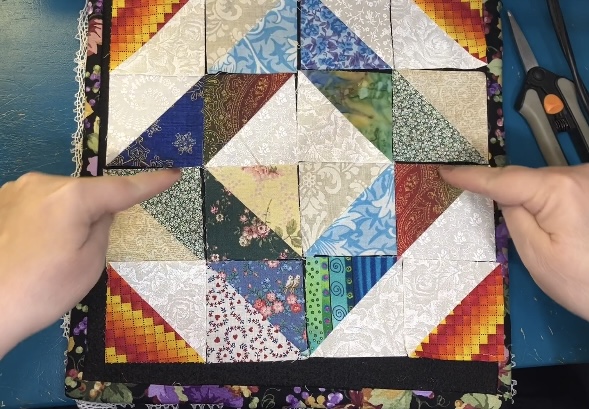
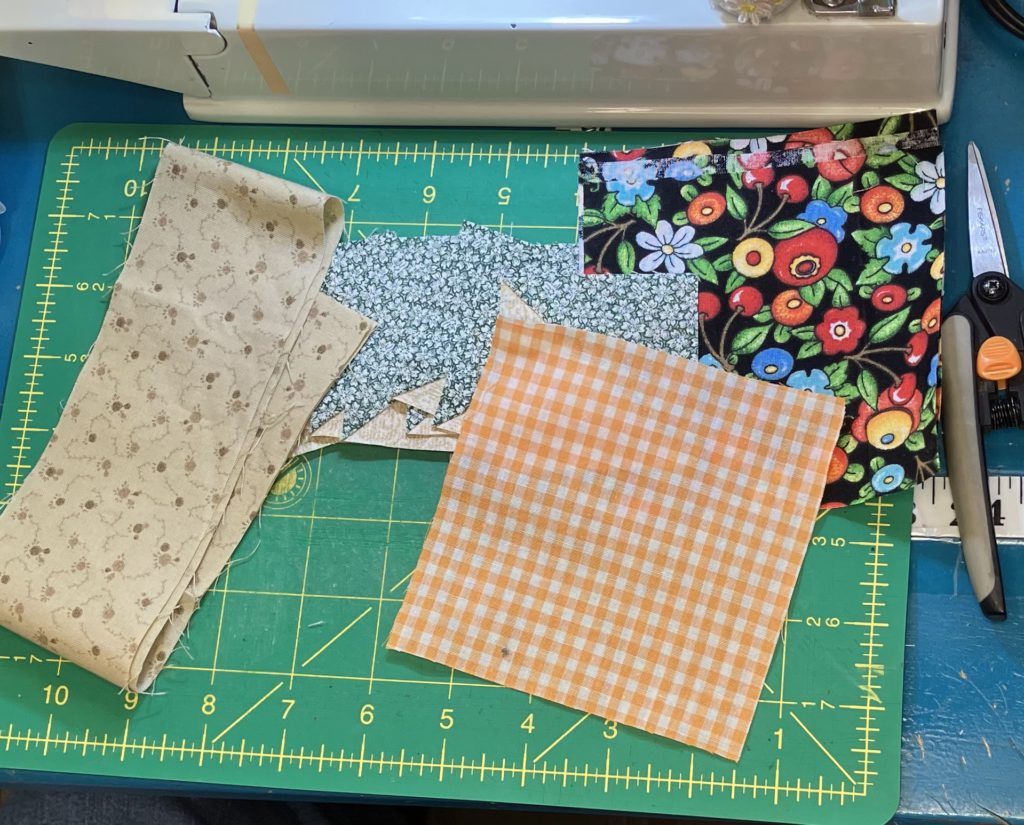
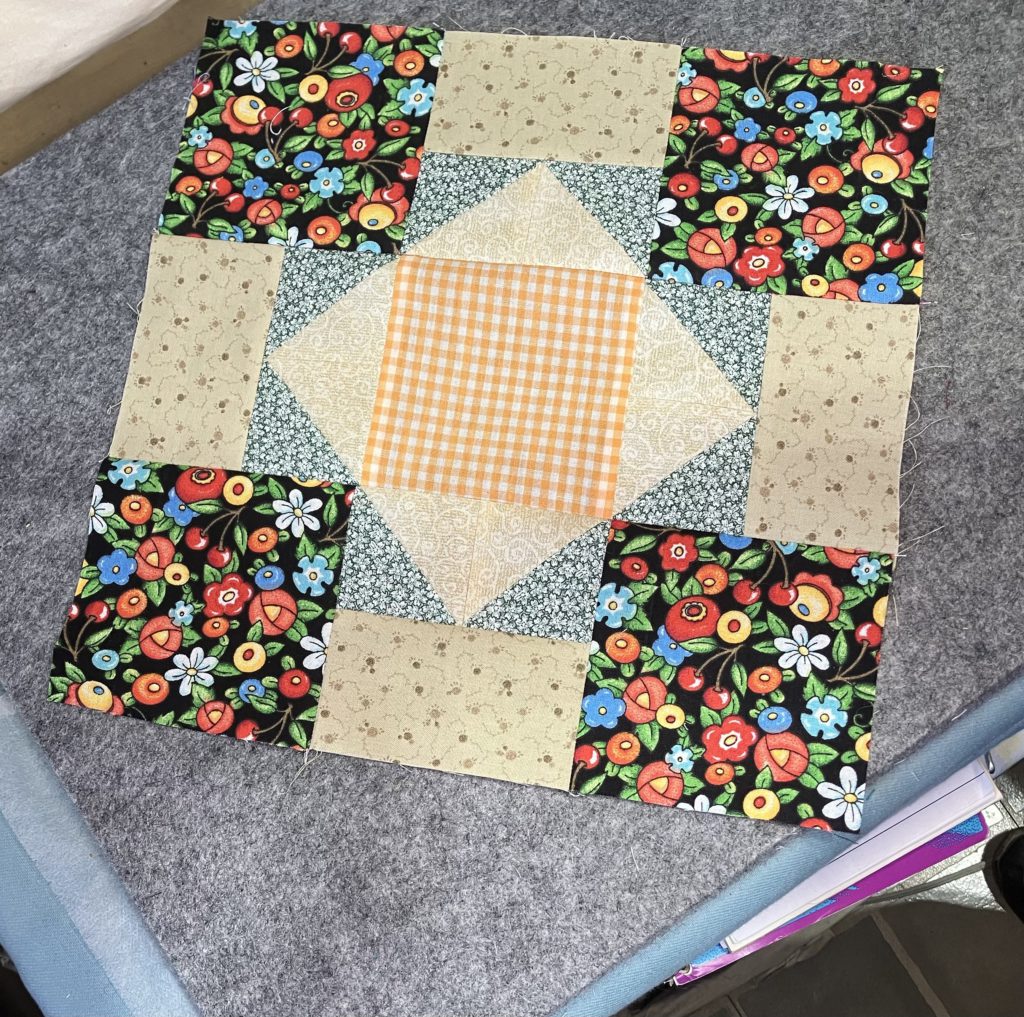
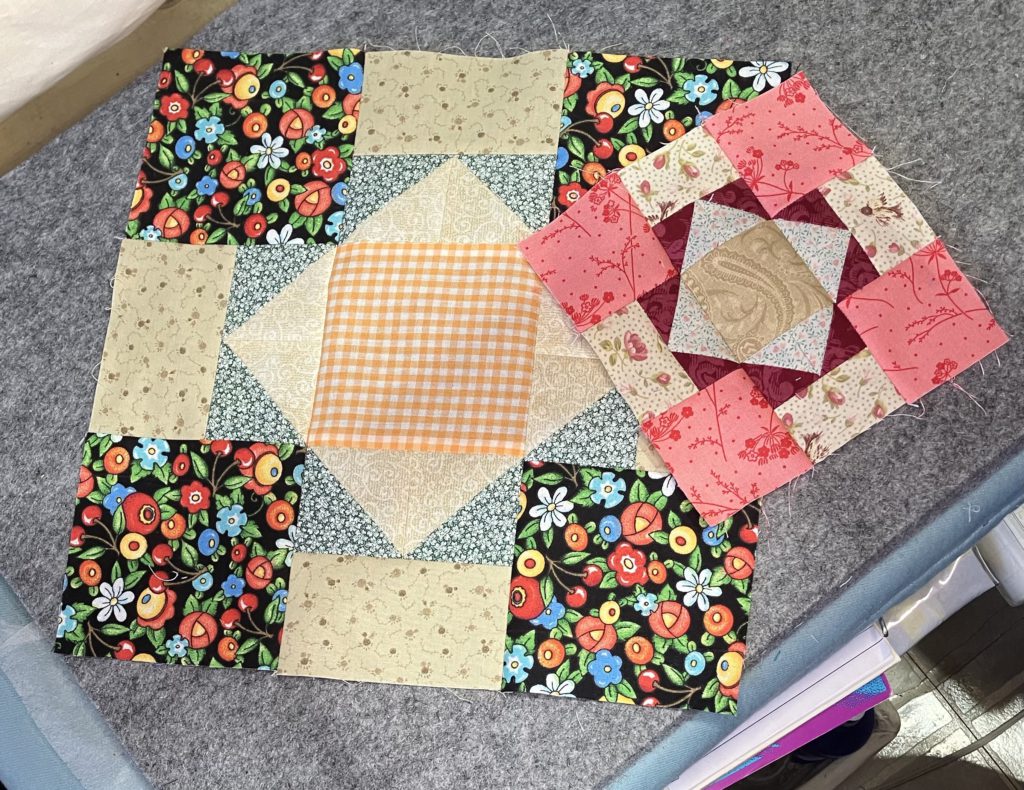
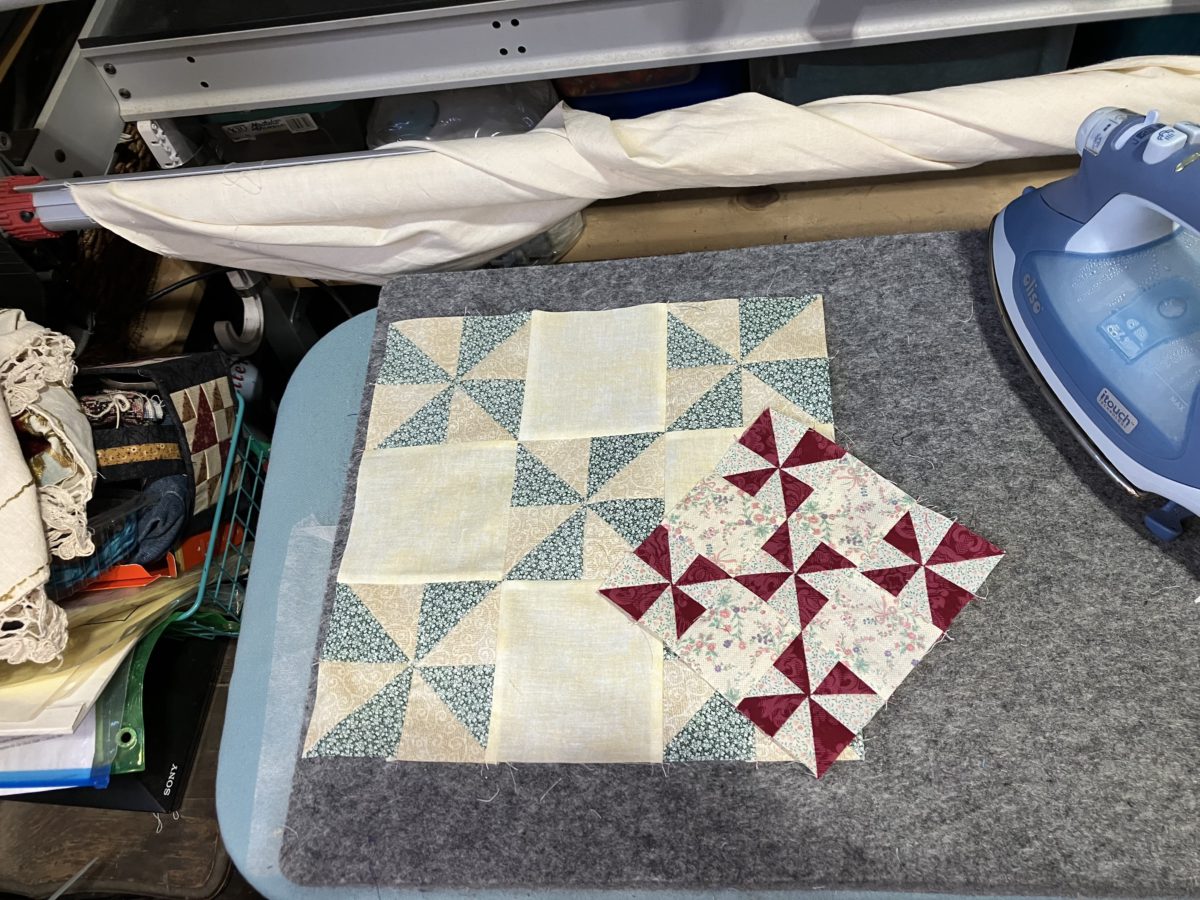
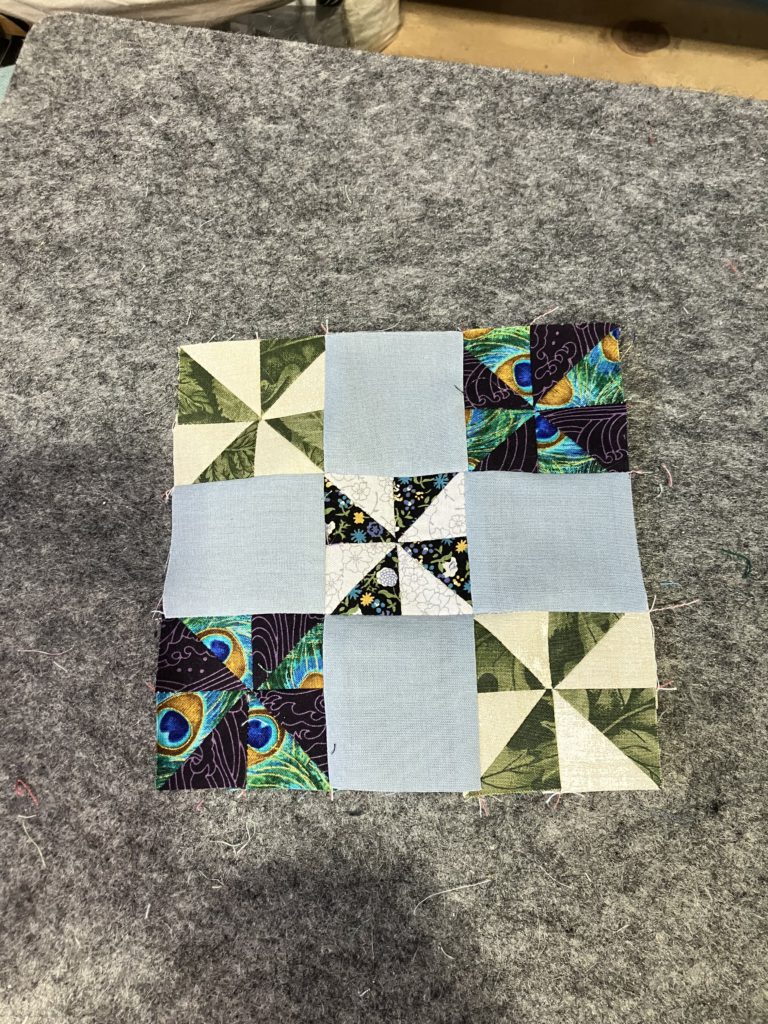
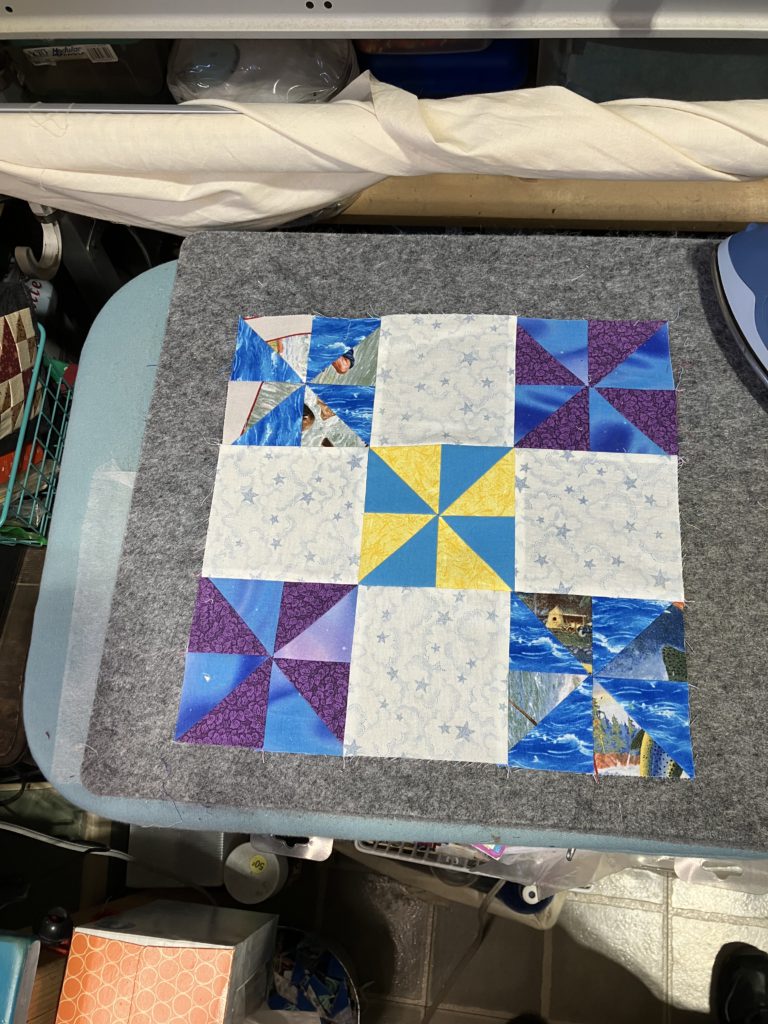
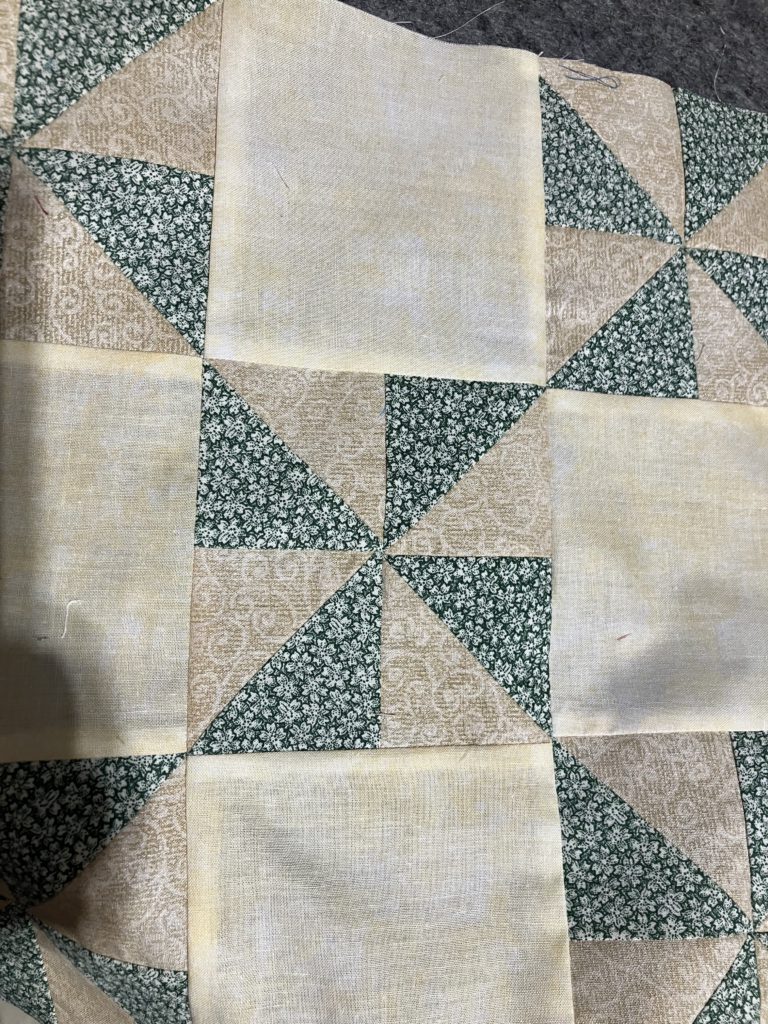
This week I am using bunches of bonus half square triangle blocks…20 to be exact!  I am showing you this block in two sizes (12 1/2″ and 6 1/2″) and two different color ways (same pinwheels and scrappier pinwheels). Construction of both sizes and colorways is the same. 

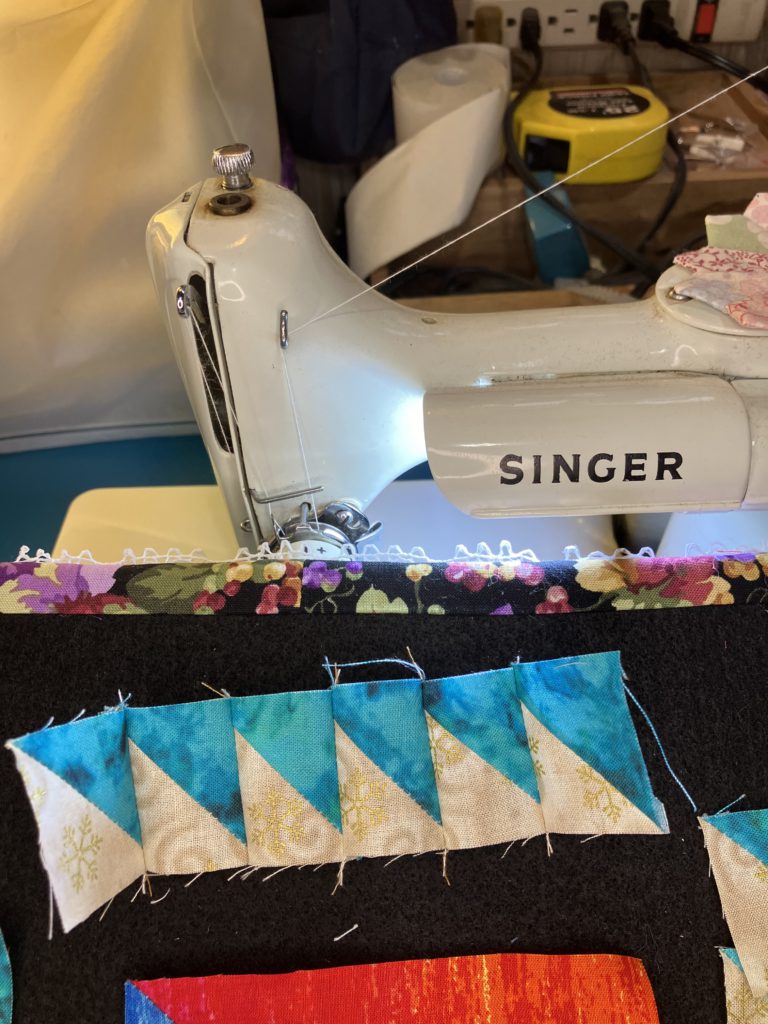
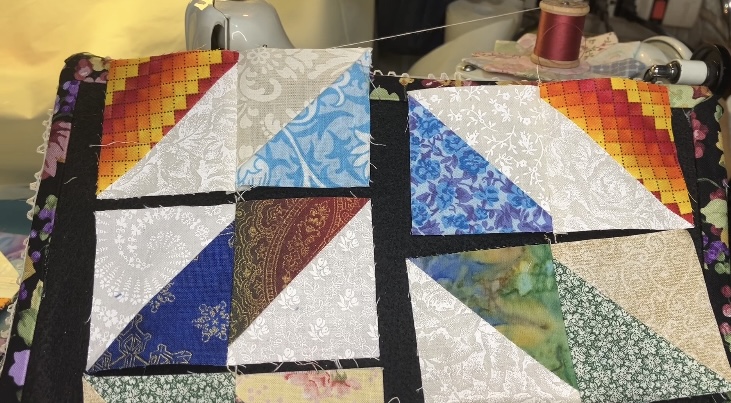
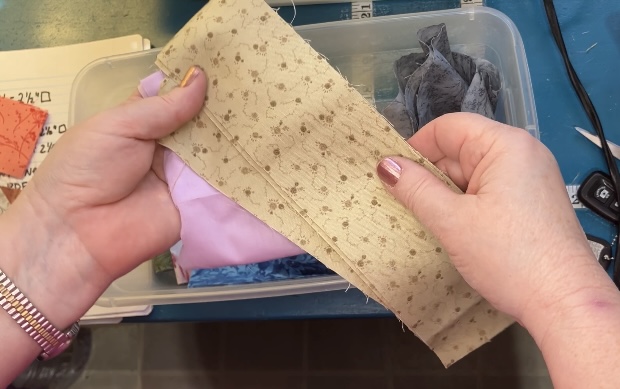
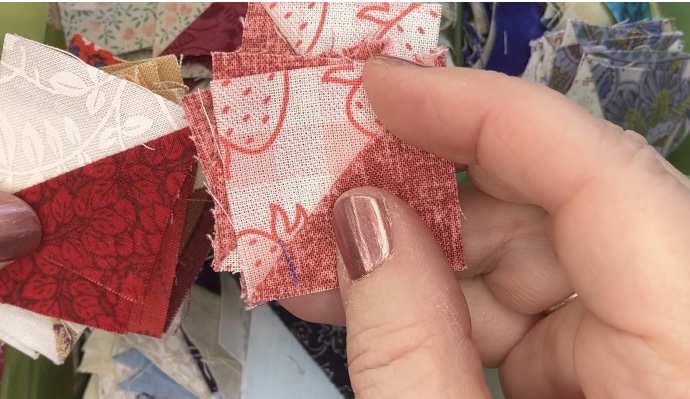
There are a few tricks in my YouTube video that show how to make the pinwheel part of the block lay a little flatter. I used to avoid this step and struggled with a big lump in the middle.  It is worth the extra little bit of work!  Very worth it!

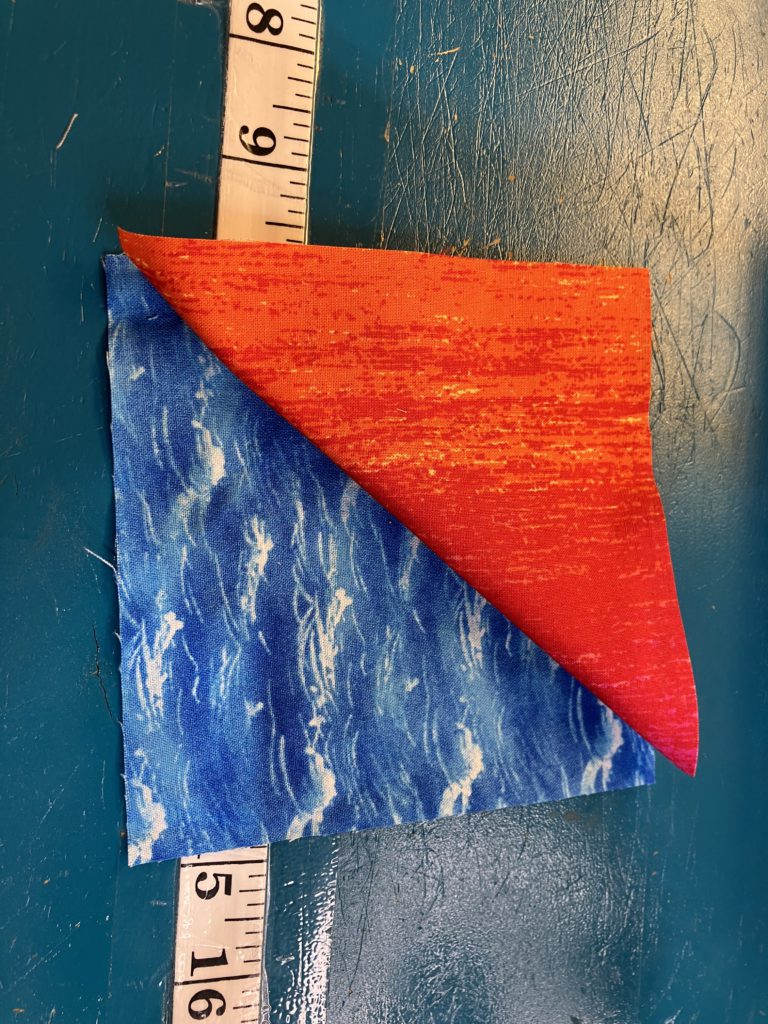
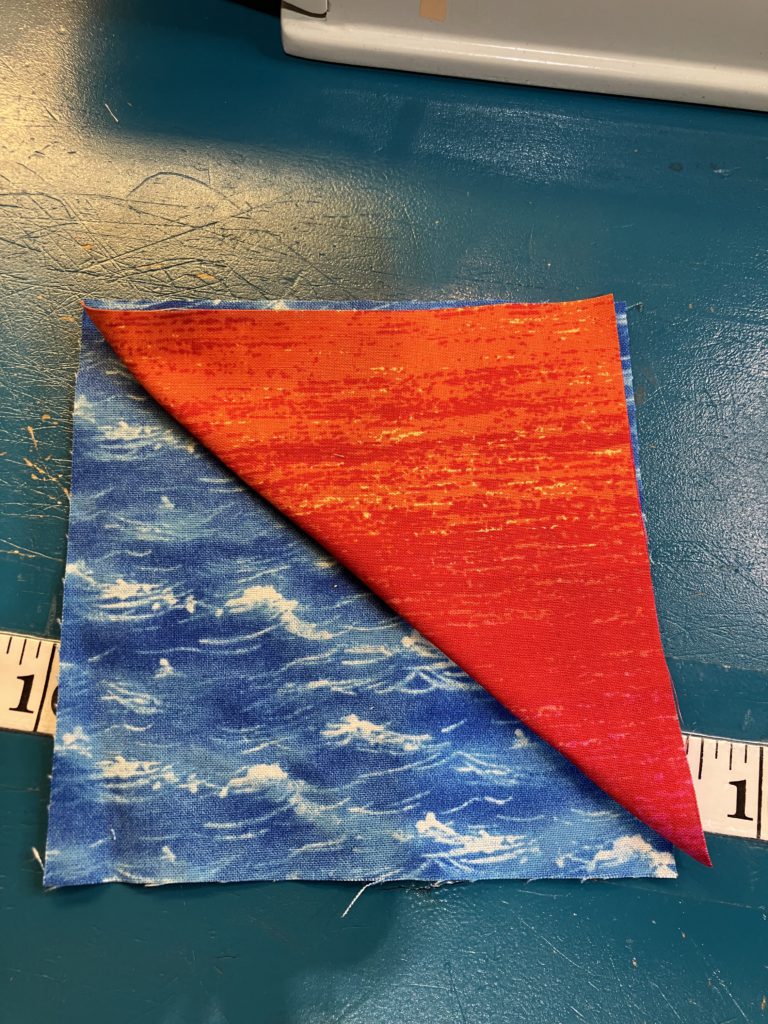
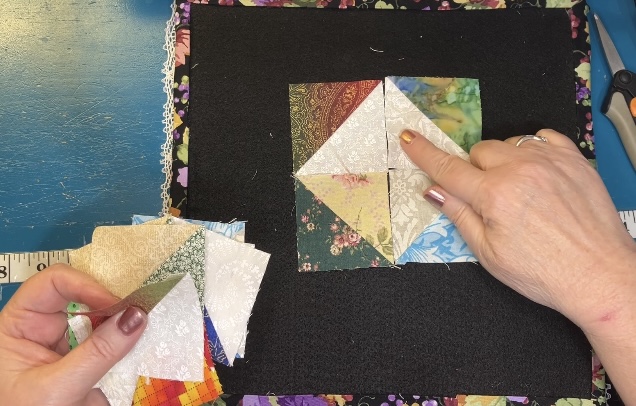
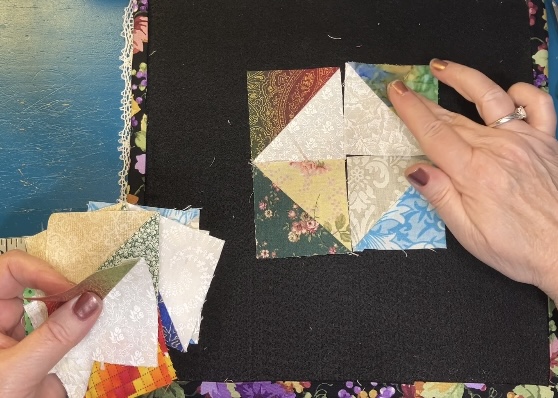
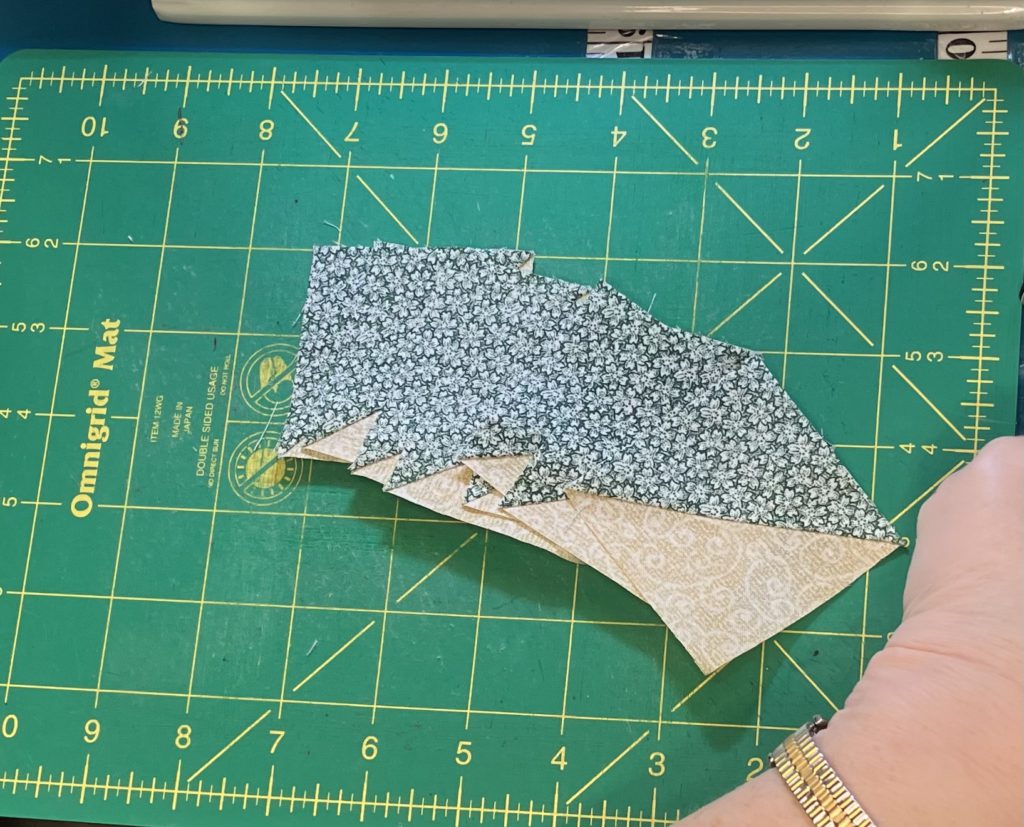
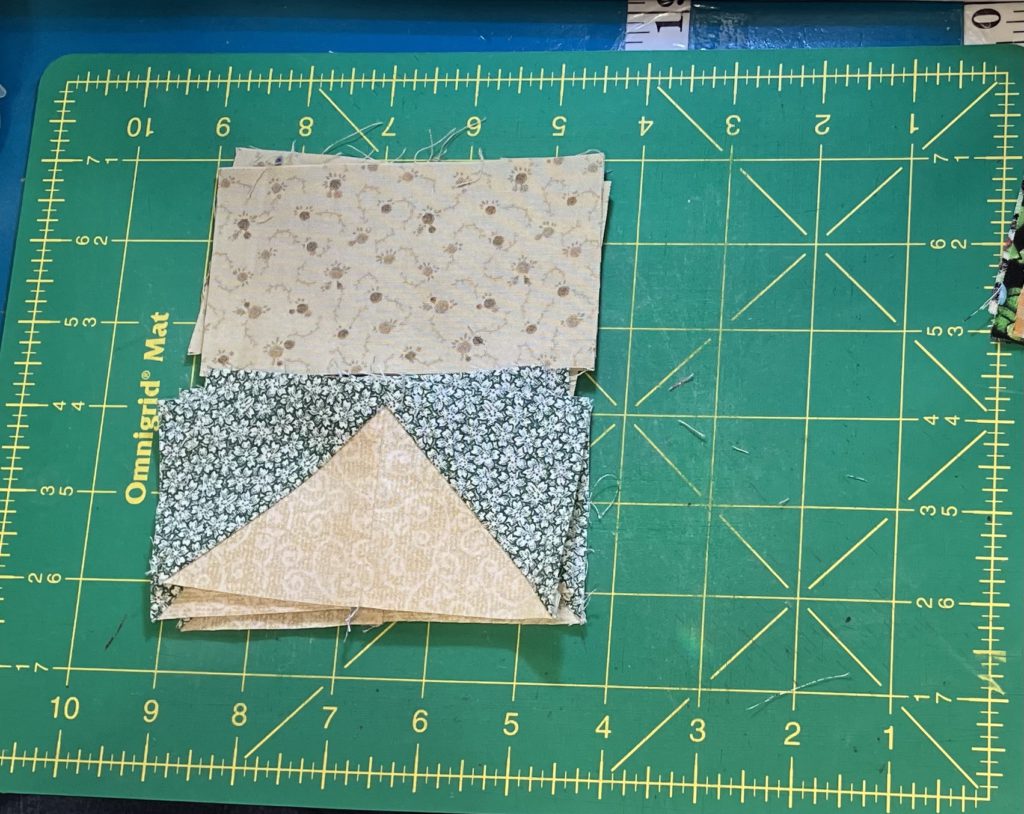
This block is constructed like a standard nine patch once you have made those swirling, little pinwheels. Did you realize that the pinwheels can swirl clockwise or counter clockwise?  Somehow I did not realize this! That fact completely passed me by! For more information on making the pinwheels, please see the video above.

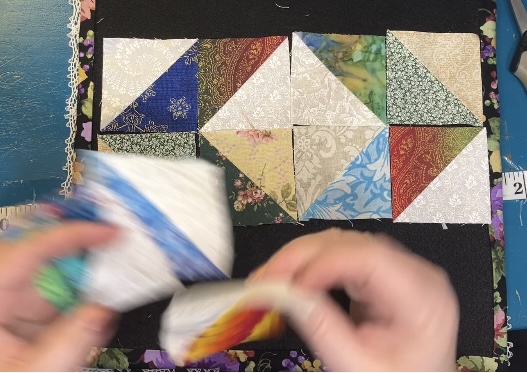
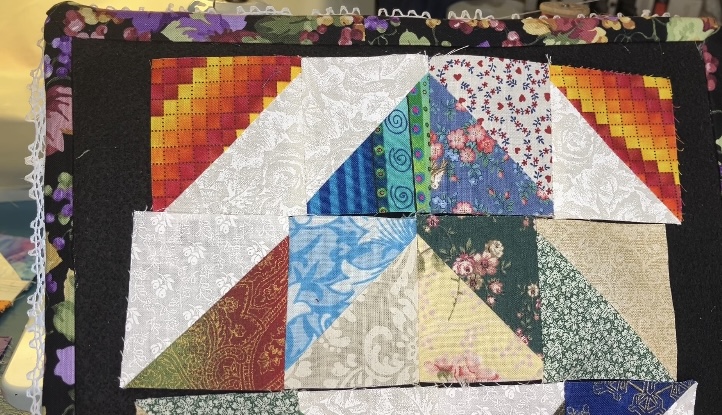
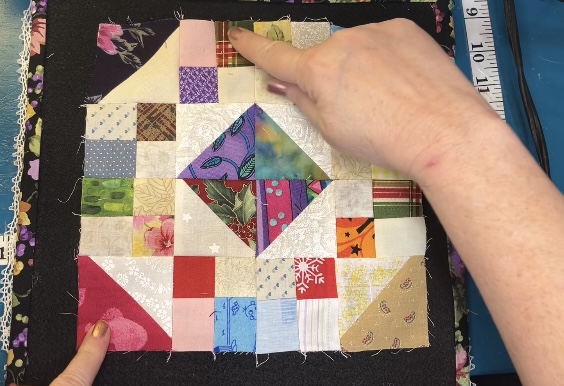
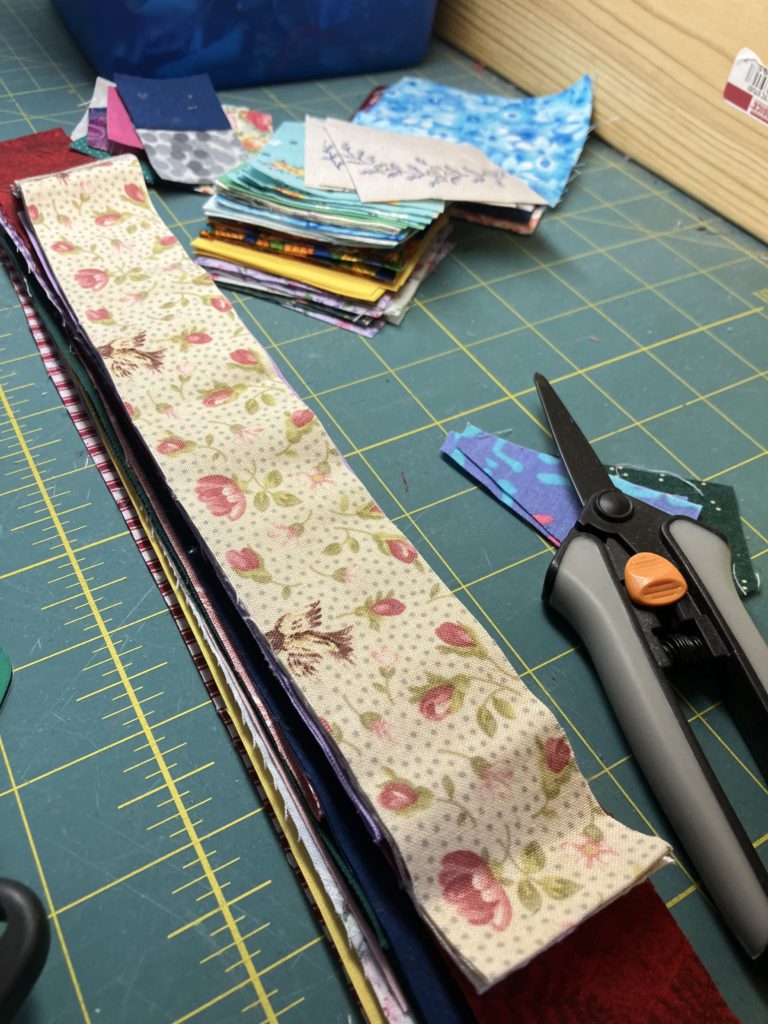
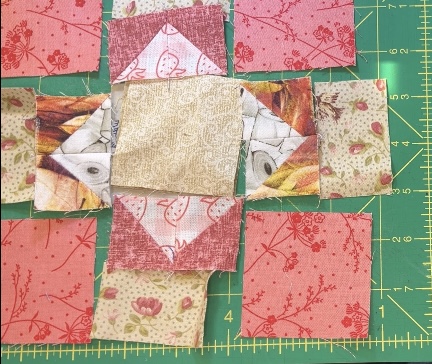
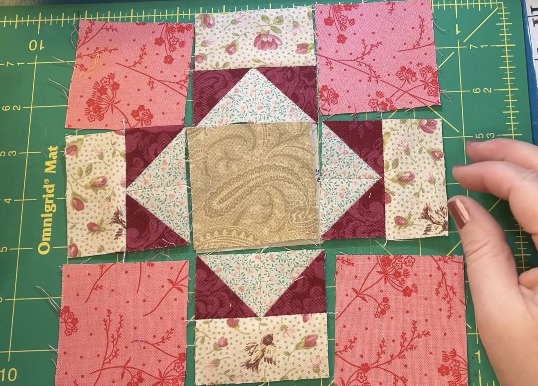
Here are the “organized” scrappy blocks:

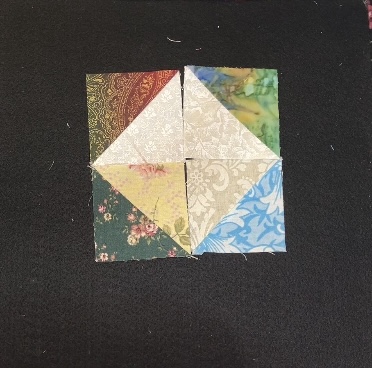
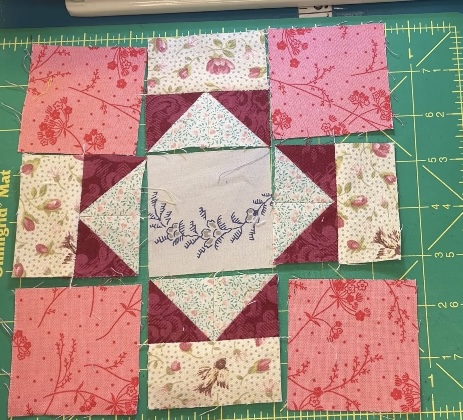
Here is the 6 1/2″ super scrappy block:

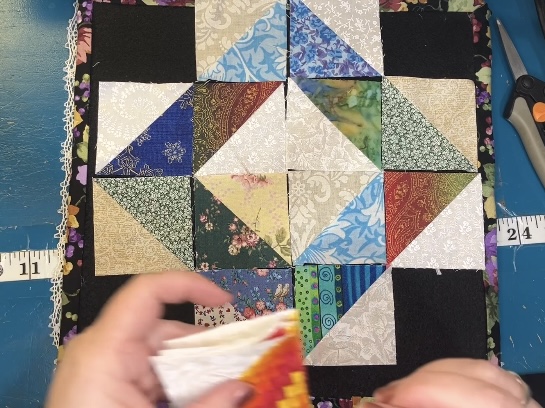
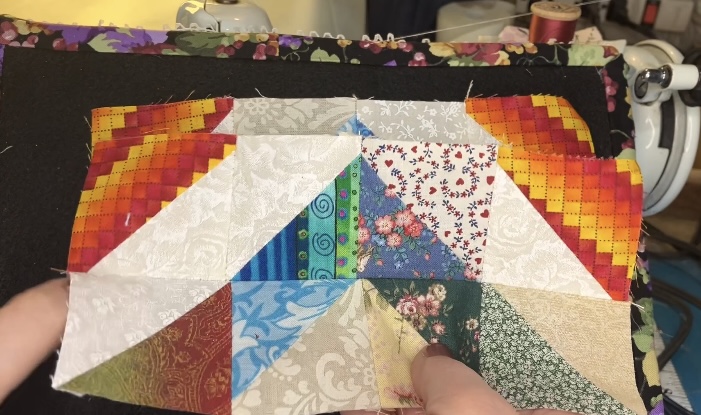
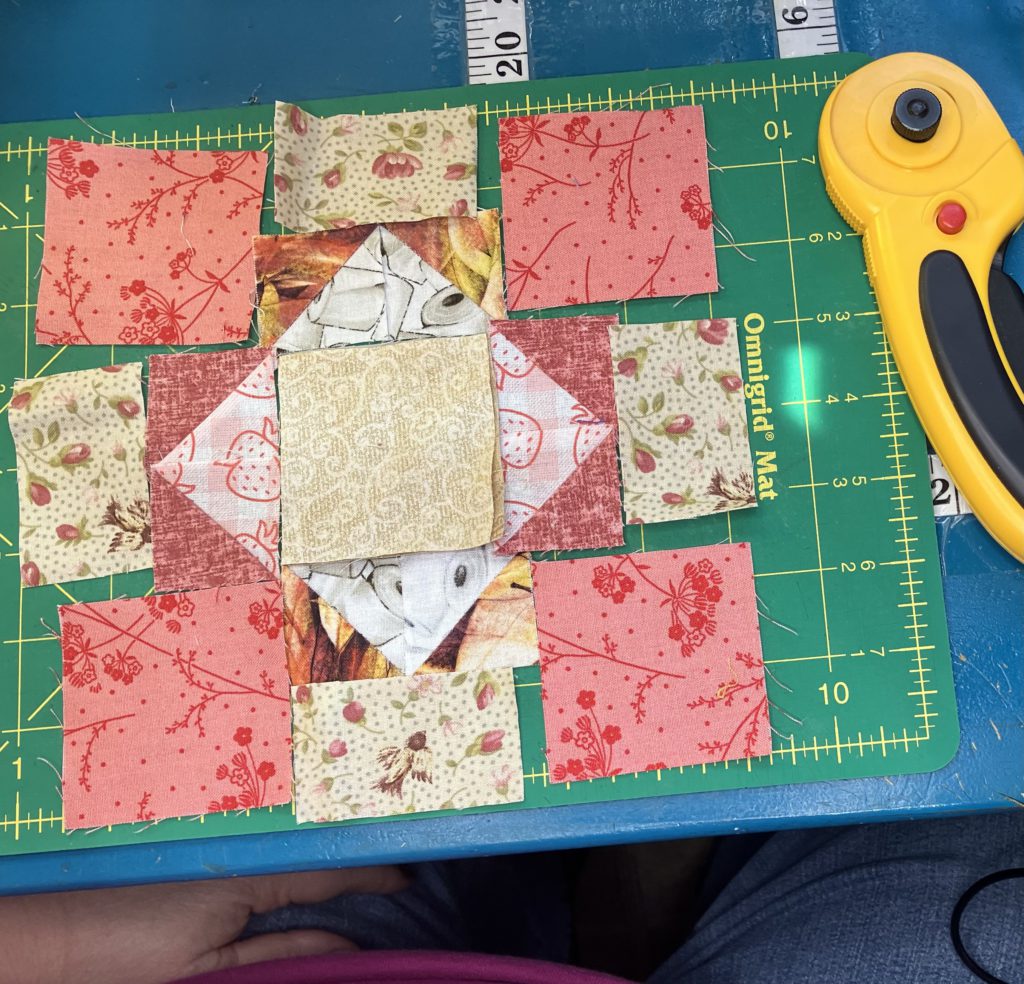
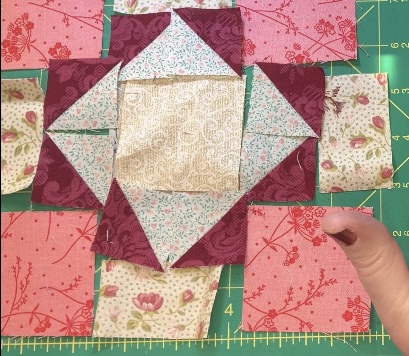
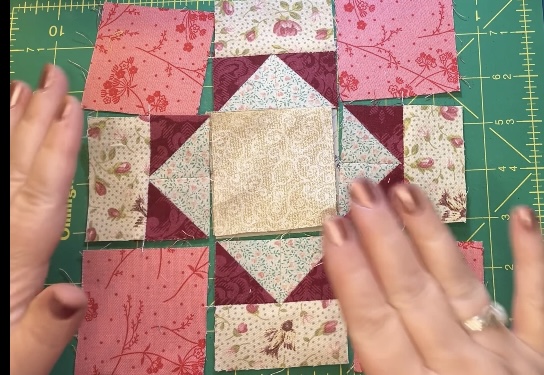
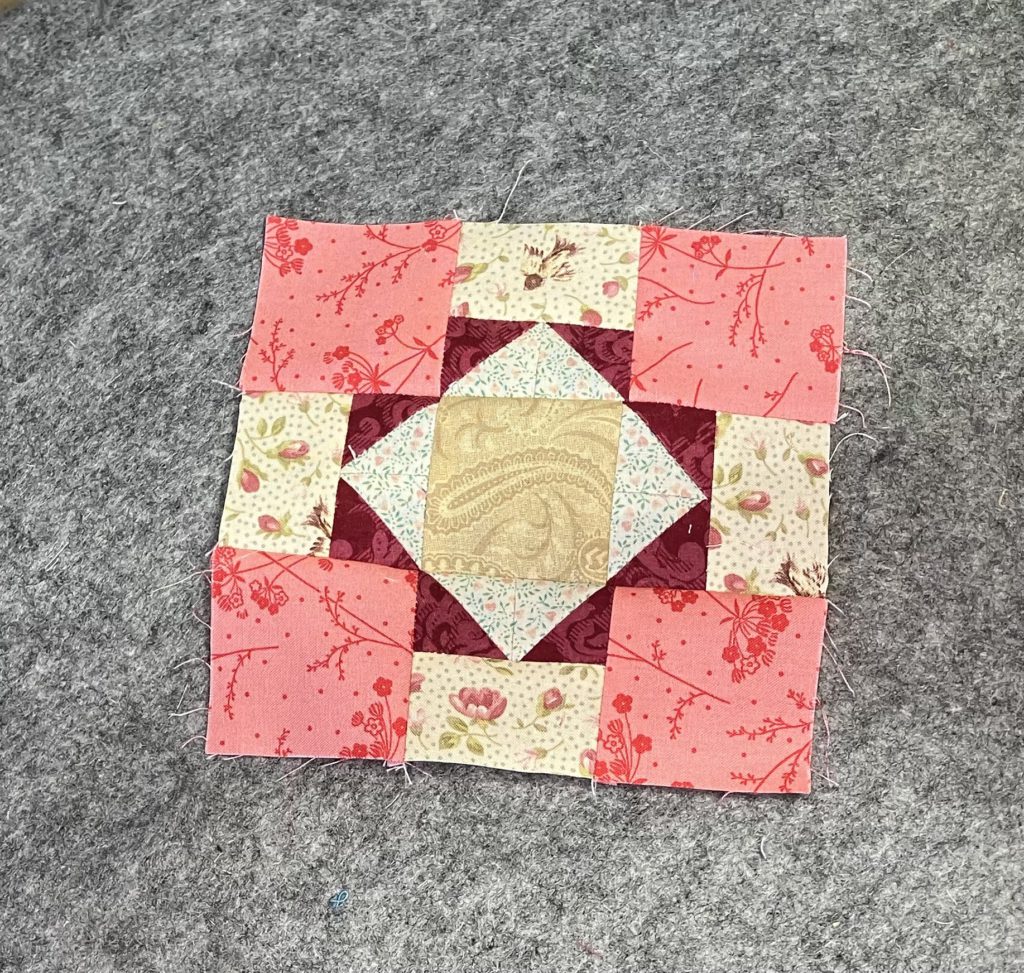
Here is the 12 1/2″ super scrappy block:

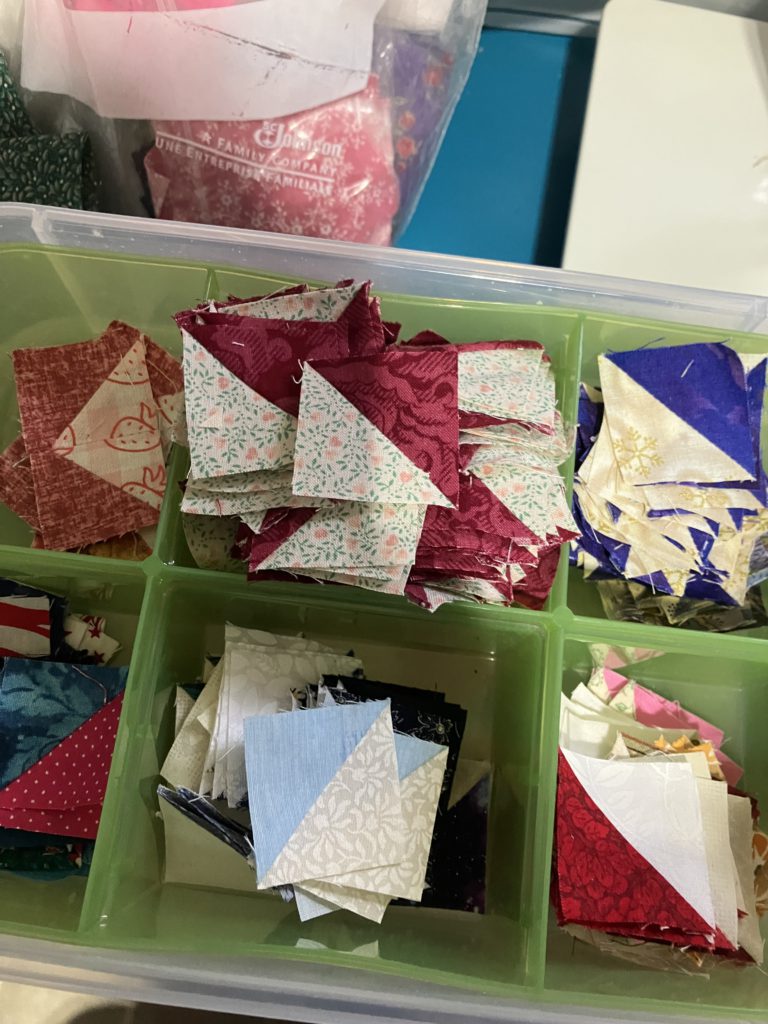
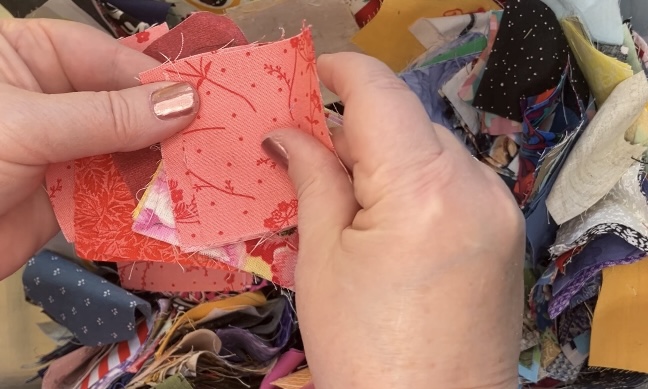
Looking at the above picture, I realize that some of my scrappy pinwheels stand out a little better than others, but then again, I am using up my scraps. C’est la vie!

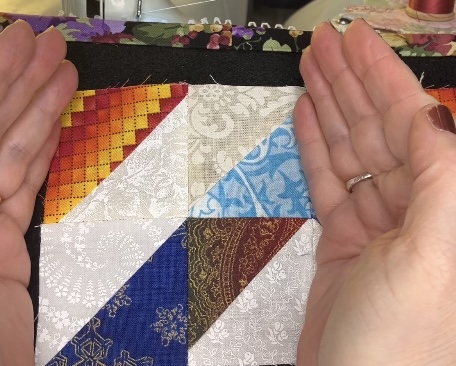
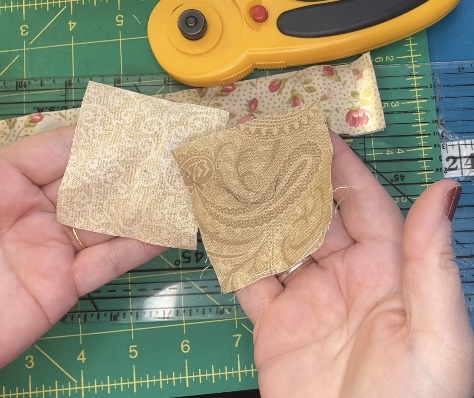
I can’t resist tempting you more about the flat pinwheel technique. Look at how flat this one is…yes, it really does lay flat. I did not pin or fuss overly much to get it that way.

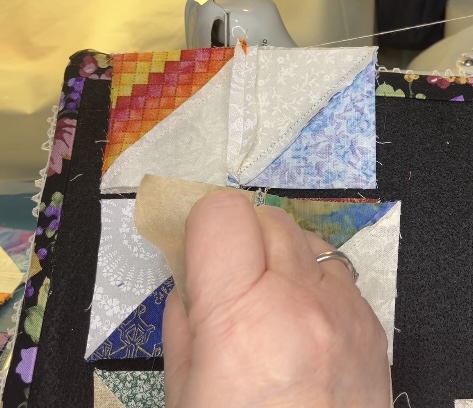
Here is the back center of that block. Look at that little mushed mess of seams. That is what makes this all work!

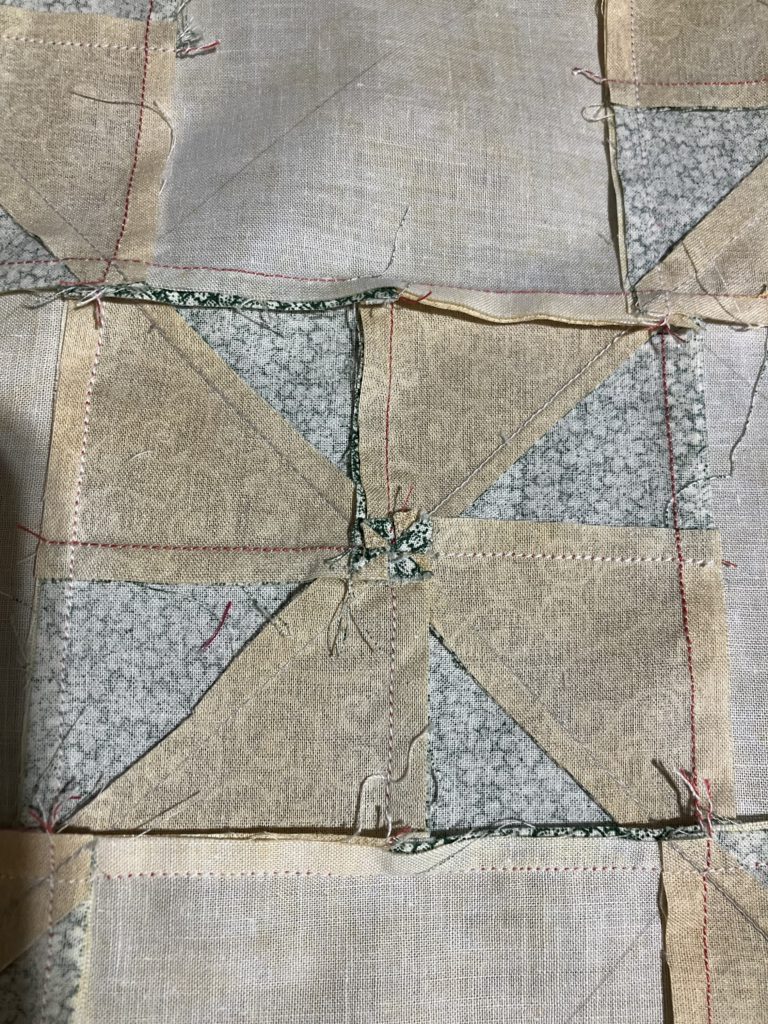
The video shows you how to pick out about 6 stitches (3 on each side of the connecting seam) to get this little pinwheel nest…three stitches! So worth it! This is coming from me…one of world’s biggest slackers!

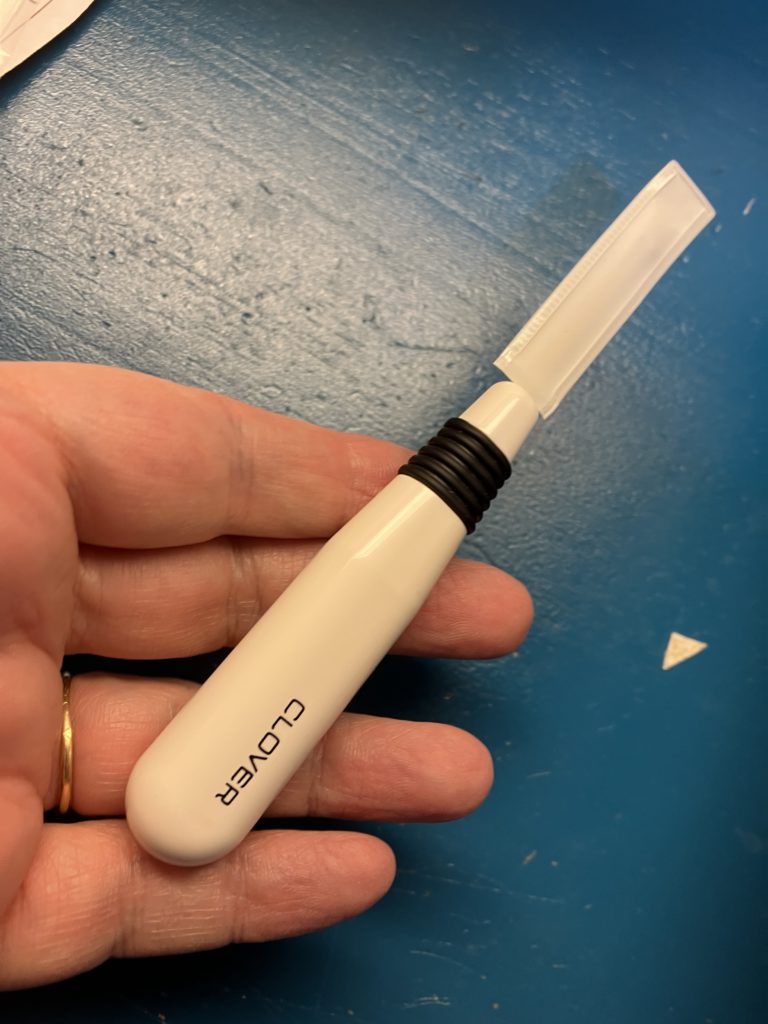
If ever a product should sponsor me, this one is it! The “cadillac” of seam rippers!

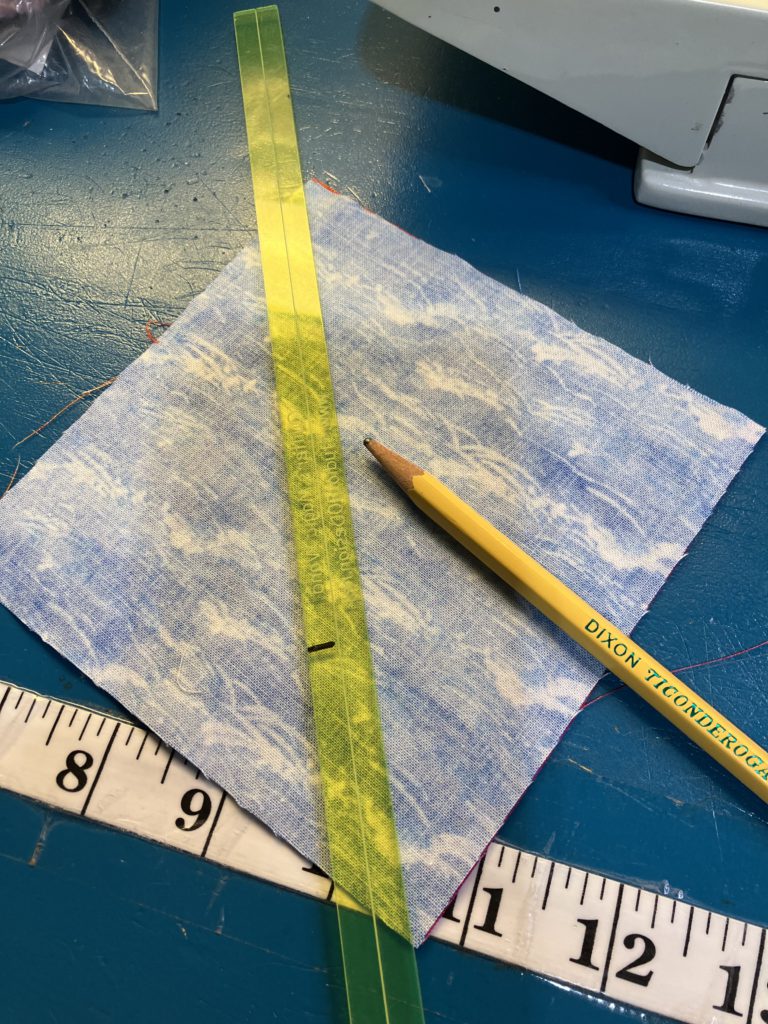
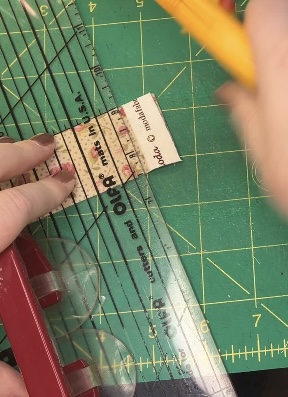
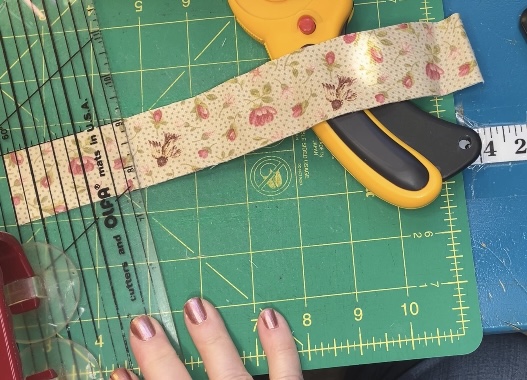
Here are the cutting measurements for a variety of sizes:

Thank you for reading and watching! I am having great fun creating and sharing with you!

Just to let you know, I am turning off comments here on the blog. I am tired of the Russian manifesto and viagra comments…or just plain phishing comments. Please comment on my Facebook group or on individual YouTube videos. I do love hearing from you, but…

Have a wonderful day! Hope you are creating something fantastic from your scraps!

Later,

Lorrie

Categories
Build a block scraps sewing

Build a Block: Lady of the Lake

This block is constructed from two sizes of half square triangles. I used all bonus half square triangles for the layout below. It finishes at 6 1/2″.

Here is the video presentation of the block construction.

As you can see, I still have a large amount of trimmed bonus half square triangle blocks just waiting for a block.

Today I am making a new center block. I have a project in mind for a Lady of the Lake block.

As you have seen in some of my YouTube videos, I love sunsets at the lake…any lake. The center of my block is going to be that! A sunset on a lake.

Both of these fabrics are directional. I want my sunset and my waves parallel to each other.

Perfect fabrics for my vision! These are 5 inch squares. My half square triangles will finish at 4 1/2 inches. I am making two blocks because I am making two of the same project that I have in mind.

To make sure that my fabrics are going the correct direction, I audition them together…not quite it!

Perfect!

When I unfold the sunset fabric, I notice that it is perpendicular to the wave fabric. When they are sewn on the diagonal, they will be perfect.

After I place the fabric right sides together, I draw my diagonal line. Sew a scant quarter of an inch on both sides of the line.

Cut on the line. Press to one side. Trim to 4 1/2″.

Lay out the block. Make sure that all of the small half square blocks are going the same direction. Notice the dark half is in the upper right corner the entire way around the block.

I sew the smaller half square triangles in rows…top and bottom first.

Then I sew the sides next.

After each section, I lay it back out on my design board. It is very easy to reverse pieces…so I double check after each section.

Holding this design board up to photograph it makes the sections look crooked, but they are not. Add the sides first, then the top and bottom.

Here it is! One block finished! I think it is worth dealing with the smaller pieces to get this beautiful block, don’t you?

Here is the second version of this block. I didn’t have quite enough of the teal blocks, so I threw in some other blues and grays. It will work beautifully in the project that I have in mind!

Here are the cutting charts for this block. The top chart is for using trimmed and made bonus half square tringle pieces. The bottom chart is for construction of pairs of half square triangles before assembling the pieces. Please read carefully. Ask in comments if you have any questions.

I love the boldness of this block. It is a great way to use up the smallest of the half square bonus blocks. Give it a try! You won’t be disappointed!

What blocks are you making to use those bonus half square triangles? I would love to see them! My Facebook group allows you to post pictures and share…Come on over!

Later,

Lorrie

Categories
Build a block scraps sewing

Build a Block: Economy

This is one of my favorite blocks to use up those bonus half square triangles. I am not sure that I am calling this block by its correct name. It is made up of 16 bonus half square triangle units. If you have a bunch of these hanging out in your sewing space, you will absolutely love this block. Grab a design board and let’s go!

Here is the video for the construction of this block.

I am starting my layout in the center. The half square triangle pieces must be made from a distinct light and a distinct dark piece to be effective in this block. Color is not an issue in this scrappy block…only light and dark.

In this center, light fabric points towards the center.

Next add more squares to create points going left and right. The “frame” is beginning to emerge.

Add top and bottom pieces to complete the frame.

Add the outside corners to complete the block layout. In this case I used 4 matching corners, just because I could. Scrappy corners would have worked just as well…or better! Sew pieces together in pairs.

Now that you have pairs, lay your pieces out again. (I pressed seams open to reduce bulk.)

Join pair units into rows of four.

Lay your block out to check for correct placement.

Join two rows to make larger units. Notice that the top and bottom halves are the same layout turned around.

Also notice that this block could be pieced in quadrants. This four patch unit makes up the entire block.

Join your larger units together to complete the block. Ta-done!

The jewel box block that we did a while ago also has the same “movement” as the frame in the economy block.

Here is the original version of this block from October in my YouTube series on Scrappy Blocks that use bonus half square triangle pieces. See the video here.

I hope that the cutting charts for this block are not confusing. They are presented in 2 charts…one for just using bonus blocks and the other for construction of half square triangles.

I hope you are enjoying this Build a Block series! Enjoy!

Later,

Lorrie

Categories
Build a block quilting scraps sewing

Build a Block: Ladies Aid Album

This is a great block to use up some of those bonus half square triangles. This block measures 6 1/2 inches for the purposes of this post. See the video presentation here.

I got the idea for this block from this book. I think I changed the color placement by the time I was finished…and that probably changed the block and its name! Fundamentally, it is the same block in the end.

A cutting chart for the block and other sizes is at the end of this post.

To make a 6 1/2 inch block, you will need the following pieces:

Note that the eight 1 1/2 inch half square triangles are bonus blocks from other projects. I have an abundance of these on hand…time to use them up. You could easily use the 2 at a time triangle method or whatever method you prefer. You could even use the four at a time flying geese method.

Here is my initial layout of the block:

I chose four 2 1/2″ squares for the corners from the scrap bin.

I found this great 2 1/2″ strip in that box for the rectangles.

I couldn’t decide which block to use for the center…what to do?

When I went to the cutting table to cut that nice tan background fabric, I found this strip right on top of my pile of scraps! Fantastic! Why didn’t I think about using a 1 1/2″ strip to cut?

I cut the strip into four 2 1/2″ pieces for the background…better.

I was looking for four of one kind of half square triangle bonus block and four of another kind. I was looking for something with pink or red as dark colors in both. I was trying to follow the picture pattern. The strawberries are cute.

Here is what I initially came up with for the flying geese:

That looked so busy and disjointed to me. I keep looking at the box of squares sitting there beside the sewing machine. I decided to try these bonus blocks.

Much better for me! (The first one was okay, too, but I like this one just a little better…) Remember, make the block that you love! Now to choose the center!

Light swirl fabric with a touch of glitter is nice.

Slightly darker paisley looks good, too…a nice contrast…brings out the birds in the background a little.

Nice detail across the middle of this block, but the color isn’t quite right…and it looks flat compared to the first two choices.

Here was my final decision in my finished block. (I probably should have pressed it so it was flat for its picture. It is straight, square, and true. I promise!)

I couldn’t help myself. I just had to make a 12 1/2″ block.

I have lots of these green and tan half square bonus blocks…lots.

Eight of them didn’t even put a dent in the pile!

I chose four corners and a center. I will use that 2 1/2″ strip now…ha ha!

This larger block went together even quicker than the smaller one.

Ta-dah! Ta-done! The measurement for the pieces is listed in the chart below. I think a 4 x 5 block quilt made from 12 1/2″ blocks would be quick and easy! There would also be a nice secondary four patch design where the blocks meet in the corners if you didn’t use sashing.

Here are both of the blocks that I made today. There is also a 9 1/2″ version in the chart below.

I hope you are enjoying this series on scrappy blocks. The blocks I have chosen for the next couple of months focus on using up those bonus half square triangle blocks. Time for me to go trim up some more of those!

What scrap blocks are you making? Please feel free to share your thoughts and pictures with me here or at my gmail account.

Later,

Lorrie