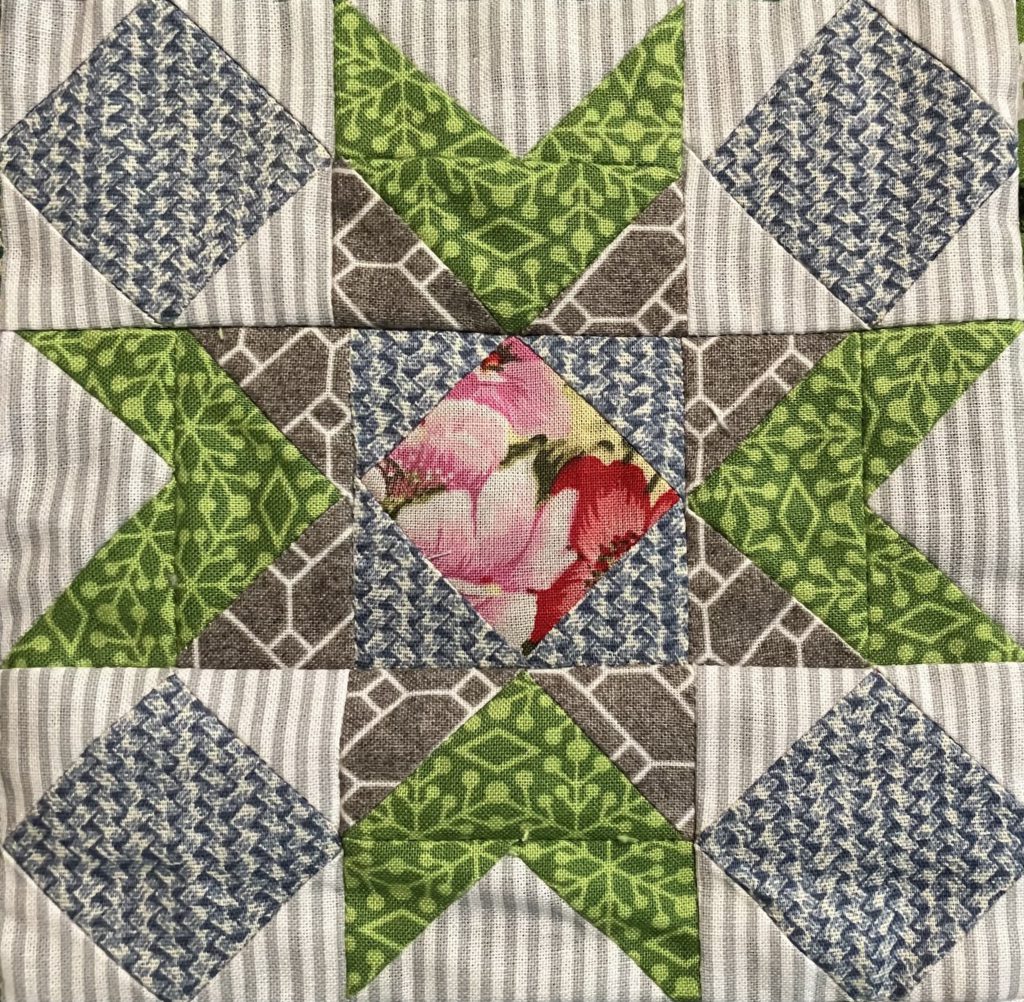
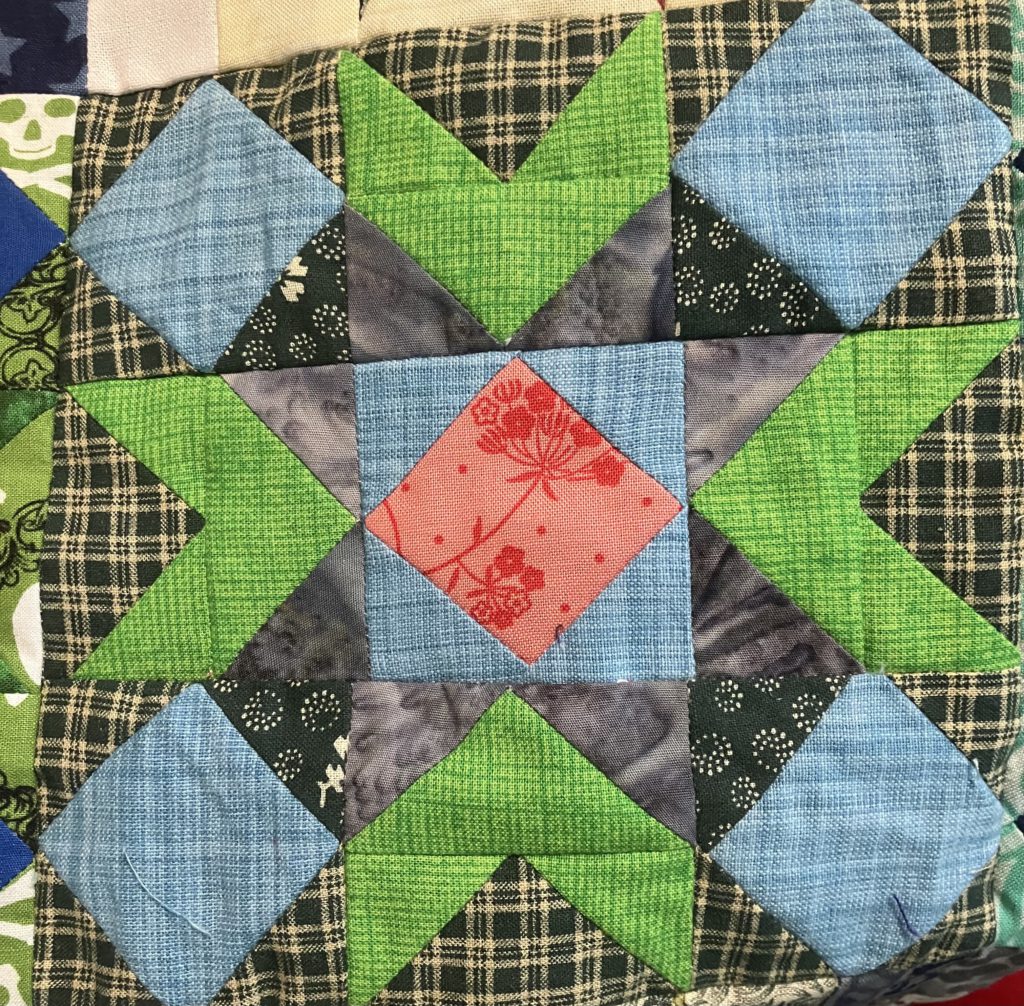
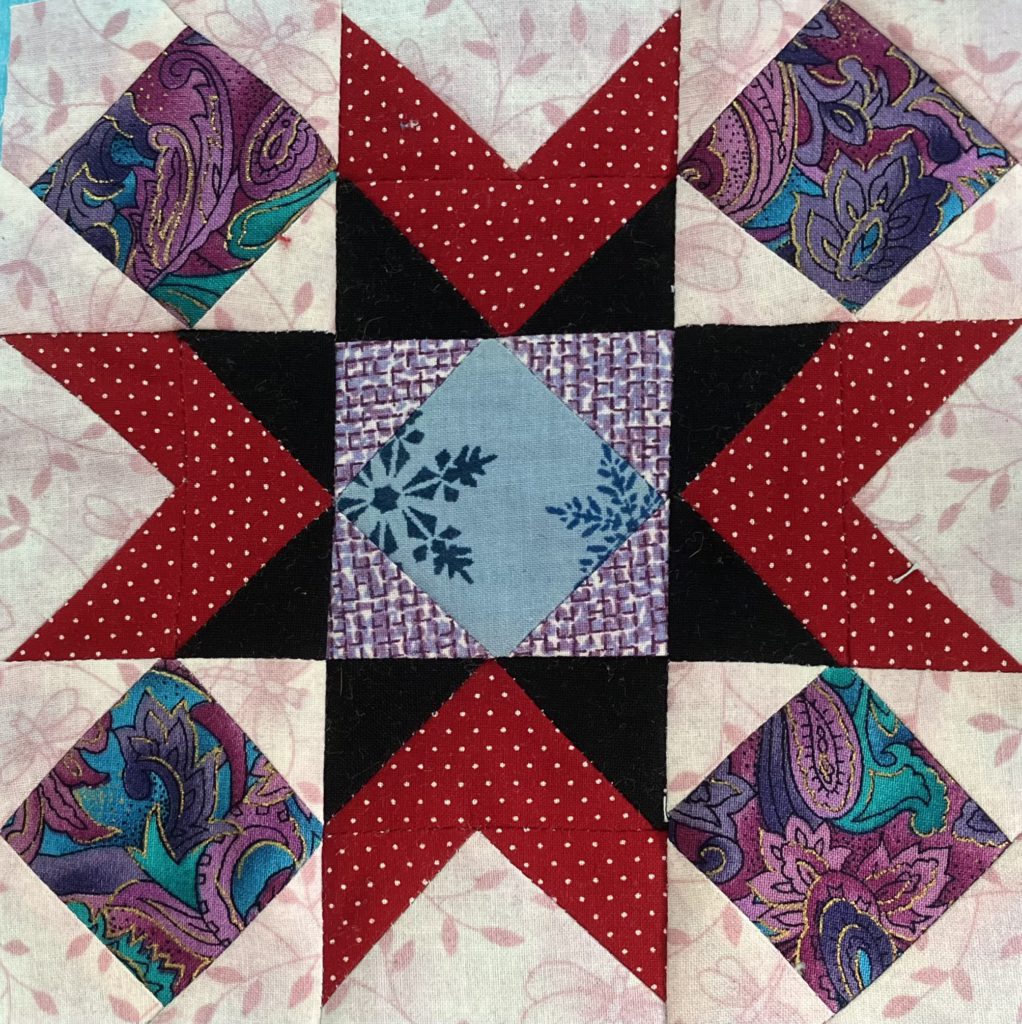
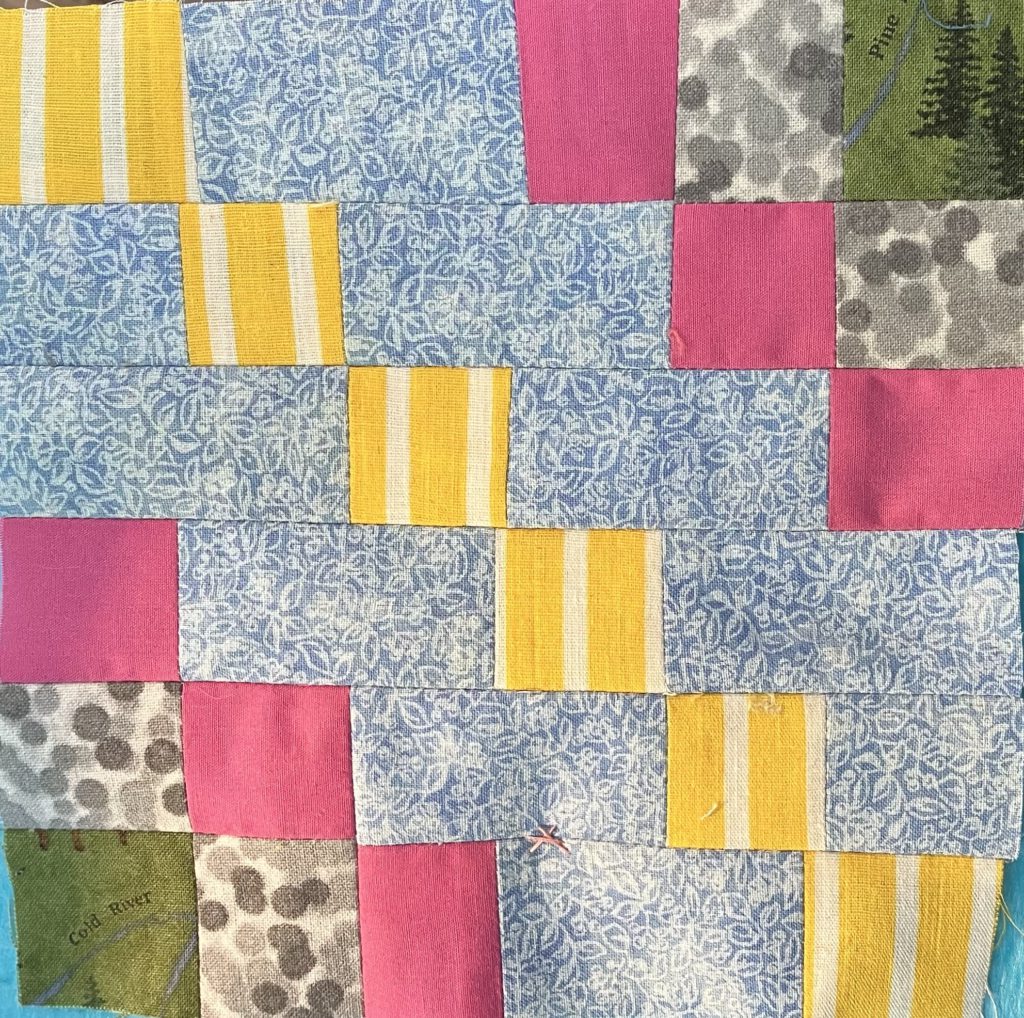
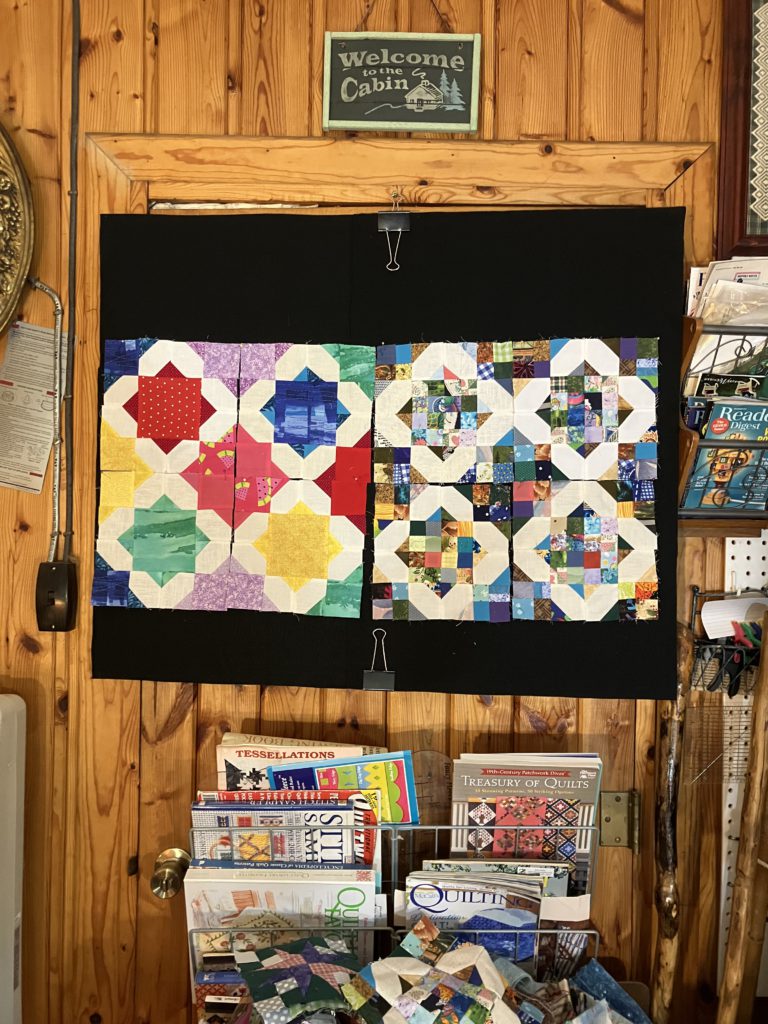
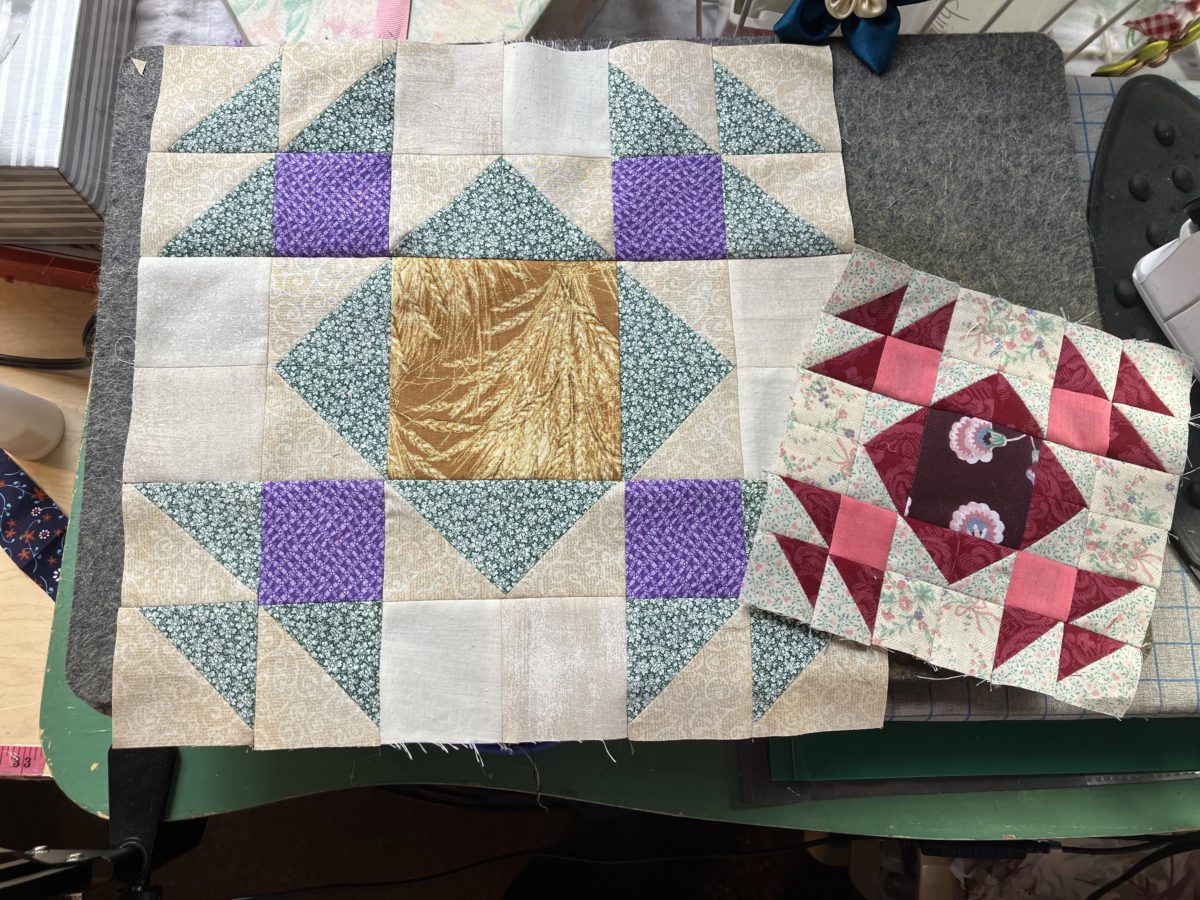
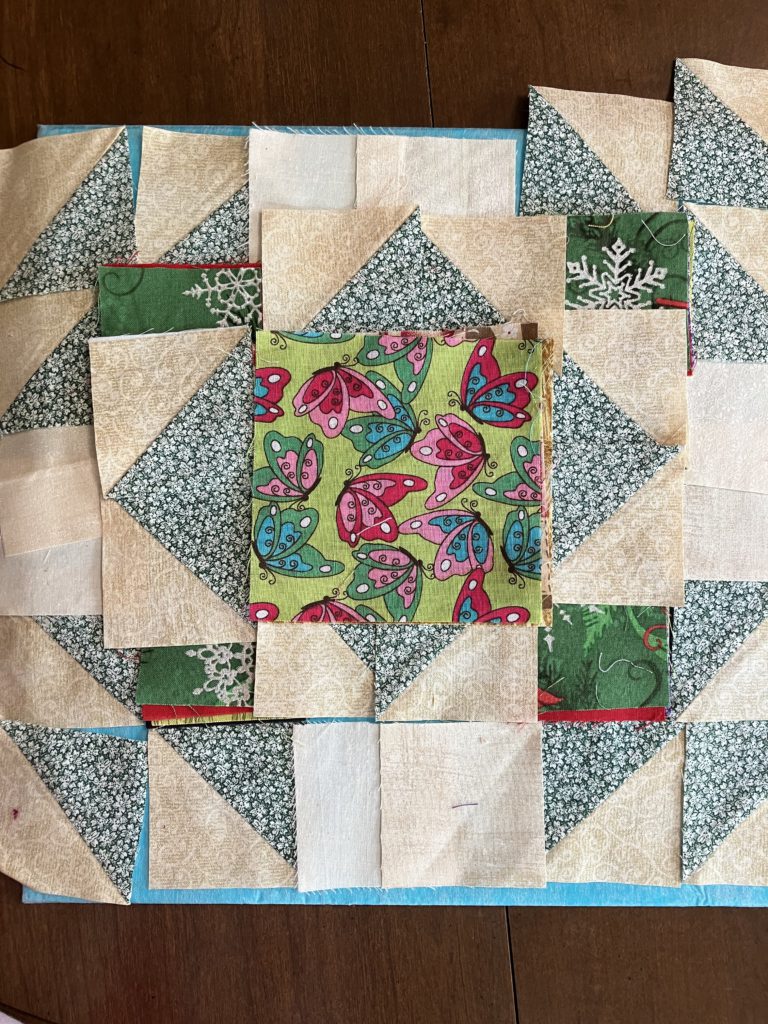
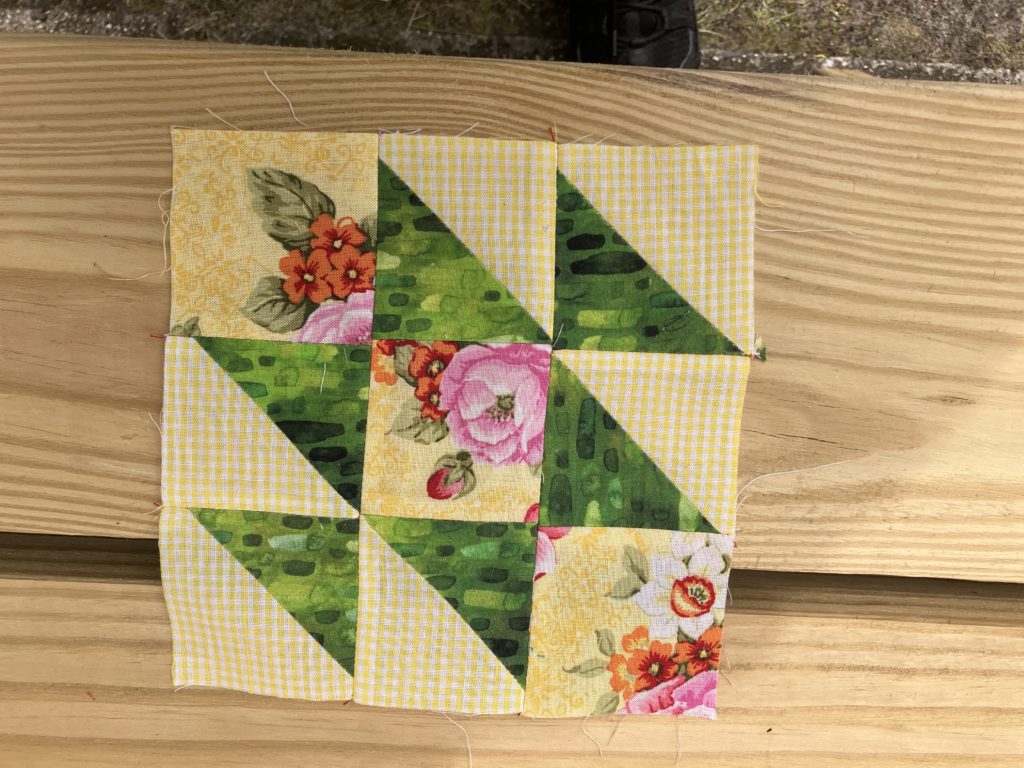
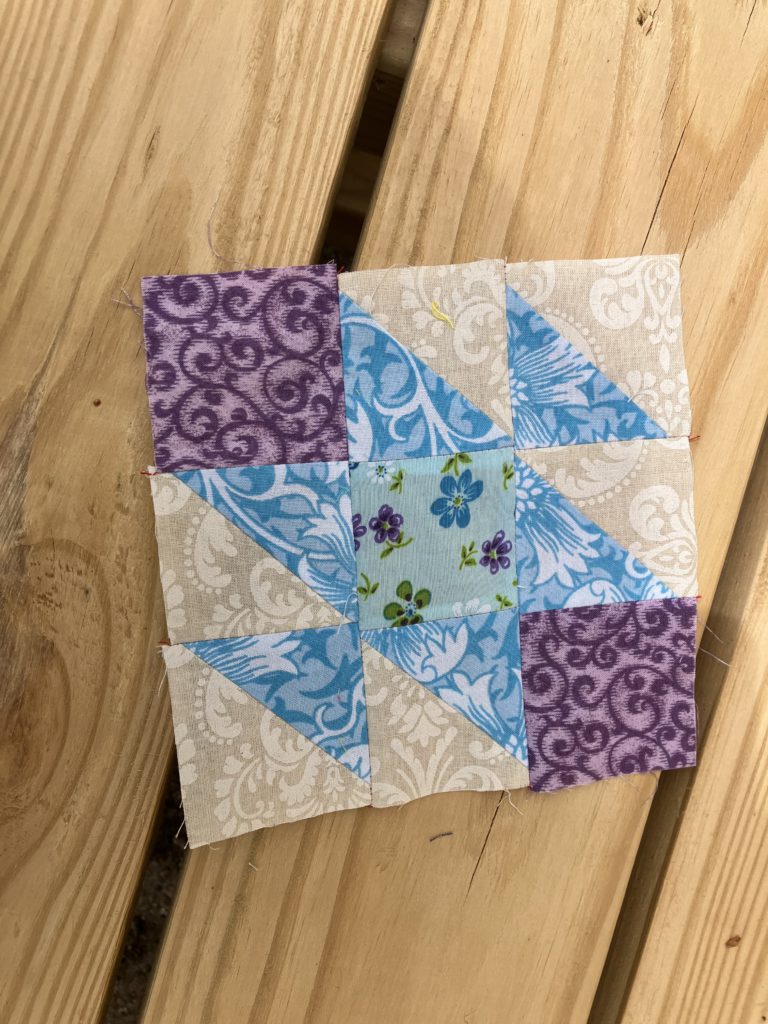
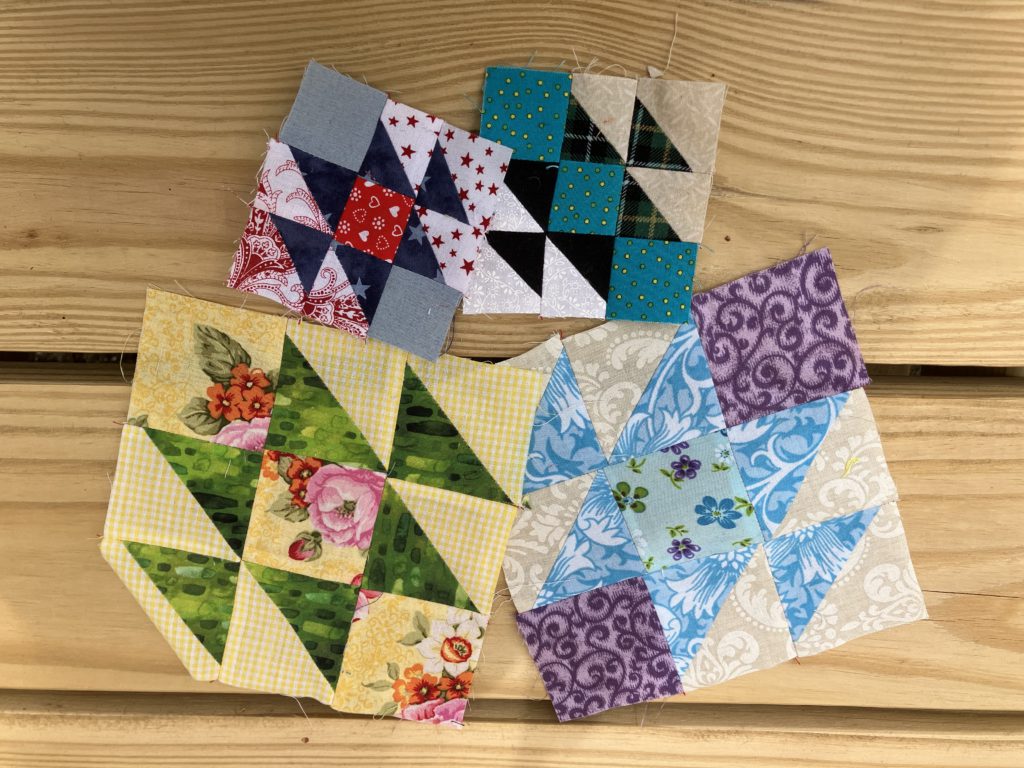
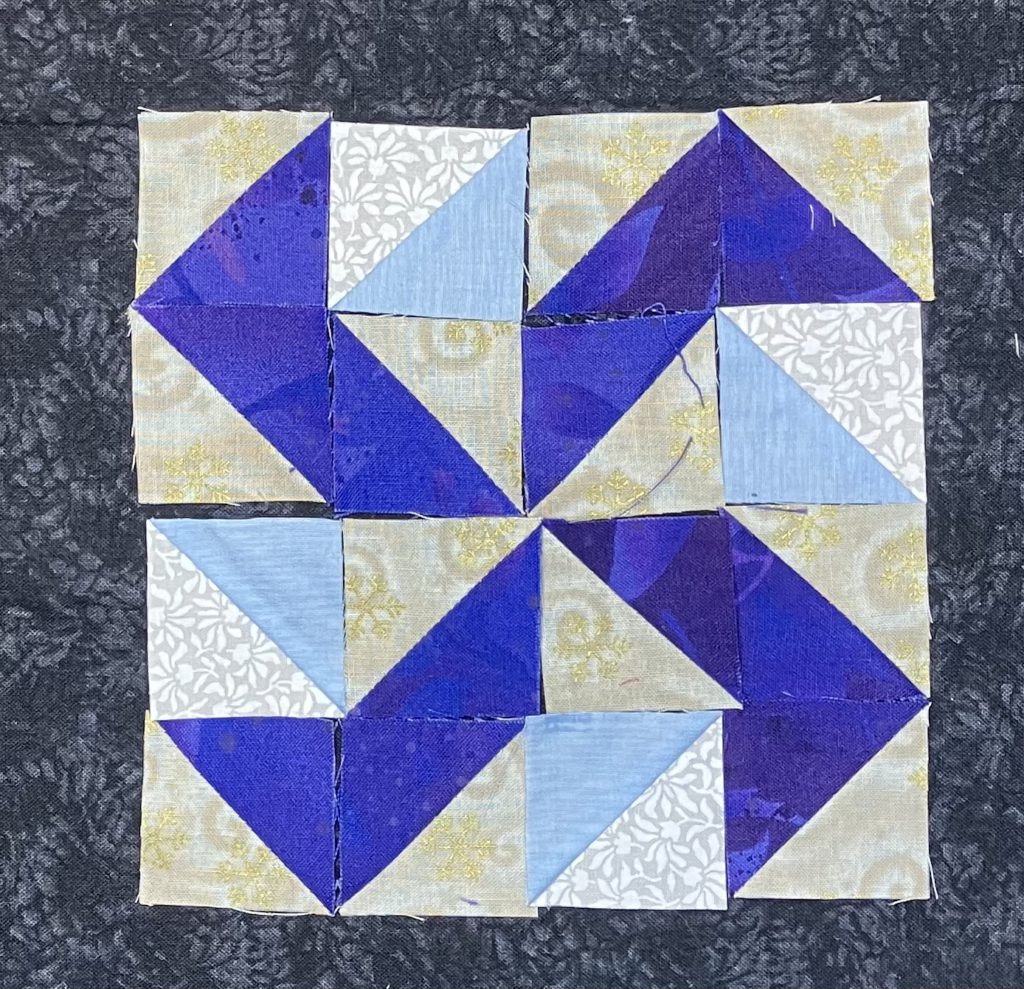
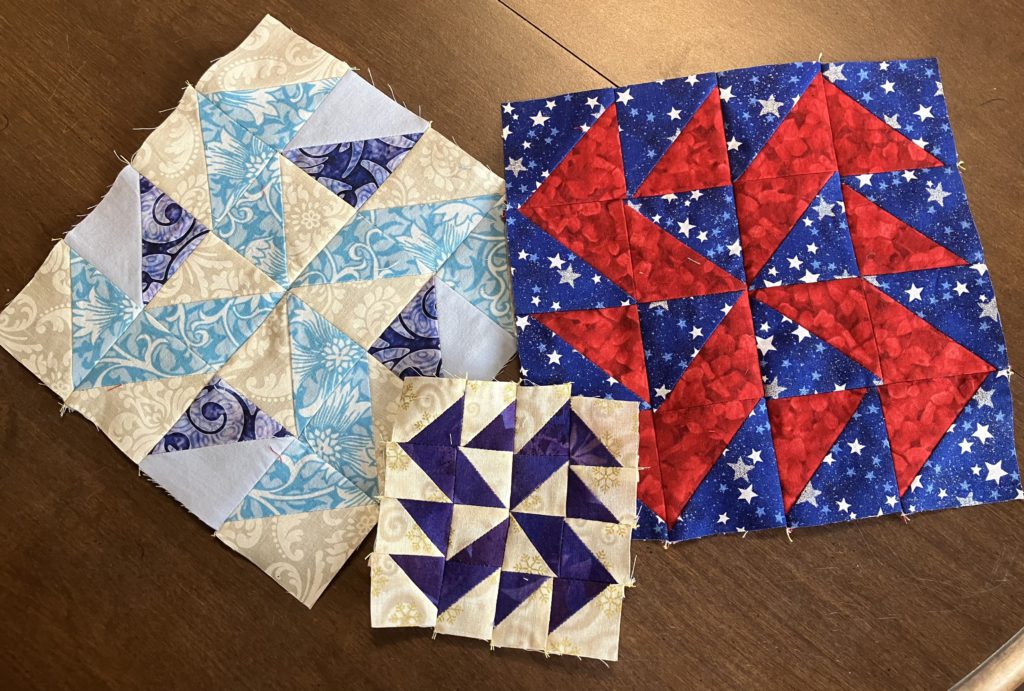
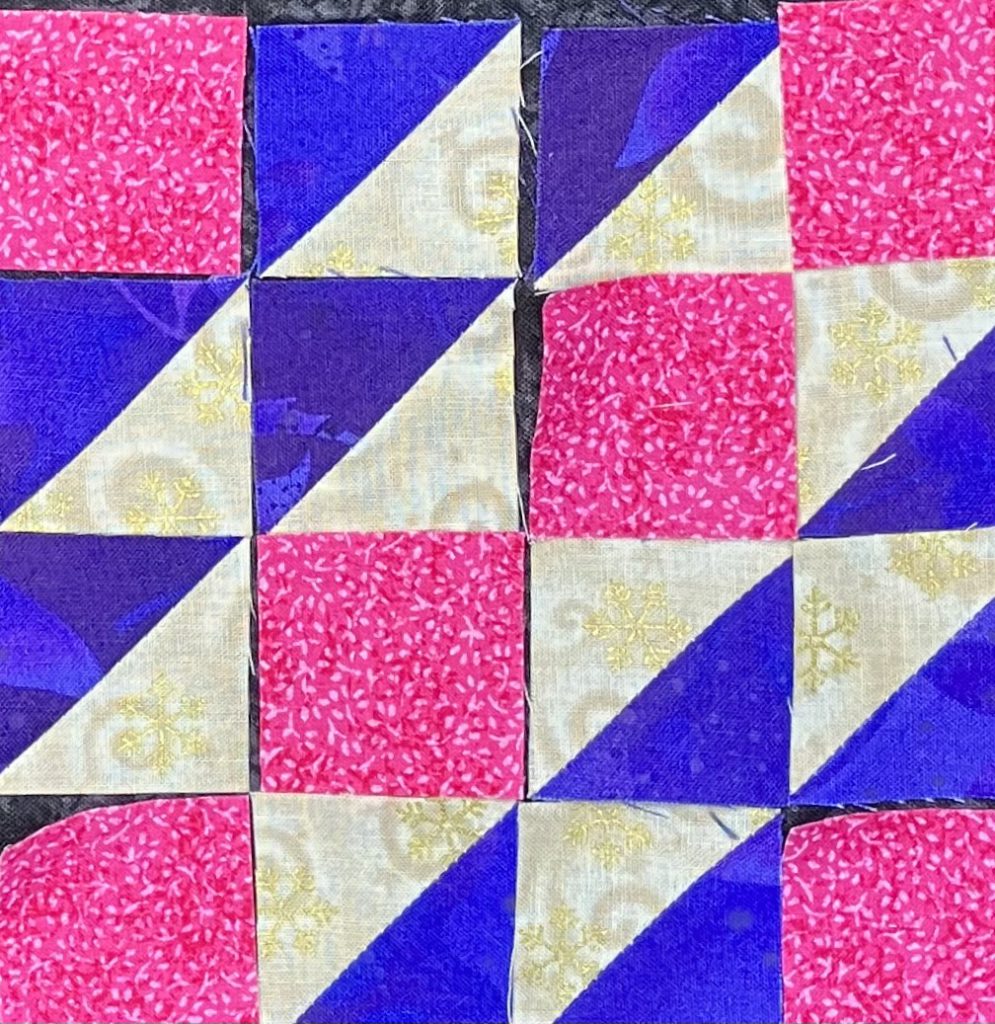
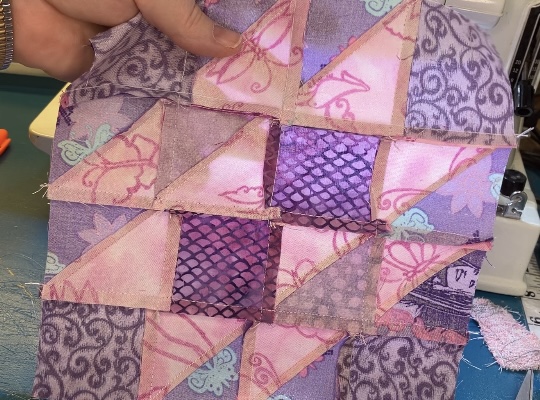
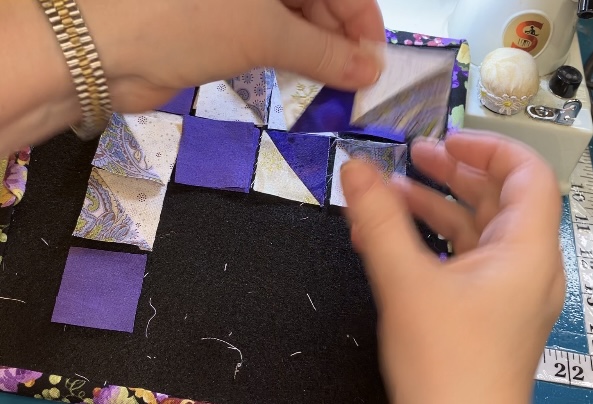
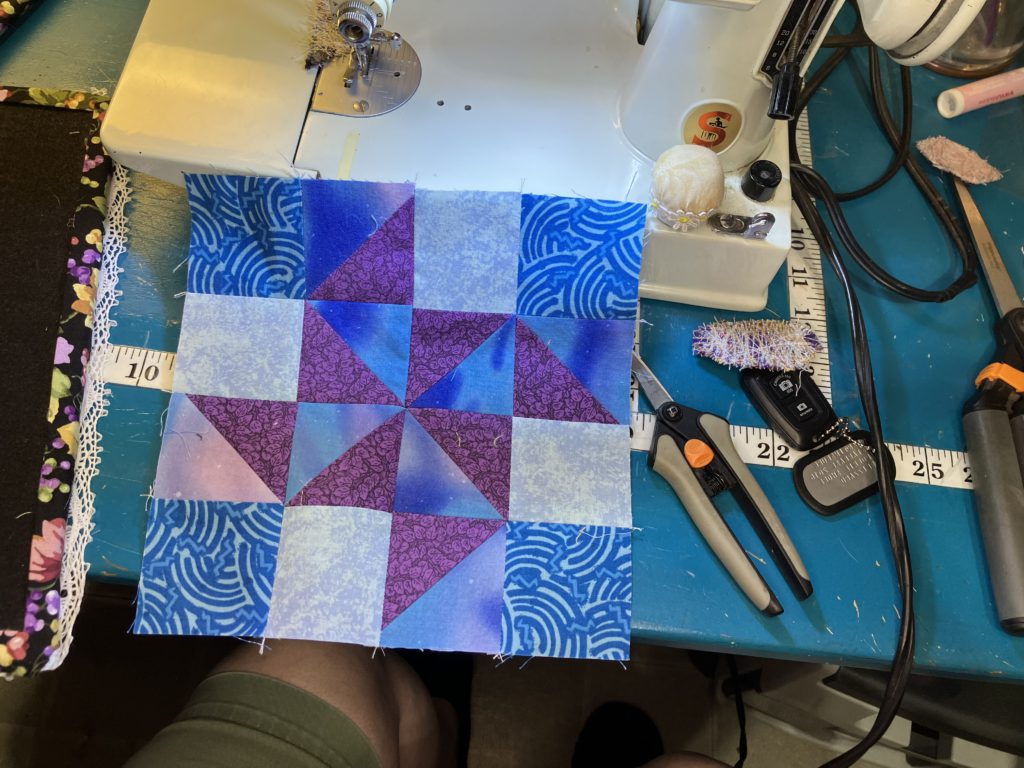
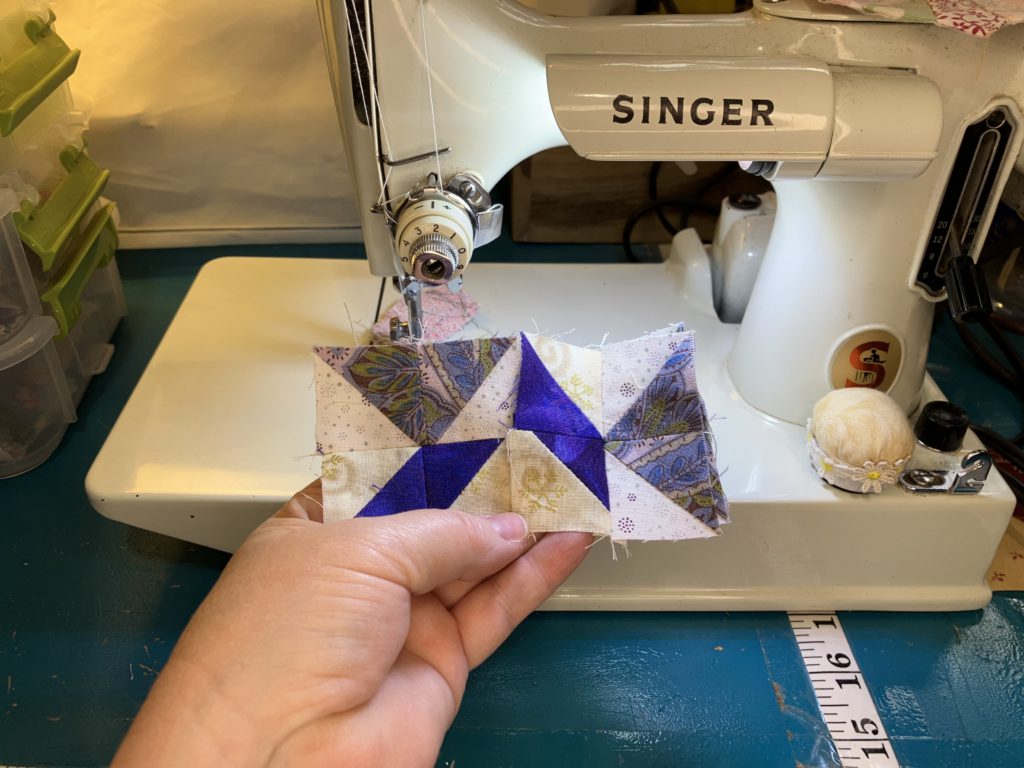
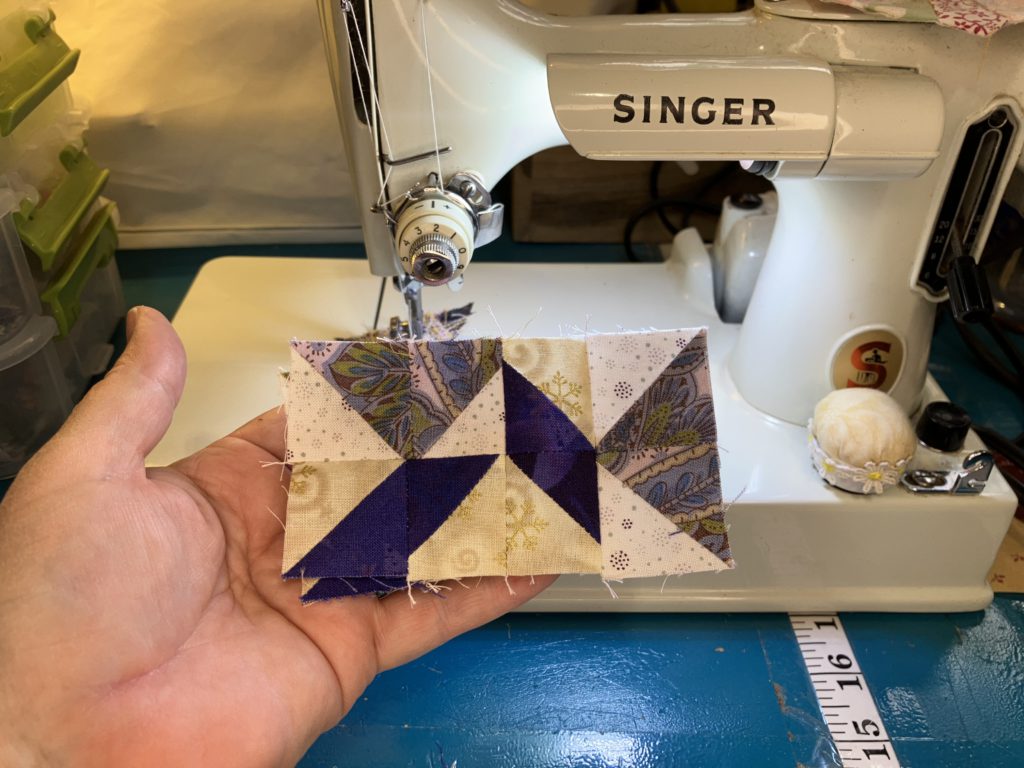
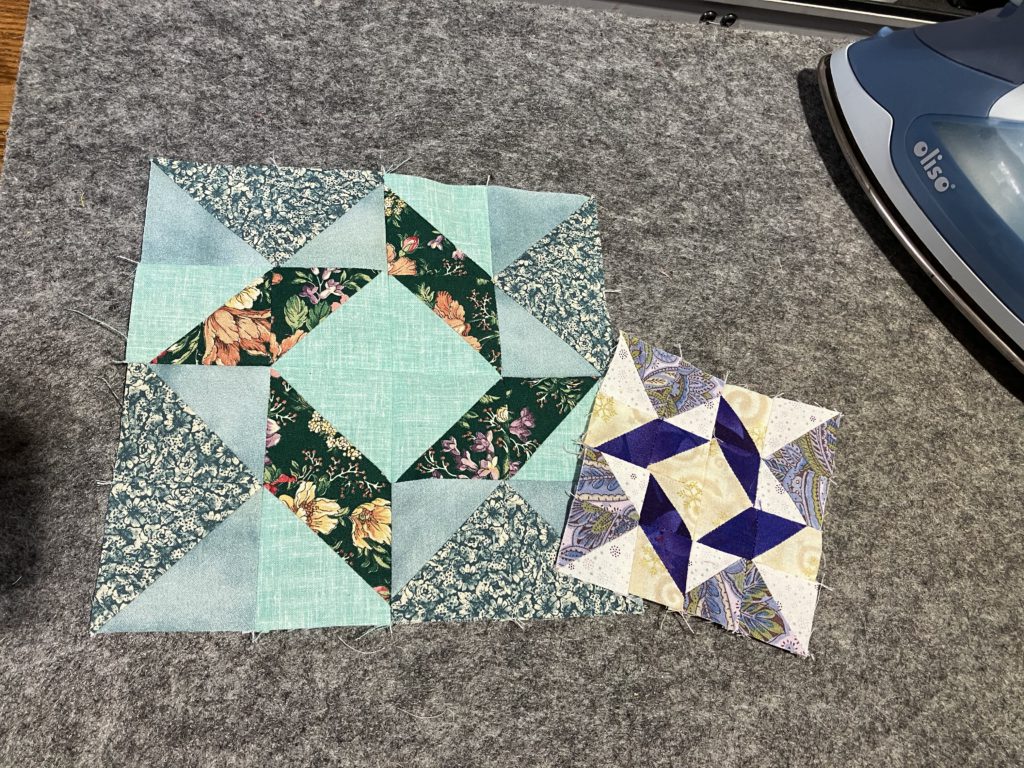
Here are some examples of the Salem block from the weather quilt:
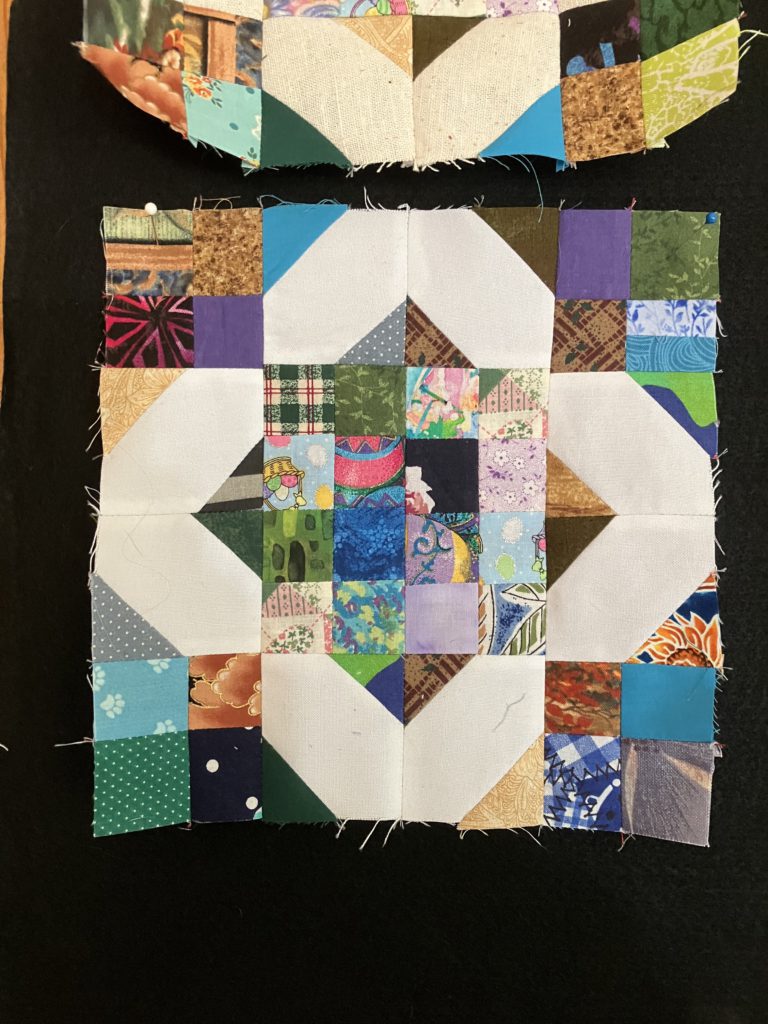
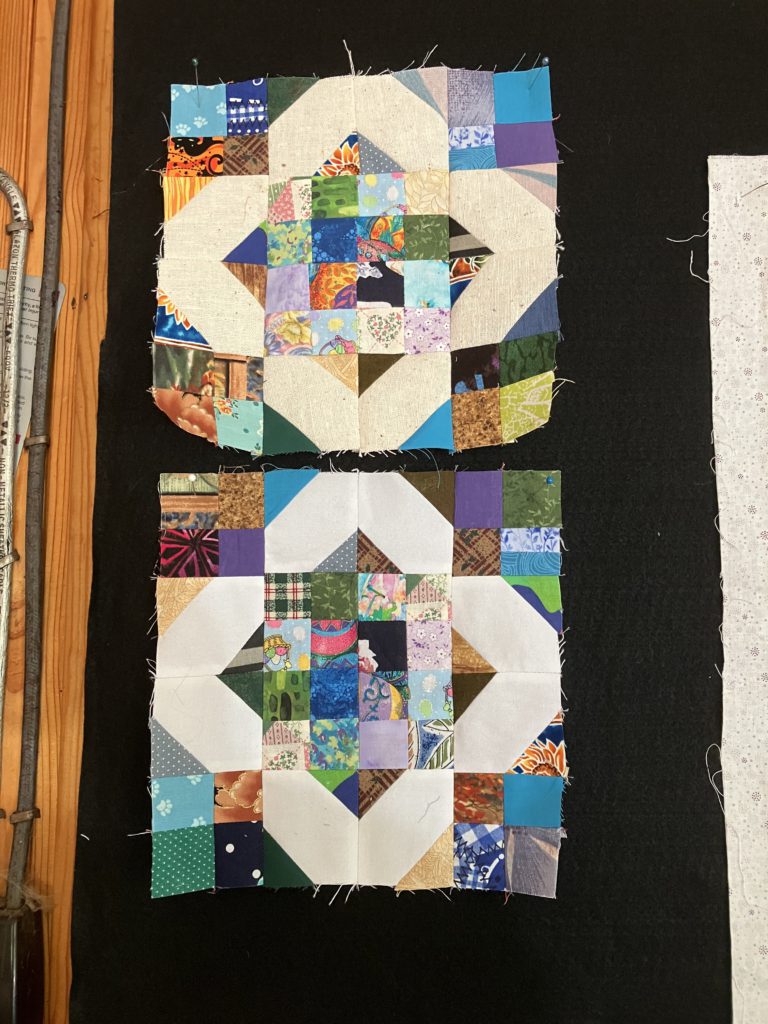
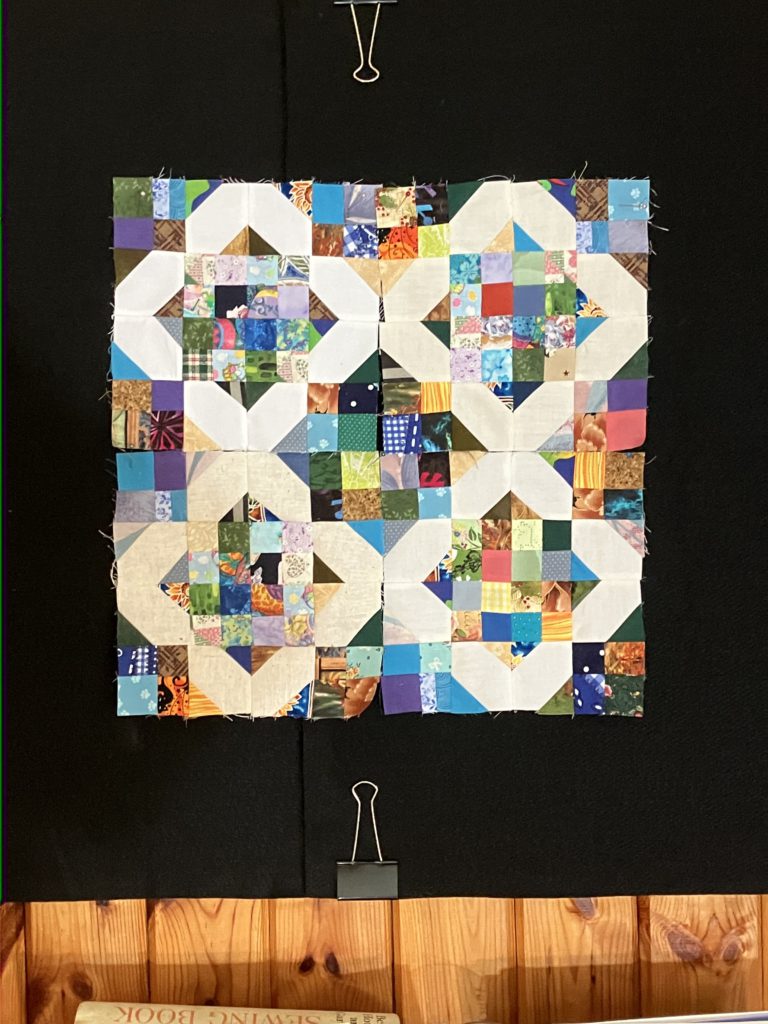
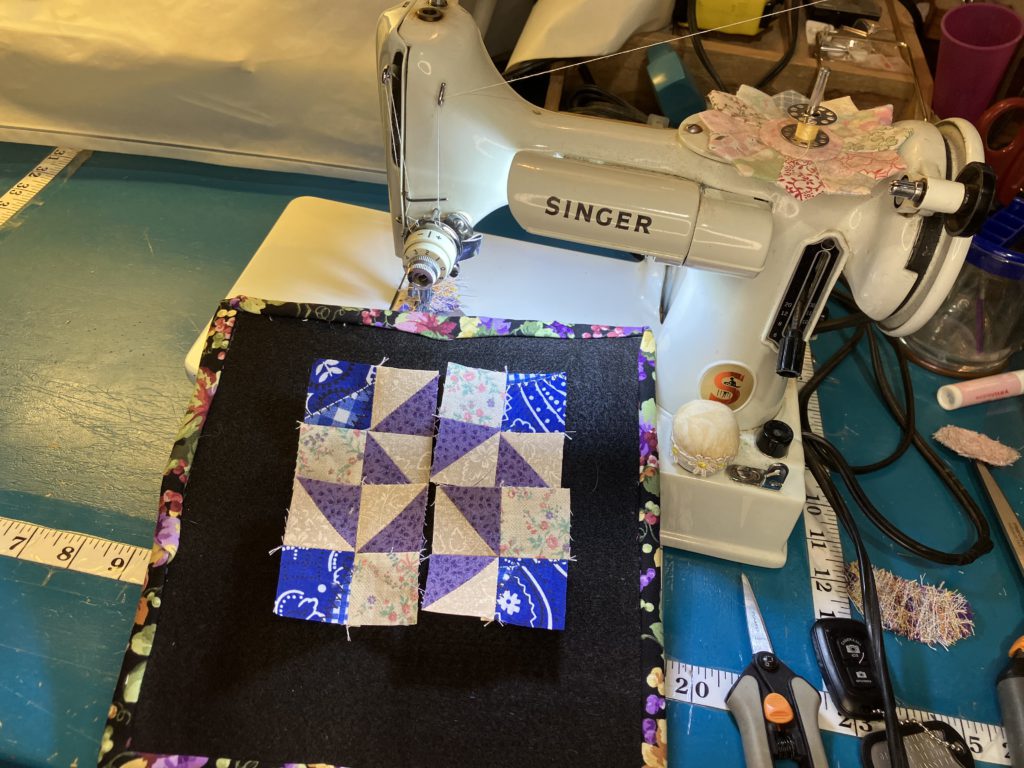
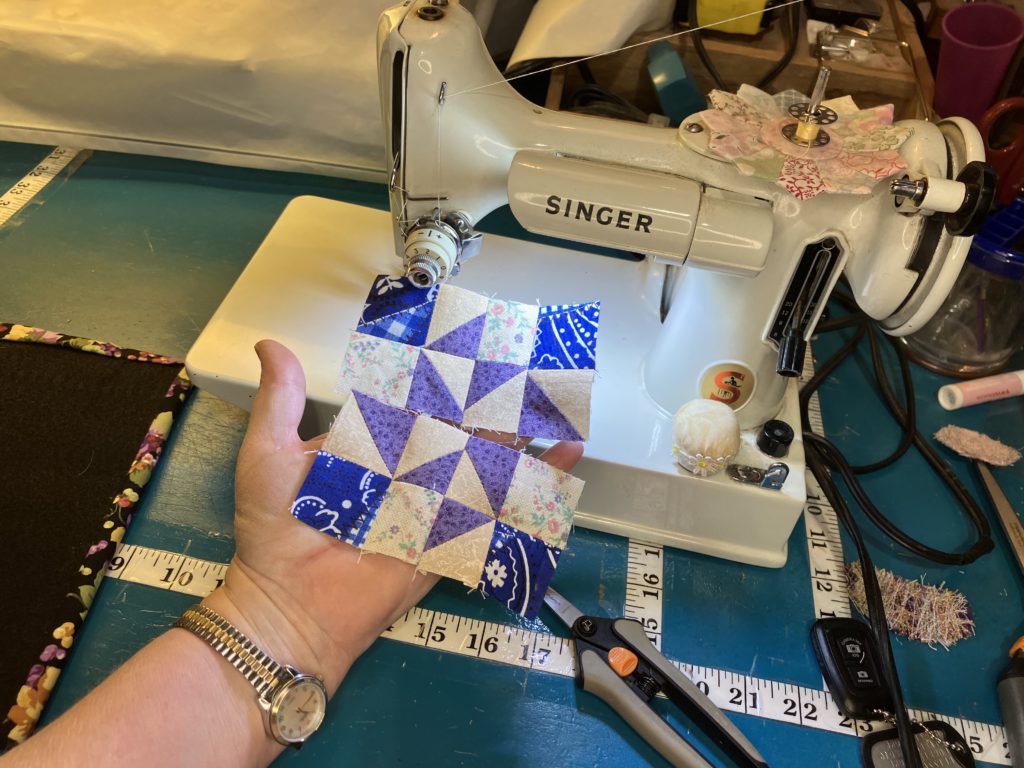
This block finishes at 6 1/2″. It is constructed from all squares and rectangle pieces, using the sew and flip method to create corner triangles and geese.
Once the corner/center units and “V” units are constructed, this block is assembled like a basic nine patch.
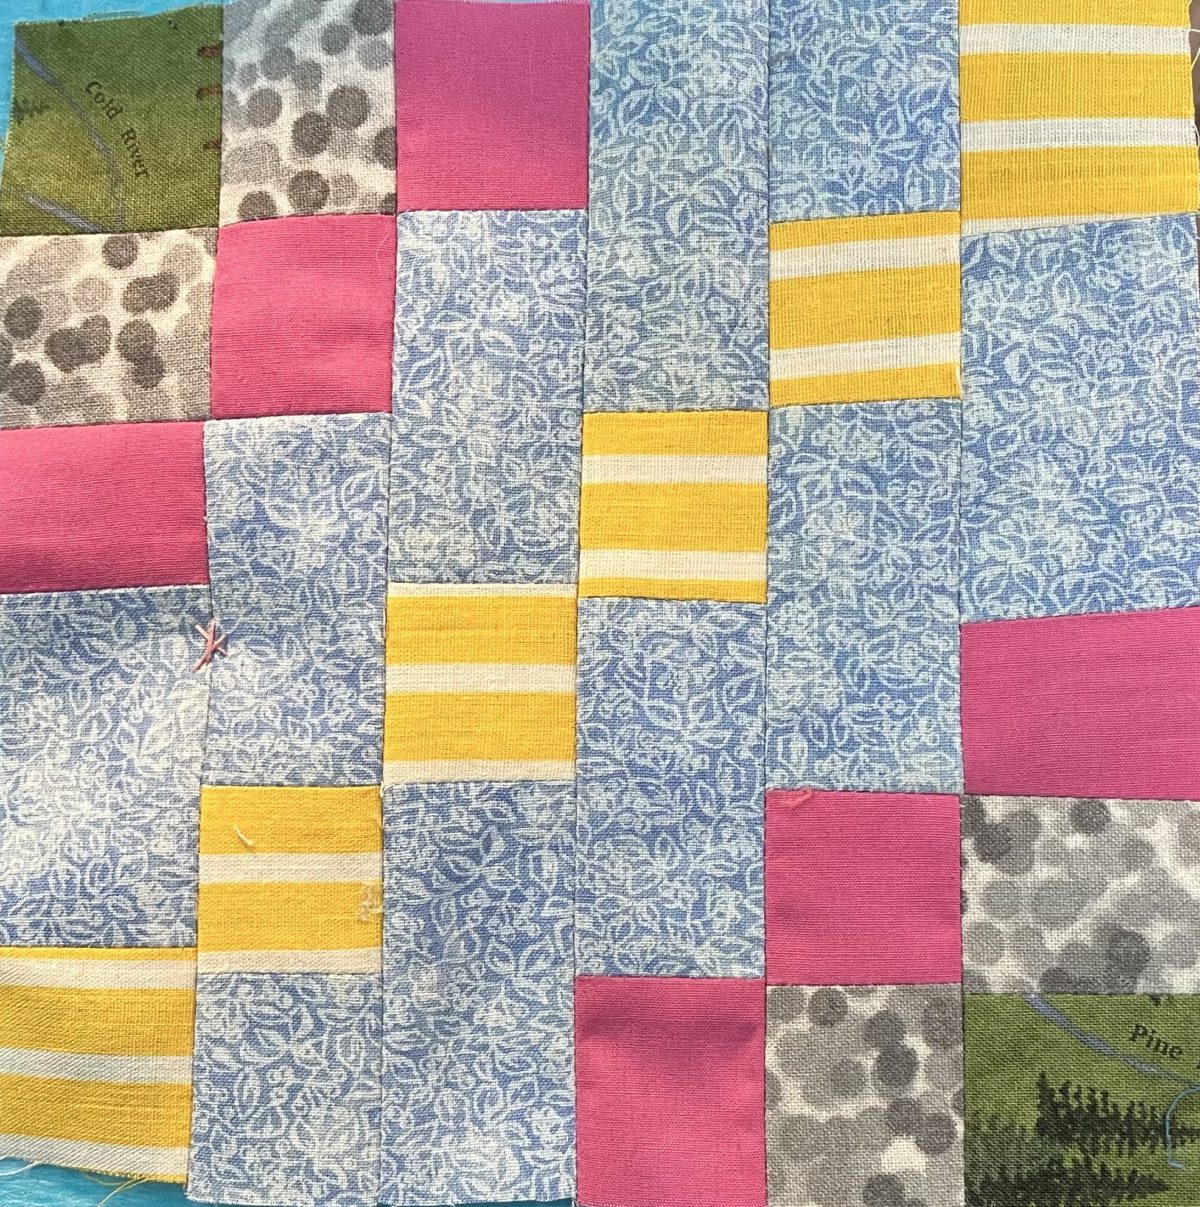
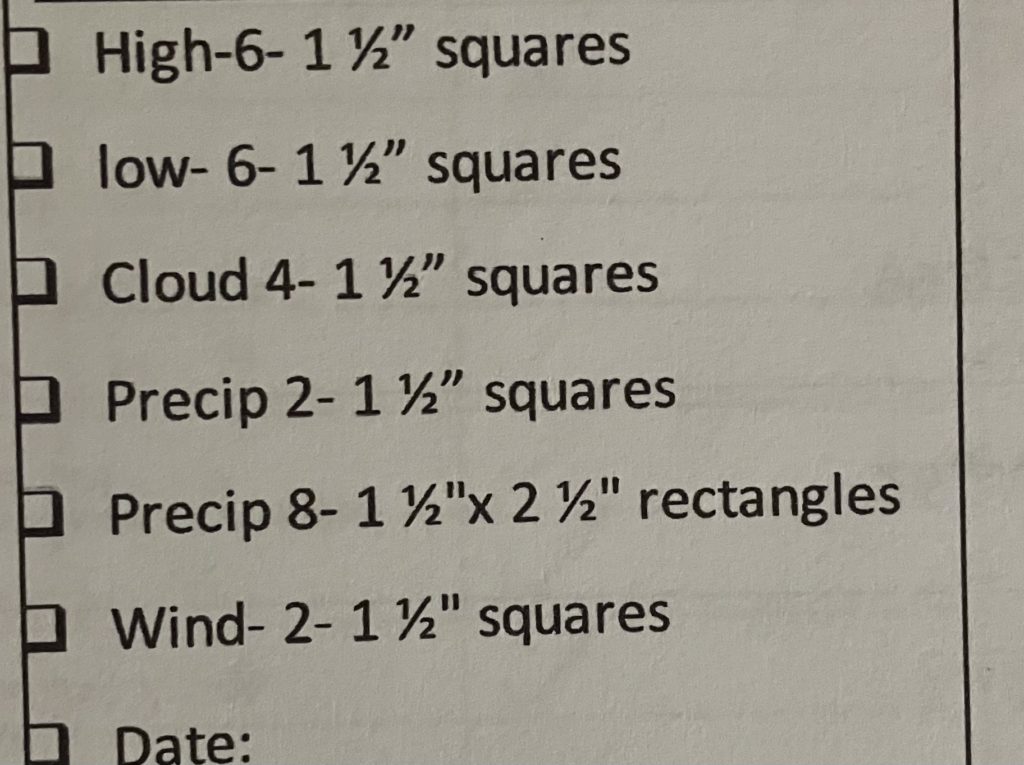
Here is the cutting chart:
This block is so cute and irresistable that you have to give it a try! Don’t be intimidated by the sew and flip units! That makes complicated block construction easy to do!
I hope you are enjoying this block series…happy scrap piecing!
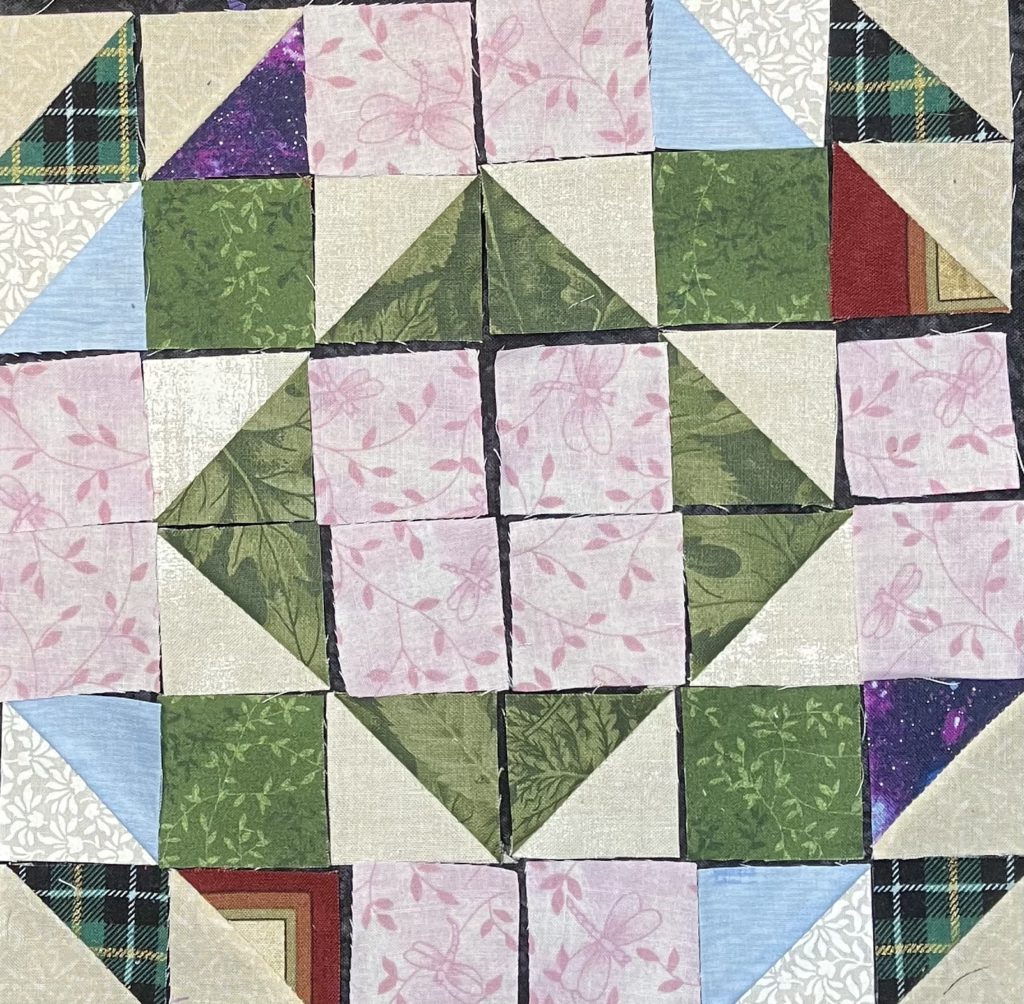
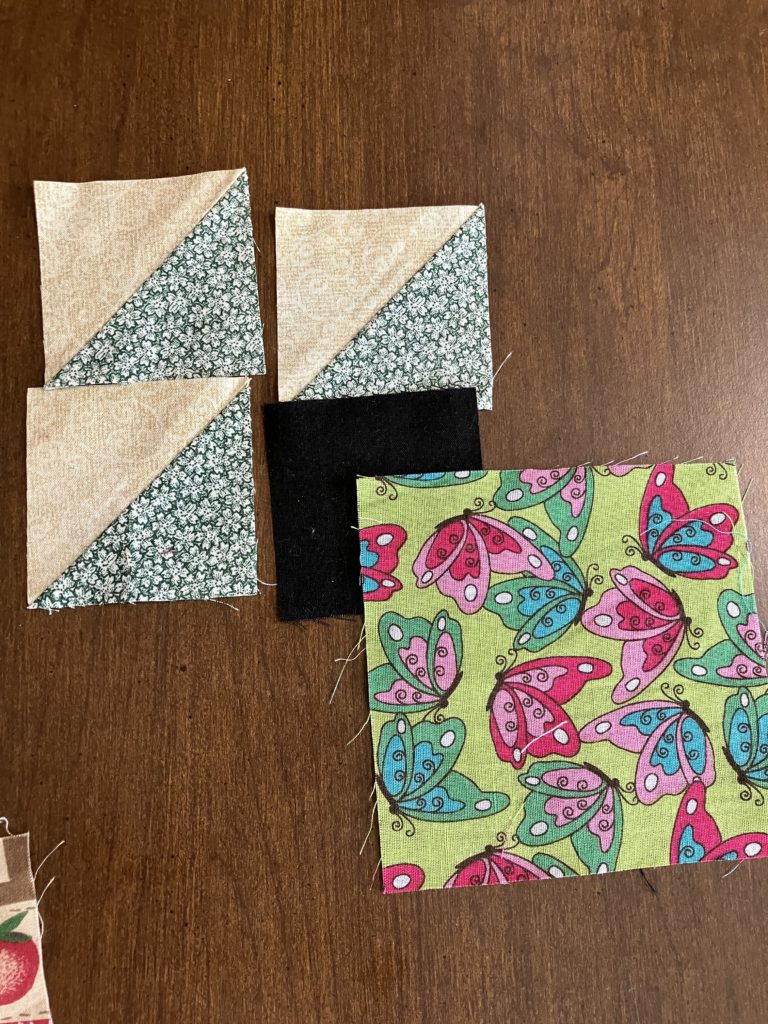
If you have been watching my YouTube channel, you have seen me mention my 2024 weather quilt. A subscriber recently asked if I would do a tutorial on the weather quilt blocks. What a fantastic idea!
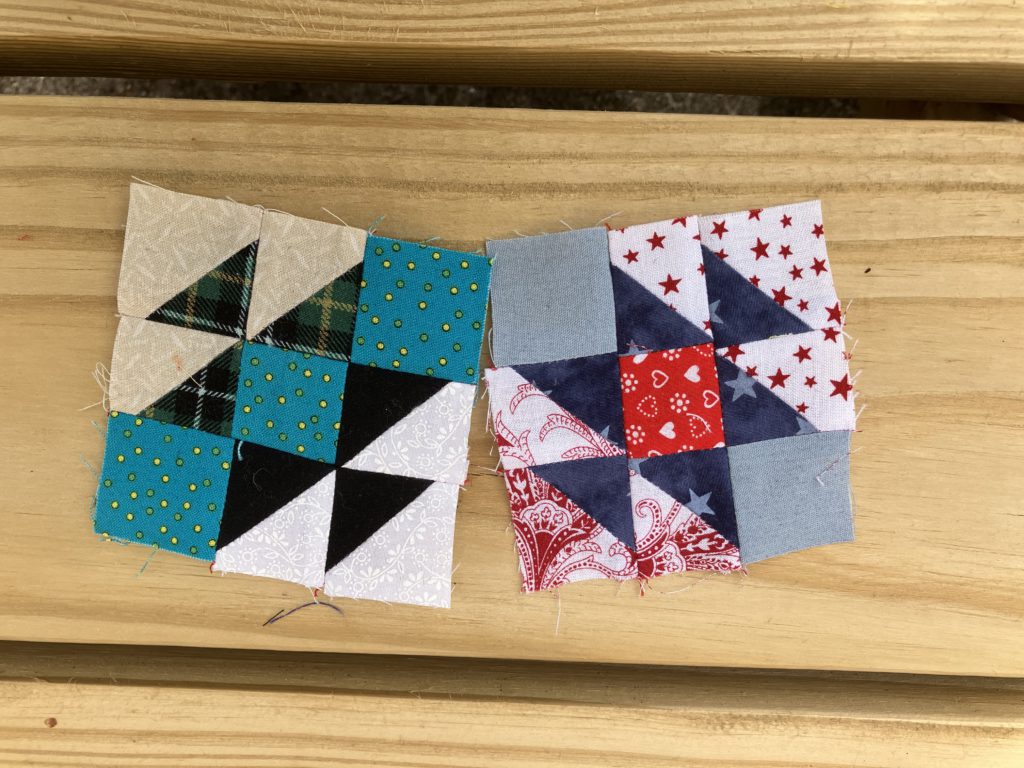
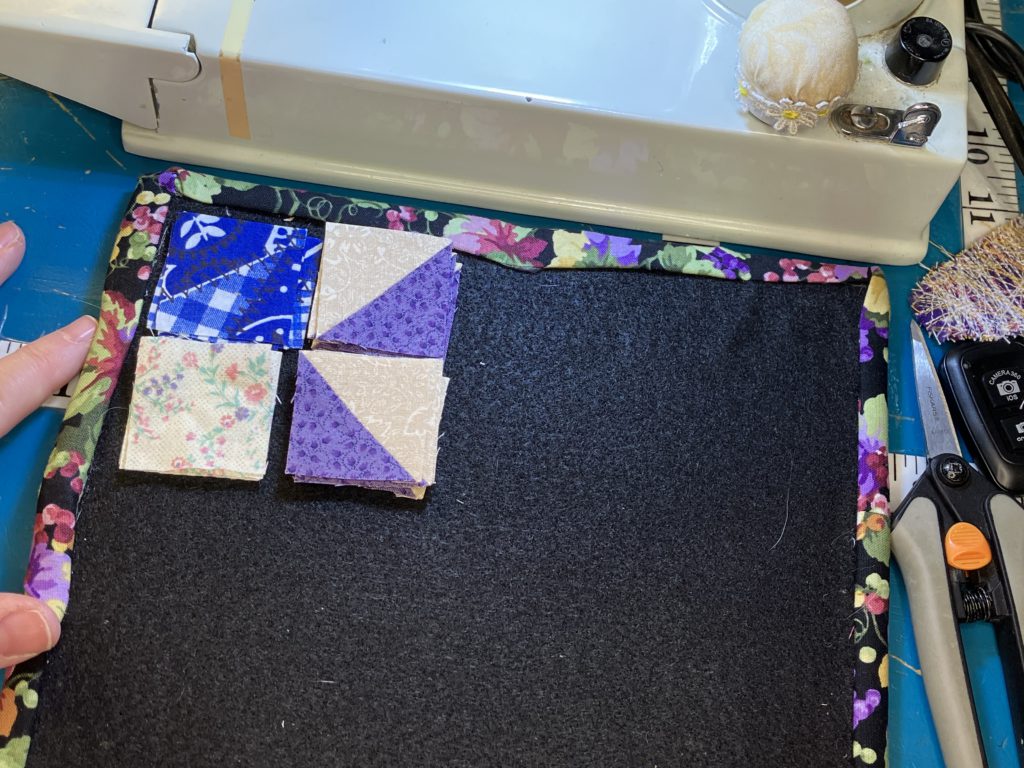
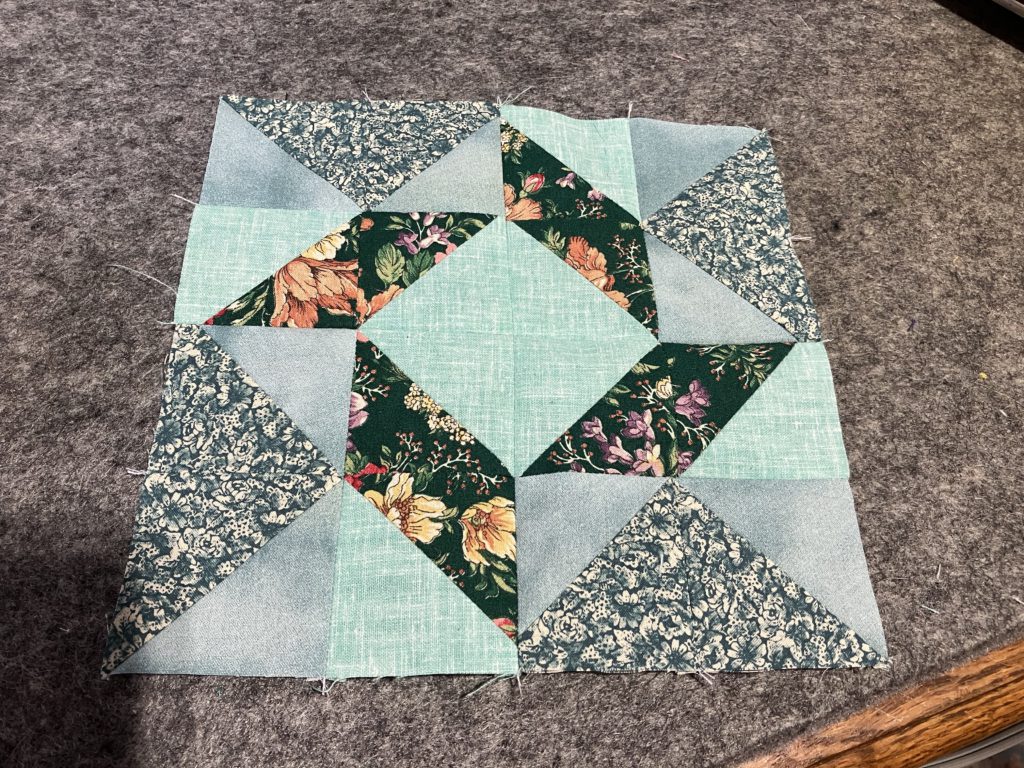
This quilt has five different blocks in it…based on the place where the weather data is collected. This first block represents data that is collected while we are staying somewhere away from home(s) or our son’s house. This is the “away from home block”…not to be confused with the traveling block. I will define that more clearly when we make that block.
All of the blocks have a color that represents these five weather elements: high temperature, low temperature, cloud cover, wind and precipitation. What does that mean for someone who is making this block but is not tracking the weather? It has five colors…of your choosing!
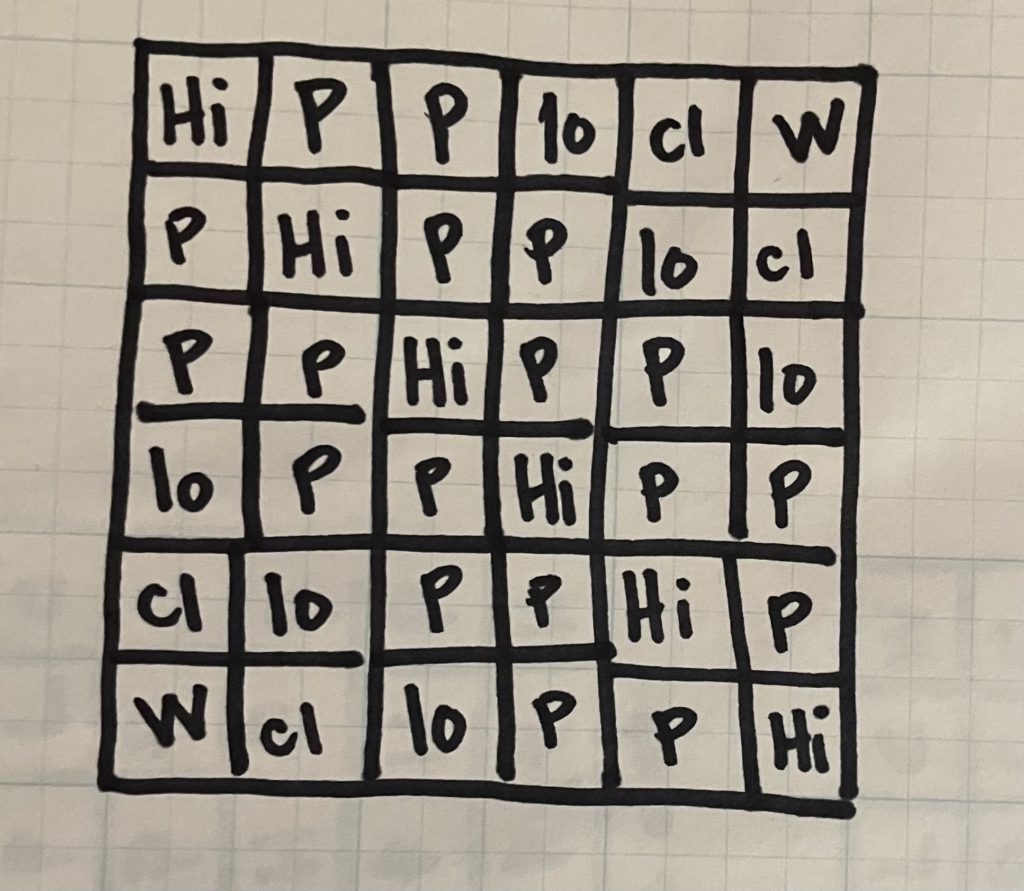
Here is the diagram that I used to layout the pieces for this 6 1/2″ block:
Here is my cutting diagram:
Let me explain how to read the above chart. In the placement diagram, H represents high. You would cut six 1 1/2″ squares… in the picture, these are yellow squares.
I hope you enjoy making this block. It would be great as a regular, old scrappy block, too!
I can’t wait until it is time to share next week’s block!
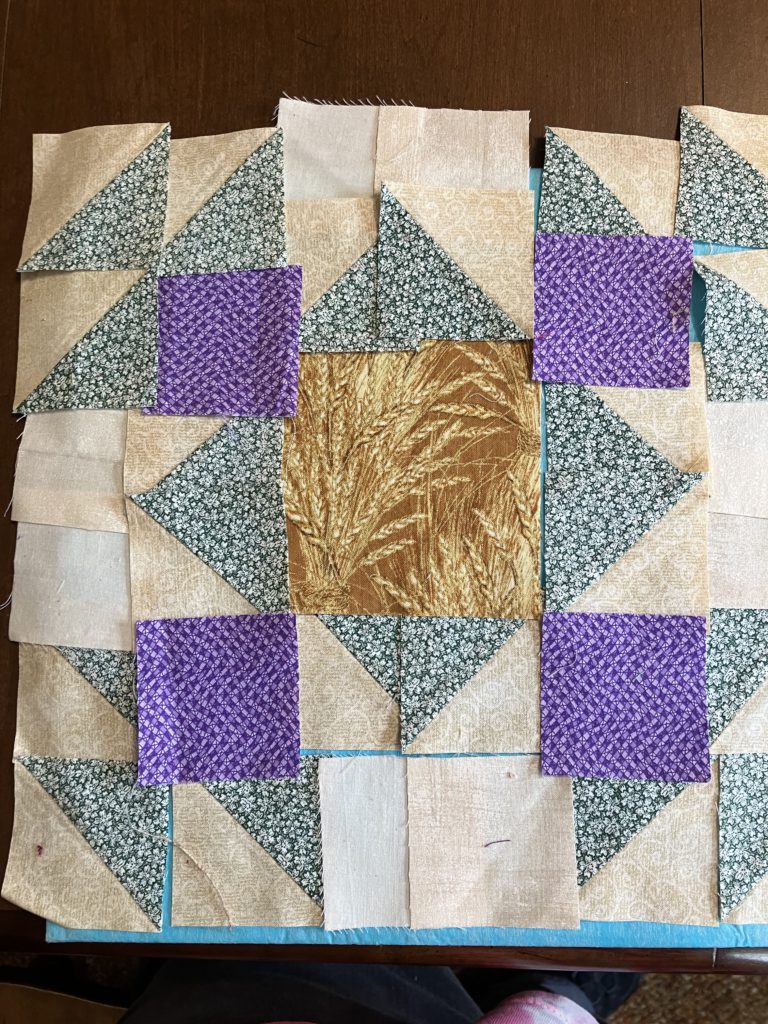
I had an epiphany in the shower. The Road to Kansas block could be remade using larger block pieces…and a little more organization. Yeah…Let’s do that!
It is assembled in the same manner as last week’s block, but the cutting is different…actually more complicated.
Please use the picture above the chart to help with placement. I will work on a repeat pattern at some point, but not today. A repeat would work if you put a 4 block unit under the one shown, but not to either side. Hmmmm! I will have to think this out some…
Here is the cutting chart:
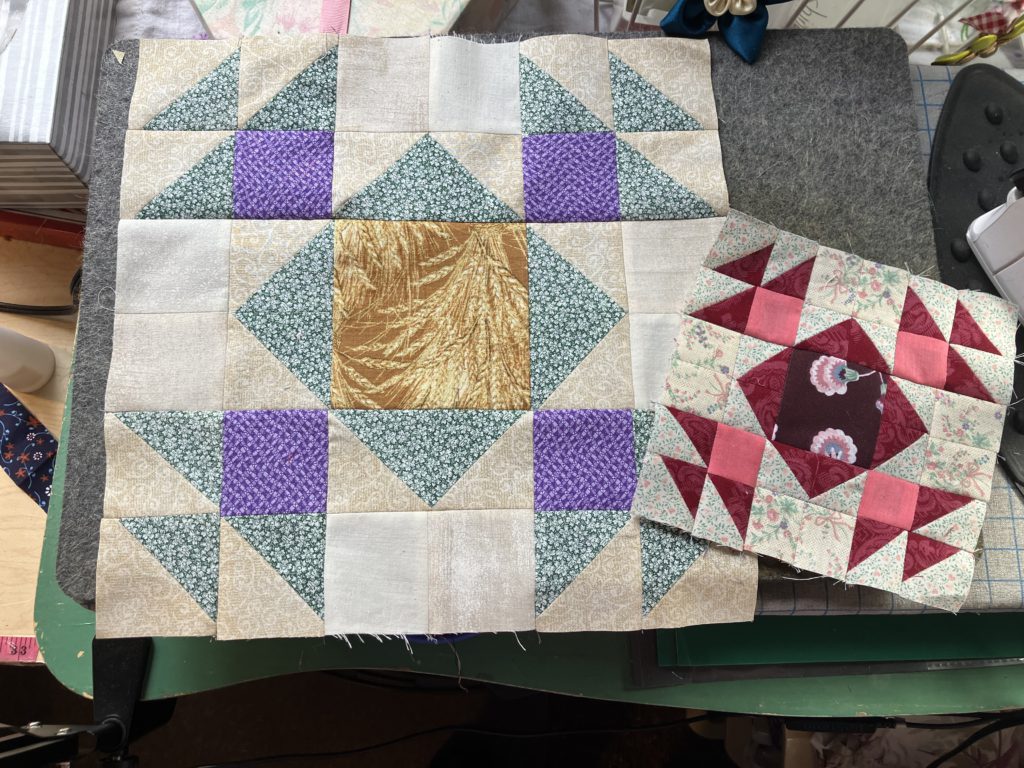
Hard to believe these are the same blocks!
I enjoyed turning this block into a simpler, but yet somehow, more difficult version of its former self! I hope you are enjoying, too!
It is an excellent scrap buster. Do not be intimidated by all the pieces that make up this beauty. I constructed 3 of these blocks as leader/ Enders between the blocks in my weather quilt.
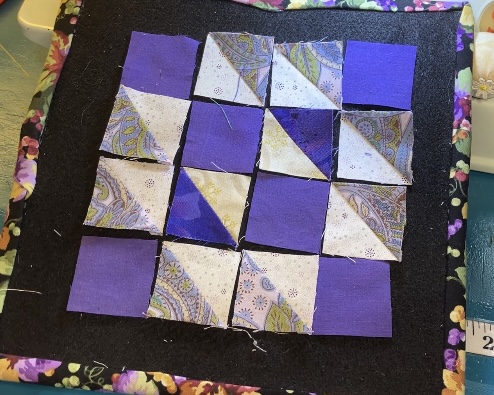
This is the 8 1/2 inch version:
The four 4 patches and 4 x 4 patch are made from 1 1/2 inch blocks.
The eight hatchet units are made from light 2 1/2 inch squares with 2 of the corners ( opposite one another) snowballed to create the shape.
This is the last block from EQ5 inspiration for a little while! Don’t worry, I have many other inspirational sources so that I can continue to make blocks with you!
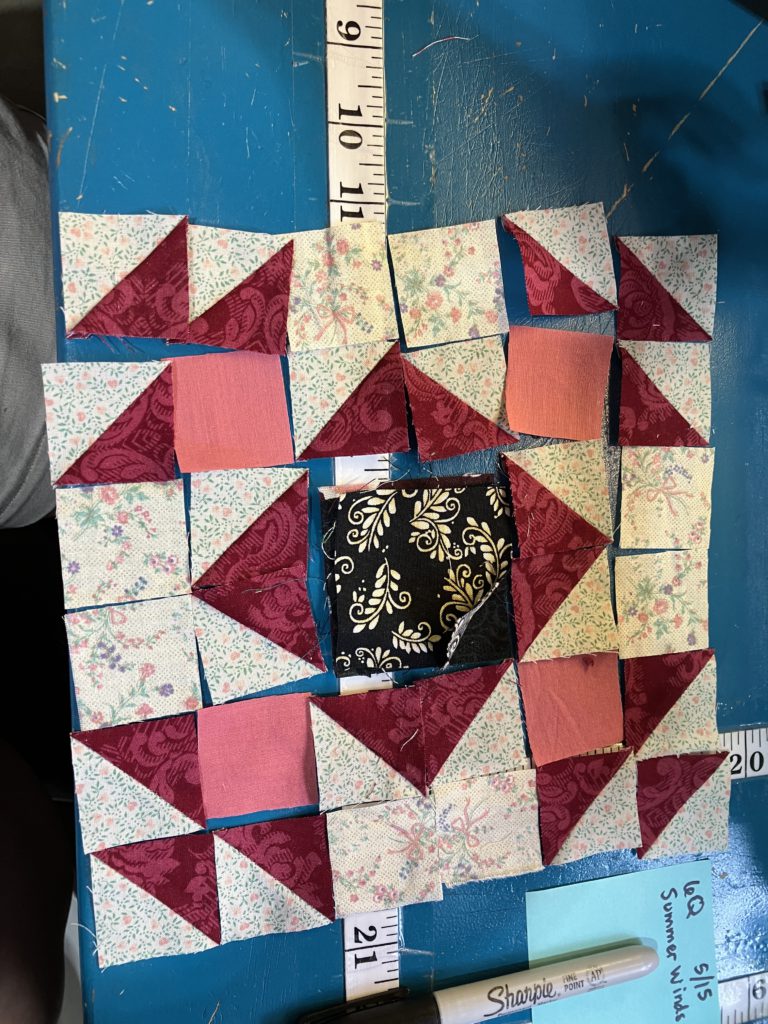
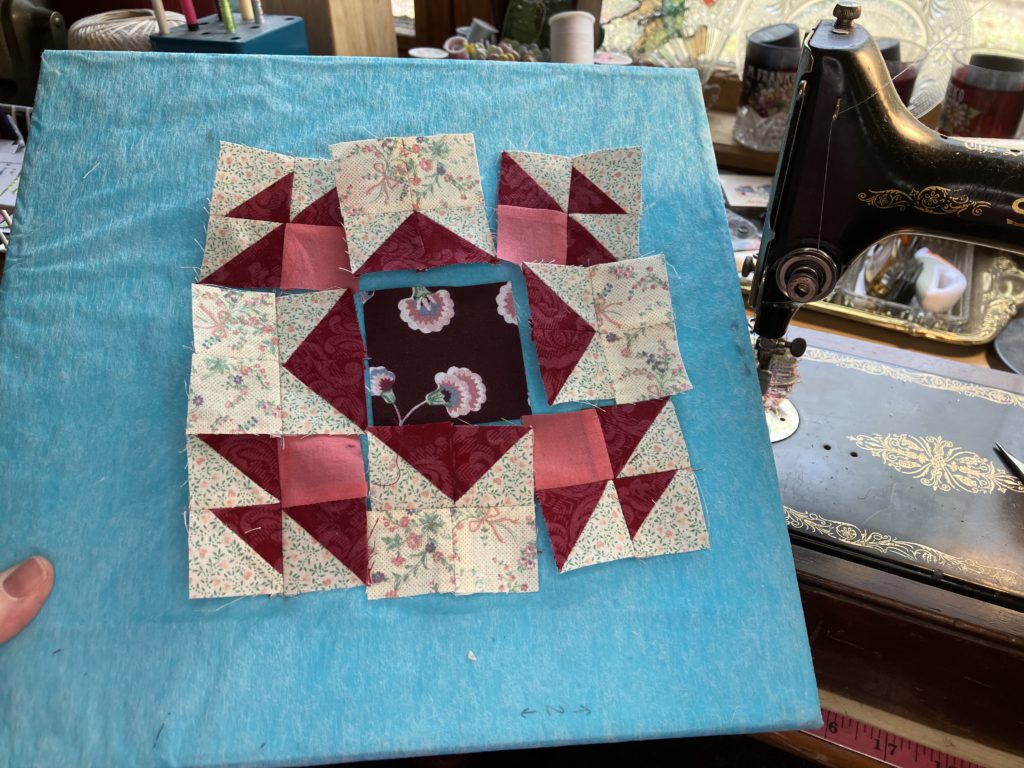
Here is the first summer winds block that I layed out for you in October of 2023:
It is great in super scrappy. I did keep the center half square triangles the same color.
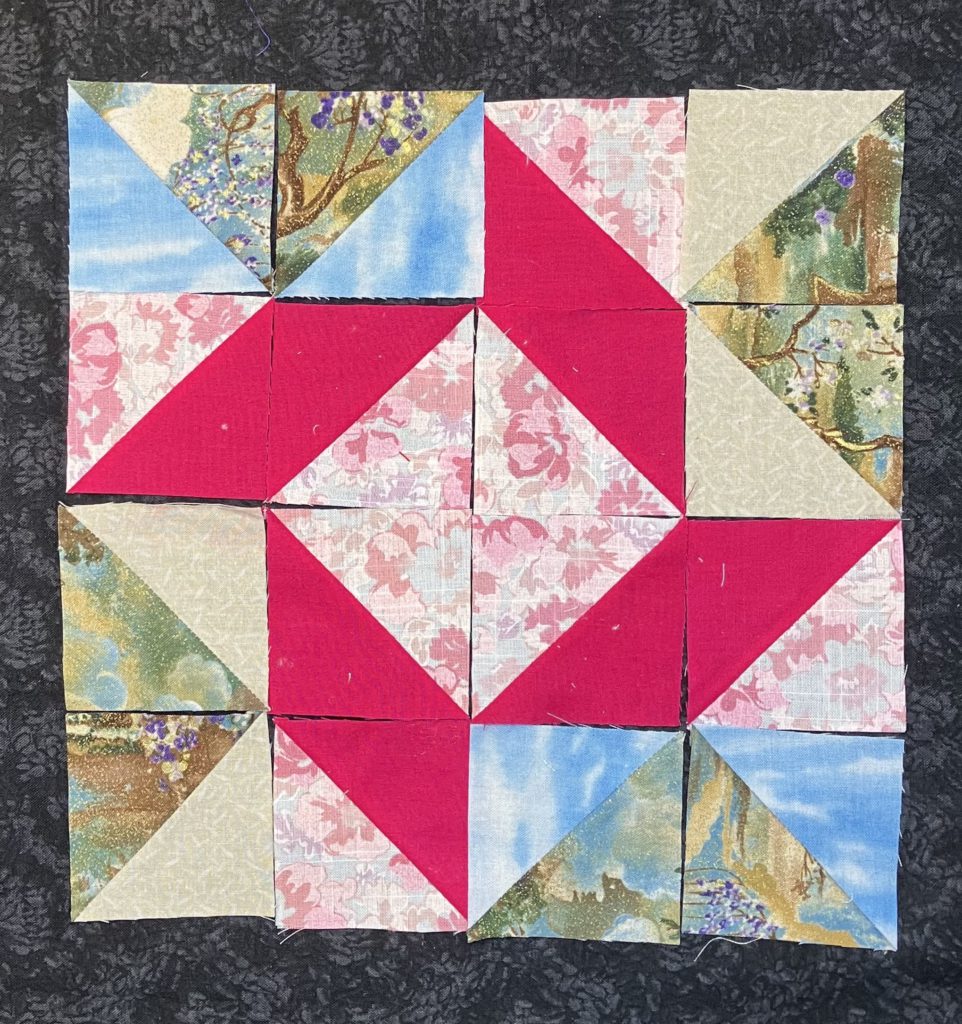
Here is the 6 1/2″ version that we are constructing today:
I changed the center block. I also pieced the block in units, so I could assemble it like a classic nine patch to finish it. I pressed most of the seams open to cut down on the bulk.
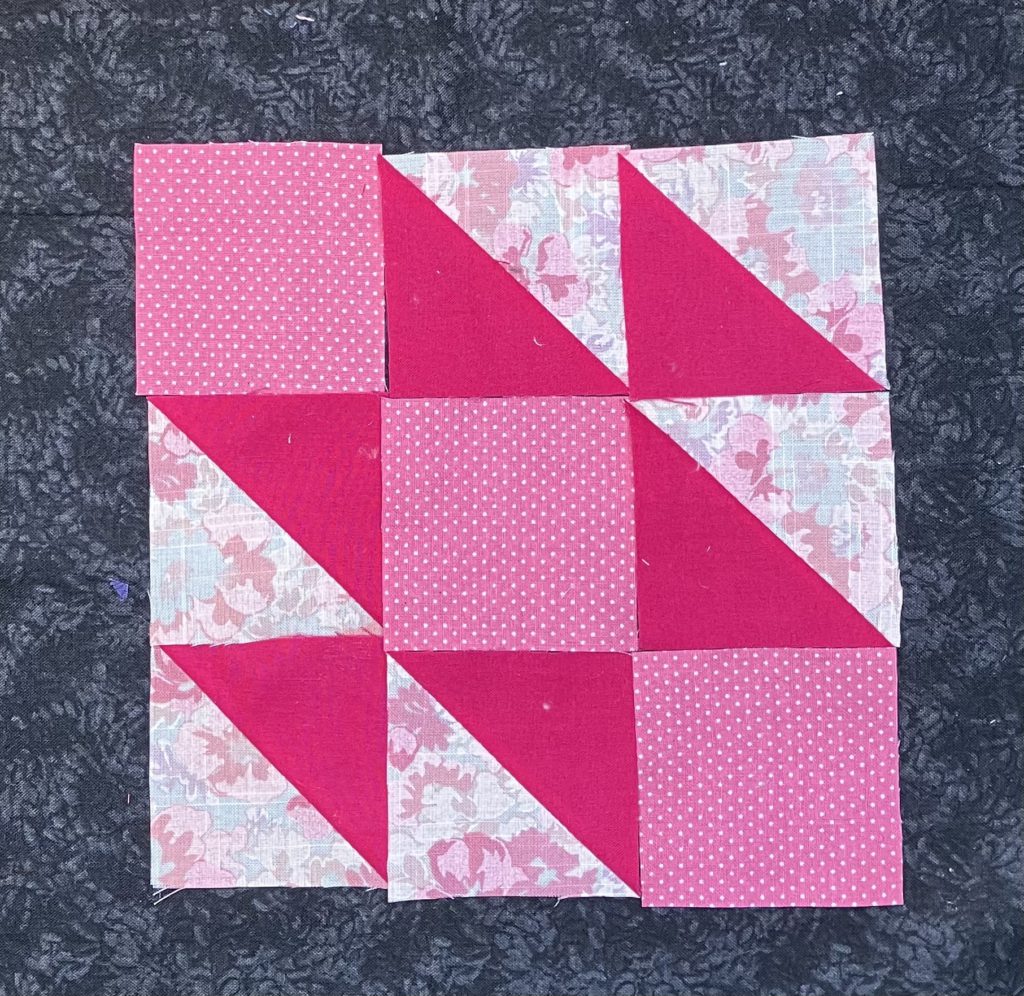
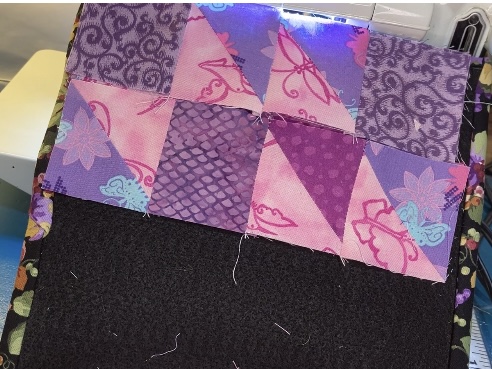
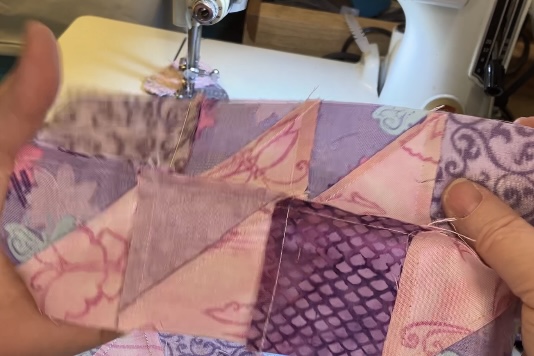
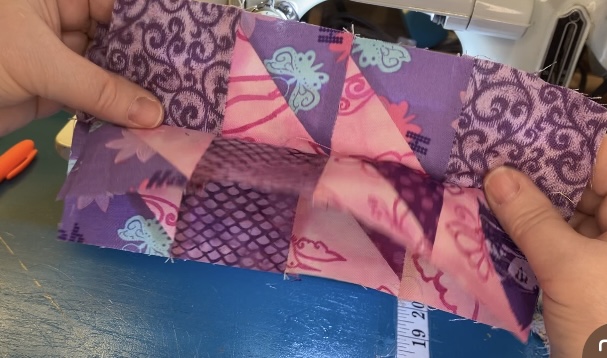
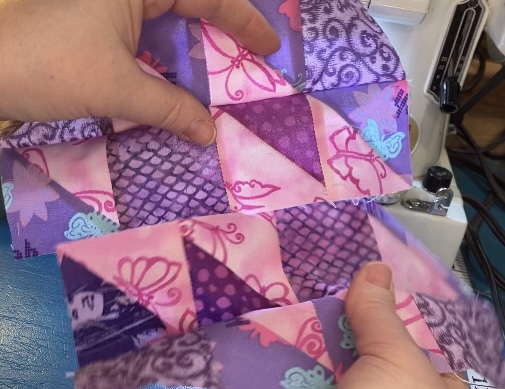
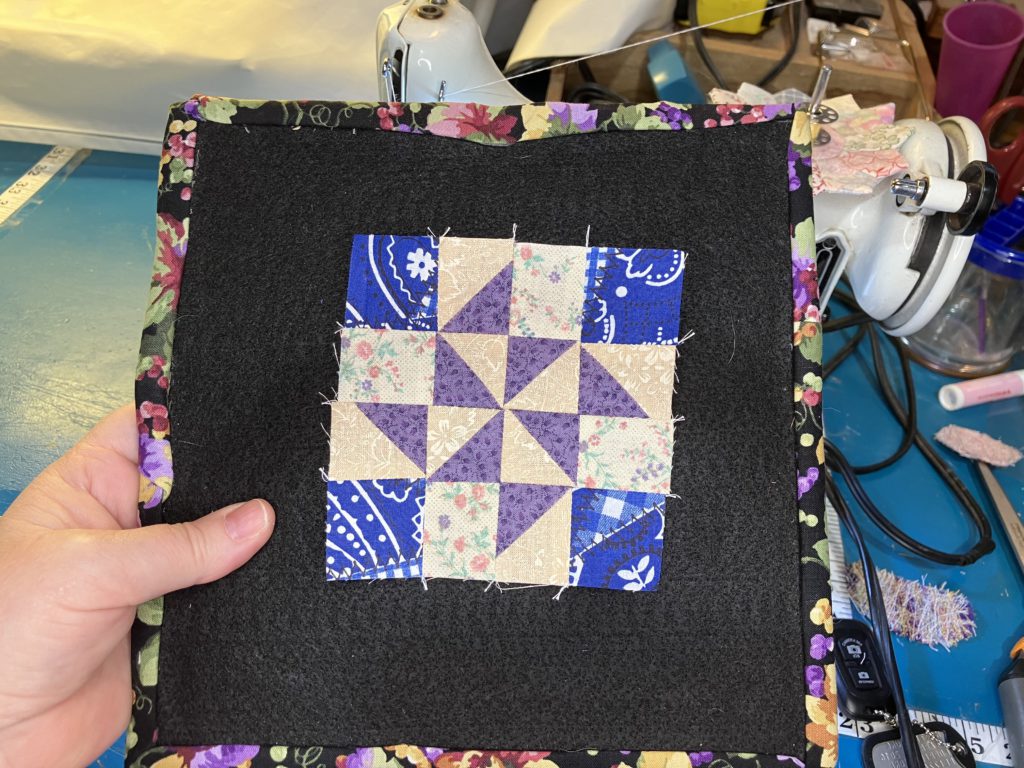
Here is this week’s block! This is a smaller version…very similar to Hovering Hawks.
It is assembled in classic nine patch fashion. See the cutting chart if you are making the half square triangle blocks (not using bonus half square triangles).
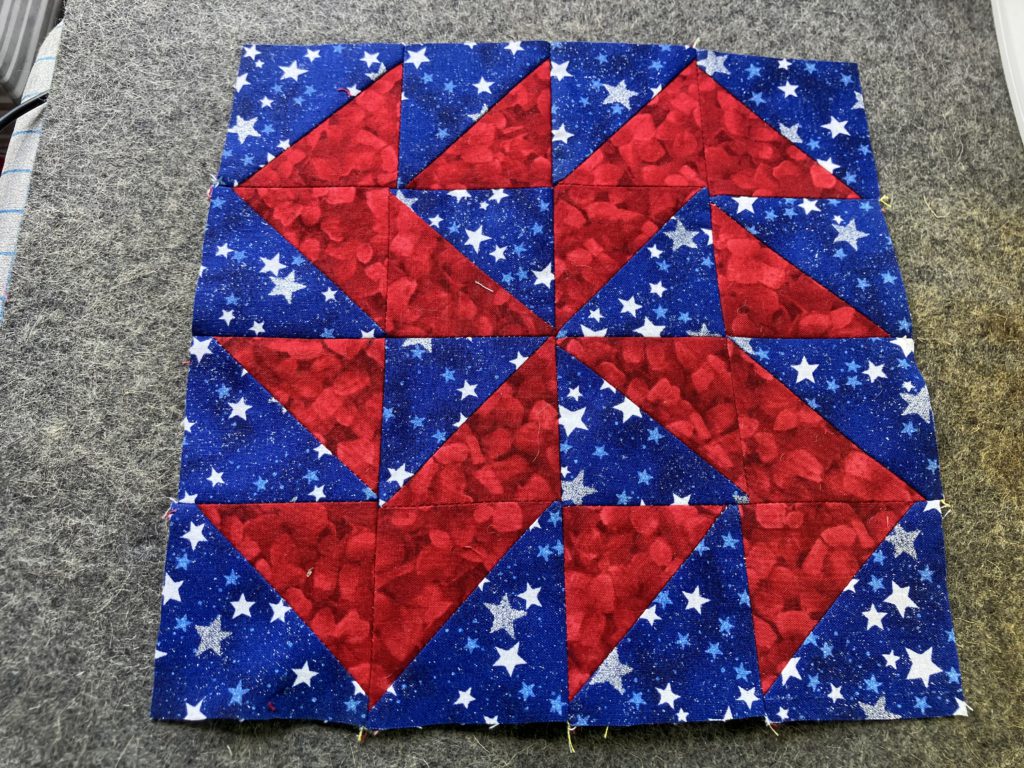
Another block with half square triangles! These triangles will spin and swirl their way into your heart!
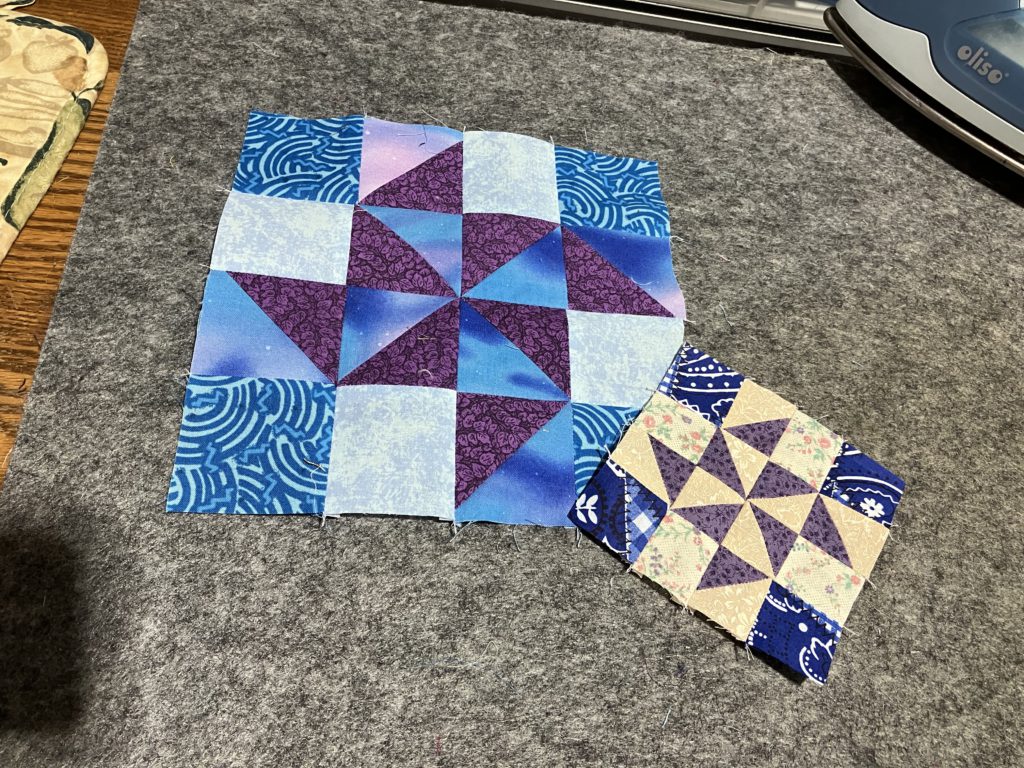
Yankee Puzzle is made from 16 half square triangles. If you are making the two color version like the one below, you will need 12 units for the big swirl and 4 for the contrast color.
Here is the YouTube video. The cutting chart is toward the bottom of this post. It is a free printable.
The example below and the red, white, and blue example are both made from 2 1/2″ half square triangles.
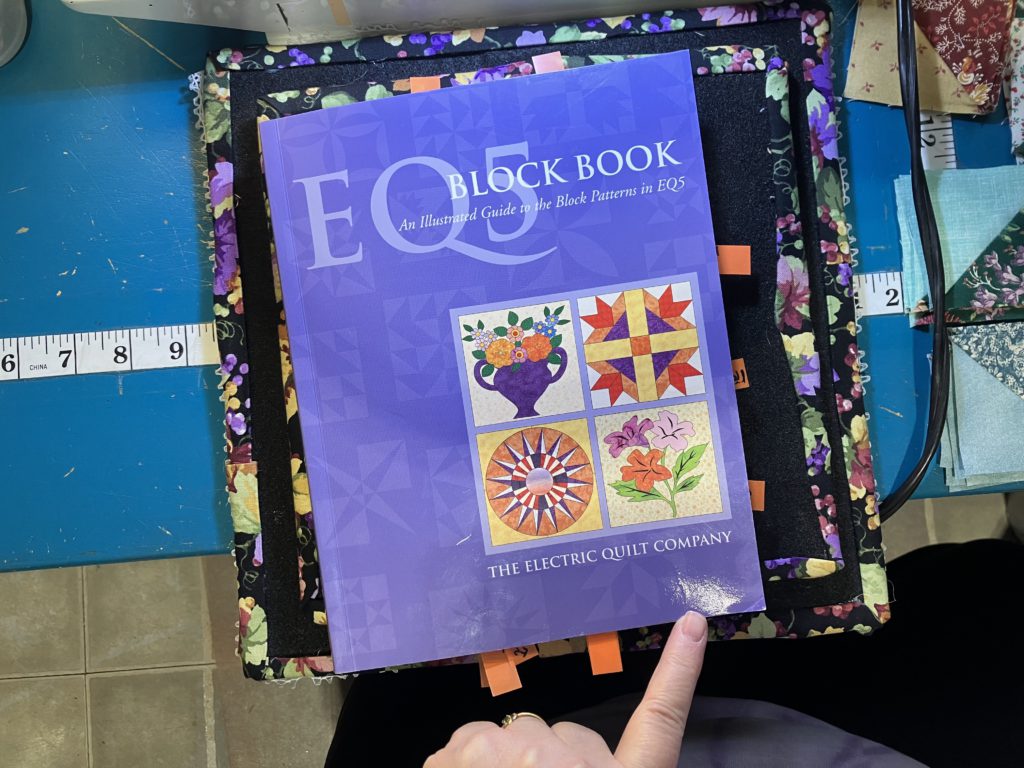
My inspiration is coming from this old EQ5 book again this week…best quarter I ever spent at a yardsale!
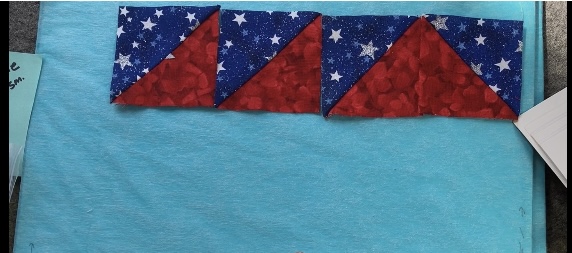
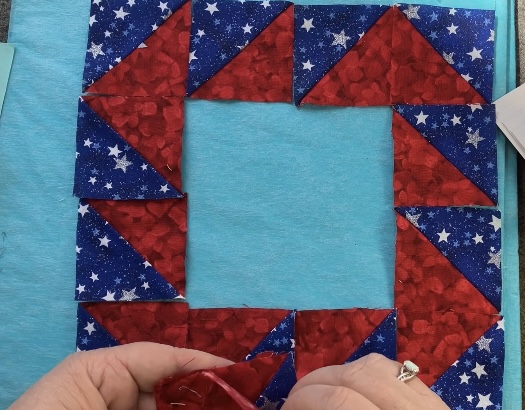
Here are the units layed out. Notice that three of the blocks, starting at the left, go the same direction. The last block on the right is turned a quarter turn to make a flying goose.
Continuing along the right side of the block…
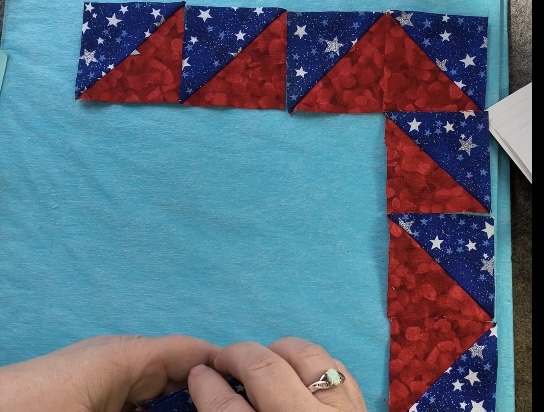
Along the bottom…are you seeing the pattern yet? Three in the same direction, then goose…
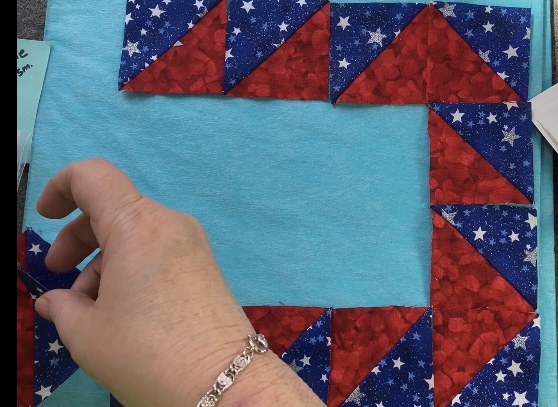
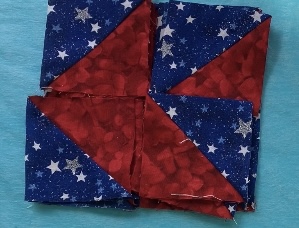
The rest of the outside frame…next add a pinwheel to the center (scroll down a little more to see…)
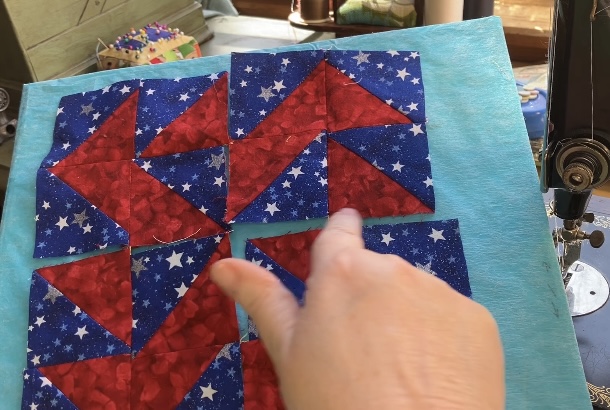
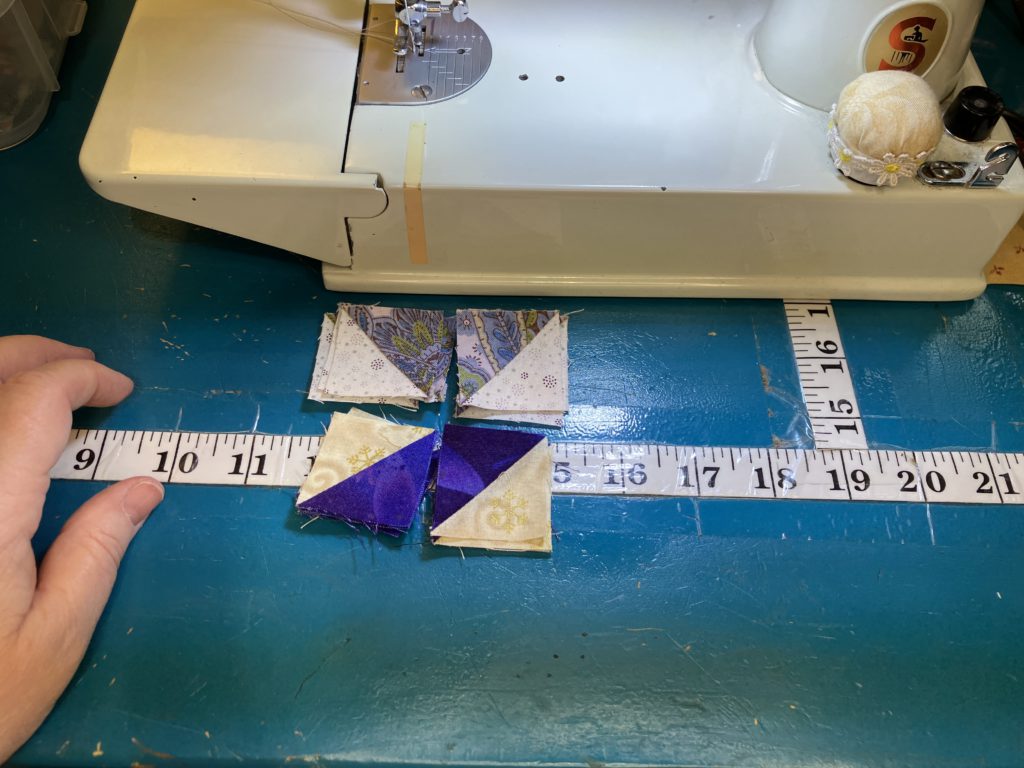
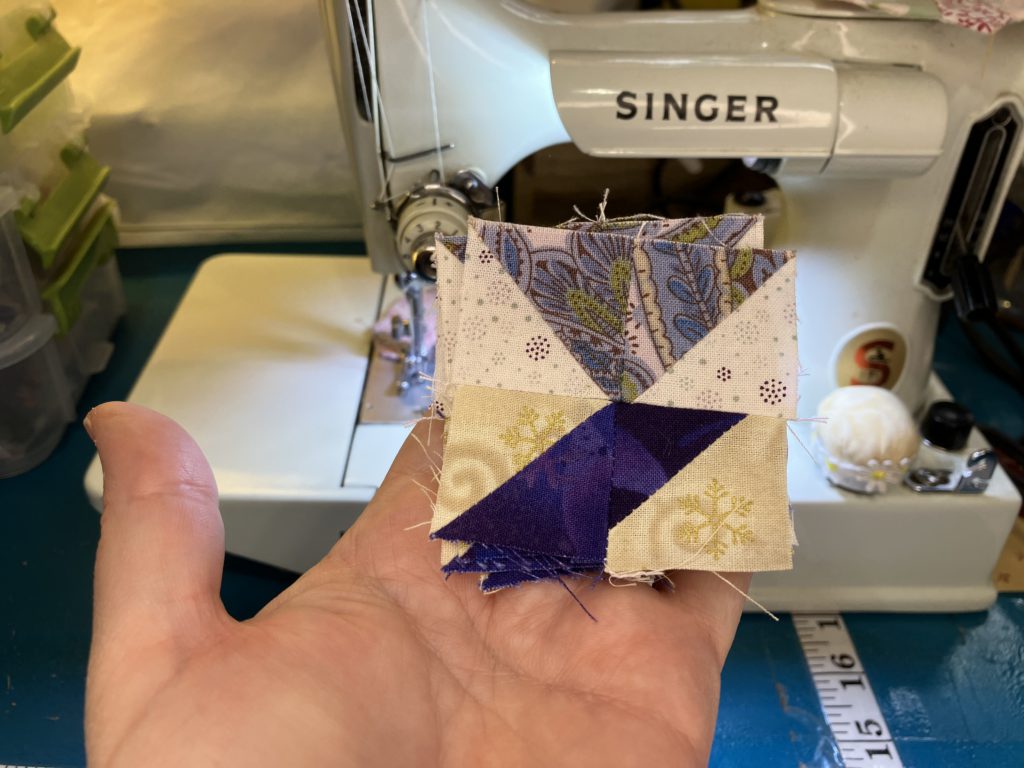
This block can be sewn in quadrant pieces. Here is the stacked pile of quadrants ready to sew…zoom, zoom, baby!
After the quadrants are sewn, lay out is as simple as a quarter turn. A large swirling pinwheel will form in the center when pieces are layed out correctly.
Sew the quadrants together…then sew the halves together…
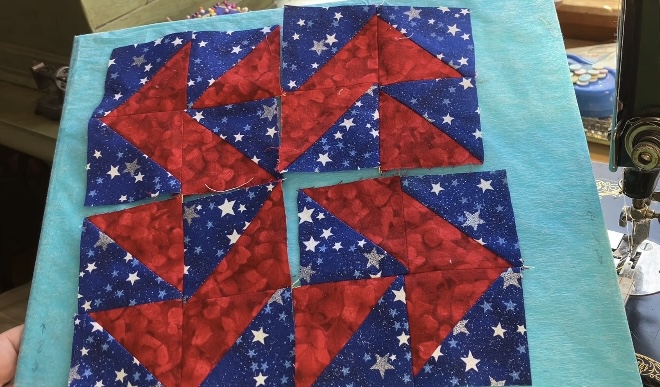
Ta-dah! Ta-done!
Now for the example made from 1 1/2″ pieces. It finishes at 4 1/2″. (You know I couldn’t resist!)
Finished reveal of this little beauty will be at the end of the post!
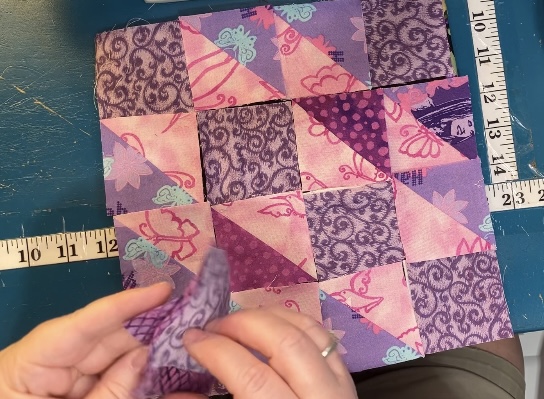
Now for my version of the 2 color layout! I creat the large swirling pinwheel (12 half square triangles) with one color.
I add in the second color…
Or maybe this version…
Or this one?? Oh, the decisions!
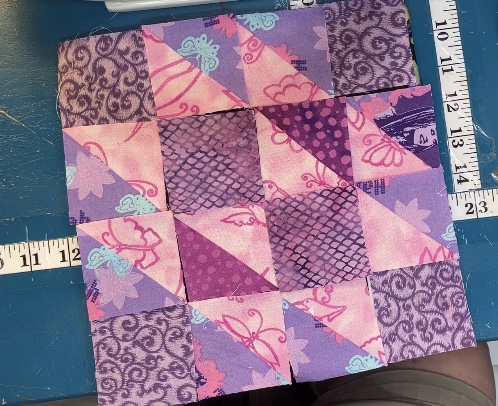
Here they are finished and ready to use in a beautiful scrap quilt!
Here is the printable cutting chart:
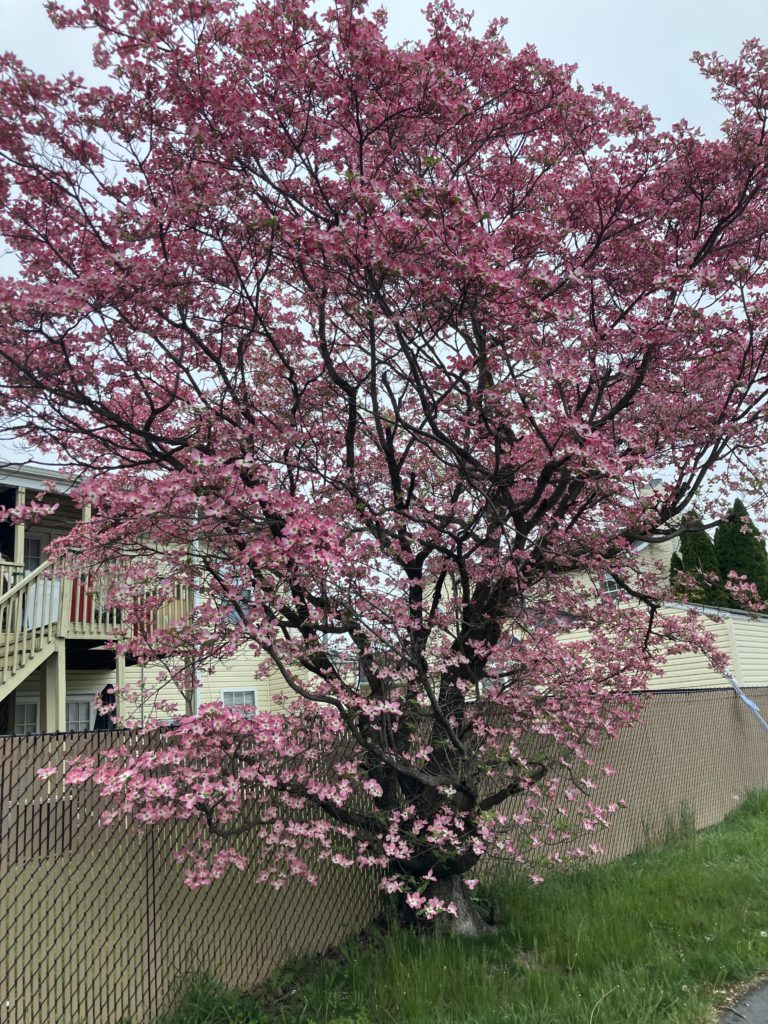
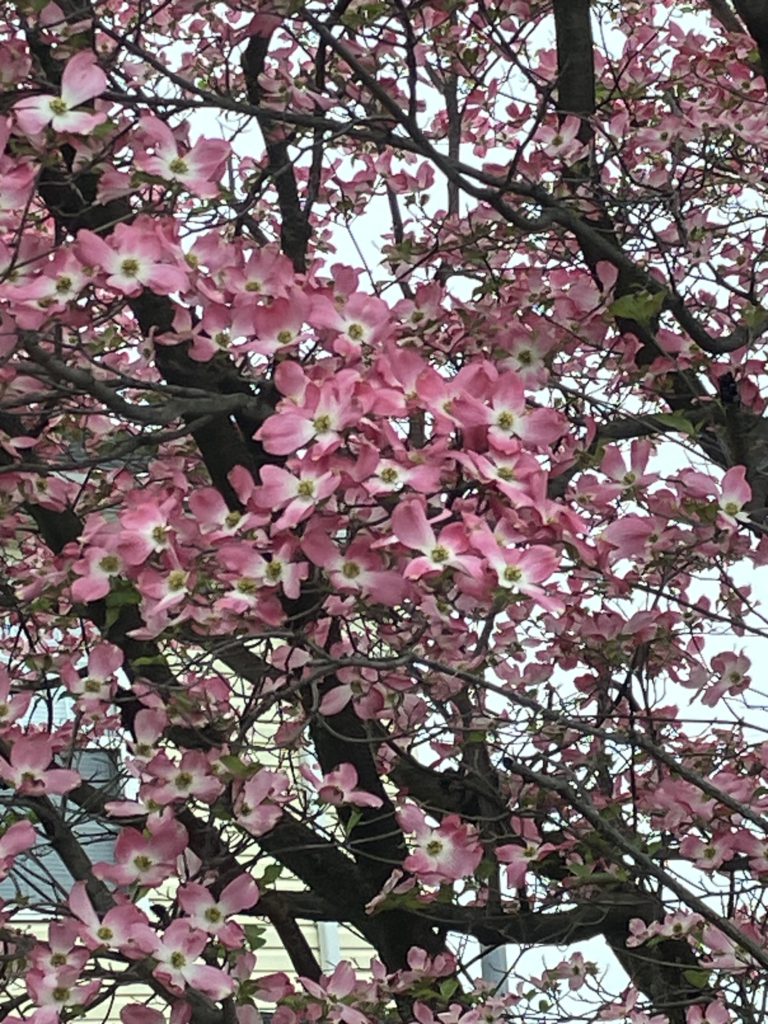
I couldn’t resist adding this beautiful dogwood picture from the post office in Inwood, WV.
And now for a close up…
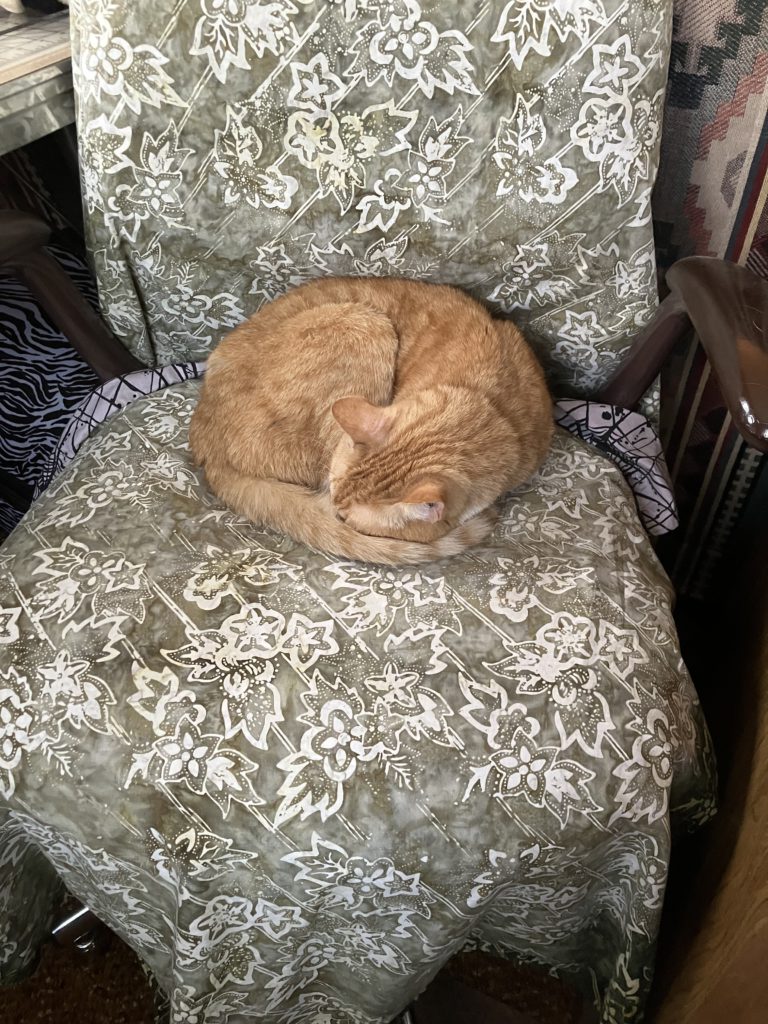
Simba is enjoying a nice nap on my sewing chair. (The green fabric was put on the chair to prevent her fur from becoming a permanent part of my upholstery!)
Just a few more weeks of inspirations from this book, I promise! This week I am presenting the Hovering Hawks block. This block has interesting diagonal movement. Four of them together would look fantastic…maybe for a future scrap quilt. It would also look good in a barn raising setting, if you are familiar with log cabin block setttings. Let’s get to making, shall we?
This block is really all about the contrast of light and dark fabrics. It is great for scrap busting! I am still using up those bonus half square triangles. Here is the link to the related YouTube video on my channel. Also, the printable cutting chart including various sizes is at the bottom of this blog.
This is the version of the block that I originally layed out in my YouTube video back in October of 2023. I tried to cram so much into that episode!
This version uses 2 1/2″ blocks: 6 dark blocks and 10 light/dark half square triangles. The block finishes at 8 1/2″. I start by laying out the dark blocks like pictured below:
Then I add in the half square triangles in the correct orientation. Half of the units (looking at the light part of the block), point to the lower left of the block. The others (again, looking at the light portion of the block) point to the upper right.
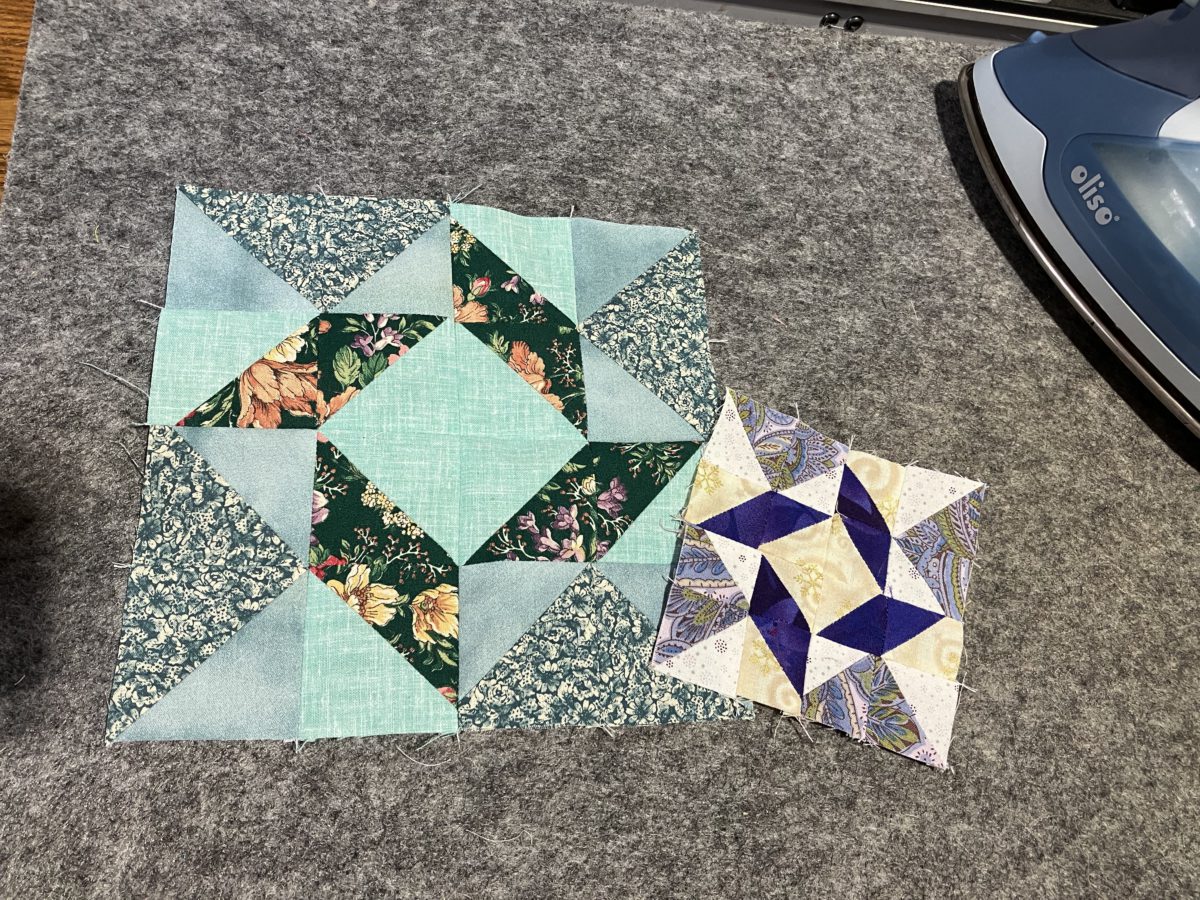
Here I changed the center two blocks with some beautiful batik fabric scraps. I think the visual interest here is better.
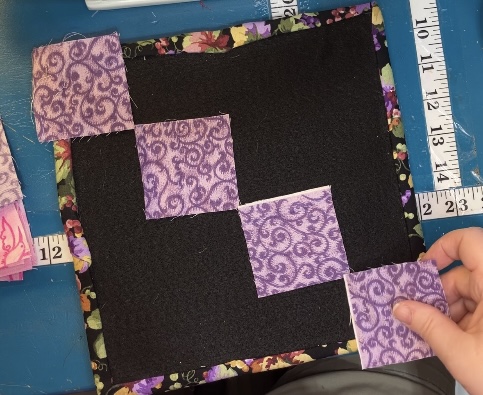
Recently, I have been sewing blocks in quadrants or fourths. This block does not work for that method…but it does work for assembling by halves! Here the halves are stacked and ready to speed sew:
In each row, I pressed to one side. The following row, I pressed in the opposite direction. Pressing open is always an option, too. You decide.
Half block reveal!
Turn one of the halves in a 180 degree turn…sew together. Yes, it is just that easy.
I pressed all the rows going in the same direction after I assembled the rows. Life should always be this easy!
Here is the version using 1 1/2″ blocks:
I love these little things!
Same layout!
Now with the half square triangles!
Stack to speed piece as half blocks…
Assemble like the bigger block.
Here they are…tah-da…tah-done!
The contrast in this one is so good…I just have to admire it for a moment longer! AAAhhhh! So cute!
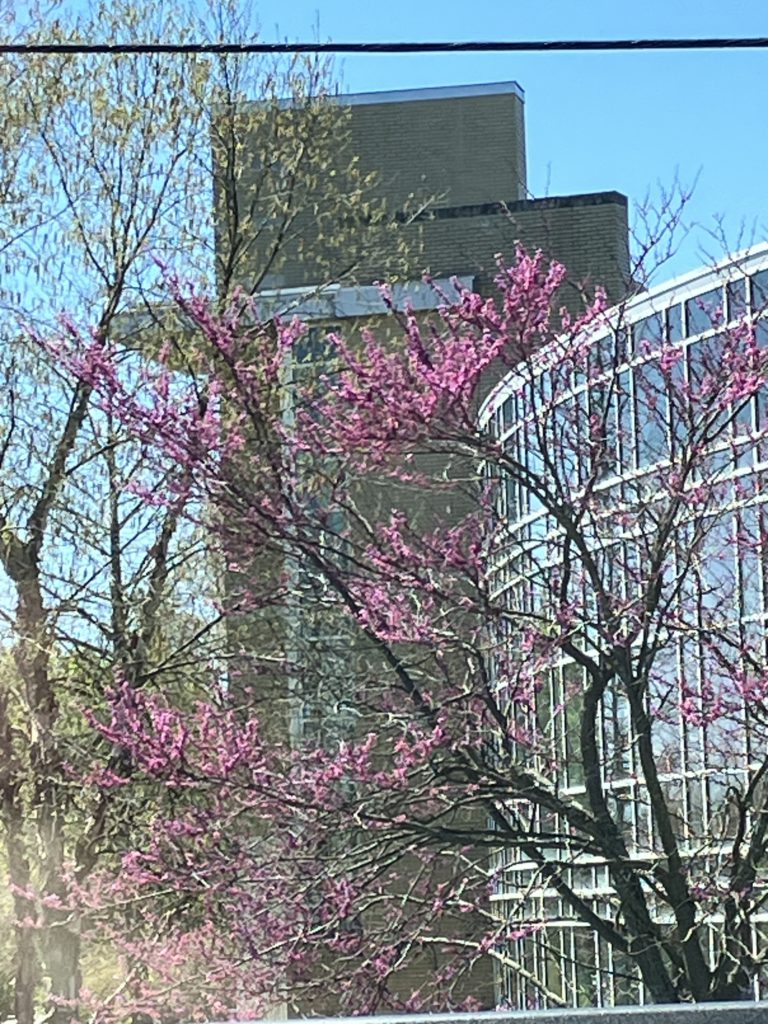
I just have to share a nature picture. I do love redbud!
I hope you enjoy making this block. If you have comments, please go to the video mentioned at the top and leave comments there. When I turn on comments here I get adds for Russian viagra and other “stuff”…Oh, my!
Here is the cutting chart I promised. It should be printable…and it is FREE!
Have a great week! Thank you for reading my blog! The next blog will be a mini quilt show with my commentary! (At least you will get some eye candy! I will mostly tell you why I was compelled to take a picture of those quilts…see you then!)
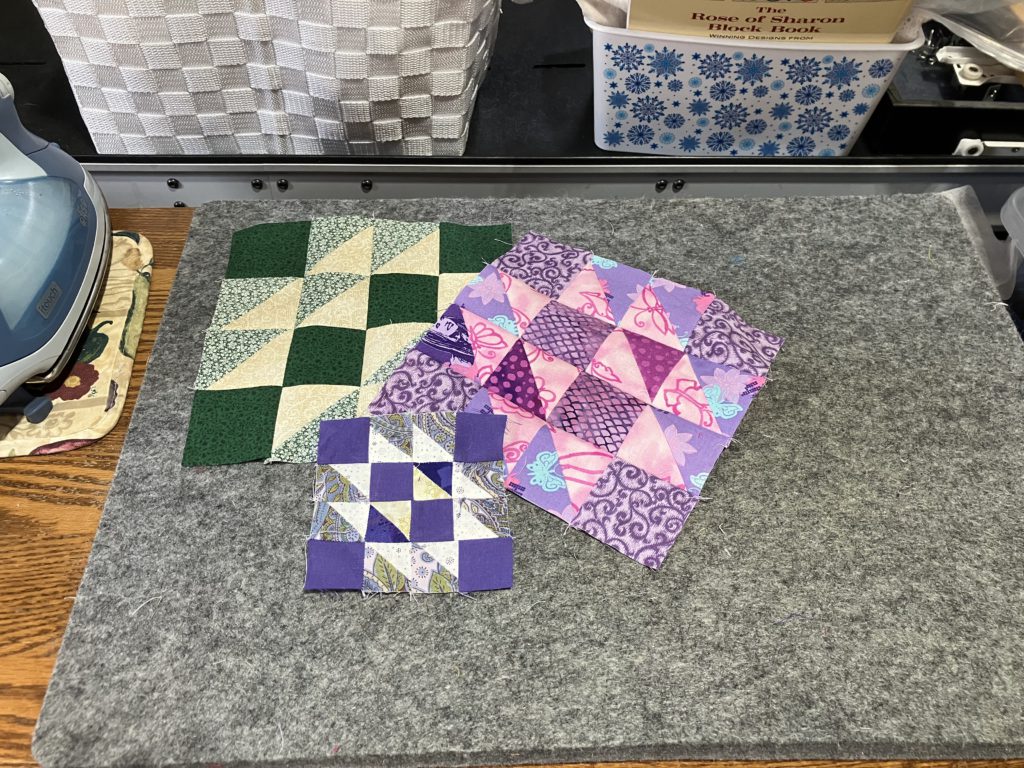
I have a few more weeks to share blocks with you that have been inspired from this book.
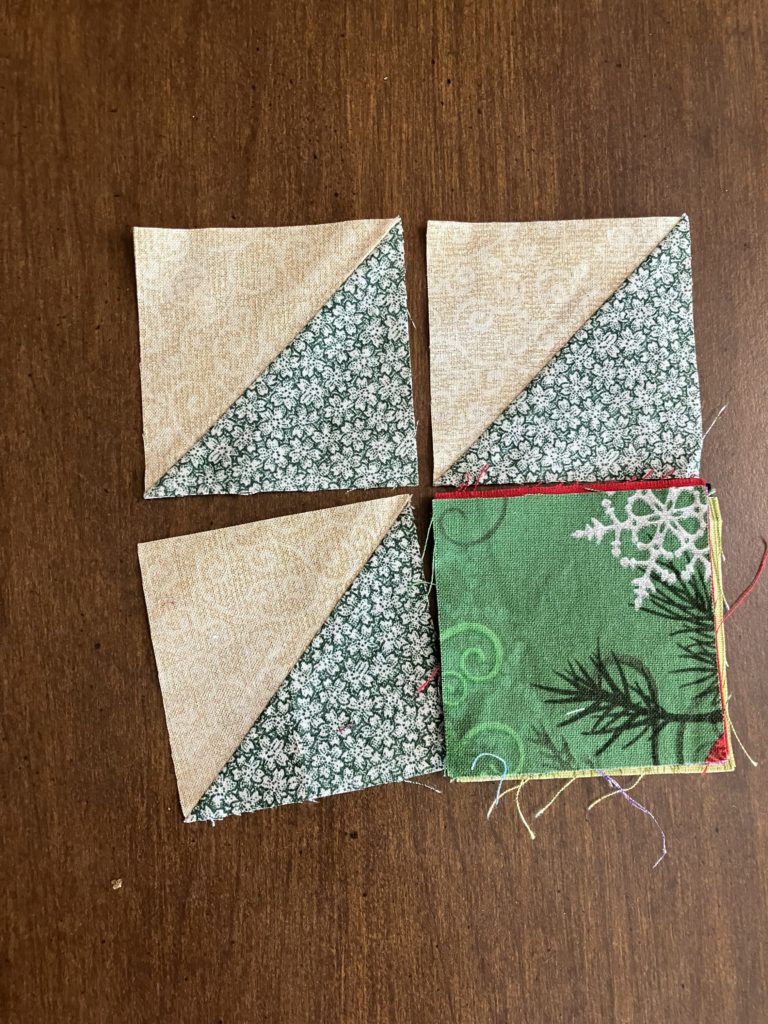
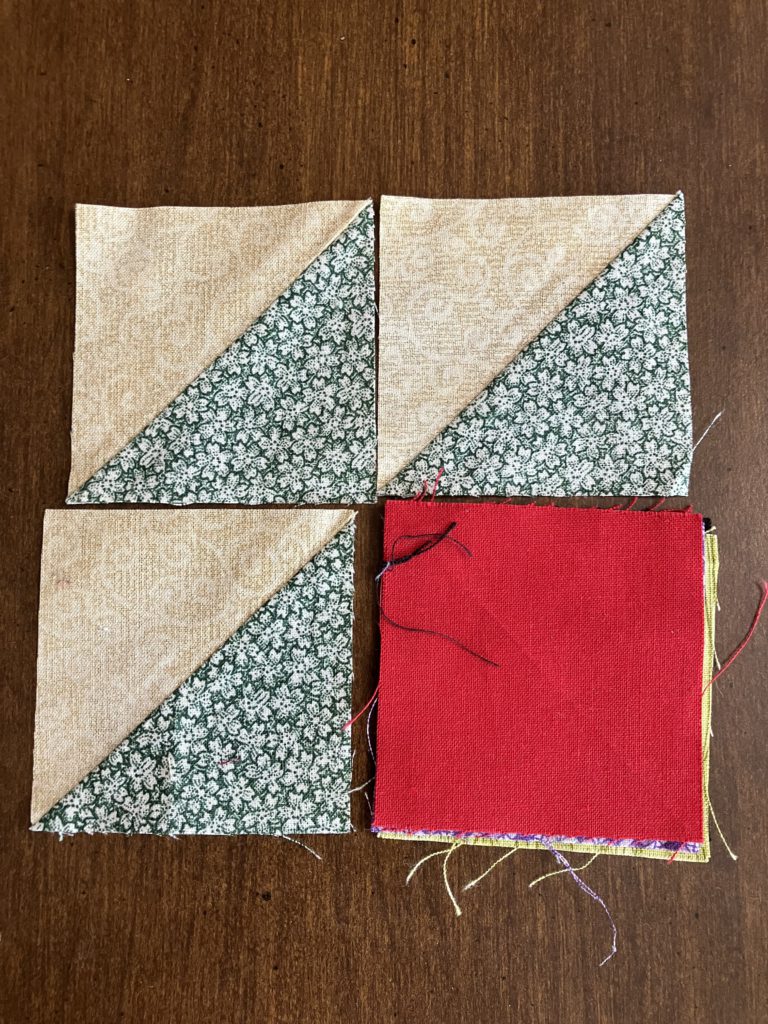
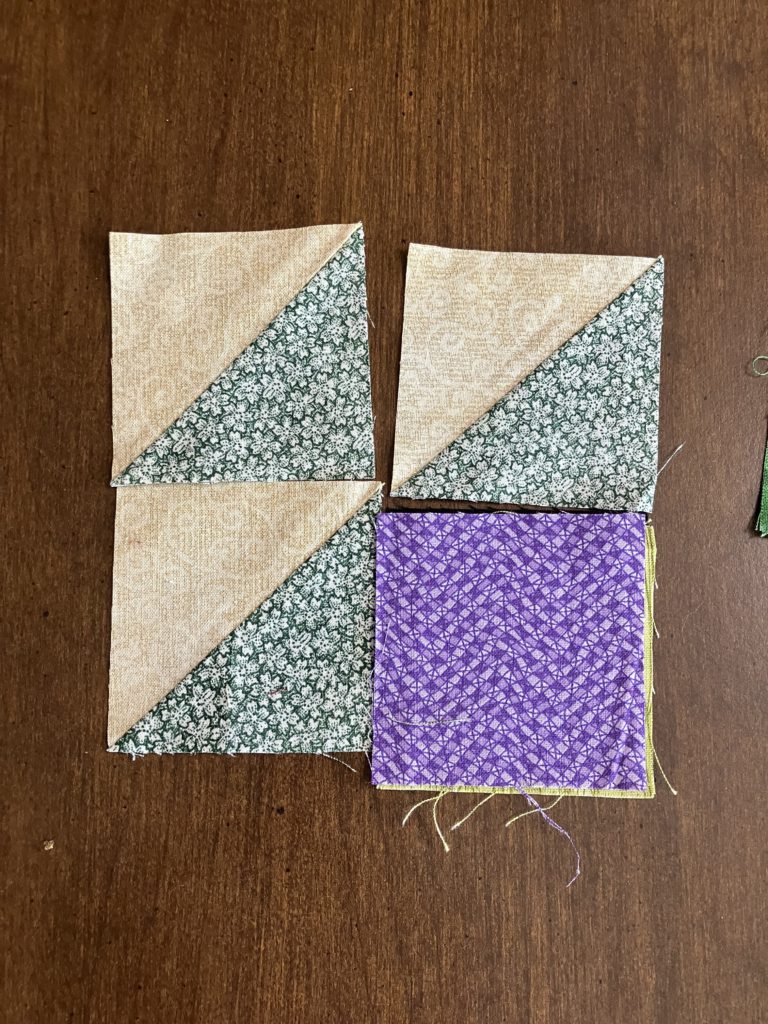
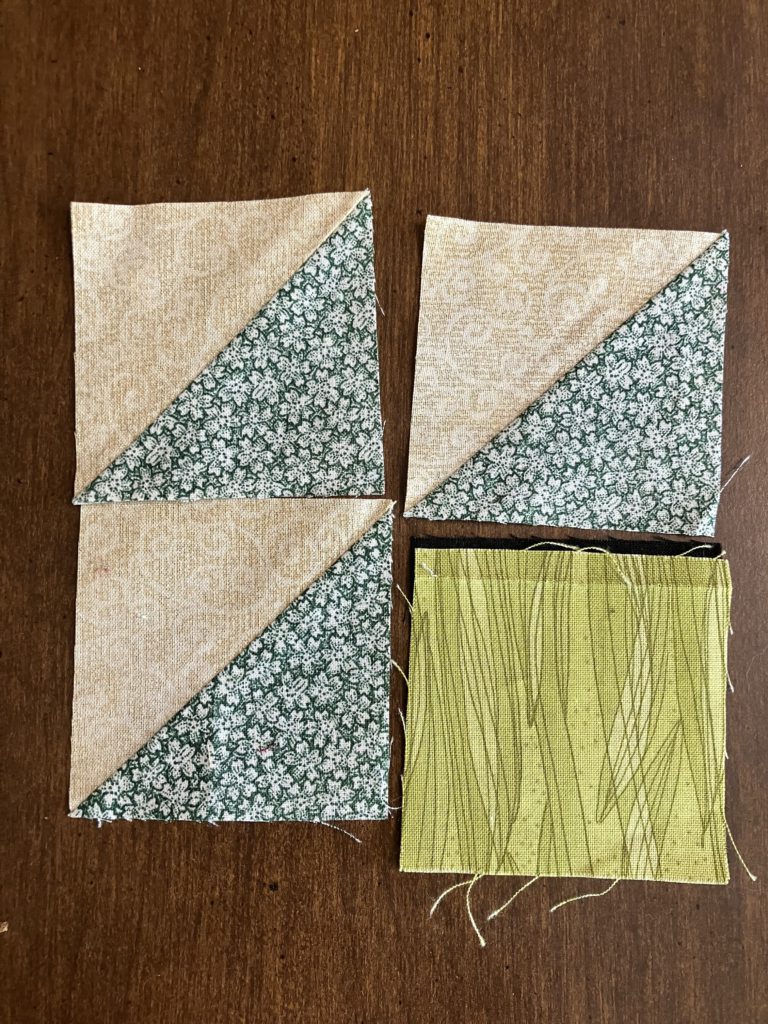
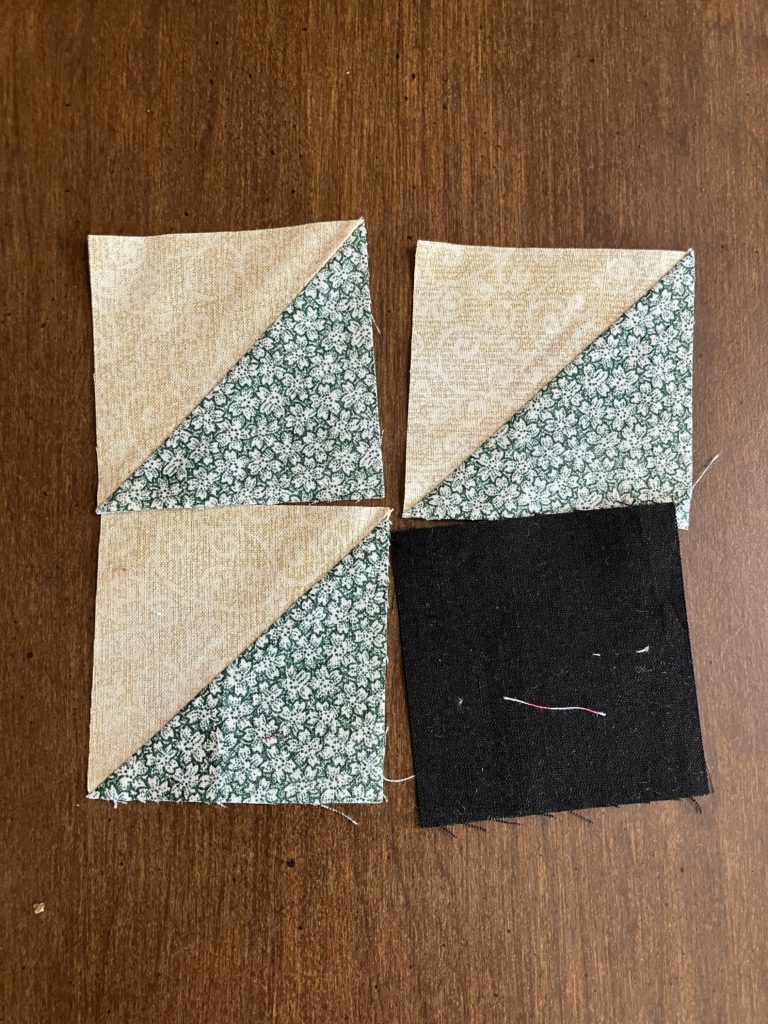
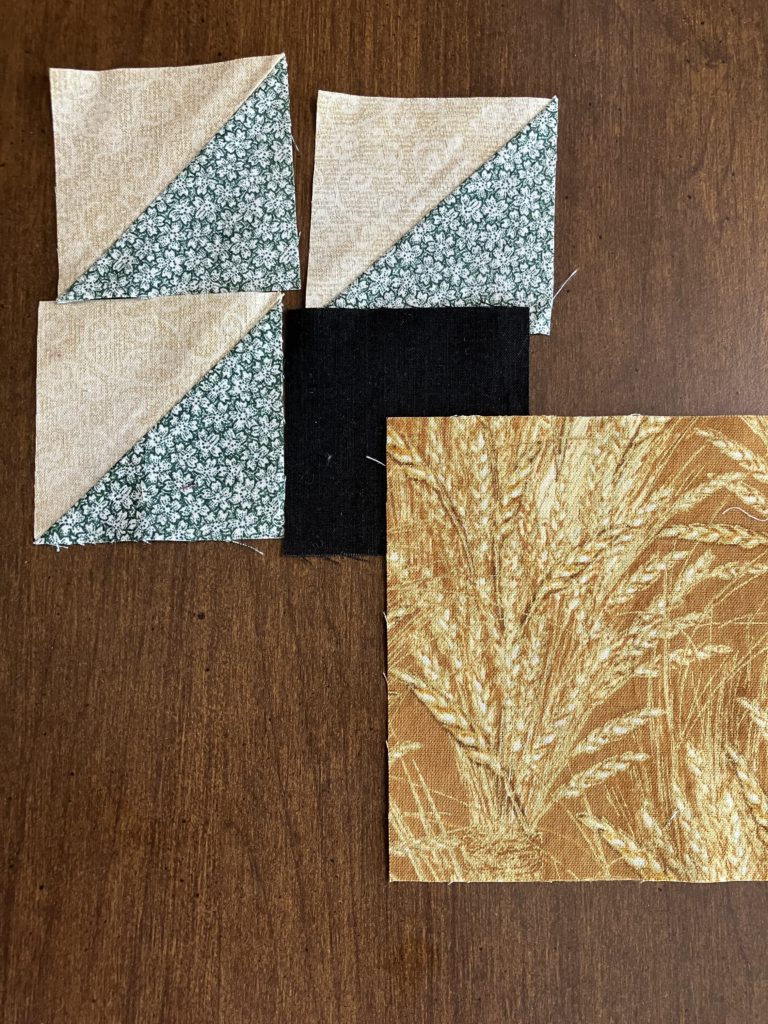
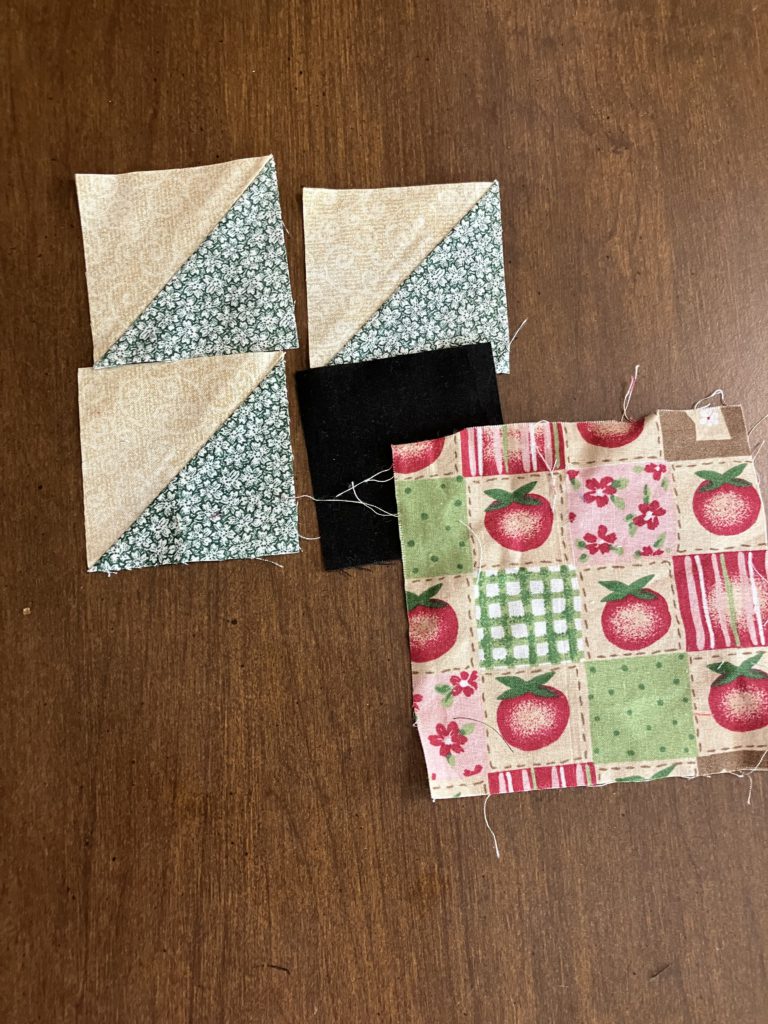
Here are the bonus half square triangle blocks that I grabbed last week when I made the whirlpool blocks.
I am assembling the 8 1/2″ block first. It uses 4 dark squares, 4 light squares, and 8 bonus half-square triangle blocks. (Directions for making two at a time half square triangle blocks are on the cutting chart at the end of this post.) Here is a link to the YouTube video that shows assembly.
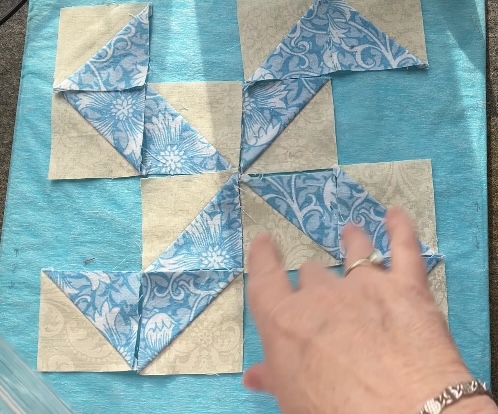
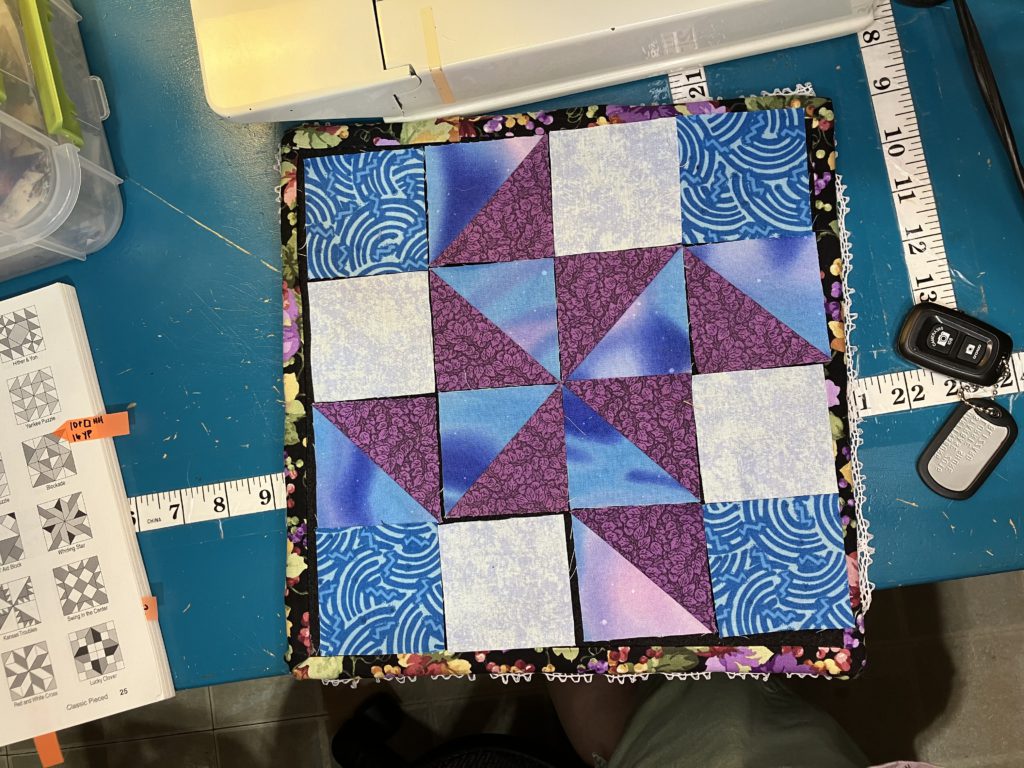
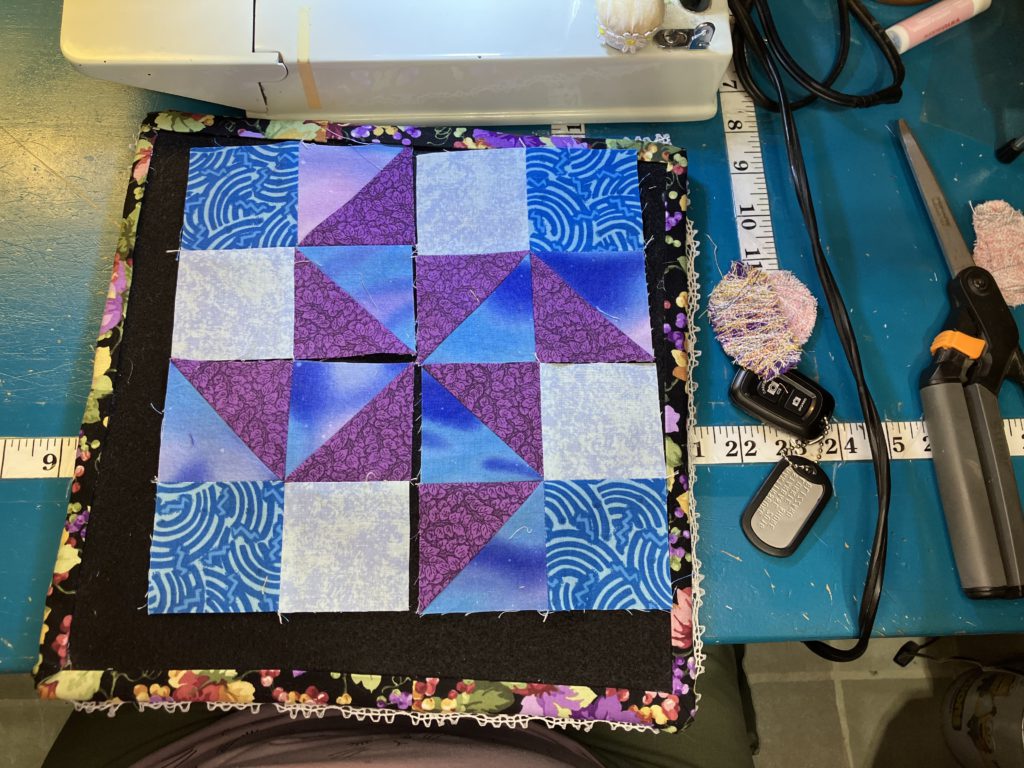
I love the pinwheel in the middle of this block! I am not sure who named it Flying X…it looks more like a Whirlpool or Tornado to me.
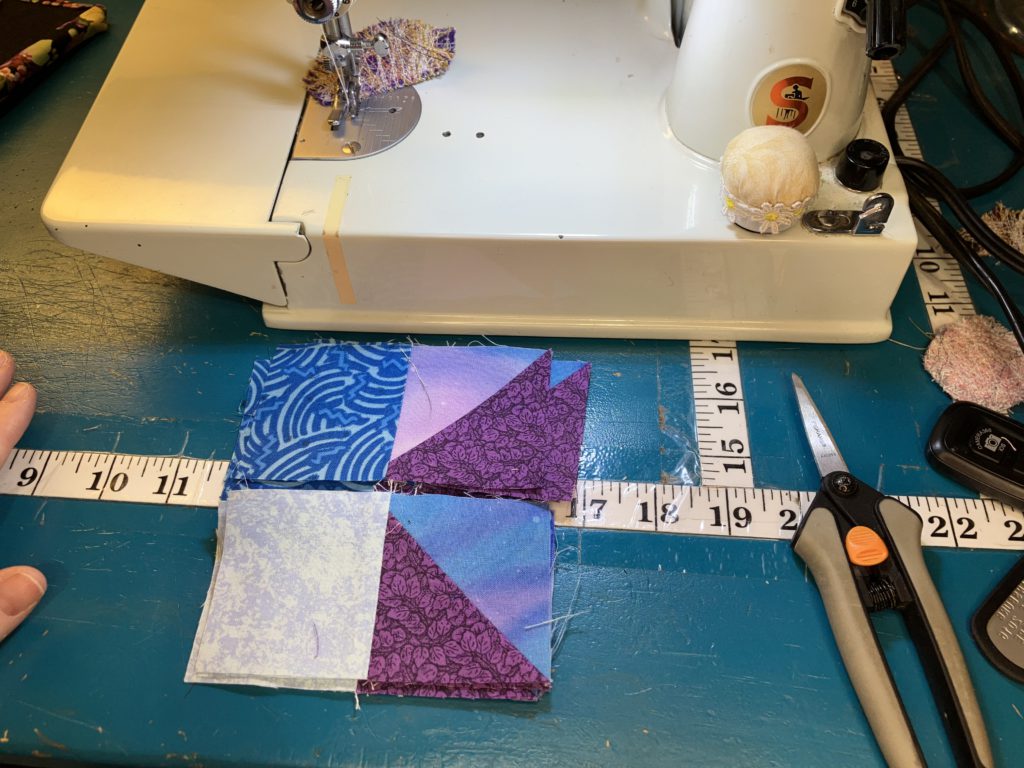
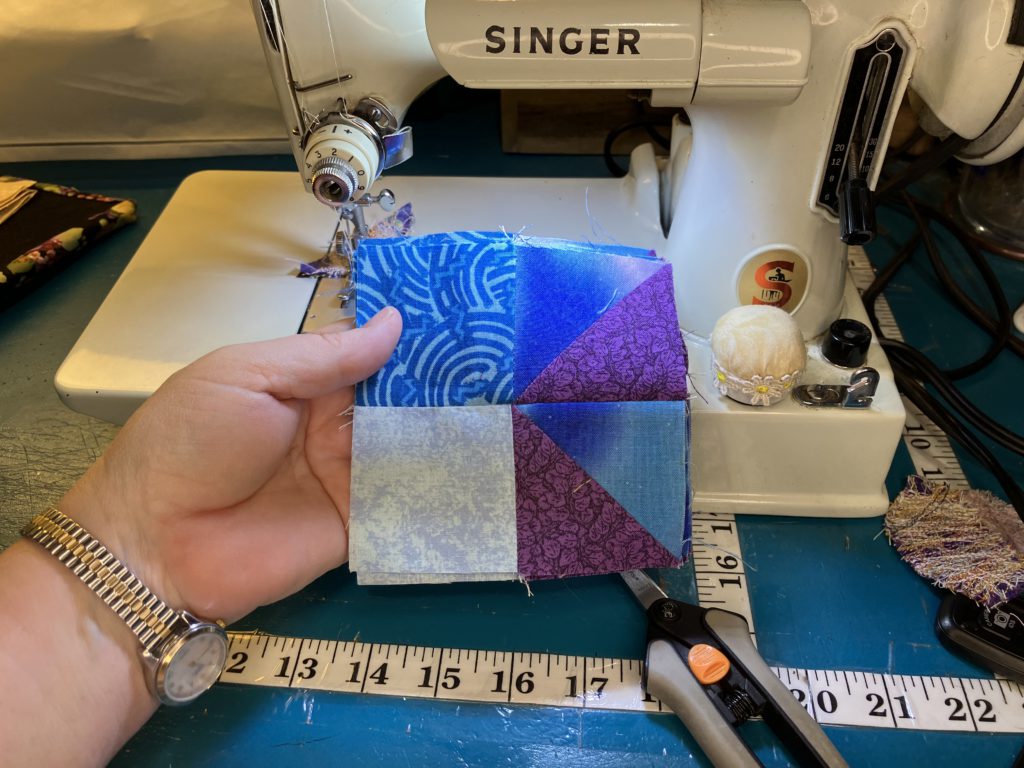
The easiest way to assemble this block is by quadrant or fourths. All quadrants are identical. After they are assemble, the unit is turned a quarter turn.
This looks awkward, but it is correct. Make 4 units.
Here is the layout again.
Assemble the units by sewing like a standard four patch.
Here is the 4 1/2″ version. It is assembled the same way.
This is a cute little block. It goes together easily and quickly. Great scrap buster!
Tah-dah! Tah-done!
I love the vortex imagery in the quilt block, so I decided to throw in some visual vortex images.
Ohhhh….
Aaaaahhhhh! Ring of Fire?
This one looks like a seashell or a fossil….
Here is the cutting chart, as promised, in five different sizes this week!
I hope you are enjoying the Build a Block series! Please leave comments on Facebook or YouTube. (Comments are turned off here because I am not interested in Russian viagra…or manifestos.)
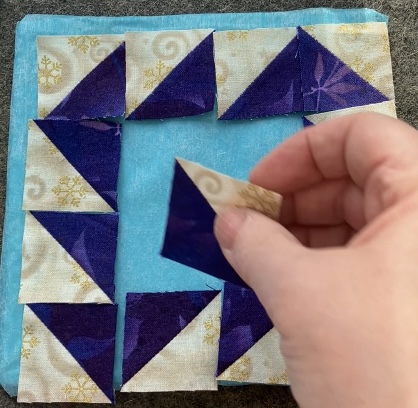
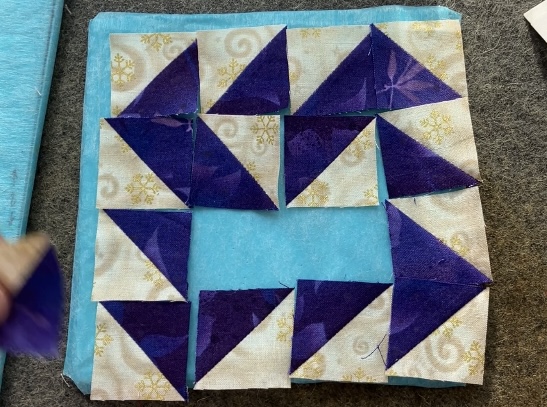
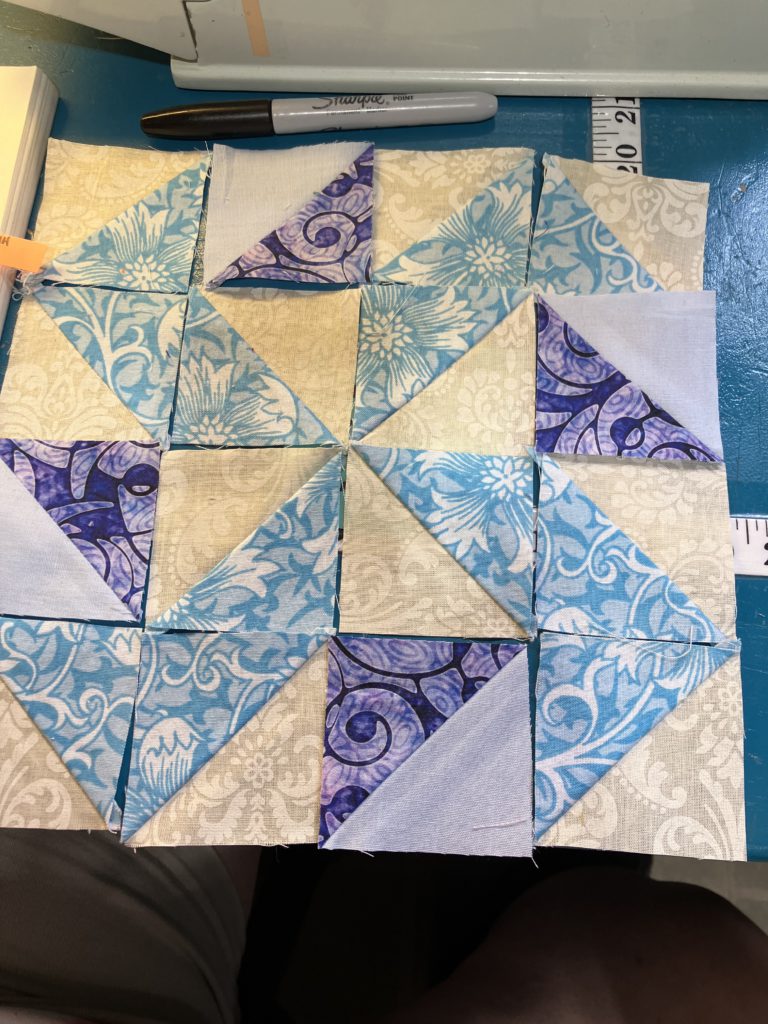
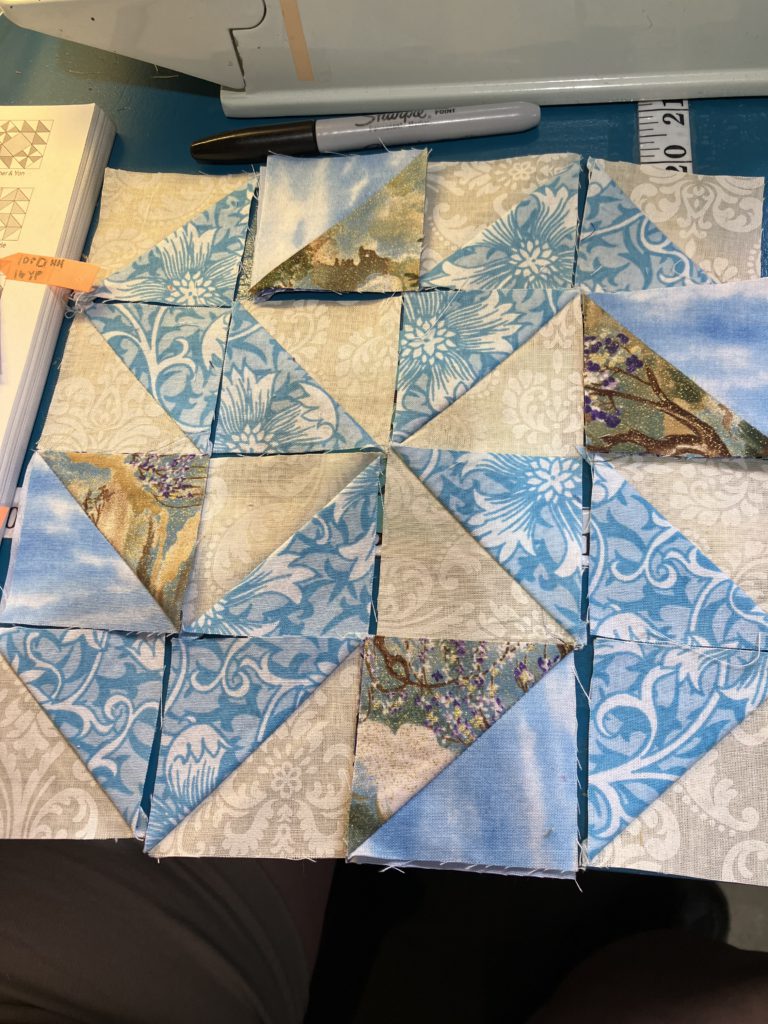
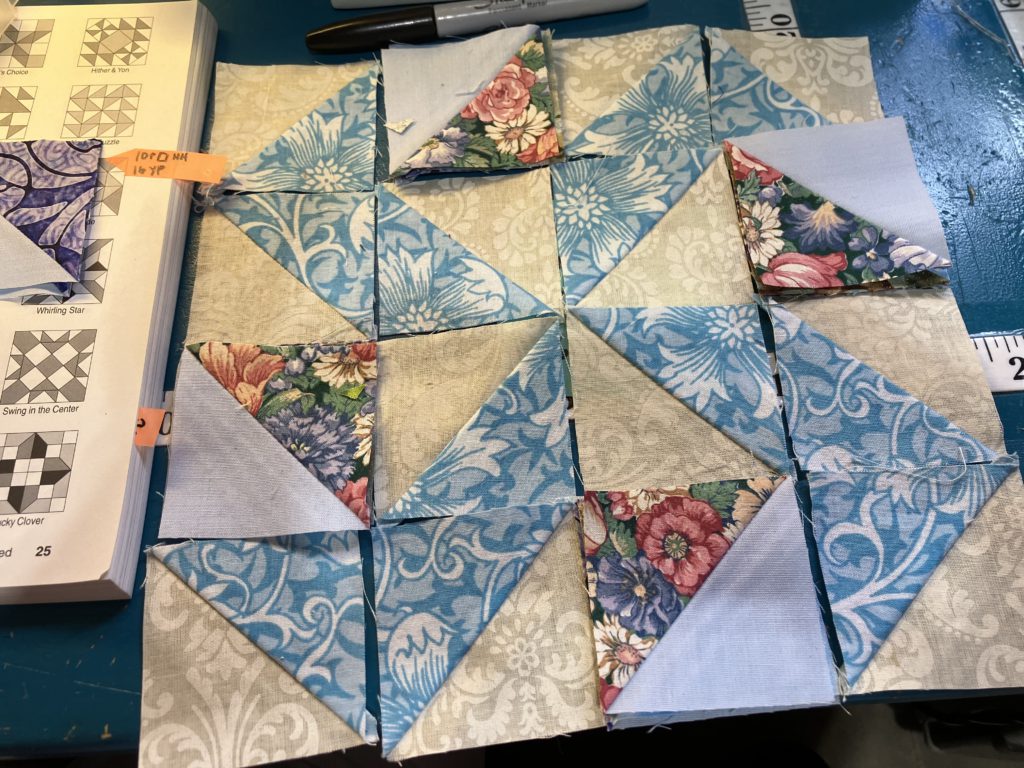
This week I am using up 16 more bonus half square triangle blocks…two sets of eight blocks. Look at the lovely, swirly whirlpool in the center. I used darker half square triangles for the center swirl.
This block can be speed pieced into quadrants or fourths. Notice the layout below for placement…a flying goose and a “blade”.
Make the goose and the blade units. Press open to reduce bulk. Assemble into a four patch as pictured below.
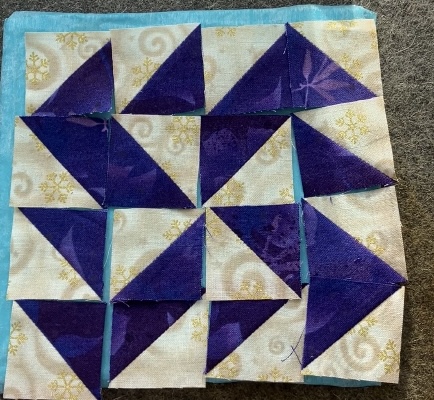
Make two units of two four patches. Note the layout below.
Turn one of the units…sew the final seam to complete the block.
Tah-dah! Tah-done! This is a 4 1/2″ version.
This is the 8 1/2″ version.
I love the swirling movement in this block…almost like a frame.
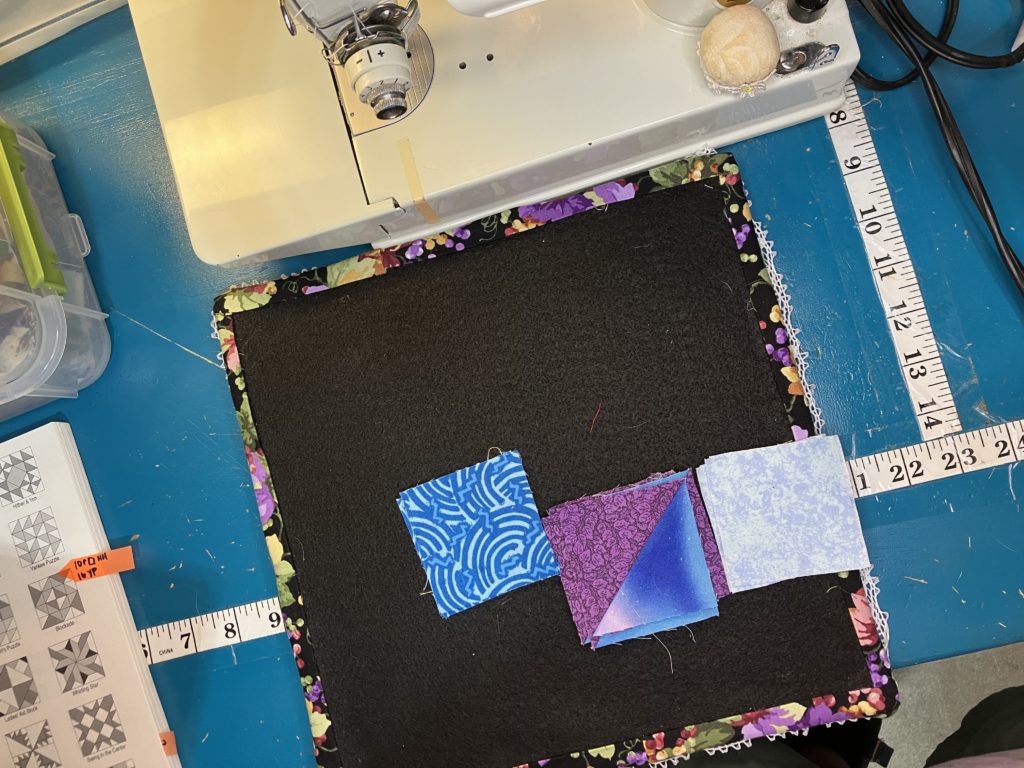
And look what I found! More blocks to trim! Yeah!
Here is the cutting chart with various sizes:
These are the base blocks for next week…shocker…more bonus half square triangles.