Categories
Build a block scraps sewing

Build a Block: Yankee Puzzle

Another block with half square triangles! These triangles will spin and swirl their way into your heart!

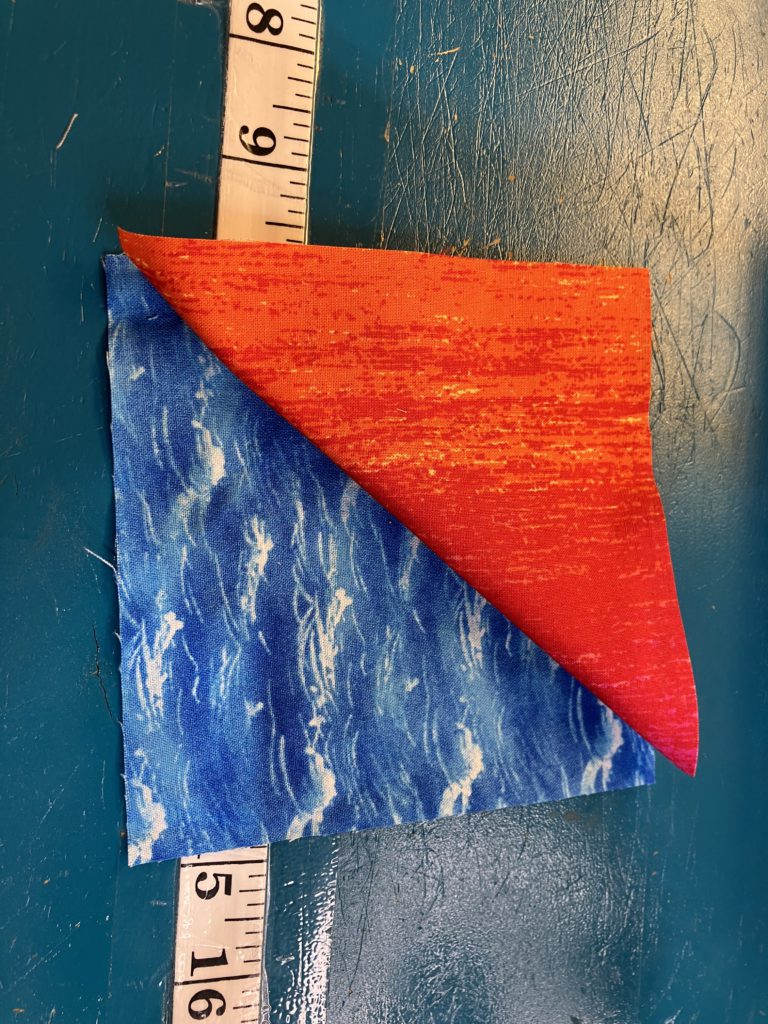
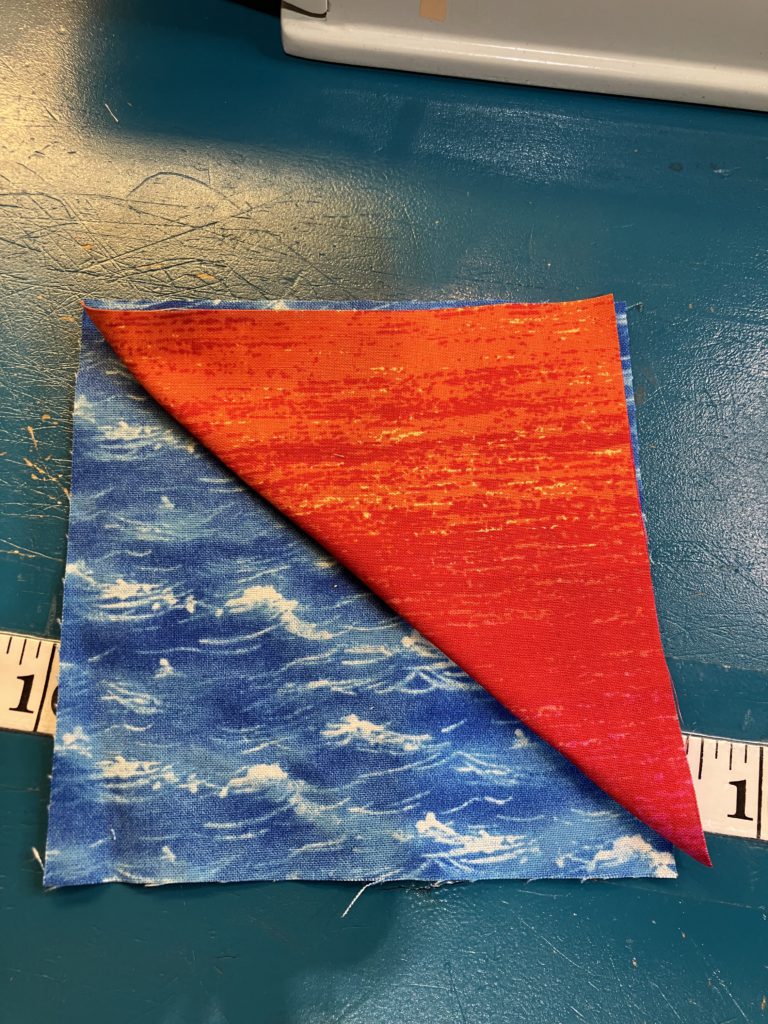
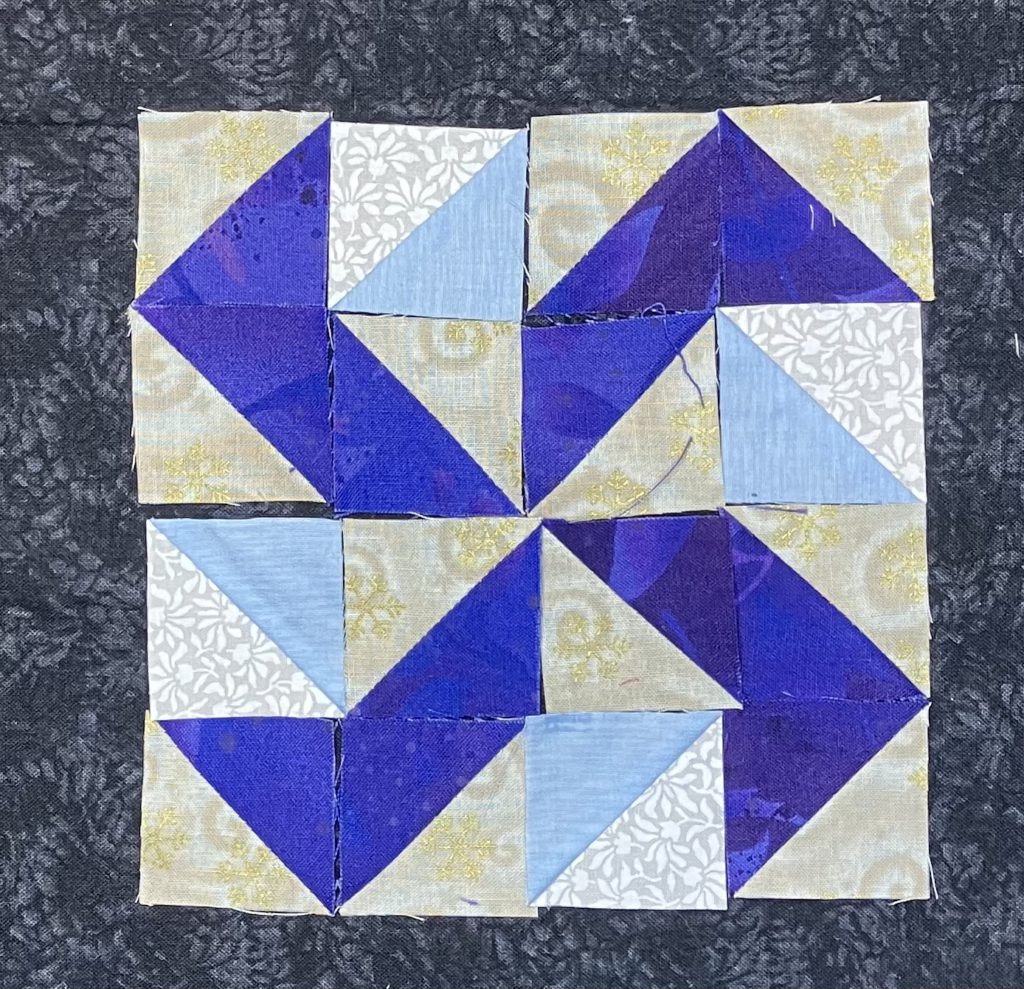
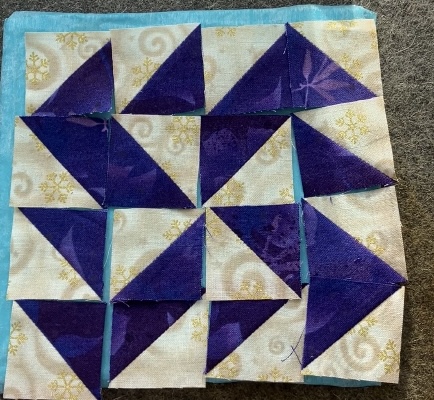
Yankee Puzzle is made from 16 half square triangles.  If you are making the two color version like the one below, you will need 12 units for the big swirl and 4 for the contrast color.

Here is the YouTube video.  The cutting chart is toward the bottom of this post.  It is a free printable.

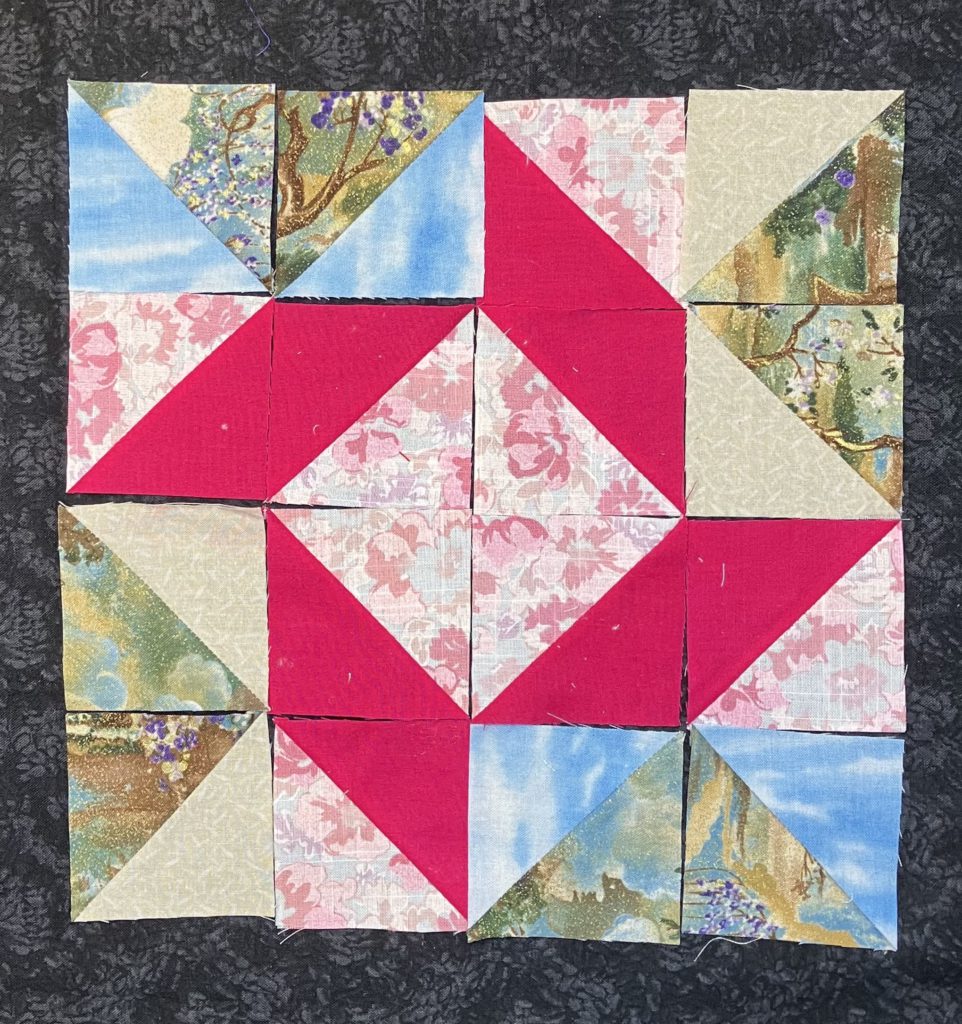
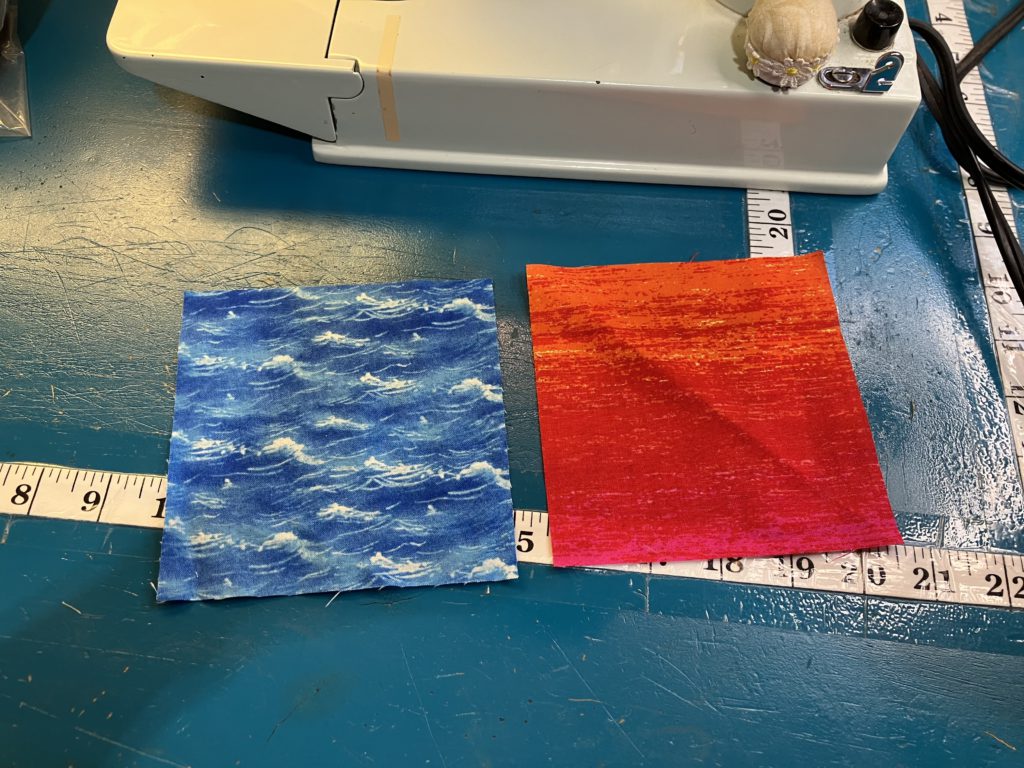
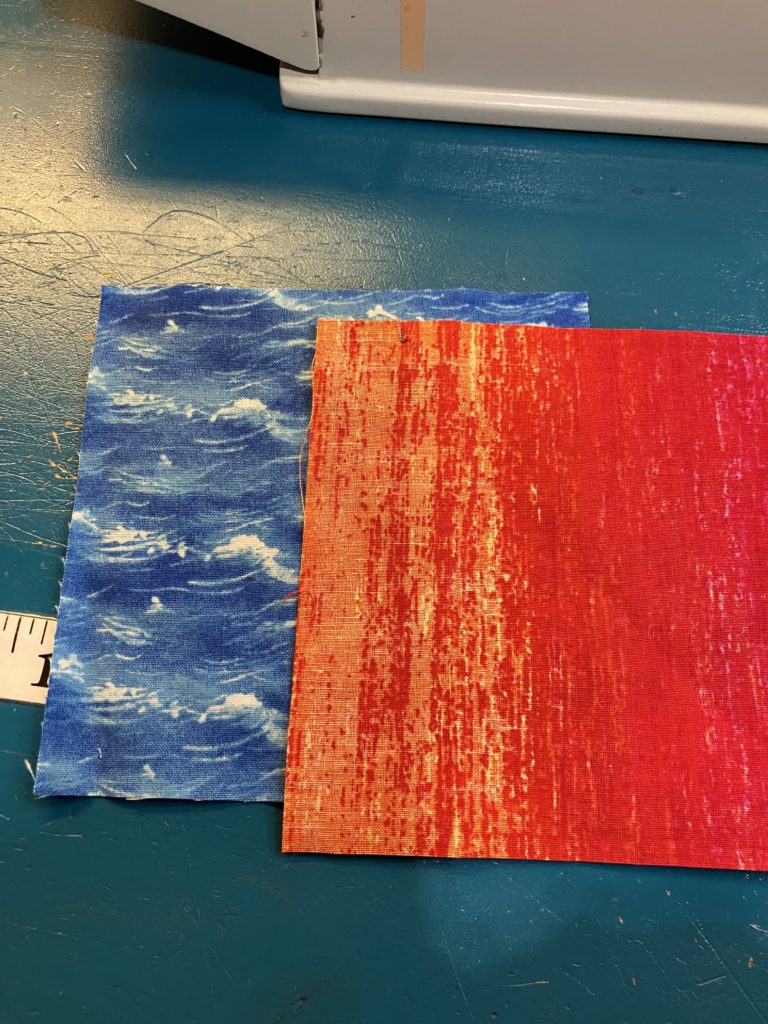
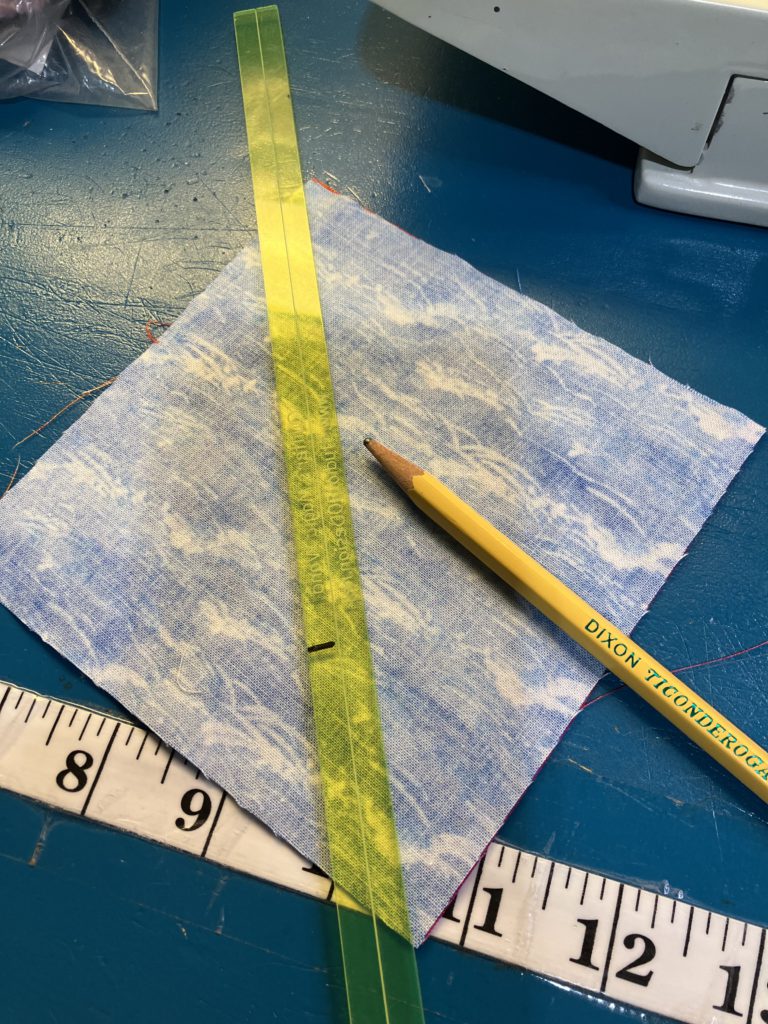
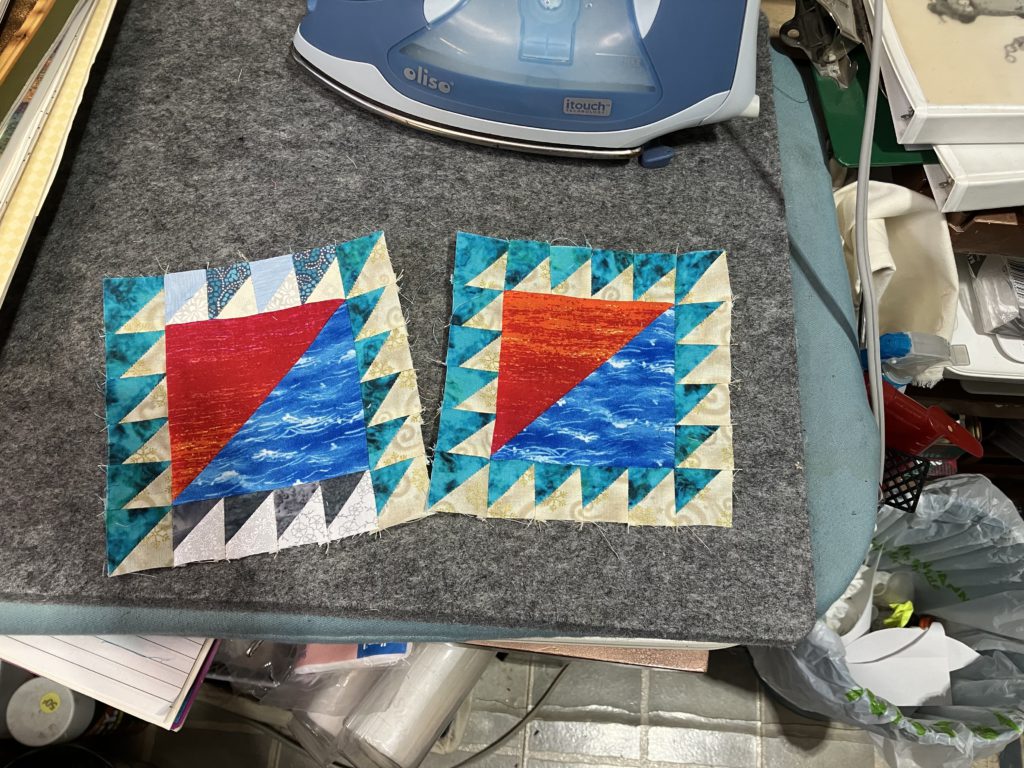
The example below and the red, white, and blue example are both made from 2 1/2″ half square triangles.

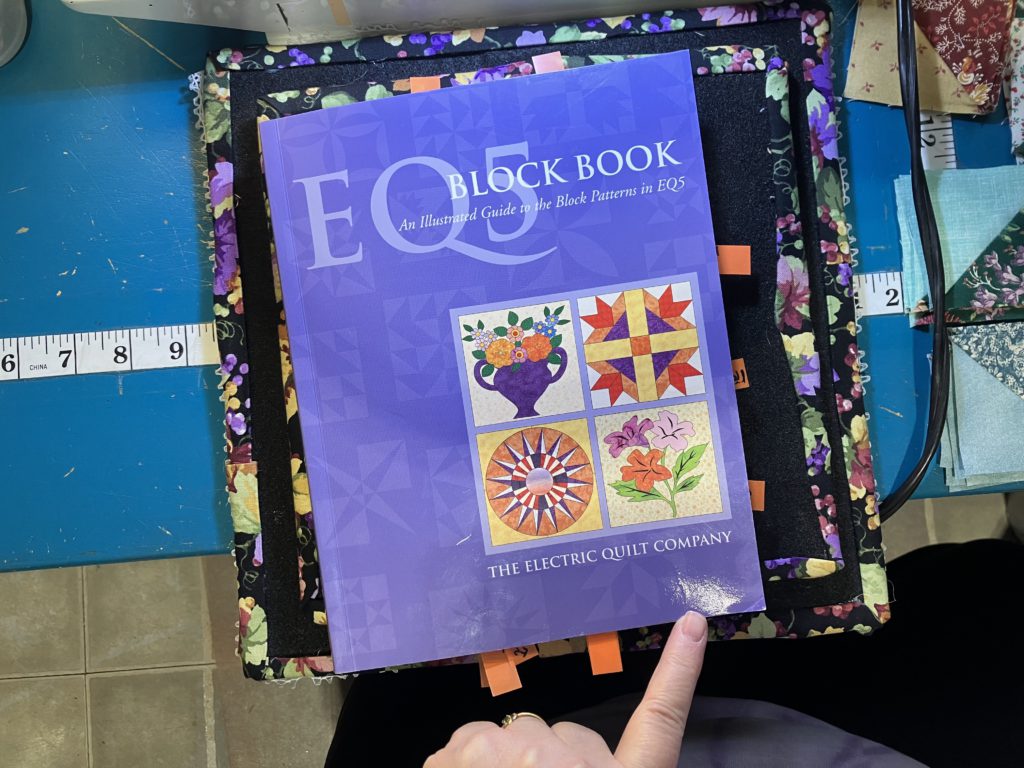
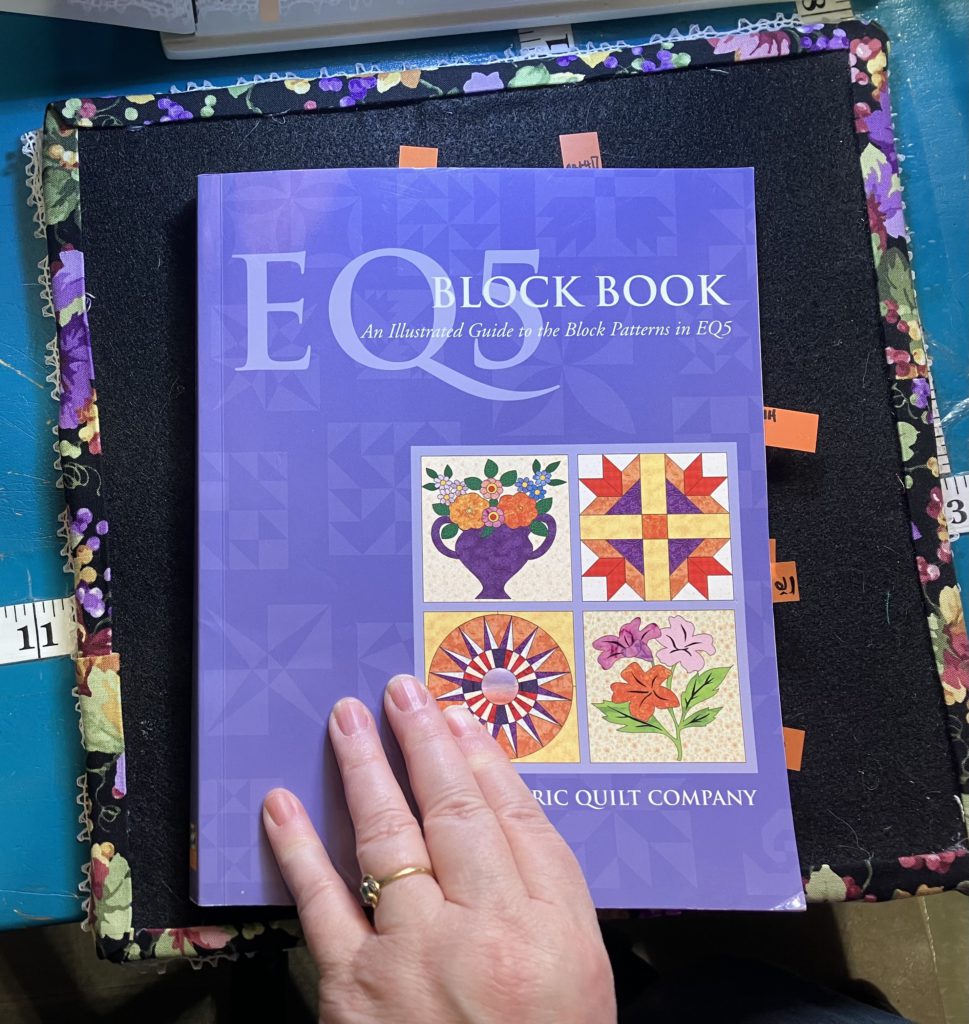
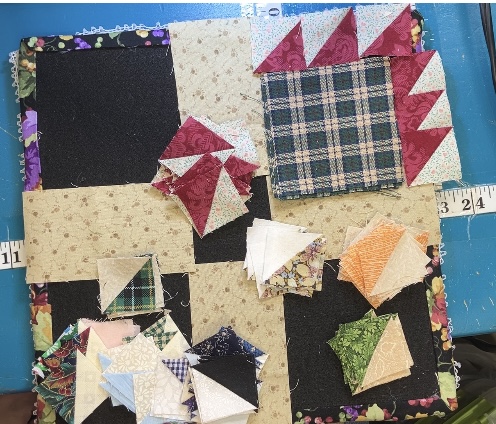
My inspiration is coming from this old EQ5 book again this week…best quarter I ever spent at a yardsale!

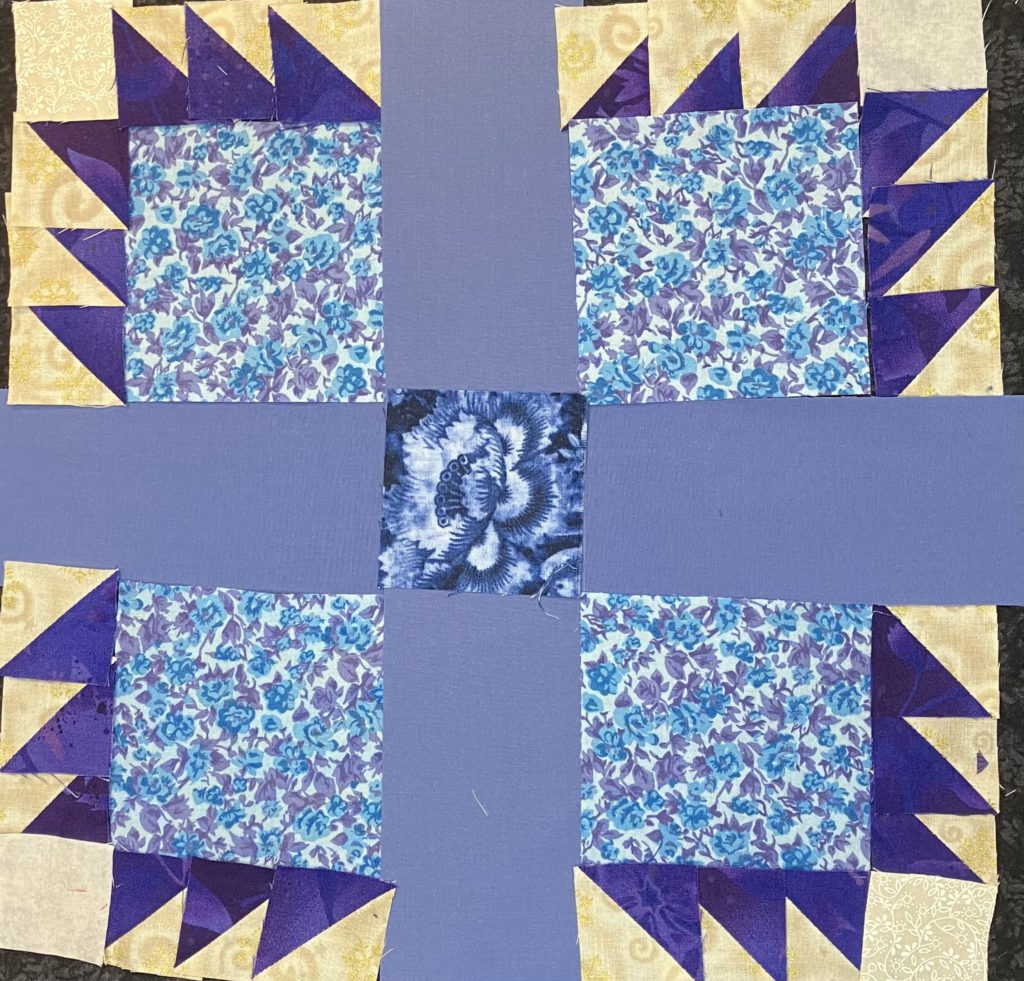
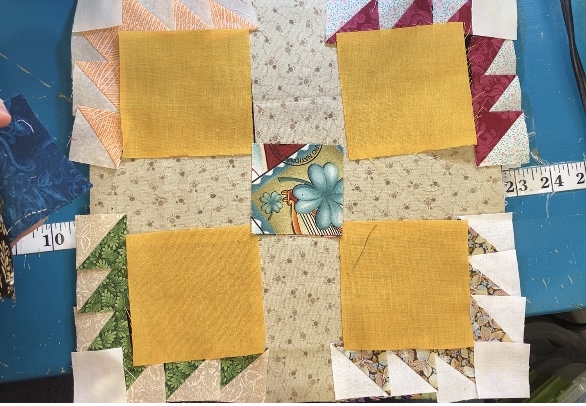
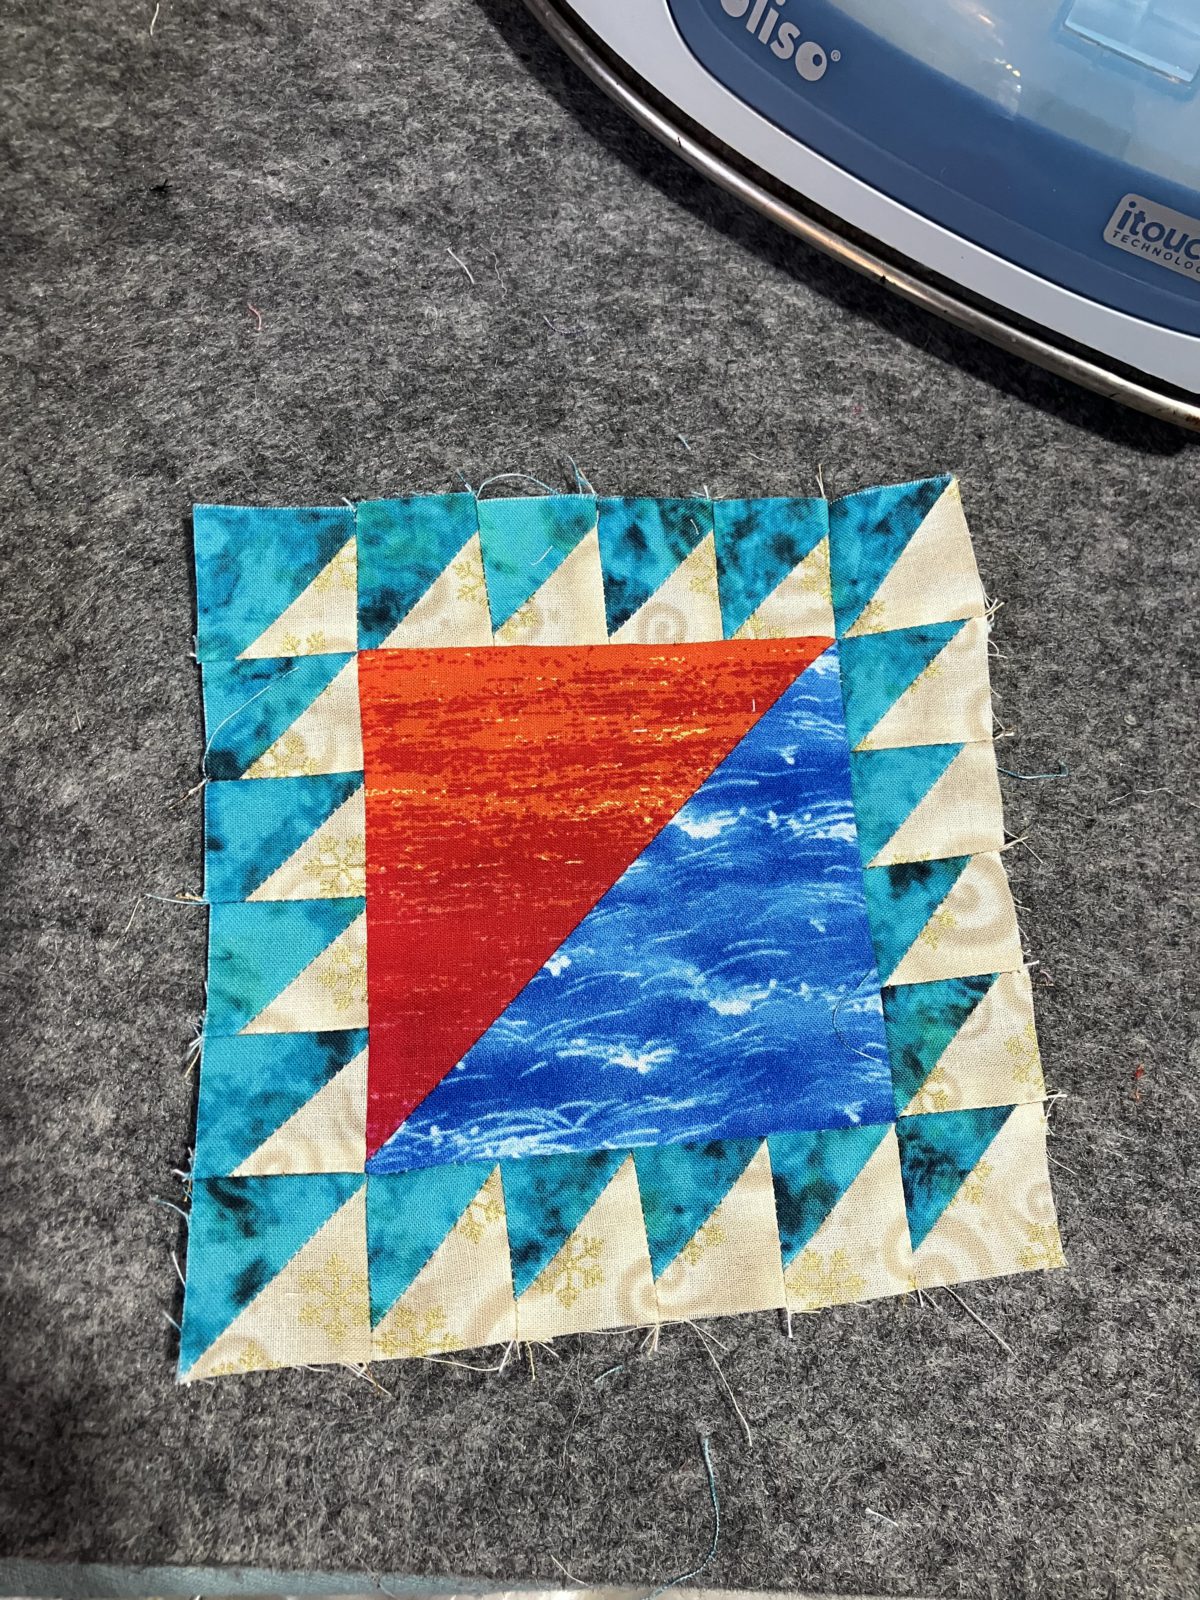
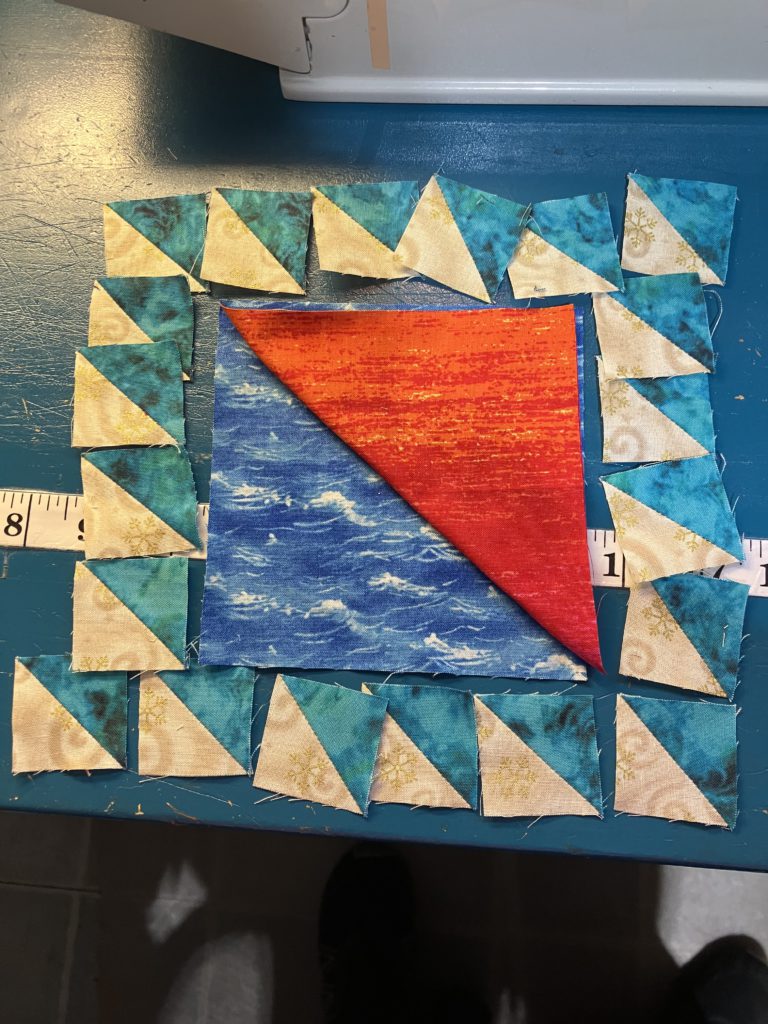
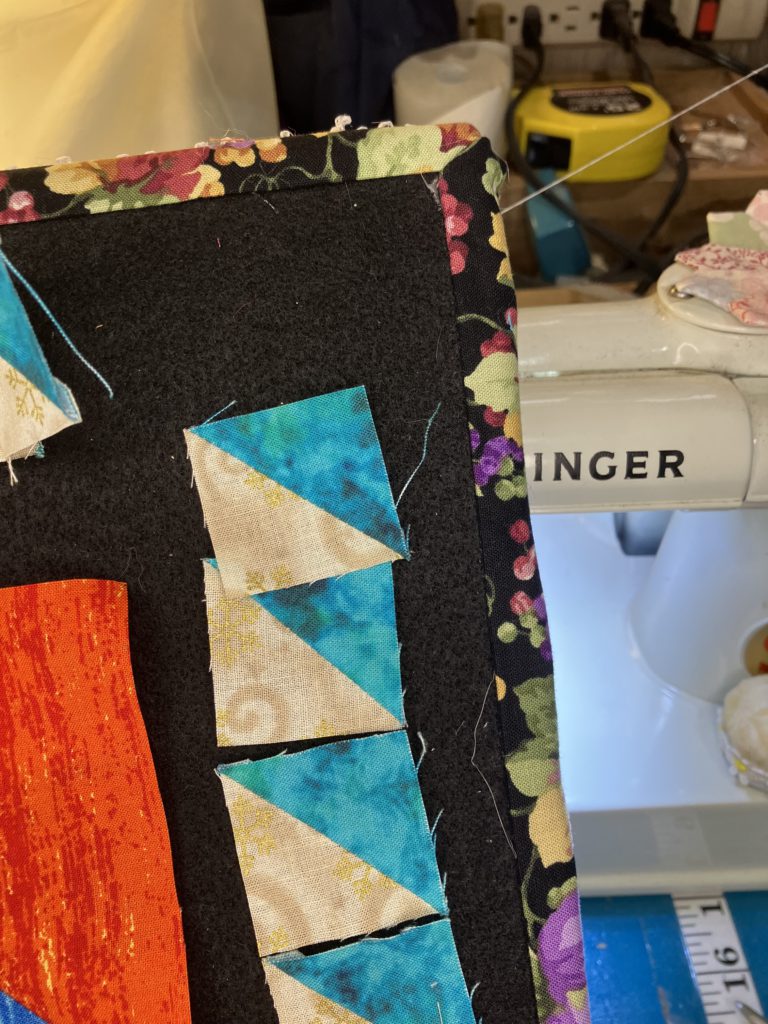
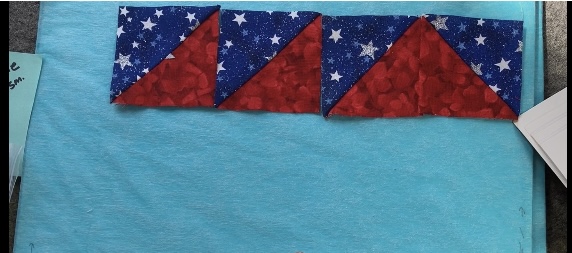
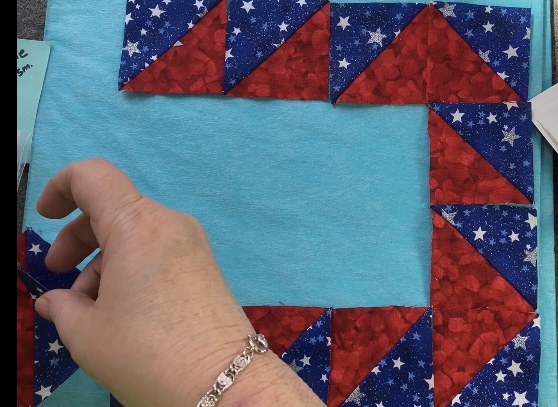
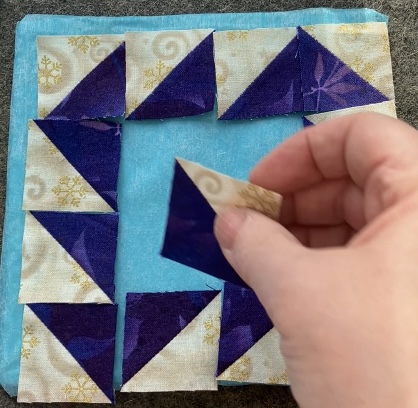
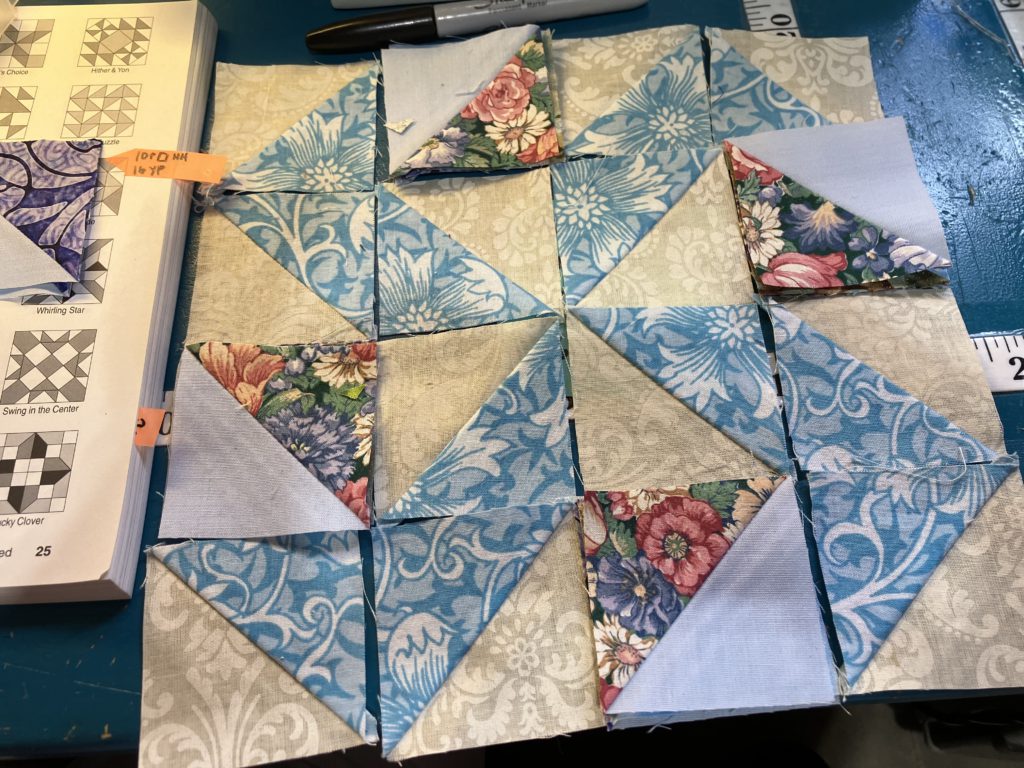
Here are the units layed out. Notice that three of the blocks, starting at the left, go the same direction. The last block on the right is turned a quarter turn to make a flying goose.

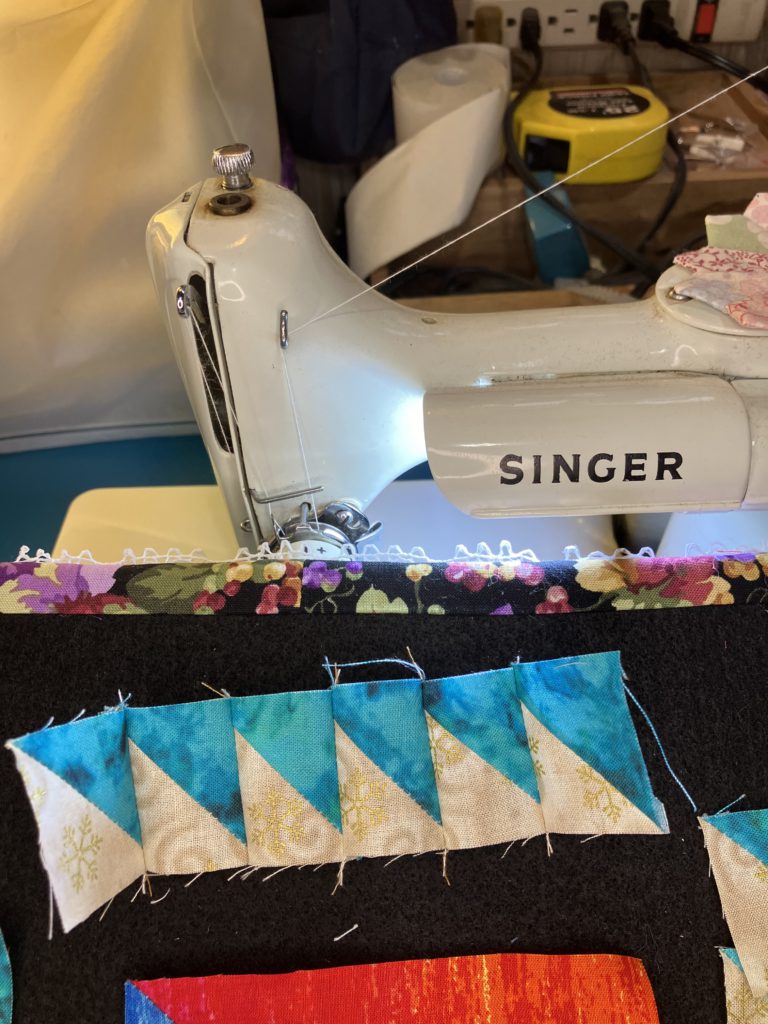
Continuing along the right side of the block…

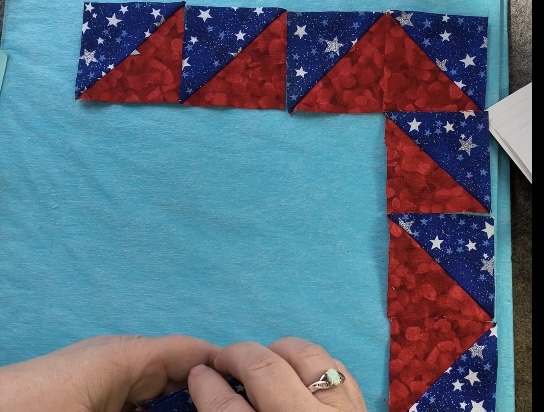
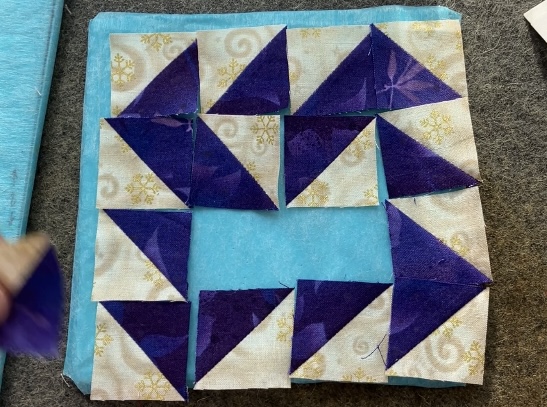
Along the bottom…are you seeing the pattern yet? Three in the same direction, then goose…

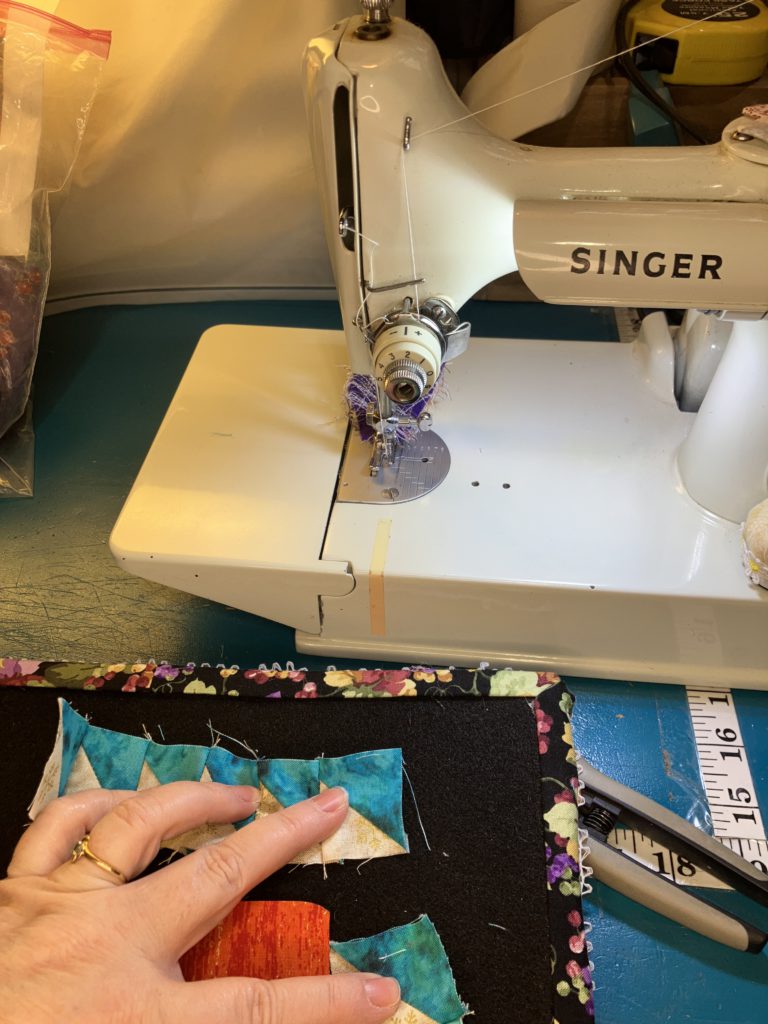
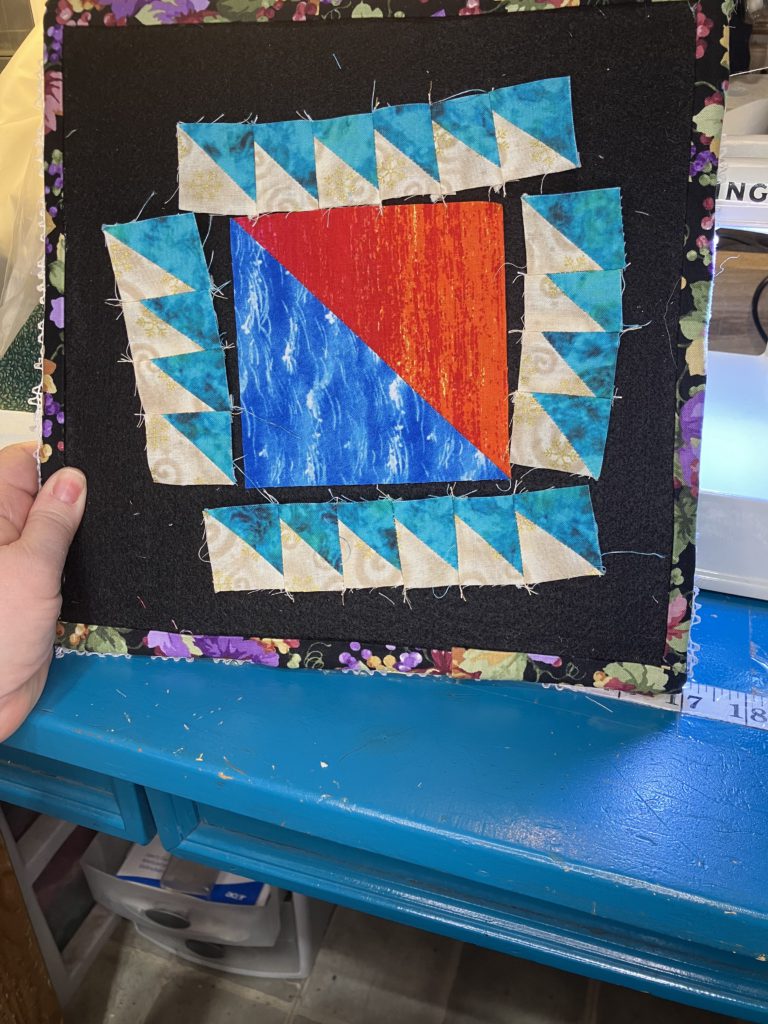
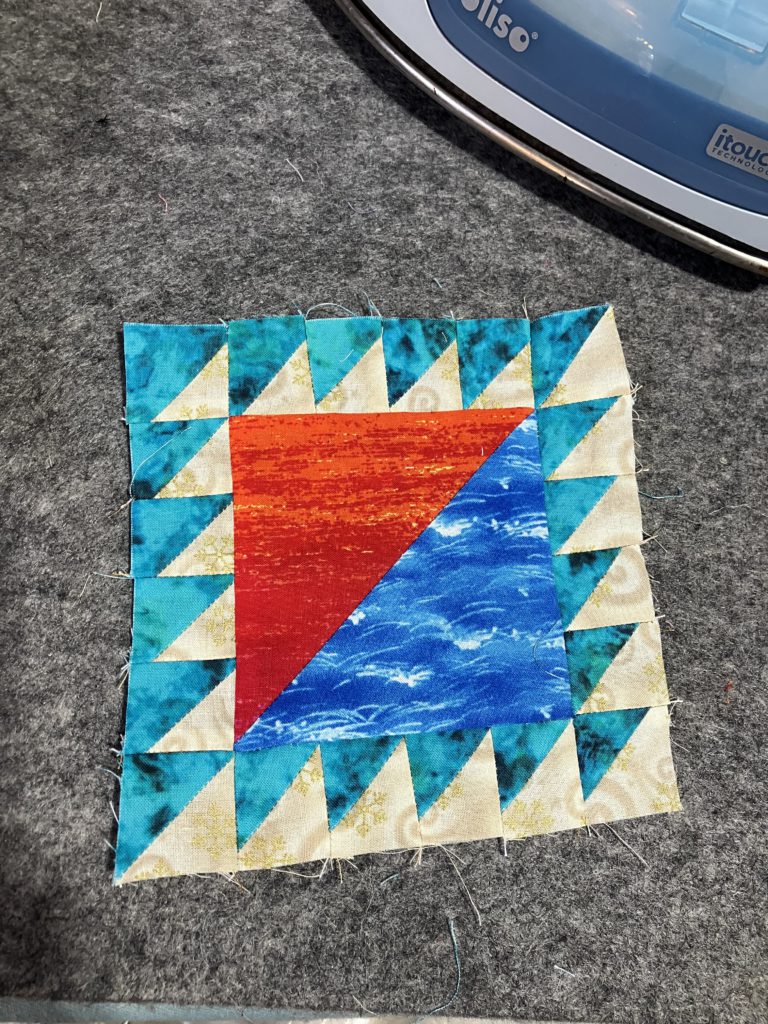
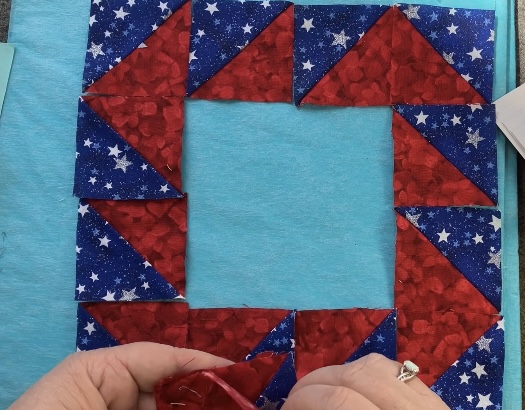
The rest of the outside frame…next add a pinwheel to the center (scroll down a little more to see…)

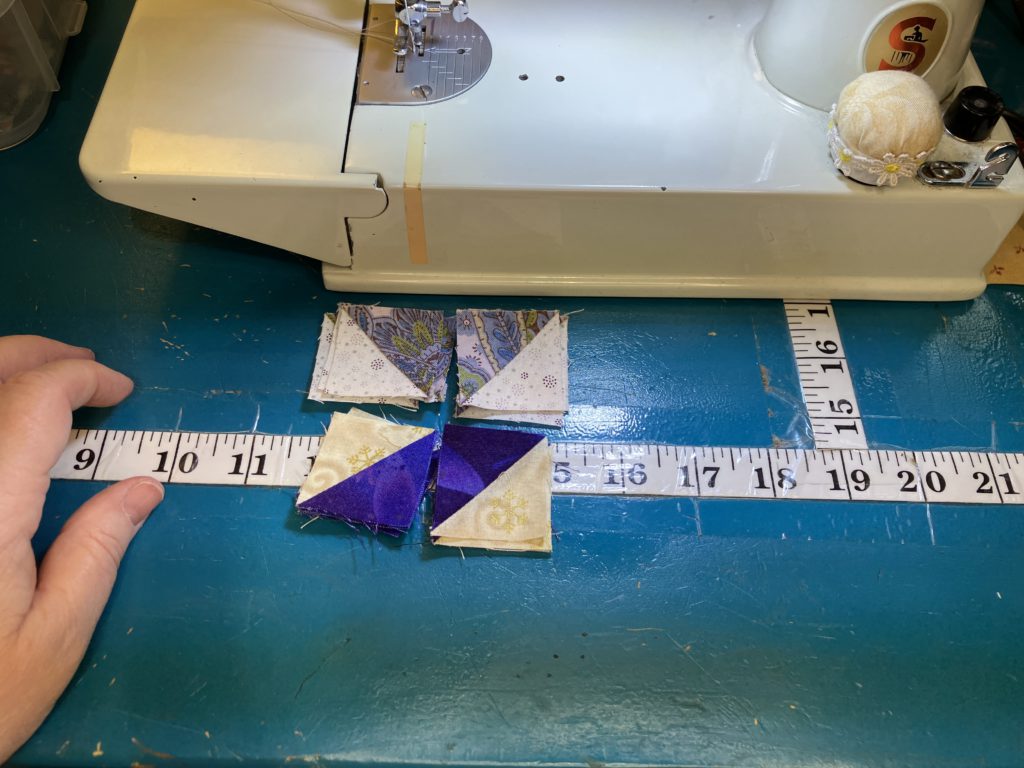
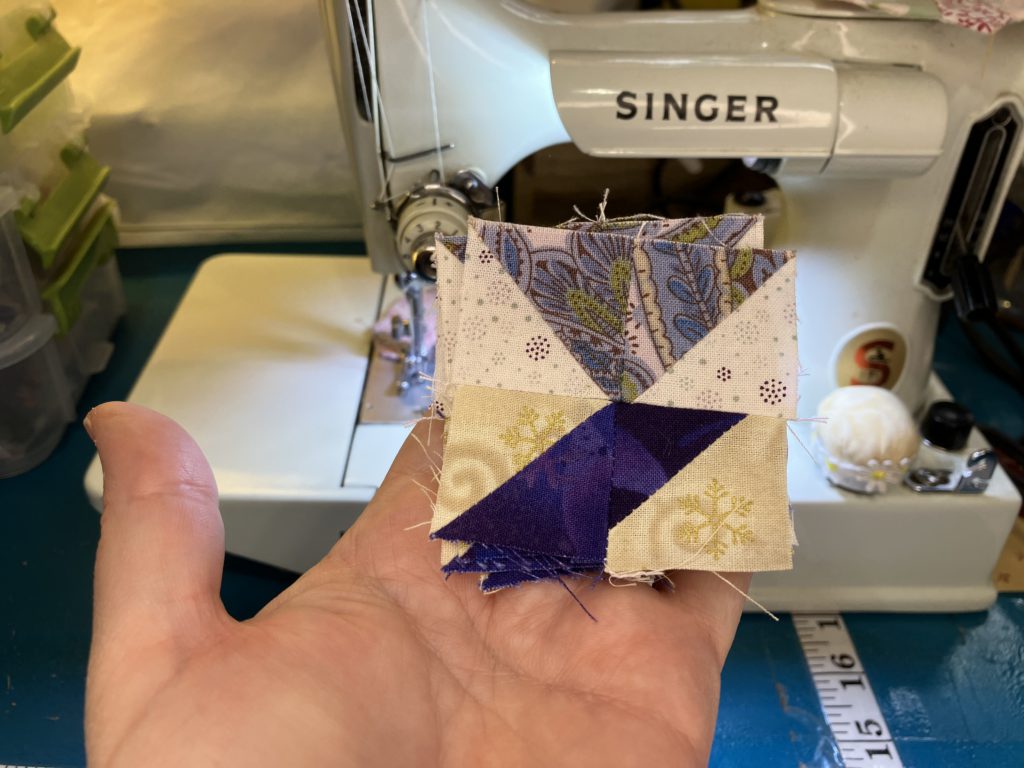
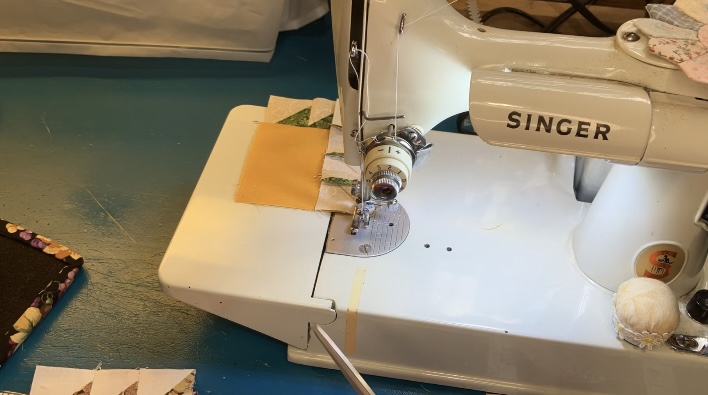
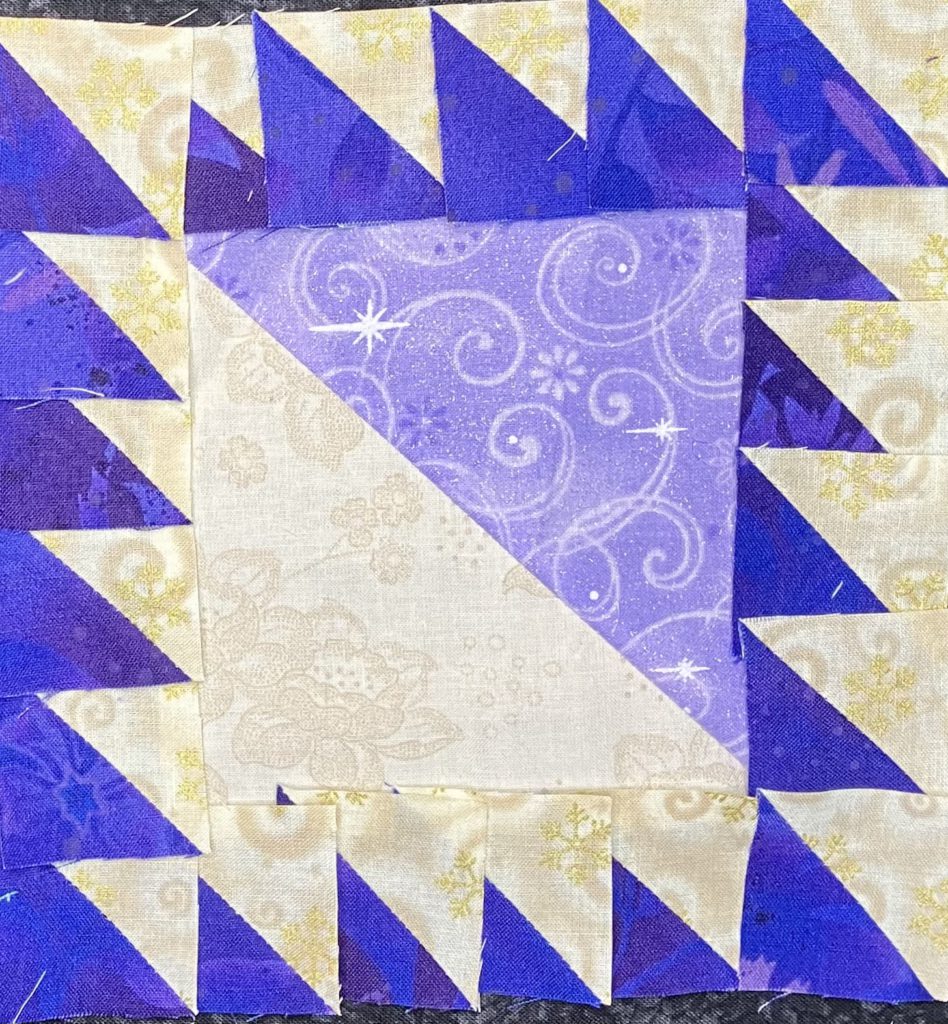
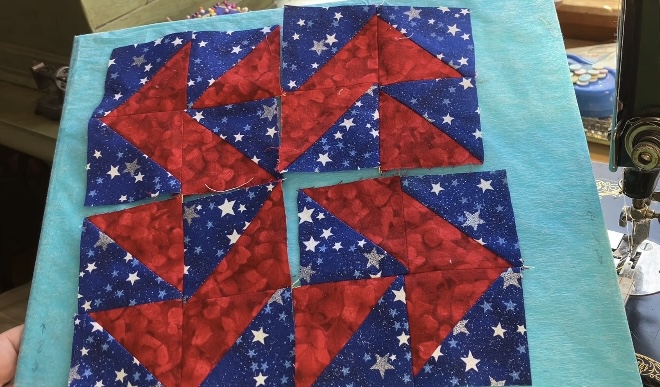
This block can be sewn in quadrant pieces. Here is the stacked pile of quadrants ready to sew…zoom, zoom, baby!

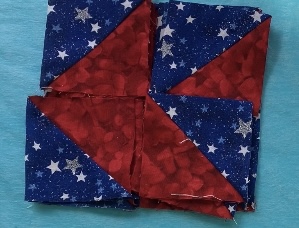
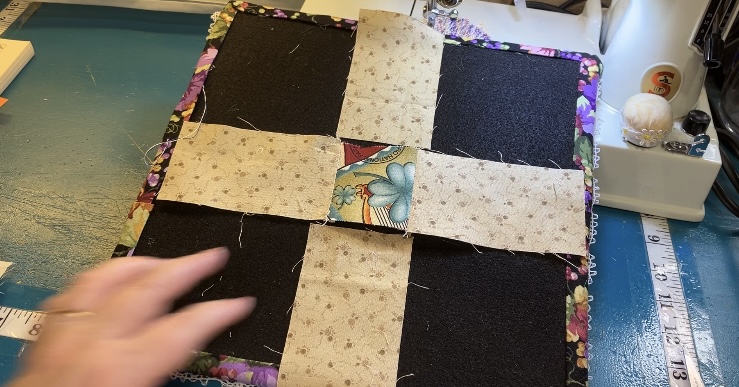
After the quadrants are sewn, lay out is as simple as a quarter turn. A large swirling pinwheel will form in the center when pieces are layed out correctly.

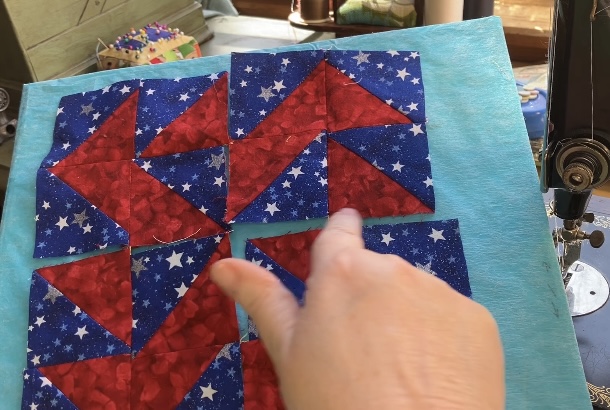
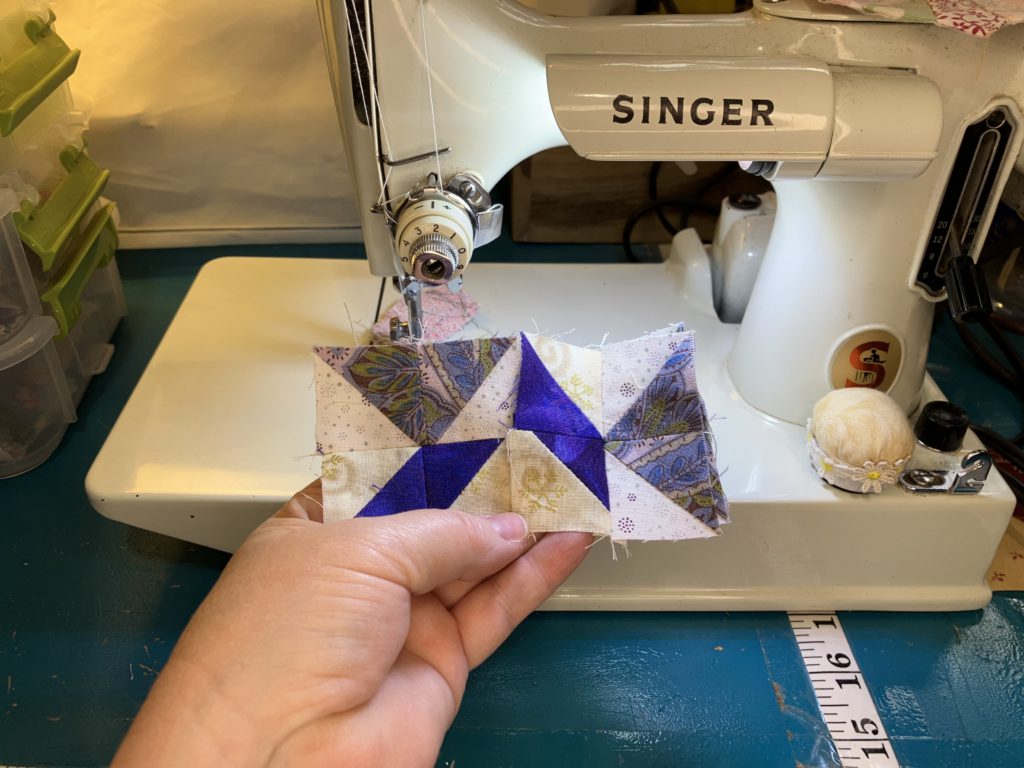
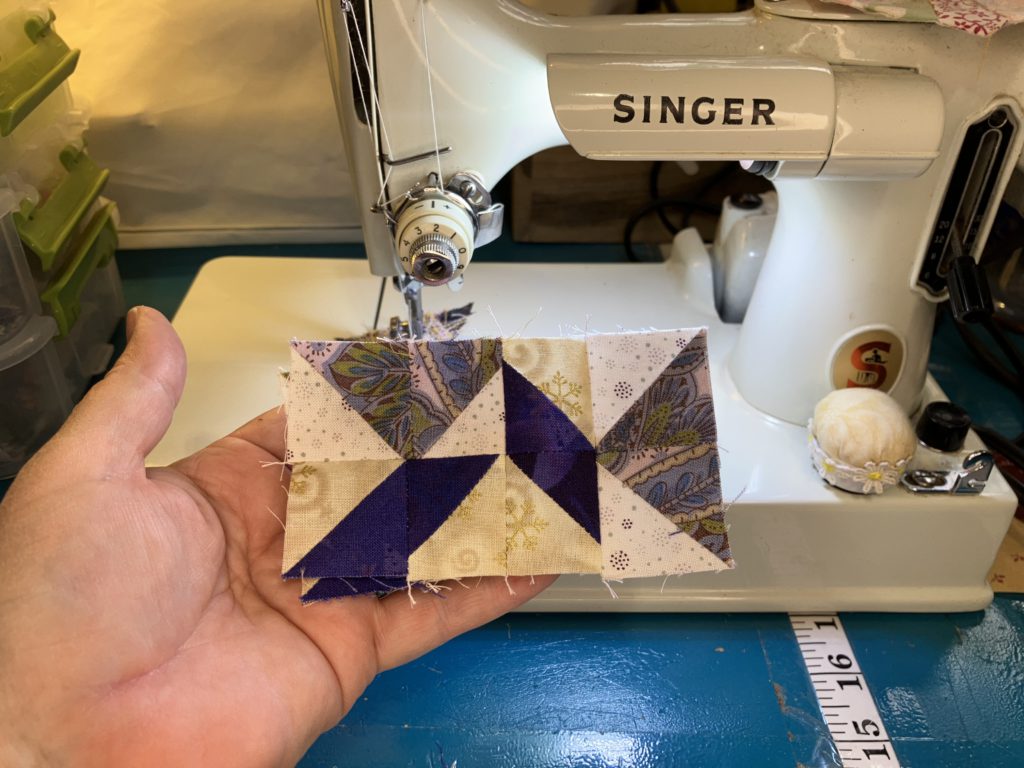
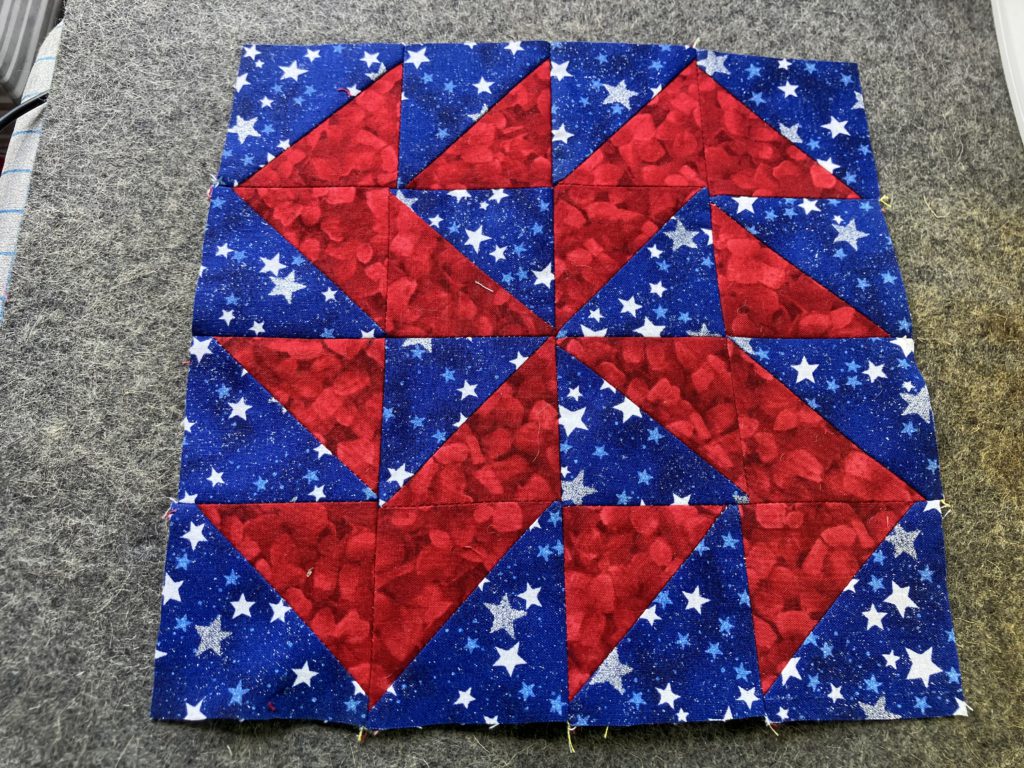
Sew the quadrants together…then sew the halves together…
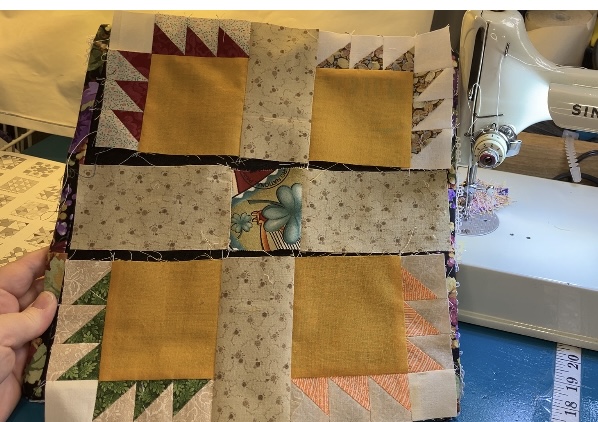
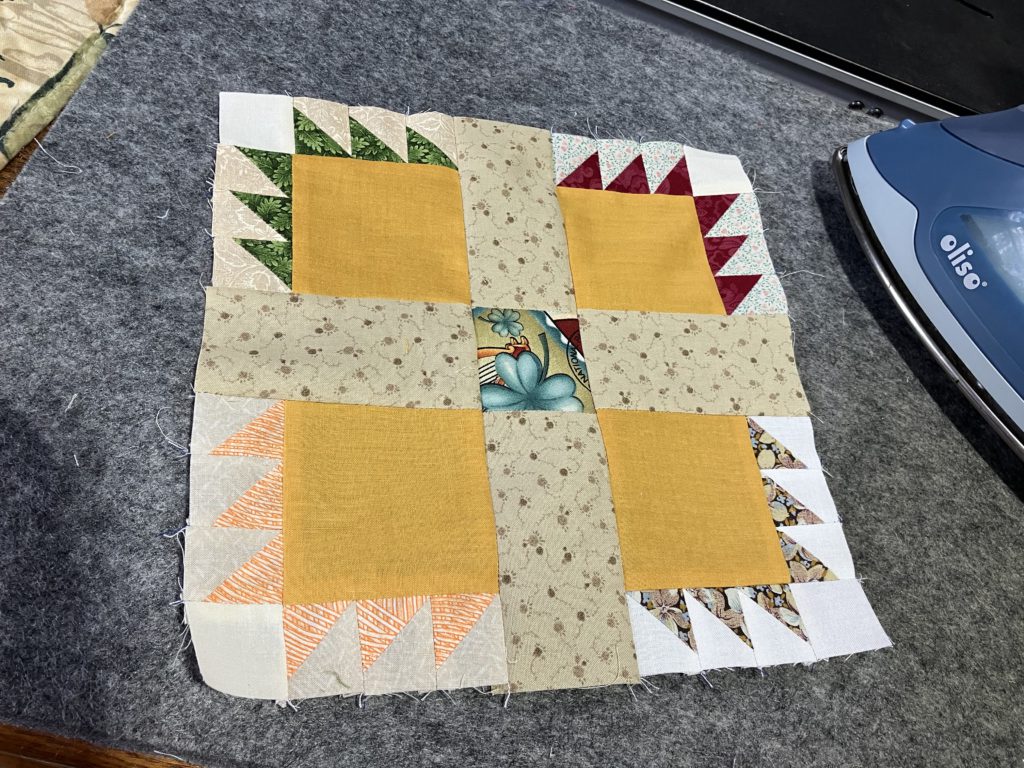
Ta-dah! Ta-done!

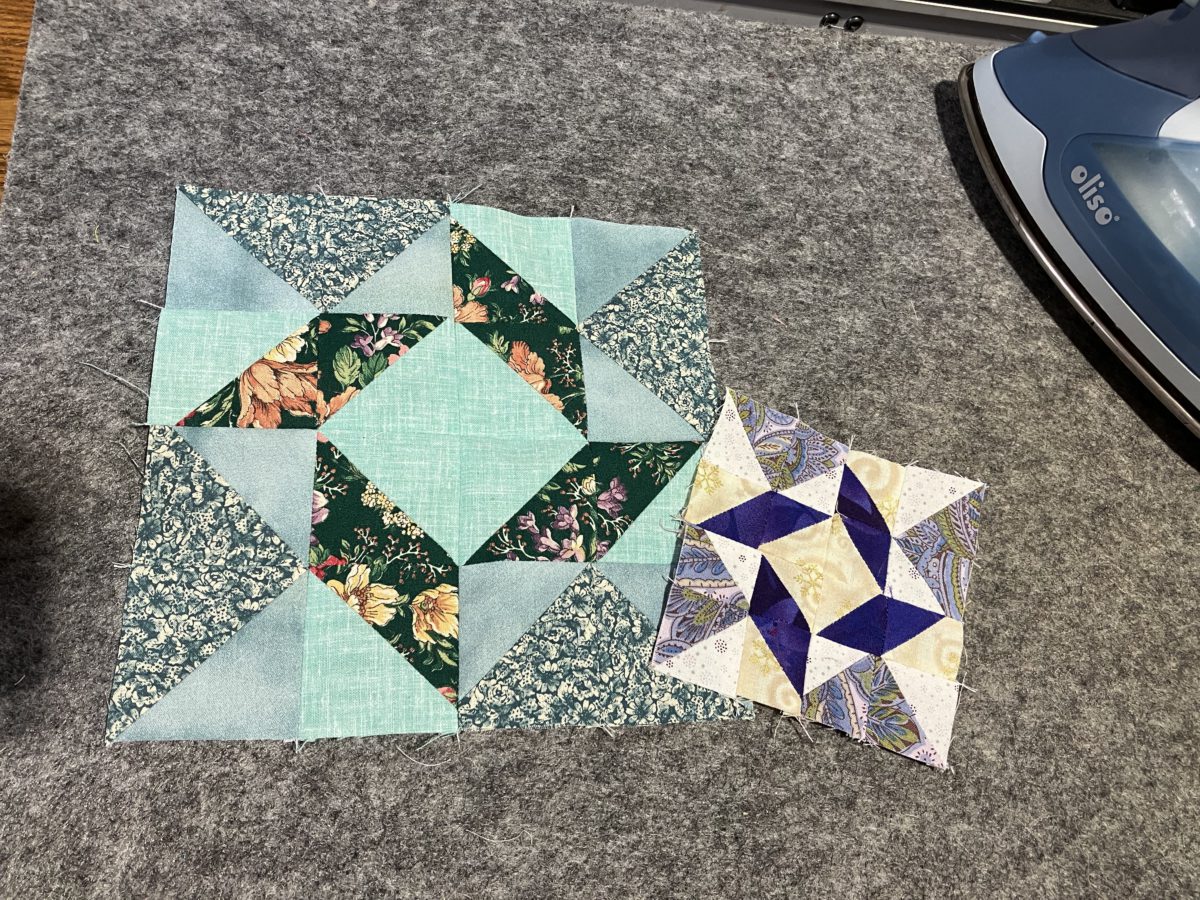
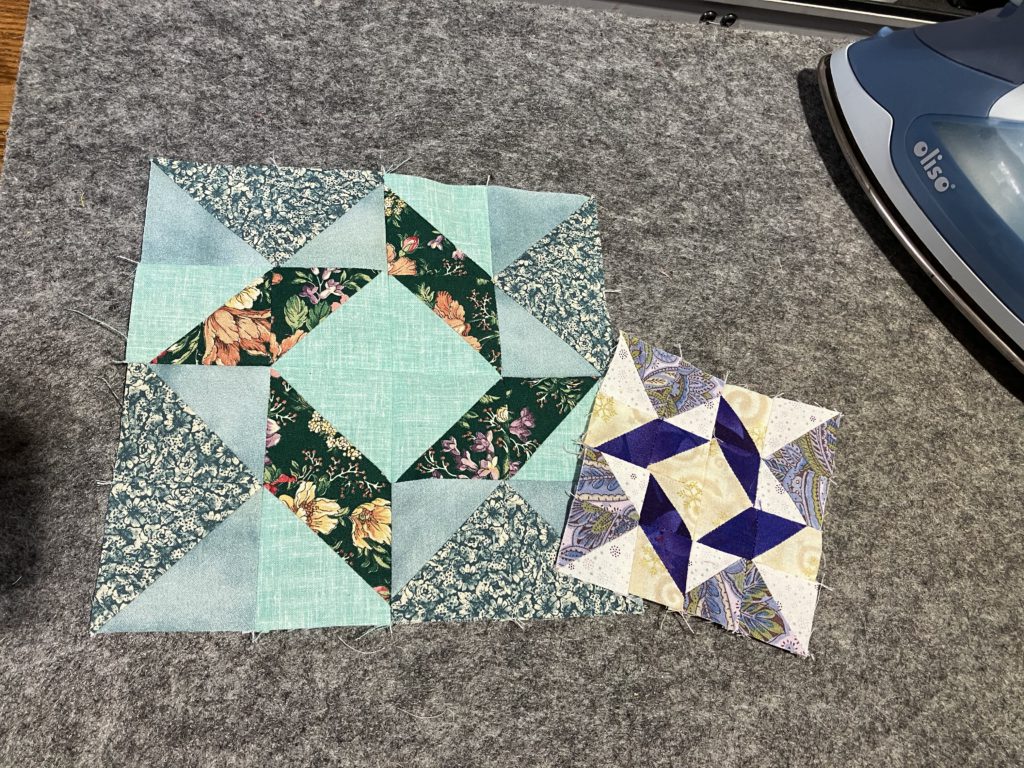
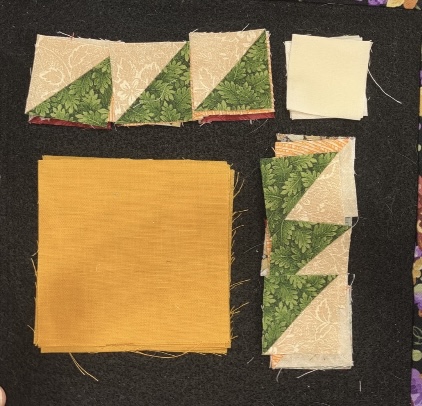
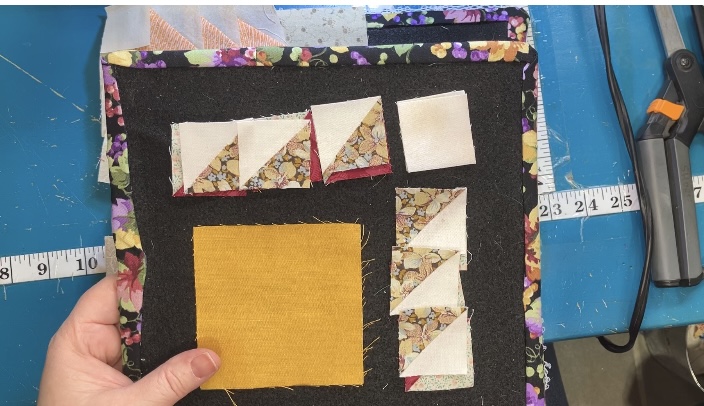
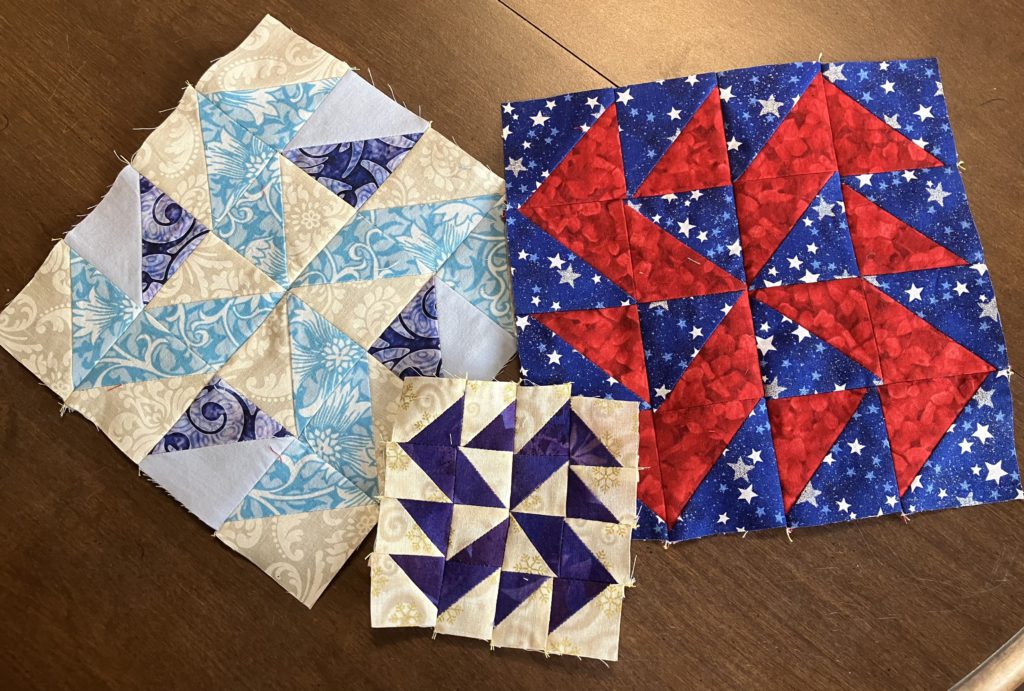
Now for the example made from 1 1/2″ pieces. It finishes at 4 1/2″. (You know I couldn’t resist!)

Finished reveal of this little beauty will be at the end of the post!

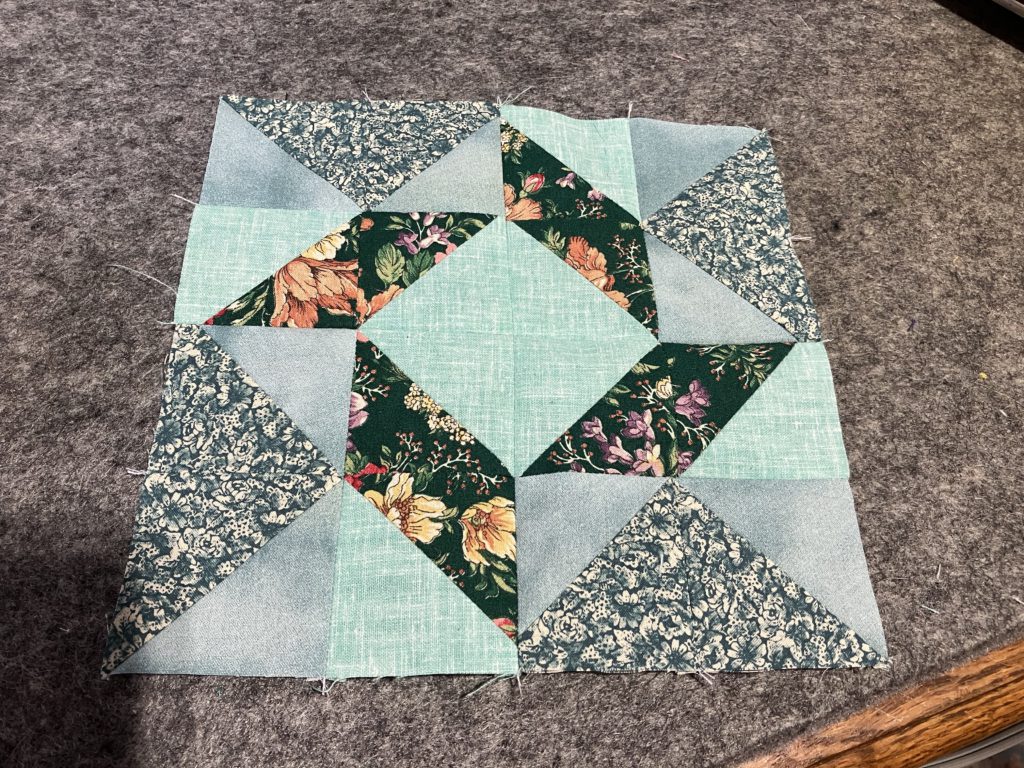
Now for my version of the 2 color layout! I creat the large swirling pinwheel (12 half square triangles) with one color.

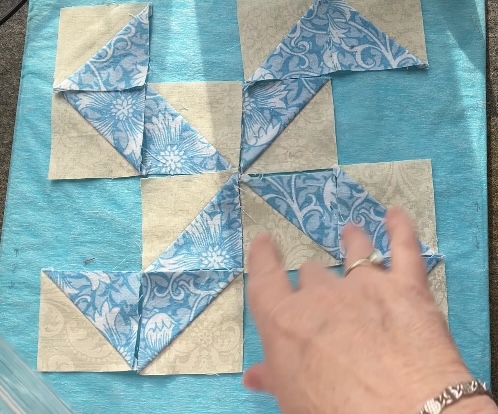
I add in the second color…

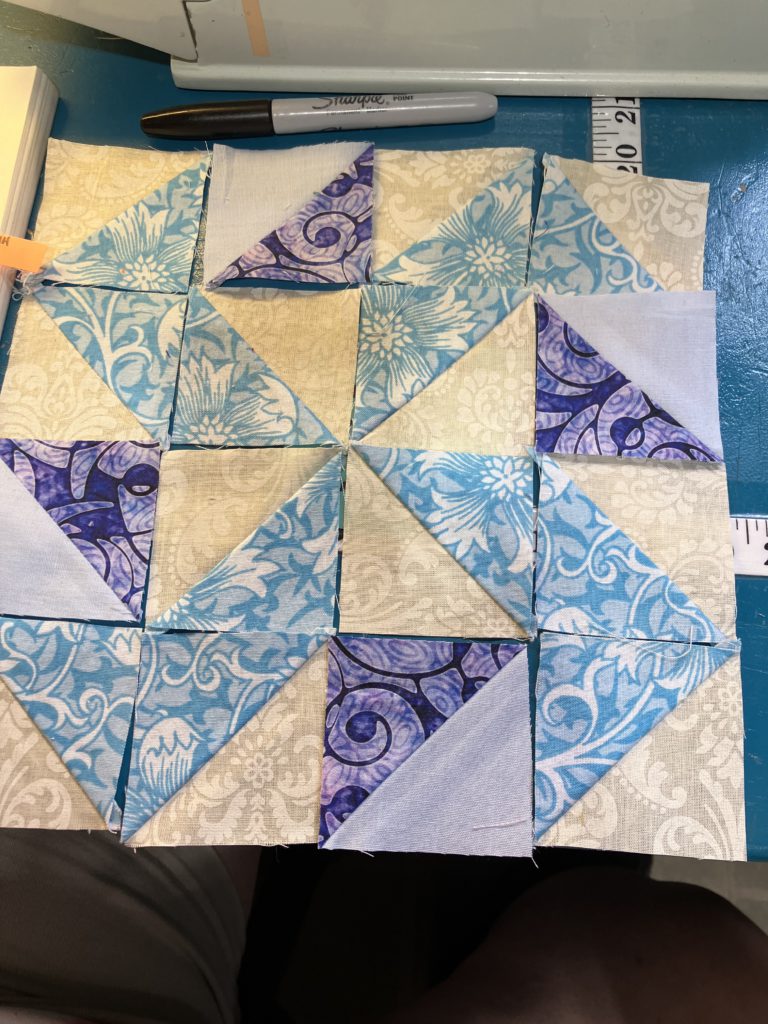
Or maybe this version…

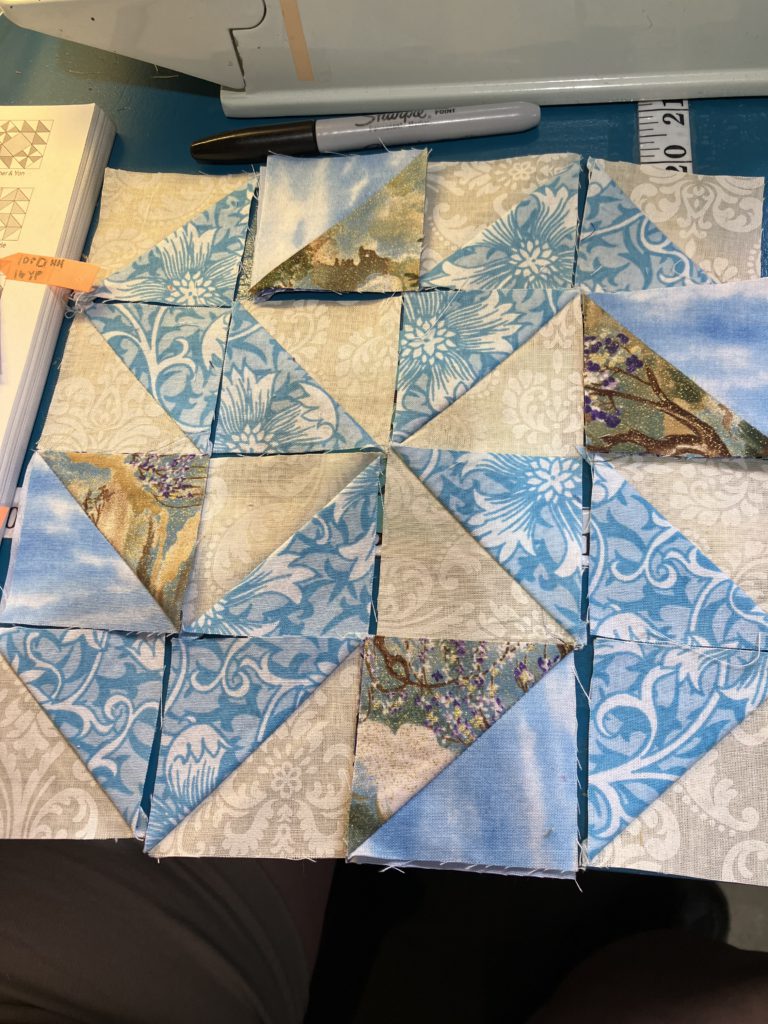
Or this one?? Oh, the decisions!

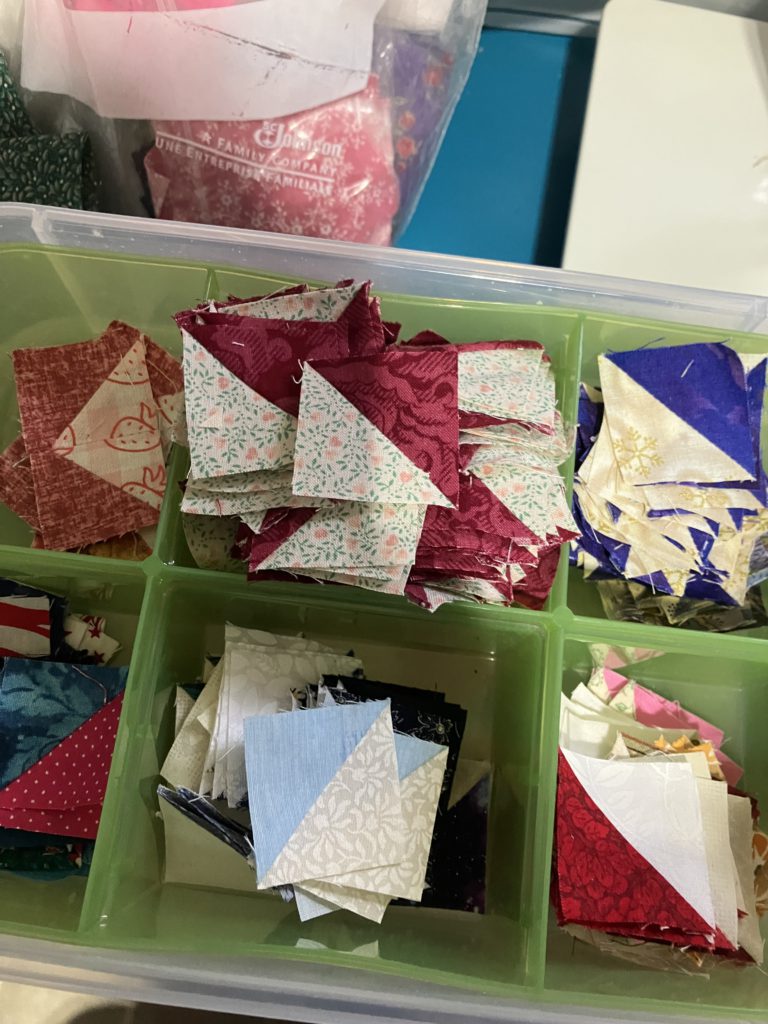
Here they are finished and ready to use in a beautiful scrap quilt!

Here is the printable cutting chart:

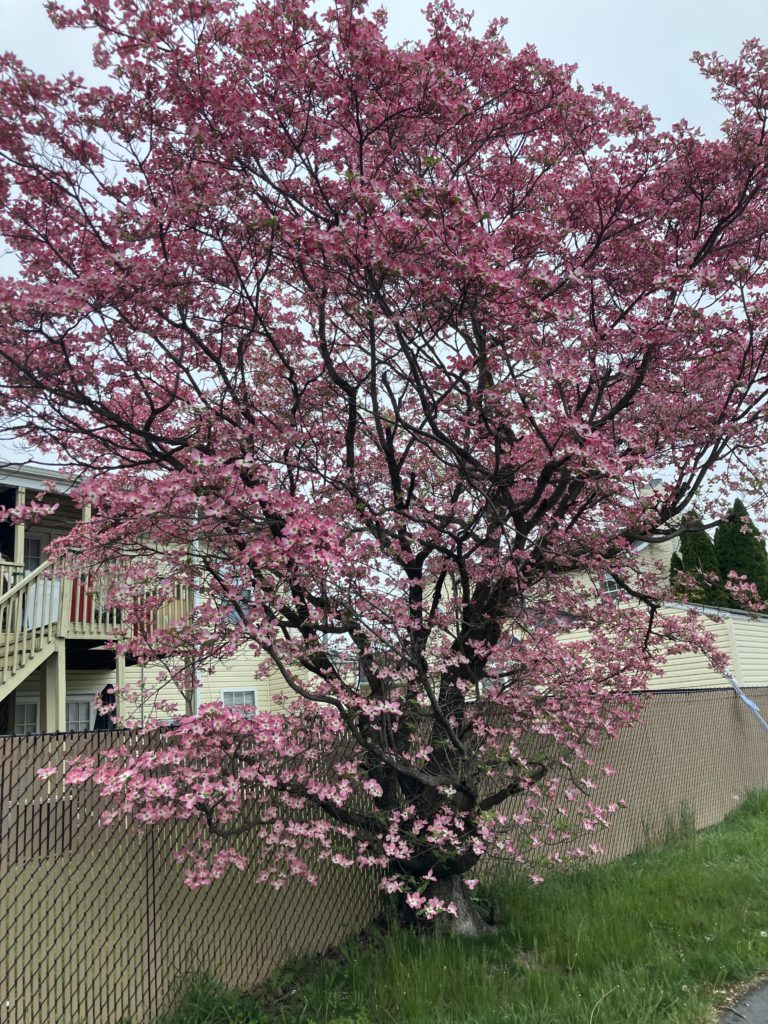
I couldn’t resist adding this beautiful dogwood picture from the post office in Inwood, WV.

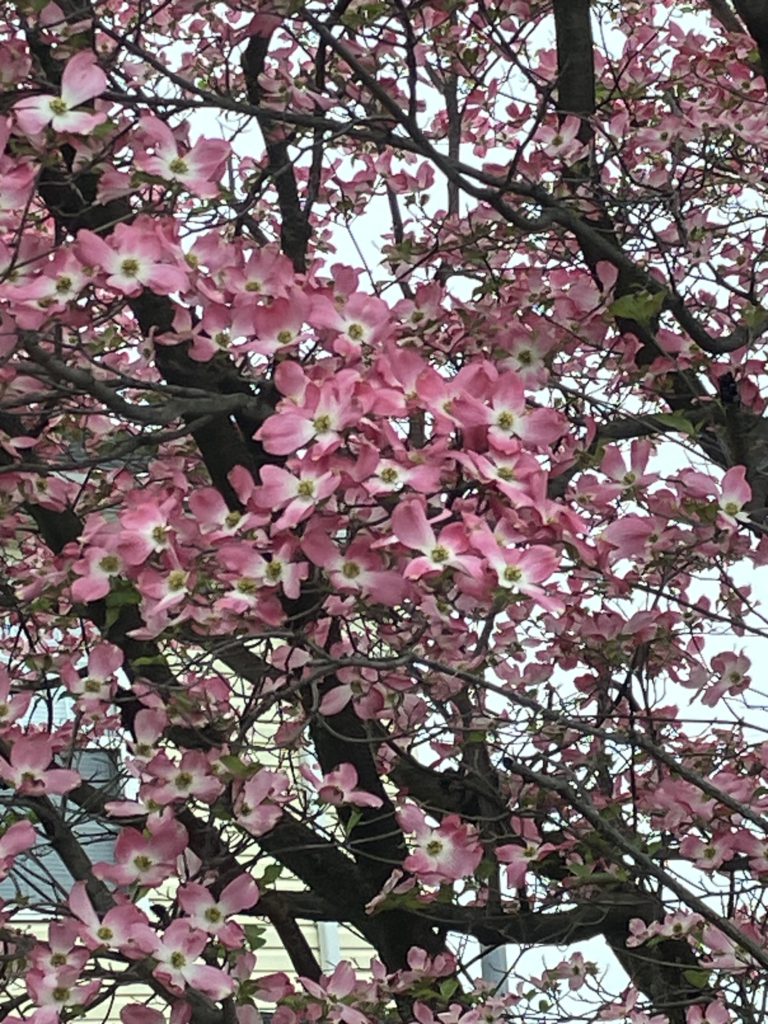
And now for a close up…

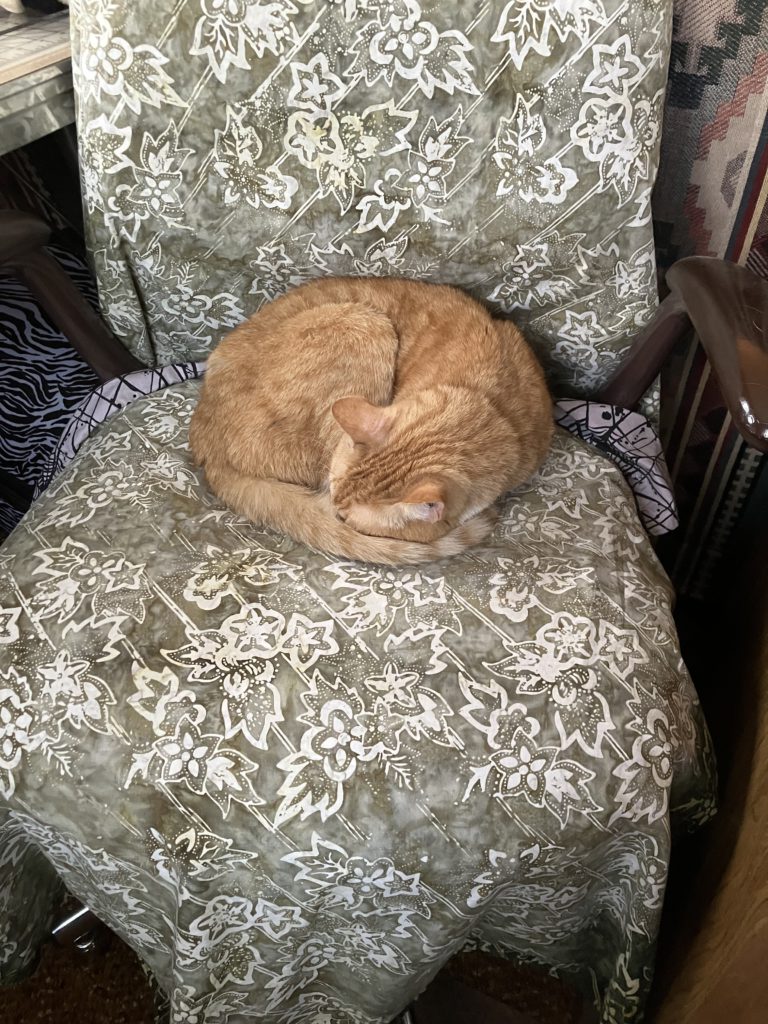
Simba is enjoying a nice nap on my sewing chair. (The green fabric was put on the chair to prevent her fur from becoming a permanent part of my upholstery!)

Categories
Build a block

Build a Block: Whirlpool

I am still using this same, old book.  There are lots of good blocks in there! The video that shows this block construction is here.  The cutting chart for four sizes is at the bottom of this blog.

This week I am using up 16 more bonus half square triangle blocks…two sets of eight blocks. Look at the lovely, swirly whirlpool in the center. I used darker half square triangles for the center swirl.

This block can be speed pieced into quadrants or fourths. Notice the layout below for placement…a flying goose and a “blade”.

Make the goose and the blade units. Press open to reduce bulk. Assemble into a four patch as pictured below.

Make two units of two four patches. Note the layout below.

Turn one of the units…sew the final seam to complete the block.

Tah-dah! Tah-done! This is a 4 1/2″ version.

This is the 8 1/2″ version.

I love the swirling movement in this block…almost like a frame.

And look what I found! More blocks to trim! Yeah!

Here is the cutting chart with various sizes:

These are the base blocks for next week…shocker…more bonus half square triangles.

See you next week for more blocks!

Later,

Lorrie

Categories
Build a block

Build a Block: Super Bear Paw

I love block books that do not have set measurements for the blocks. This old EQ book fits the bill!

I only made this block in one size because the proportions are perfect just the way they are. The video showing block assembly can be found here. The cutting chart is at the end of this post.

Here is the basic layout of the block:

In this version each paw has different claws:

After the initial layout, I move the blocks into one pile…a pile of quadrant blocks…that can be speed pieced.

I speed pieced the sets of claws…adding the corner square to the top row. I pressed seams open to reduce bulk.

I add the side claws to one of the 3 1/2″ blocks. Speed piece all four blocks.

After pressing to the large block, I add the “top” row of claws to all four blocks.

I also prepare the center row by sewing two of the sashing pieces to the center block. Press towards the center block.

Sew two of the super bear paw units to the center sashing to create a top and bottom row. Press towards the sashing.

Join the rows to finish the block…tah-done!

Here is the cutting chart:

To print, you may have to save the page to your device first.

I hope that you are enjoying this build a block series!

Later,

Lorrie

Categories
Build a block scraps sewing

Build a Block: Lady of the Lake

This block is constructed from two sizes of half square triangles. I used all bonus half square triangles for the layout below. It finishes at 6 1/2″.

Here is the video presentation of the block construction.

As you can see, I still have a large amount of trimmed bonus half square triangle blocks just waiting for a block.

Today I am making a new center block. I have a project in mind for a Lady of the Lake block.

As you have seen in some of my YouTube videos, I love sunsets at the lake…any lake. The center of my block is going to be that! A sunset on a lake.

Both of these fabrics are directional. I want my sunset and my waves parallel to each other.

Perfect fabrics for my vision! These are 5 inch squares. My half square triangles will finish at 4 1/2 inches. I am making two blocks because I am making two of the same project that I have in mind.

To make sure that my fabrics are going the correct direction, I audition them together…not quite it!

Perfect!

When I unfold the sunset fabric, I notice that it is perpendicular to the wave fabric. When they are sewn on the diagonal, they will be perfect.

After I place the fabric right sides together, I draw my diagonal line. Sew a scant quarter of an inch on both sides of the line.

Cut on the line. Press to one side. Trim to 4 1/2″.

Lay out the block. Make sure that all of the small half square blocks are going the same direction. Notice the dark half is in the upper right corner the entire way around the block.

I sew the smaller half square triangles in rows…top and bottom first.

Then I sew the sides next.

After each section, I lay it back out on my design board. It is very easy to reverse pieces…so I double check after each section.

Holding this design board up to photograph it makes the sections look crooked, but they are not. Add the sides first, then the top and bottom.

Here it is! One block finished! I think it is worth dealing with the smaller pieces to get this beautiful block, don’t you?

Here is the second version of this block. I didn’t have quite enough of the teal blocks, so I threw in some other blues and grays. It will work beautifully in the project that I have in mind!

Here are the cutting charts for this block. The top chart is for using trimmed and made bonus half square tringle pieces. The bottom chart is for construction of pairs of half square triangles before assembling the pieces. Please read carefully. Ask in comments if you have any questions.

I love the boldness of this block. It is a great way to use up the smallest of the half square bonus blocks. Give it a try! You won’t be disappointed!

What blocks are you making to use those bonus half square triangles? I would love to see them! My Facebook group allows you to post pictures and share…Come on over!

Later,

Lorrie