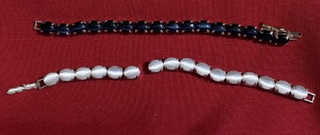
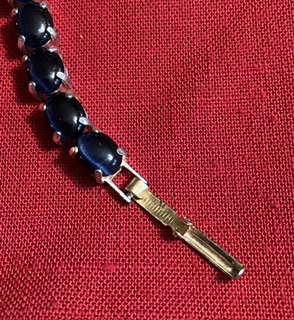
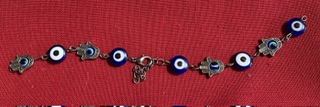
Here are the first two pieces to be repaired. The blue bracelet on top needs a clasp. The white bracelet is missing a part that holds a joining link.
I found a link on a different, not repairable, bracelet. It is not the correct color, but it works.
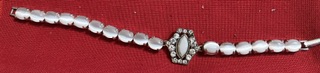
My solution for the white bracelet was more elegant. I found a “bead” on a broken necklace that could be fastened to the bracelet pieces with jump rings. It is a little longer, but beautiful!
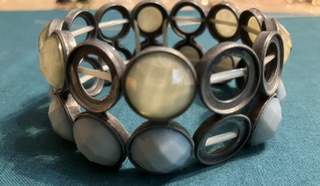
I showed you this bracelet in the original post, but I forgot to post about it with a follow up.
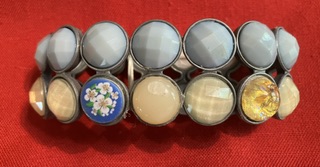
Most of the original cabochons were in the bag of pieces, but they were still a few missing. I improvised.
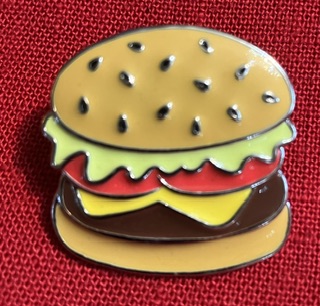
This cute little pin was in the bag .
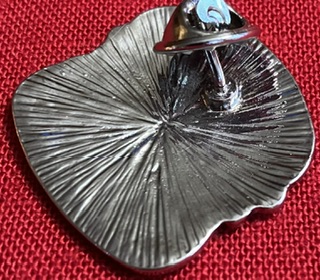
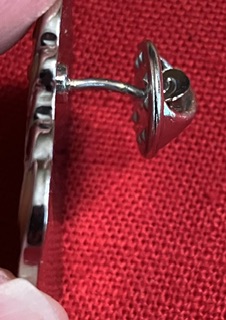
I am not quite sure what someone did to bend the back like this. Oh my!
I straightened it as best I could with a pair of jeweler pliers… Not perfect, but functional.
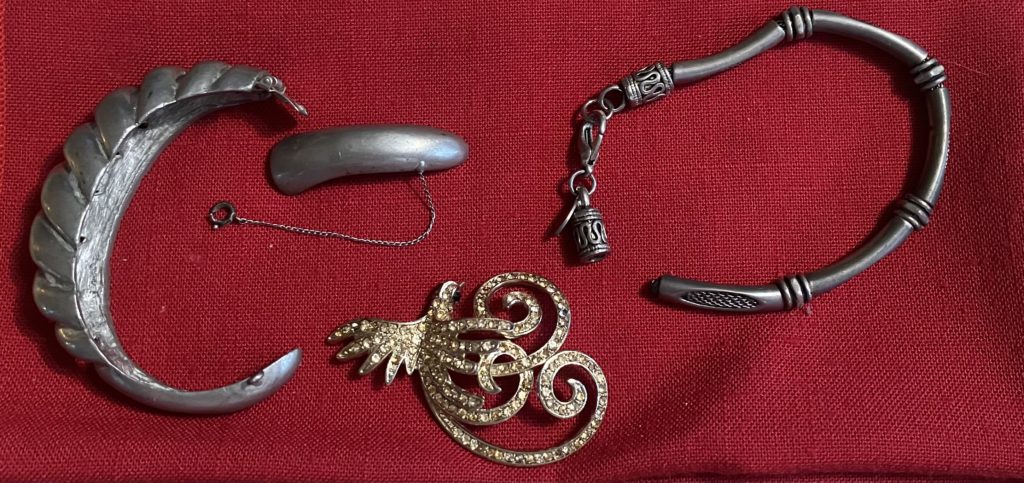
These items need a little bit of glue or jewelry cement. The middle piece is a pin.
The two bracelets below just need a jump ring inserted to make them whole and useable again.
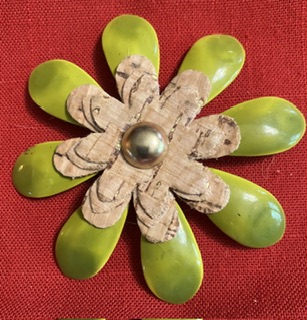
This pin was actually in two pieces. I glued one on top of the other to make it usable again. It measures 2 inches across…welcome back to the 60s or 70s.
I hope you’ve enjoyed the update on the bling from the scrap bag of jewelry pieces. There are many more of these to come.
I did finish the final quilt today and will be showing you that later this week…
So much potential in just a few pieces! I like the necklace, but rarely wear them. With a little snip of a link, it will become a bracelet. With some extra hardware, it will make three more!
By combining the large jewel beads and the crystal rosary pieces, I made this fantastic blinged out bracelet. Now I just need a party to go to…
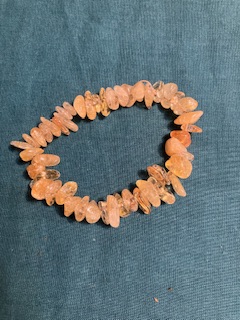
The citrine pieces from the broken necklace were pulled off the pins on the chain segments. There was enough to make a bracelet on .7 mm elastic cord.
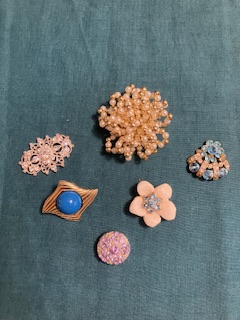
Glue time! These lovely pieces need a pin back glued on to them.
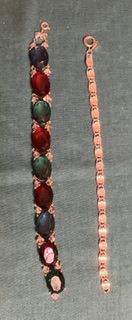
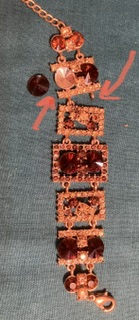
This bracelet is mostly intact. One gem needs reattached with some cement or glue. It also needs an o-ring to reattach the sections.
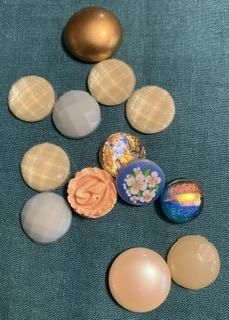
This bracelet has elastic in fantastic condition. Most of the missing cabochons were in the huge parts bags. Glue time!
What progress are you making on your latest project? I love hearing from you!
I am adding a new category to my blog…jewelry! I have been making jewelry for more than two decades. I don’t make jewelry often, but I do enjoy this as a hobby, too.
I like to fix pieces of jewelry so that I can continue to wear some of my favorite pieces, usually bracelets or earrings. Harbor Freight sells a set of 6 jeweler’s pliers to make this easy. Lots of big box stores carry findings for making earrings, bracelets, etc.
Last year, when our friends came to visit, I discovered that my friend enjoys making jewelry, too. I started stocking the cabin with jewelry making supplies, too.
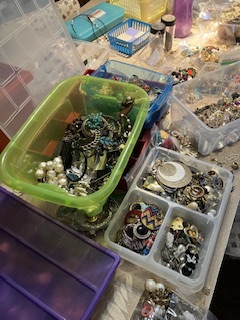
I found a yard sale that had HUGE bags of scrap jewelry…parts, pieces, some unusual, but functional pieces. Again this year I bought another HUGE bag…I sorted for two days! I wish I had taken a picture of the huge bags…I probably only paid about 50 cents per pound! Here are a few pictures:
The table in the cabin seats six! It was covered with parts containers and all sorts of bits and pieces. I love using repurposed tackle boxes for parts containers. The lids close tight enough to keep the contents in the divided parts…no resorting required. I have four large containers: glass beads/shell beads, wooden beads, and assorted beads, and one for findings. Seed beads are bagged and kept in a separate box.
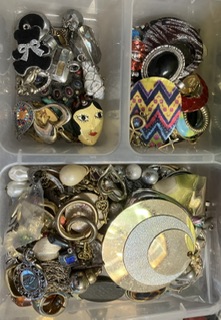
This bin contains jewelry that is usable as is…no fixing required. In a future post, I will lay out the pieces in categories, like bracelets, necklaces, etc. to share with you. Some of these I will gift to friends/ family…or wear myself…or donate to charity.
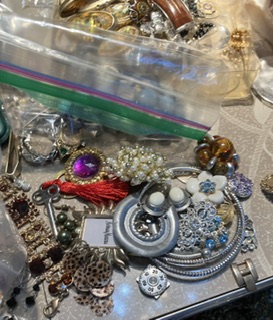
This is the small bits container before I sorted it. It contains all sorts of beads, findings and cabochons (things that need to be glued onto something else). The baggie to the right contains pairs of parts suitable for earrings.
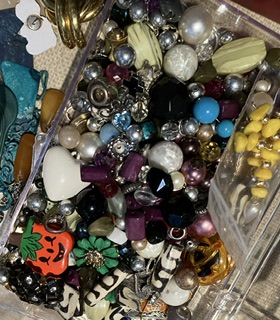
The container in the picture shows larger beads that were once upon a time rather large and chunky bracelets. One bead at a time, with smaller beads to make up most of a bracelet, these will be beautiful.
Behind this container, to the left, is a silk flower pin. It has a glued on center made from seed beads. That flower now decorates a basket in my sewing area. It was too gaudy for me to wear, but looks great on a basket.
This pile has an interesting bunch of bits…some of them are clip on earrings. Look at those amber ball creations…and those silver “horseshoes”! Woo-wee! There are also blingy thingys that I will be turning into pins.
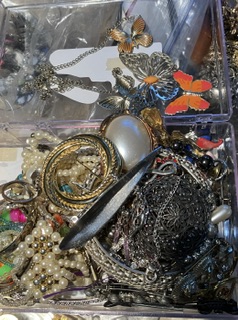
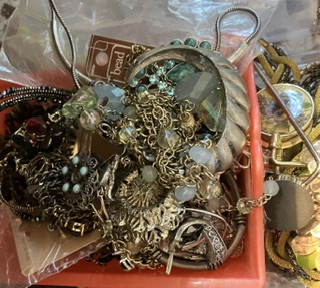
This basket is full of things that need a little bit of TLC (tender loving care)…a little glue here…an o-ring there…as good as new. I will post pictures of these reformed pieces later, too.
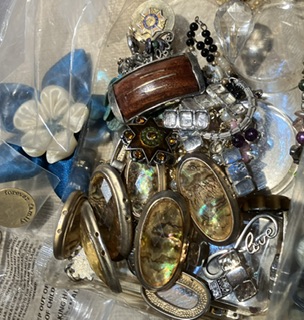
This is full of pendants…anything that can be put on a chain or choker. Look at that fabulose gold pendant. It is as big as the palm of my hand! There are some others buried under there, too.
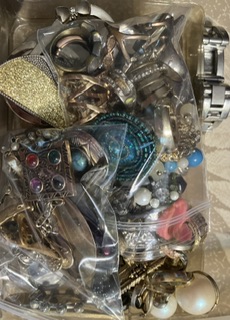
These bags contain several other sorted items: Rings, button covers, tie clips, purse hangers, cuff links and a watch! I will picture these in a future post, too. Some of the rings are right out of the 1970’s. Oh, baby!
I also have a bin that I did not picture above. It is full of things to take apart and repurpose. I plan on decortating my world with all of this “junk”. I will share my repurposing adventure with you later, too!
What “new” craft or hobby have you tried recently?