Categories
quilting scraps travel

Mini quilt show

These pictures were taken at the Northern Shenandoah Valley quilt show held in Berryville, VA on April 13, 2024. My friends and I had a great time. I saw many, many beautiful quilts. It was well worth the $10 admission fee. This year’s theme was “My Favorite Color is Plaid”.

I only took a few pictures as I traveled along. Let me tell you why I took each picture…

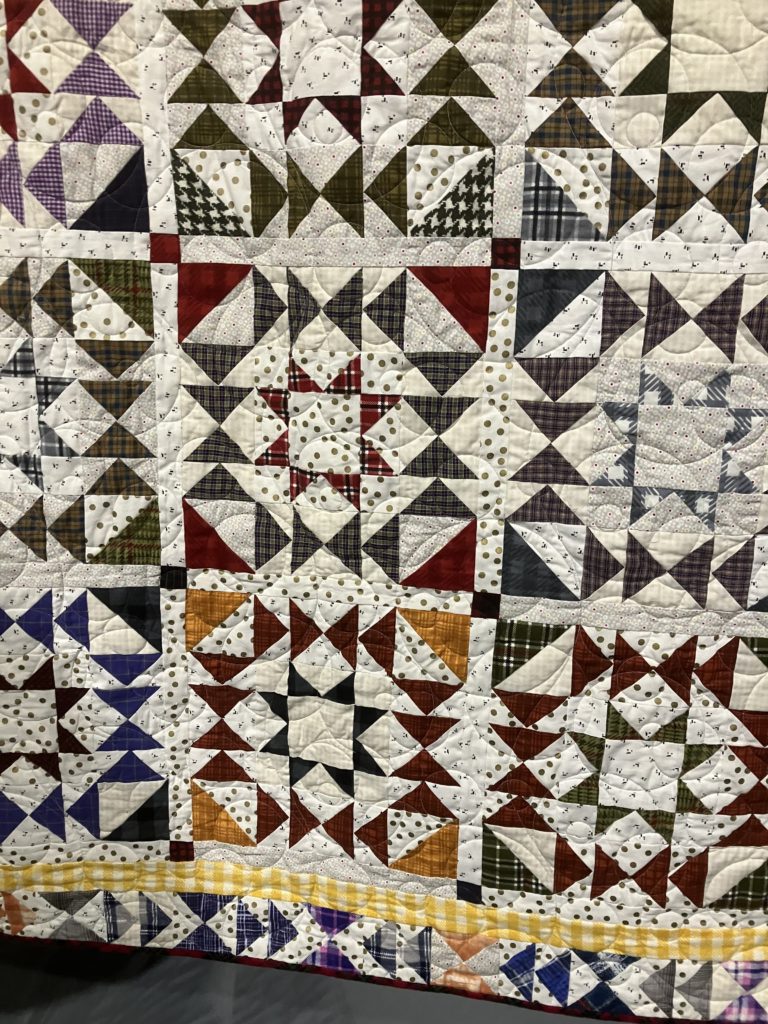
I love the main star block in this quilt…scrappy…easy to assemble with “standard” parts…probably 16″ squares with sashing and cornerstones. Beautiful!
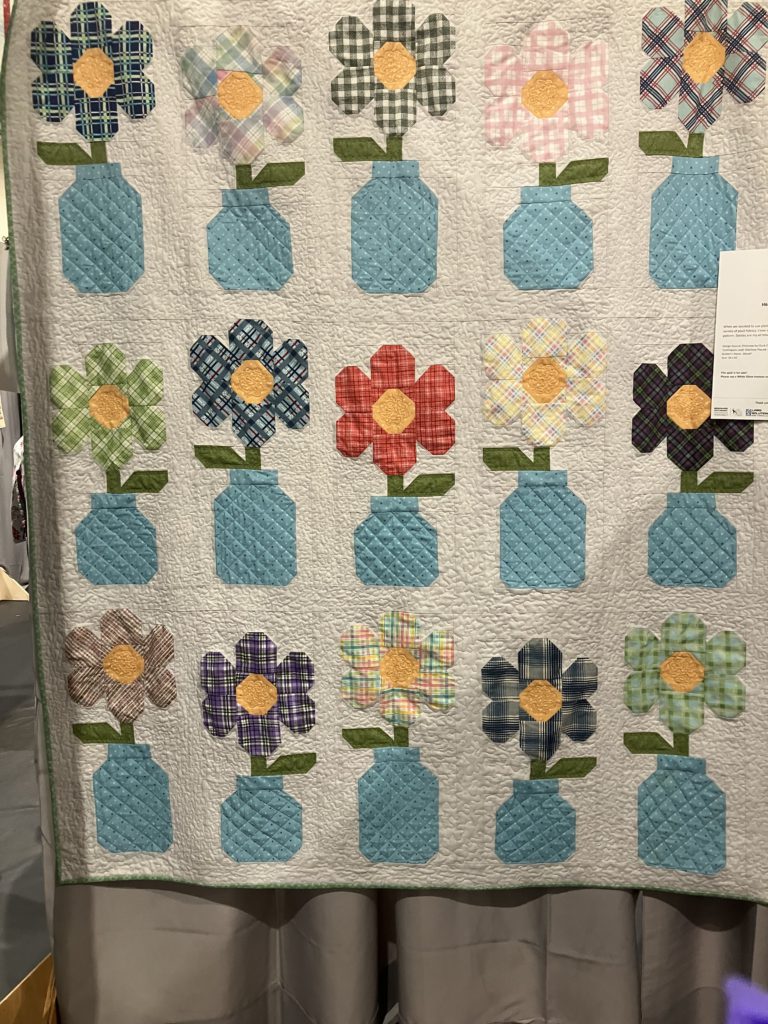
The blue jars for these flowers remind me of the Estee Lauder perfume that my grandmother wore…because of the color. The flowers are a simple with sew and flip corners on the piecing. One would be a great wall hanging.
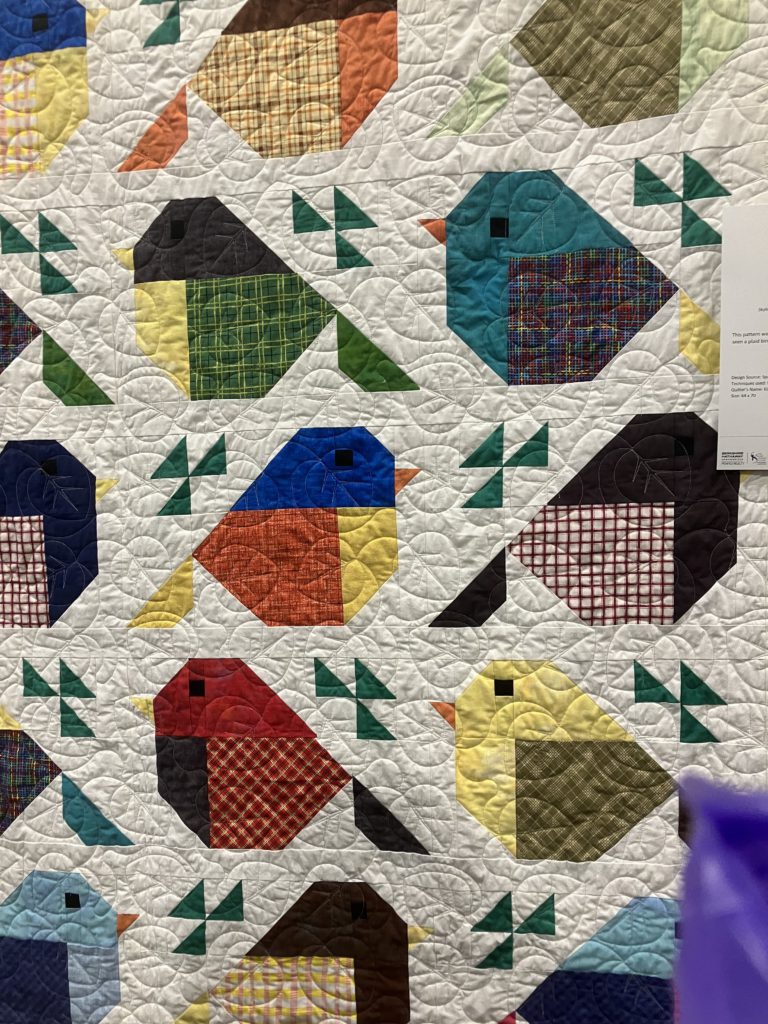
Adorable little fat winter birds…do you see the beak of the one that does not line up with the slope of the forehead? I did not notice, but my friend did! I actually like it that way even better.
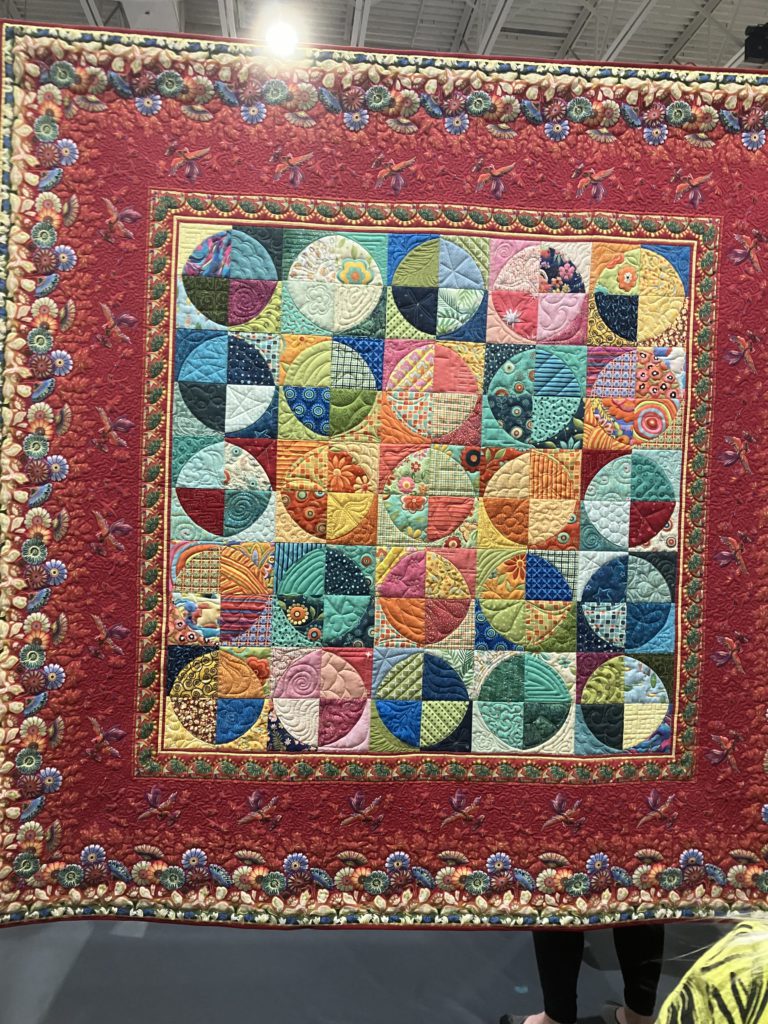
The border on this quilt sucks you right in. Then you start to notice details. This was a scrap quilt. Every colored piece in the center is different…and even brighter than they appear here. Each quarter circle is custom quilted. This quilt was a “for sale” quilt.
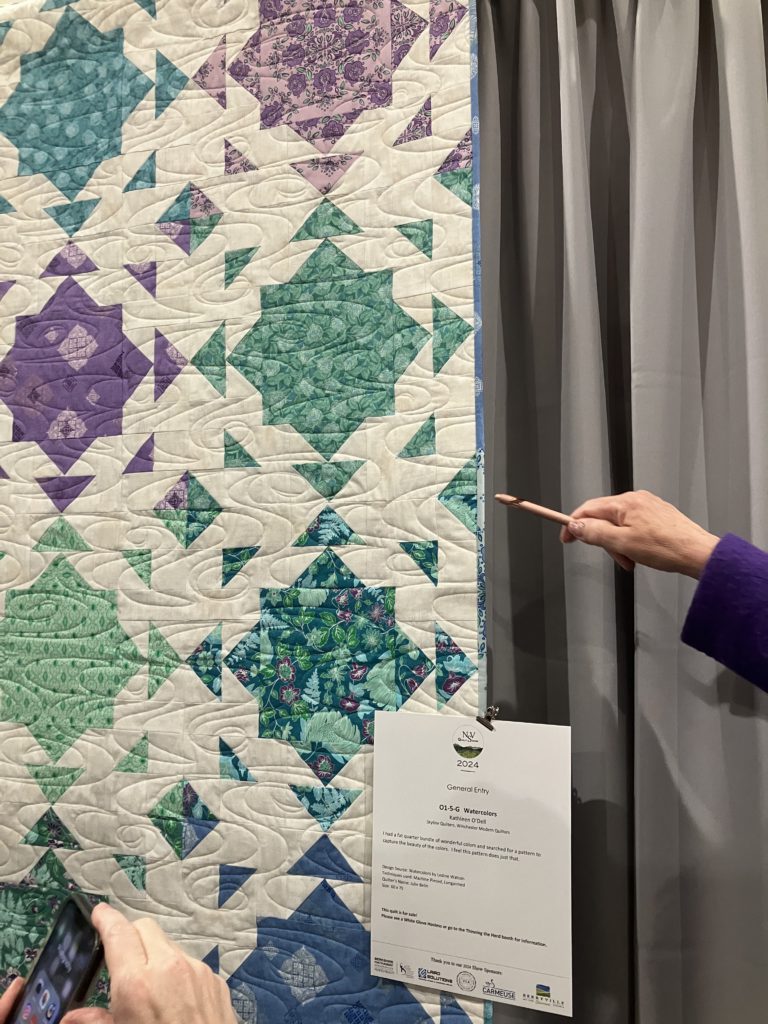
I love the colors on this quilt… a classic combination. The floating nature of the block makes me smile. There is also the secondary design element where the blocks meet. Nice quilting, too.
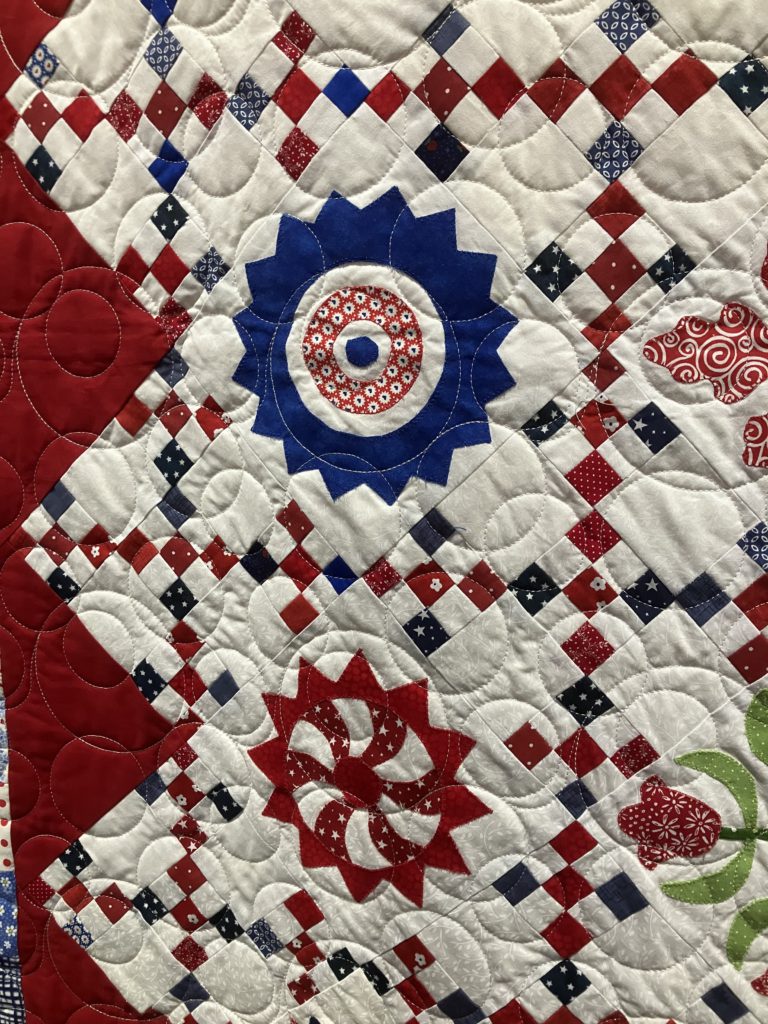
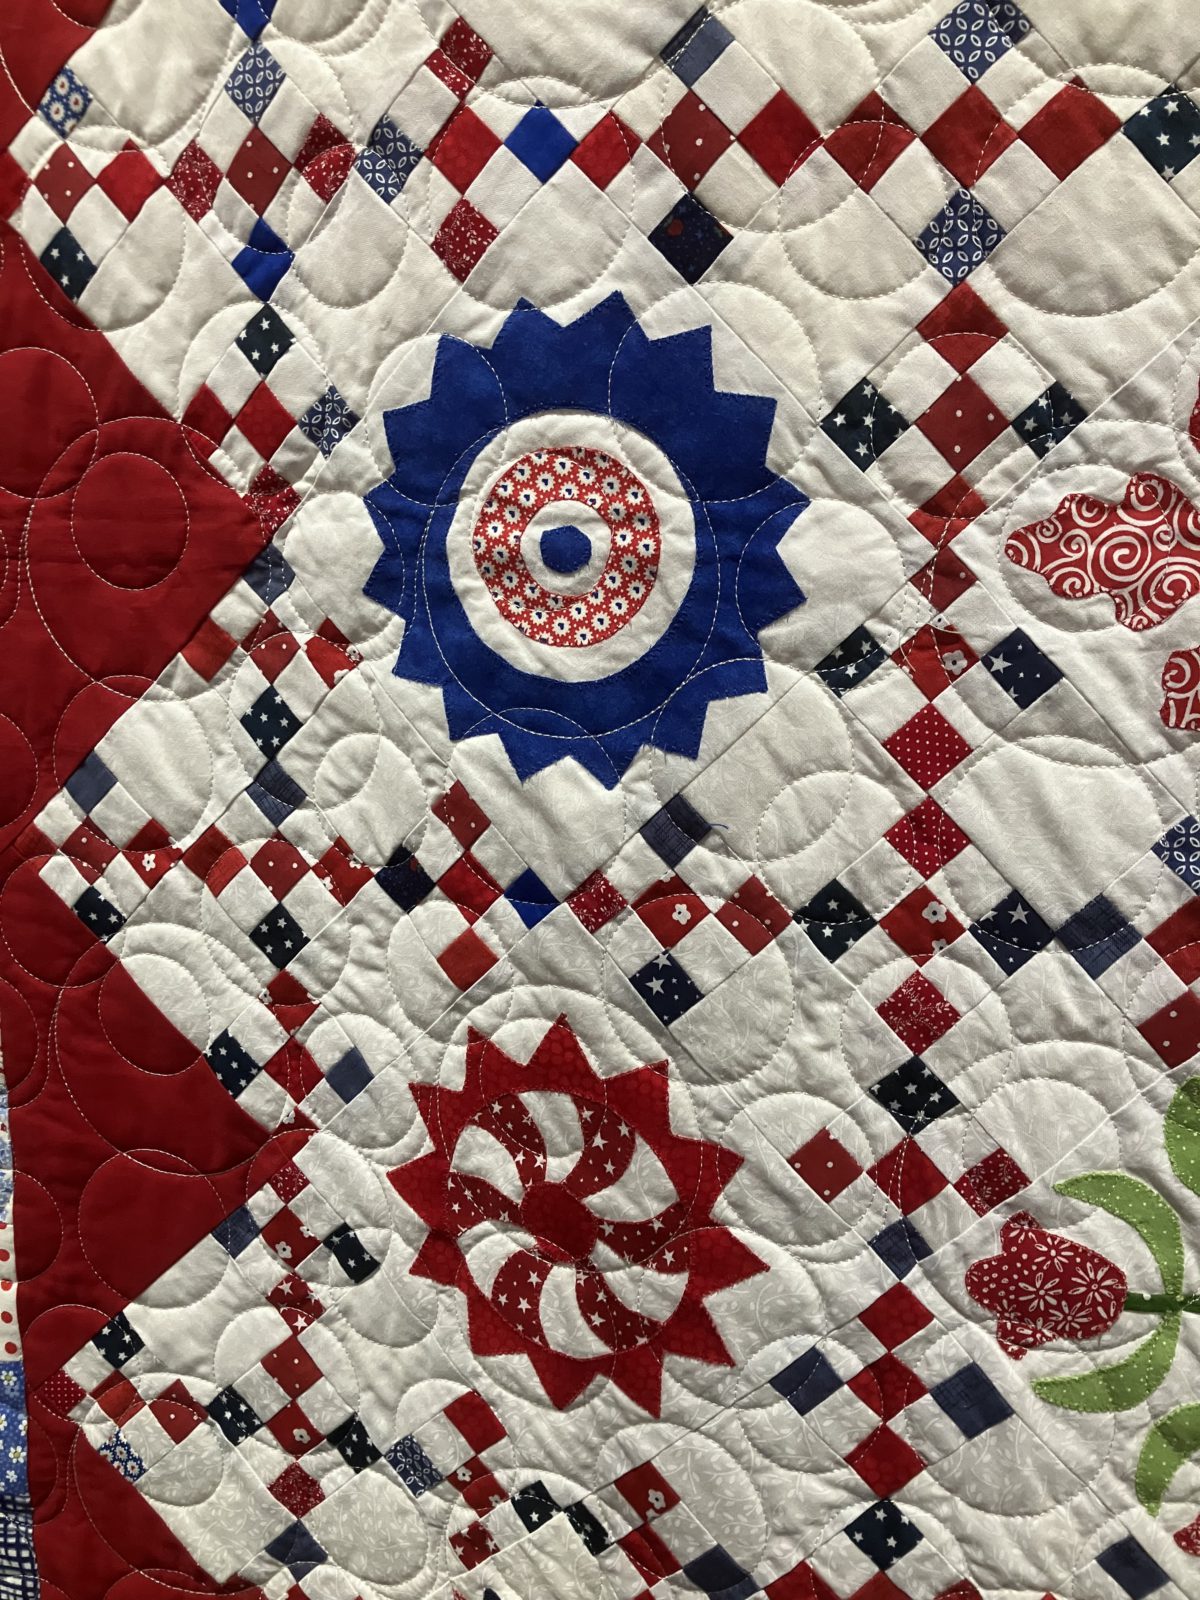
The nine patch blocks have 1 1/2″ squares…I love this setting with alternate applique blocks. Every applique block was unique. Sometimes setting makes thee quilt.
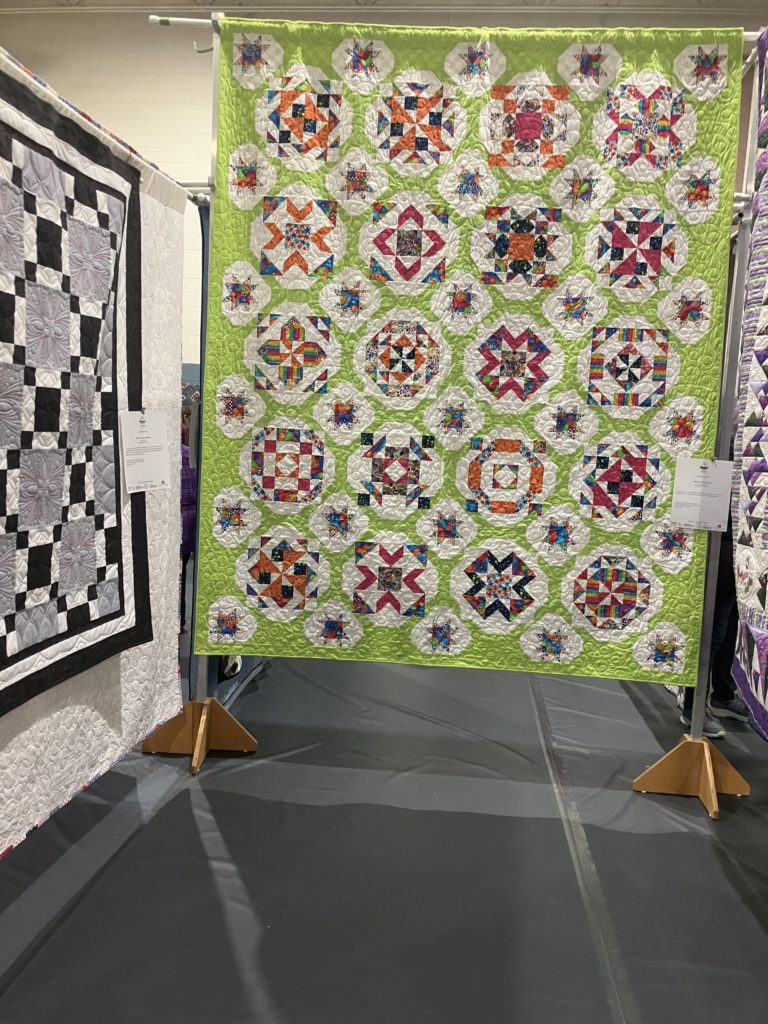
The sashing in this quilt made the setting seem like an impossibe piecing feat! (The sashing is a “dog bone” looking piece with a small star as a corner stone!) I love the choice of spring green and bright colors for this beautiful sampler.
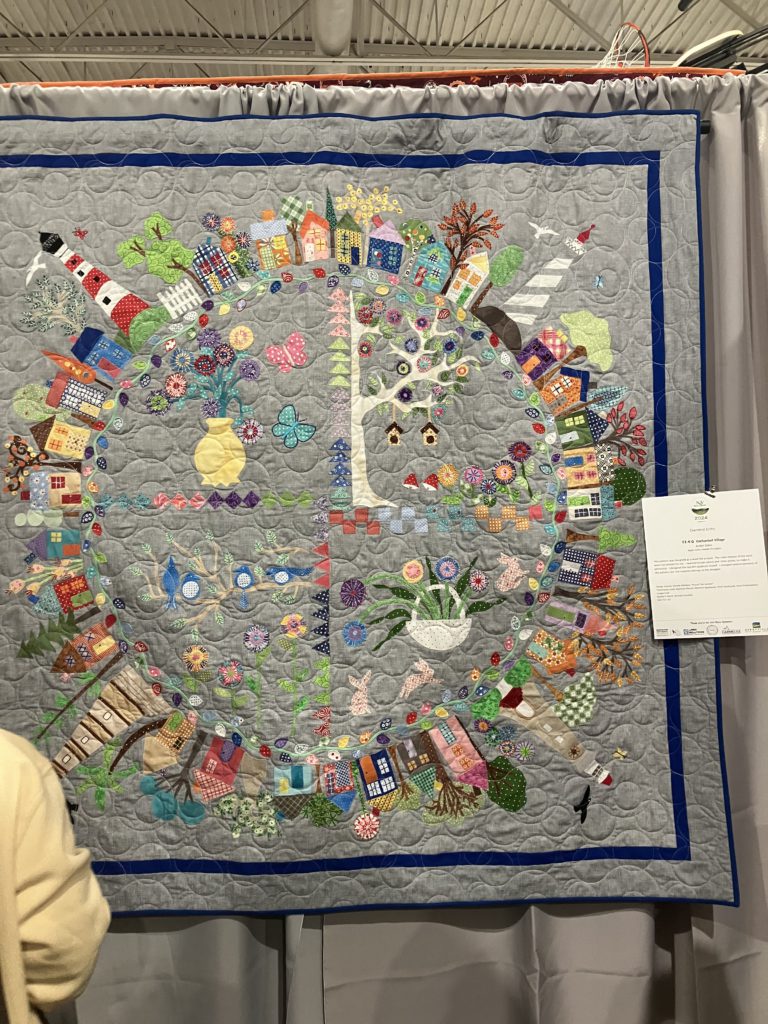
I love mandalas! This quilt is available in a pattern book…a very detailed book. This would be a great idea to make a personal story quilt! There is so much to love about this quilt…birds, flowers, trees, lighthouses…and quirky little houses, too.
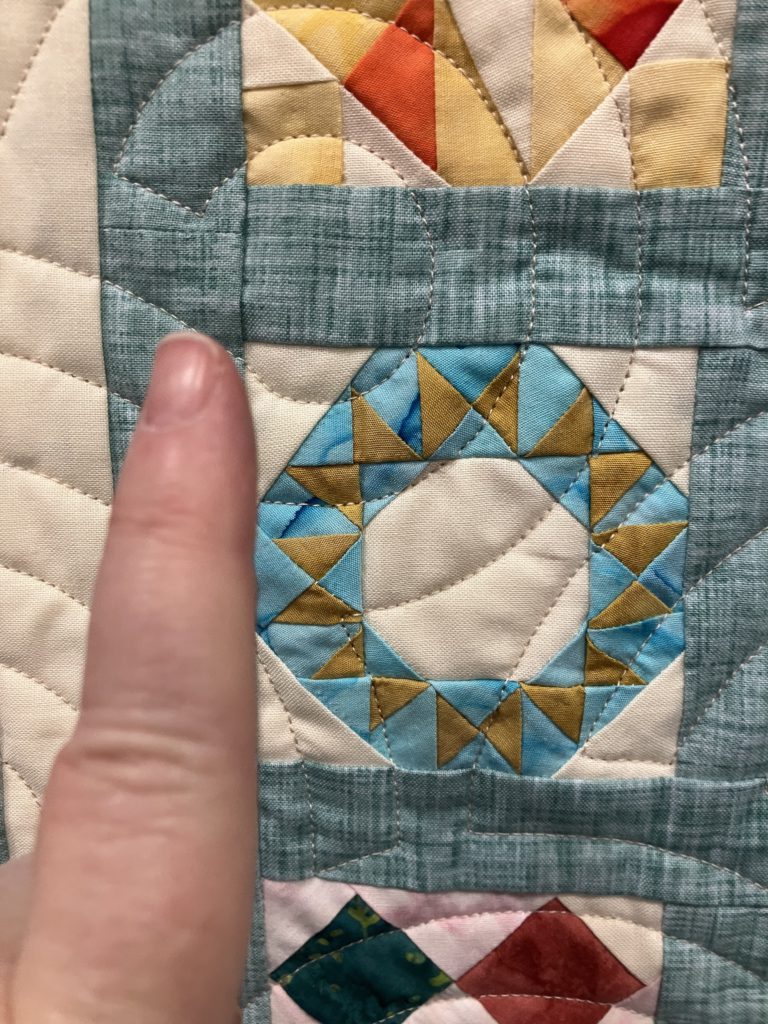
For the record, I am not touching this quilt. It was made up of 3 inch blocks…there were 180 blocks. The quilter made this block during Covid to help get through the isolation of quarantine. My finger is there for size reference. I love those itty bitty pieces!
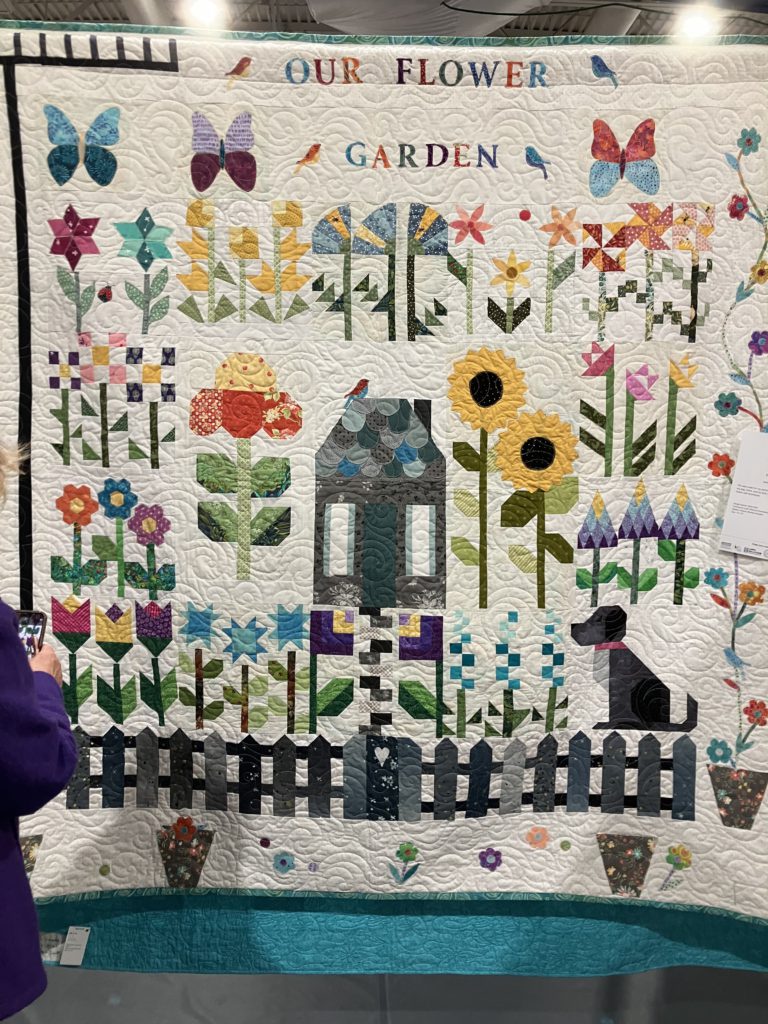
This story quilt was simply pieced, but those simple blocks add up to a big wow factor. There are pieced and appliqued blocks. Something for every skill level in this beauty! This would be a great scrap buster!
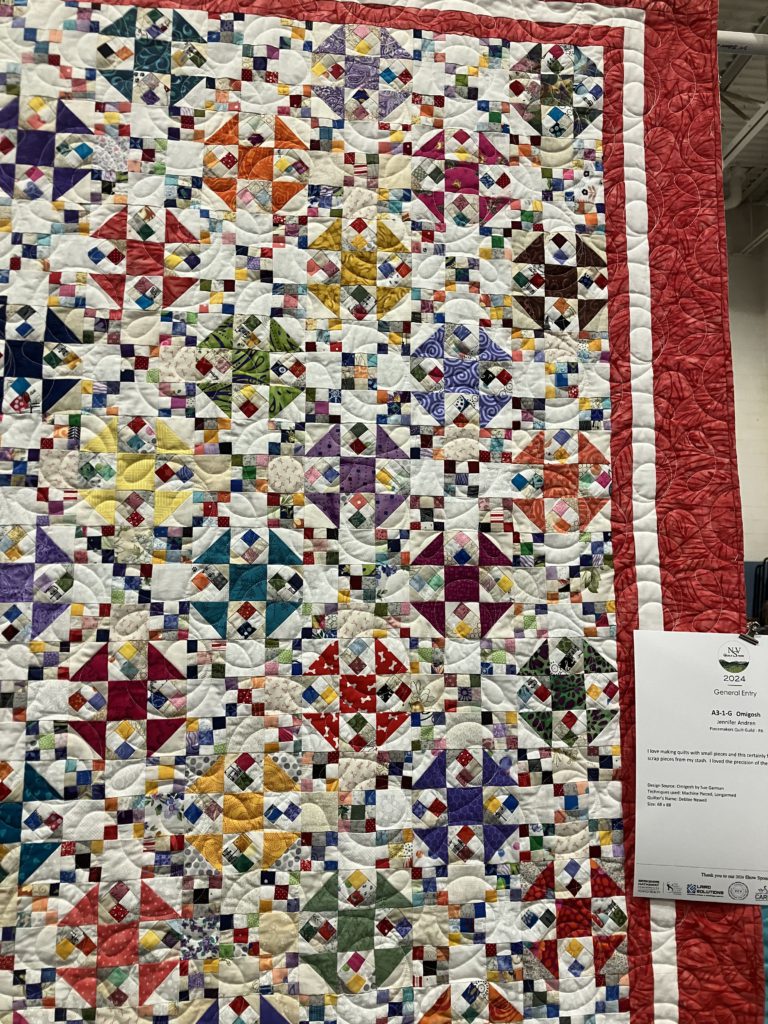
This quilt is the ultimate scrap buster. I think that the churn dash blocks are 6 inches. The more you look, the more your eye travels around the quilt to another fabric color choice. This would be a great leader-ender project.
This is the end of my mini quilt show. I enjoyed looking at all of the beautifully presented quilts on display. Great job by the sponsoring quilt guilds! (I think this is a yearly event. I am looking forward to next year’s show!)

I hope you enjoyed my quilt picks…and my logic for taking these few pictures. Please remember, if you would like to comment, return to my YouTube video and comment there.

Enjoy your day! Happy quilting!

Later,

Lorrie
Categories
Build a block scraps sewing

Build a Block: Yankee Puzzle

Another block with half square triangles! These triangles will spin and swirl their way into your heart!

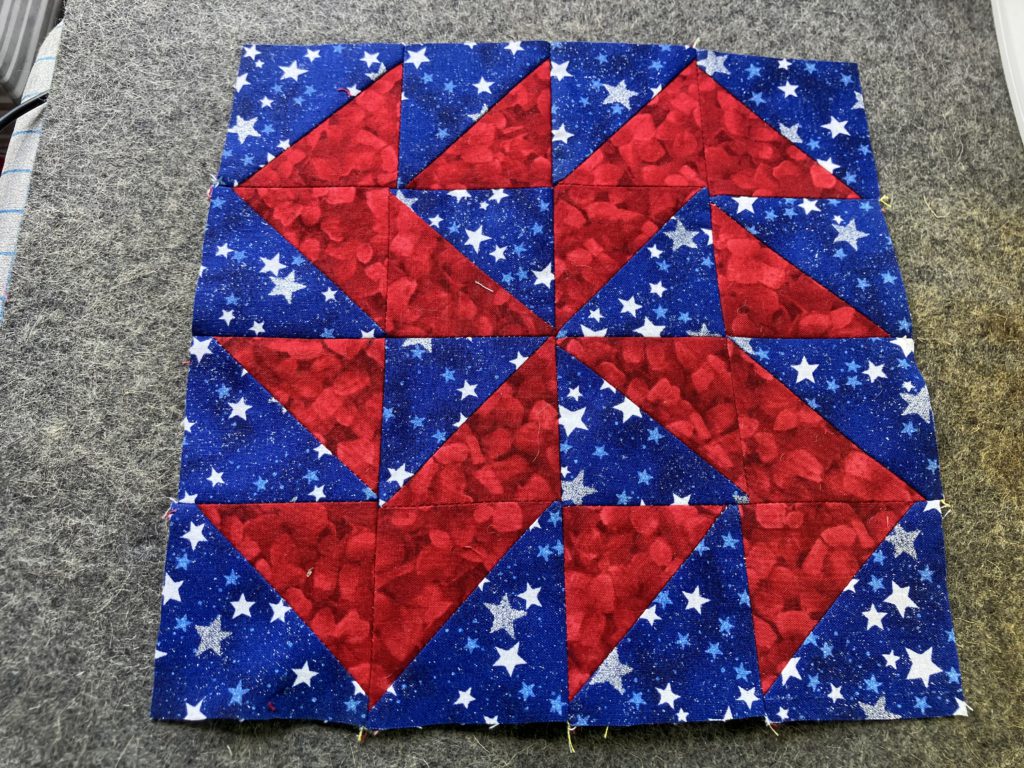
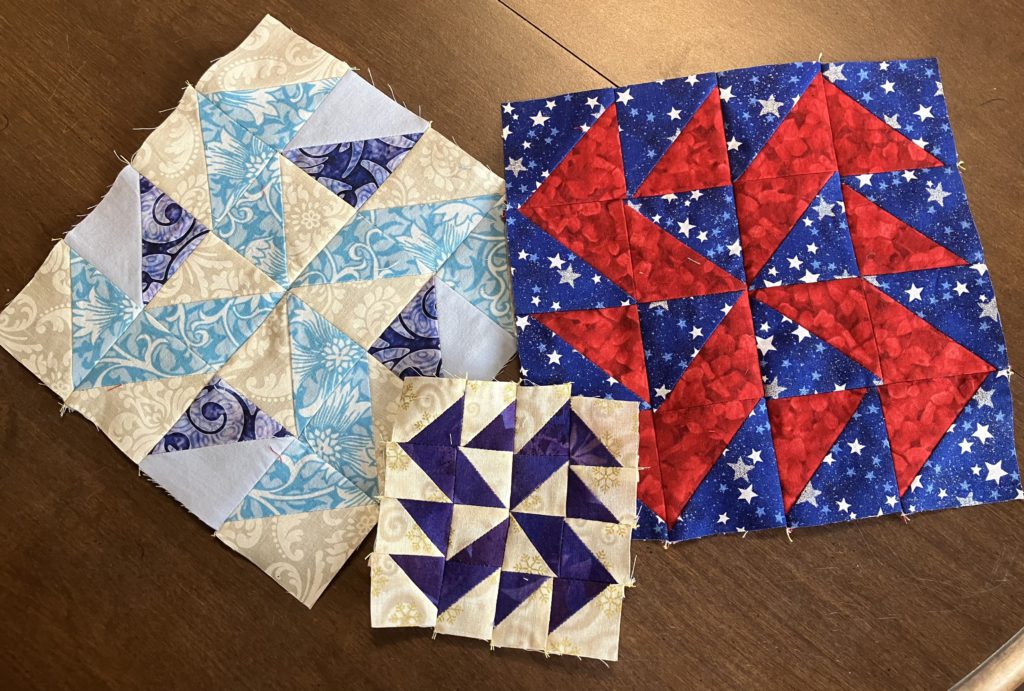
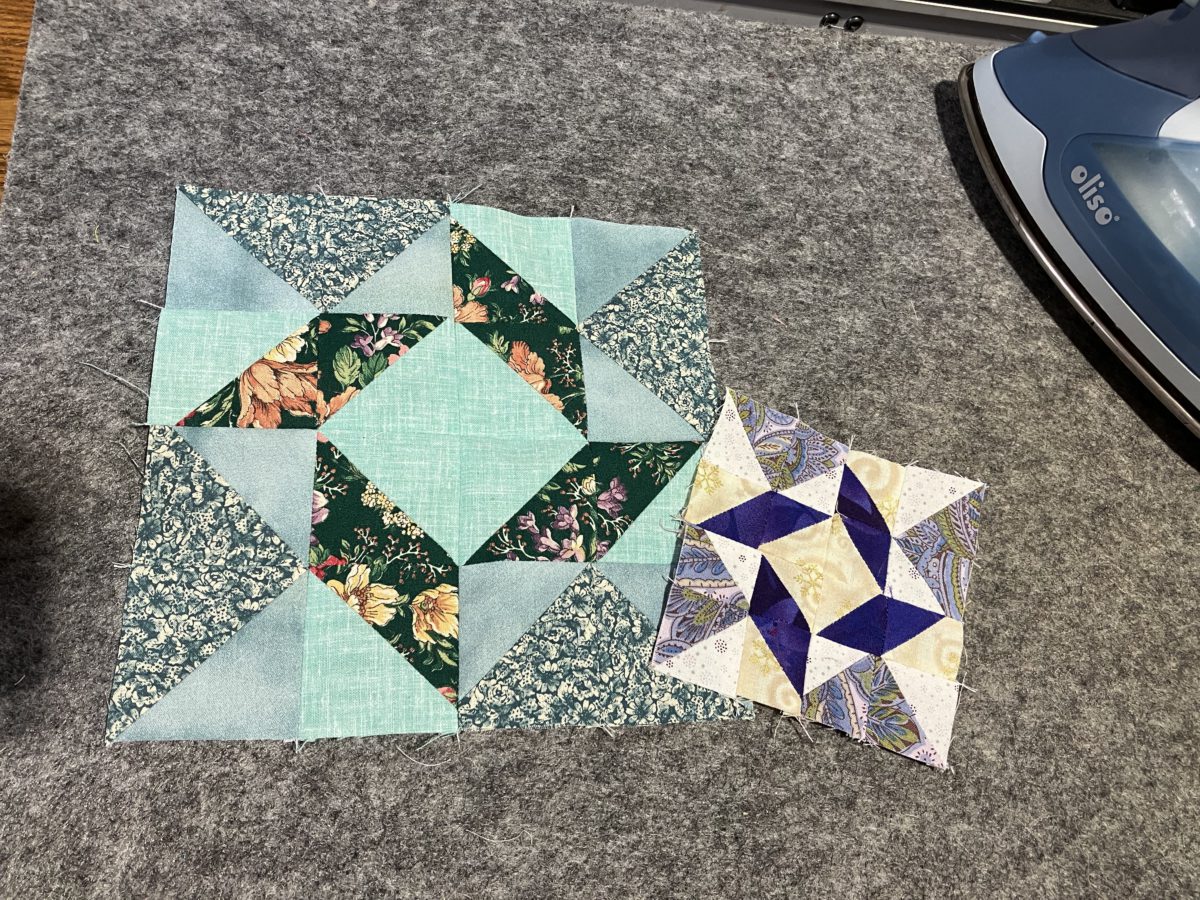
Yankee Puzzle is made from 16 half square triangles.  If you are making the two color version like the one below, you will need 12 units for the big swirl and 4 for the contrast color.

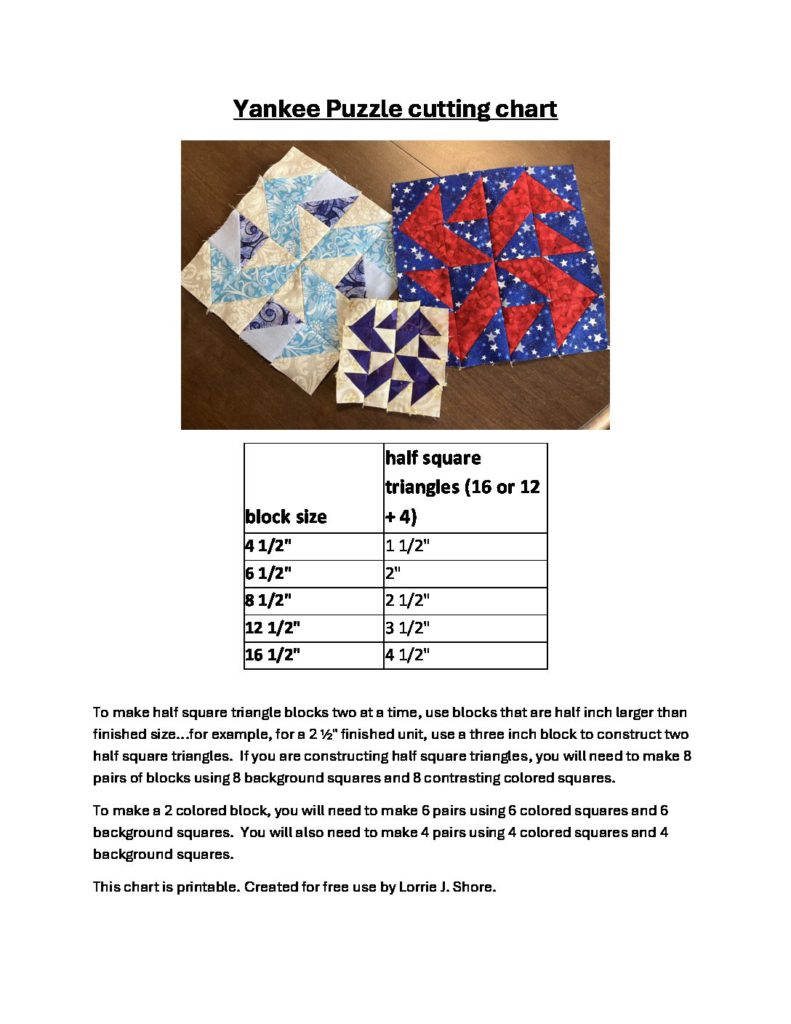
Here is the YouTube video.  The cutting chart is toward the bottom of this post.  It is a free printable.

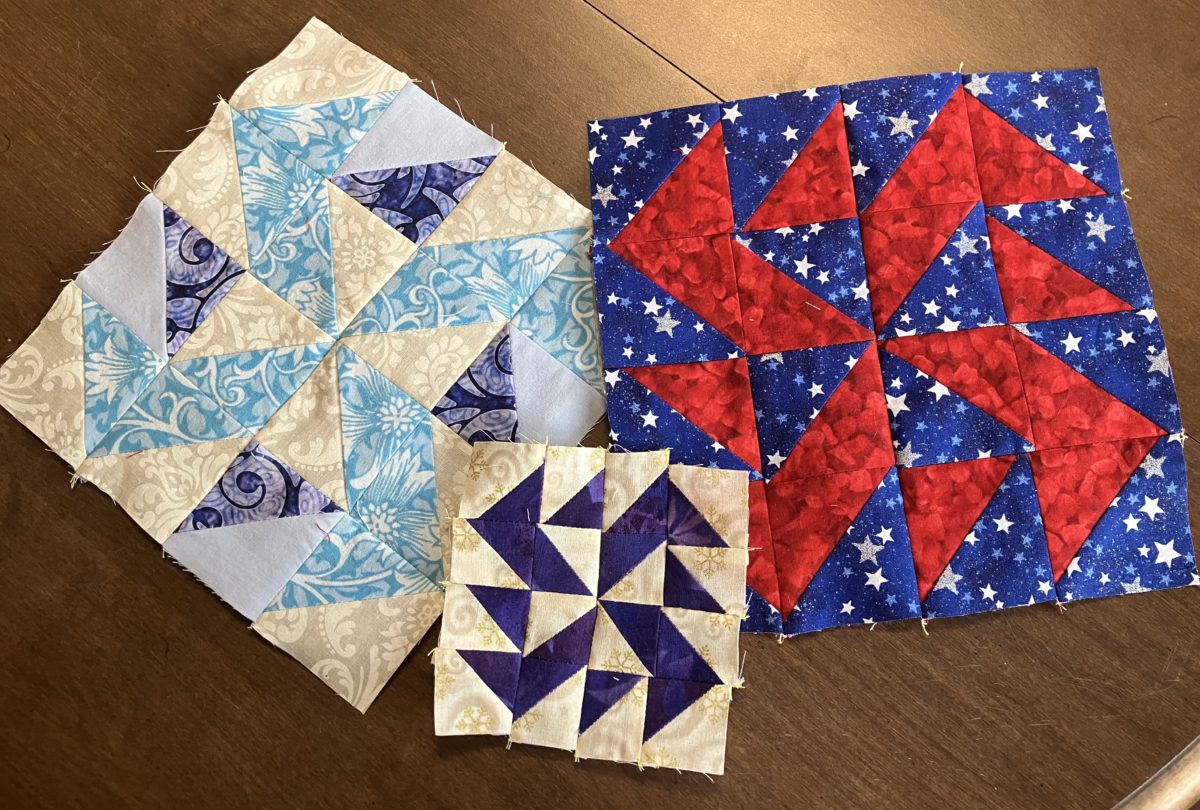
The example below and the red, white, and blue example are both made from 2 1/2″ half square triangles.

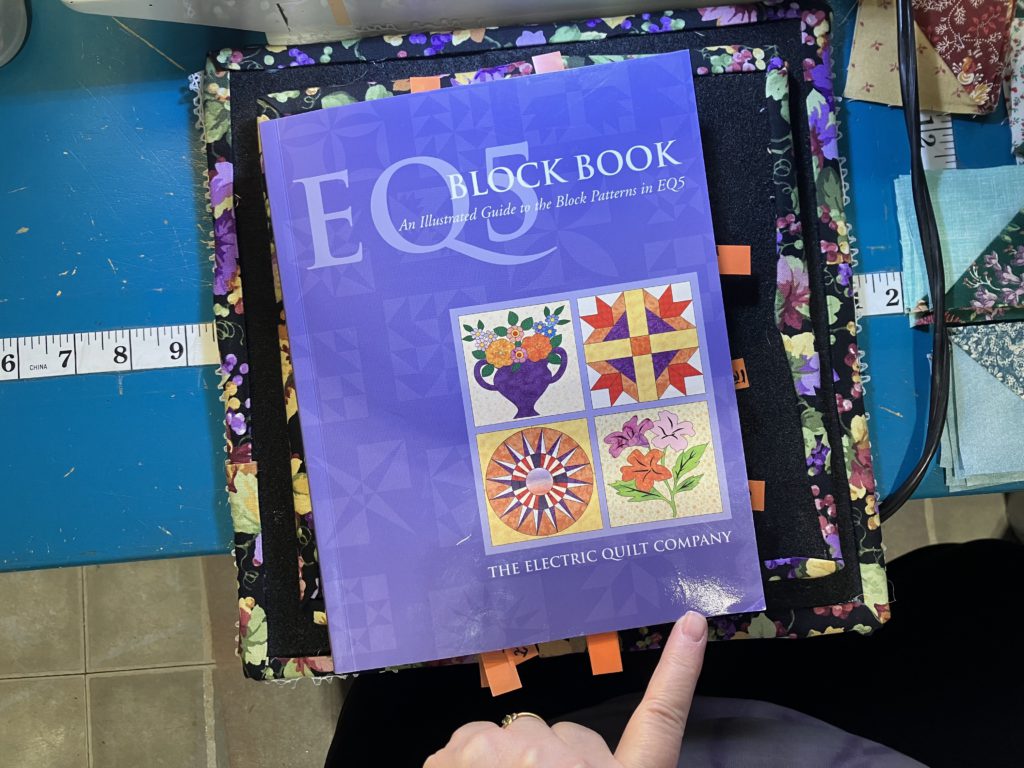
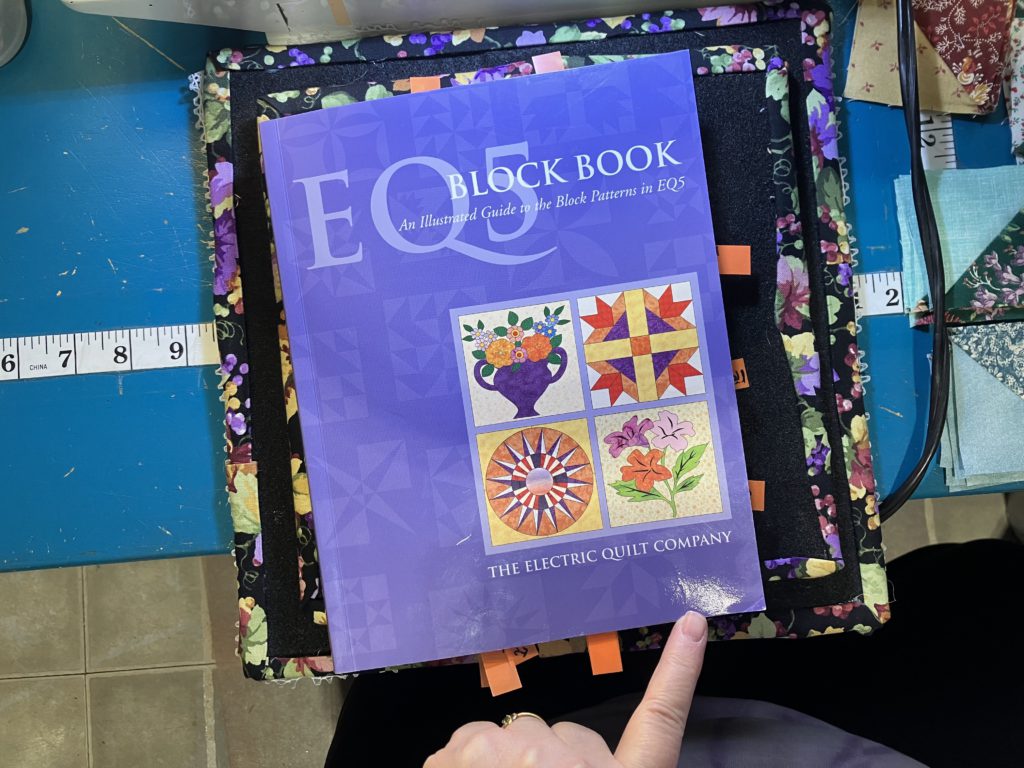
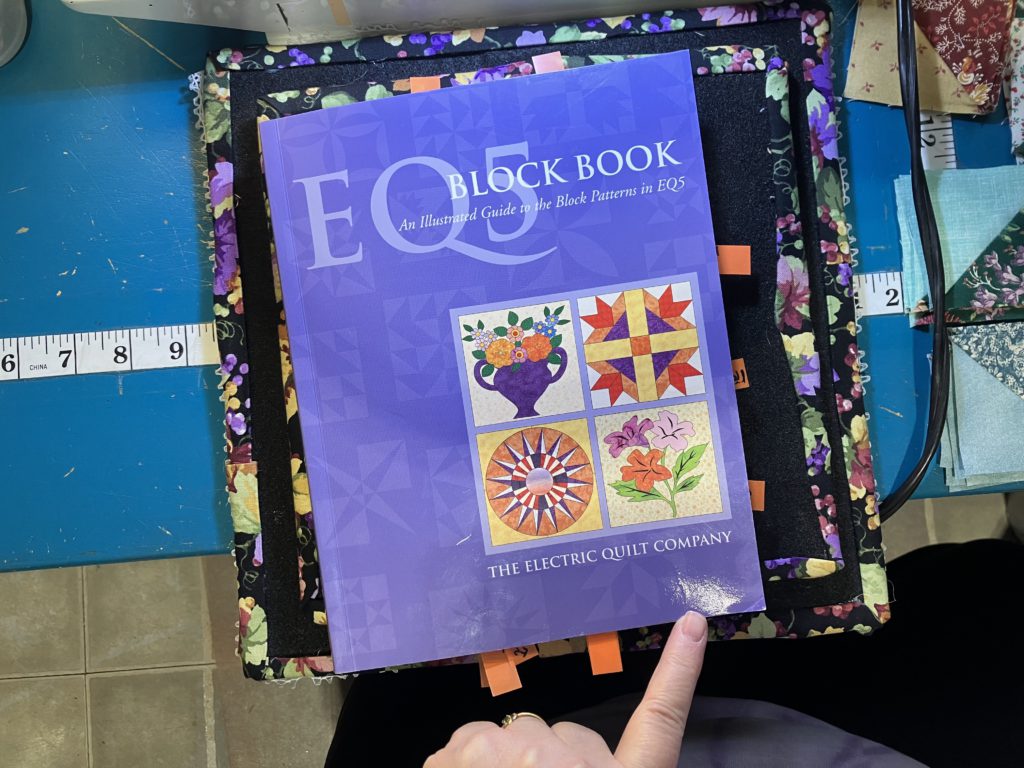
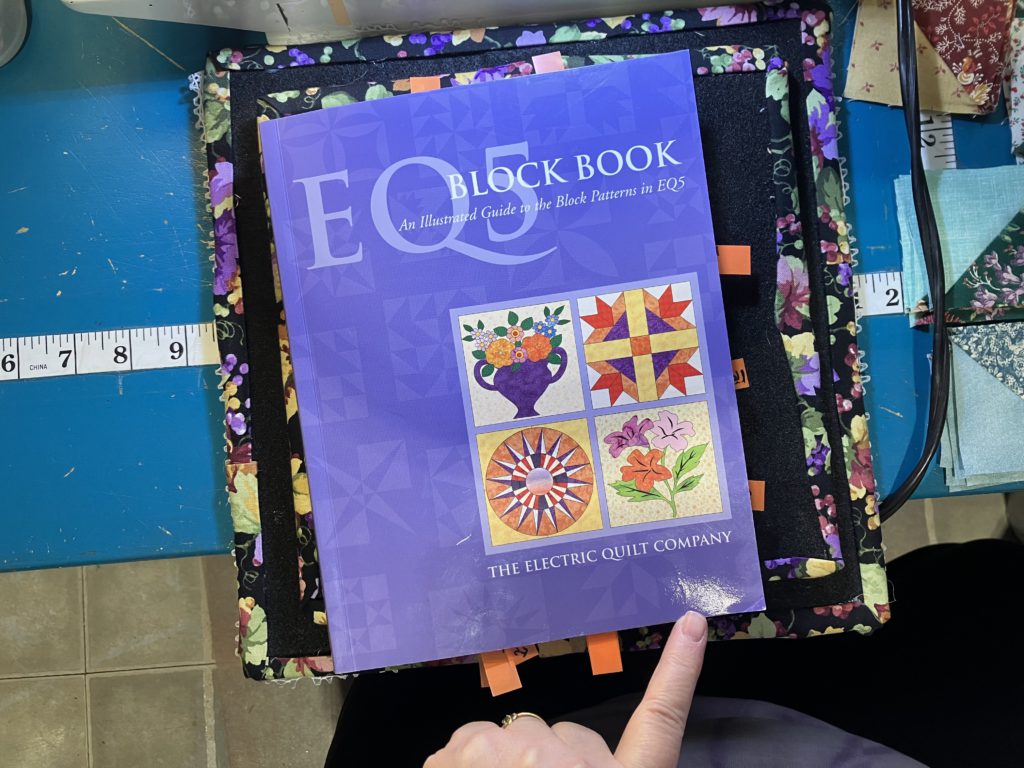
My inspiration is coming from this old EQ5 book again this week…best quarter I ever spent at a yardsale!

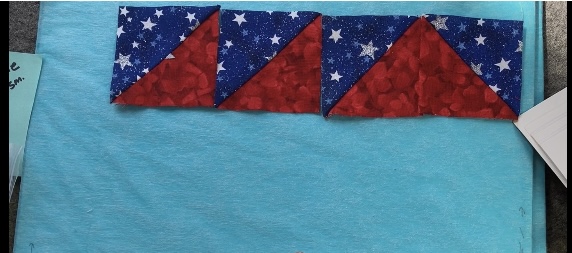
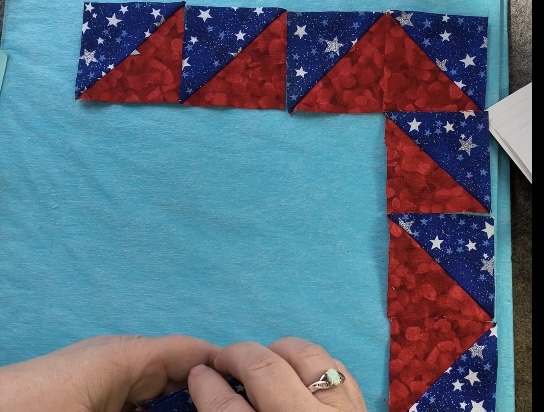
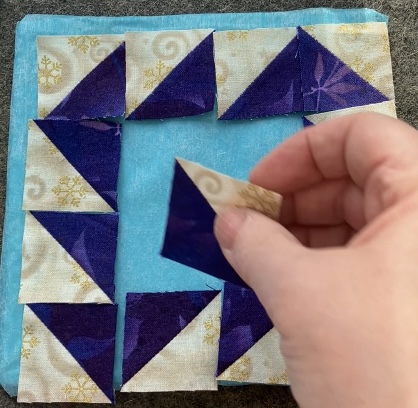
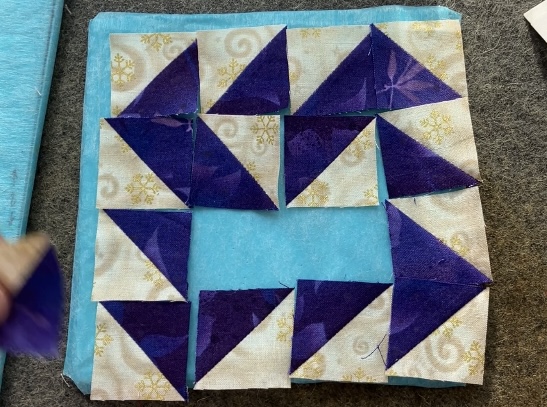
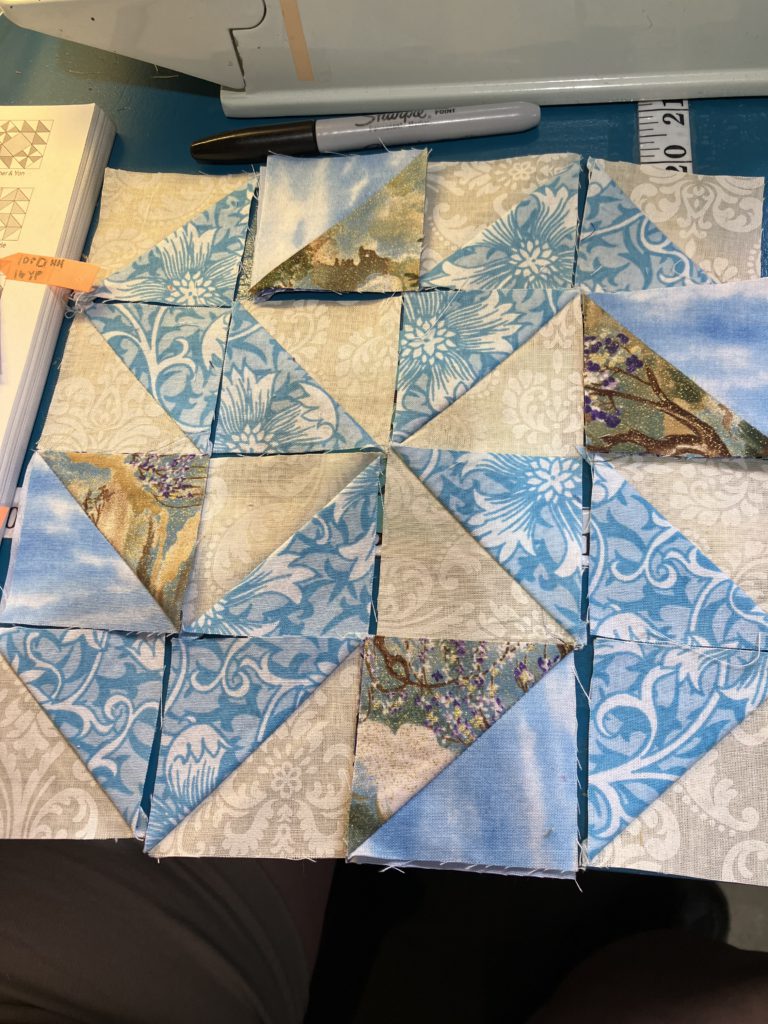
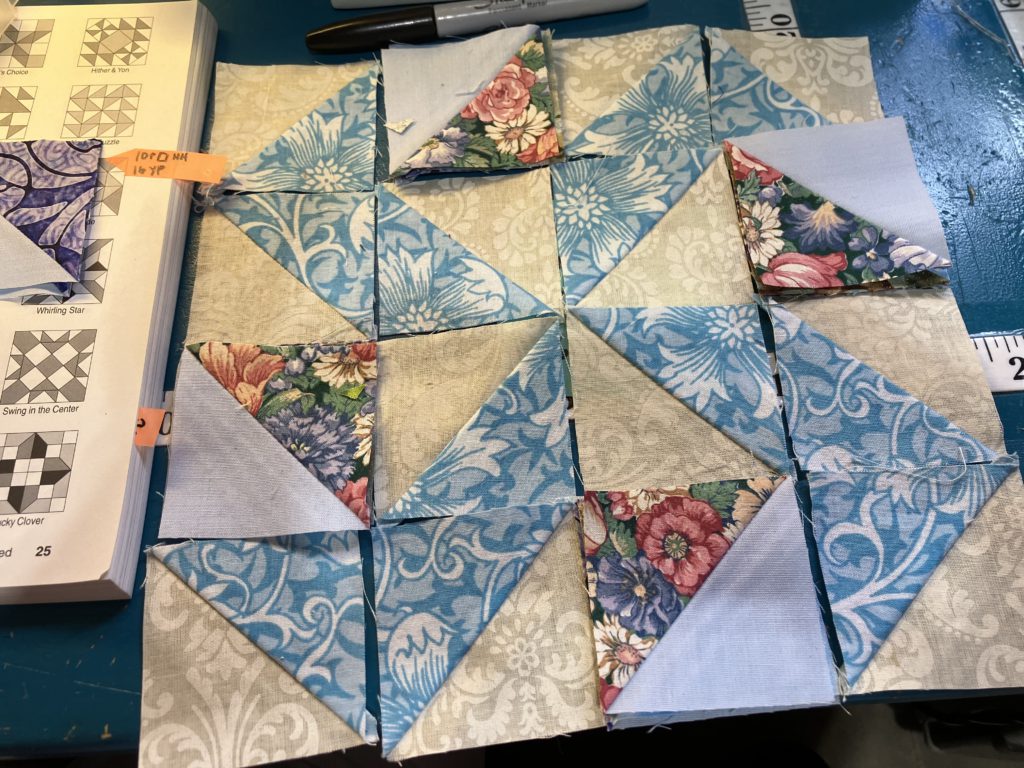
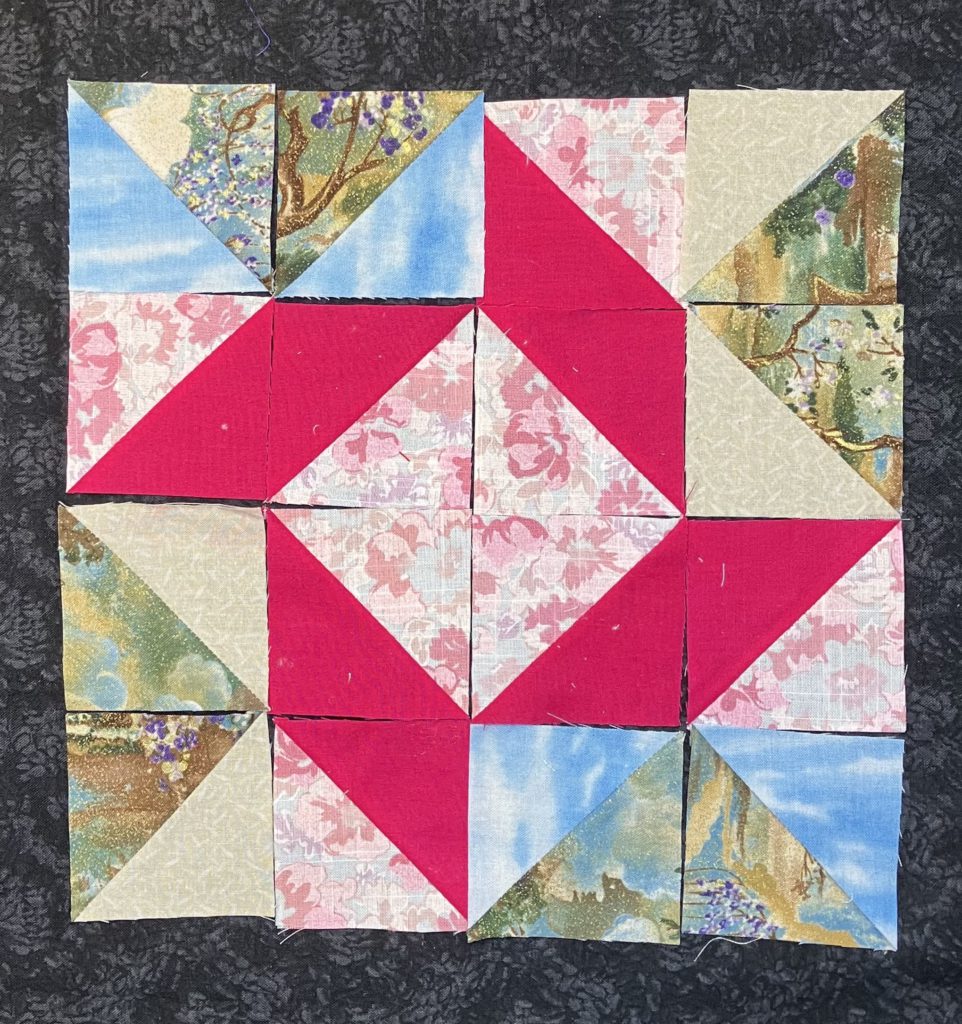
Here are the units layed out. Notice that three of the blocks, starting at the left, go the same direction. The last block on the right is turned a quarter turn to make a flying goose.

Continuing along the right side of the block…

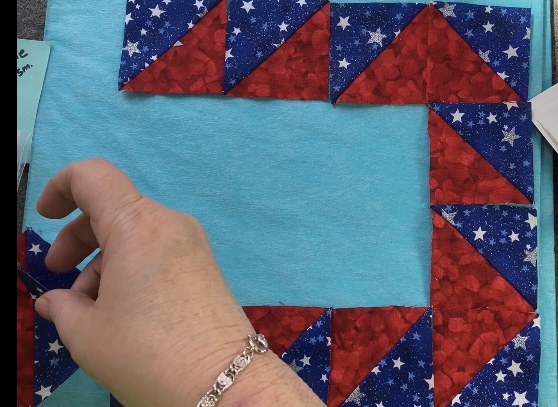
Along the bottom…are you seeing the pattern yet? Three in the same direction, then goose…

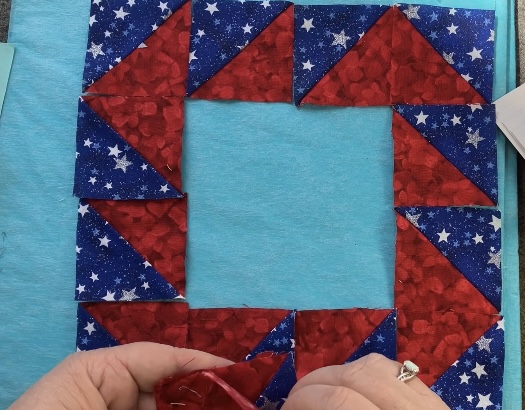
The rest of the outside frame…next add a pinwheel to the center (scroll down a little more to see…)

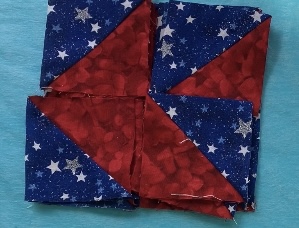
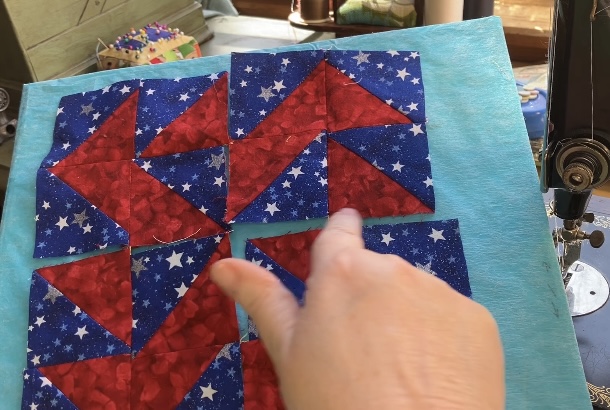
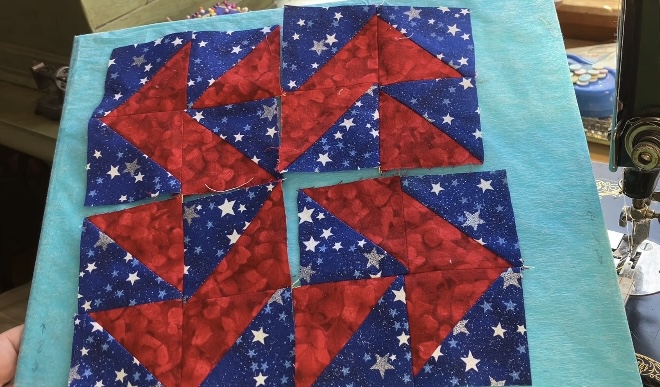
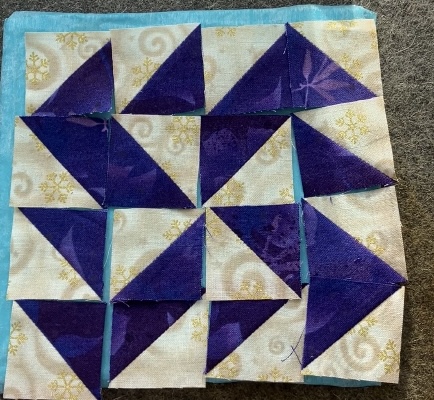
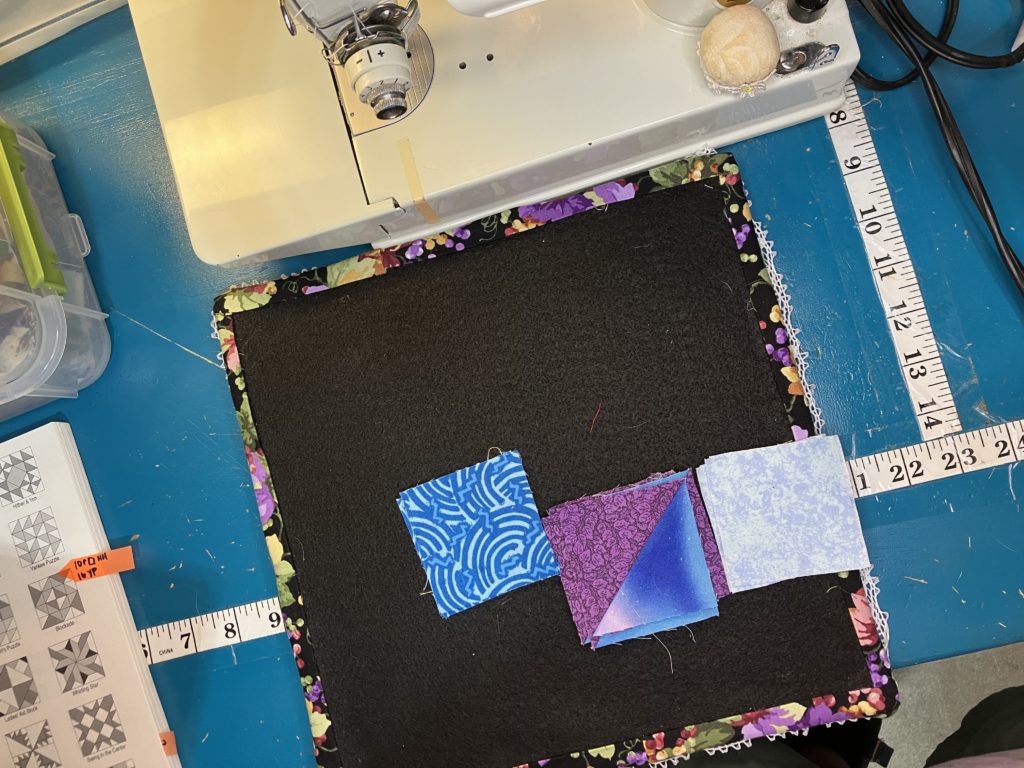
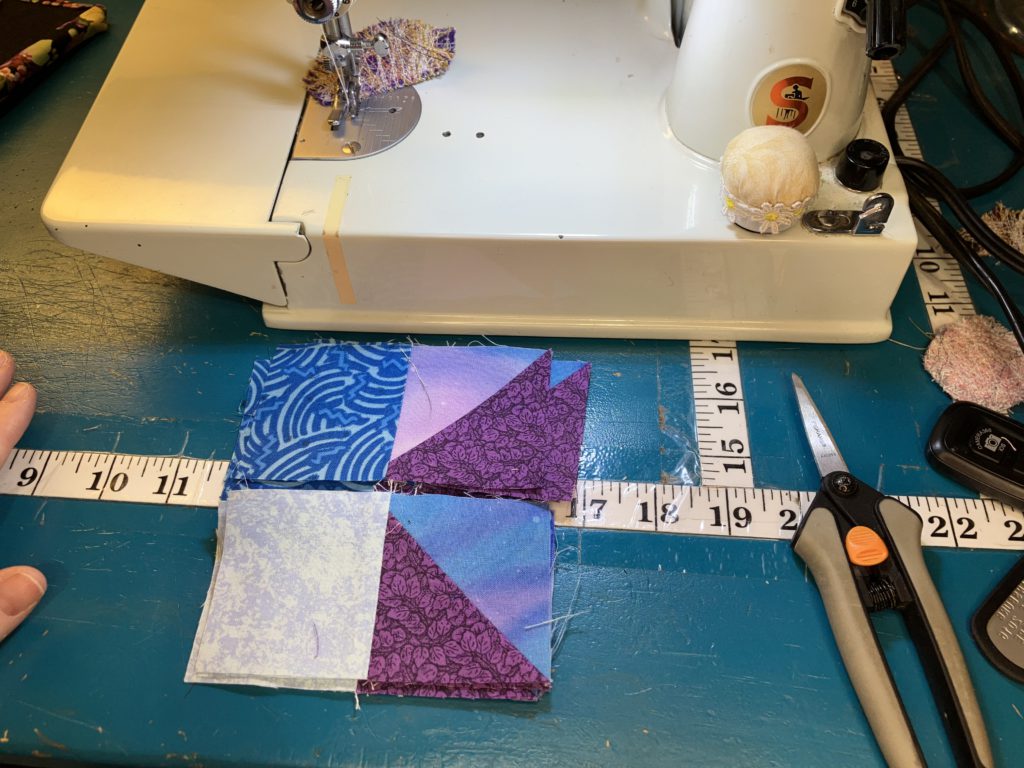
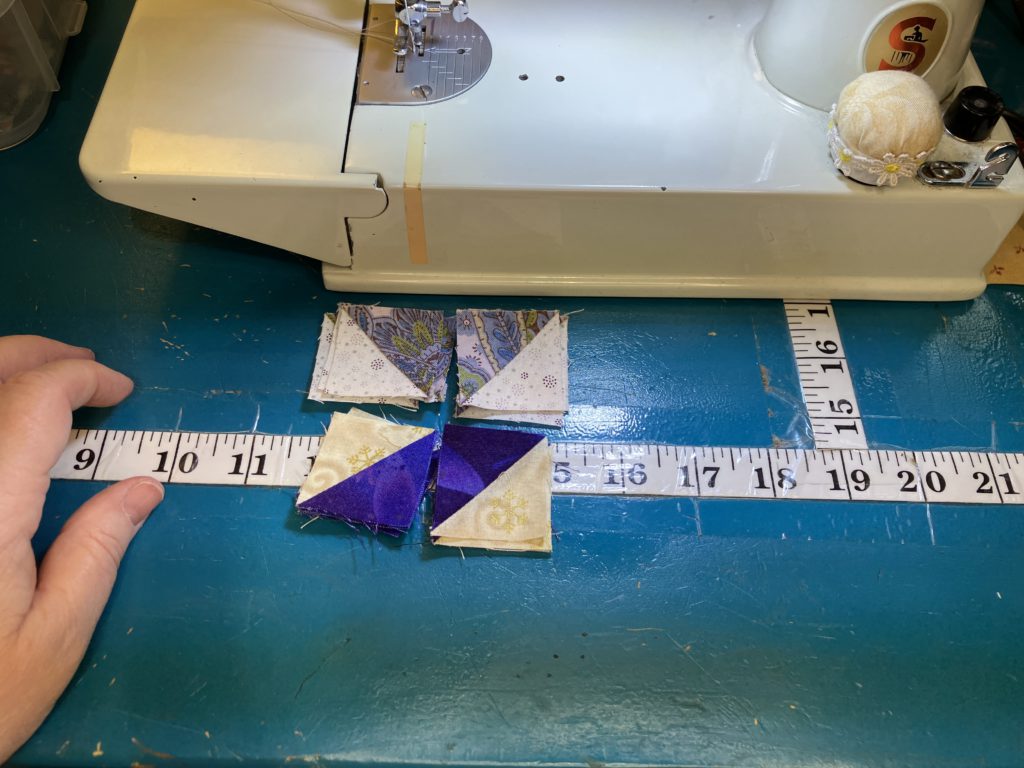
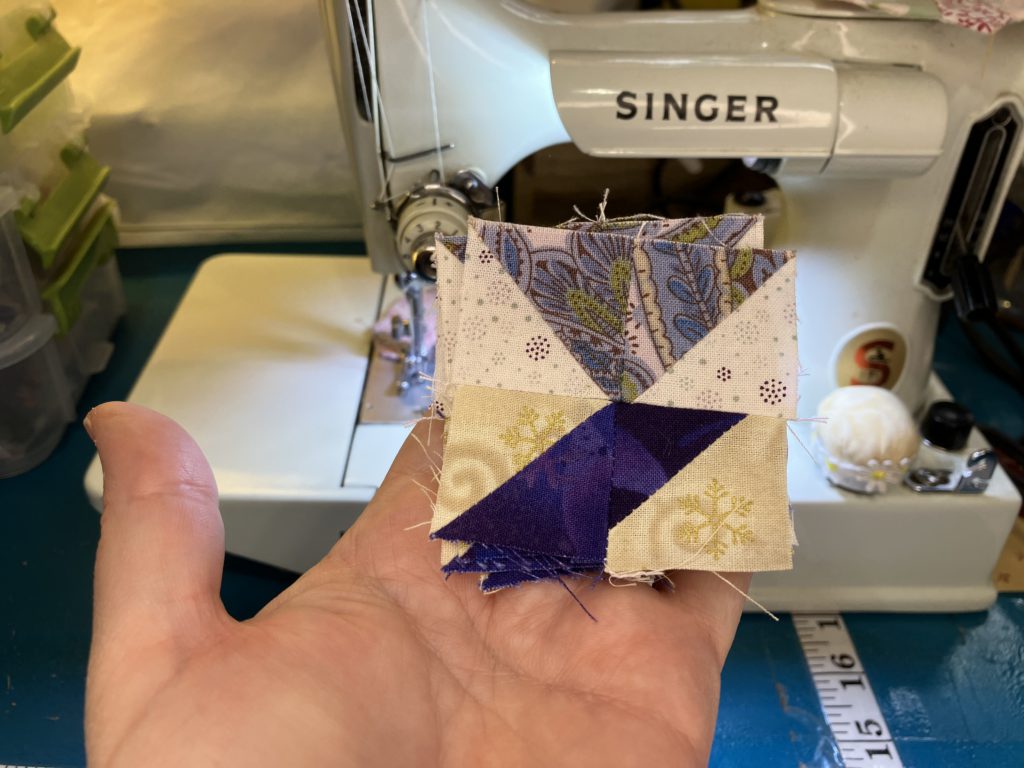
This block can be sewn in quadrant pieces. Here is the stacked pile of quadrants ready to sew…zoom, zoom, baby!

After the quadrants are sewn, lay out is as simple as a quarter turn. A large swirling pinwheel will form in the center when pieces are layed out correctly.

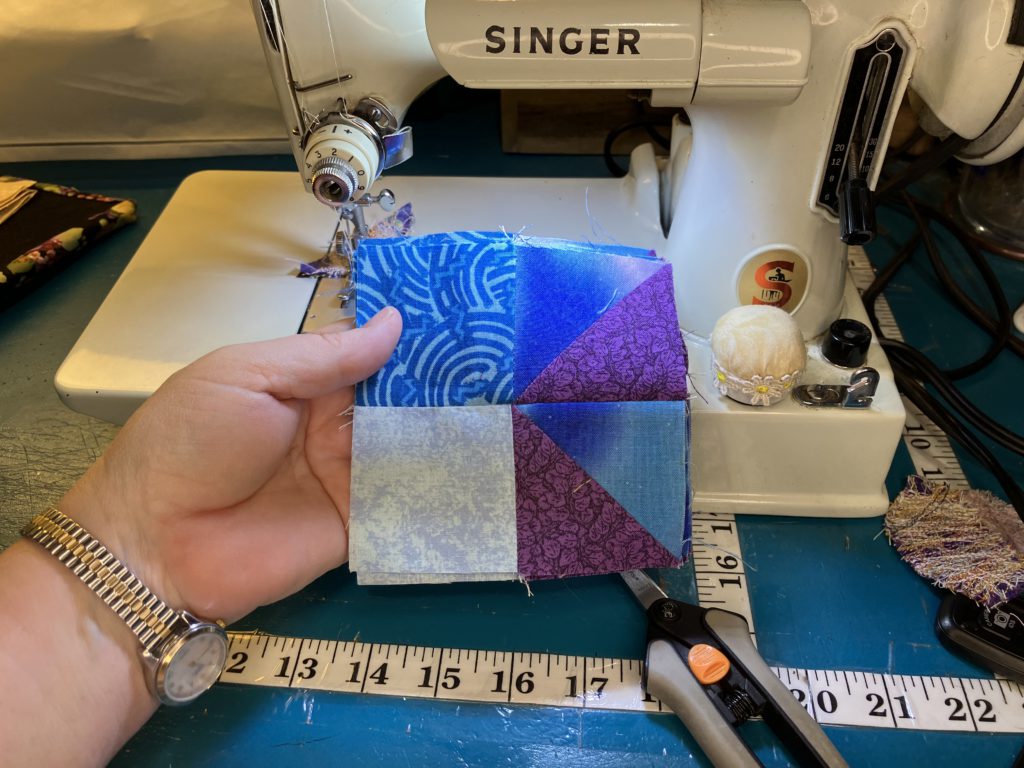
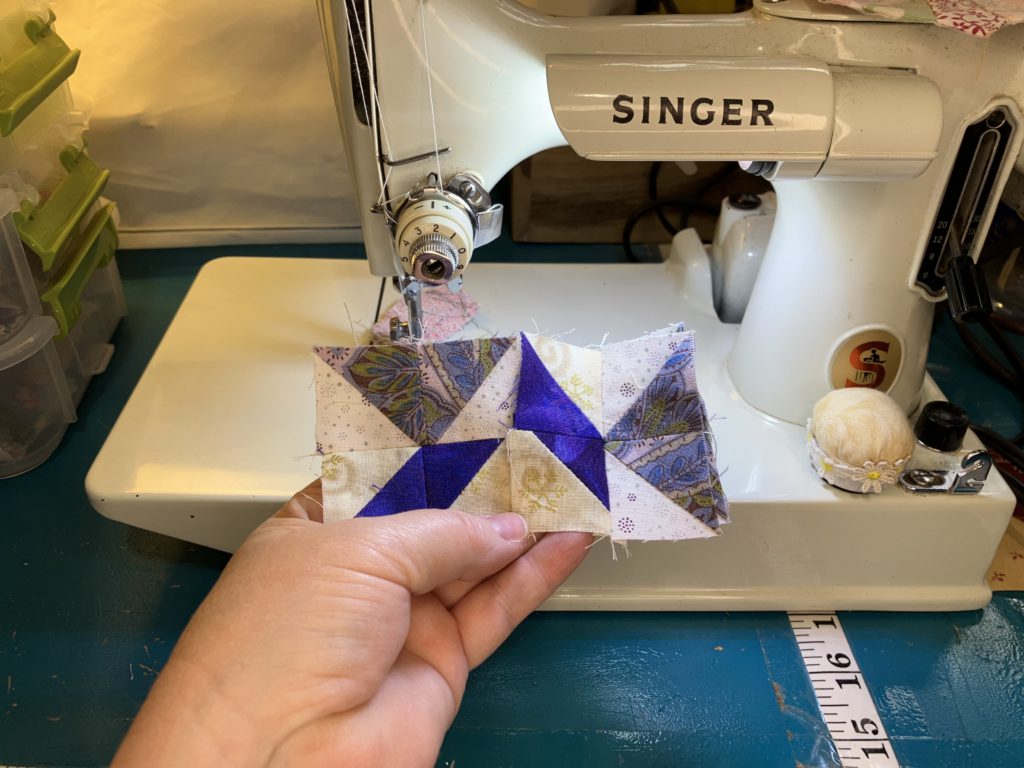
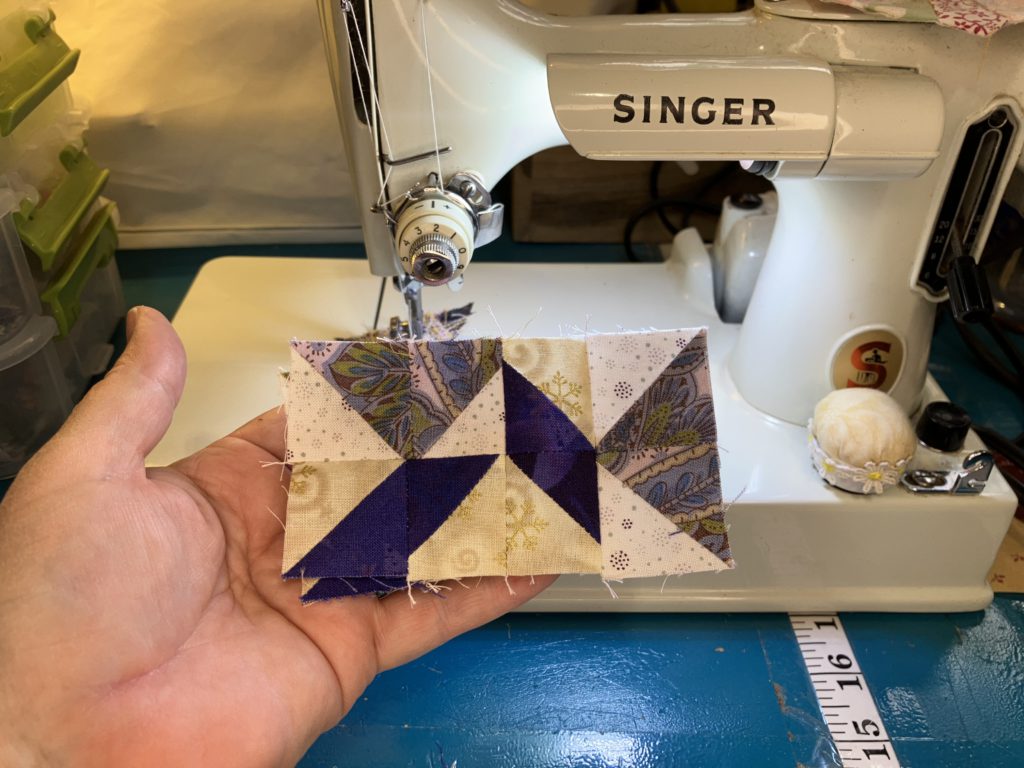
Sew the quadrants together…then sew the halves together…

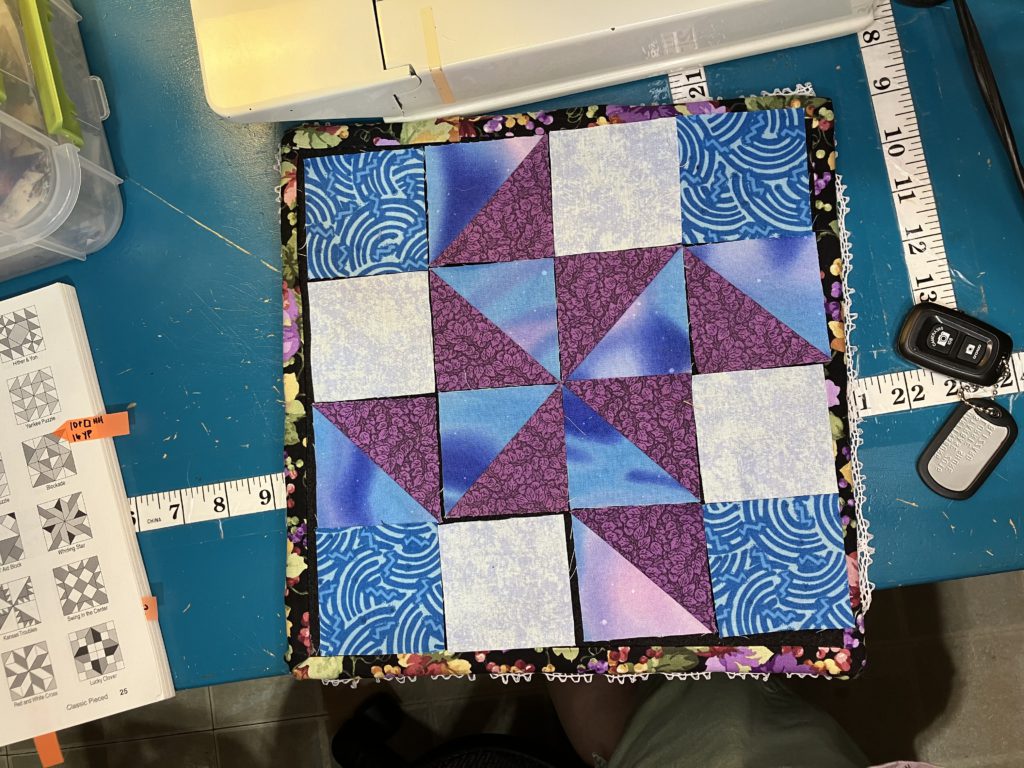
Ta-dah! Ta-done!

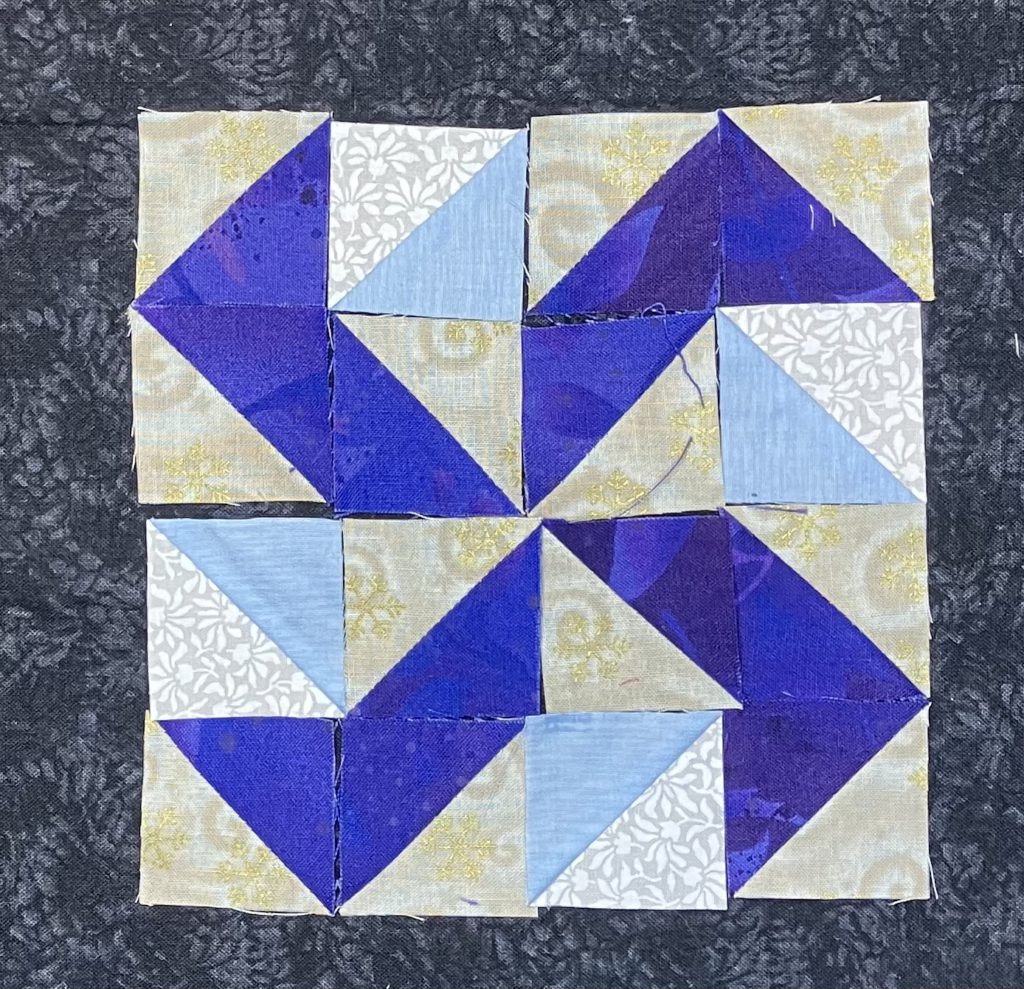
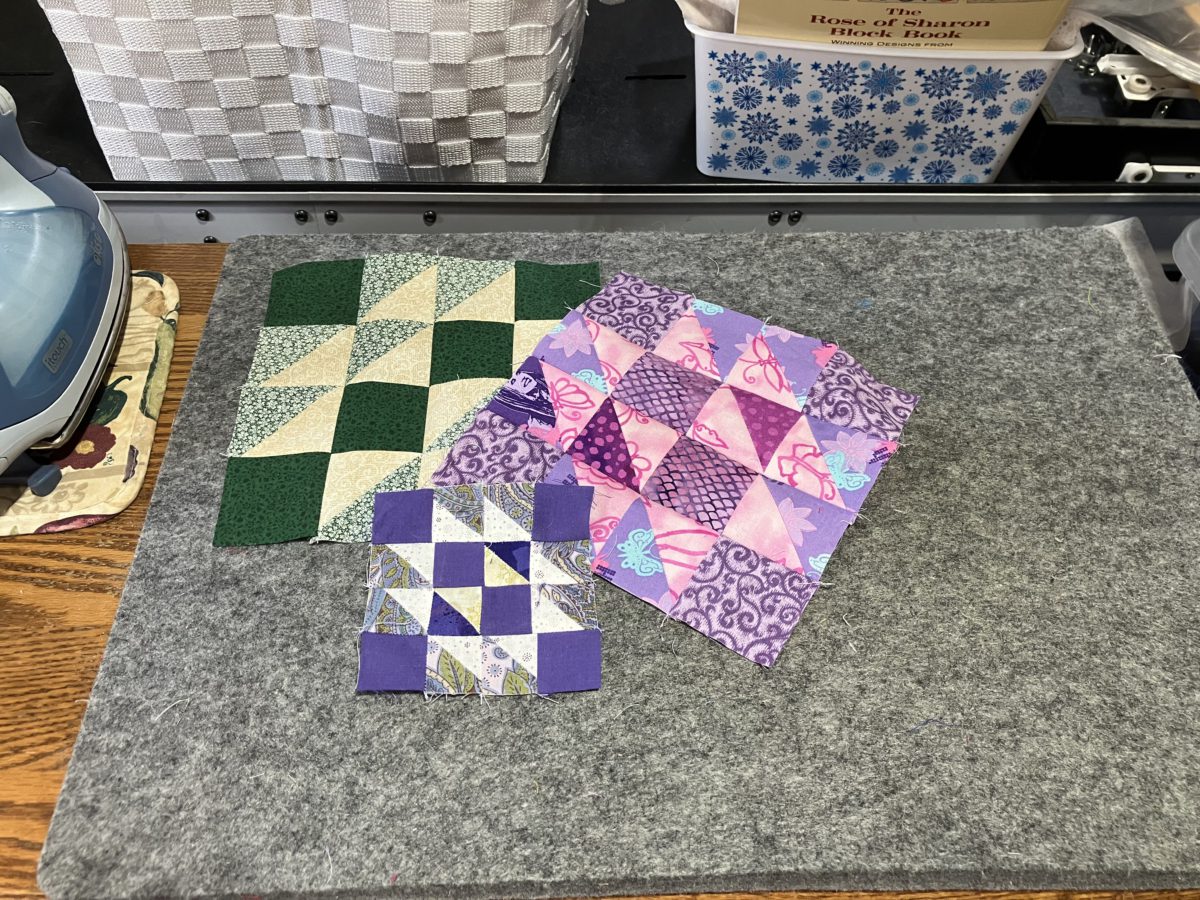
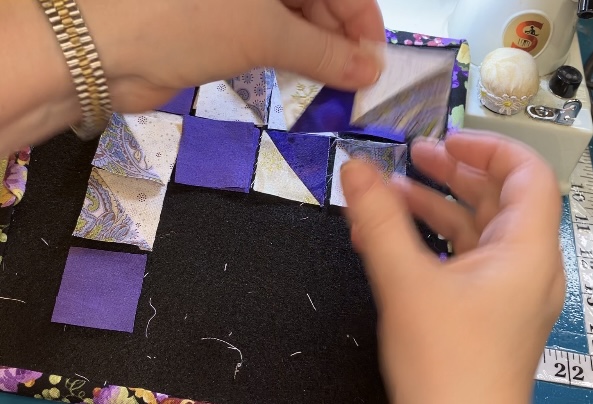
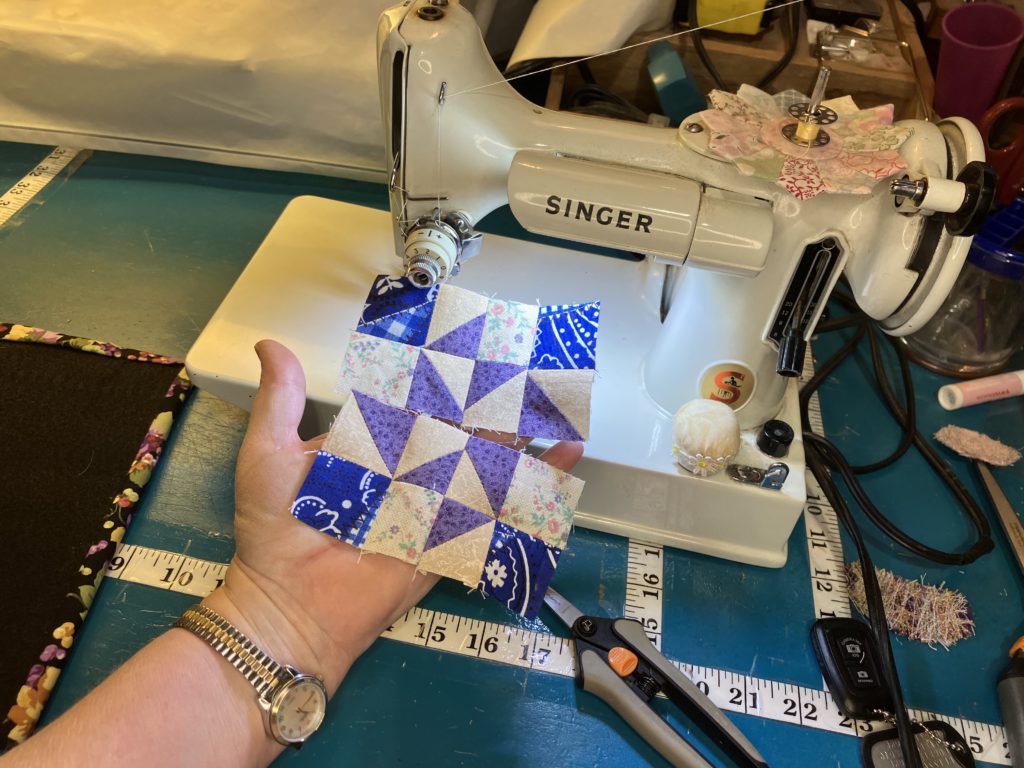
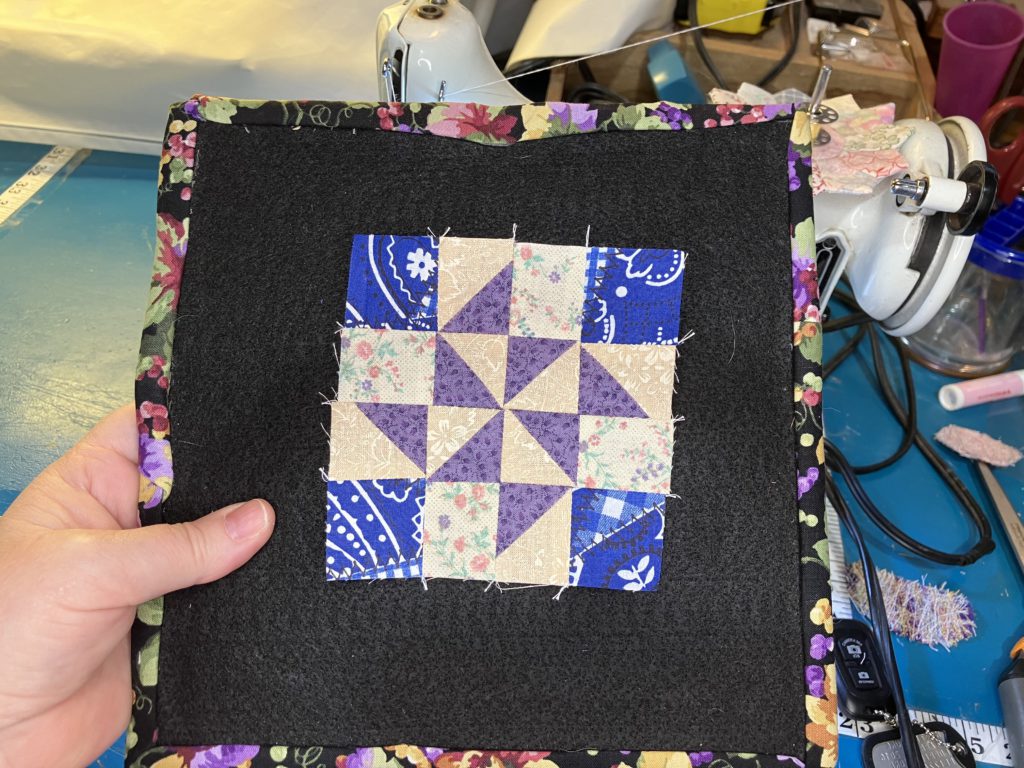
Now for the example made from 1 1/2″ pieces. It finishes at 4 1/2″. (You know I couldn’t resist!)

Finished reveal of this little beauty will be at the end of the post!

Now for my version of the 2 color layout! I creat the large swirling pinwheel (12 half square triangles) with one color.

I add in the second color…

Or maybe this version…

Or this one?? Oh, the decisions!

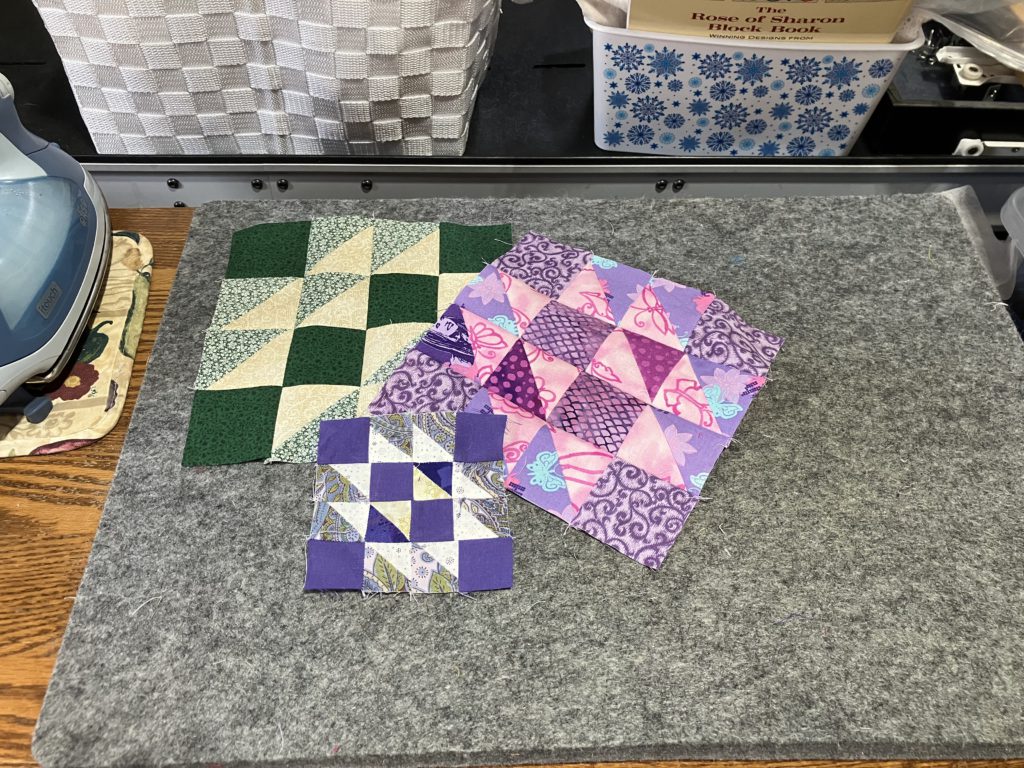
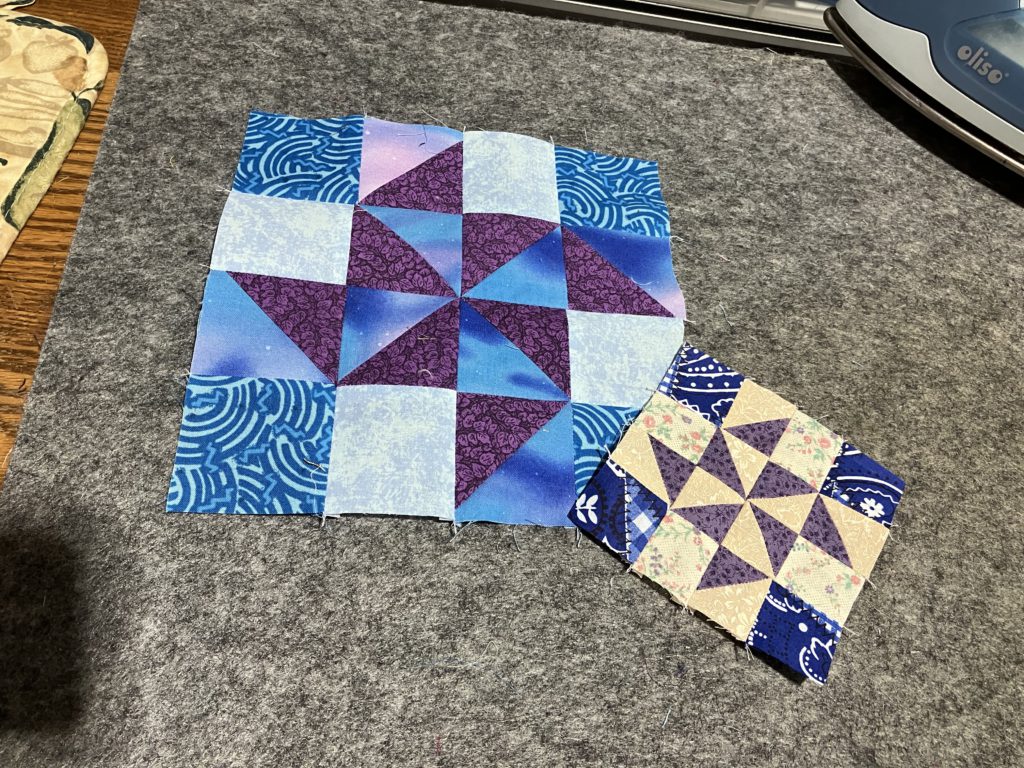
Here they are finished and ready to use in a beautiful scrap quilt!

Here is the printable cutting chart:

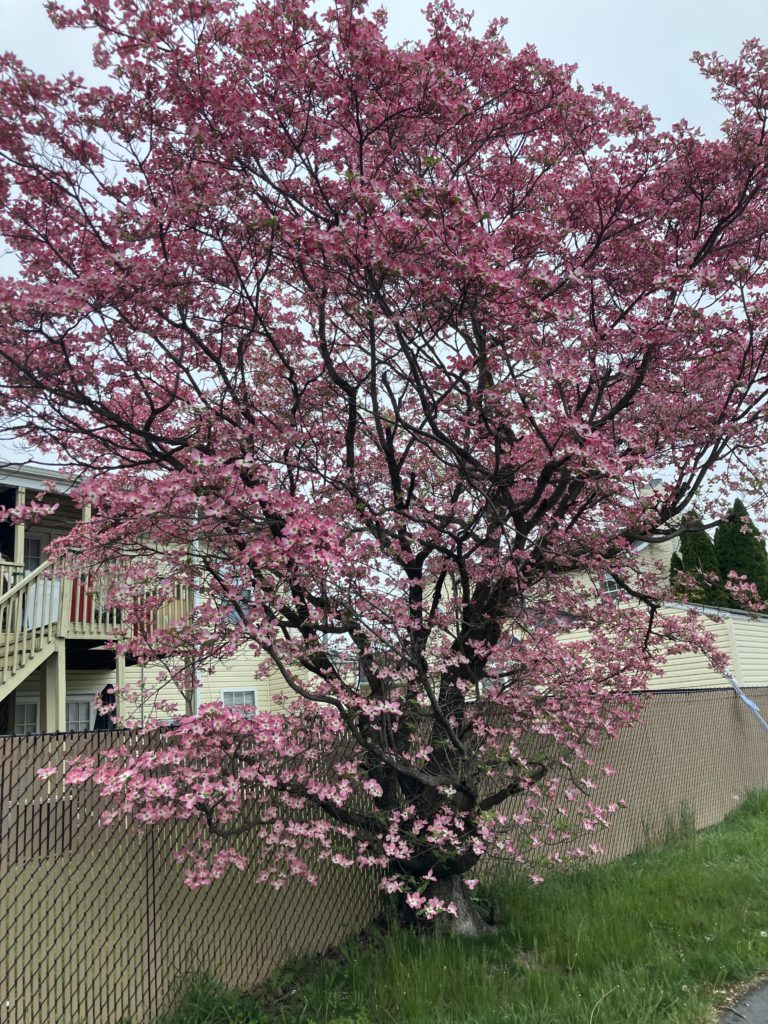
I couldn’t resist adding this beautiful dogwood picture from the post office in Inwood, WV.

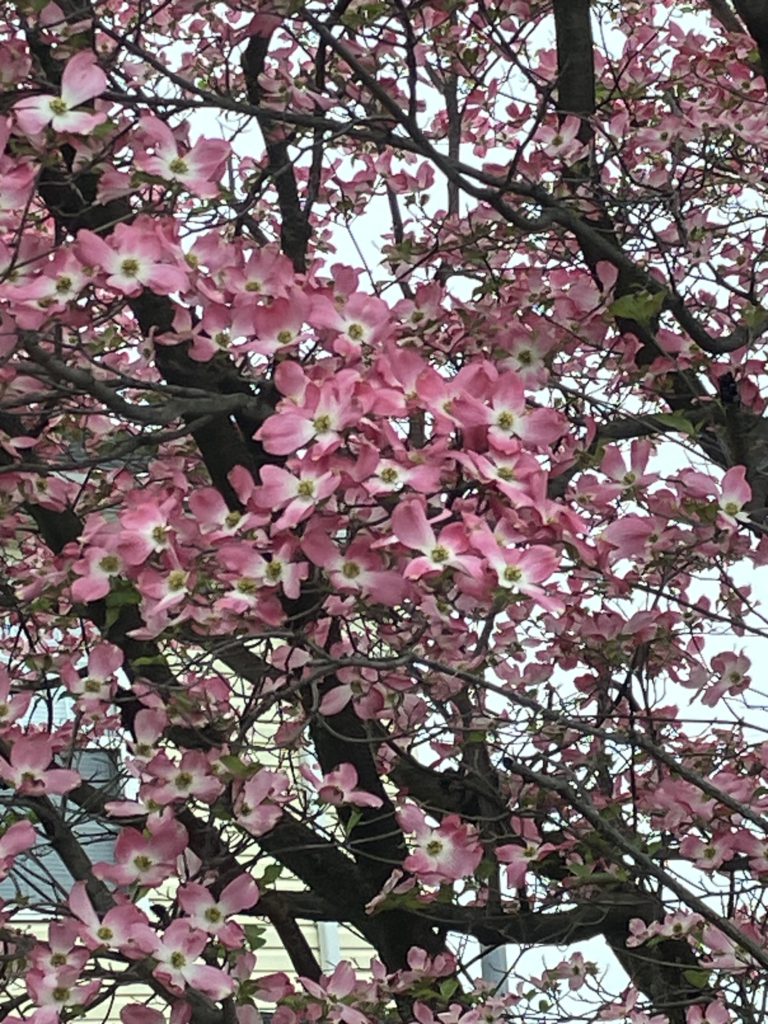
And now for a close up…

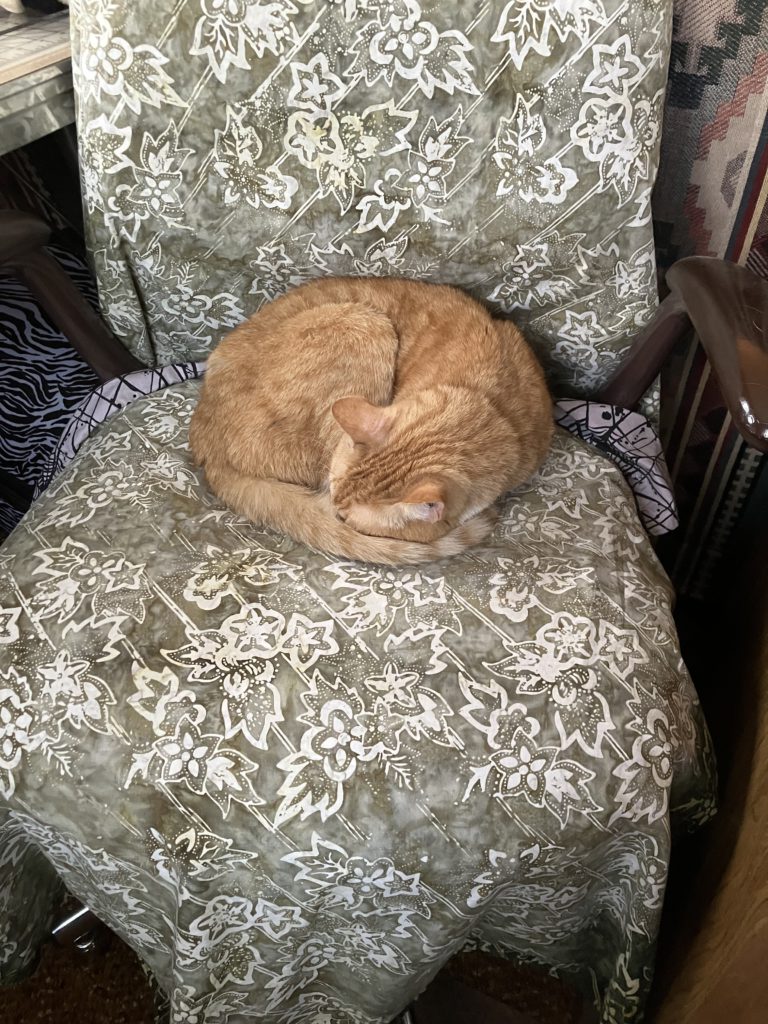
Simba is enjoying a nice nap on my sewing chair. (The green fabric was put on the chair to prevent her fur from becoming a permanent part of my upholstery!)

Categories
Build a block

Build a Block: Hovering Hawks

Just a few more weeks of inspirations from this book, I promise! This week I am presenting the Hovering Hawks block. This block has interesting diagonal movement. Four of them together would look fantastic…maybe for a future scrap quilt. It would also look good in a barn raising setting, if you are familiar with log cabin block setttings. Let’s get to making, shall we?

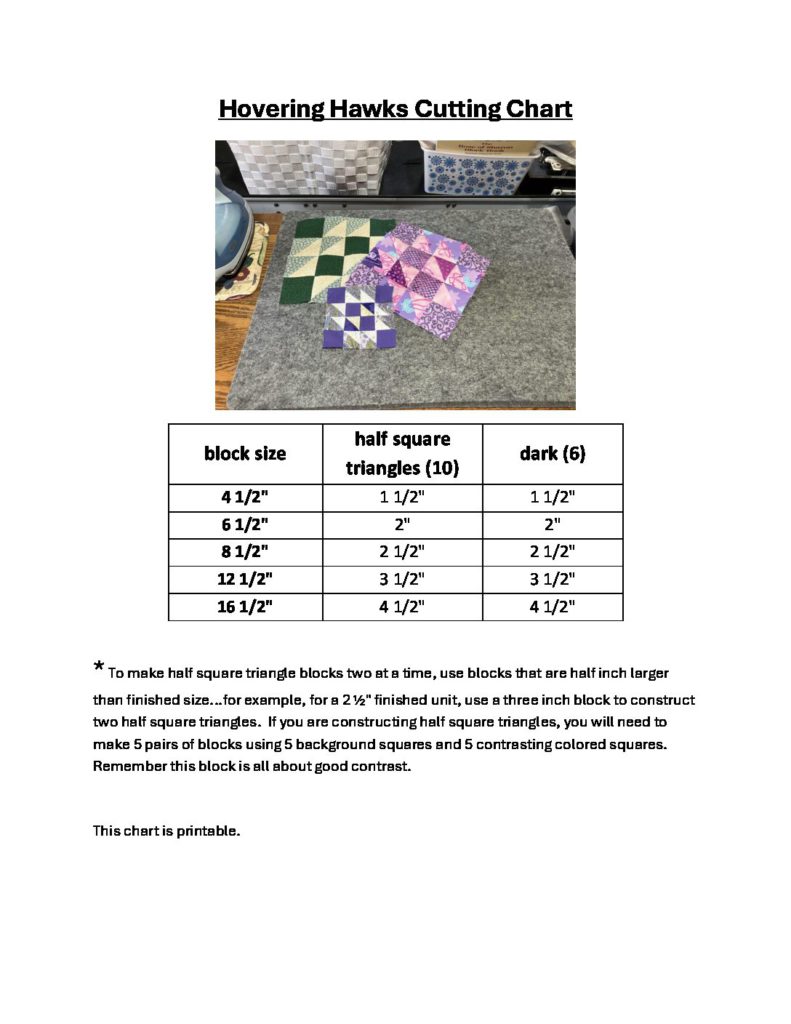
This block is really all about the contrast of light and dark fabrics. It is great for scrap busting! I am still using up those bonus half square triangles. Here is the link to the related YouTube video on my channel. Also, the printable cutting chart including various sizes is at the bottom of this blog.

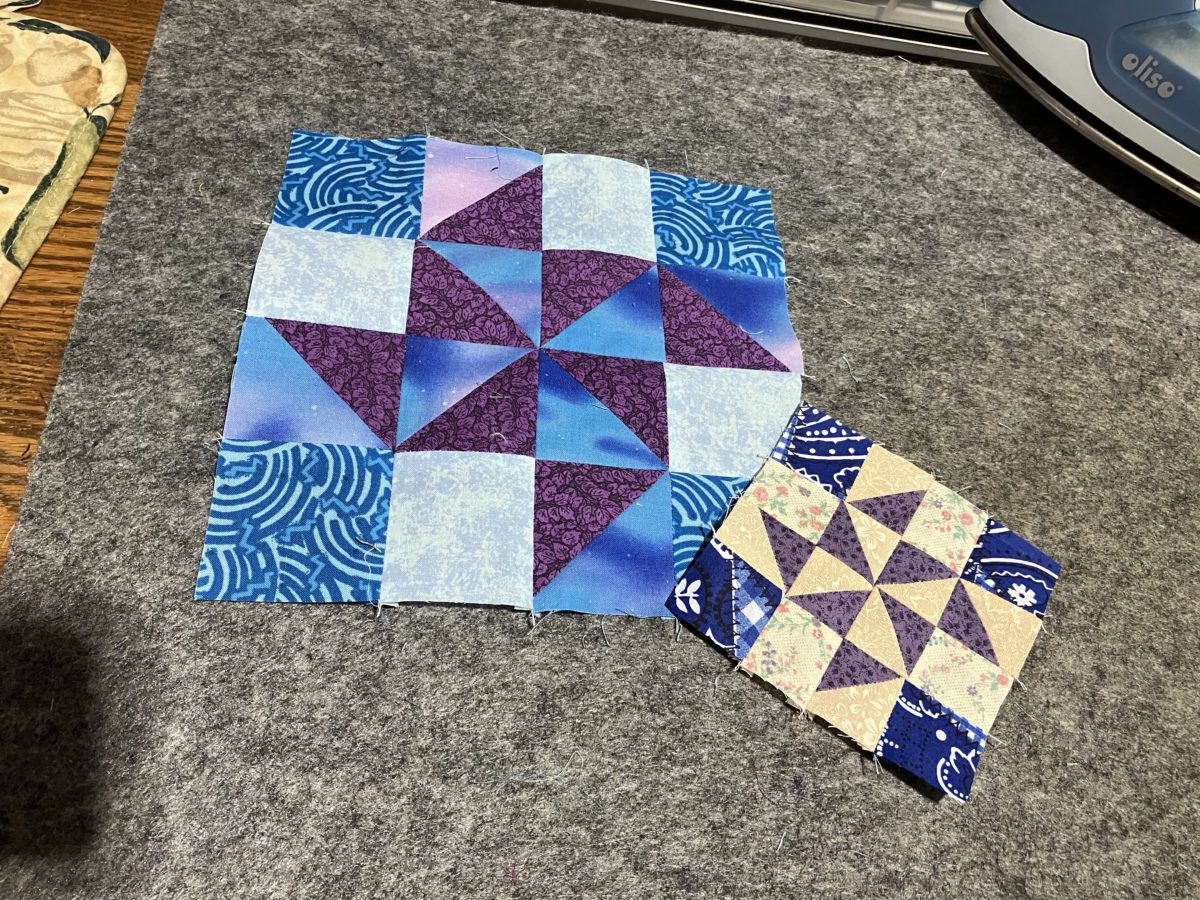
This is the version of the block that I originally layed out in my YouTube video back in October of 2023. I tried to cram so much into that episode!

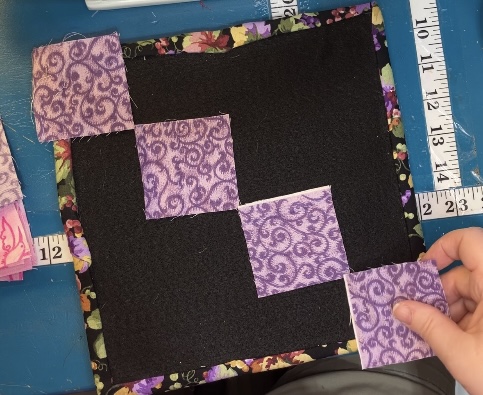
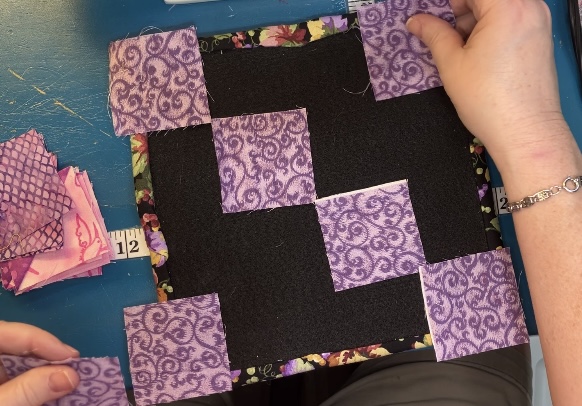
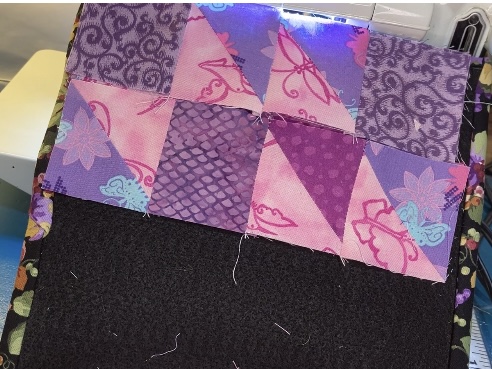
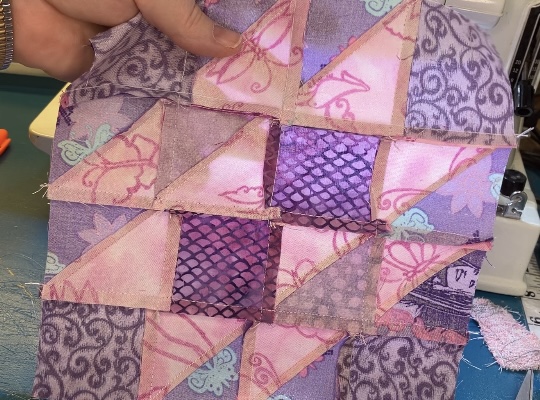
This version uses 2 1/2″ blocks: 6 dark blocks and 10 light/dark half square triangles. The block finishes at 8 1/2″. I start by laying out the dark blocks like pictured below:

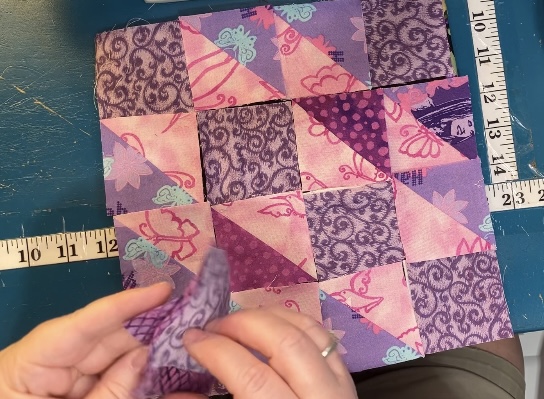
Then I add in the half square triangles in the correct orientation. Half of the units (looking at the light part of the block), point to the lower left of the block. The others (again, looking at the light portion of the block) point to the upper right.

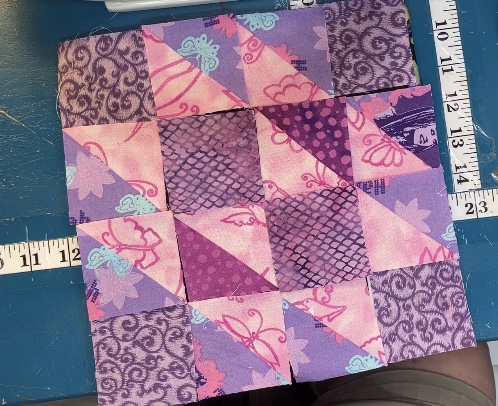
Here I changed the center two blocks with some beautiful batik fabric scraps. I think the visual interest here is better.

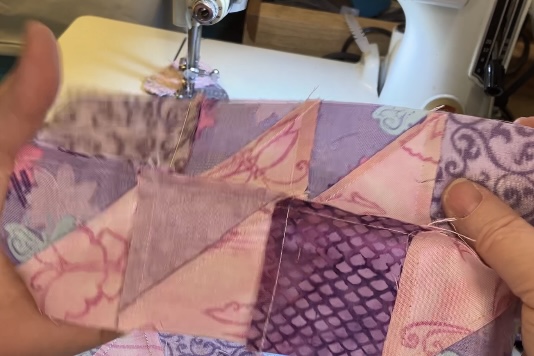
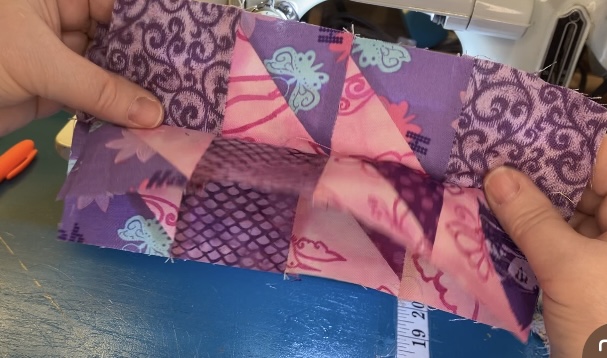
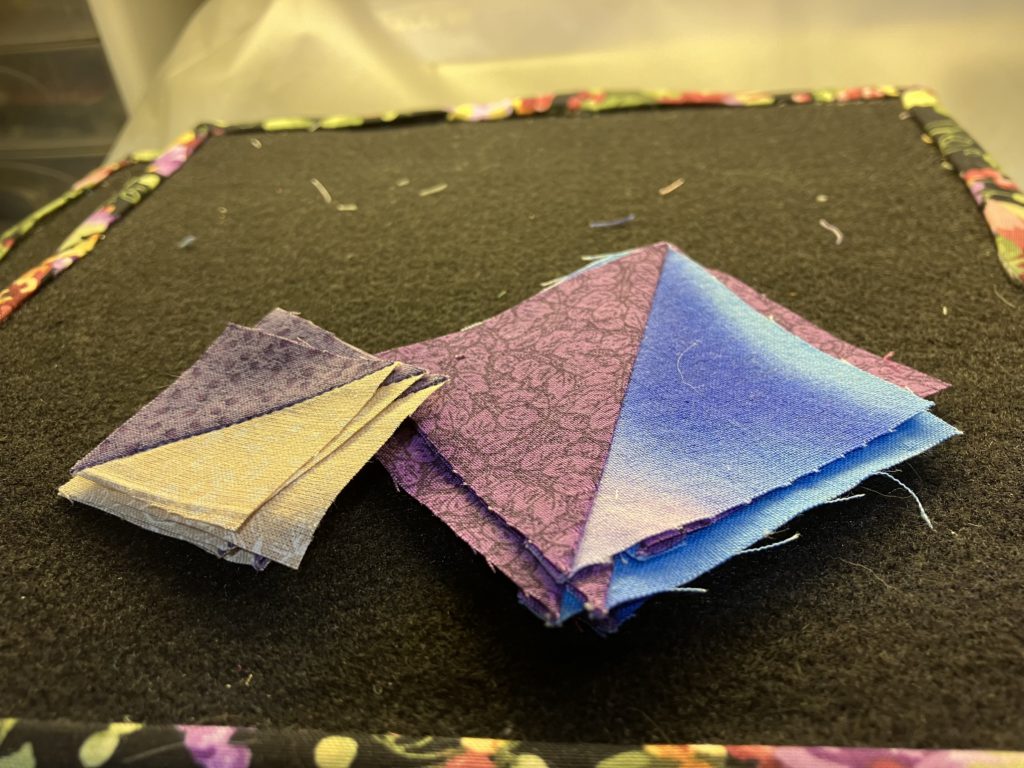
Recently, I have been sewing blocks in quadrants or fourths. This block does not work for that method…but it does work for assembling by halves! Here the halves are stacked and ready to speed sew:

In each row, I pressed to one side. The following row, I pressed in the opposite direction. Pressing open is always an option, too. You decide.

Half block reveal!

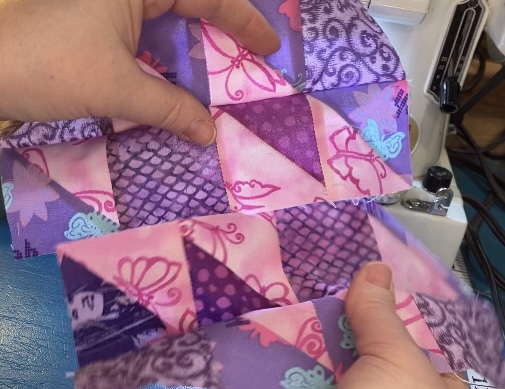
Turn one of the halves in a 180 degree turn…sew together. Yes, it is just that easy.

I pressed all the rows going in the same direction after I assembled the rows. Life should always be this easy!

Here is the version using 1 1/2″ blocks:

I love these little things!

Same layout!

Now with the half square triangles!

Stack to speed piece as half blocks…

Assemble like the bigger block.

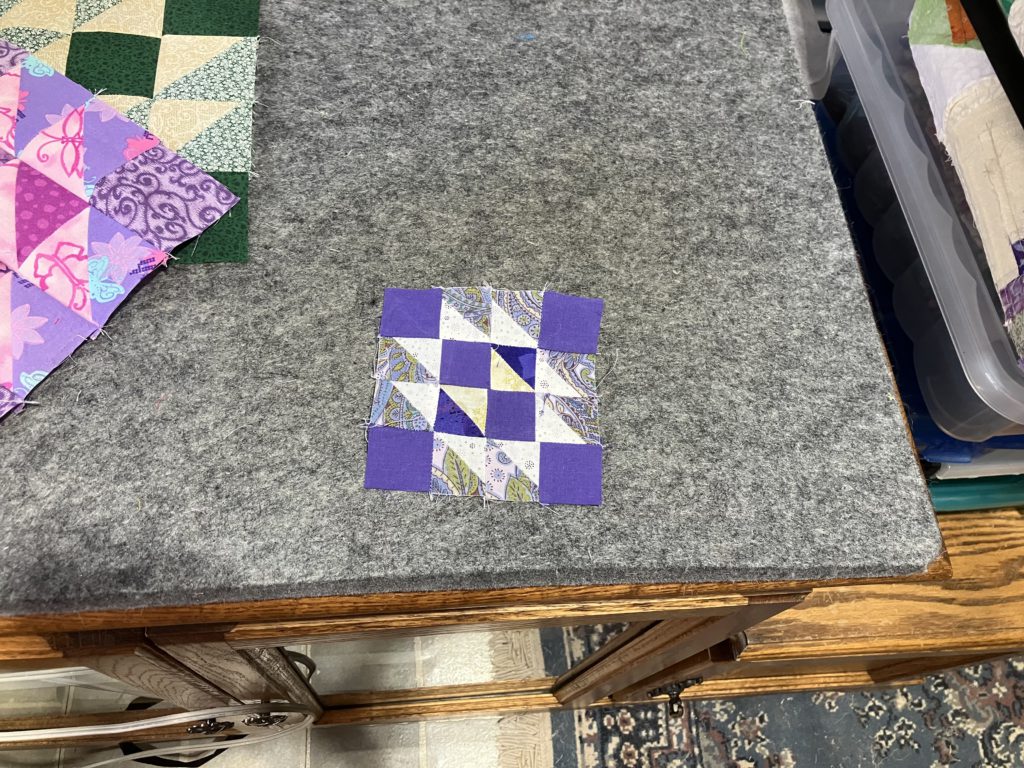
Here they are…tah-da…tah-done!

The contrast in this one is so good…I just have to admire it for a moment longer! AAAhhhh! So cute!

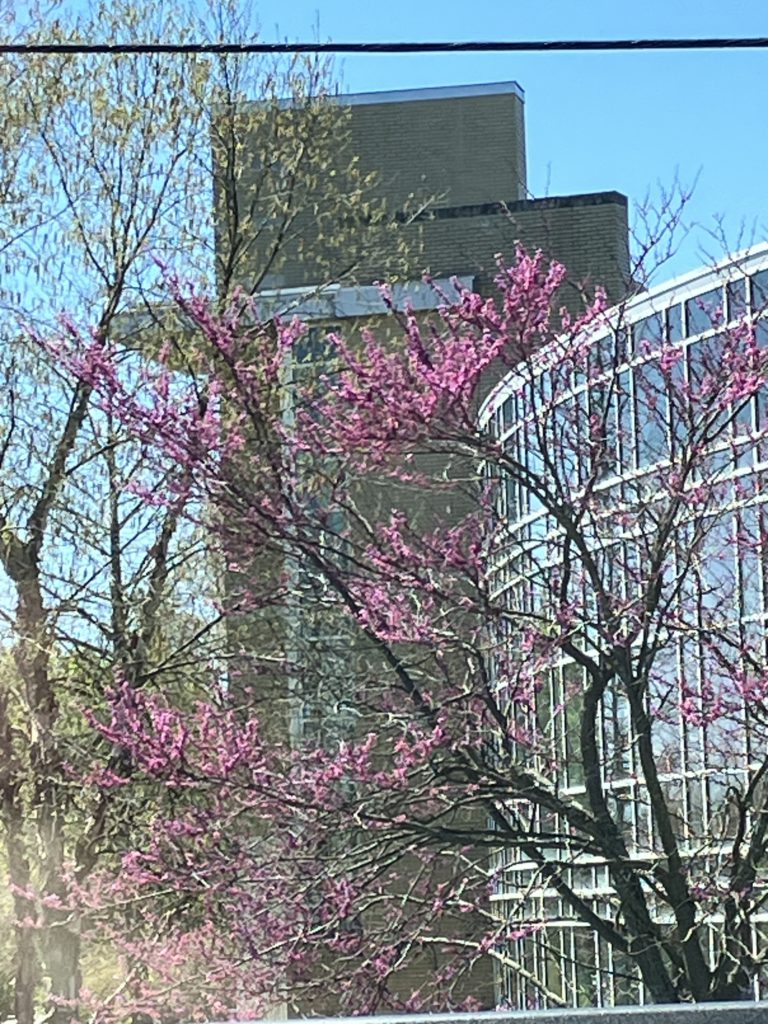
I just have to share a nature picture. I do love redbud!

I hope you enjoy making this block. If you have comments, please go to the video mentioned at the top and leave comments there. When I turn on comments here I get adds for Russian viagra and other “stuff”…Oh, my!

Here is the cutting chart I promised. It should be printable…and it is FREE!

Have a great week! Thank you for reading my blog! The next blog will be a mini quilt show with my commentary! (At least you will get some eye candy! I will mostly tell you why I was compelled to take a picture of those quilts…see you then!)

Later,

Lorrie
Categories
Build a block

Build a Block: Flying X

I have a few more weeks to share blocks with you that have been inspired from this book.

Here are the bonus half square triangle blocks that I grabbed last week when I made the whirlpool blocks.

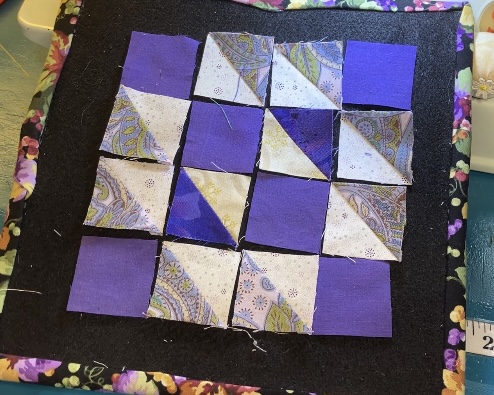
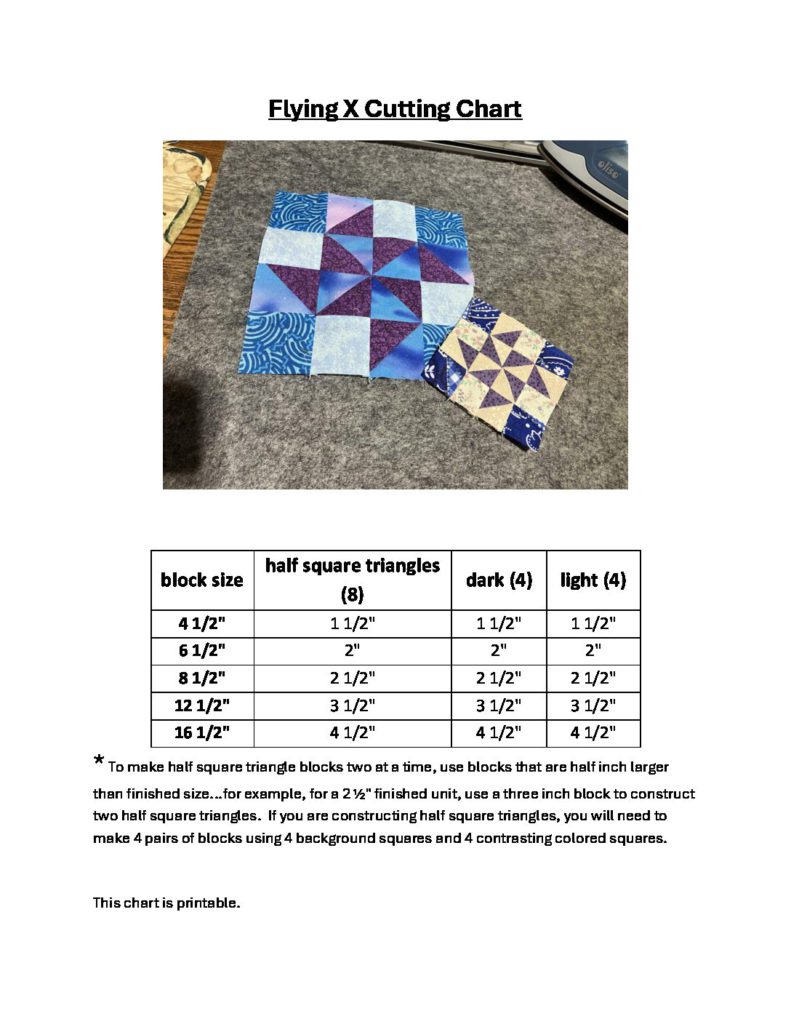
I am assembling the 8 1/2″ block first. It uses 4 dark squares, 4 light squares, and 8 bonus half-square triangle blocks. (Directions for making two at a time half square triangle blocks are on the cutting chart at the end of this post.) Here is a link to the YouTube video that shows assembly.

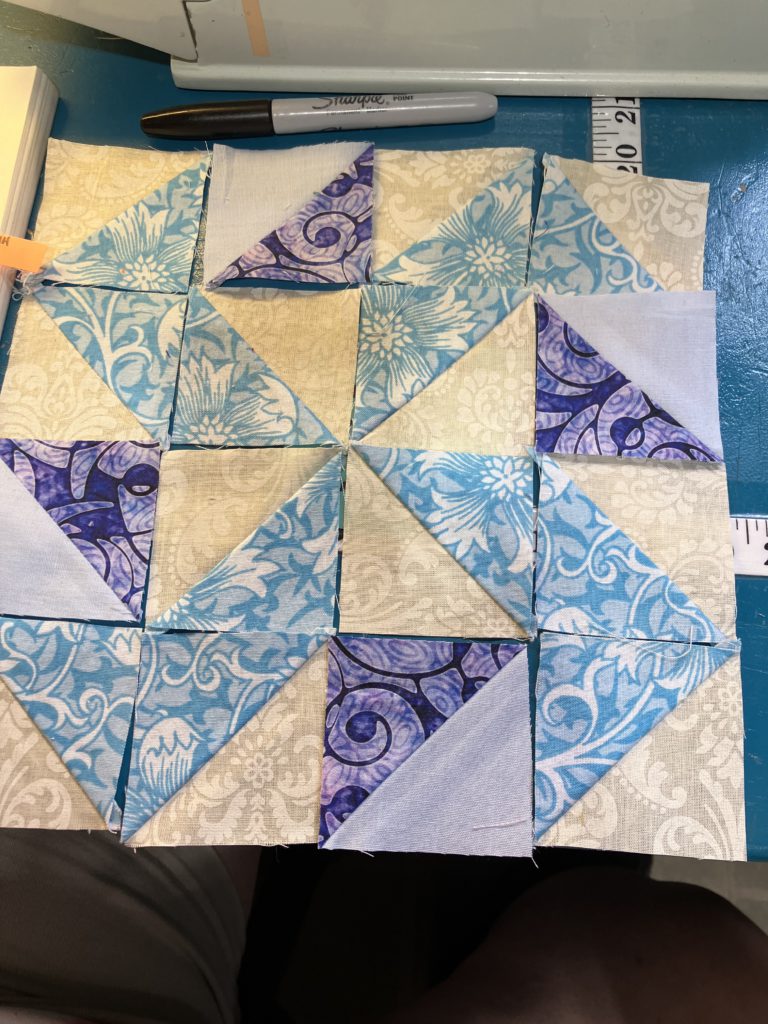
I love the pinwheel in the middle of this block! I am not sure who named it Flying X…it looks more like a Whirlpool or Tornado to me.

The easiest way to assemble this block is by quadrant or fourths. All quadrants are identical. After they are assemble, the unit is turned a quarter turn.

This looks awkward, but it is correct. Make 4 units.

Here is the layout again.

Assemble the units by sewing like a standard four patch.

Here is the 4 1/2″ version. It is assembled the same way.

This is a cute little block. It goes together easily and quickly. Great scrap buster!

Tah-dah! Tah-done!

I love the vortex imagery in the quilt block, so I decided to throw in some visual vortex images.

Ohhhh….

Aaaaahhhhh! Ring of Fire?

This one looks like a seashell or a fossil….

Here is the cutting chart, as promised, in five different sizes this week!

I hope you are enjoying the Build a Block series! Please leave comments on Facebook or YouTube. (Comments are turned off here because I am not interested in Russian viagra…or manifestos.)

Later,

Lorrie
Categories
Build a block

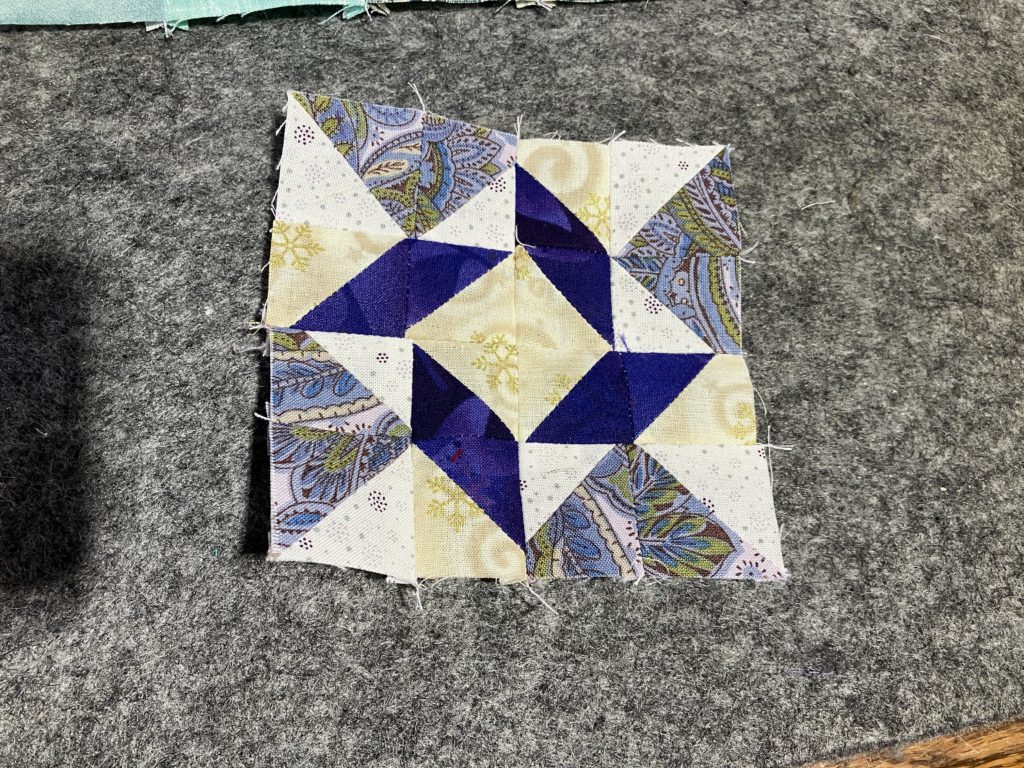
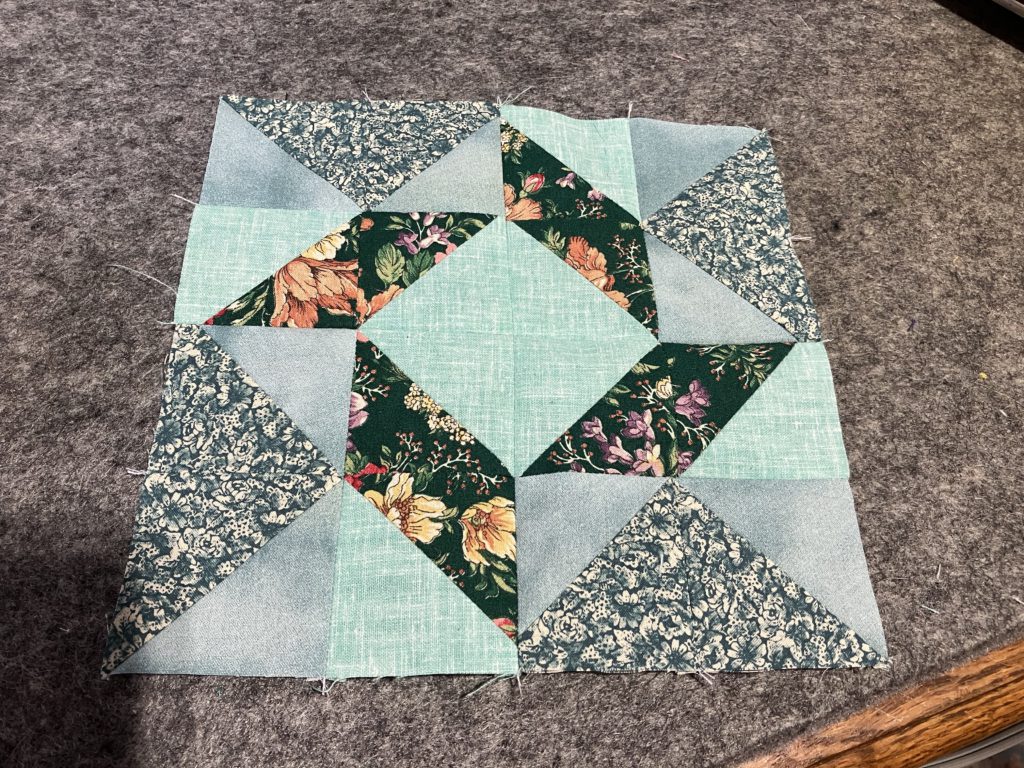
Build a Block: Whirlpool

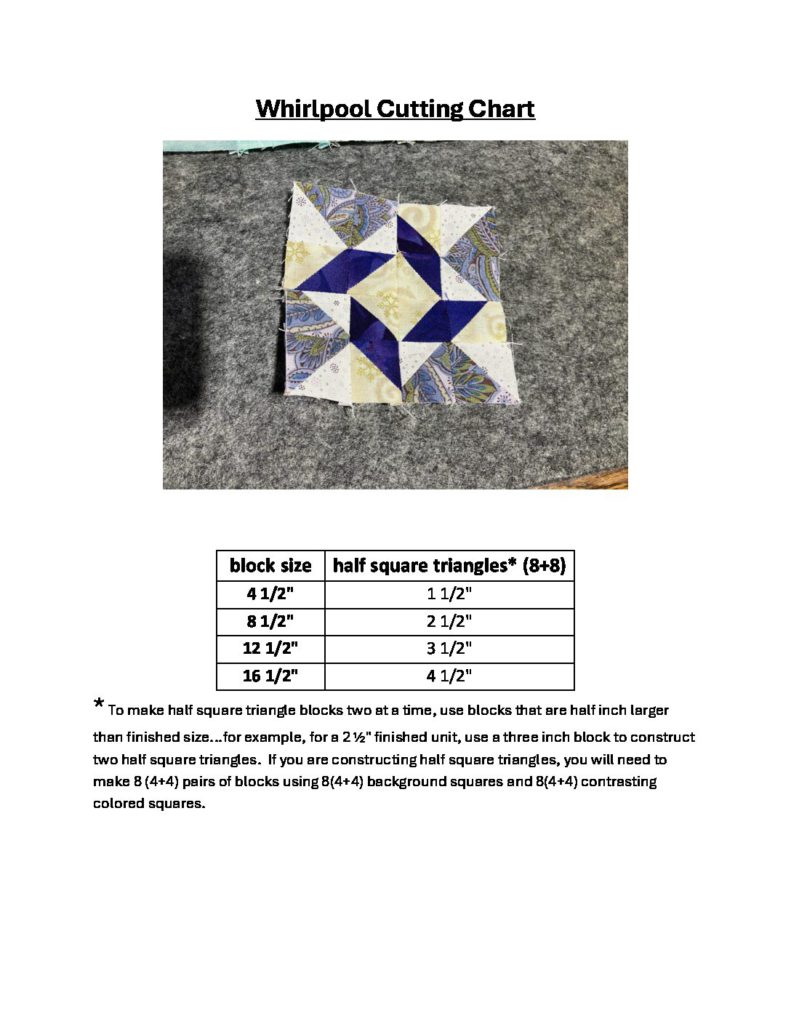
I am still using this same, old book.  There are lots of good blocks in there! The video that shows this block construction is here.  The cutting chart for four sizes is at the bottom of this blog.
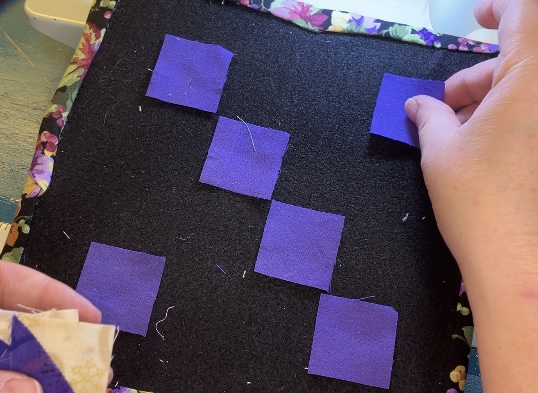
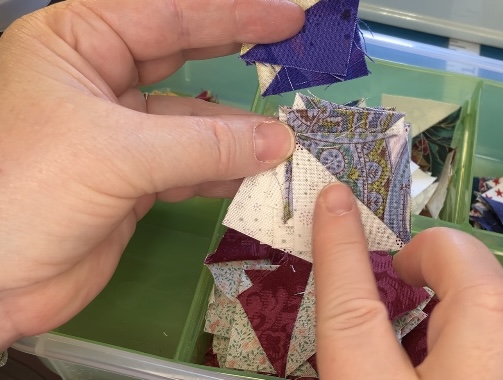
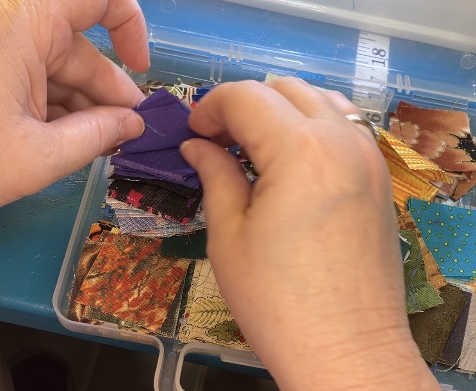
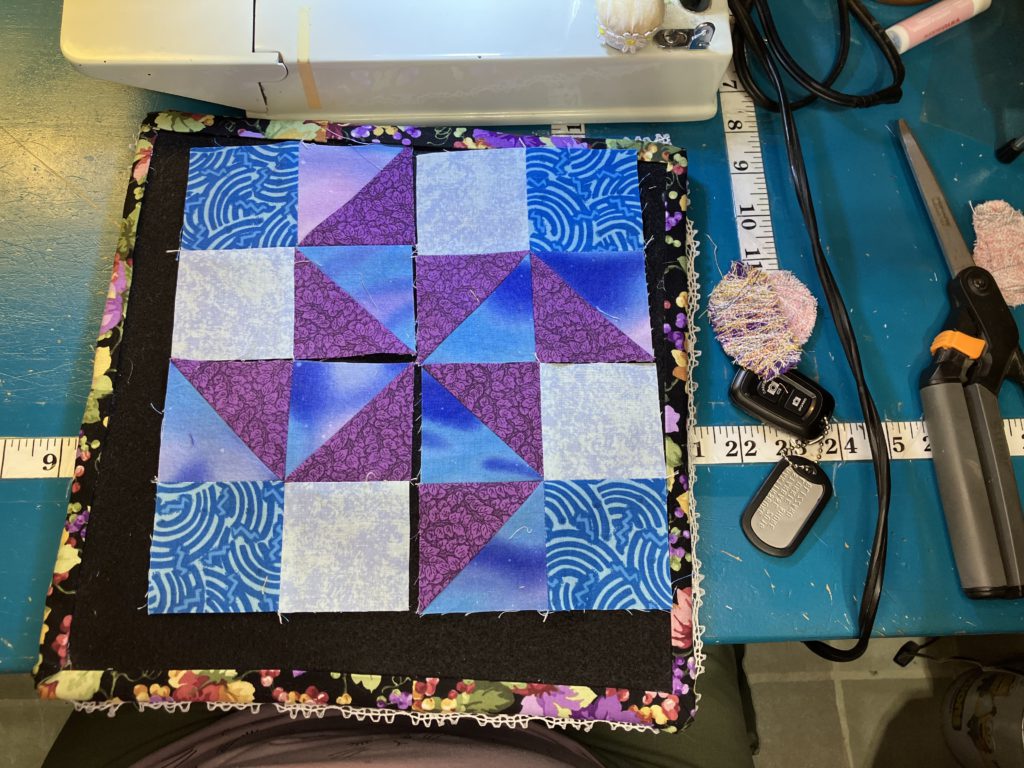
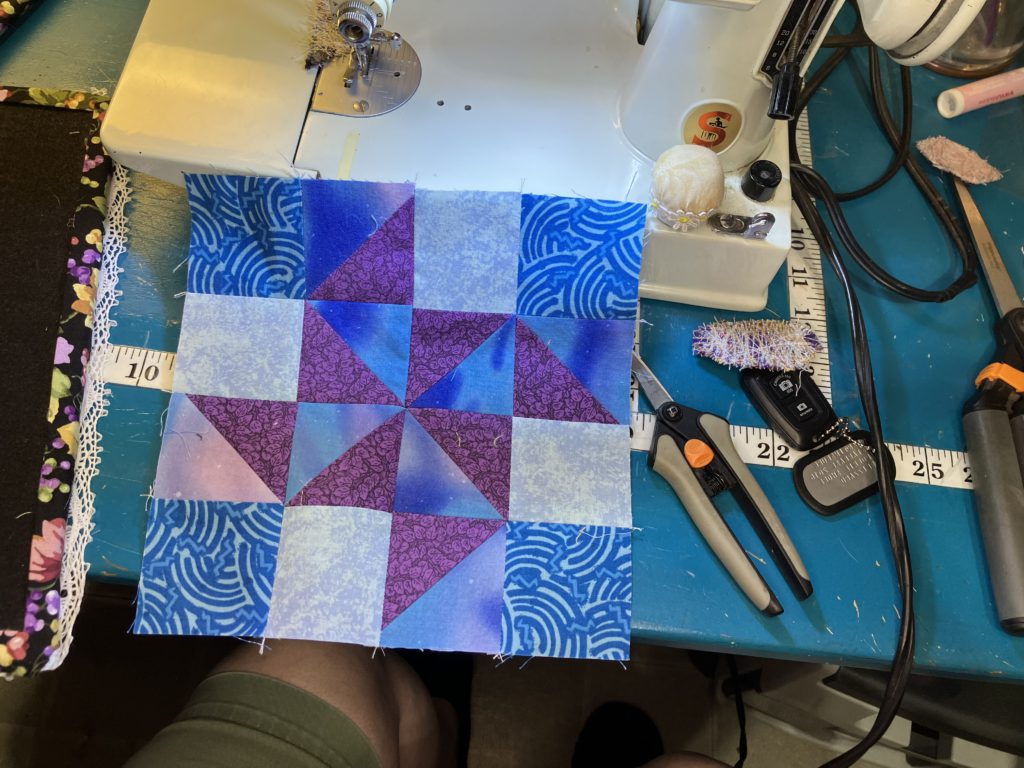
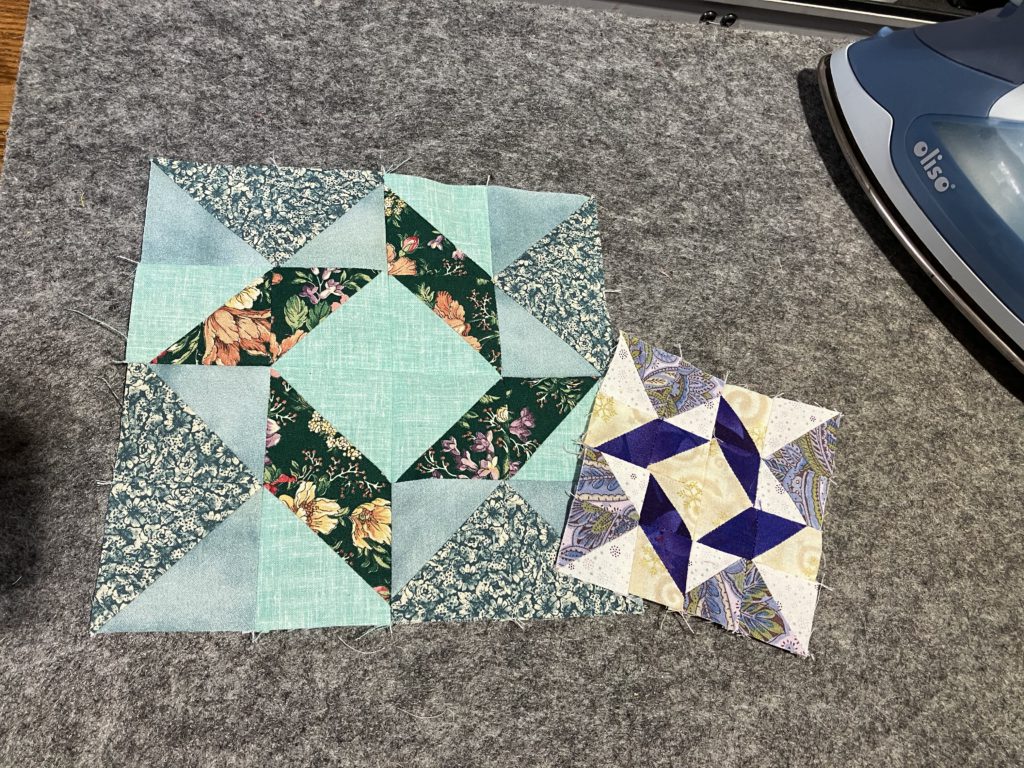
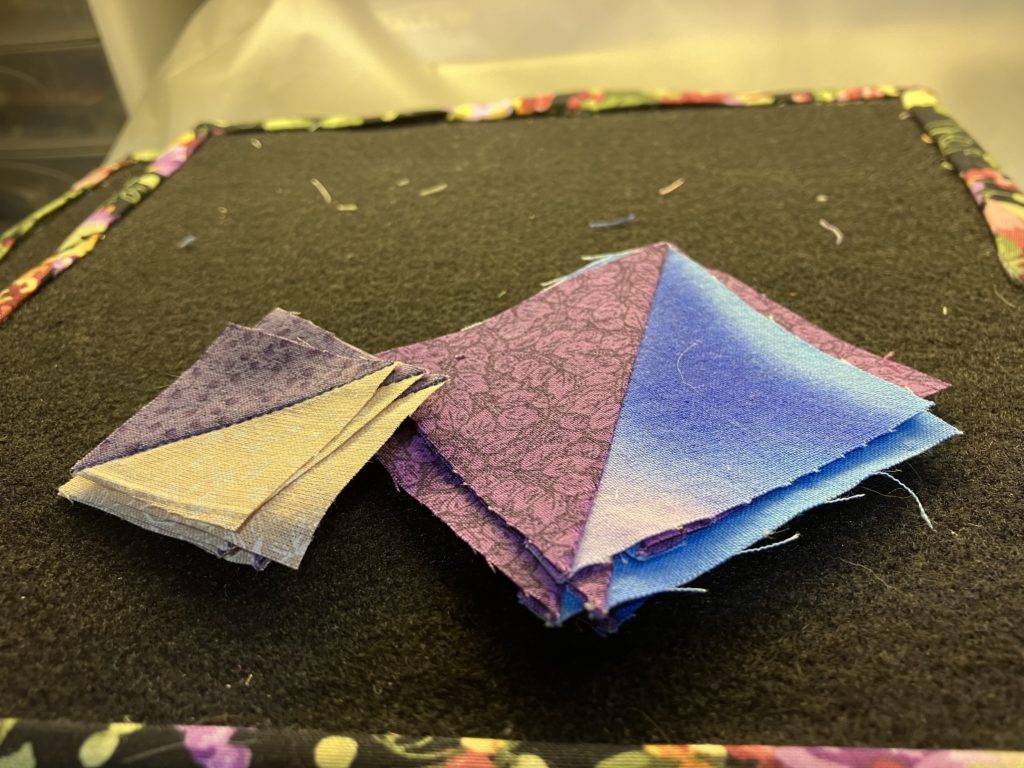
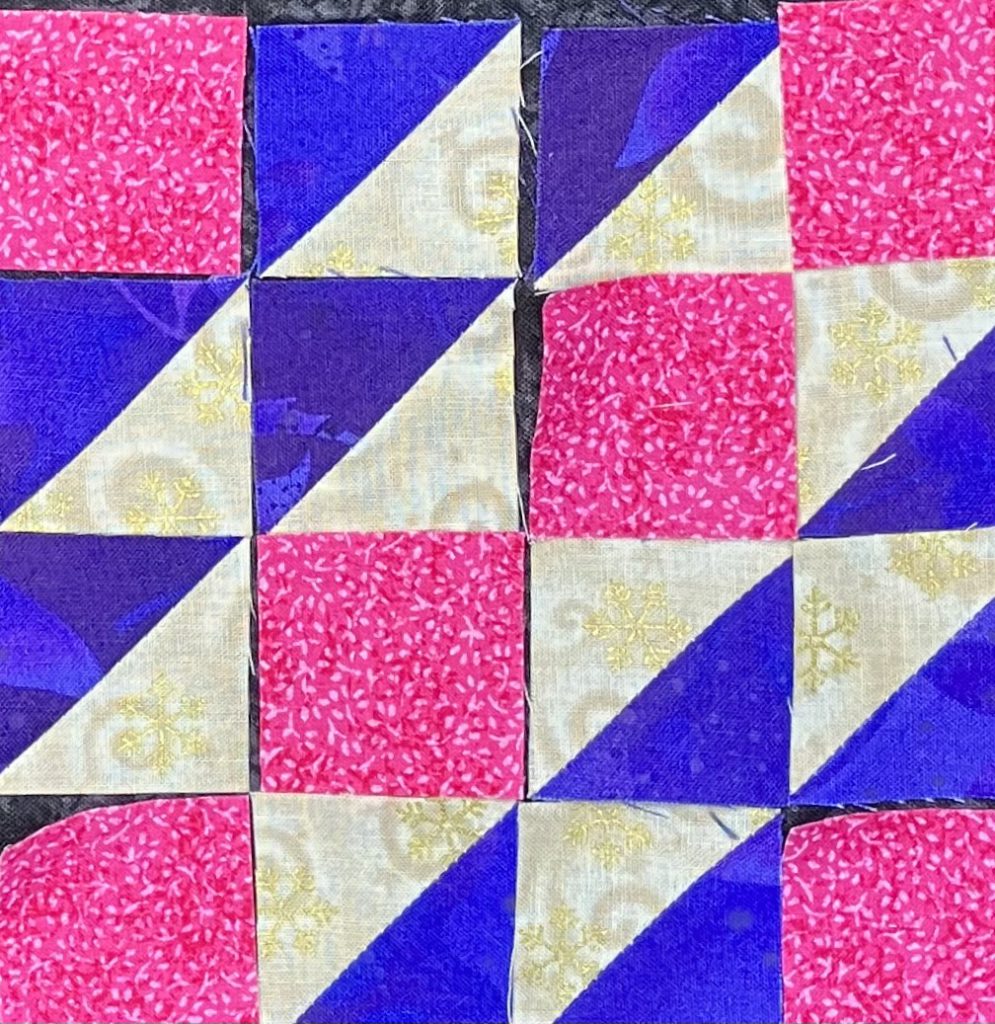
This week I am using up 16 more bonus half square triangle blocks…two sets of eight blocks. Look at the lovely, swirly whirlpool in the center. I used darker half square triangles for the center swirl.

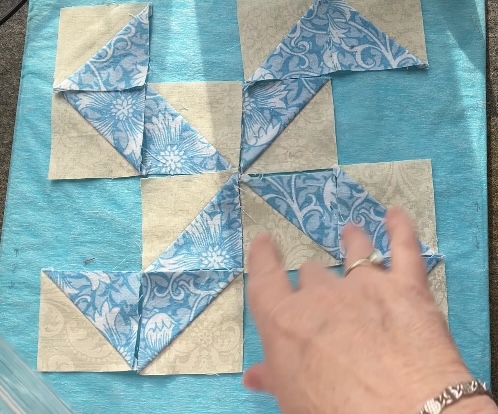
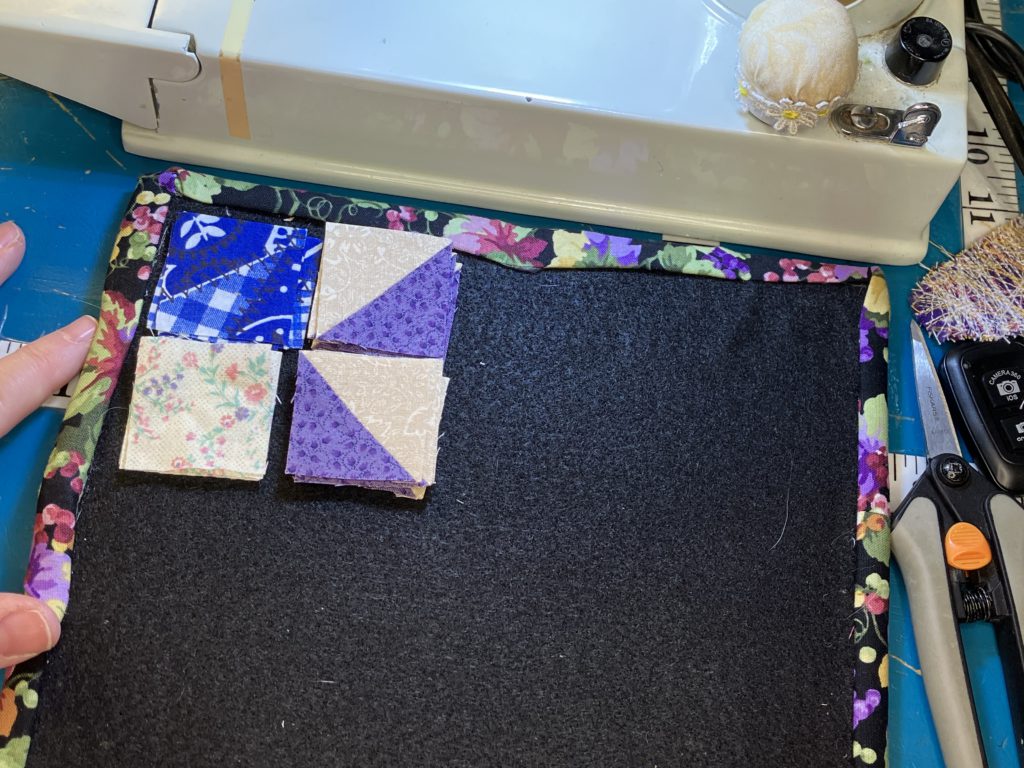
This block can be speed pieced into quadrants or fourths. Notice the layout below for placement…a flying goose and a “blade”.

Make the goose and the blade units. Press open to reduce bulk. Assemble into a four patch as pictured below.

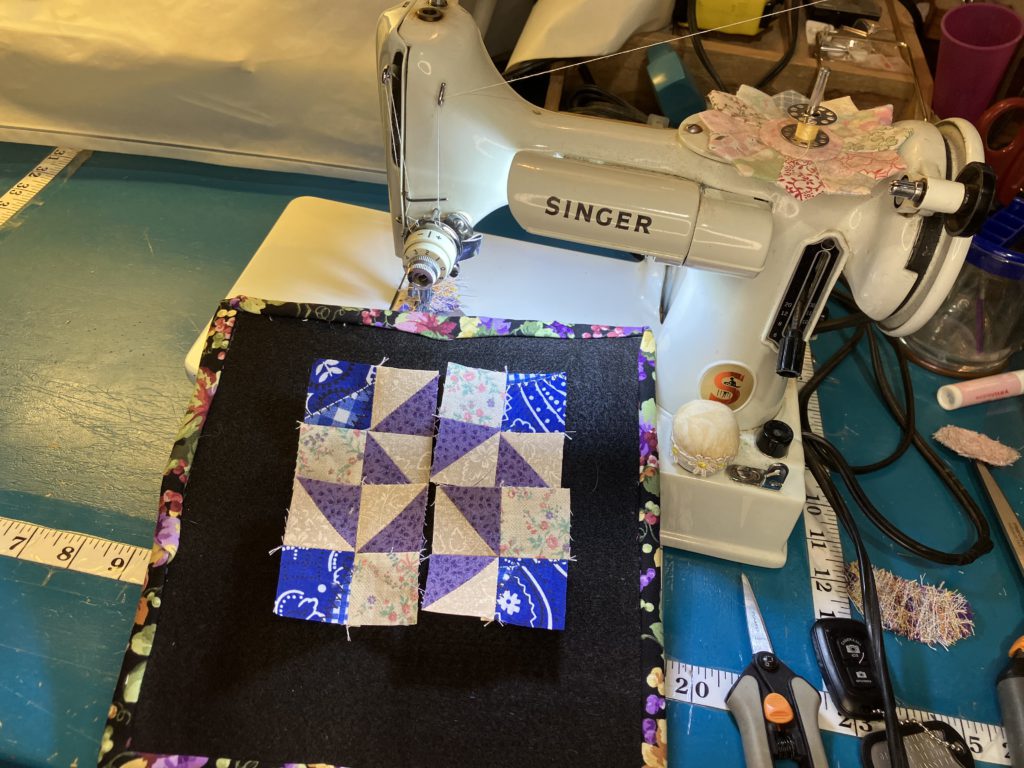
Make two units of two four patches. Note the layout below.

Turn one of the units…sew the final seam to complete the block.

Tah-dah! Tah-done! This is a 4 1/2″ version.

This is the 8 1/2″ version.

I love the swirling movement in this block…almost like a frame.

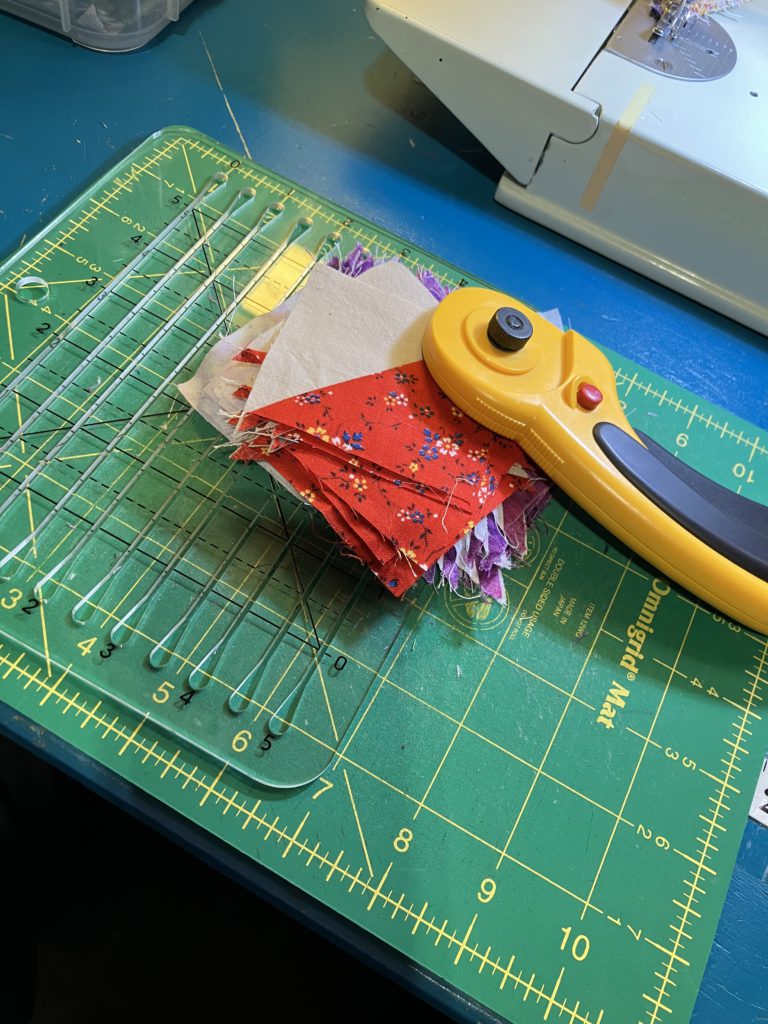
And look what I found! More blocks to trim! Yeah!

Here is the cutting chart with various sizes:

These are the base blocks for next week…shocker…more bonus half square triangles.

See you next week for more blocks!

Later,

Lorrie