These pictures were taken at the Northern Shenandoah Valley quilt show held in Berryville, VA on April 13, 2024. My friends and I had a great time. I saw many, many beautiful quilts. It was well worth the $10 admission fee. This year’s theme was “My Favorite Color is Plaid”.
I only took a few pictures as I traveled along. Let me tell you why I took each picture…
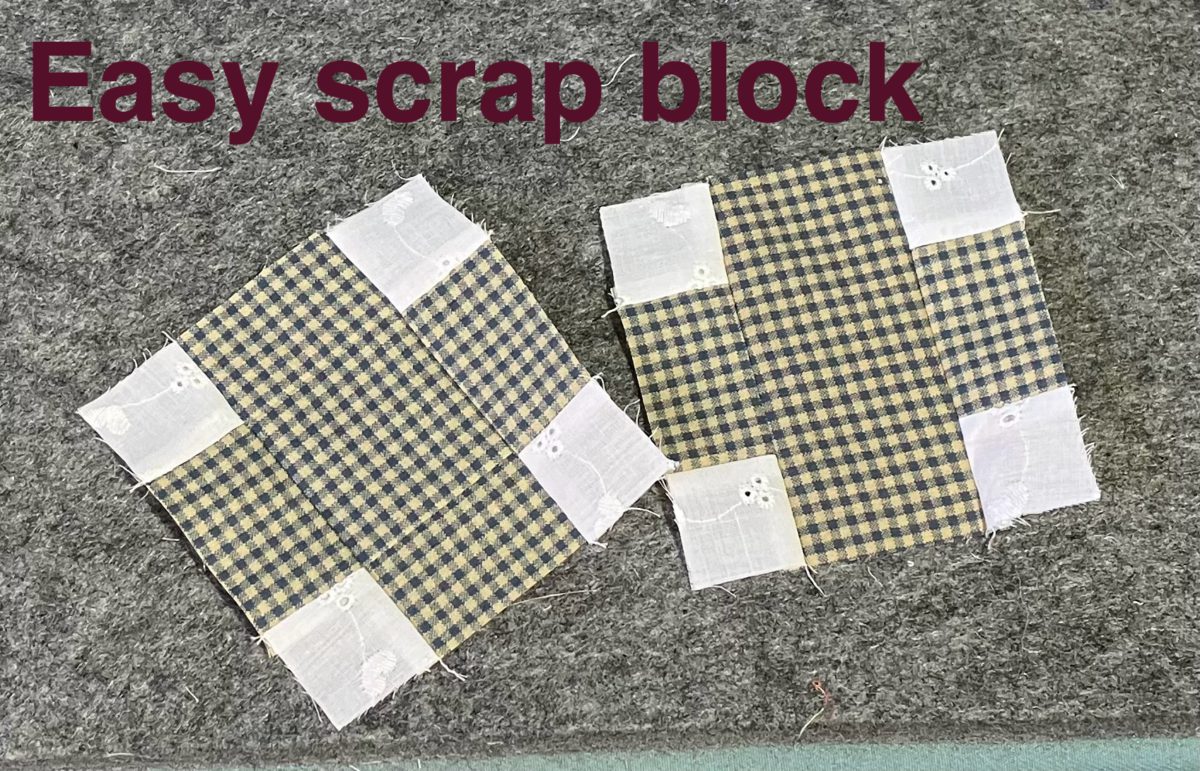
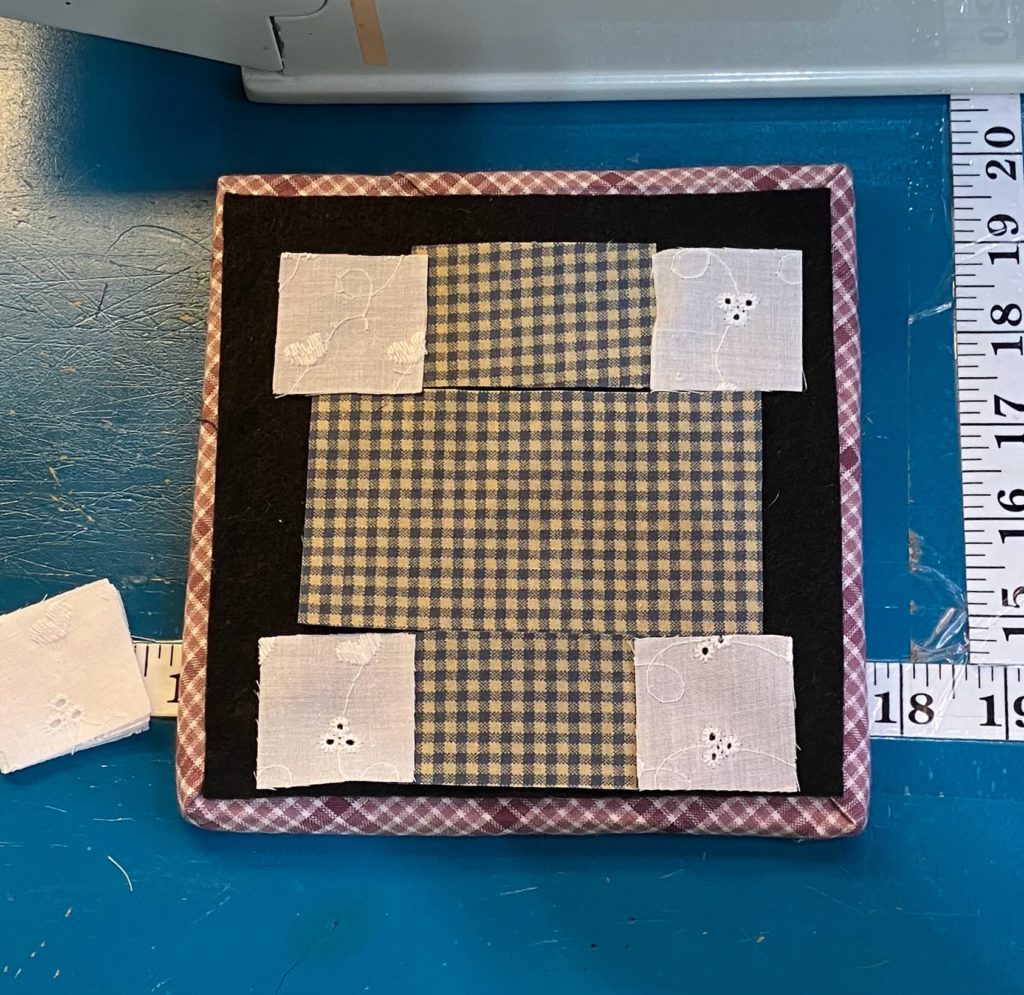
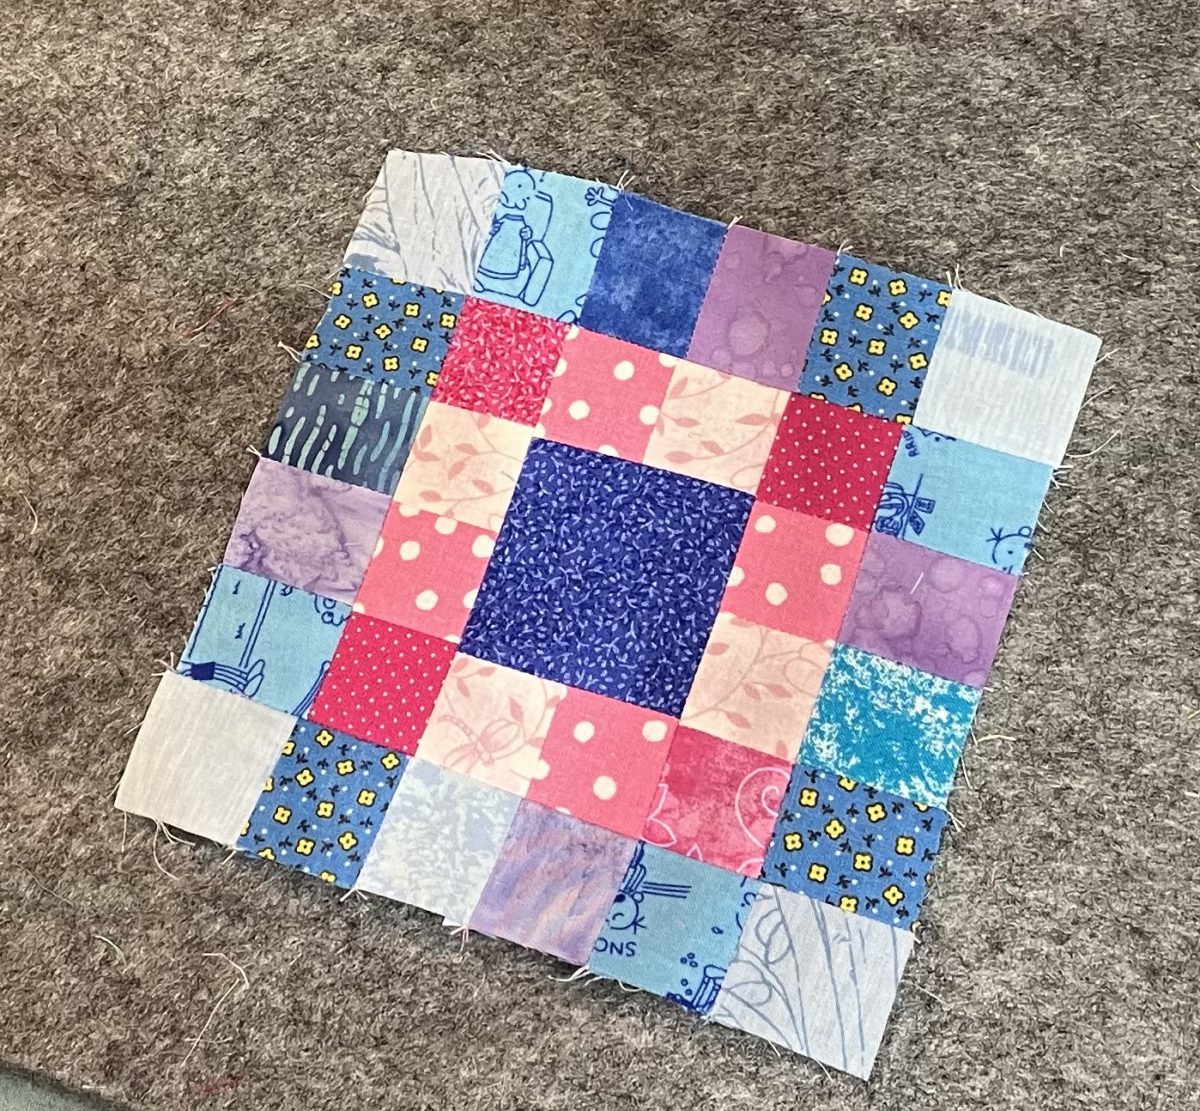
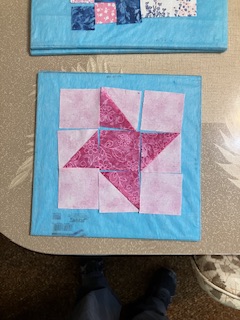
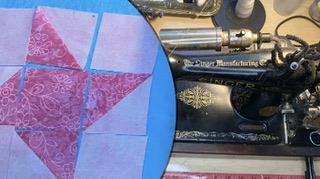
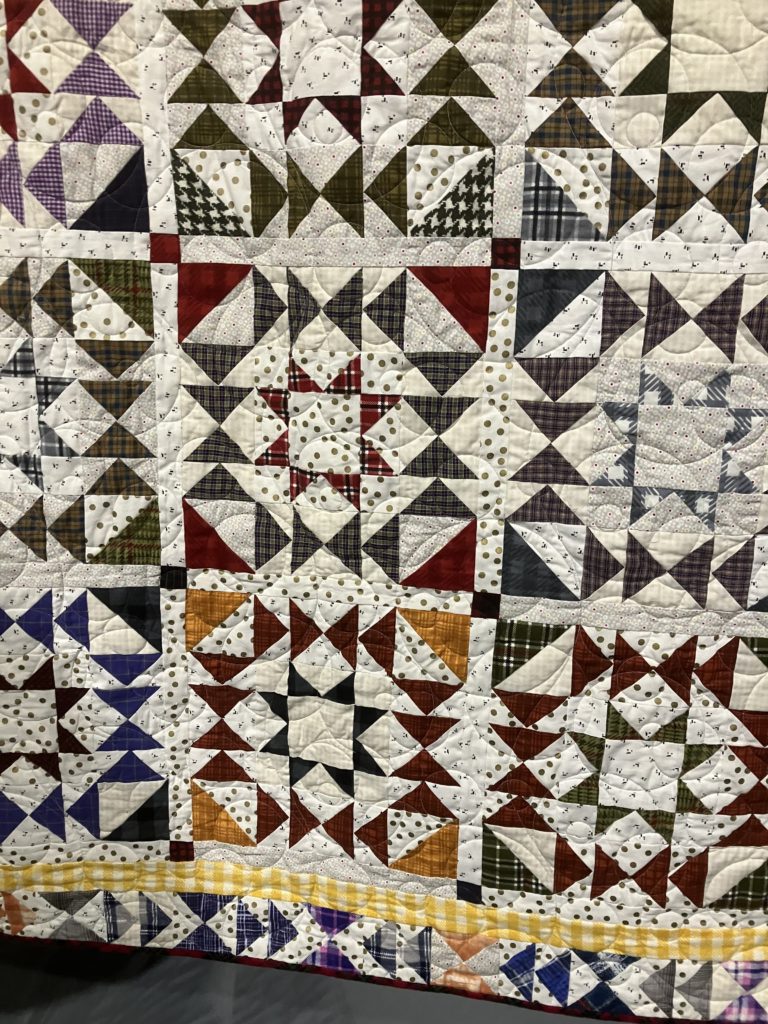
I love the main star block in this quilt…scrappy…easy to assemble with “standard” parts…probably 16″ squares with sashing and cornerstones. Beautiful!
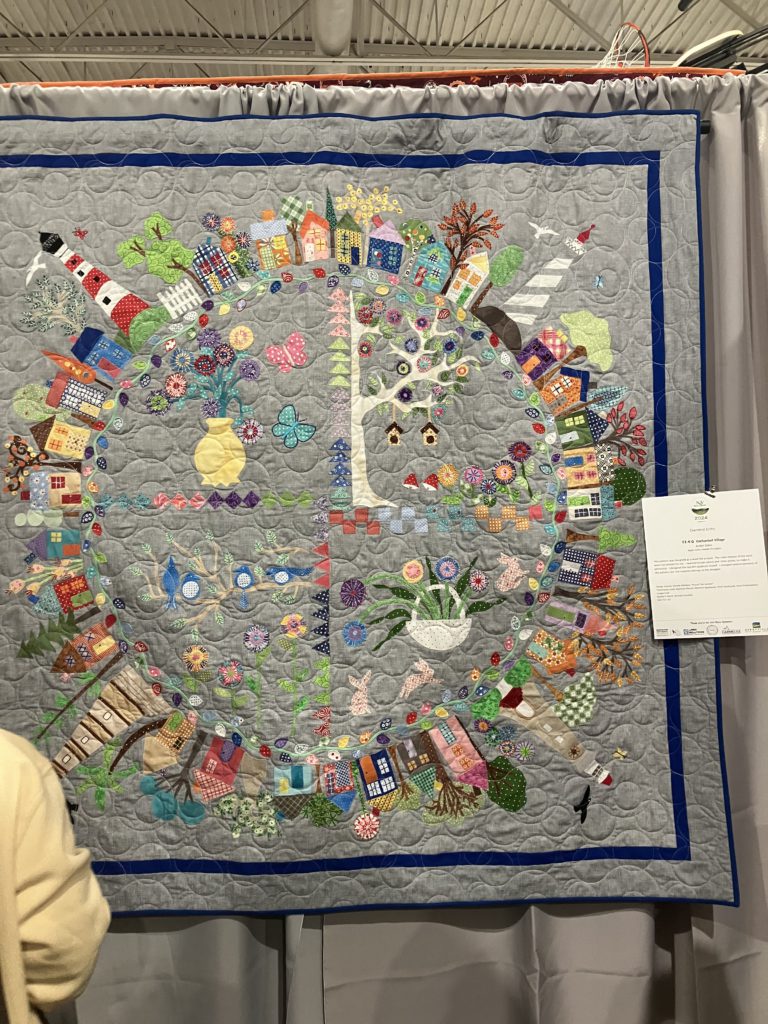
The blue jars for these flowers remind me of the Estee Lauder perfume that my grandmother wore…because of the color. The flowers are a simple with sew and flip corners on the piecing. One would be a great wall hanging.
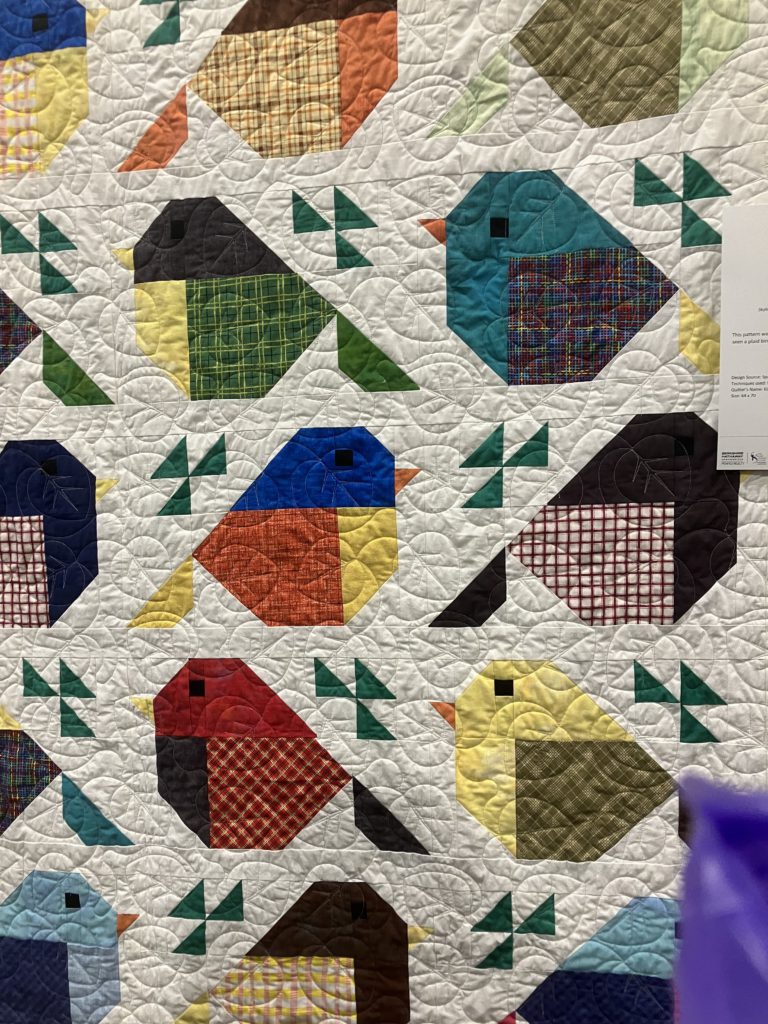
Adorable little fat winter birds…do you see the beak of the one that does not line up with the slope of the forehead? I did not notice, but my friend did! I actually like it that way even better.
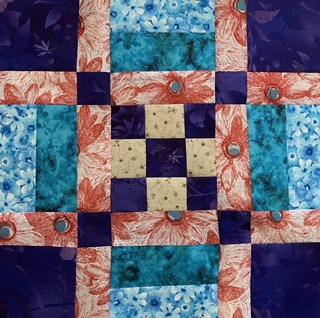
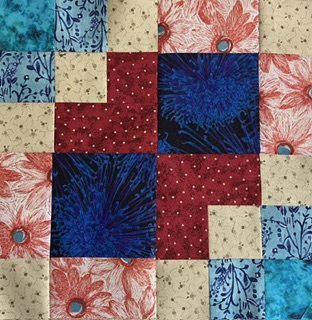
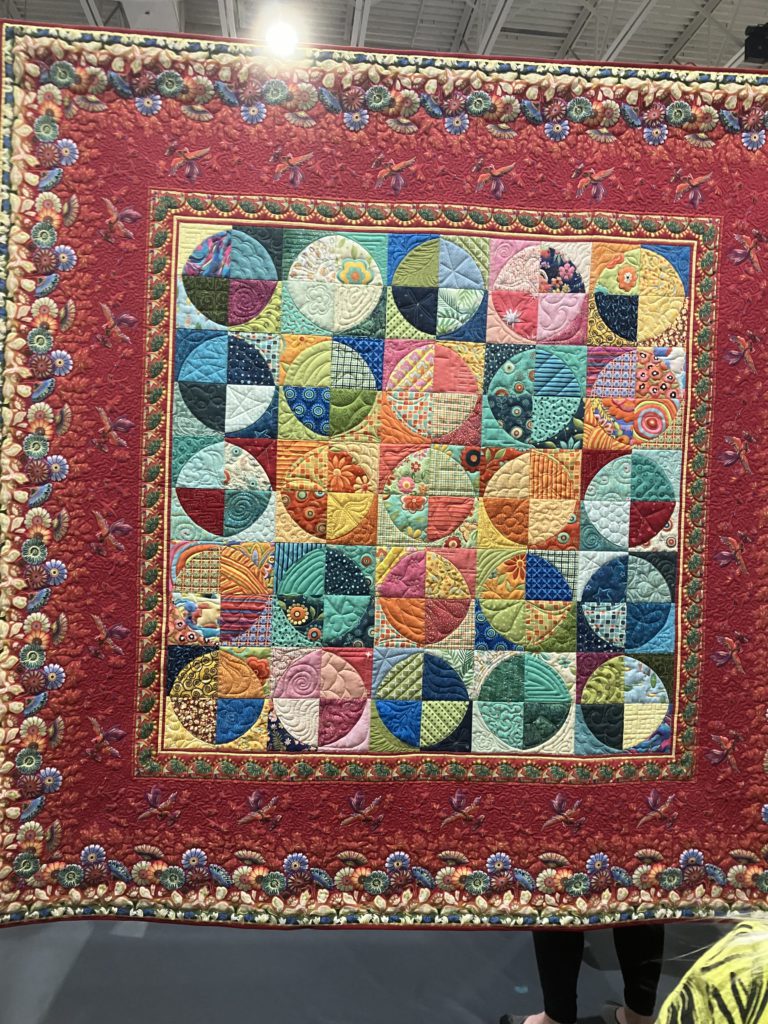
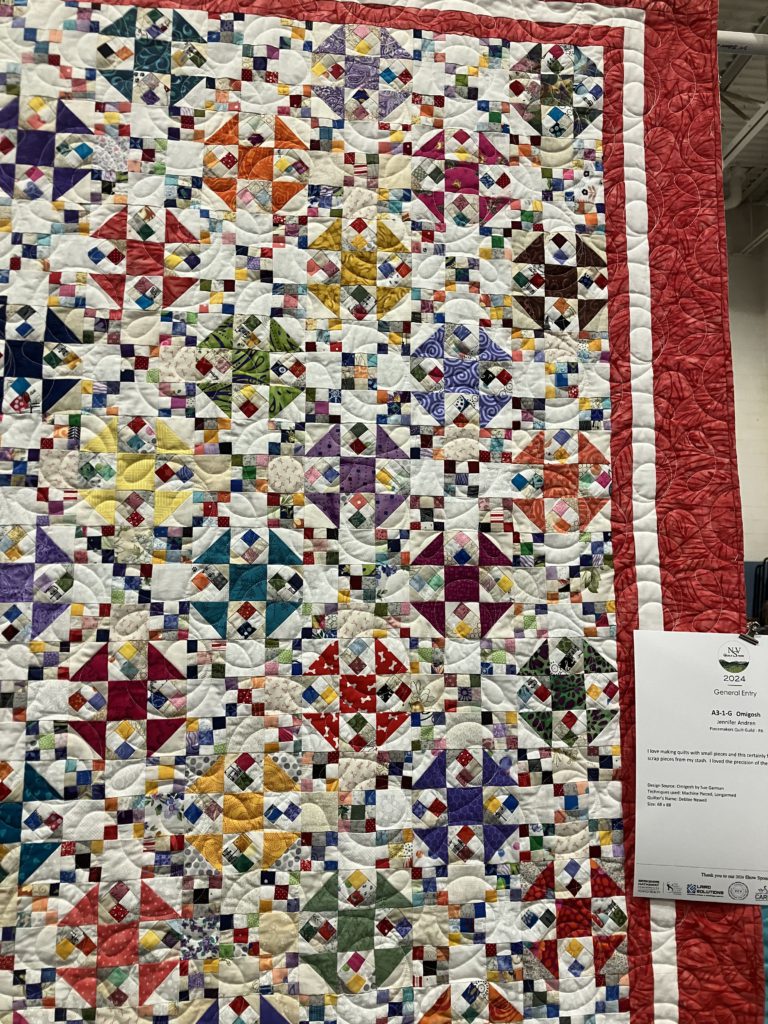
The border on this quilt sucks you right in. Then you start to notice details. This was a scrap quilt. Every colored piece in the center is different…and even brighter than they appear here. Each quarter circle is custom quilted. This quilt was a “for sale” quilt.
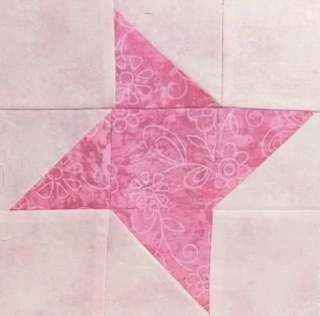
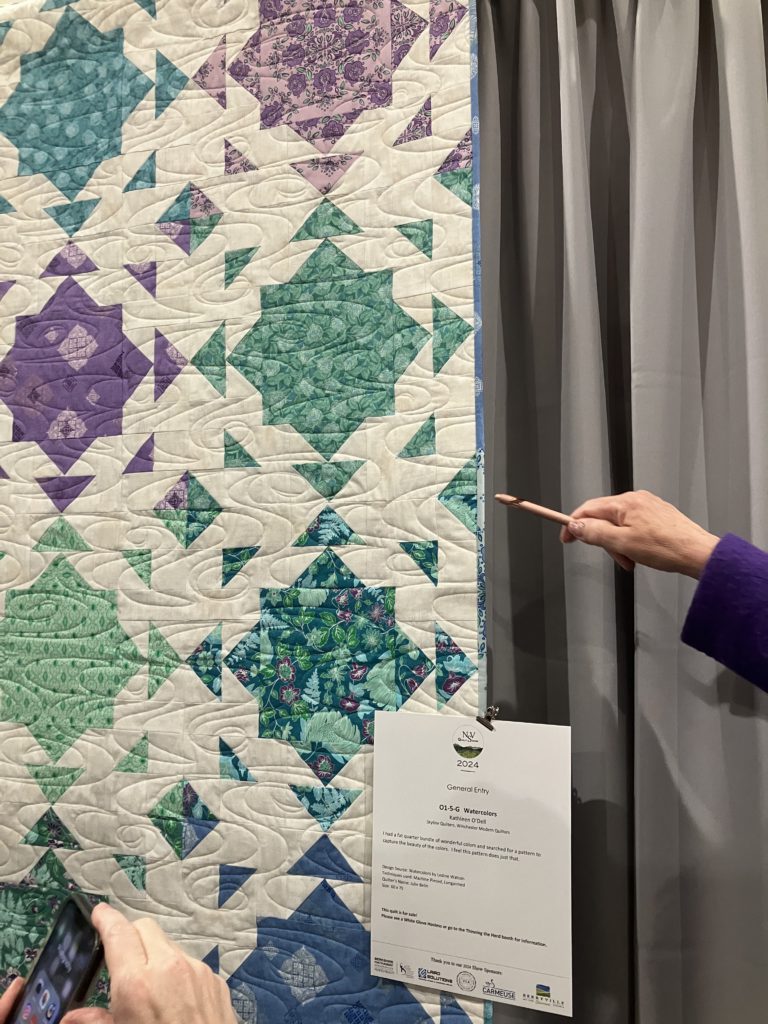
I love the colors on this quilt… a classic combination. The floating nature of the block makes me smile. There is also the secondary design element where the blocks meet. Nice quilting, too.
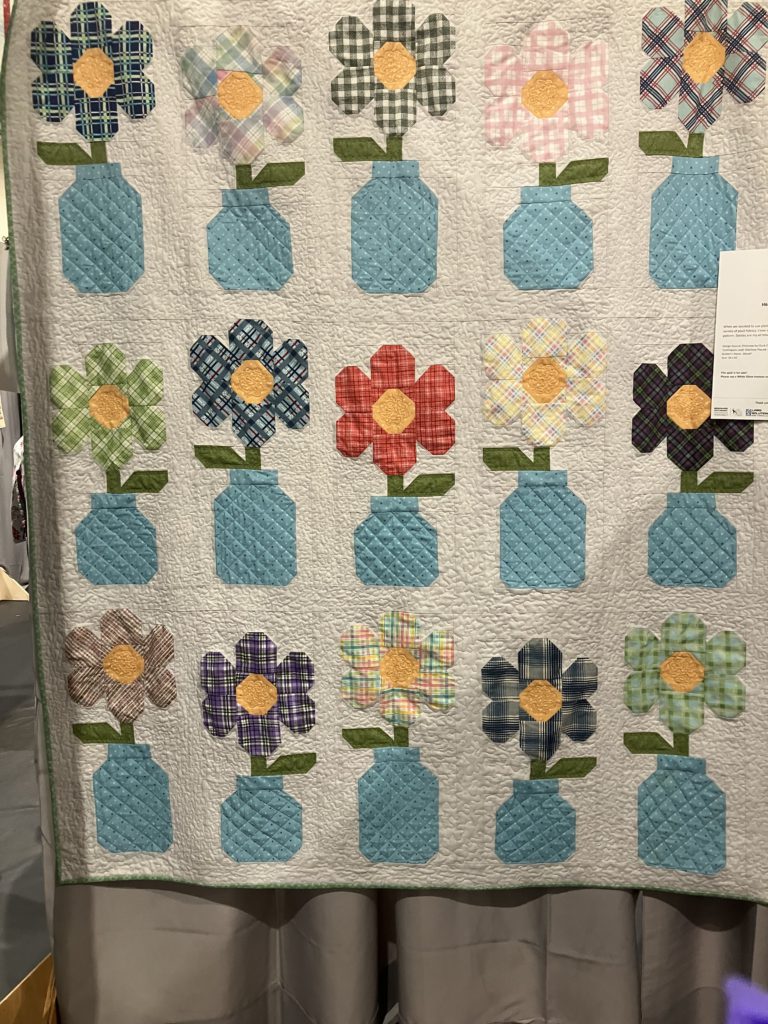
The nine patch blocks have 1 1/2″ squares…I love this setting with alternate applique blocks. Every applique block was unique. Sometimes setting makes thee quilt.

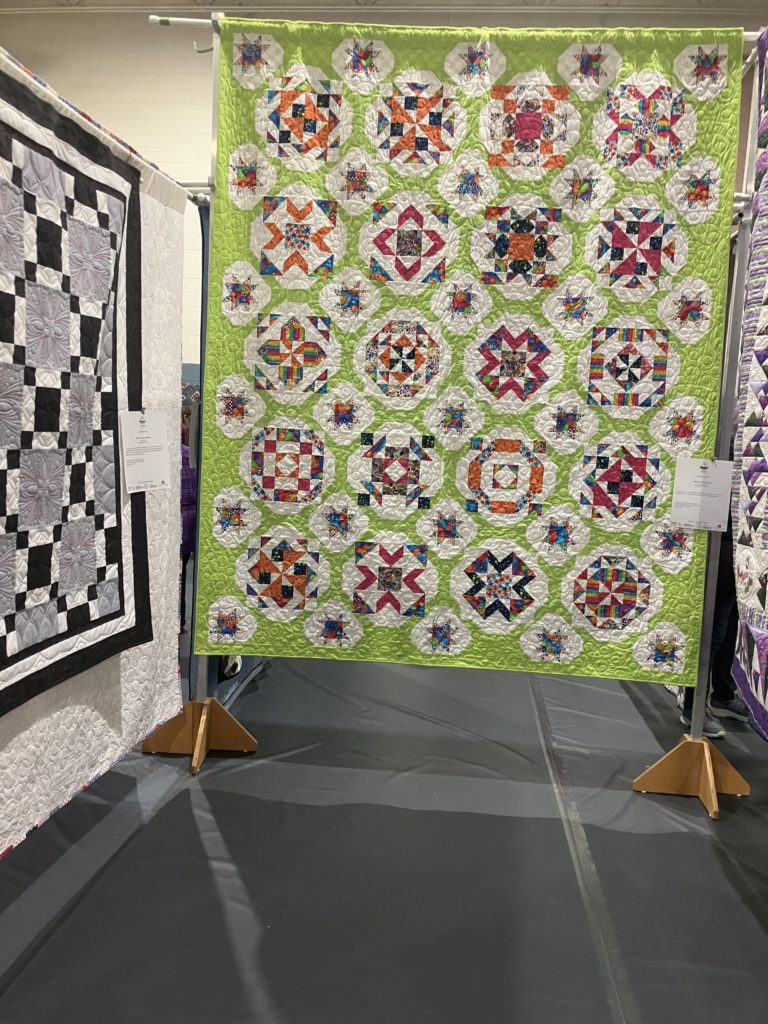
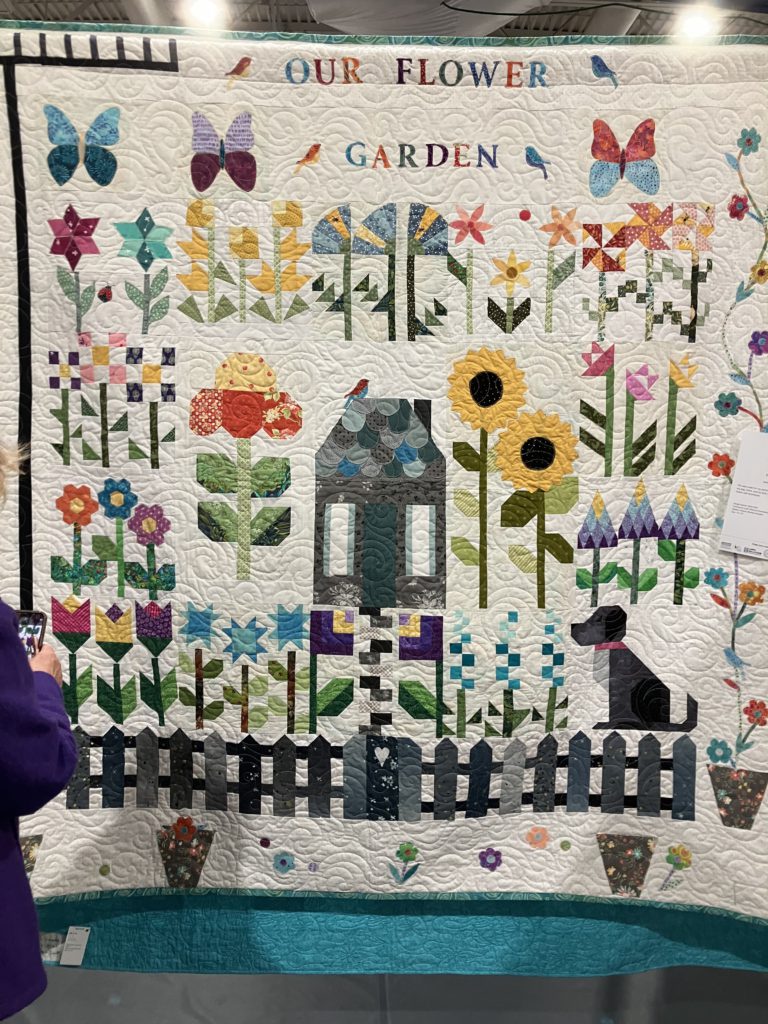
The sashing in this quilt made the setting seem like an impossibe piecing feat! (The sashing is a “dog bone” looking piece with a small star as a corner stone!) I love the choice of spring green and bright colors for this beautiful sampler.
I love mandalas! This quilt is available in a pattern book…a very detailed book. This would be a great idea to make a personal story quilt! There is so much to love about this quilt…birds, flowers, trees, lighthouses…and quirky little houses, too.
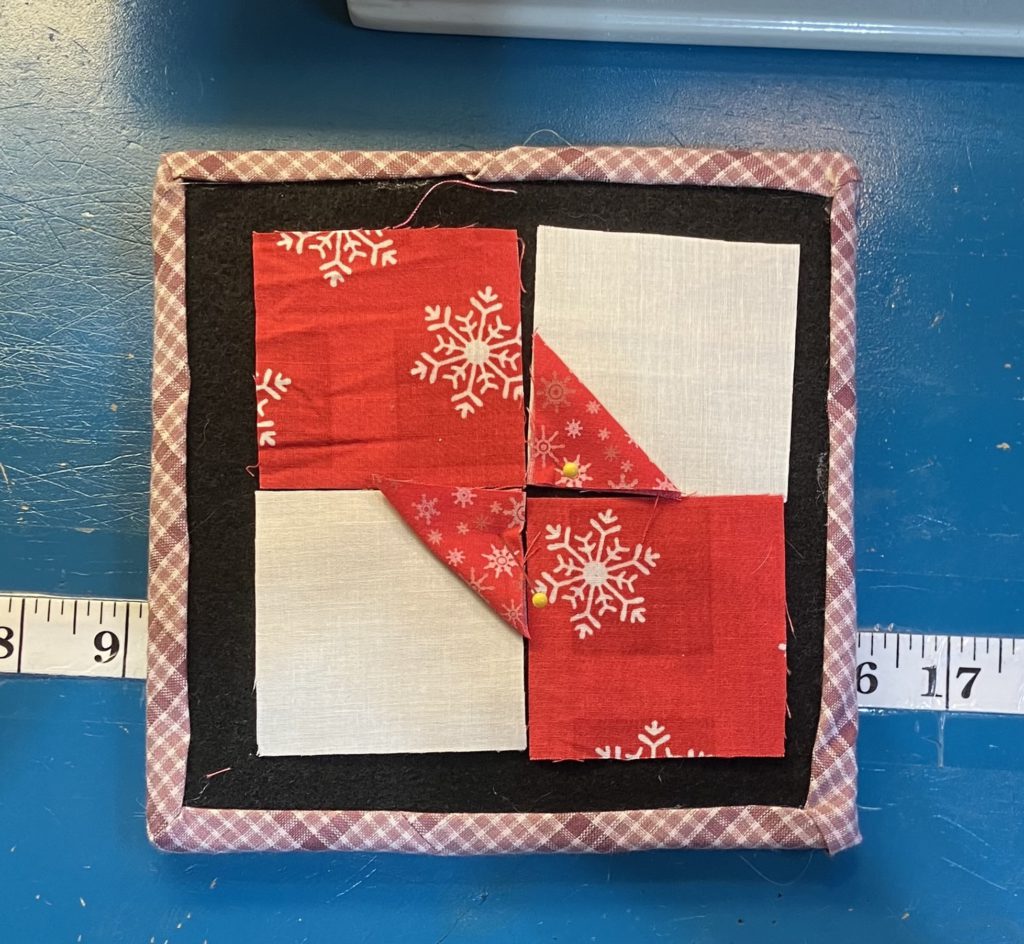
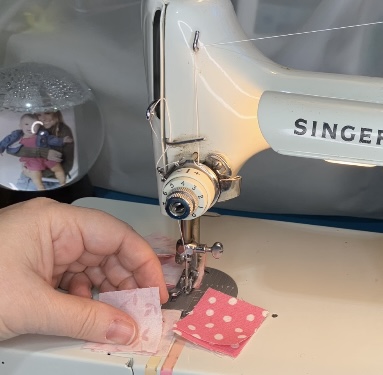
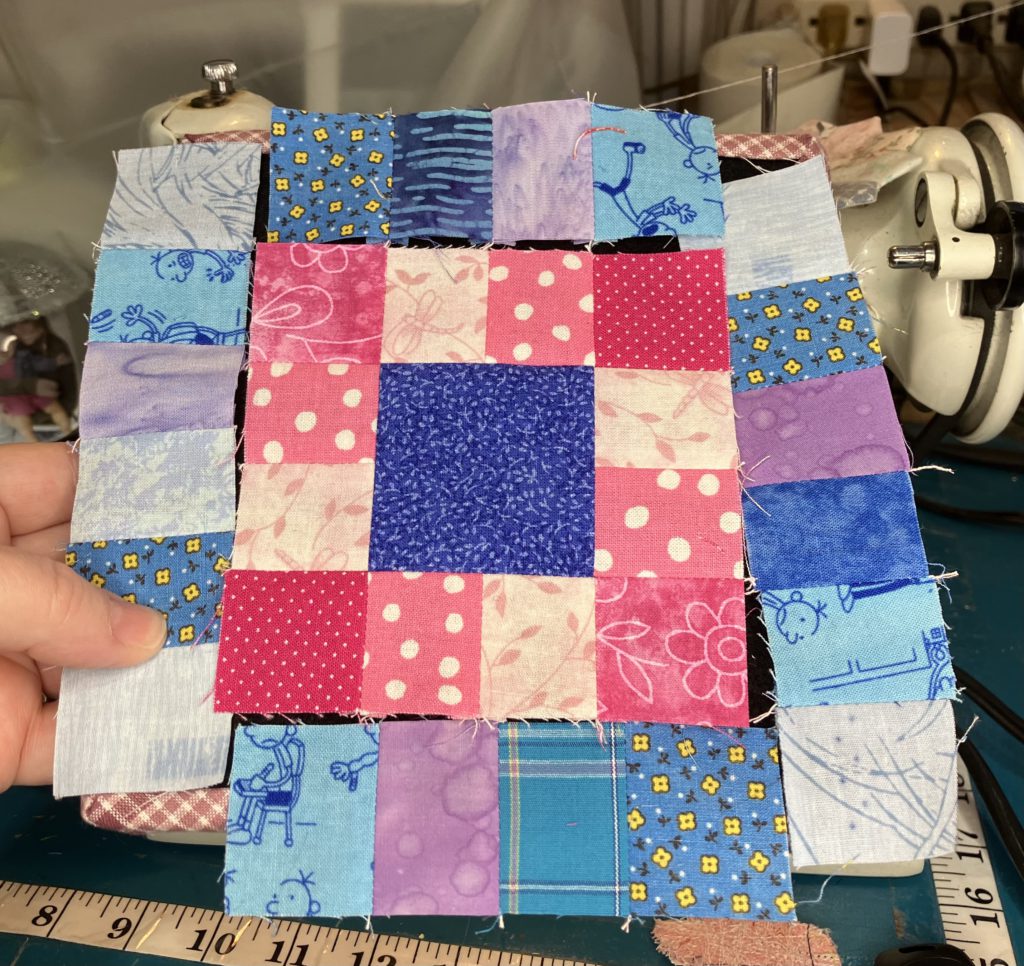
For the record, I am not touching this quilt. It was made up of 3 inch blocks…there were 180 blocks. The quilter made this block during Covid to help get through the isolation of quarantine. My finger is there for size reference. I love those itty bitty pieces!

This story quilt was simply pieced, but those simple blocks add up to a big wow factor. There are pieced and appliqued blocks. Something for every skill level in this beauty! This would be a great scrap buster!
This quilt is the ultimate scrap buster. I think that the churn dash blocks are 6 inches. The more you look, the more your eye travels around the quilt to another fabric color choice. This would be a great leader-ender project.
This is the end of my mini quilt show. I enjoyed looking at all of the beautifully presented quilts on display. Great job by the sponsoring quilt guilds! (I think this is a yearly event. I am looking forward to next year’s show!)
I hope you enjoyed my quilt picks…and my logic for taking these few pictures. Please remember, if you would like to comment, return to my YouTube video and comment there.
Enjoy your day! Happy quilting!
Later,
Lorrie