Categories
Build a block quilting scraps sewing

Build a Block: Bow Tie

Happy New Year!

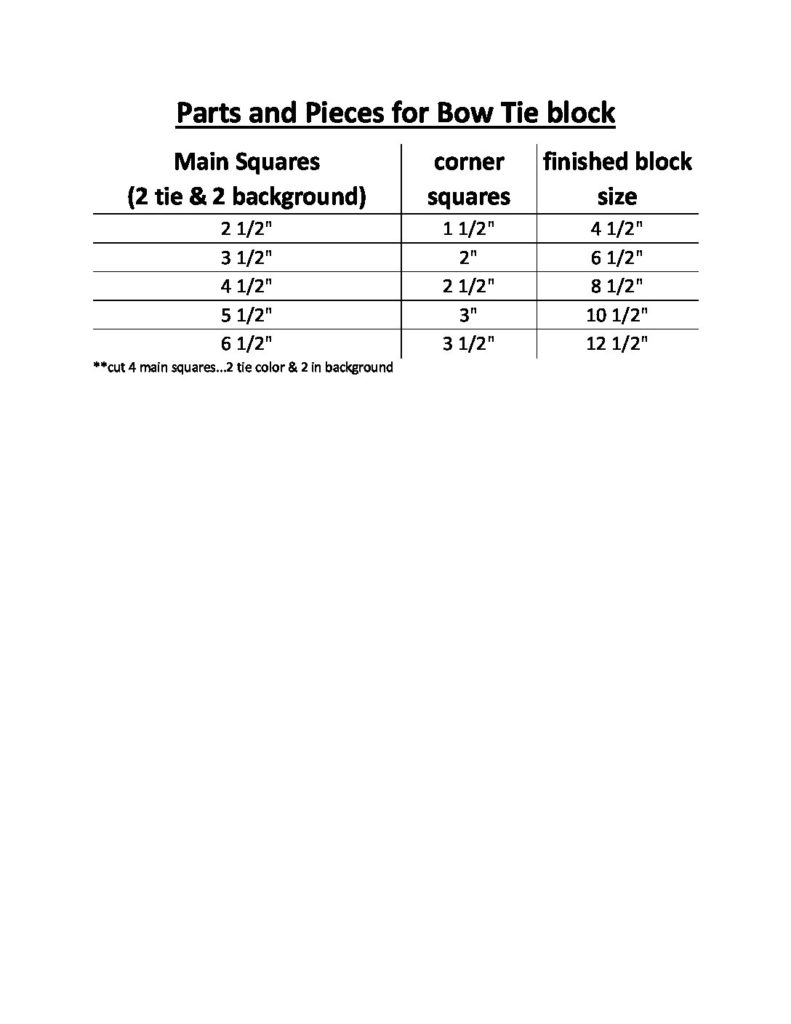
Welcome to the New Year: 2024! Here is my first build a block for the year. I am keeping it simple for starters! This block goes together quickly. It wins the race for fastest block in this series so far. Watch the short assembly video here on YouTube. There is a chart at the end if you would like to make this block in other sizes.

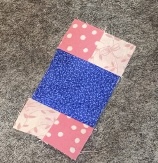
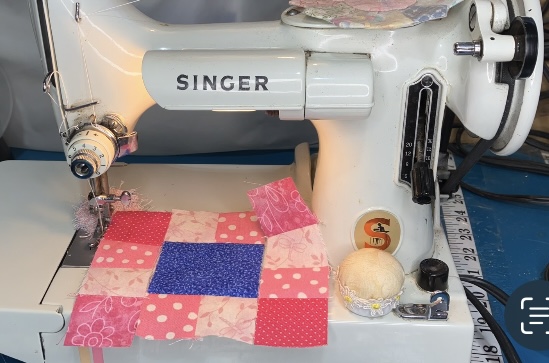
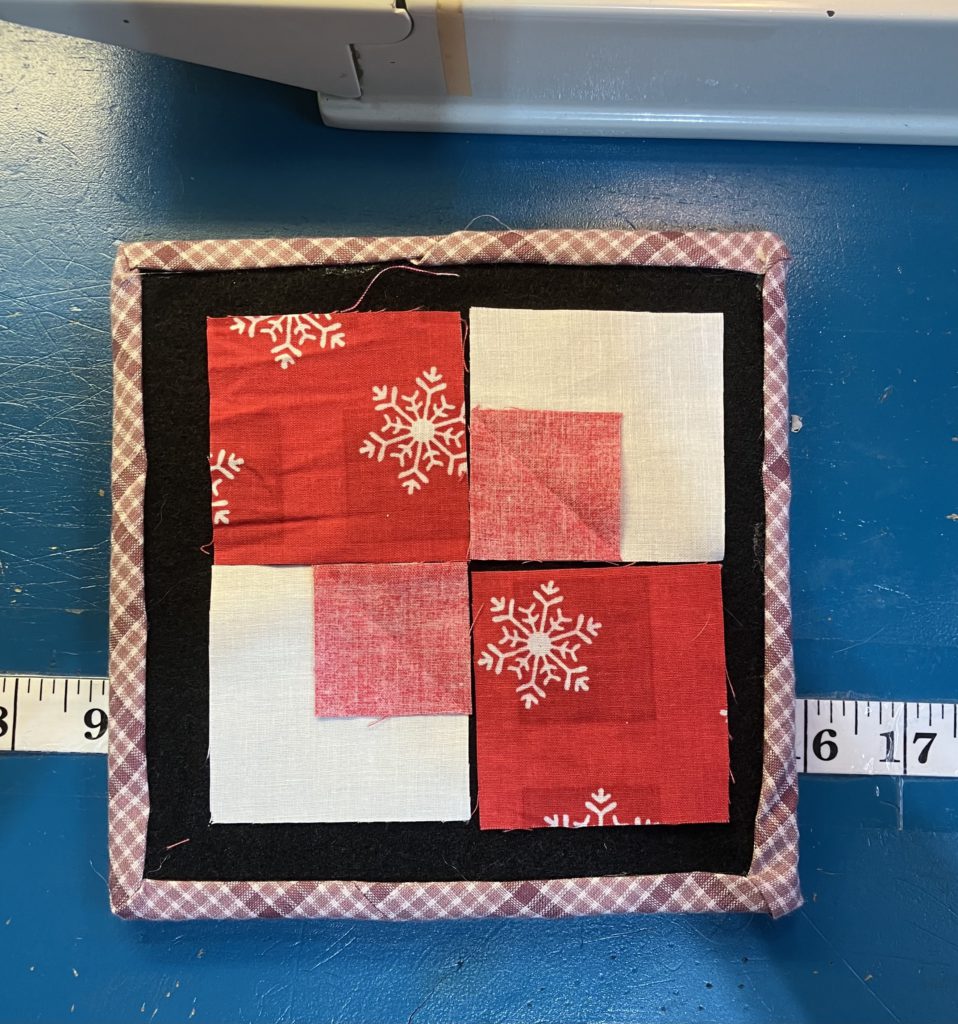
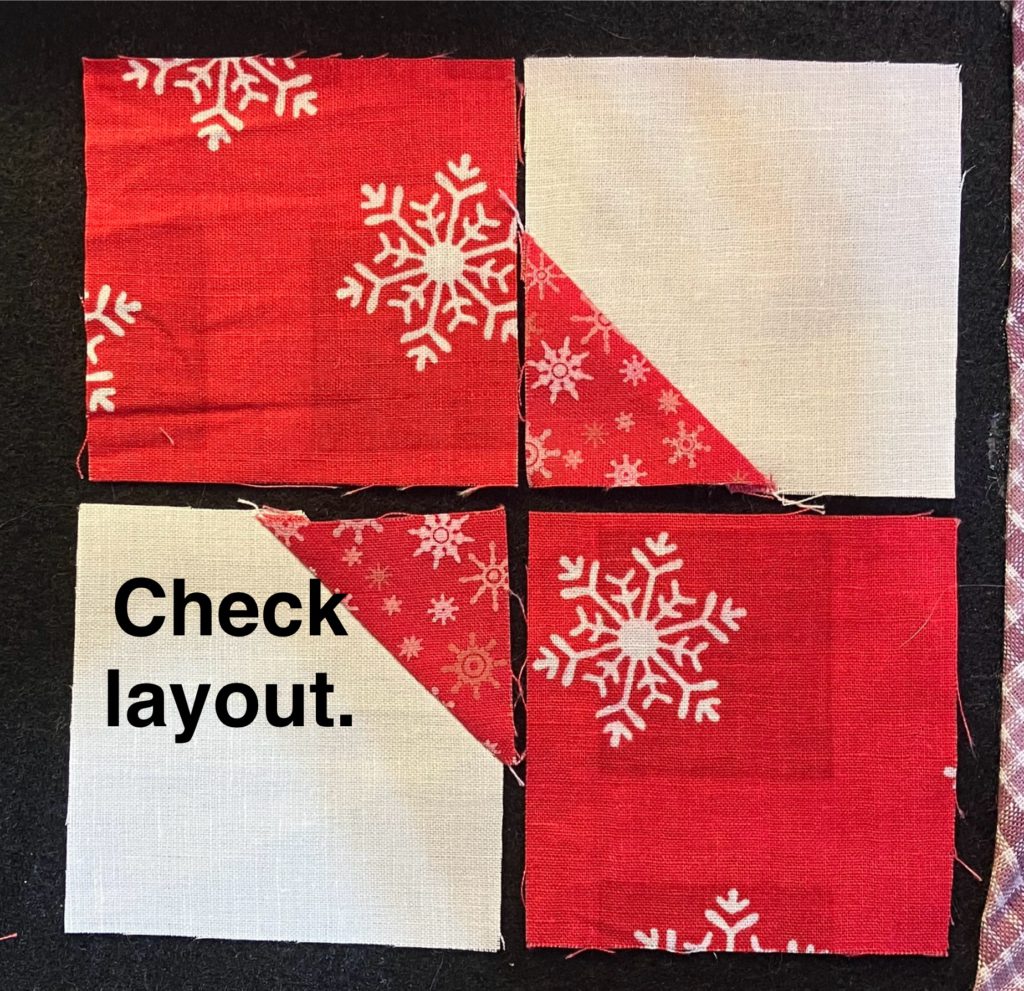
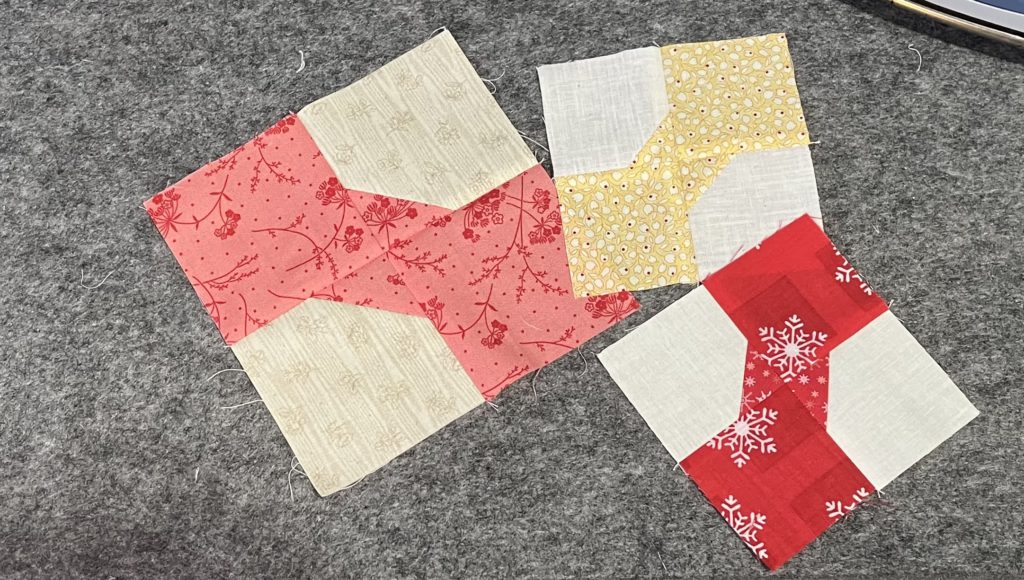
My favorite block size seems to be 4 1/2″ at the moment. That is the finished size of the block below. It is made from four 2 1/2″ squares (two bow tie color and two background) and two 1 1/2″ squares for the corners. Notice that I folded the triangles and pinned them to take the picture for this layout.
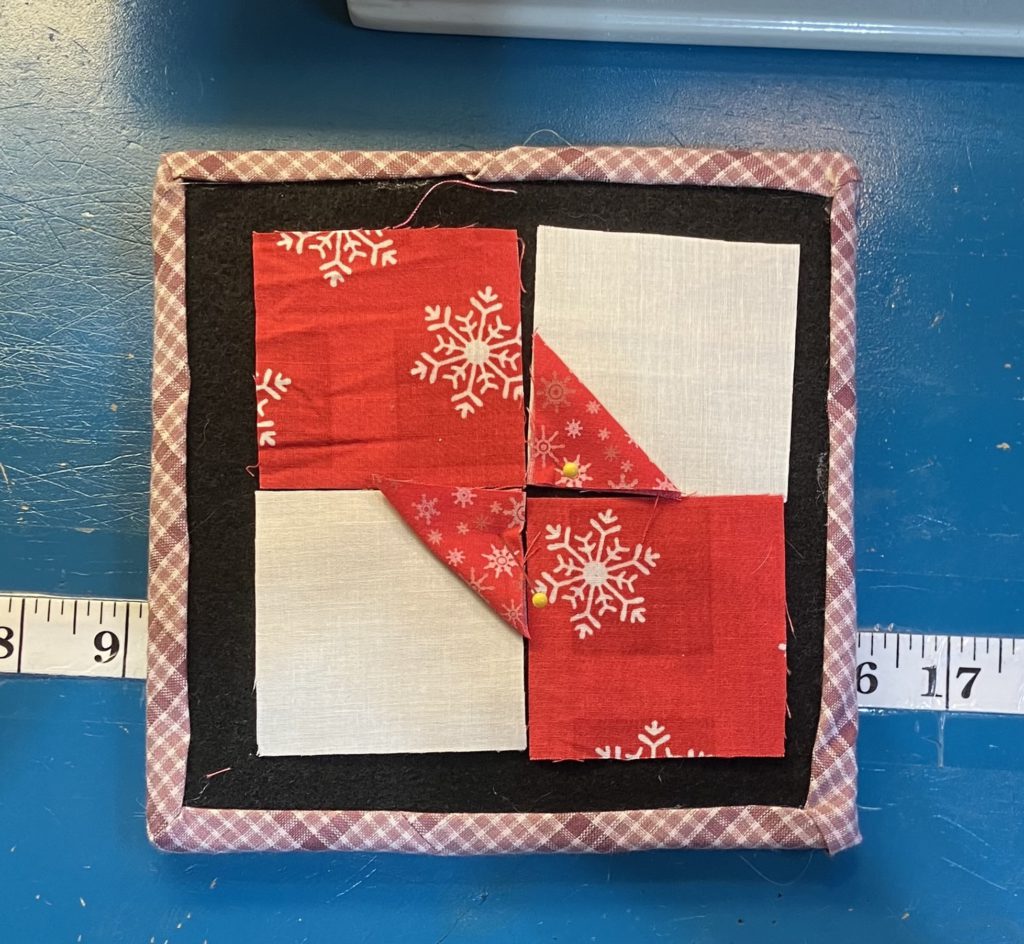
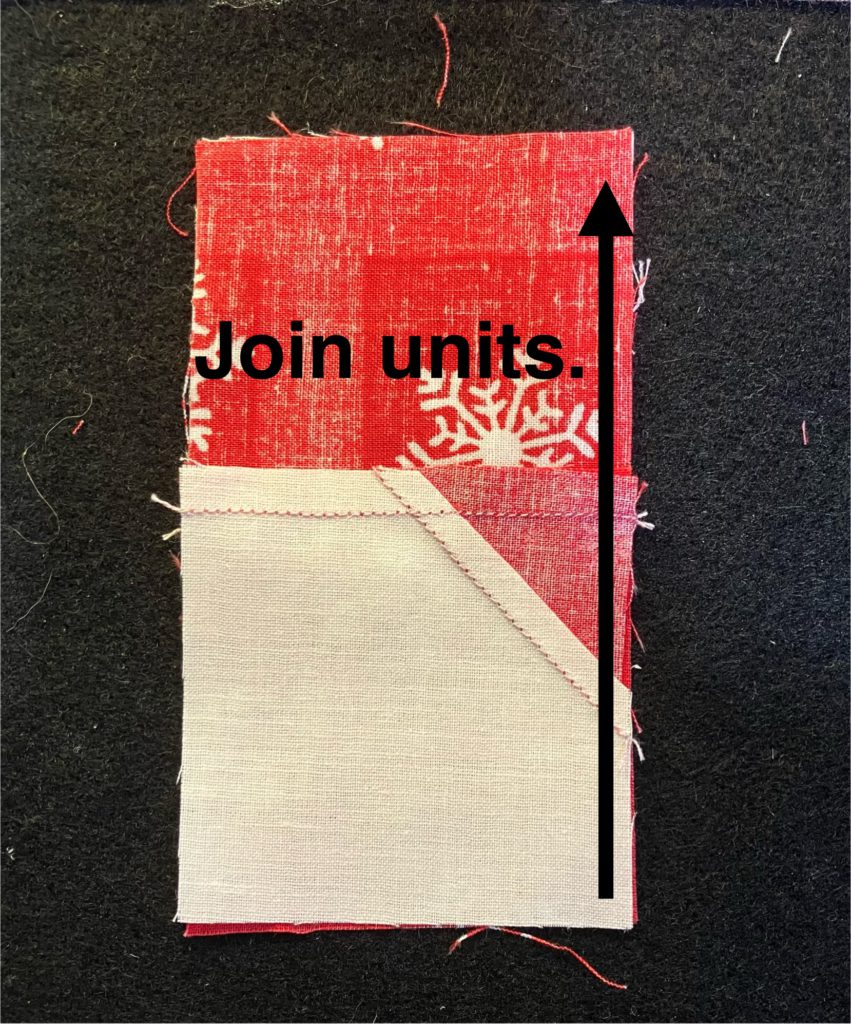
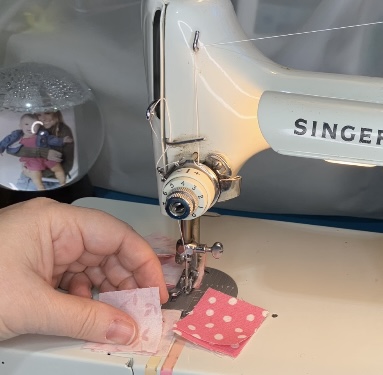
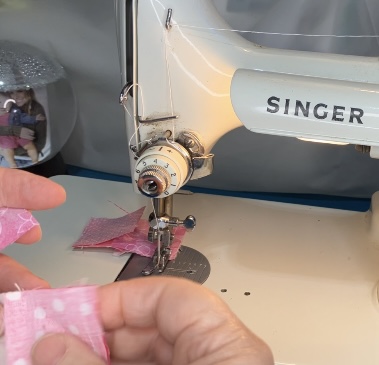
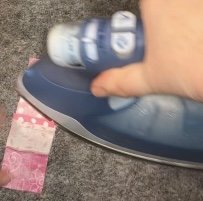
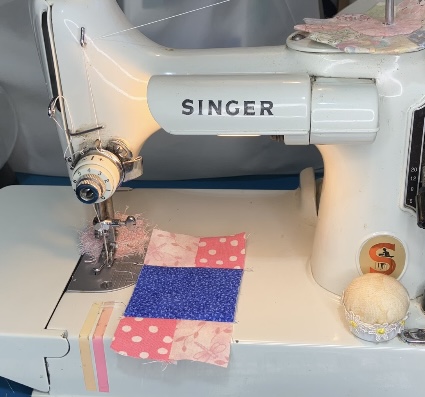
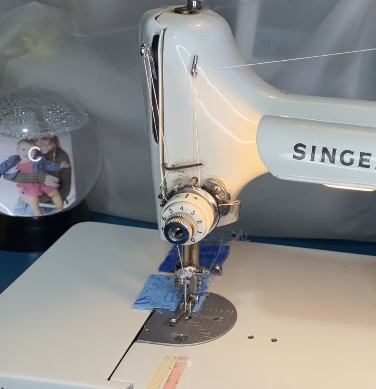
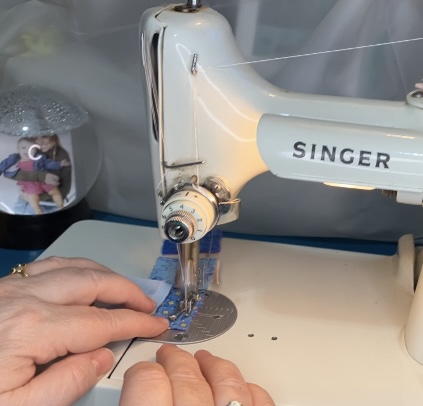
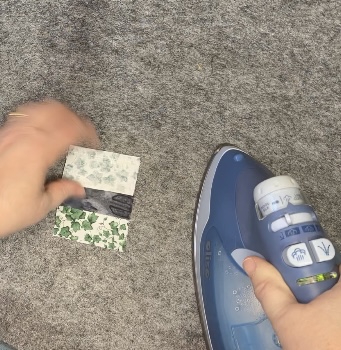
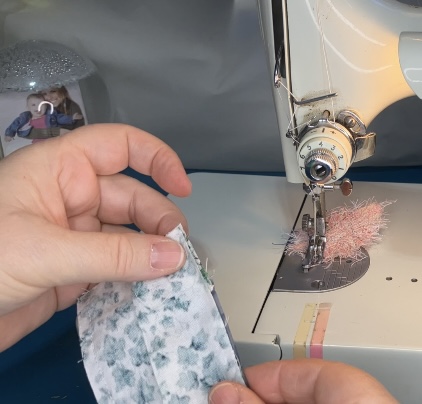
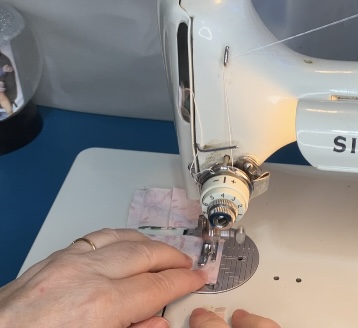
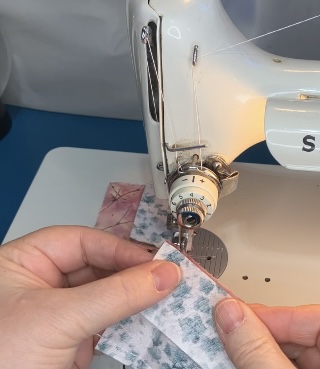
I finger pressed the small squares so I had a sewing line. I also have tape on my machine so I do not have to mark squares under 2 1/2″ when sewing on the diagonal. I am lazy and am willing to freely admit it!
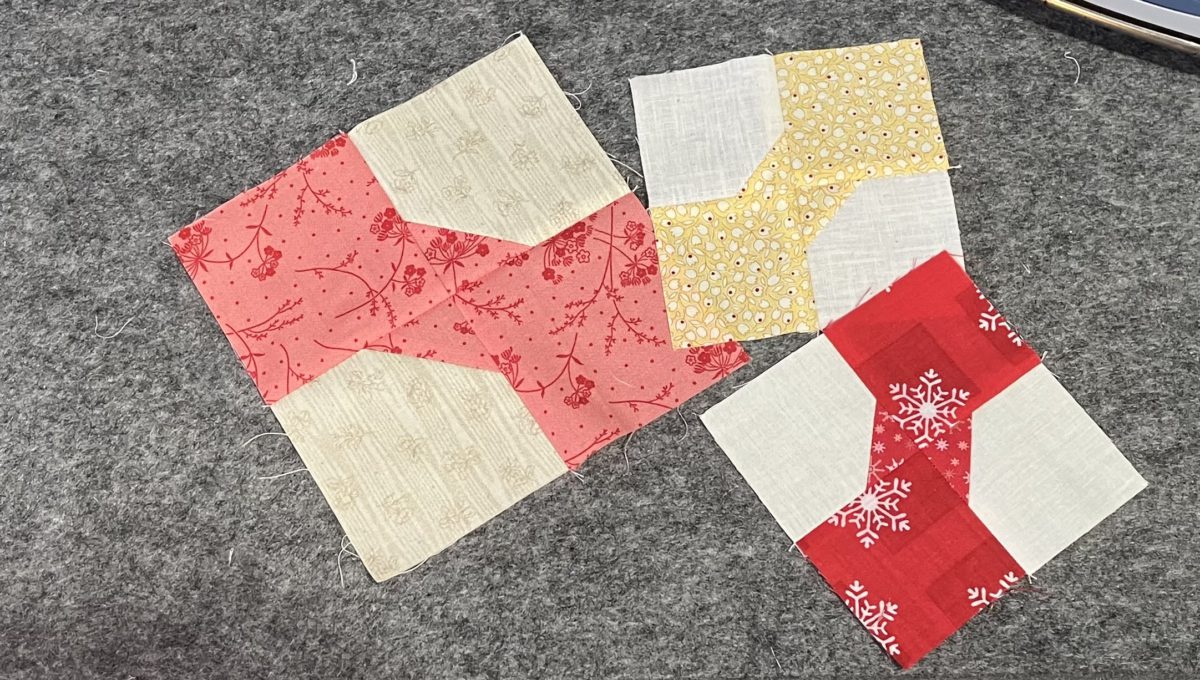
These two blocks are exactly the same. They would be easy to speed piece for a larger quilt.
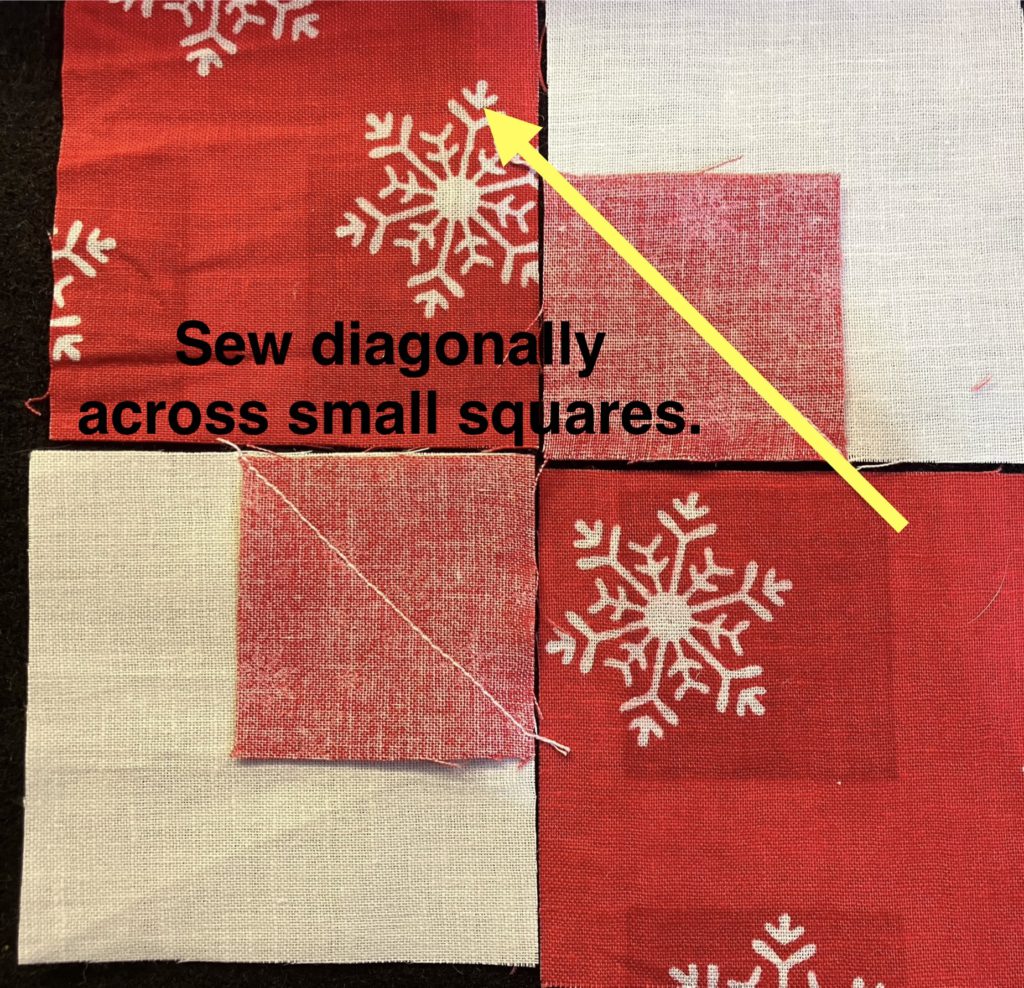
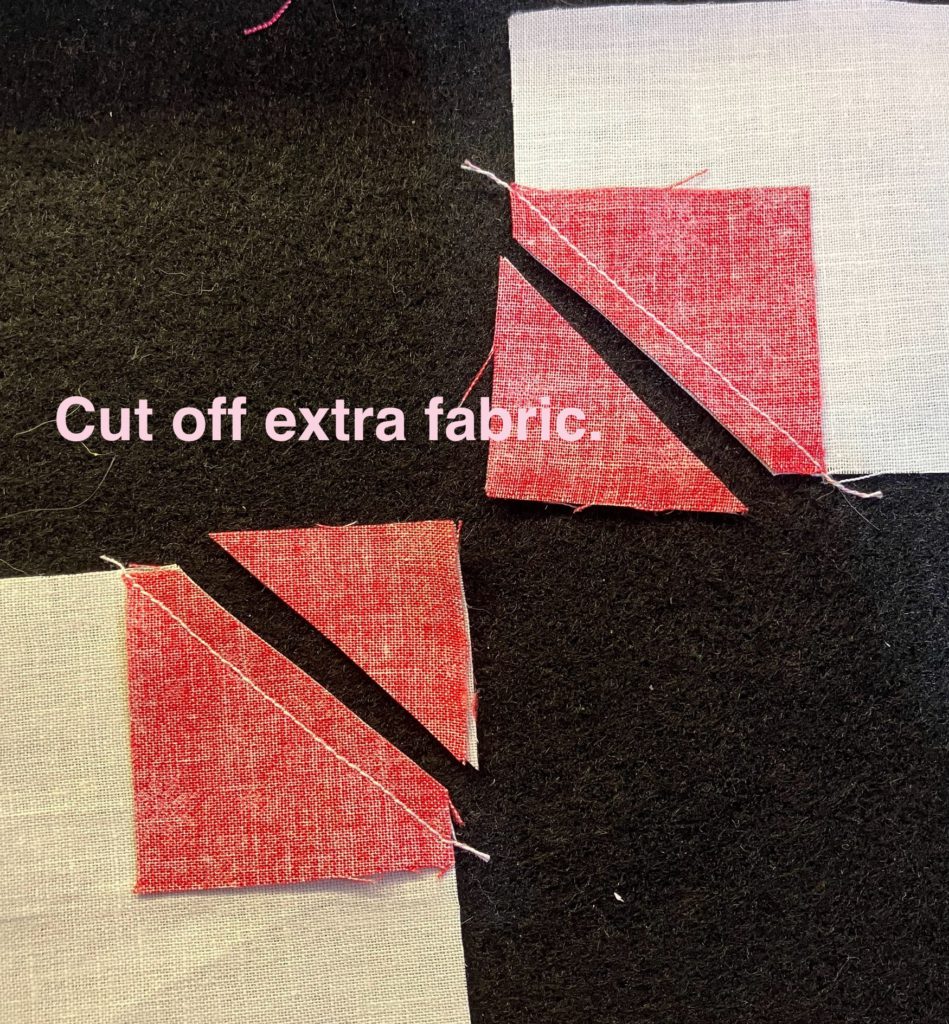
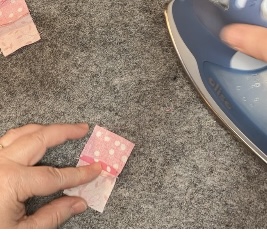
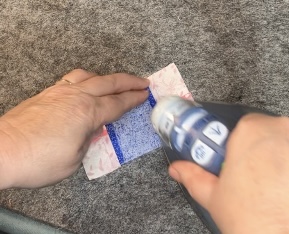
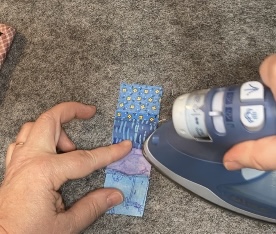
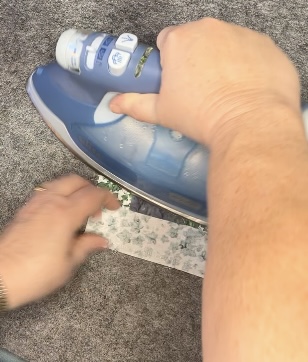
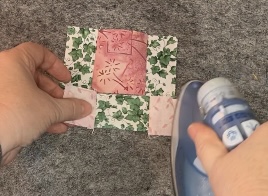
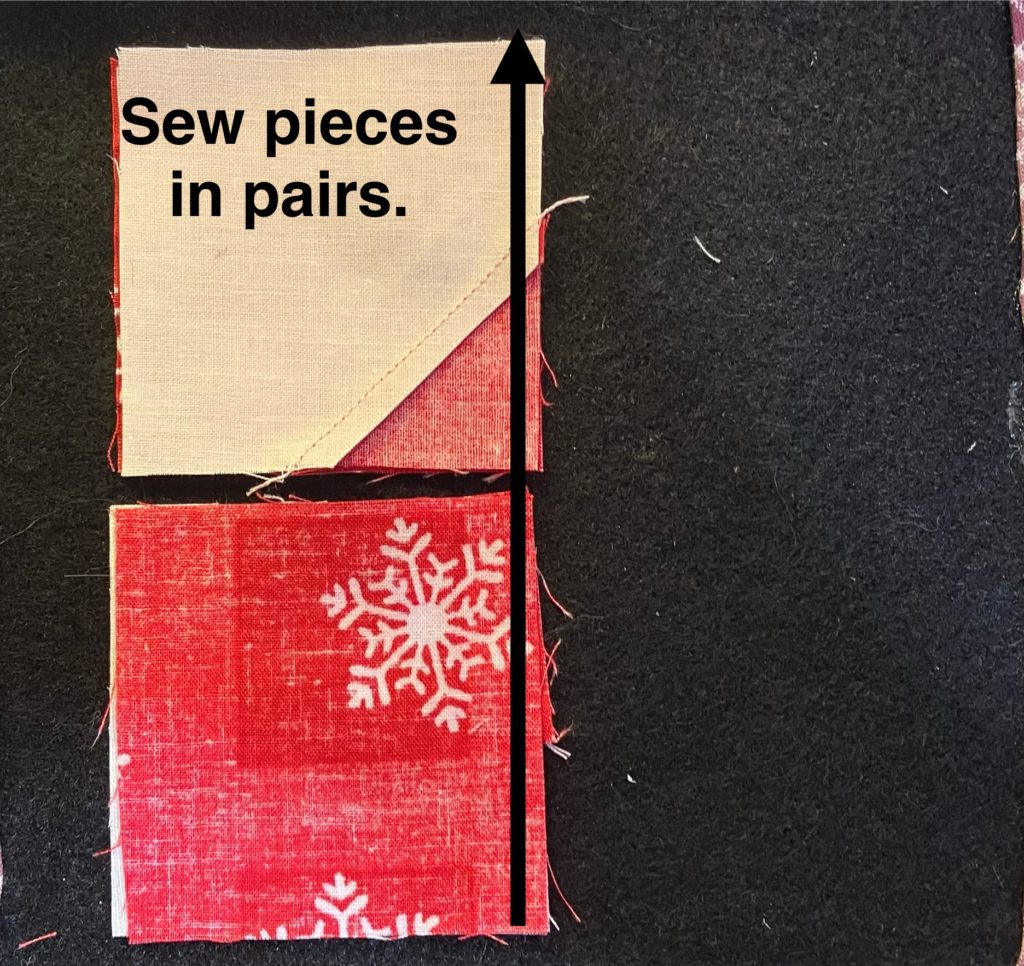
Since the small squares are sewn to a background piece, it is ideal to press towards the small triangle.
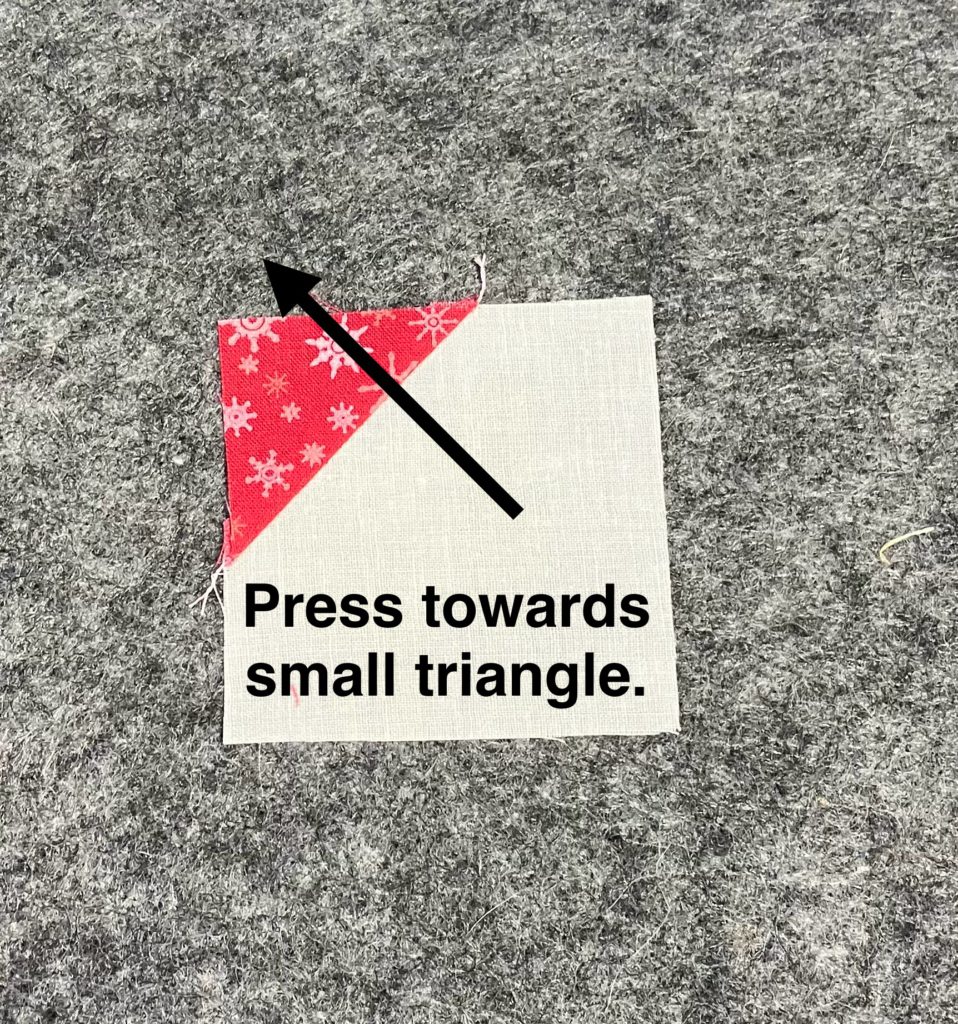
Never hurts to double check, right? We are almost done! Told you this would be quick!
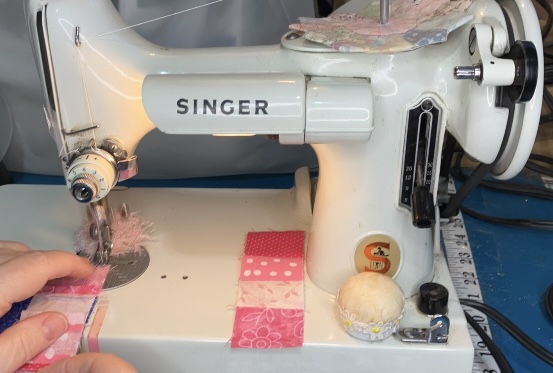
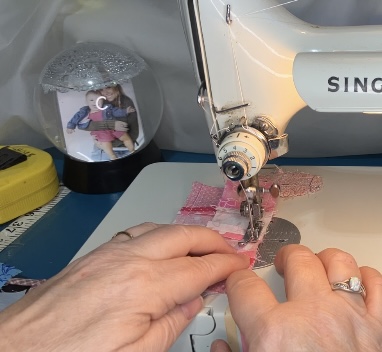
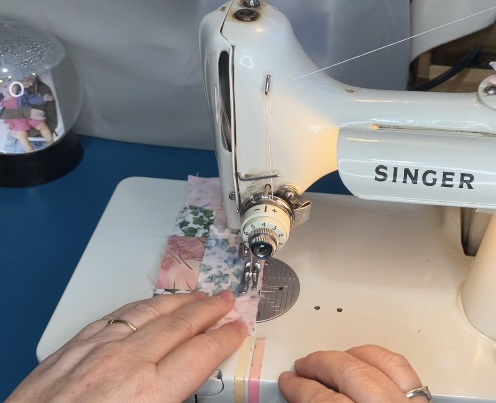
Sew the pieces together in pairs. They are both the same!
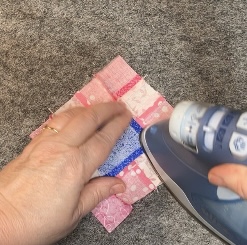
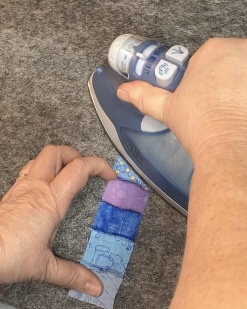
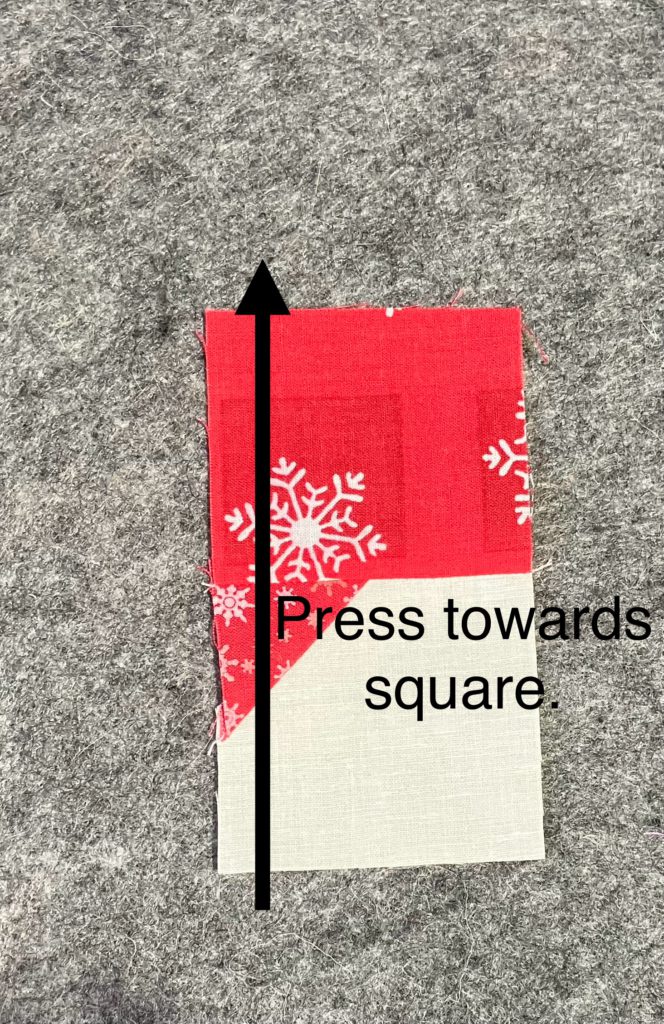
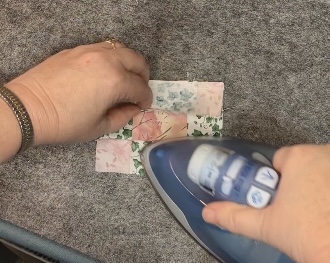
This block naturally wants to be pressed to the tie colored square. The seams will lock together in the next step when pressed this way.
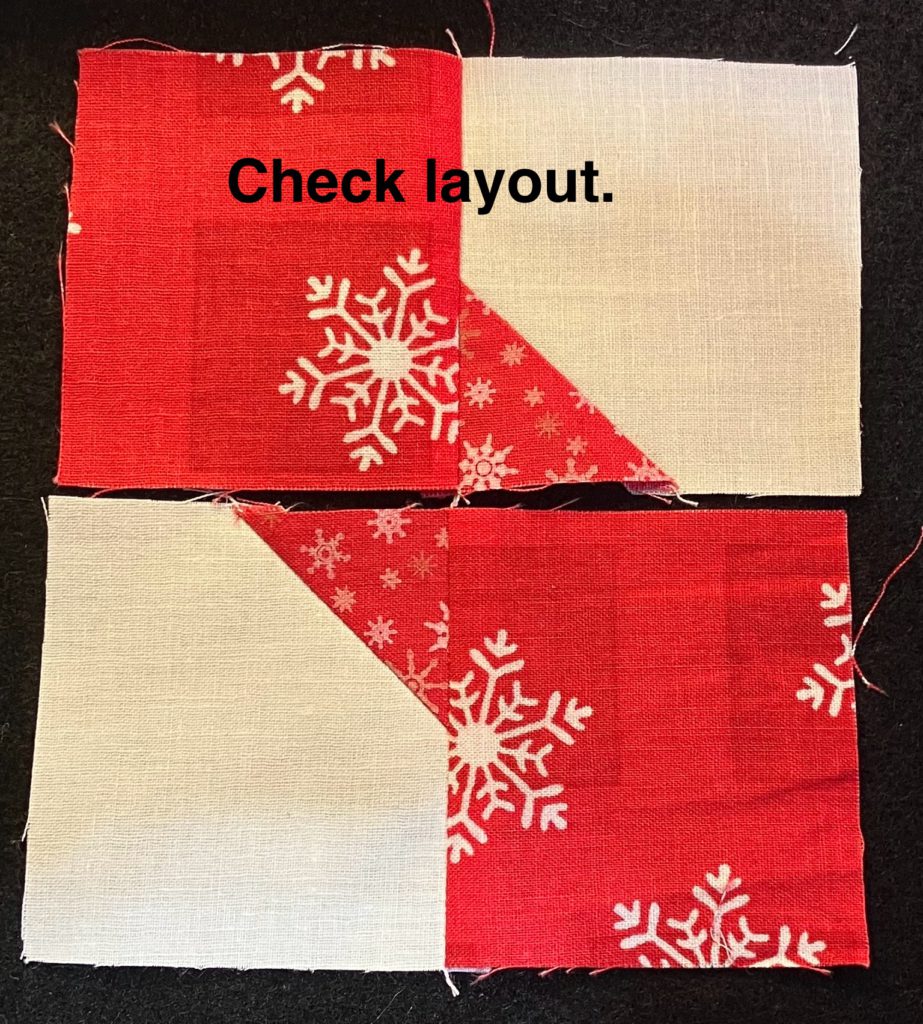
Tah-done! I show this in the 4 1/2″ and 6 1/2″ because I had to make sure the proportions were right for the parts chart at the end of this post.
If you have been watching my YouTube channel, I will show you my husband’s bow tie quilt in the Blabfest Friday video that will be live on January 5th, 2024. It is his “car quilt”. I think every vehicle needs its own quilt…just like it needs a flashlight and a toolbox.

I hope you are using up those scraps to make these easy blocks. Soon, I will have to start assembling yet another sampler scrap quilt from the pile I am accumulating! What do you do with your test blocks? I love hearing from you in the comments! Thank you for stopping by!

Later,

Lorrie
Categories
Build a block quilting scraps sewing

Build a Block: Square Surrounded & Again

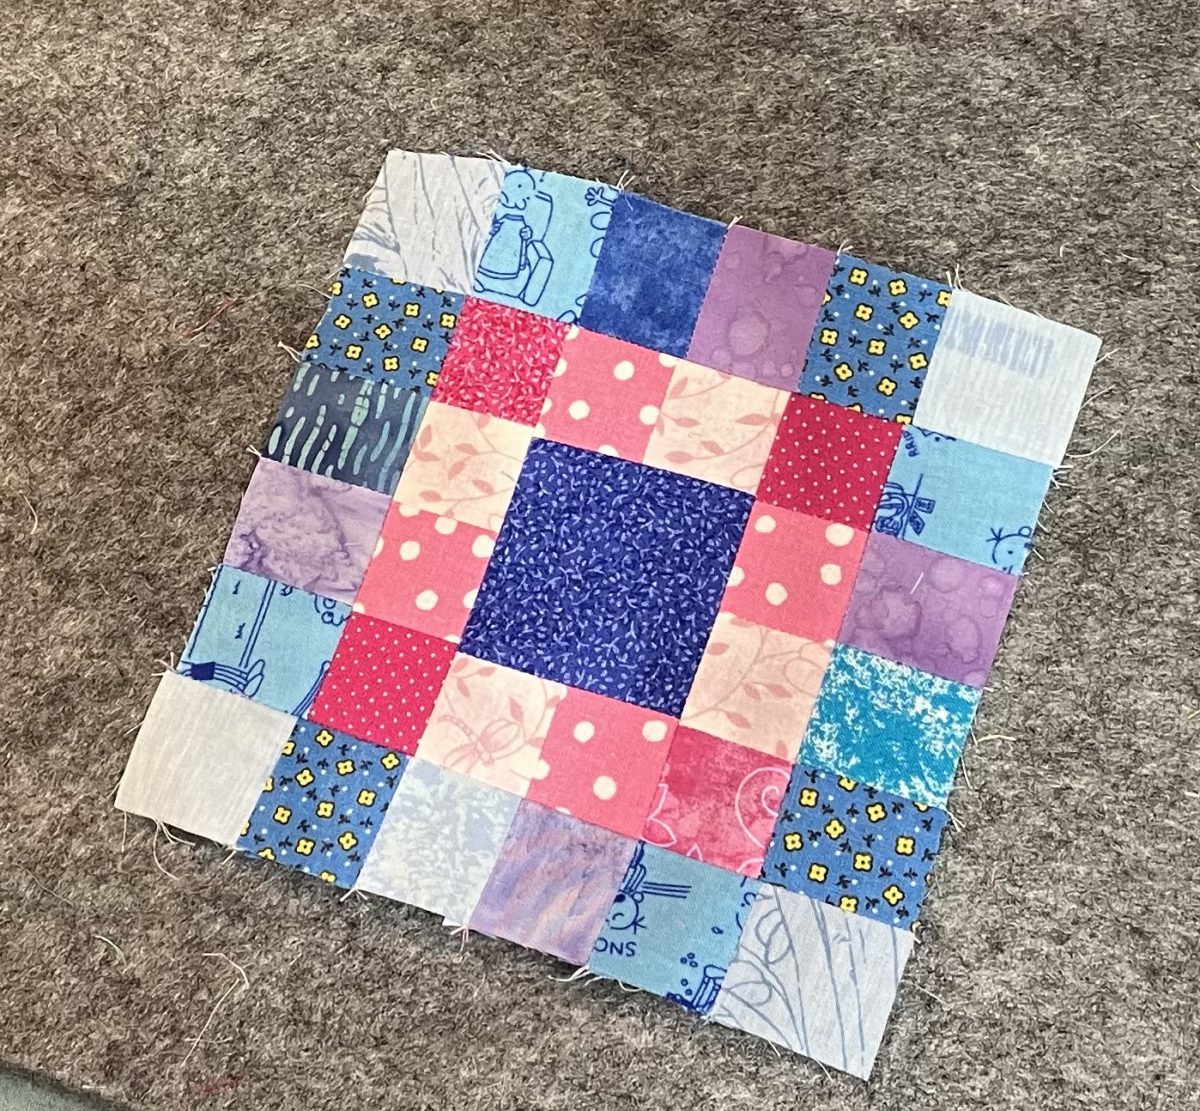
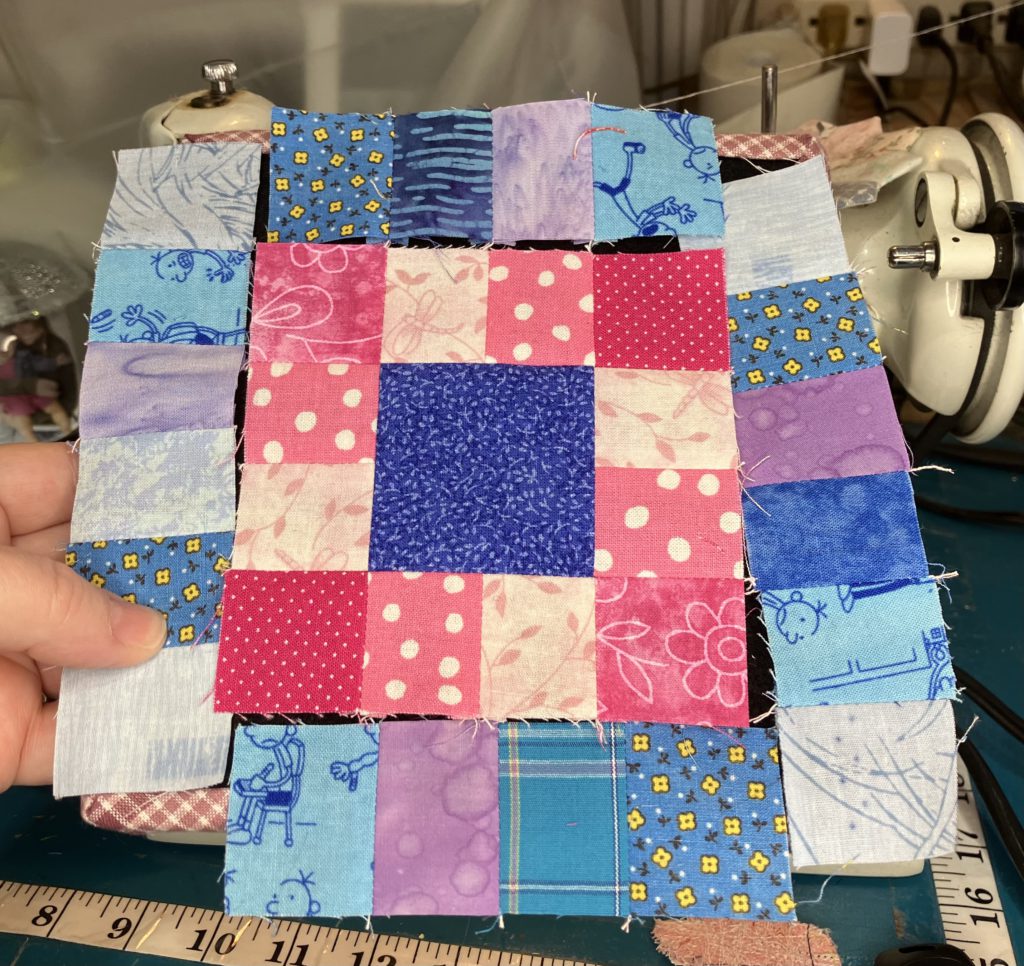
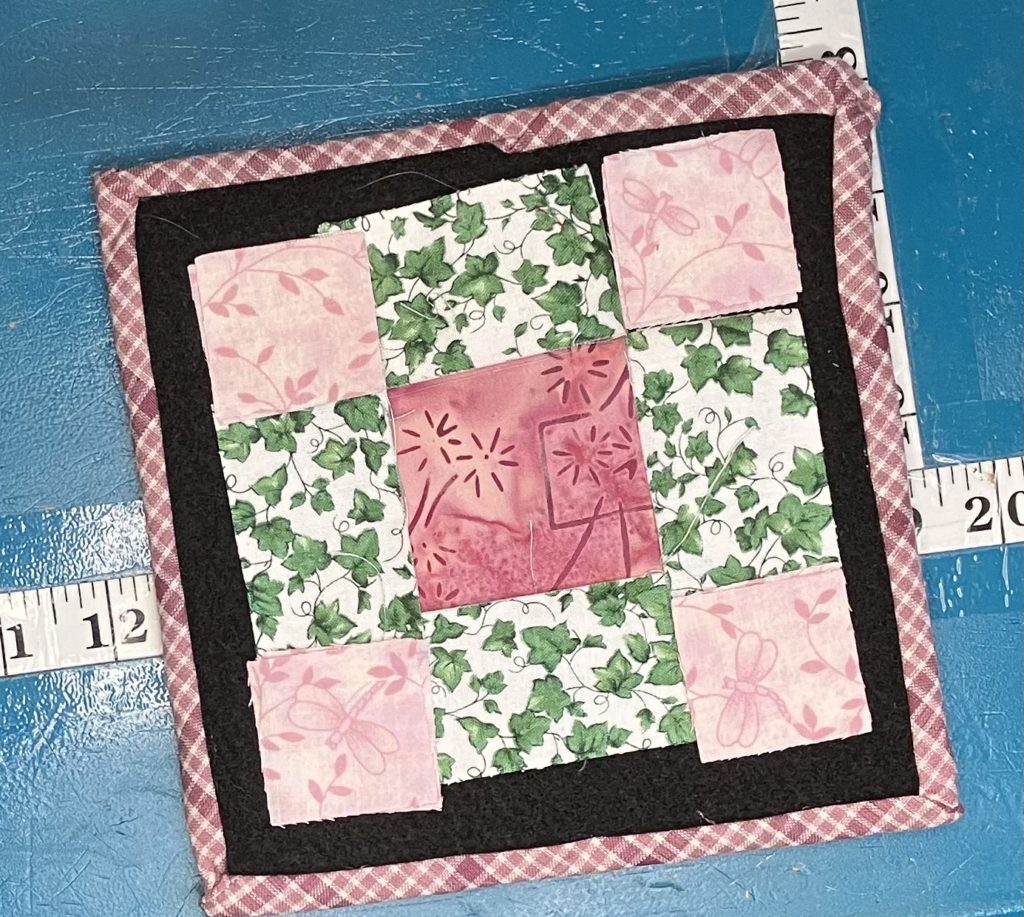
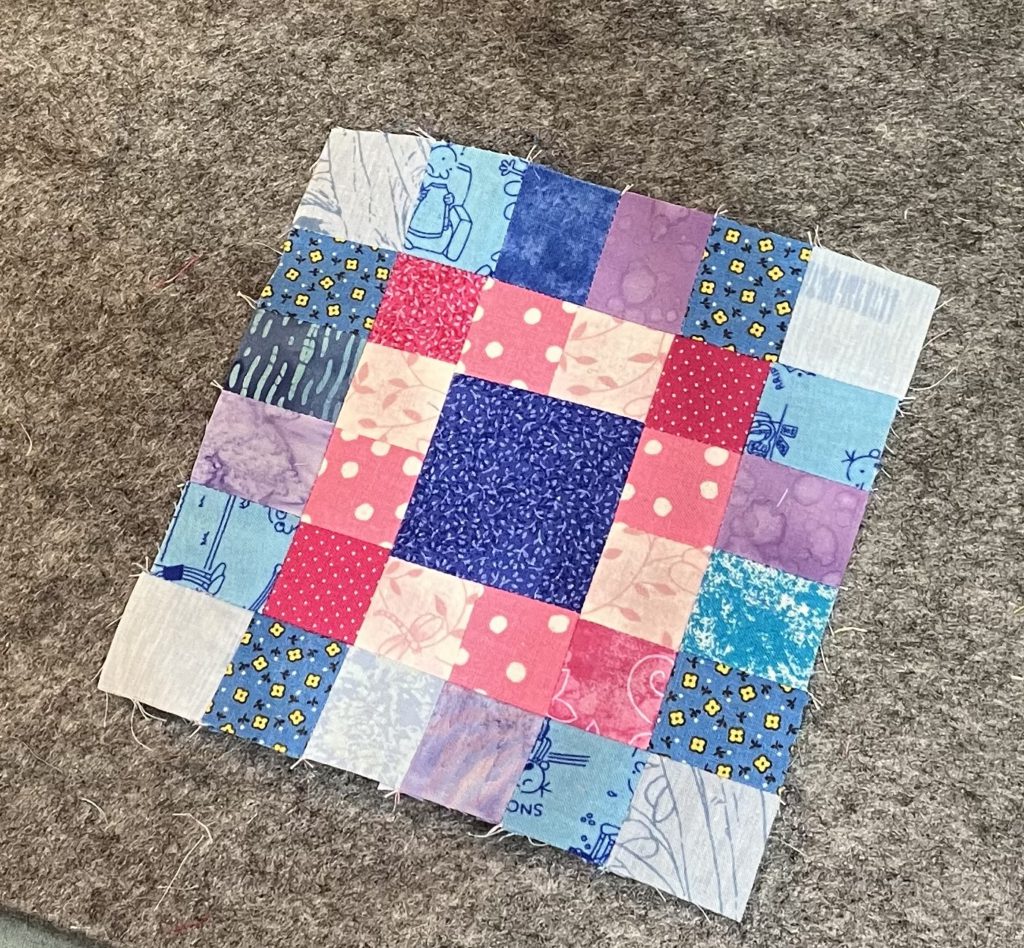
This lovely block uses up lots of little scrap blocks. It is easily adaptable to larger sizes, too. It would be a fantastic leader/ ender project. As it is shown, it finishes at 6 1/2″.

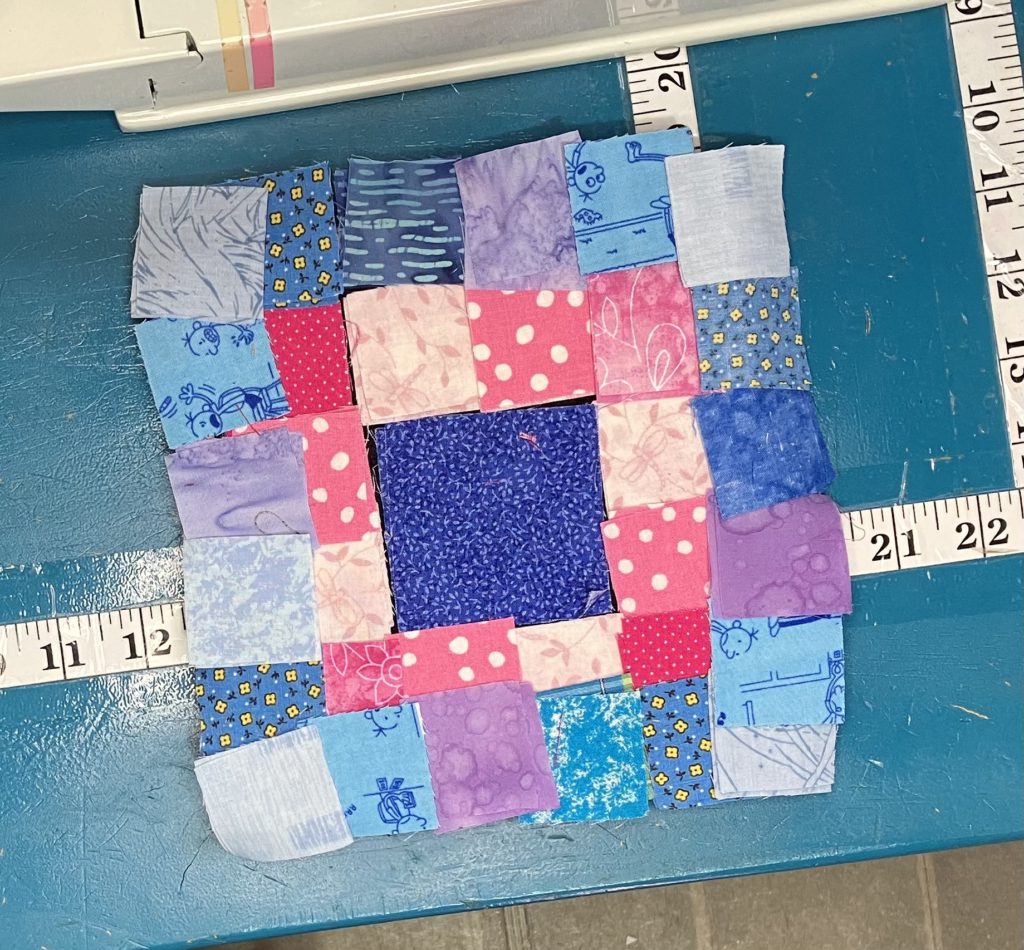
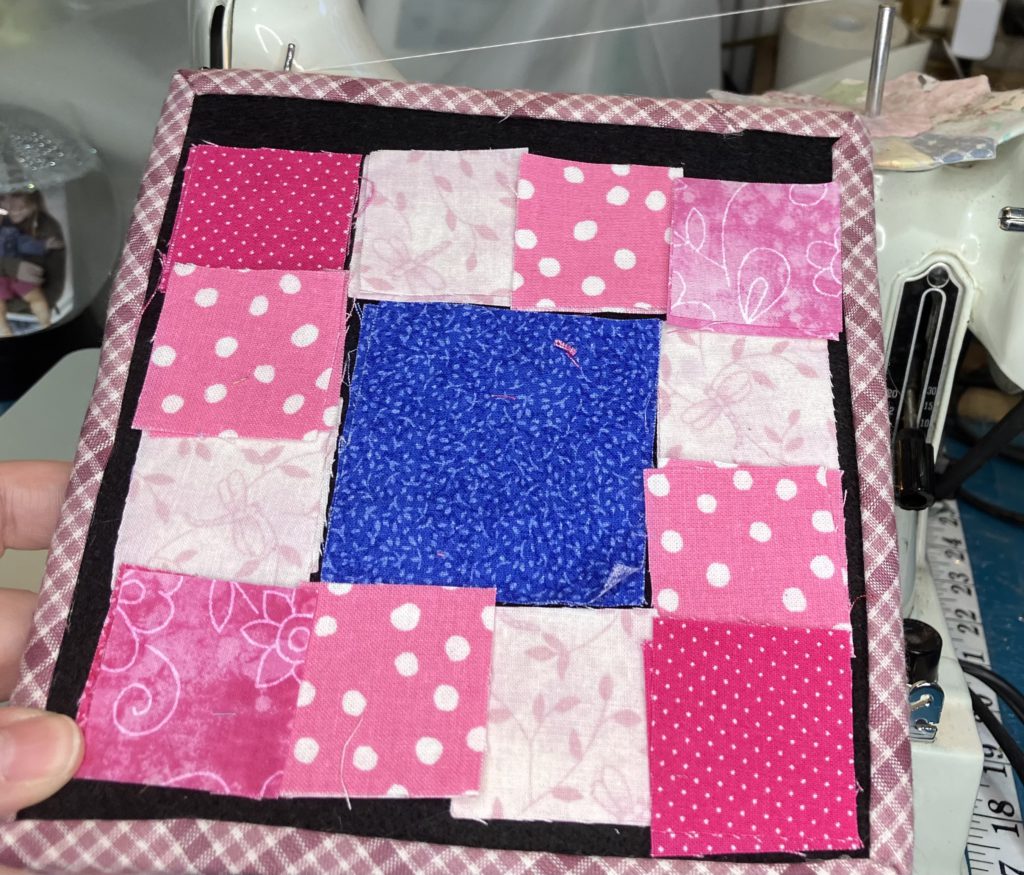
The center square is 2 1/2″. The surrounding rounds are made from 12- 1 1/2″ inner ring blocks and 20- 1 1/2″ outer ring blocks. I used pink and blue to make it easier to see the block rounds. This would be a great block made up in all scraps or other high contrasting rounds. My YouTube speedy Build a Block video can be found here.

I start by moving the outer round of blocks to the side. I can only focus on one task at a time these days.

If you were doing this as all scrappy you could easily sew all the blocks in sets of two and then make the necessary 4-4 block units and 2-6 block units without worrying about placement.

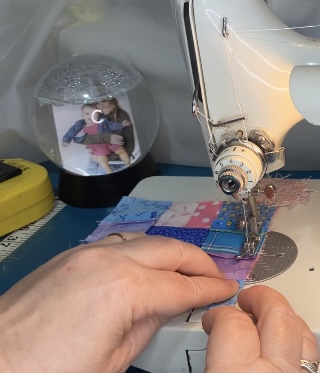
Sew blocks that touch the center into 4 pair units. Two of these units will be sewn to the center soon.

Add the corner blocks to two of those pair units to make 2- four block units.

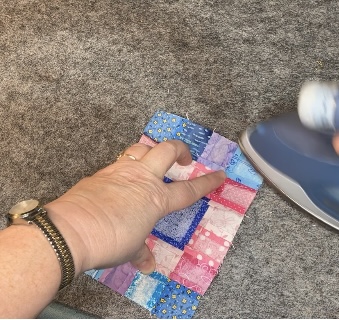
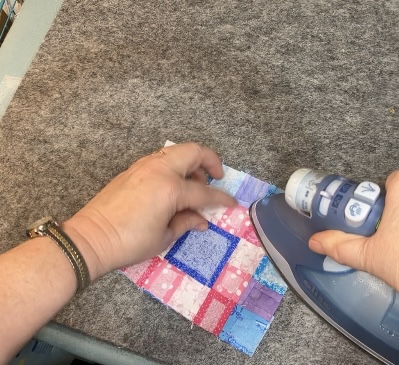
To reduce bulk, press seams open.

Sew both pair units to the center square.

To reduce bulk, press open…or however you wish to press. No quilt police here!

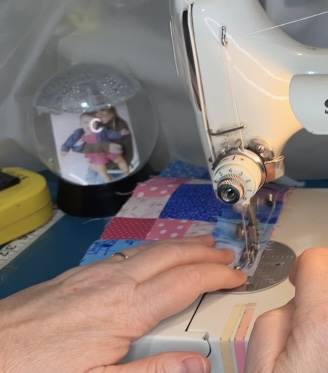
Add the 4 block units to the new central unit.

To reduce bulk, press seams open.

Sew all of the outer blocks in pairs, then sew pairs together until you have 2- 4 square units and 2- 6 square units.

Press open to reduce bulk. (You knew I was going to say that, but that doesn’t make you a psychic!)

I always like to lay out the block at every step, just to make sure I have placement the way I intended it to be when I started. I am fairly quick with the seam ripper these days, but I still don’t enjoy that process.

Add both of the 4 block units to the sides of the center unit.

You know what I am going to say! Press seams open to reduce bulk.

Add the 6 block units to the last two sides of the center unit.

Not saying…you know!

Tah-done! Another beautiful scrap block! This one used up LOTS of little pieces.

I hope that you are enjoying this Build a Block series of simple blocks. I am starting to have a nice little pile of these blocks just by creating ones to picture in these tutorials. I hope you are, too.

Thank you for stopping in to look at my pictures and read my block making narrative. What are you creating today? I hope it is simple and relaxing! I would love to see pictures of your work over on my Facebook page. Come join my group!

Later,

Lorrie
Categories
Build a block quilting scraps sewing

Build 2 Blocks: Square Surrounded by a Strip(s)

Welcome! Today I am constructing a simple block using a center square and strips…and for a second block, a center block with strips and cornerstones. I chose very simply constructed blocks for the next few weeks to get us through the “Silly Season” and all of the holidays. My head is spinning with all of the tasks that I need to complete before the new year. How about you?

You can also watch a 1 minute video that shows a very speedy version of the block construction…very speedy!

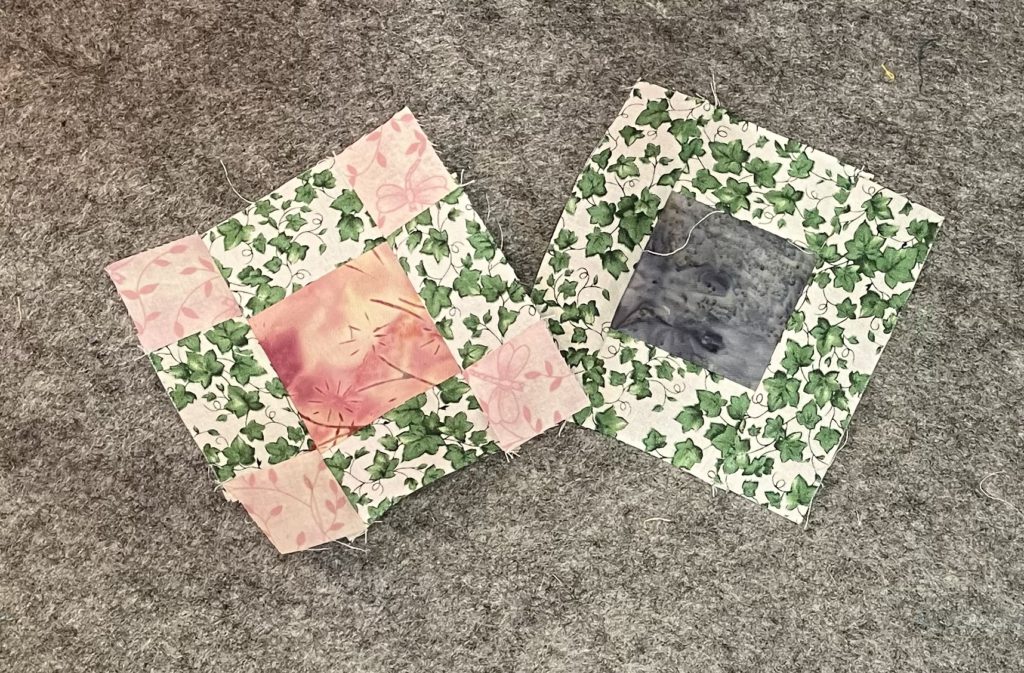
Let’s get started! The layout is simple. I chose a center block with good contrast from my scrap bin. I love to work small, so my center is 2 1/2″. You can make this any size you want. It is easily adjustable.

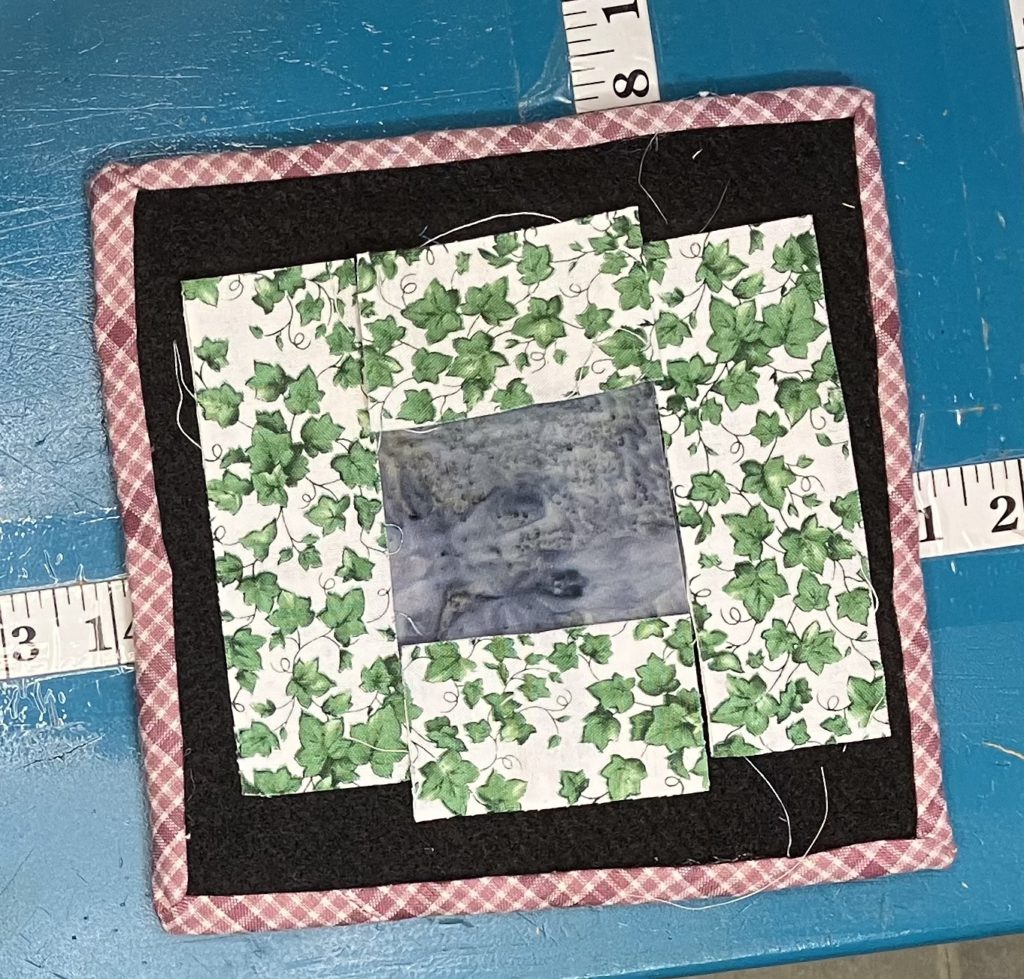
The outside strips are 1 1/2″ here. Again, with a larger center, you could easily use wider strips. I cut two of the pieces the same width as the center block to get started.

Join the cut strips to the center block on both sides.

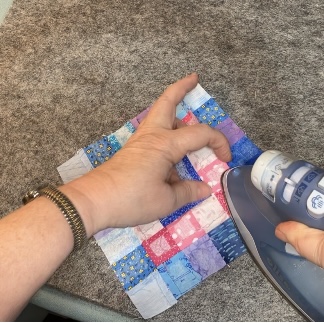
Press however your little heart desires…I pressed the seams out on this block. There is not a lot of bulk in the seams like previous blocks made from a zillion little squares, so I did not press open.

Add the other side strips. You can cut these to the final length before or after you sew them on.

Again, I pressed the seams to the outside. The completed block is shown at the end of the post.

Ahhh! The second block…cha-ching! Bonus, Baby!

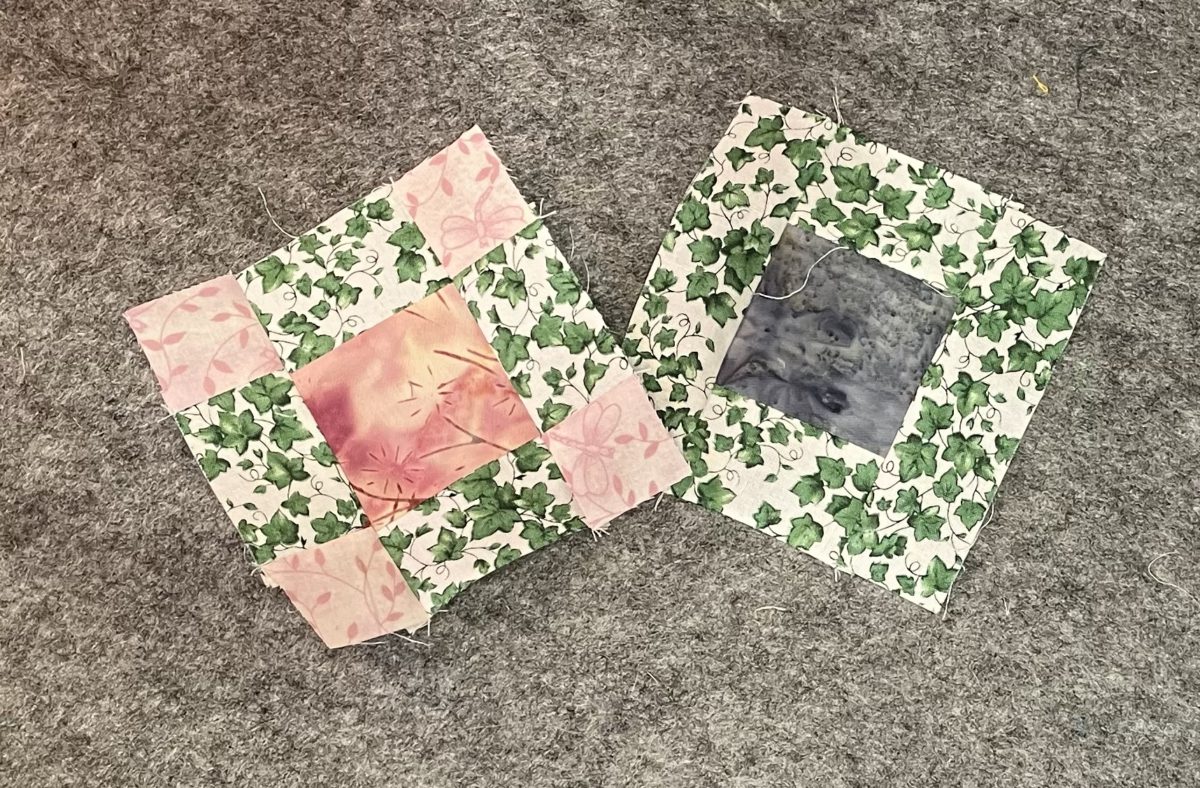
The center of the block shown here is 2 1/2″, but could be easily adapted to your favorite size. Strips and cornerstones are 1 1/2″ wide. I would change this if I were using a large center block to keep the proportions about the same. This could also be made in a scrappier version.

I assembled this block in rows. First, I assembled the top and bottom rows by adding the cornerstones to the center strips.

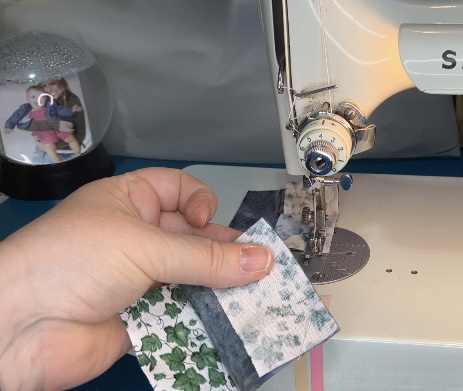
Next I speed pieced the side strips to the center. Doing all of the piecing at the same time makes the pressing easier.

I know that not everyone is a pressing fanatic like I am. I don’t like to wrestle with seams as I am trying to sew the units together, so I press between each step. You do you…press as you wish. No judgements here.

I pressed the top and bottom rows to the outside and the center row toward the larger center block.

When I added the top and bottom to the center, the seams locked together nicely…no pinning required.

I pressed to the outside on both sides.

Two little blocks…tah done!

I hope you are enjoying my build a block series. When my head stops spinning after the holiday season, I hope to evolve this into a printable pattern page with different sizes to make it easier to use with scraps of all sizes. What are you planning to make with your scraps? I love to hear from you…especially if you aren’t leaving comments about selling Russian viagra, etc!

Later,

Lorrie
Categories
quilting sewing

I am a YouTuber!

I have been watching a lot of YouTube videos since I retired…quilting, cooking, bargains, and crafts.

I started to think about this after watching a video on the New Retired Me channel…also produced by a retired teacher.

I don’t want to substitute teach to make extra money. Why not be a YouTube star? 😎

Check out my first video here.

Thank you in advance for your help and support!

Later,

Lorrie
Categories
goals quilting scraps weather

Quilting Life 2023 Mystery BOM

I told you a couple of weeks ago that I would share my participation progress in some sew alongs. To find this block of the month, google “Quilting Life 2023” or click here. This block of the month is run by Sherri McConnell.

Blocks for this year are available in 12 inch and 6 inch. So far, the pattern is on one page (for those of us who like a paper pattern to look at). Video tutorials are also available on YouTube.

The pattern is available on the first Monday of every month. Please check the website for availability after the fact.

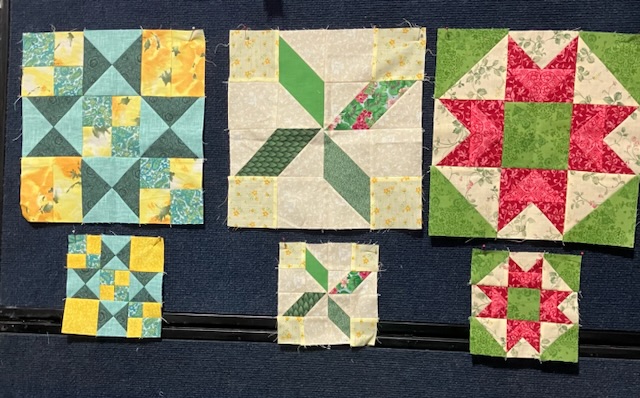
I am making both size blocks.

Progress so far…

I am using as much scrap fabric as possible, especially since I organized!

I also have a few spring pictures to share:

Forsythia in neighboring yard
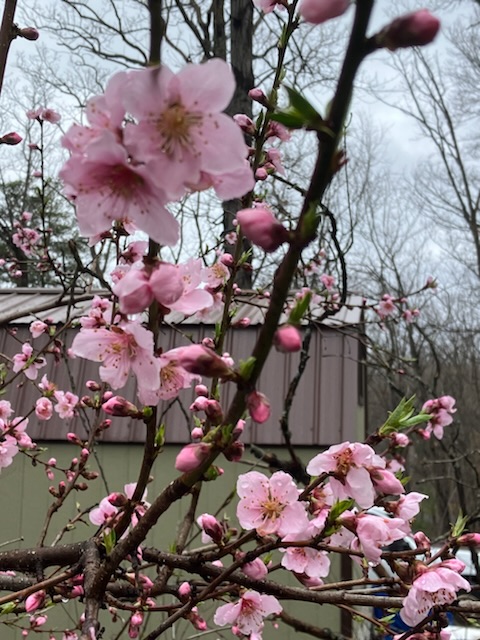
Volunteer white peach blossoms…growing in the compost

Now on a sad note…I am tired of deleting spam for pharmaceuticals, porn, and whatever is being sold or talked about in Russian etc., so I am turning off active comments. Please e-mail me directly.
I love to hear from you!

To wrap it up this week, I hope you are having fun making…maybe participating in sew alongs. Hope you weather is making spring flowers appear! What are you working on/ seeing in nature this week?

Later,

Lorrie
Categories
goals quilting tranquility

2023 Goals

Goal 1: Quilt top finishes

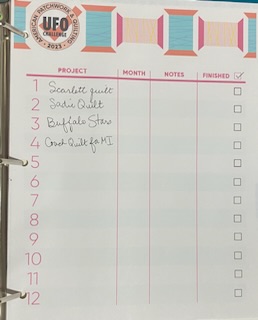
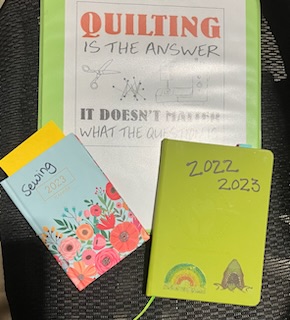
After my last post evaluating the goals from 2022, I have decided on the goals for this year.  I am continuing to use my little green book.  I am expanding my sewing days into a tiny calendar with specific tasks that are completed listed on the dates. That way I can feel like I am accomplishing more.  I am also using a 3 ring notebook to keep track of sew alongs, reorganizing challenges, etc.

Time to finish up some tops that I have made for people that I love. I printed off a “list” organizer for just this purpose…maybe that will help. This step always seems like work to me.

Goal: Turn a quilt top into a finished product every month…or at least 12 for the year.

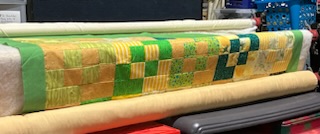
On the machine…

Goal 2: Blog more

Last year I had a goal of 2 blogs a week. Sadly, I did not meet this goal. I would like to write more patterns. I think my blog will help me do just that. By setting this goal so low, I will feel that I have accomplished great things if I write more!

Goal: Publish 1 blog articles a week.

Goal 3: Sew for my own happiness

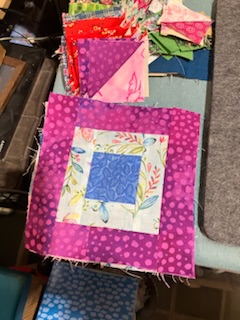
Last block from book

I am keeping the same goal. I did not meet the goal last year, but I was working from January until the end of May, plus cleaning my classroom out getting ready to retire. I think that I can easily meet this goal this year.

Here are my revised list of tasks that I count as sewing:

  • hand sewing (applique, binding, English paper-piecing)
  • machine sewing (quilting, piecing)
  • hand embroidery
  • machine embroidery
  • writing patterns
  • reading patterns and/or quilting related books
  • ironing/ pressing
  • cleaning/ organizing my sewing area/room
  • cutting fabric (Accuquilt or other)
  • sorting fabric (scraps or other)

Goal: Complete a sewing activity from the above list at least 80% of the days in the year…that is 292 days.

Goal 4: Read to self

I met this goal easily last year. I am not ready to increase it just yet, but I think I can meet it again!

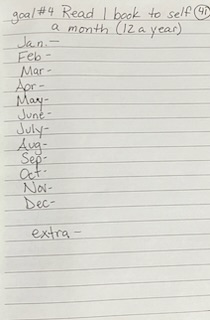
Goal: Read at least one book a month…or 12 books in the year.

Goal 5: Read Aloud

I am keeping this goal. We are currently reading Love and War by John Jakes. This book should keep us busy for quite a while. This is the second book in the series. We usually only read a chapter or two during a read aloud session…15 to 30 minutes a day.

Goal: Read to each other at least 2 days a week.

Accountability

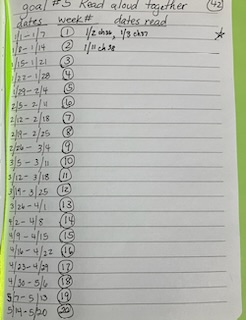
I am going to continue to use my little green book. It is numbered and set up. I also have a small calendar from the dollar tree and a notebook. Writing information down keeps me accountable.

So what do you want to accomplish this year? What habits help you maintain some calm in your life? I love to hear your thoughts!

Later,

Lorrie
Categories
quilting scraps

Flower Power

This week I am trying my best to finish a quilt camp flower challenge project. I showed the huge rose covered center of the quilt in a previous post. It will add to the suspense and mystery if I do not repost that picture today.

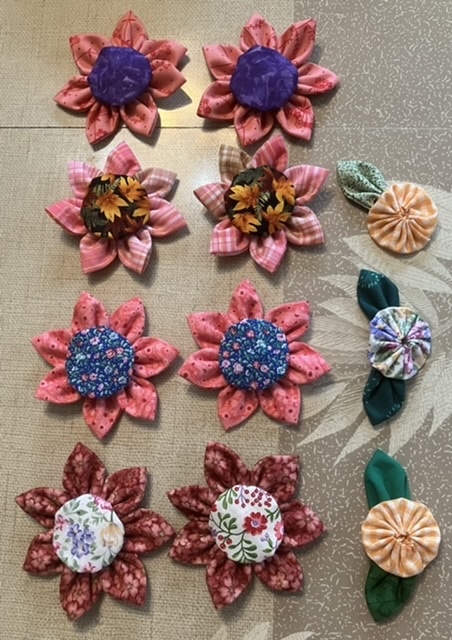
I will be adding these three dimensional flowers to the outside border.

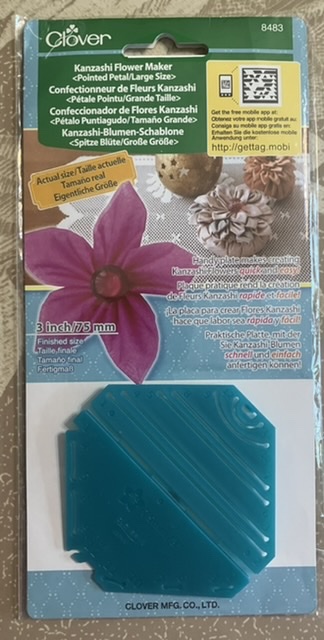
I made the petals using a clover device:

This is incredibly easy to use. I wish I could invent a simple gadget like this.

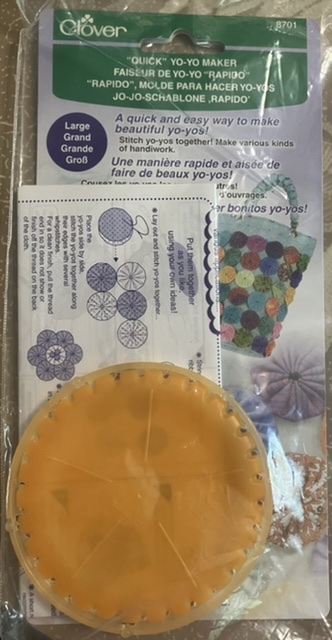
I also used a clover yo-yo maker:

Both of these products are available on Amazon and a variety of other fabric / craft stores.

What are you working on this week?

Later,

Lorrie
Categories
sewing

Curtains

In my last post, I had a picture of the lake view from our cabin in Hale, Michigan. There were many usable items left behind by the previous owners, but some things just needed to be refreshed.
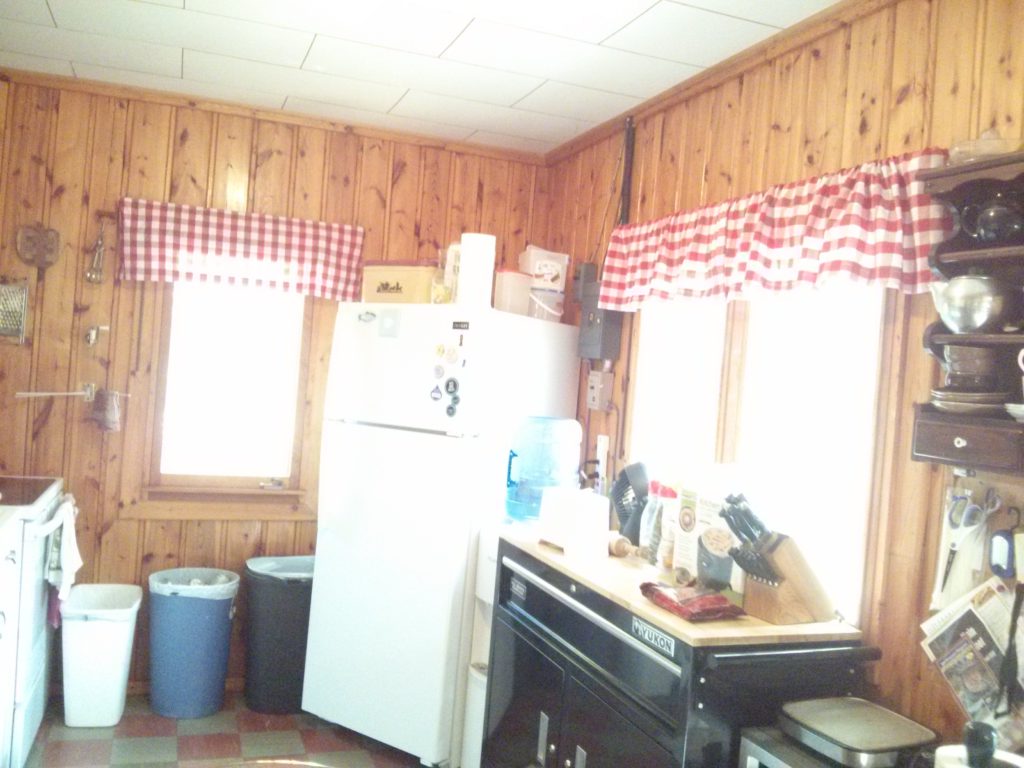
I love this kitchen! The fiberglass curtains were, well, let’s go with hideous.

Let’s talk about curtains. The ones in the kitchen were serviceable…in the 1960’s! They were fiberglass, so there was no real issue with them catching of fire when they got caught in the oven door…OMG! (Yes, you could actually catch the corner in the oven door. Yikes!) I love this quaint kitchen. It screams 1955. It was perfect for the time it was built.

Kitchen with valances that hide blinds. Updated appliances and “island” for storage and additional counter space.

This is my modernization. Behind the valances are “wood look” blinds to be closed only when the cabin is shut down for long stretches of time. In the new picture, you will also notice that we stimulated the local economy by replacing the appliances. The good folks at the Do It Best Hardware in Hale were helpful and wonderful.

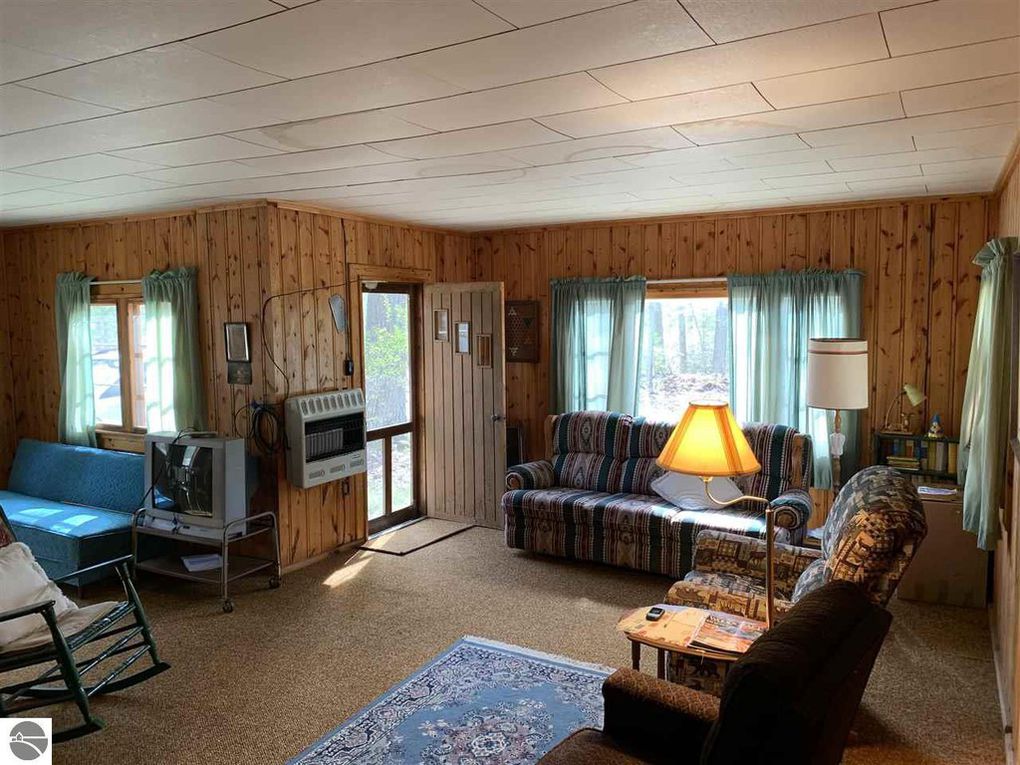
Nice sea green curtains…status quo for now.

The curtains in the main living area are fine for now. I will deal with them next year. At the moment, they can be closed or opened as needed. They adequately block the view from outside, keep out heat/ drafts, or open to let in light. They are a pleasant color. I can’t decide if I want to keep some of them or change all of them…decisions…decisions.

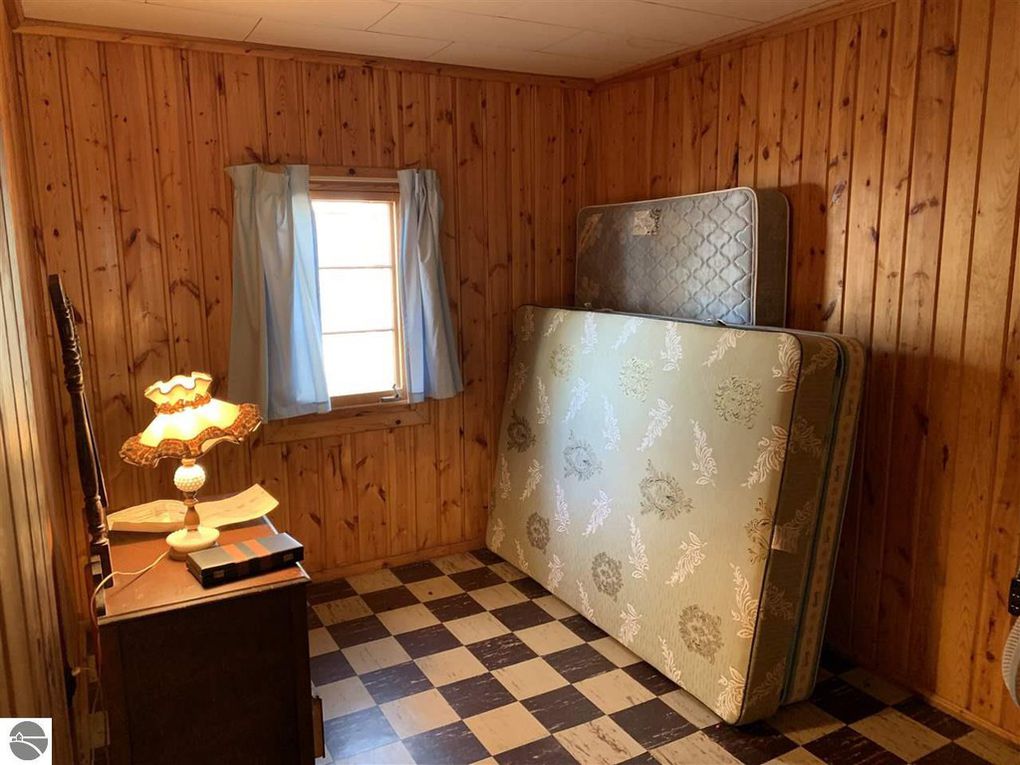
Small bedroom…before set up.

The bedrooms all have black out curtains. Well, they would be black out curtains if they weren’t about 3 inches too short when they are closed. They also gap and hang awkwardly because of the curtain hooks at the top. In two of the bedrooms, the sun streams in right on the eyes of the sleeping guests. Wakey, wakey is not a good plan for vacation. I slightly modified the curtains to match the theme in each bedroom. I also eliminated the curtain hook.

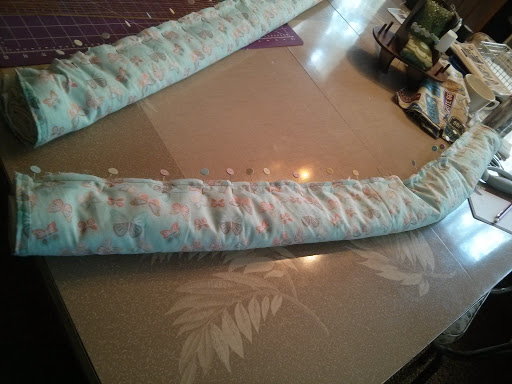
To improve the bedroom curtains, I first cut off the pleats at the top. I know…I know…someone paid a lot of money for those pleats. I don’t care. I am short and could not reach them to close them without knocking them off the curtain rod. I added a fabric sleeve at the top. I used a self-seaming method that I learned while making homemade pillowcases.

Update: I read somewhere that this is called the burrito technique. All unfinished seams are inside after sewing just ONE seam. Miracle! This is a great seam technique to learn here.

Curtain ready to sew.

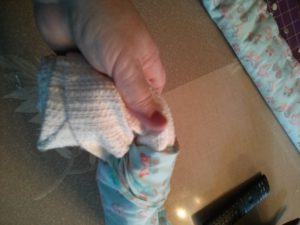
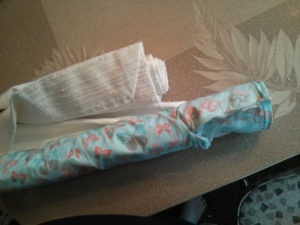
To prepare the curtain to add the fabric at the top, the ends of the fabric are seamed so that the new topper is the correct width. The fabric is basically wrapped around the rolled up curtain. After the seam is sewn, the curtain is pulled out from the inside…turning the new topper out right.

Curtain being pulled out of sewn fabric roll…
Curtain slightly less than half way through the turning process.
New curtains in second guest room…correct length and easy to close.

Curtains are not the most exciting sewing topic because they are simple rectangles. This little project would have appealed to my great Aunts, those wonderful ladies that survived the Great Depression.

An appropriate quote to sum up my point from http://brainyquote.com.

What make do projects have you been working on recently? Drop me an e-mail. I would love to hear about your work.

Later,

Lorrie