In my last post, I had a picture of the lake view from our cabin in Hale, Michigan. There were many usable items left behind by the previous owners, but some things just needed to be refreshed.
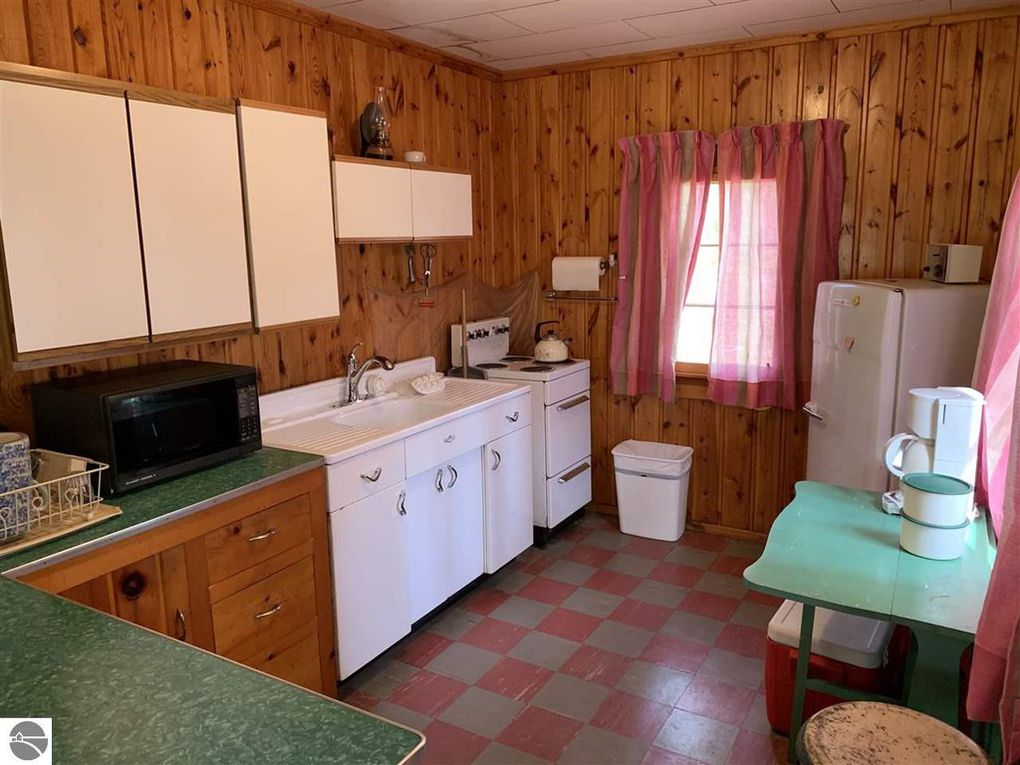
Let’s talk about curtains. The ones in the kitchen were serviceable…in the 1960’s! They were fiberglass, so there was no real issue with them catching of fire when they got caught in the oven door…OMG! (Yes, you could actually catch the corner in the oven door. Yikes!) I love this quaint kitchen. It screams 1955. It was perfect for the time it was built.
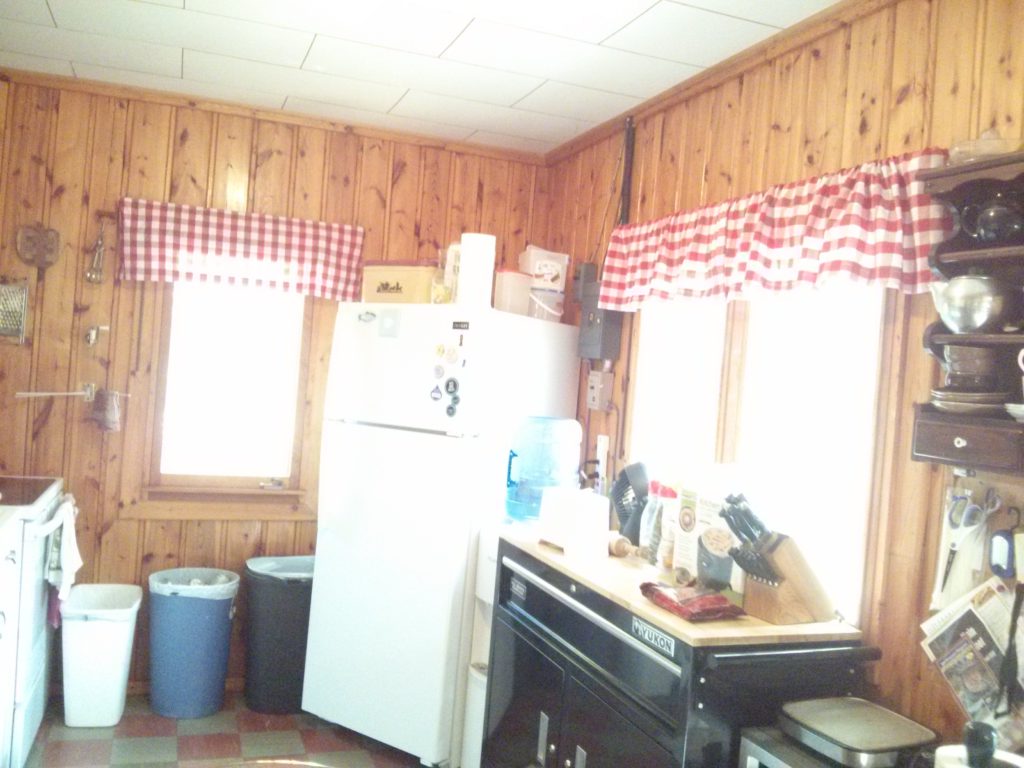
This is my modernization. Behind the valances are “wood look” blinds to be closed only when the cabin is shut down for long stretches of time. In the new picture, you will also notice that we stimulated the local economy by replacing the appliances. The good folks at the Do It Best Hardware in Hale were helpful and wonderful.

The curtains in the main living area are fine for now. I will deal with them next year. At the moment, they can be closed or opened as needed. They adequately block the view from outside, keep out heat/ drafts, or open to let in light. They are a pleasant color. I can’t decide if I want to keep some of them or change all of them…decisions…decisions.
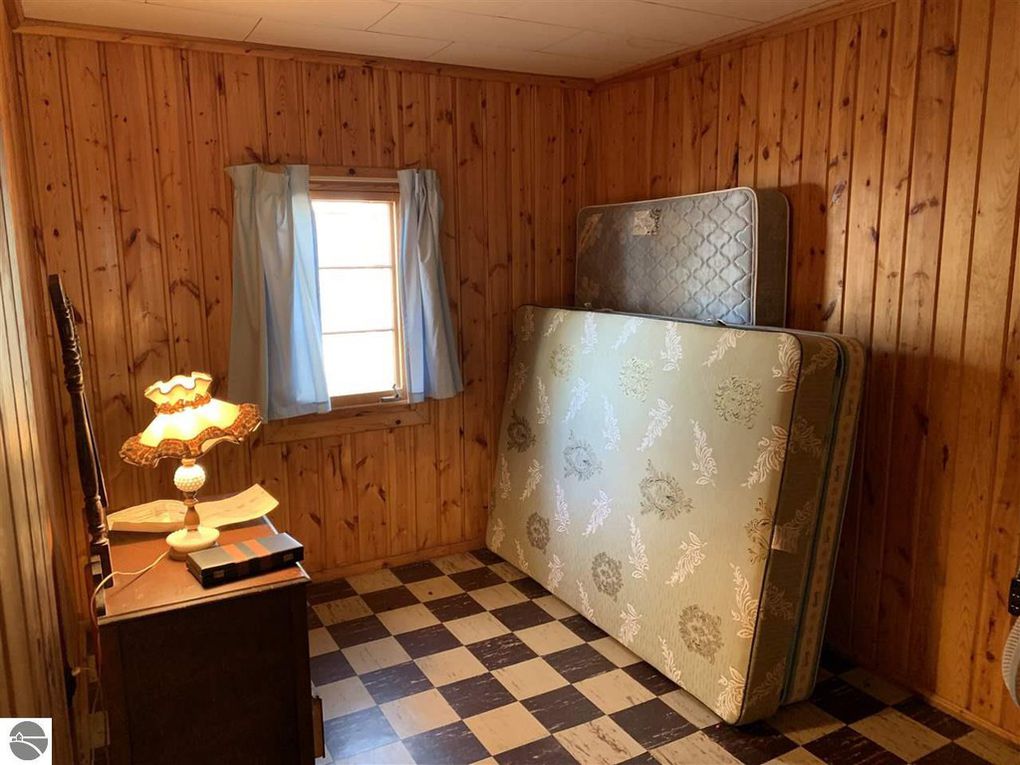
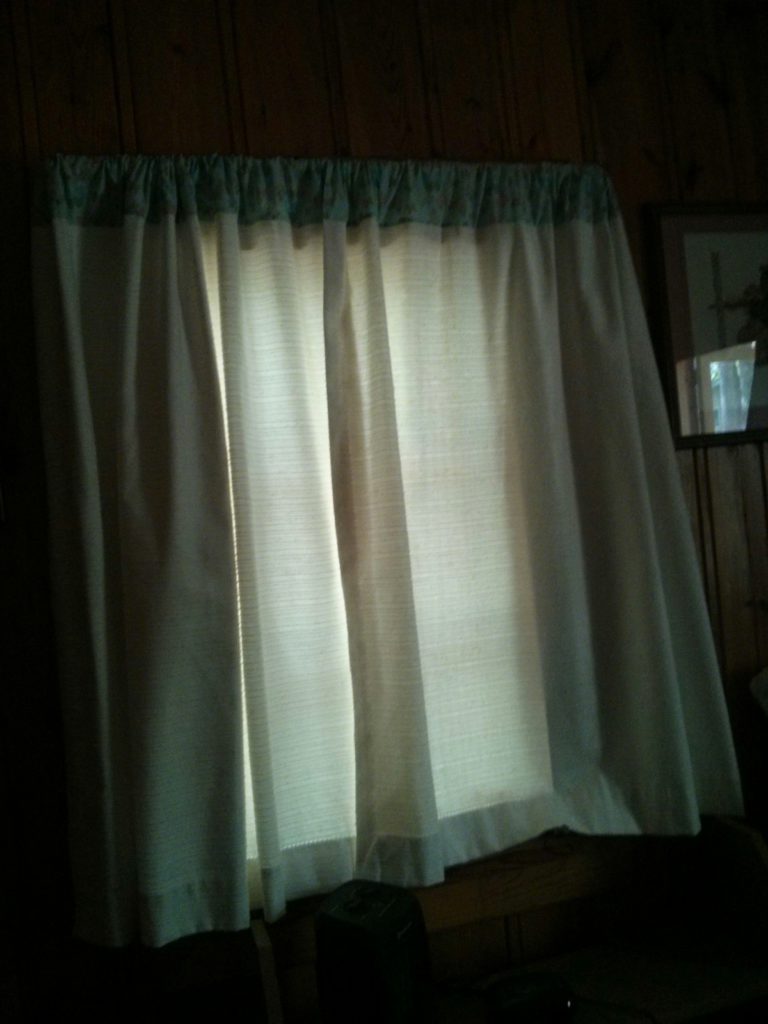
The bedrooms all have black out curtains. Well, they would be black out curtains if they weren’t about 3 inches too short when they are closed. They also gap and hang awkwardly because of the curtain hooks at the top. In two of the bedrooms, the sun streams in right on the eyes of the sleeping guests. Wakey, wakey is not a good plan for vacation. I slightly modified the curtains to match the theme in each bedroom. I also eliminated the curtain hook.
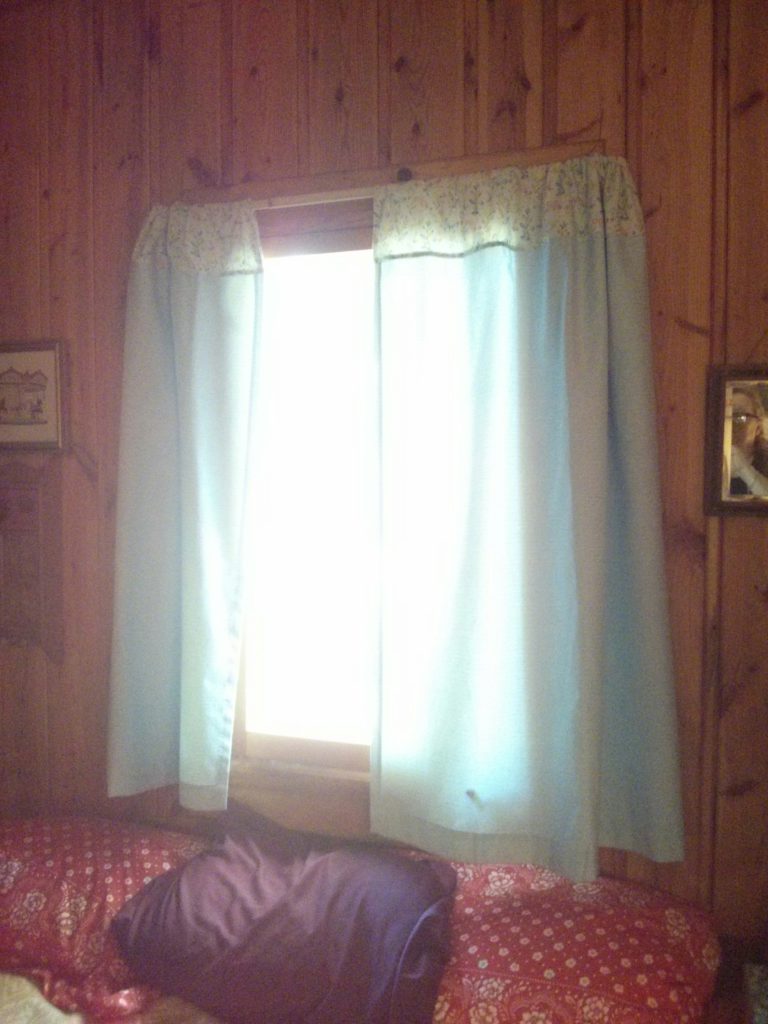
To improve the bedroom curtains, I first cut off the pleats at the top. I know…I know…someone paid a lot of money for those pleats. I don’t care. I am short and could not reach them to close them without knocking them off the curtain rod. I added a fabric sleeve at the top. I used a self-seaming method that I learned while making homemade pillowcases.
Update: I read somewhere that this is called the burrito technique. All unfinished seams are inside after sewing just ONE seam. Miracle! This is a great seam technique to learn here.
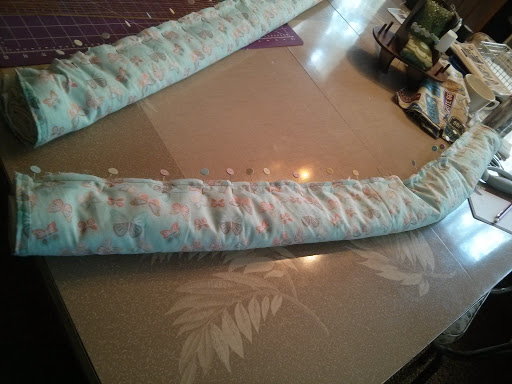
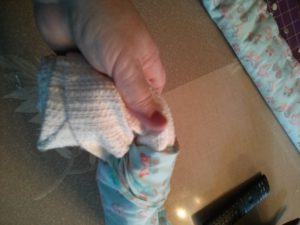
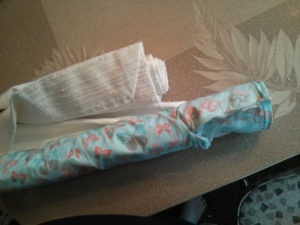
To prepare the curtain to add the fabric at the top, the ends of the fabric are seamed so that the new topper is the correct width. The fabric is basically wrapped around the rolled up curtain. After the seam is sewn, the curtain is pulled out from the inside…turning the new topper out right.
Curtains are not the most exciting sewing topic because they are simple rectangles. This little project would have appealed to my great Aunts, those wonderful ladies that survived the Great Depression.

What make do projects have you been working on recently? Drop me an e-mail. I would love to hear about your work.
Later,
Lorrie
