This is the third block in my YouTube Patriotic quilt block series. This block is quick to assemble because it contains only a few pieces. (See the cutting chart at the end of this post.)
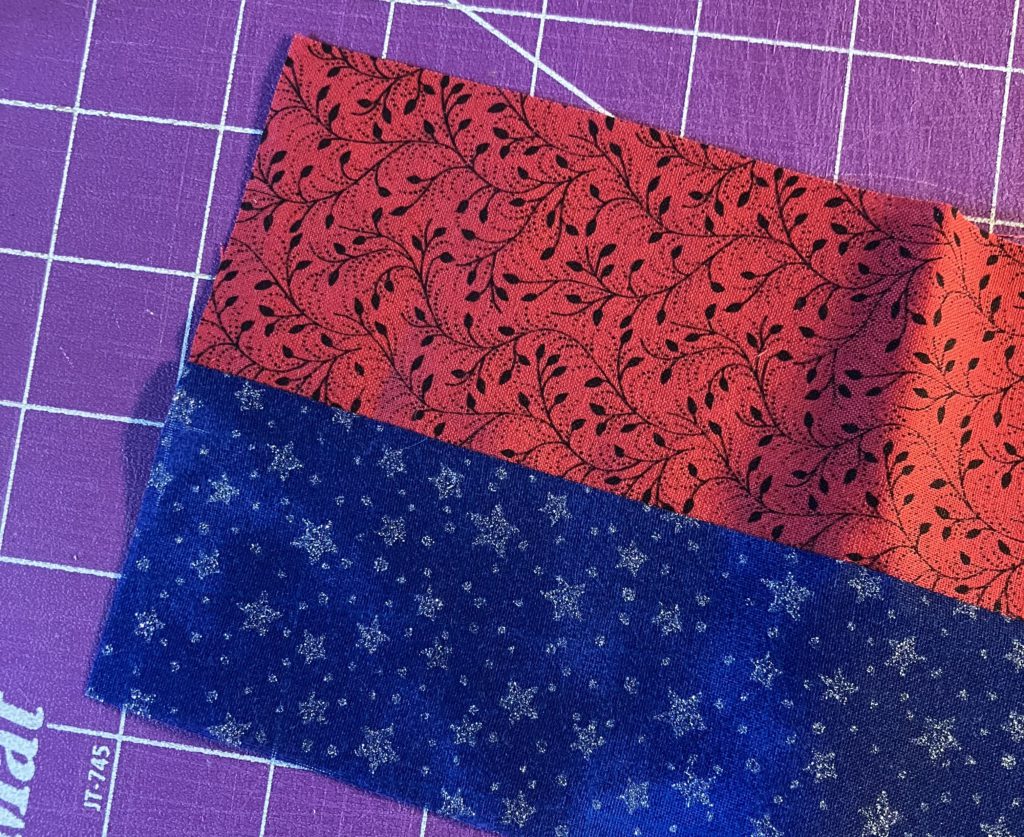
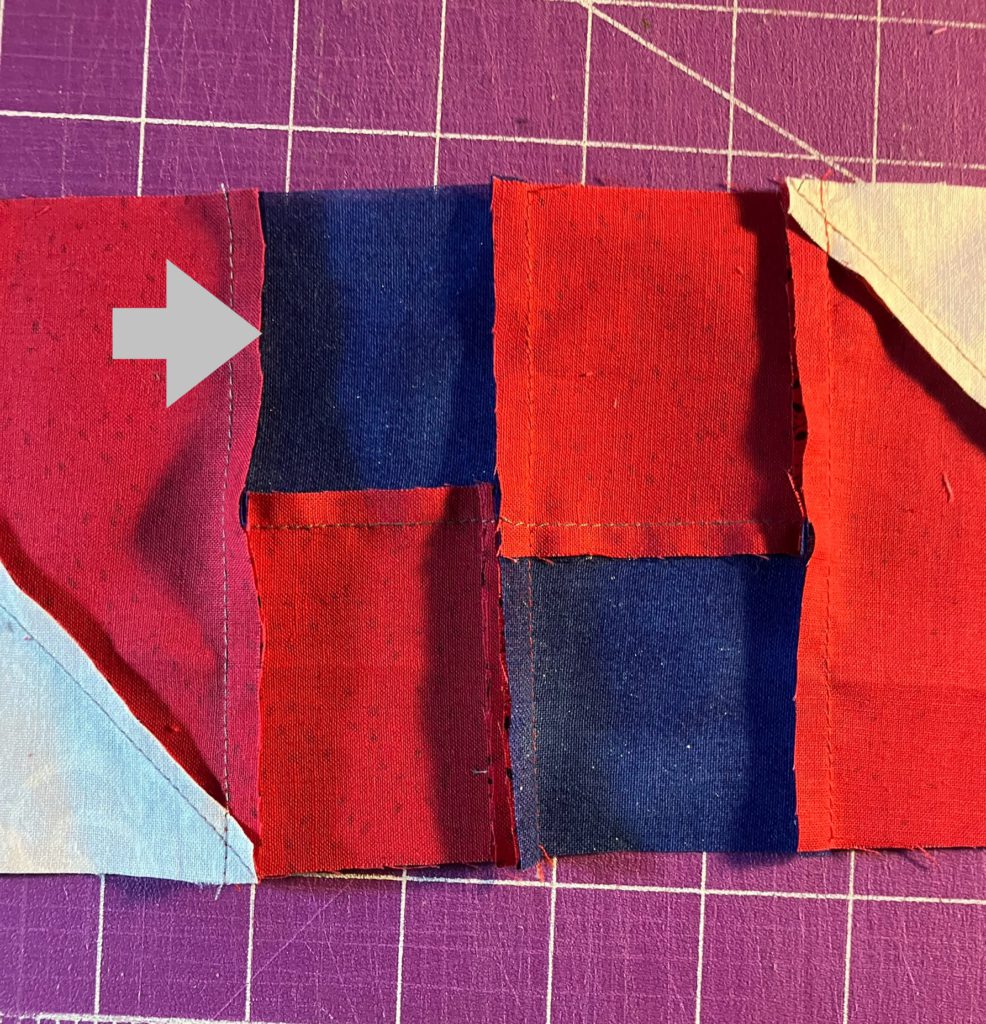
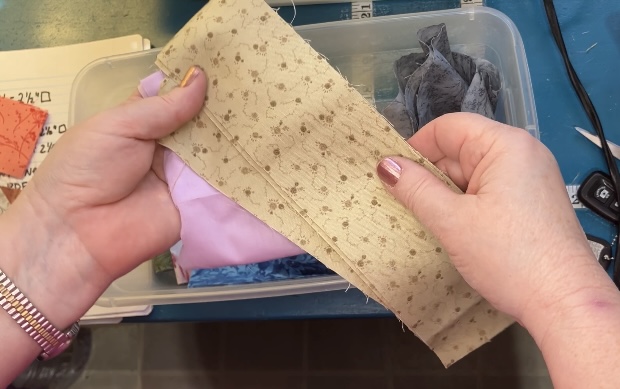
I started by speed strip piecing the three 4-patch blocks.
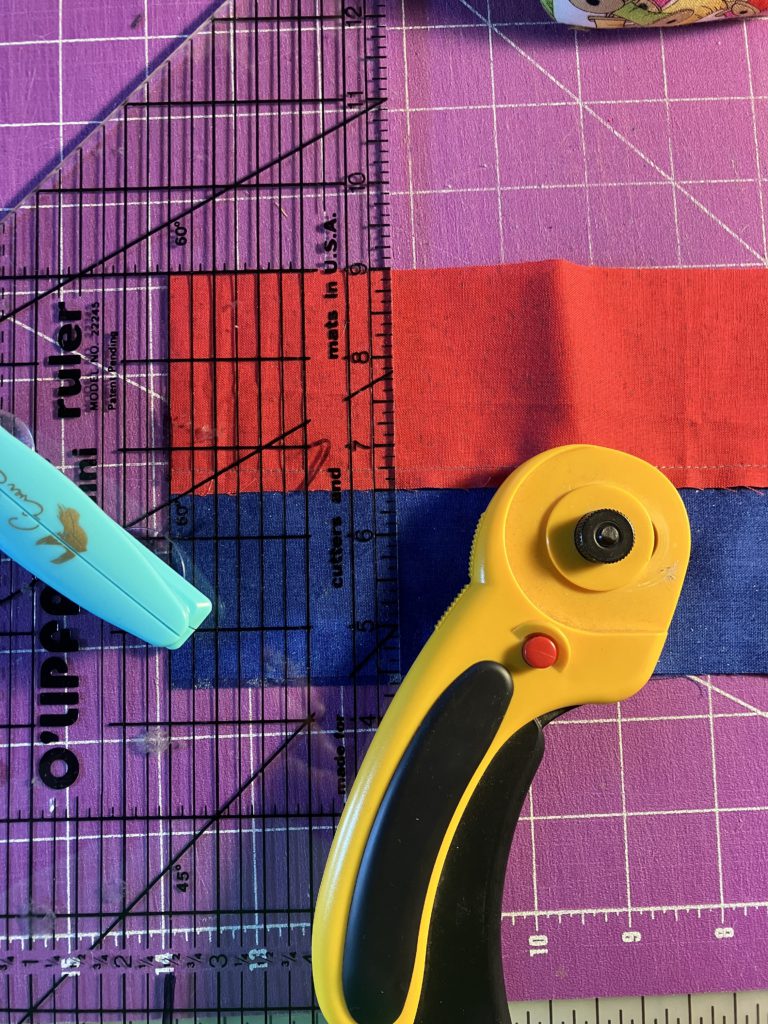
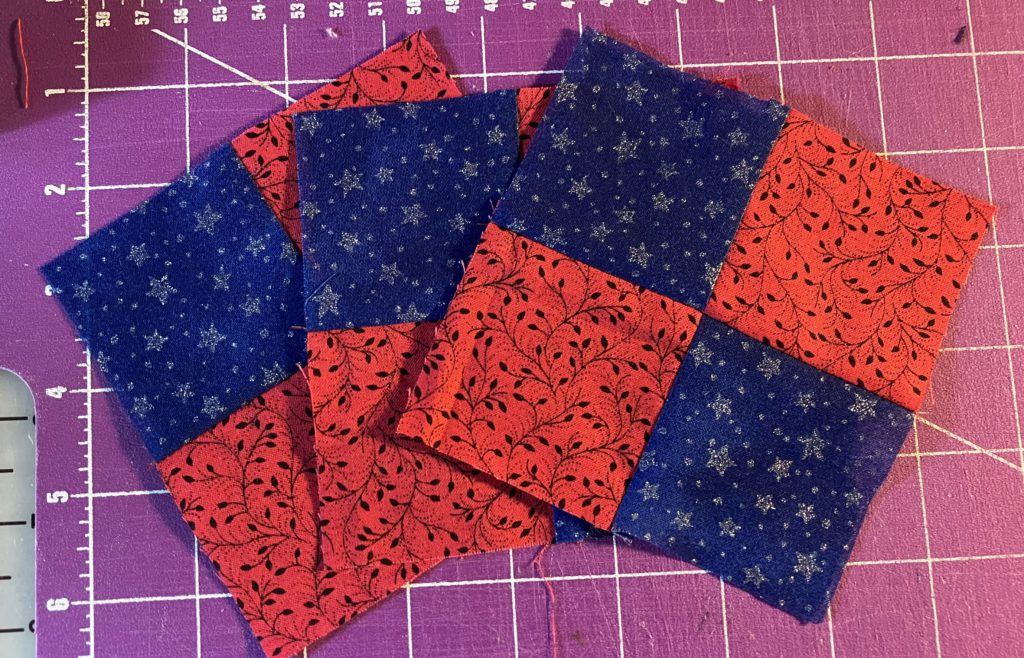
These units are quick to sew, cut and reassemble into 4 1/2″ blocks…three of them.
I chose to make these blocks in red and blue. The blue squares will line up on a diagonal in the finished block.
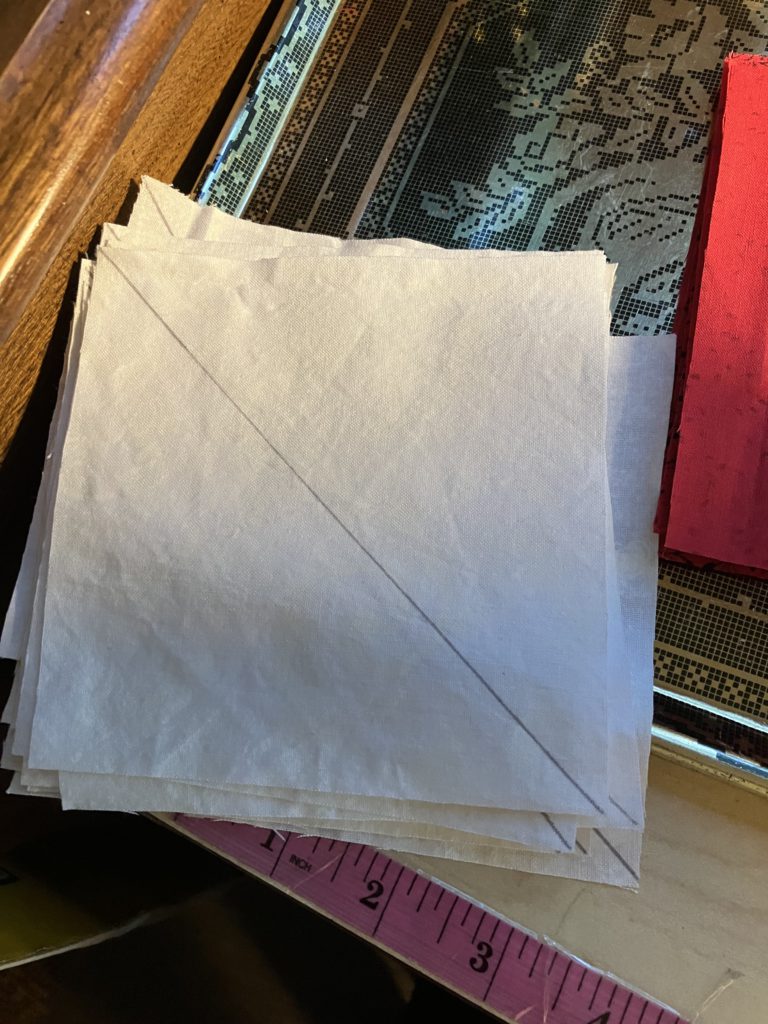
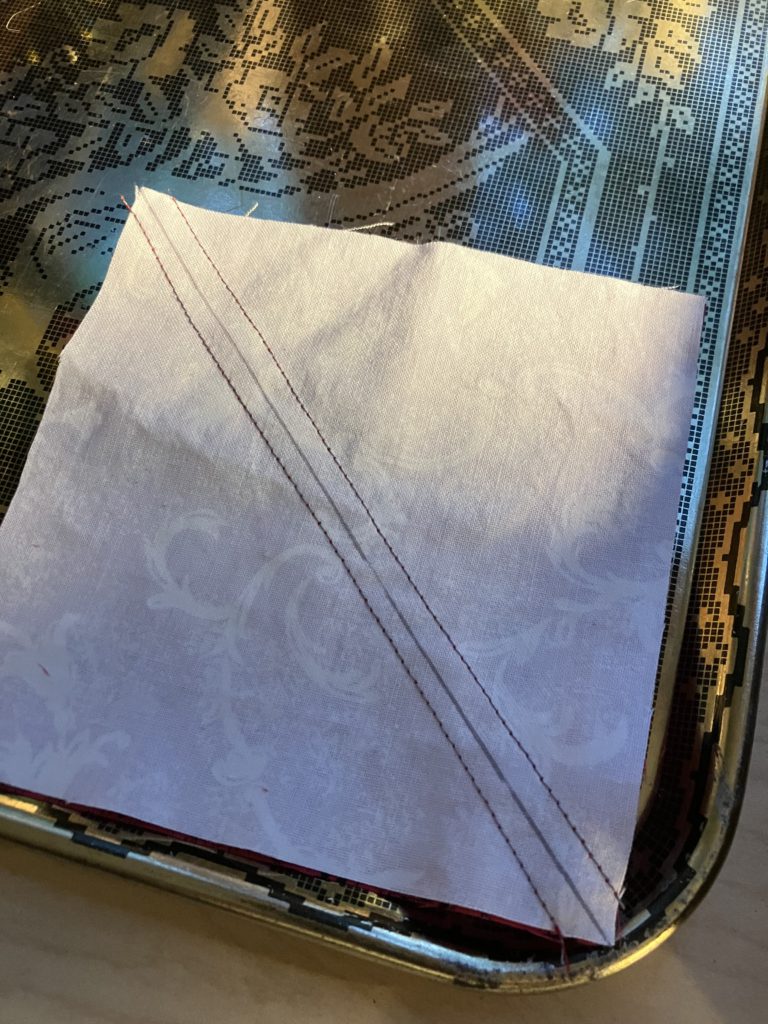
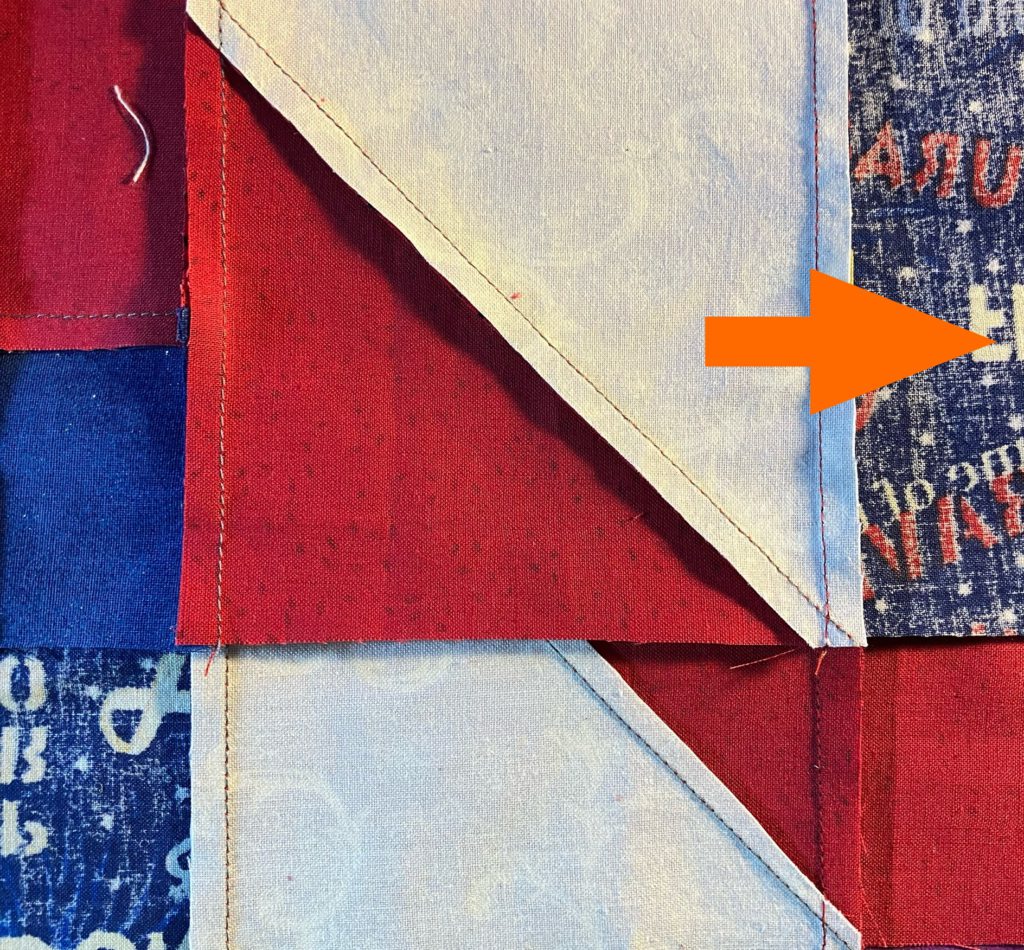
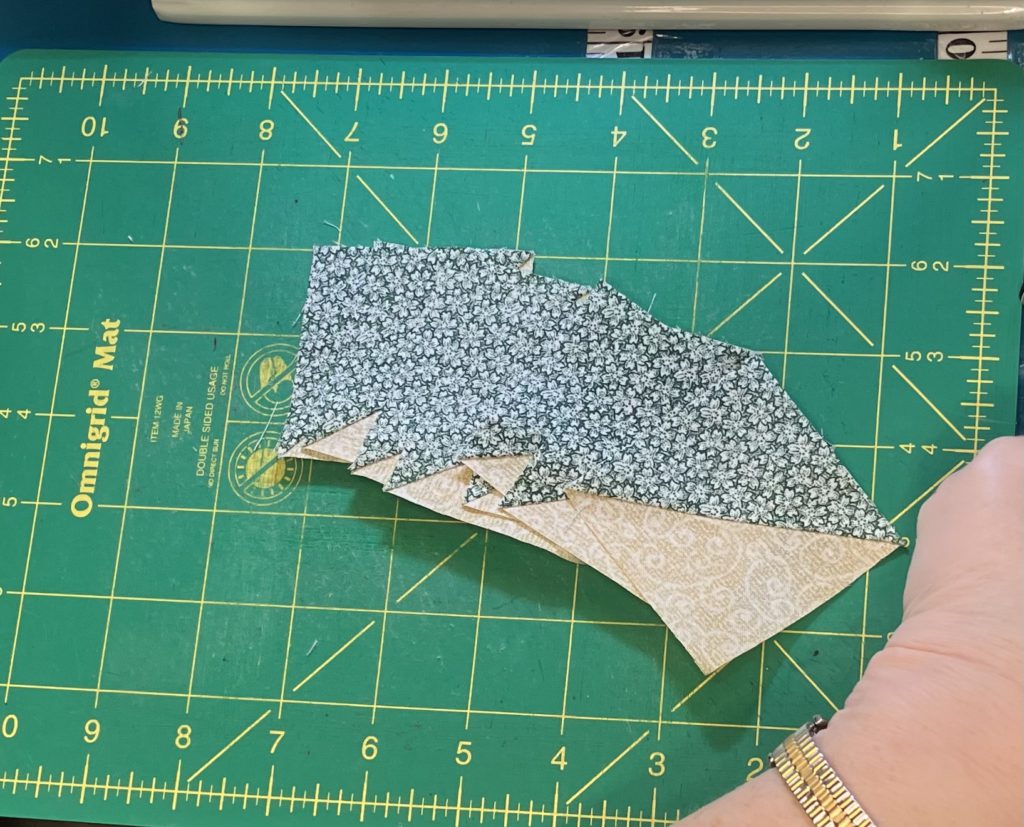
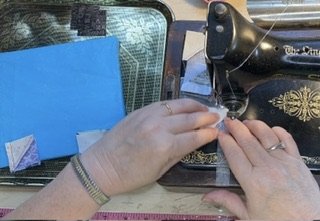
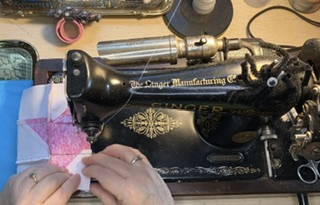
Now for the four half square triangles. I use the two at a time method. I draw a line on the back of the background square.
I sew a scant quarter inch seam on both sides of my drawn line.
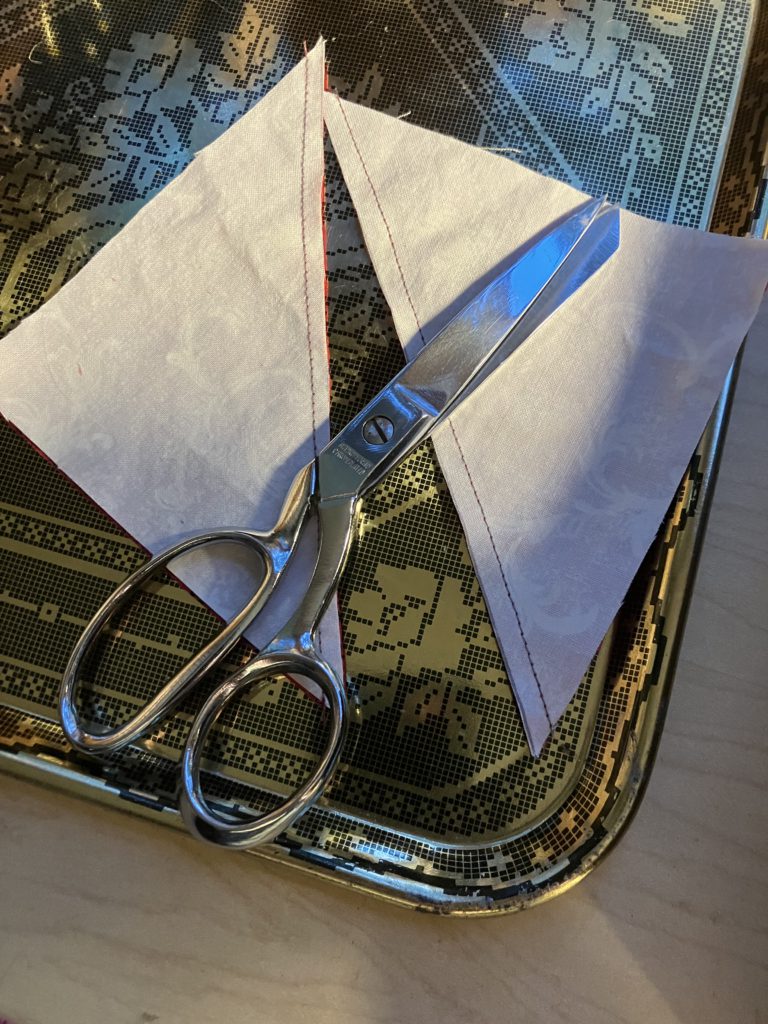
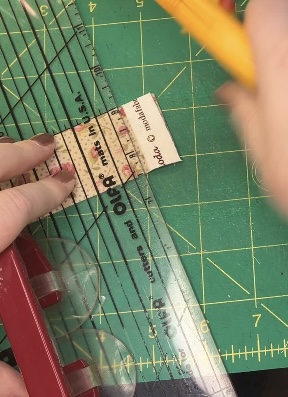
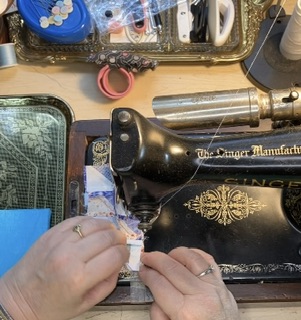
I use scissors to cut blocks apart. You can use a ruler and rotary cutter if you wish.
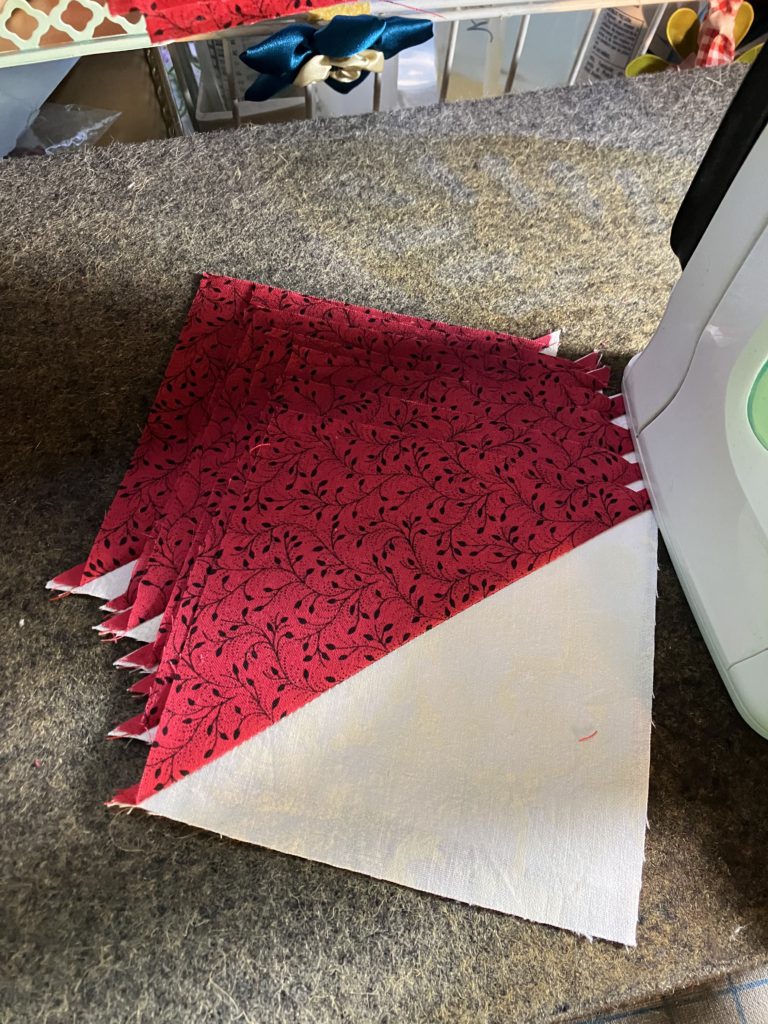
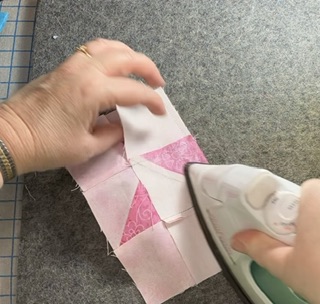
I am incredibly lazy. Not only do I speed piece, but I speed press, too. (I am making the 12 blocks for the layout all at one time!)
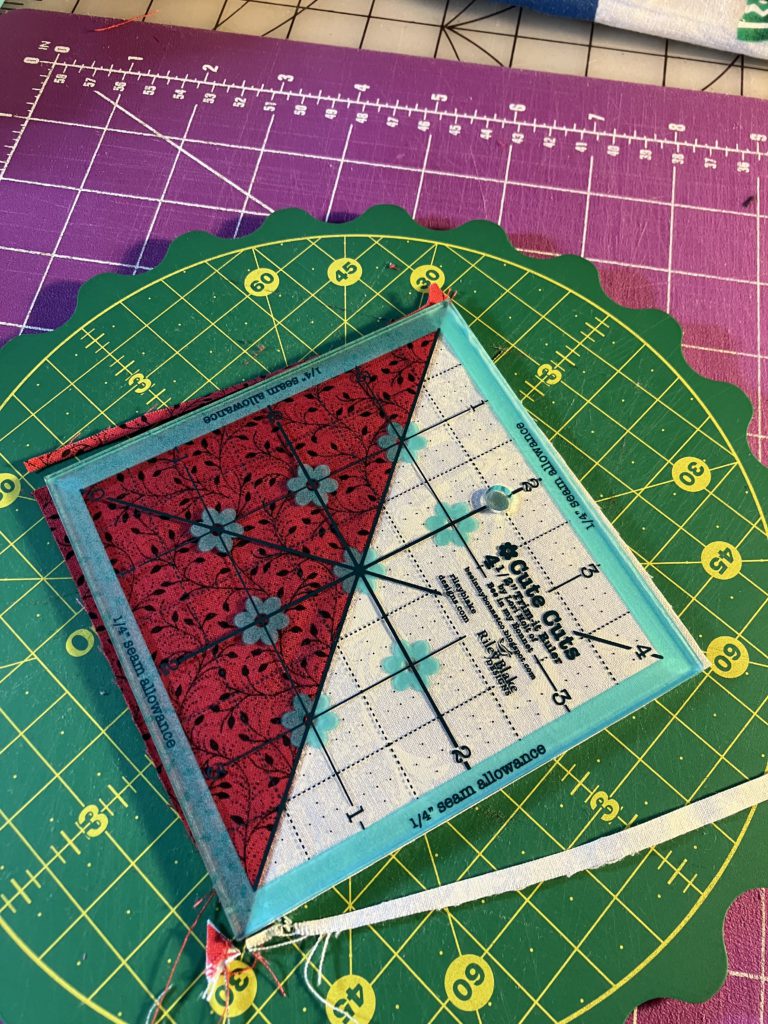
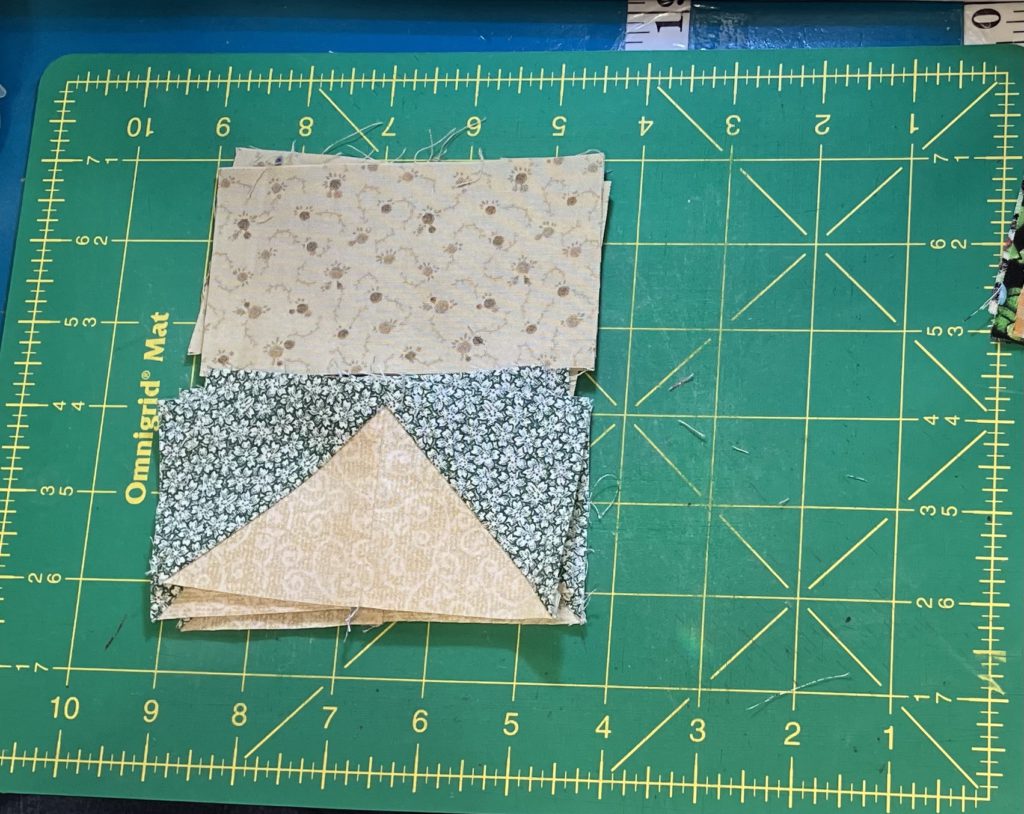
Trim blocks to 4 1/2″ for a perfect fit!
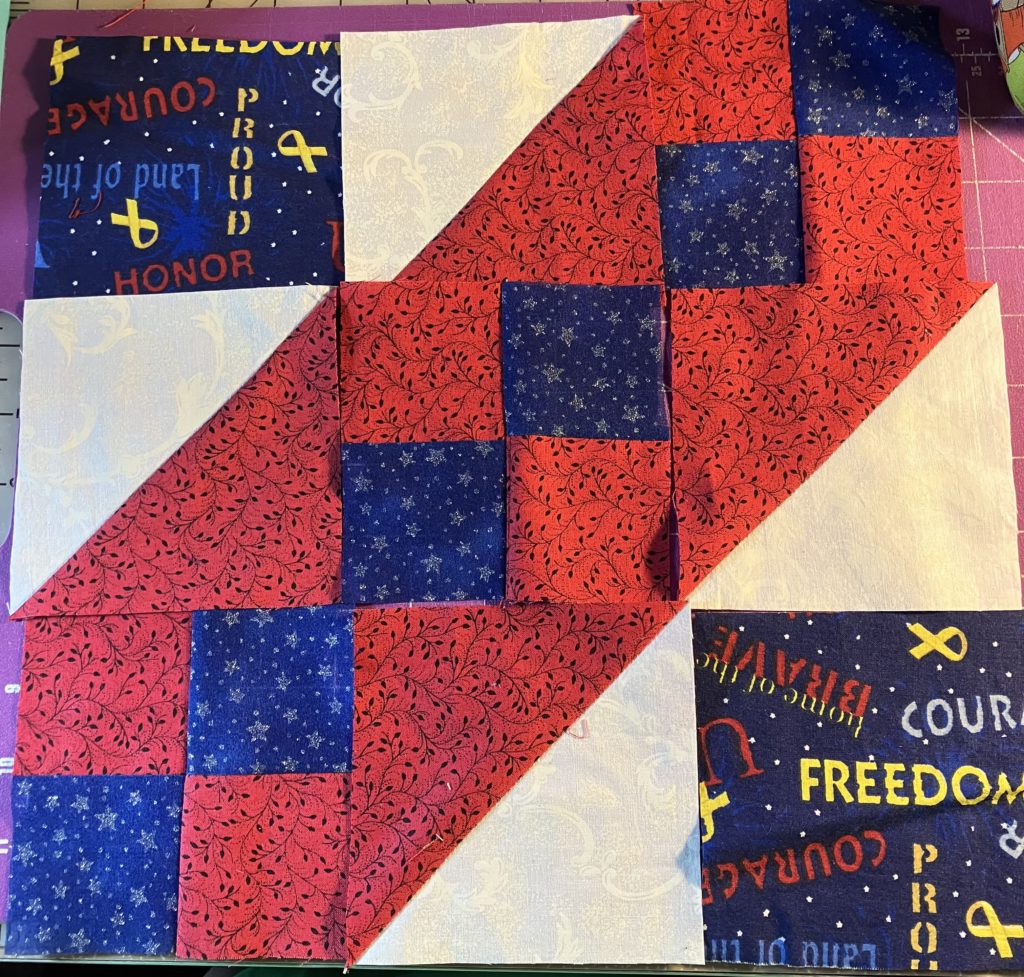
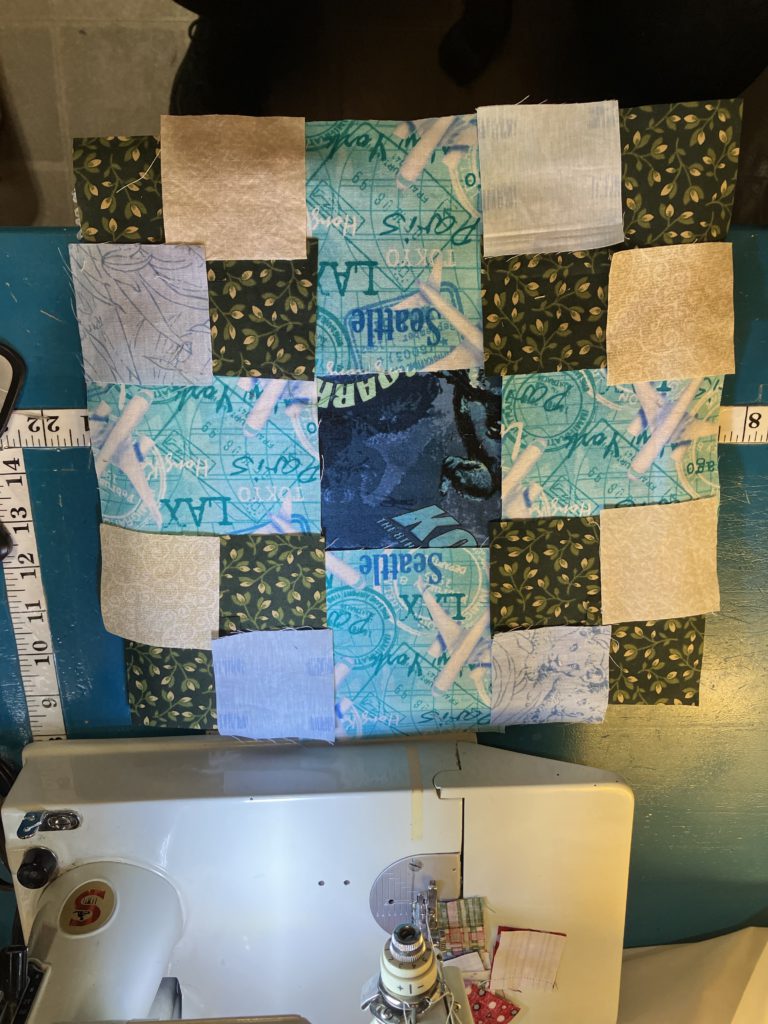
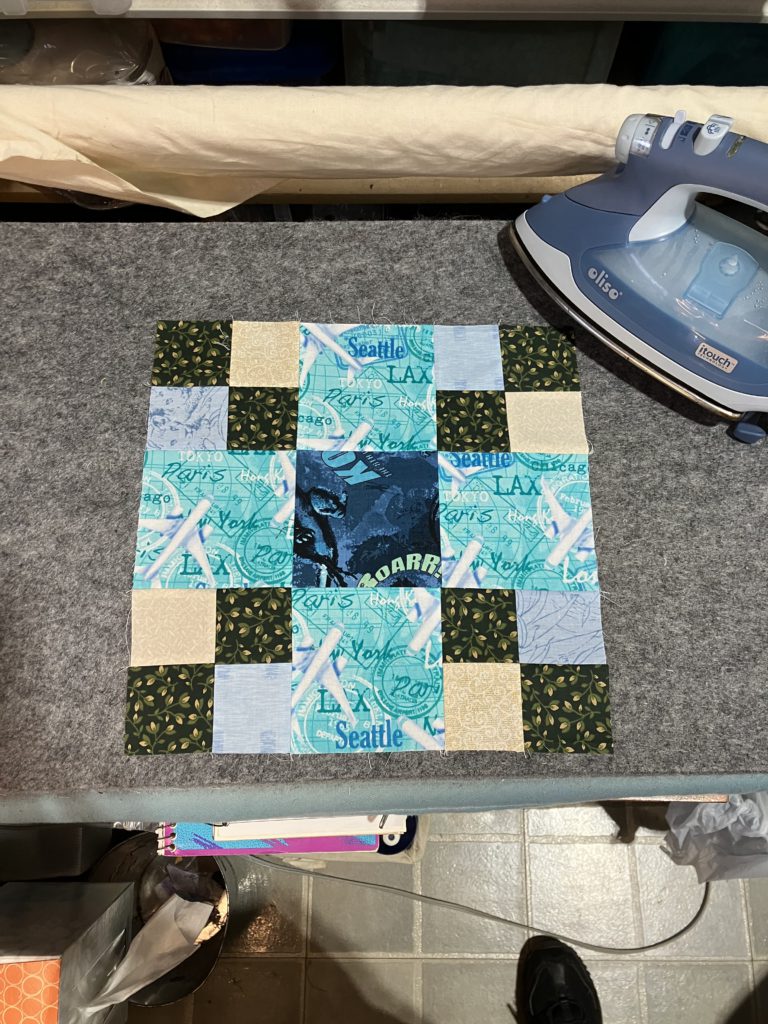
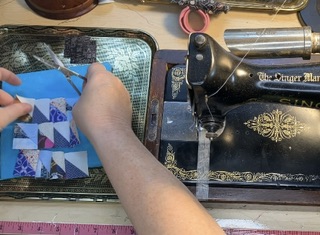
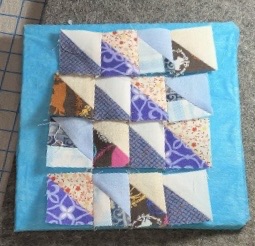
Lay the block out. Assemble in typical nine patch fashion…a row at a time.
It is an excellent scrap buster. Do not be intimidated by all the pieces that make up this beauty. I constructed 3 of these blocks as leader/ Enders between the blocks in my weather quilt.
This is the 8 1/2 inch version:
The four 4 patches and 4 x 4 patch are made from 1 1/2 inch blocks.
The eight hatchet units are made from light 2 1/2 inch squares with 2 of the corners ( opposite one another) snowballed to create the shape.
This is the last block from EQ5 inspiration for a little while! Don’t worry, I have many other inspirational sources so that I can continue to make blocks with you!
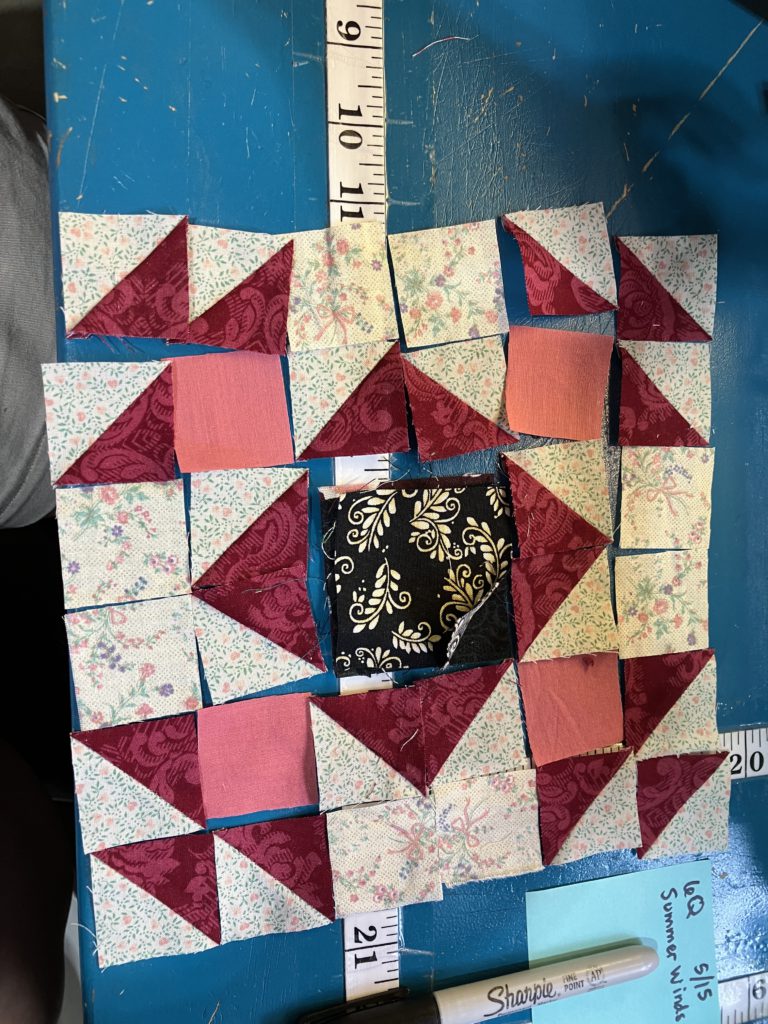
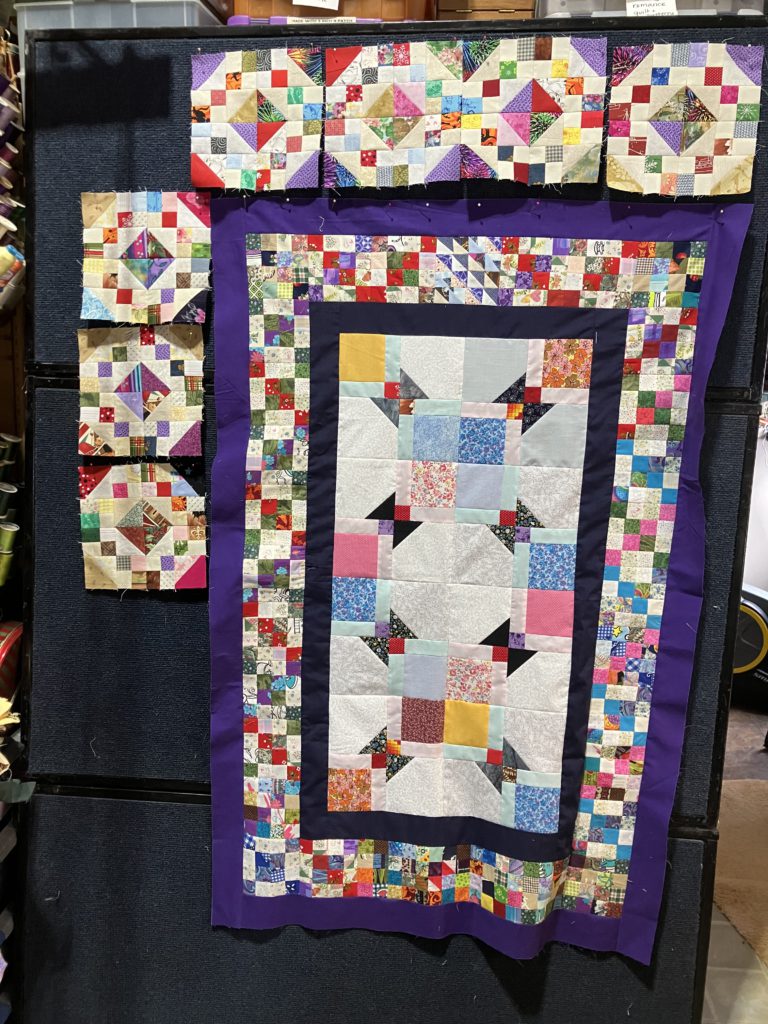
Here is the first summer winds block that I layed out for you in October of 2023:
It is great in super scrappy. I did keep the center half square triangles the same color.
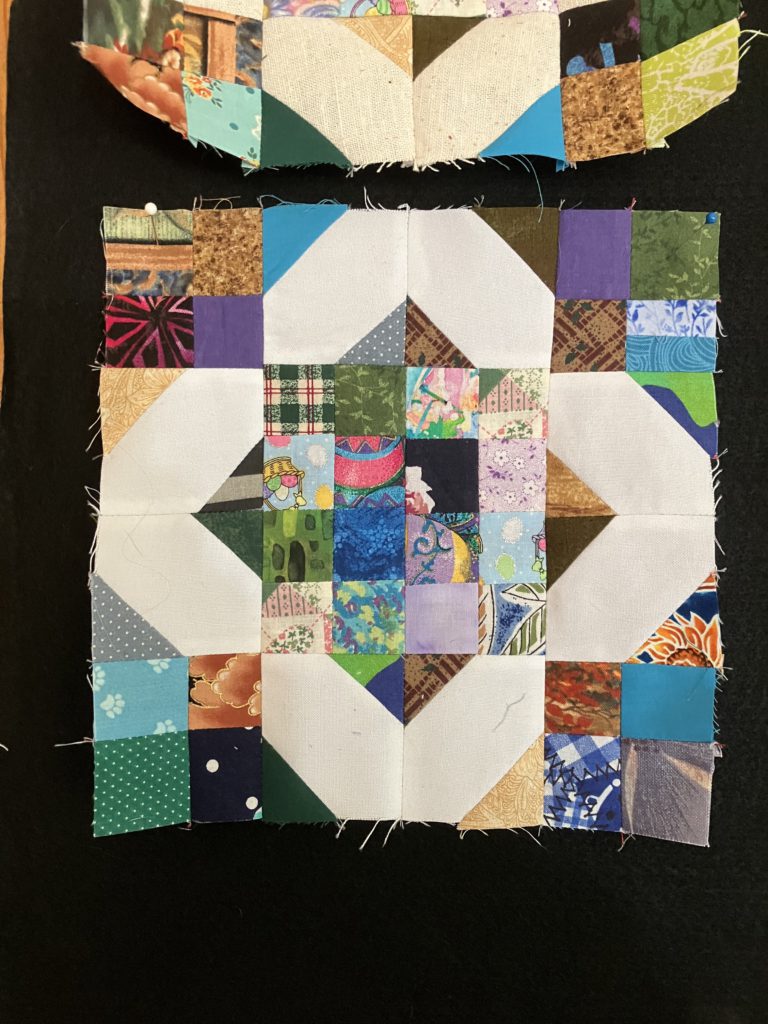
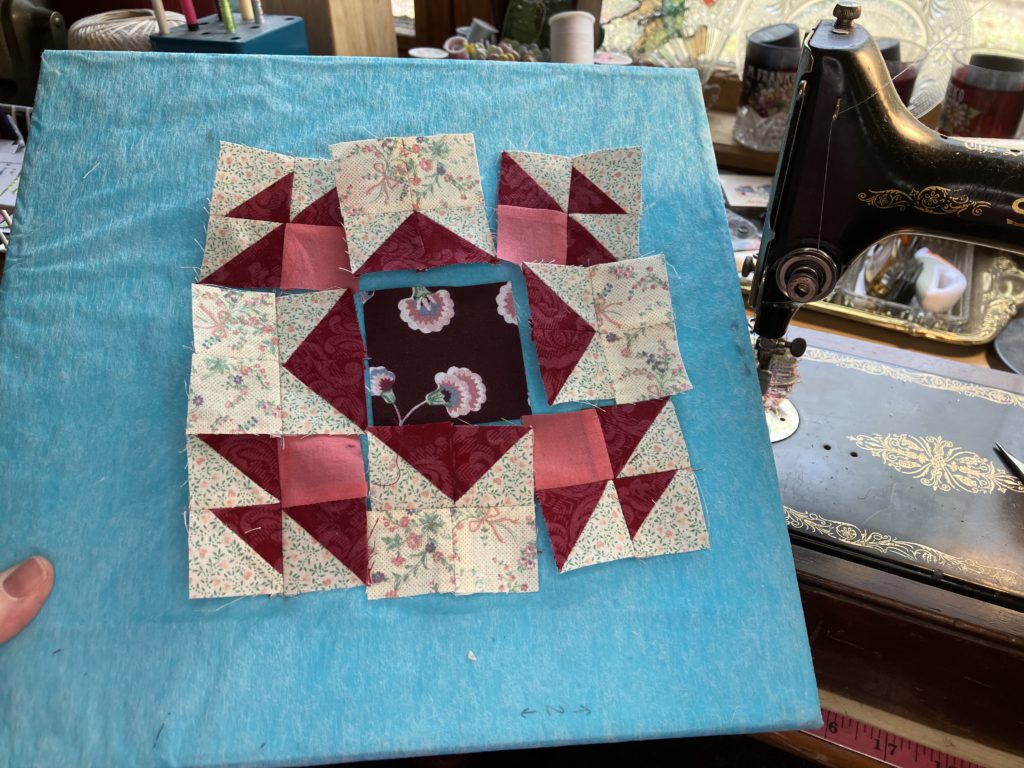
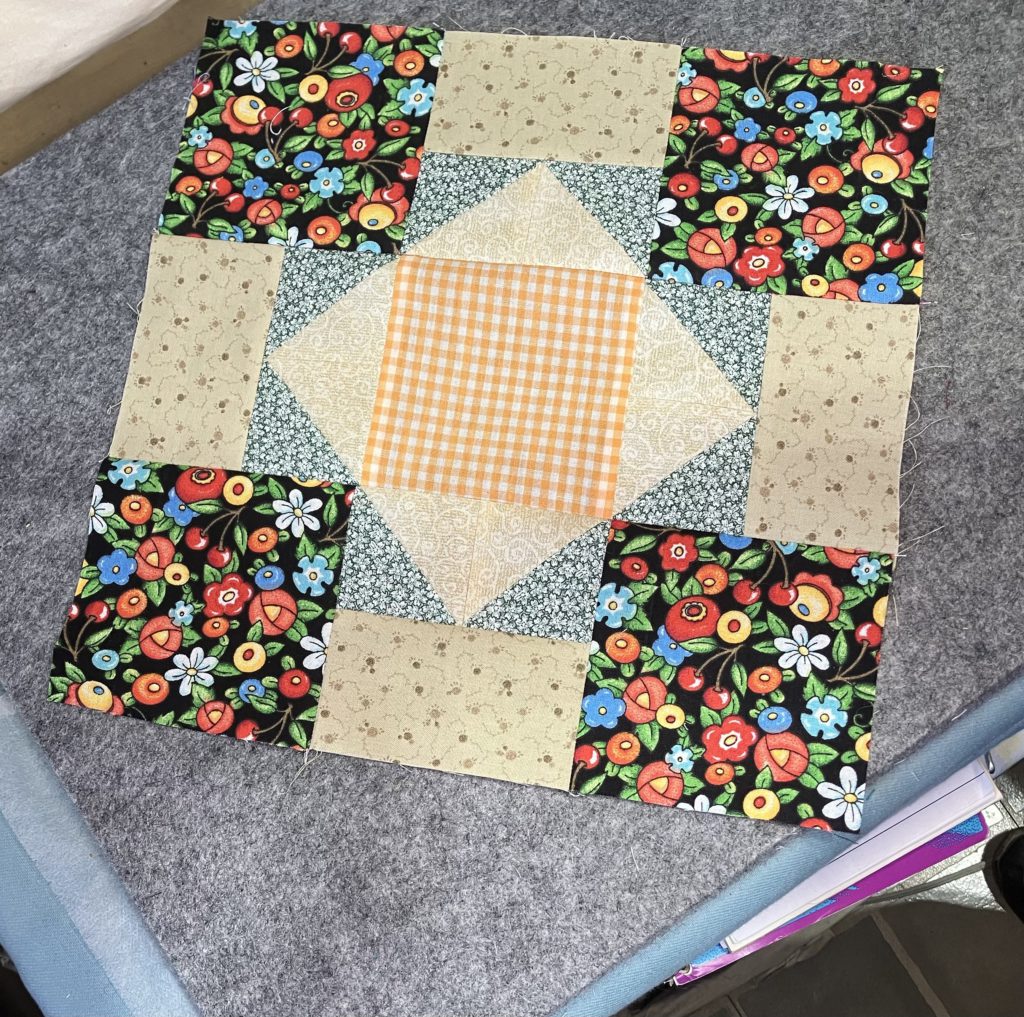
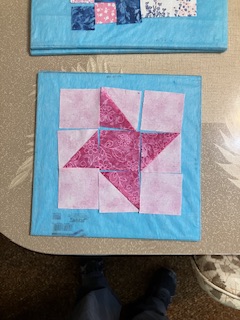
Here is the 6 1/2″ version that we are constructing today:
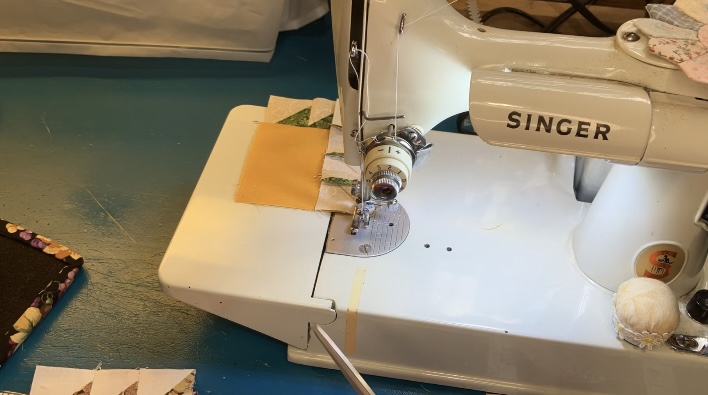
I changed the center block. I also pieced the block in units, so I could assemble it like a classic nine patch to finish it. I pressed most of the seams open to cut down on the bulk.
This is a great block to use up some of those bonus half square triangles. This block measures 6 1/2 inches for the purposes of this post. See the video presentation here.
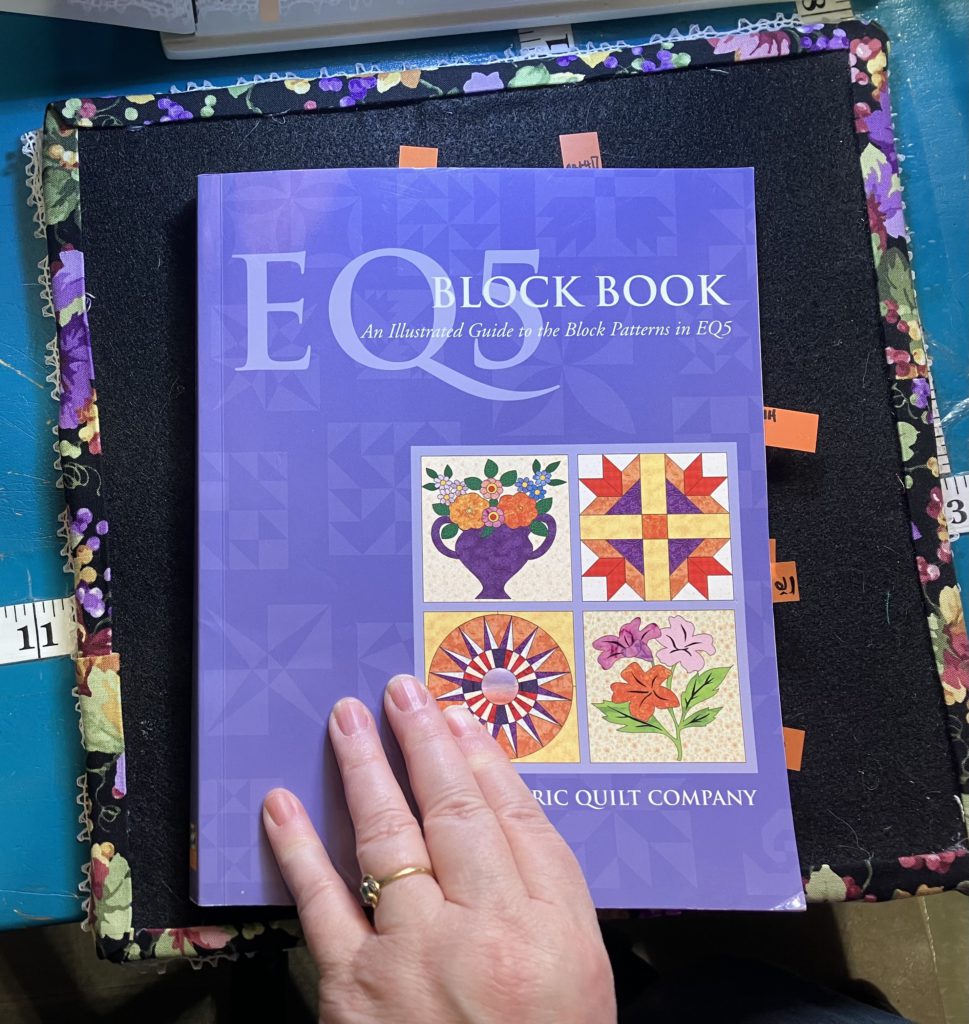
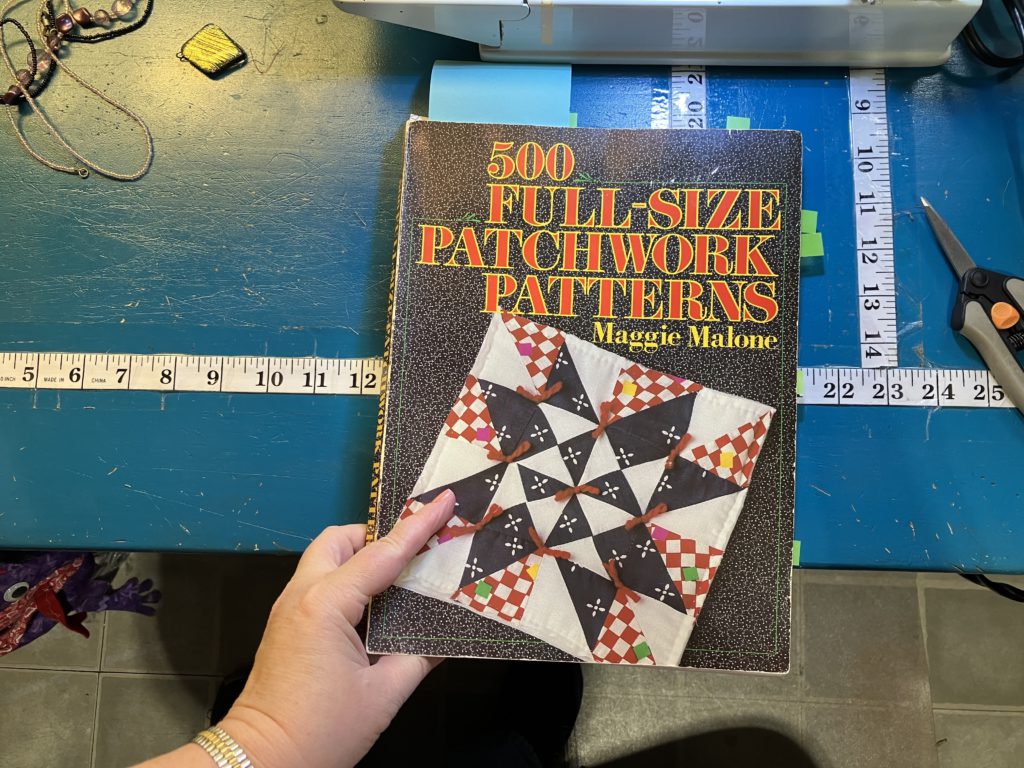
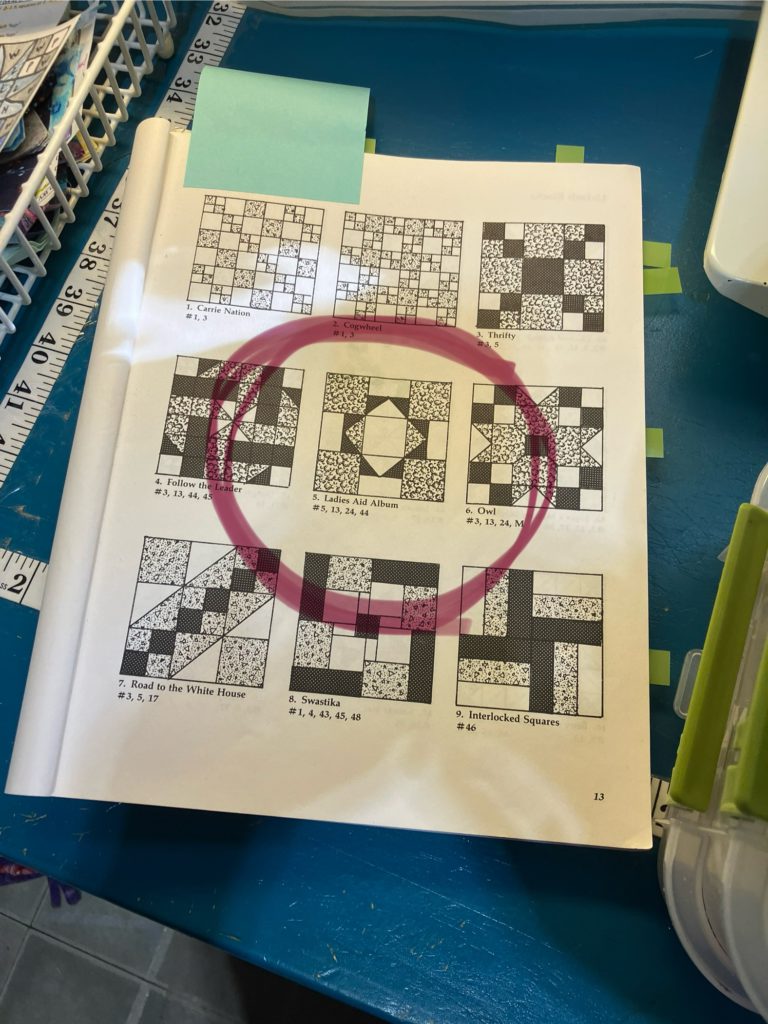
I got the idea for this block from this book. I think I changed the color placement by the time I was finished…and that probably changed the block and its name! Fundamentally, it is the same block in the end.
A cutting chart for the block and other sizes is at the end of this post.
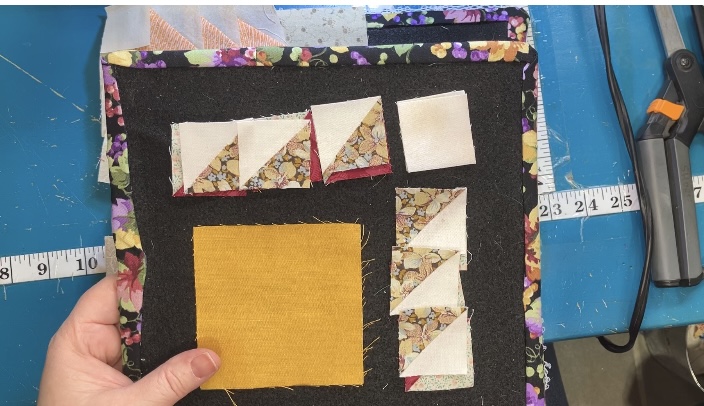
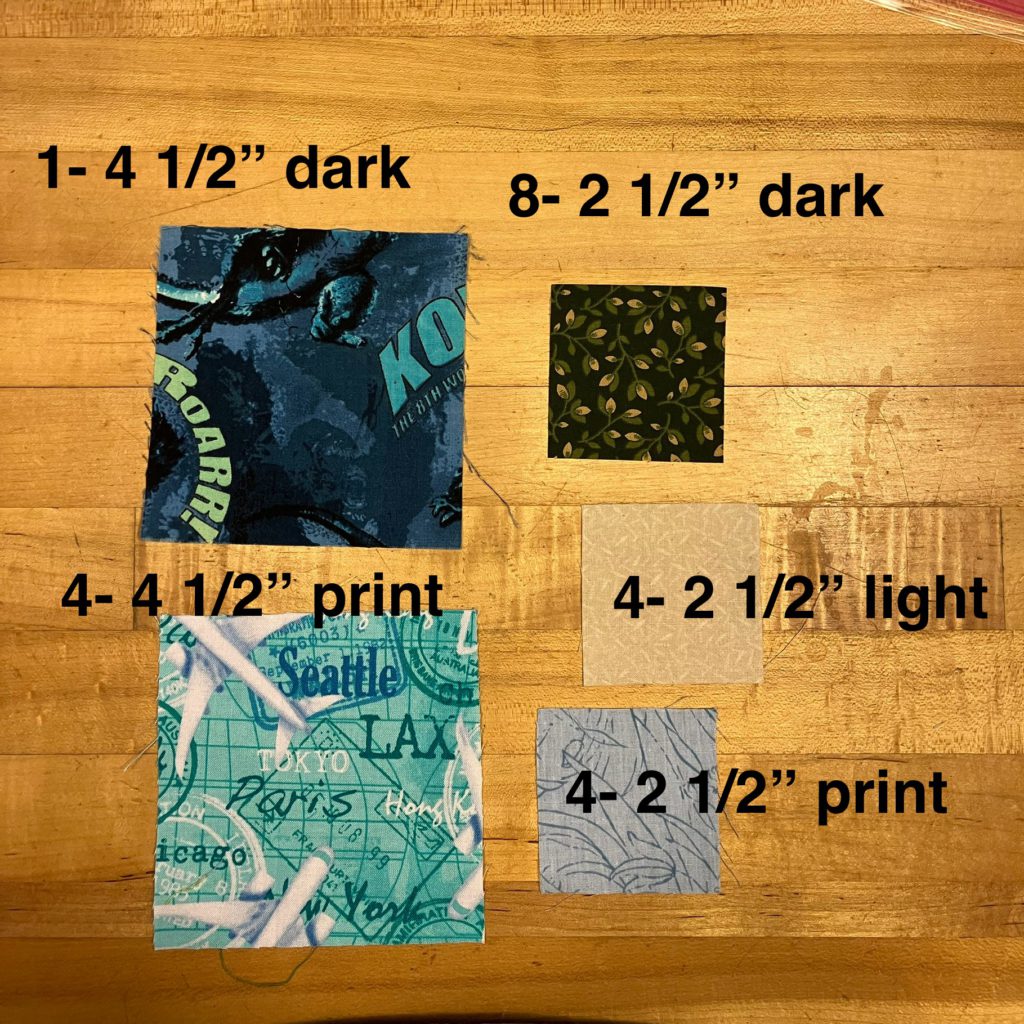
To make a 6 1/2 inch block, you will need the following pieces:
Note that the eight 1 1/2 inch half square triangles are bonus blocks from other projects. I have an abundance of these on hand…time to use them up. You could easily use the 2 at a time triangle method or whatever method you prefer. You could even use the four at a time flying geese method.
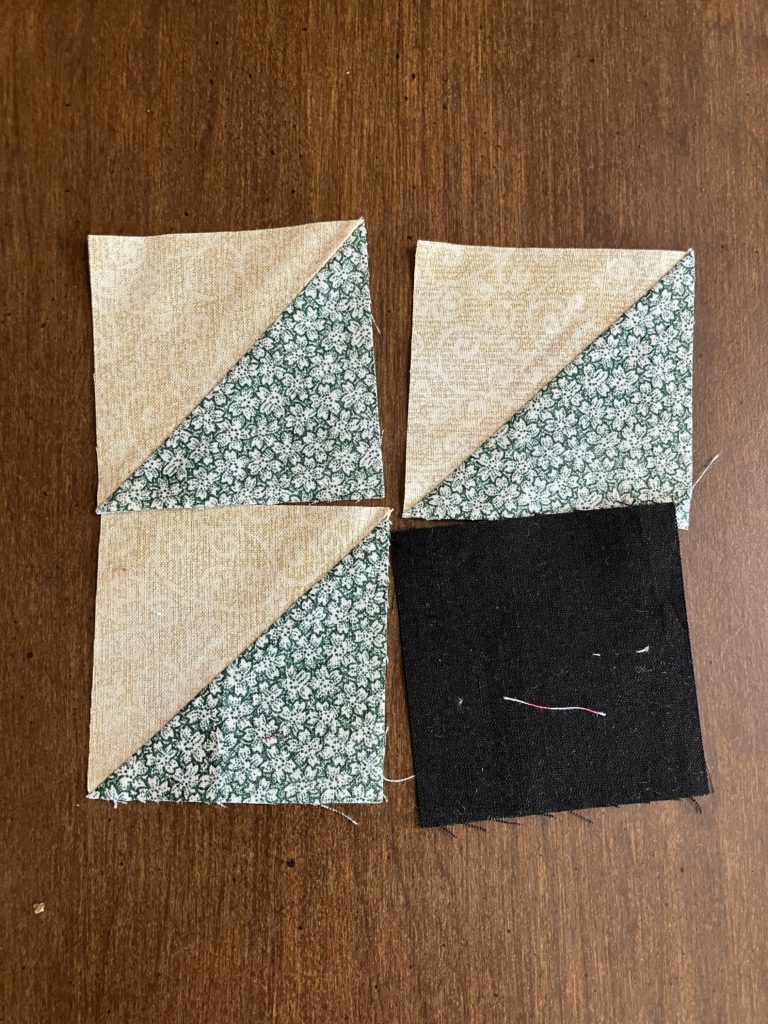
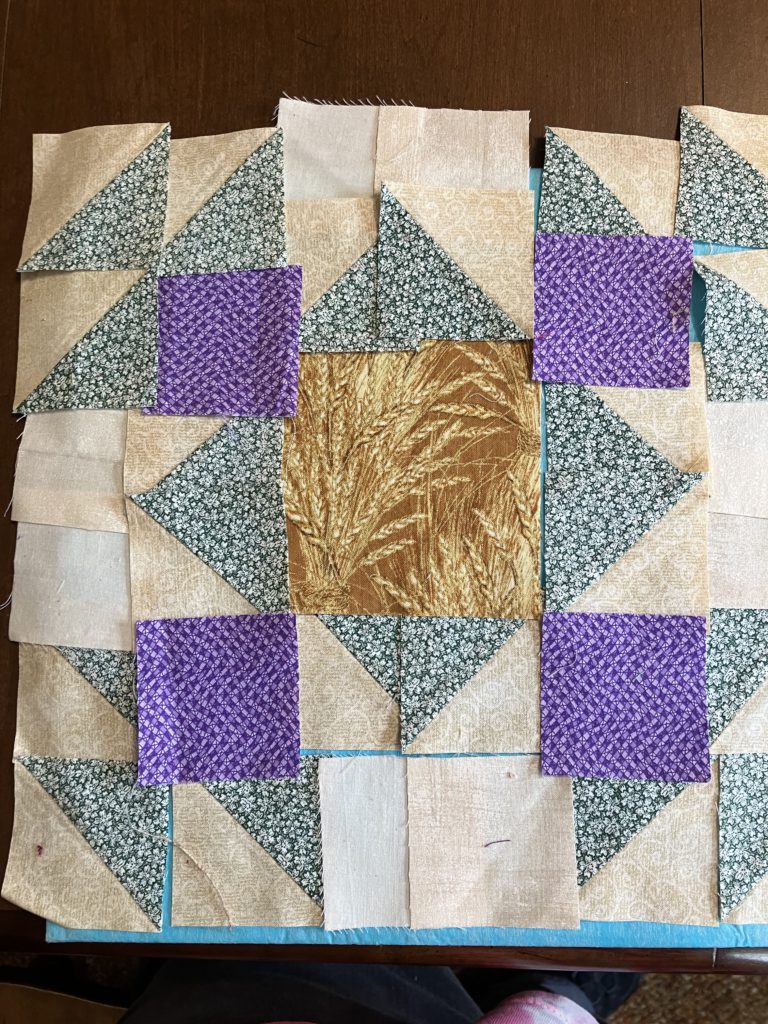
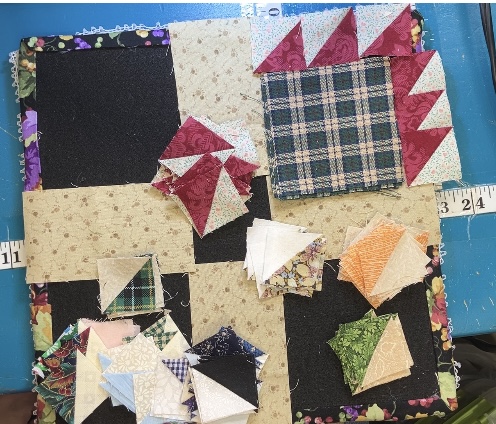
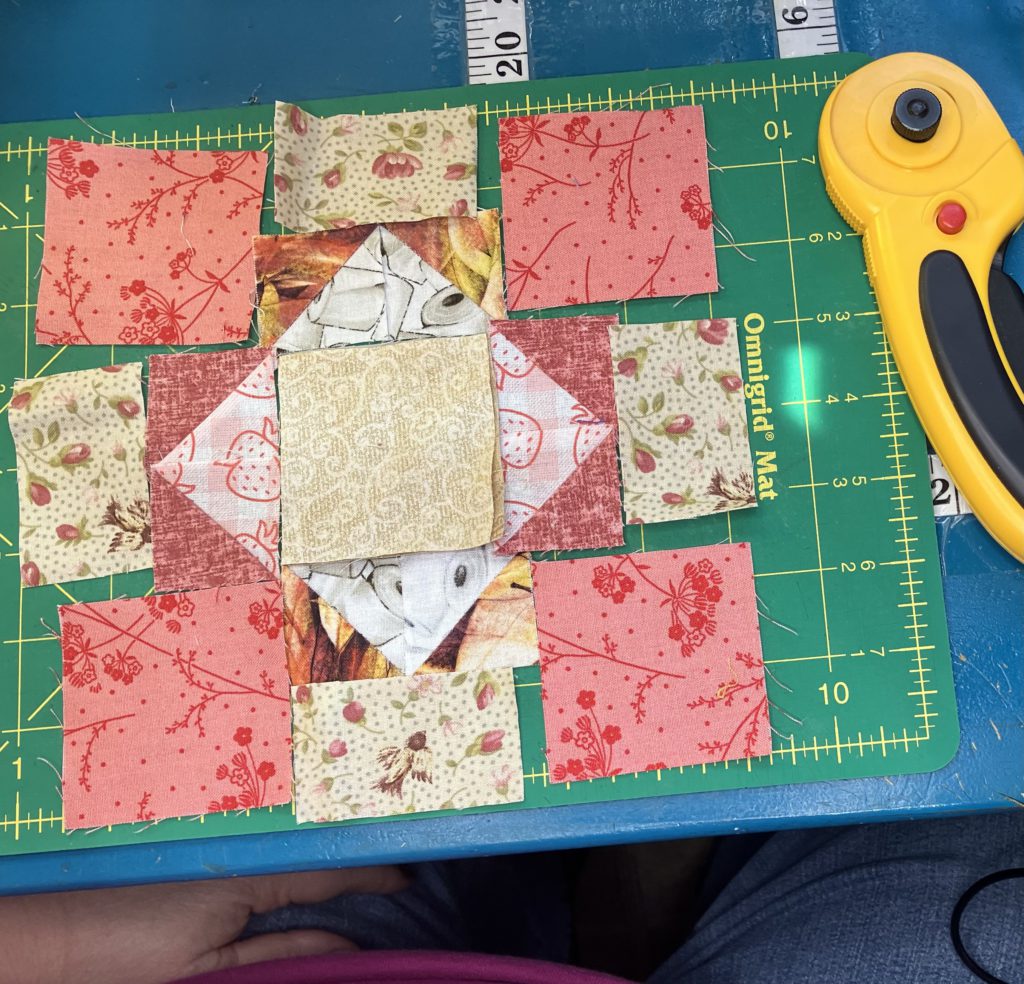
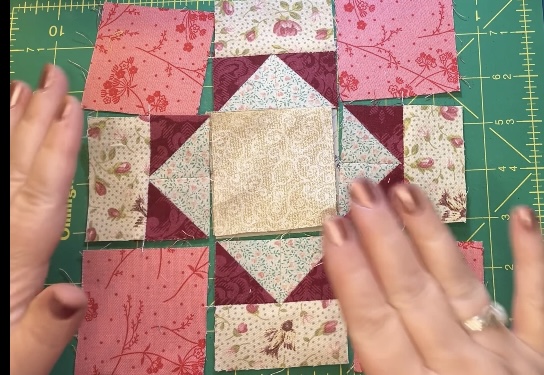
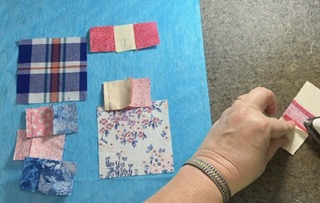
Here is my initial layout of the block:
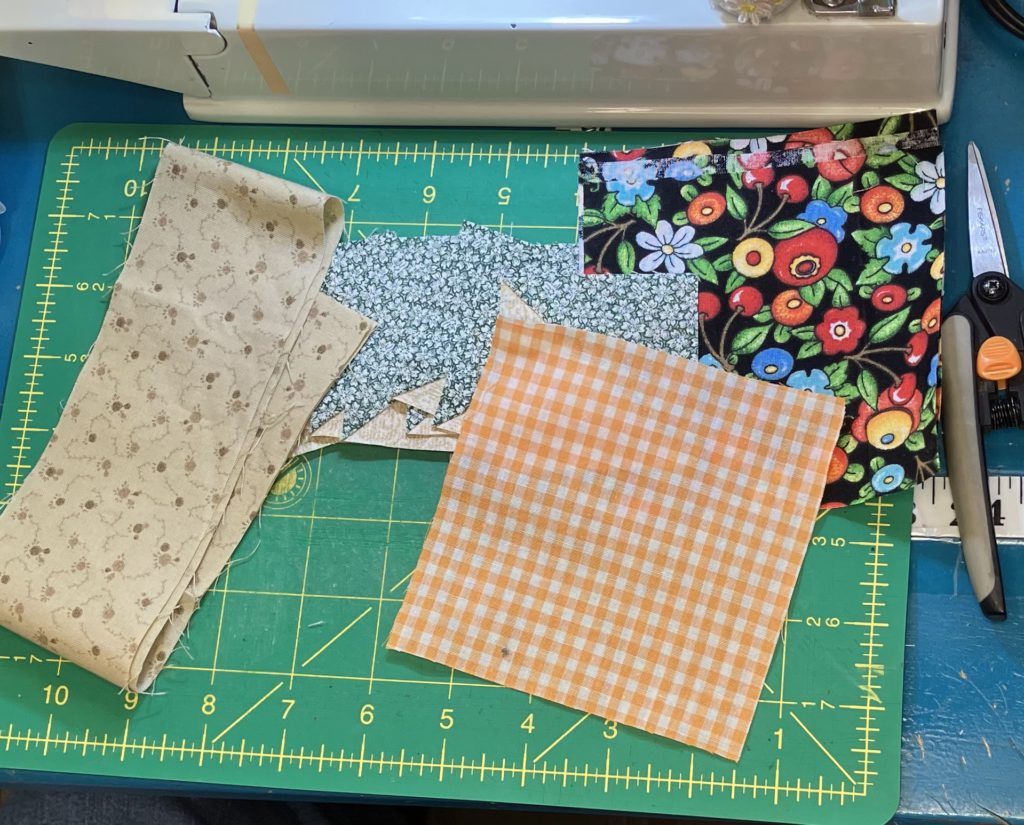
I chose four 2 1/2″ squares for the corners from the scrap bin.
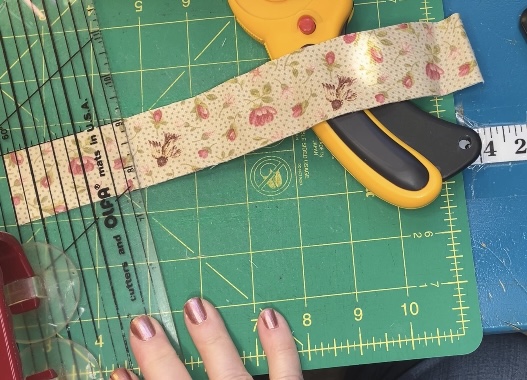
I found this great 2 1/2″ strip in that box for the rectangles.
I couldn’t decide which block to use for the center…what to do?
When I went to the cutting table to cut that nice tan background fabric, I found this strip right on top of my pile of scraps! Fantastic! Why didn’t I think about using a 1 1/2″ strip to cut?
I cut the strip into four 2 1/2″ pieces for the background…better.
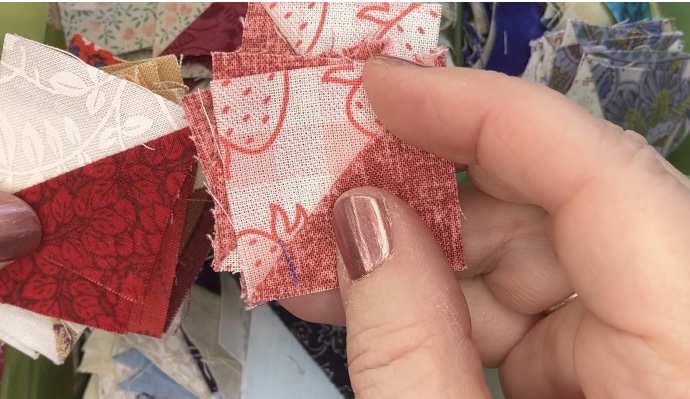
I was looking for four of one kind of half square triangle bonus block and four of another kind. I was looking for something with pink or red as dark colors in both. I was trying to follow the picture pattern. The strawberries are cute.
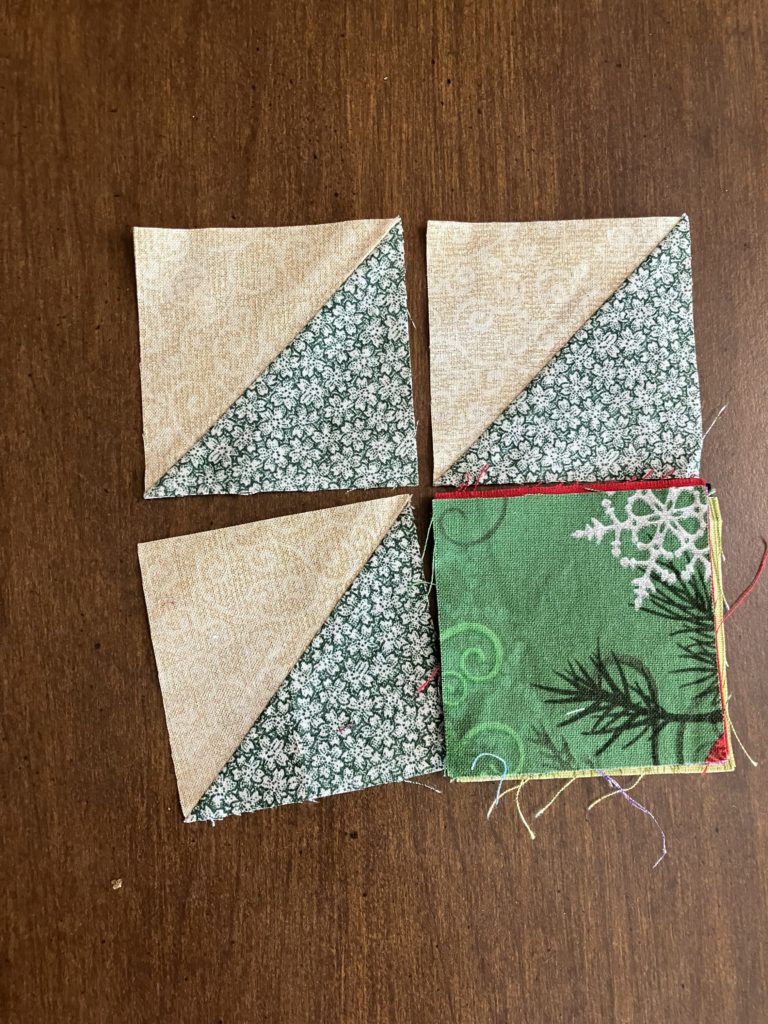
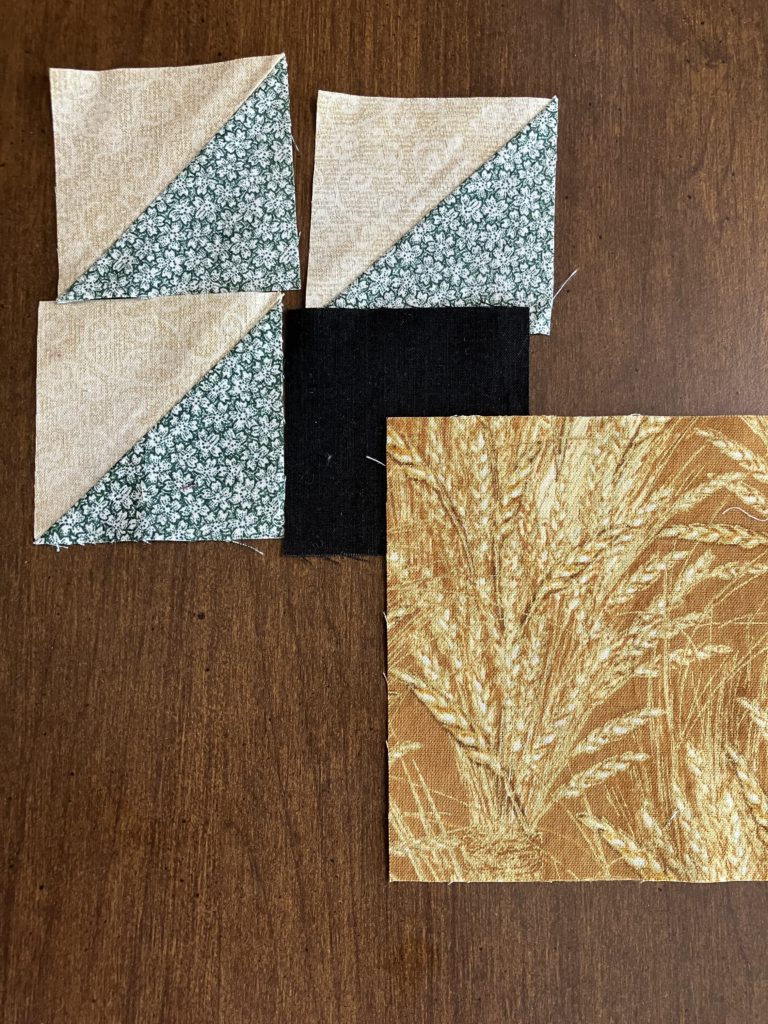
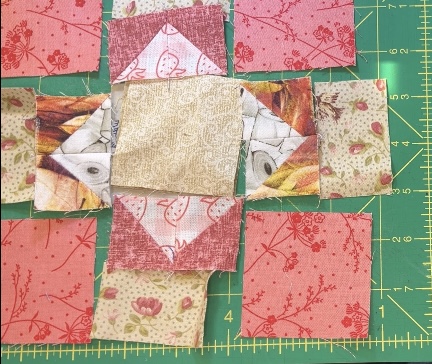
Here is what I initially came up with for the flying geese:
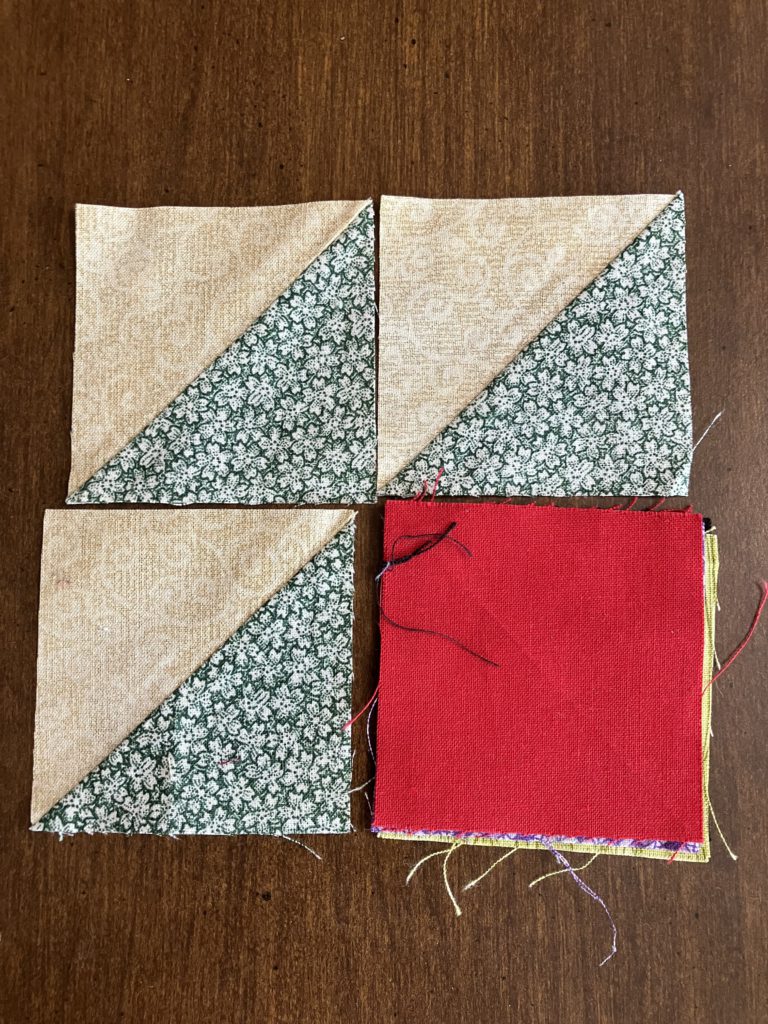
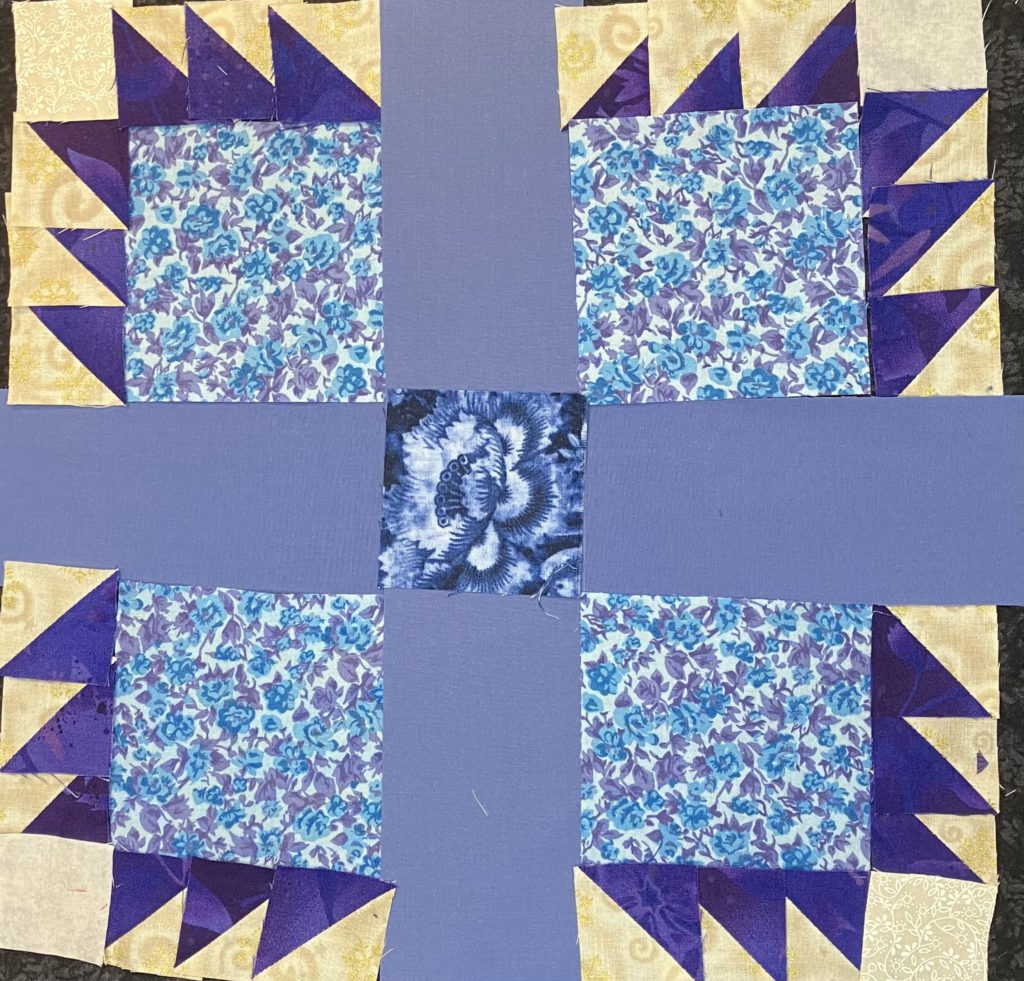
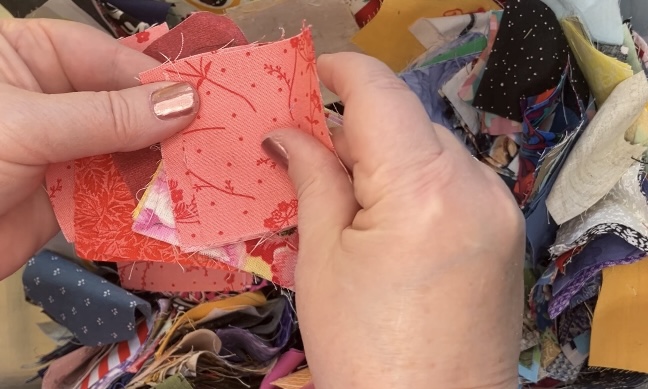
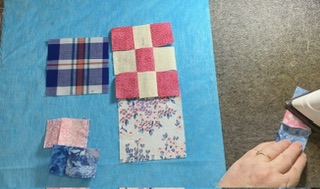
That looked so busy and disjointed to me. I keep looking at the box of squares sitting there beside the sewing machine. I decided to try these bonus blocks.
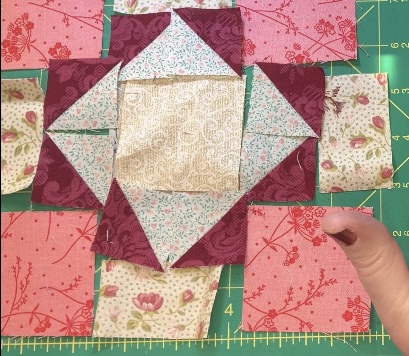
Much better for me! (The first one was okay, too, but I like this one just a little better…) Remember, make the block that you love! Now to choose the center!
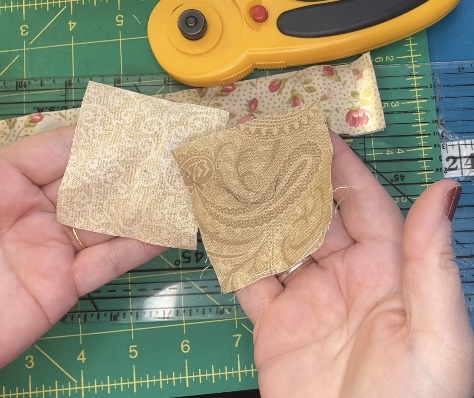
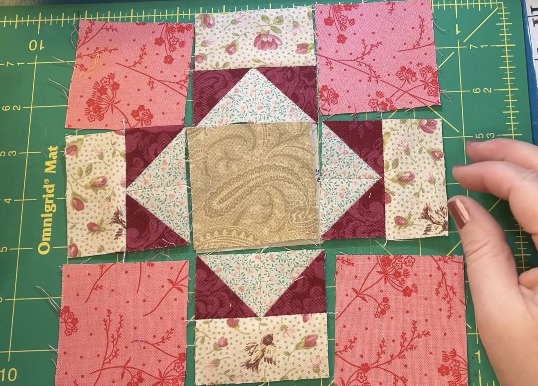
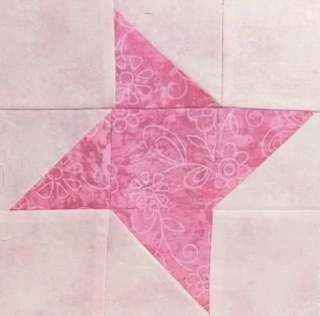
Light swirl fabric with a touch of glitter is nice.
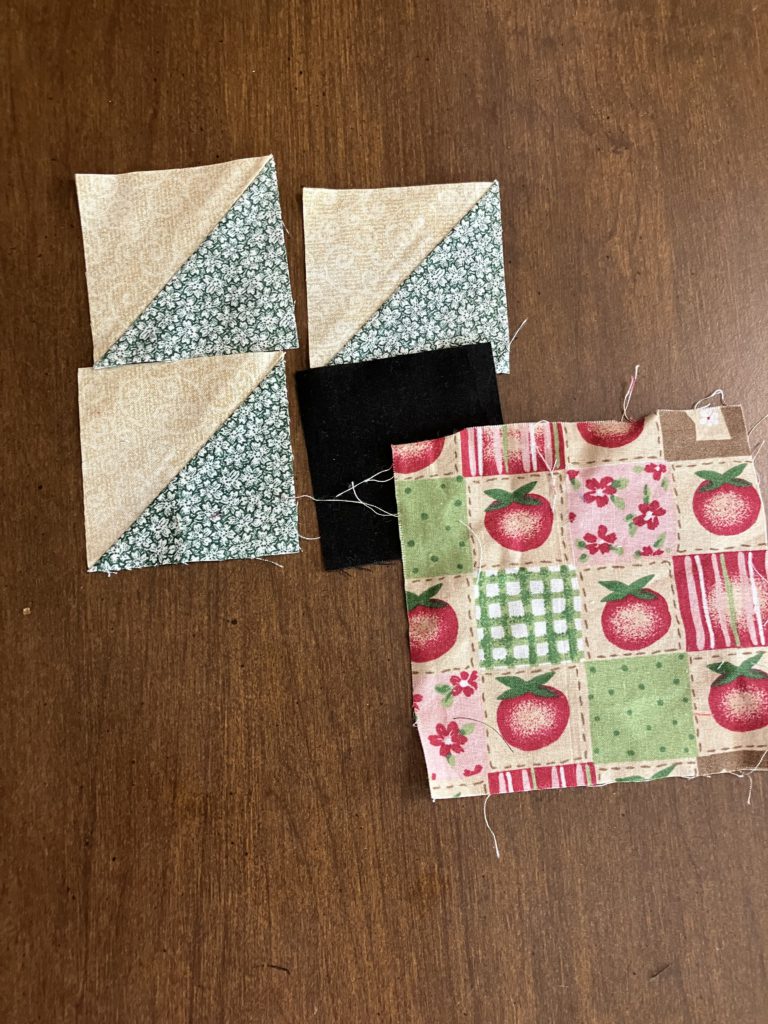
Slightly darker paisley looks good, too…a nice contrast…brings out the birds in the background a little.
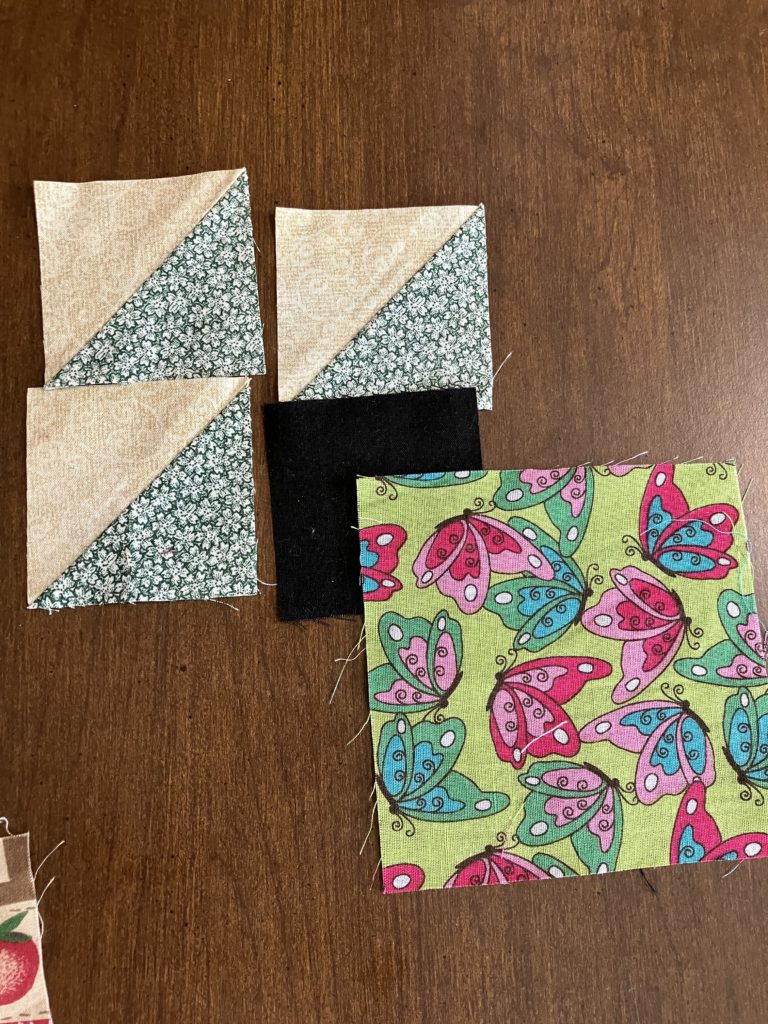
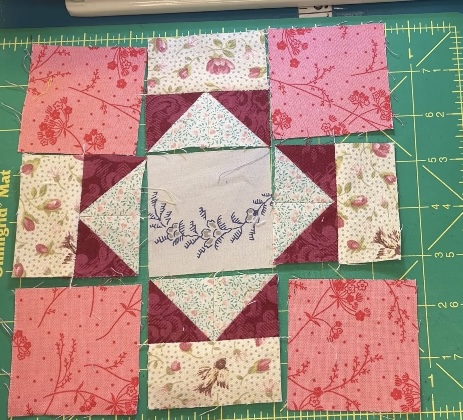
Nice detail across the middle of this block, but the color isn’t quite right…and it looks flat compared to the first two choices.
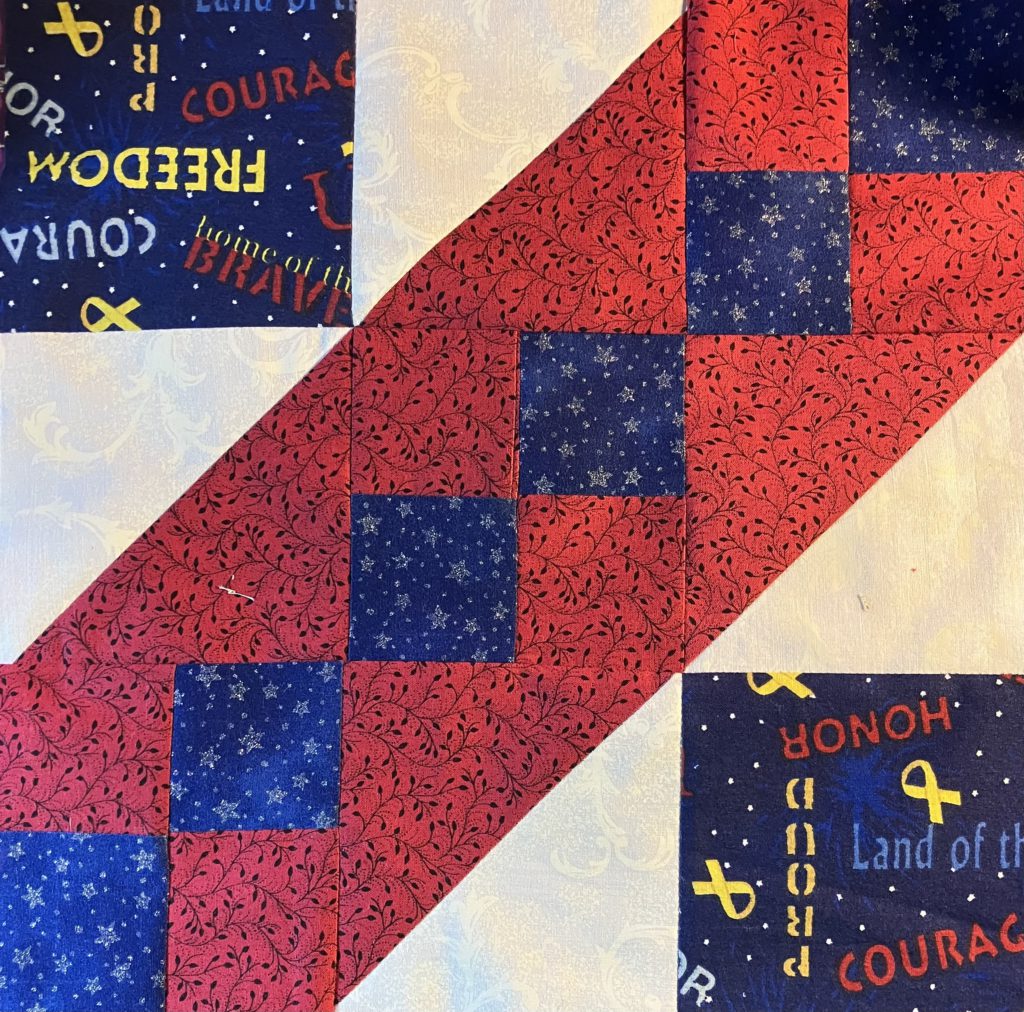
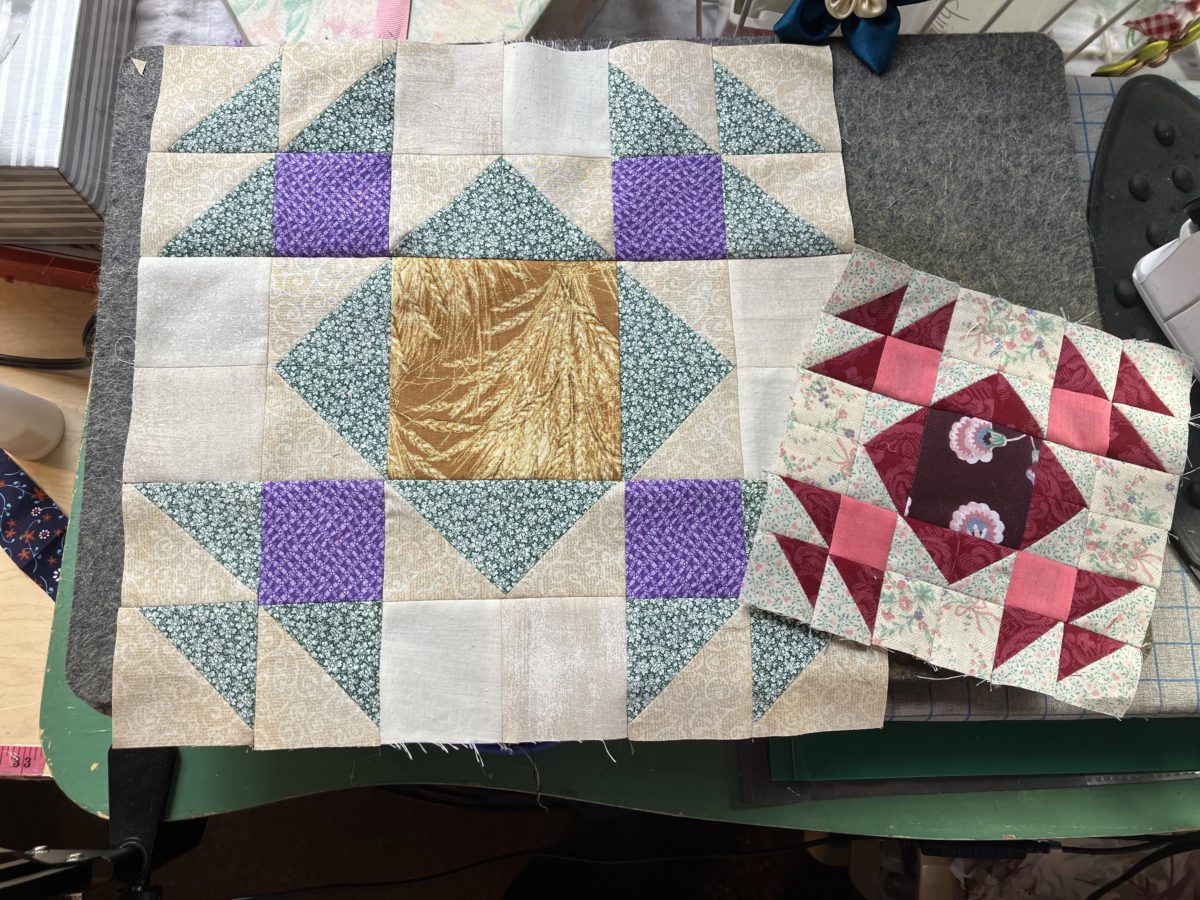
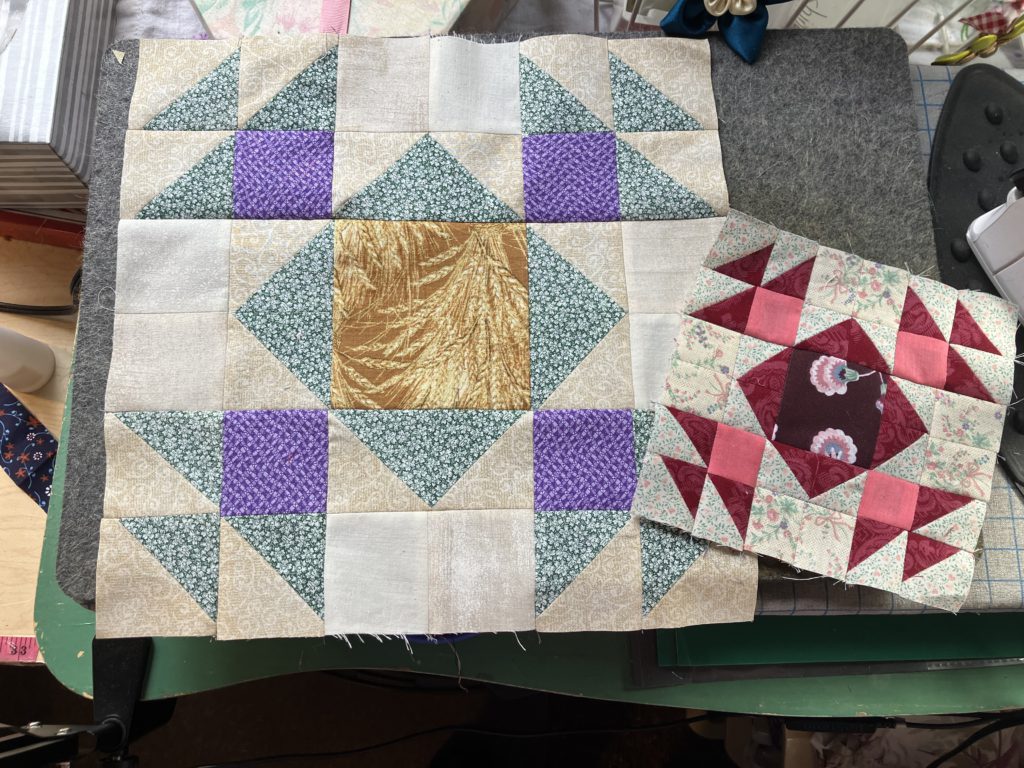
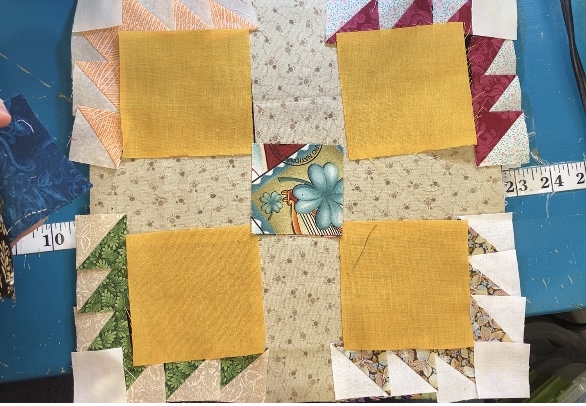
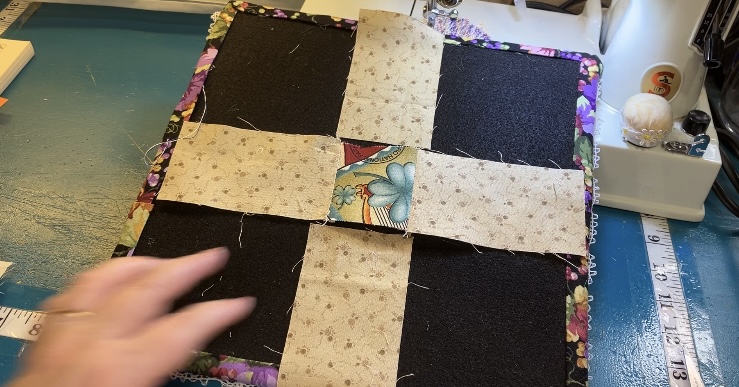
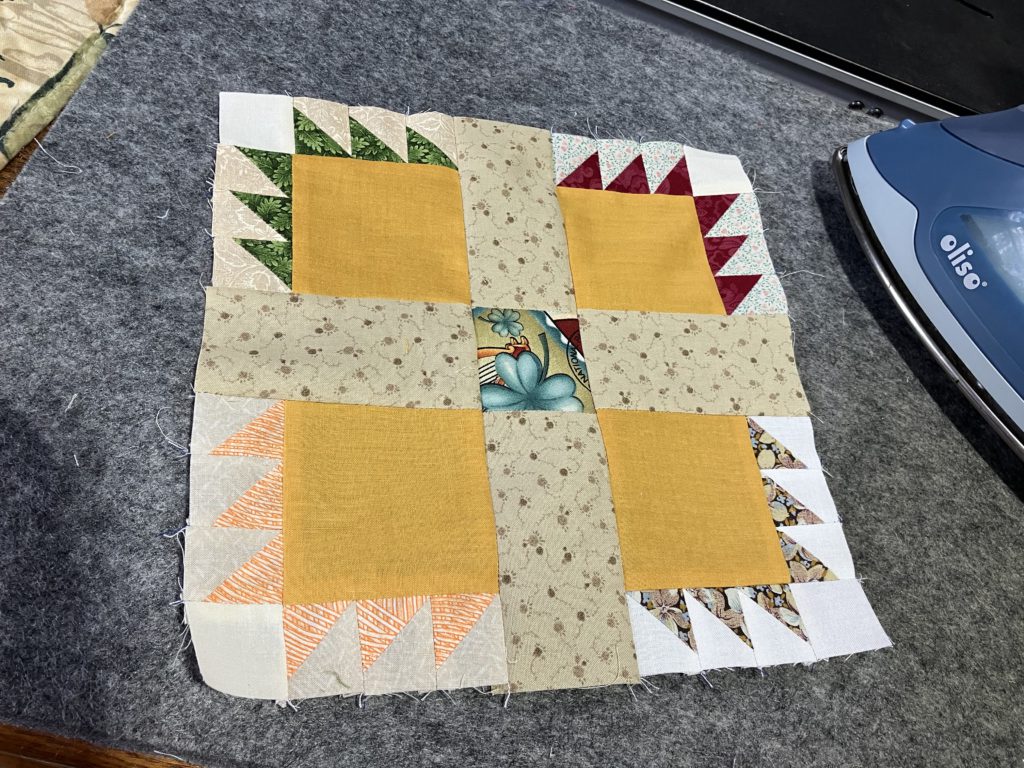
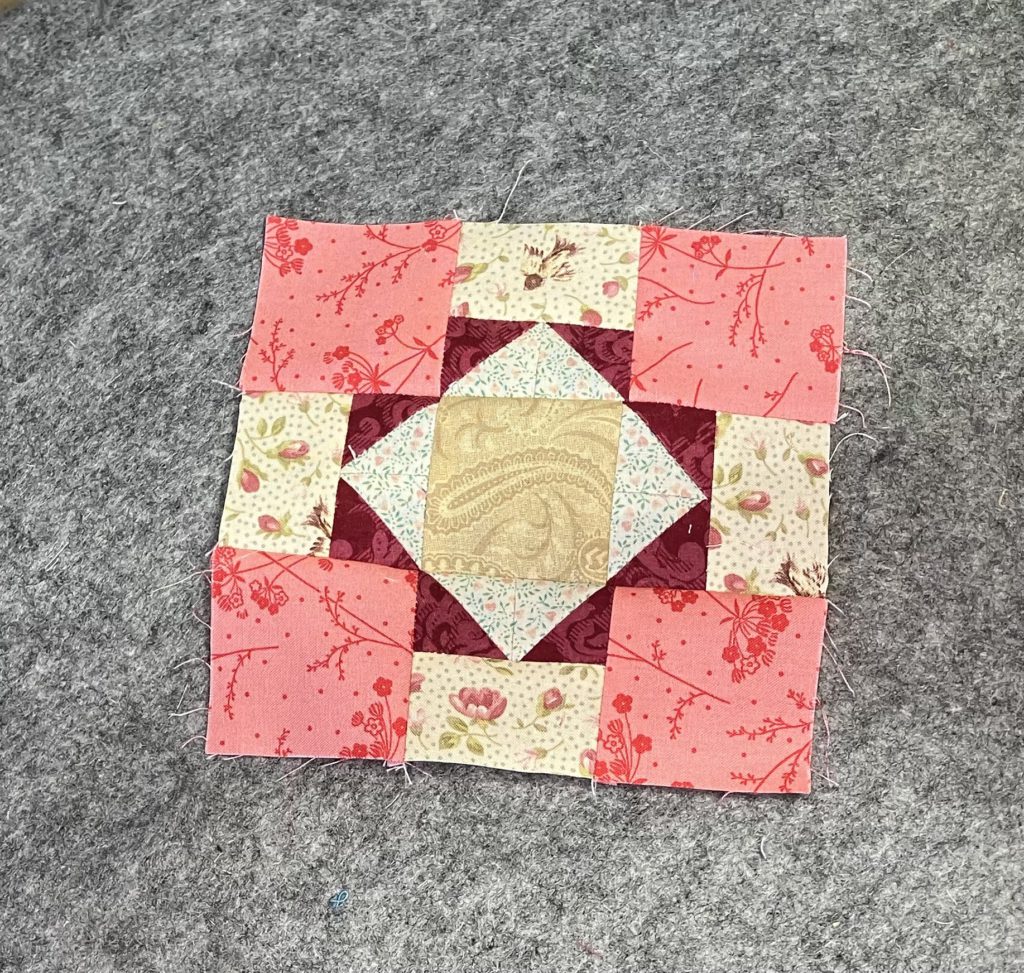
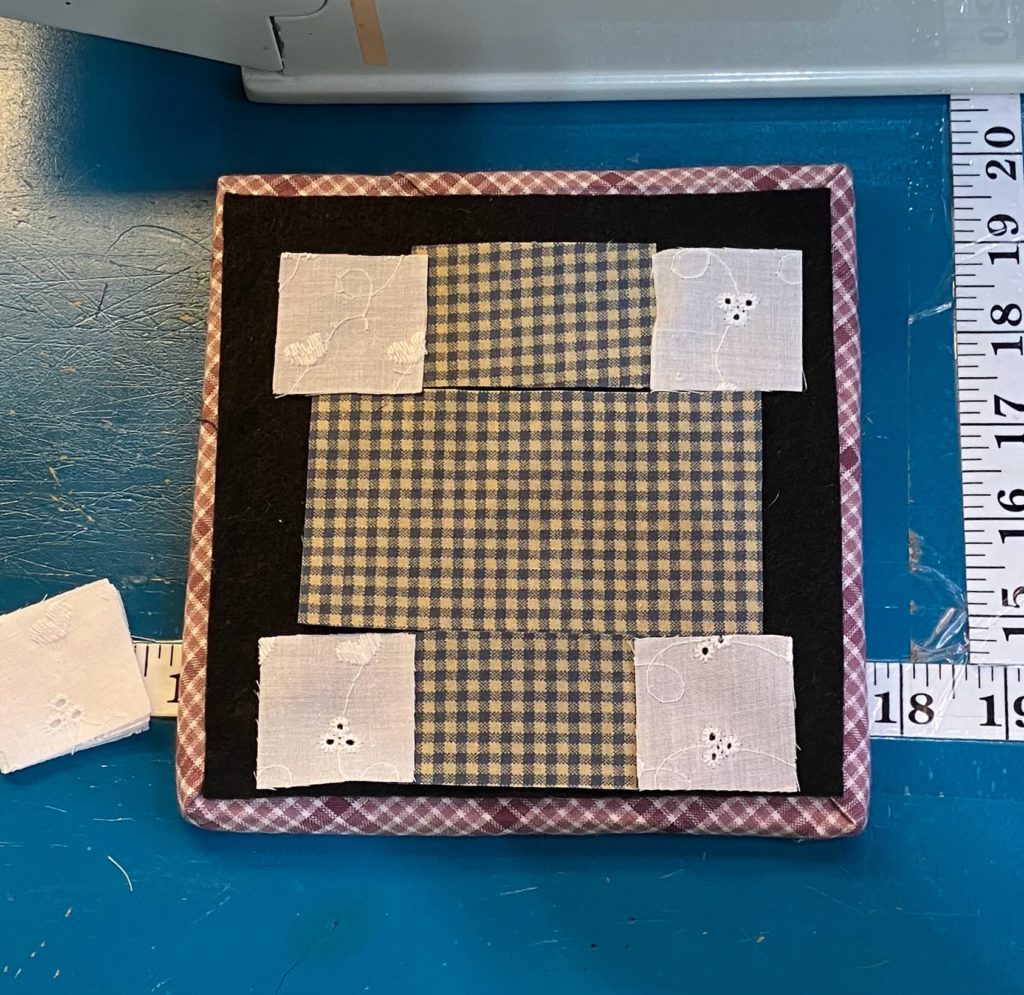
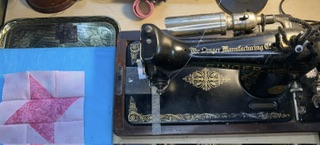
Here was my final decision in my finished block. (I probably should have pressed it so it was flat for its picture. It is straight, square, and true. I promise!)
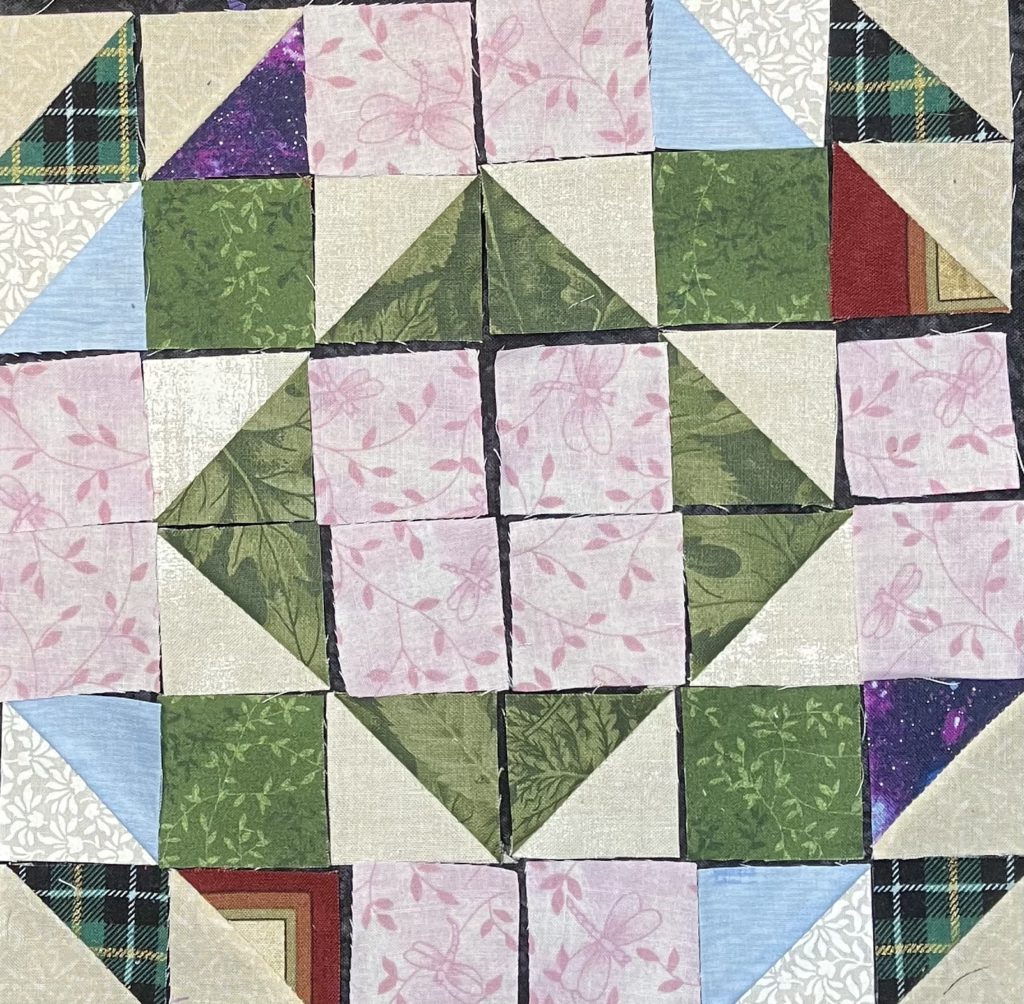
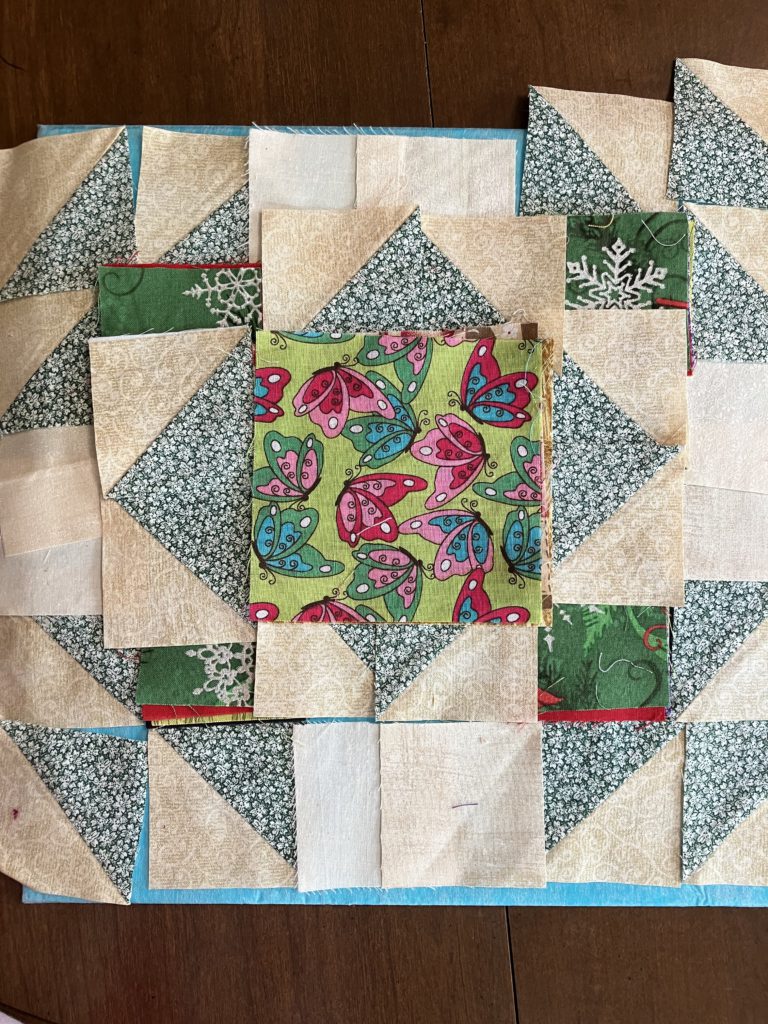
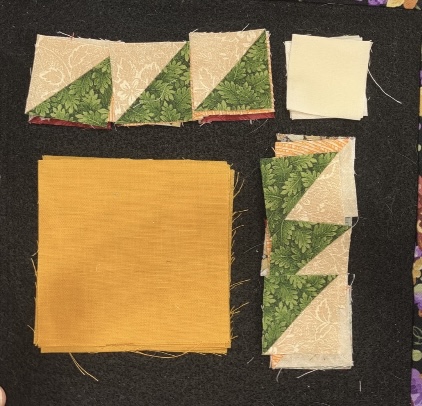
I couldn’t help myself. I just had to make a 12 1/2″ block.
I have lots of these green and tan half square bonus blocks…lots.
Eight of them didn’t even put a dent in the pile!
I chose four corners and a center. I will use that 2 1/2″ strip now…ha ha!
This larger block went together even quicker than the smaller one.
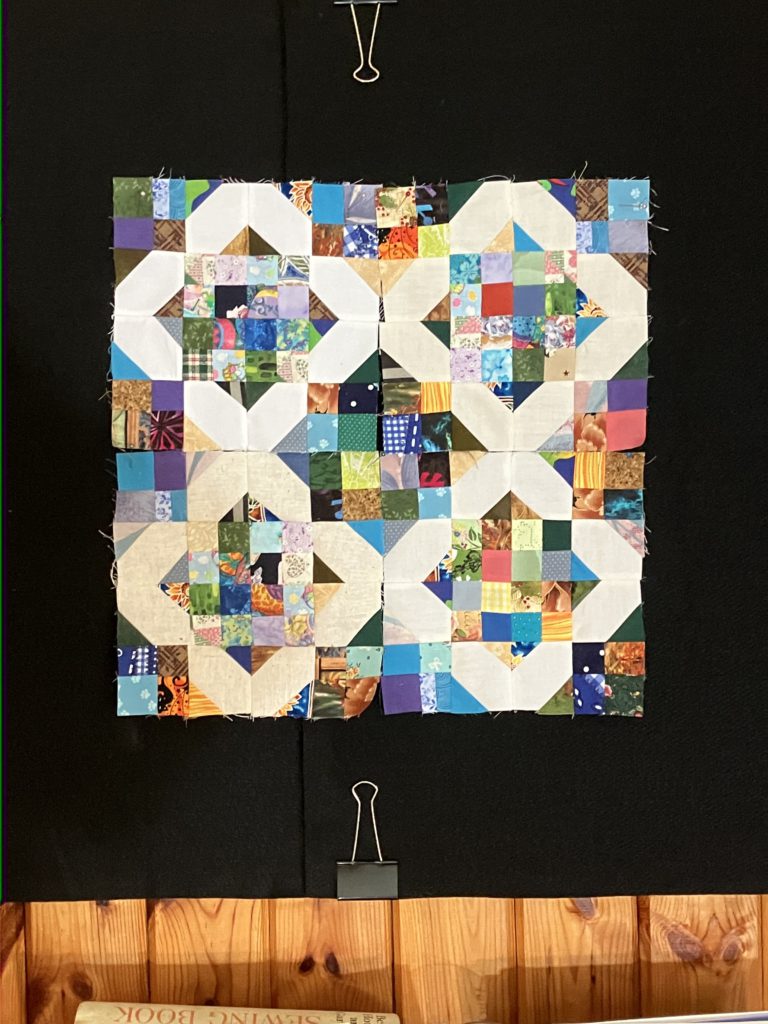
Ta-dah! Ta-done! The measurement for the pieces is listed in the chart below. I think a 4 x 5 block quilt made from 12 1/2″ blocks would be quick and easy! There would also be a nice secondary four patch design where the blocks meet in the corners if you didn’t use sashing.
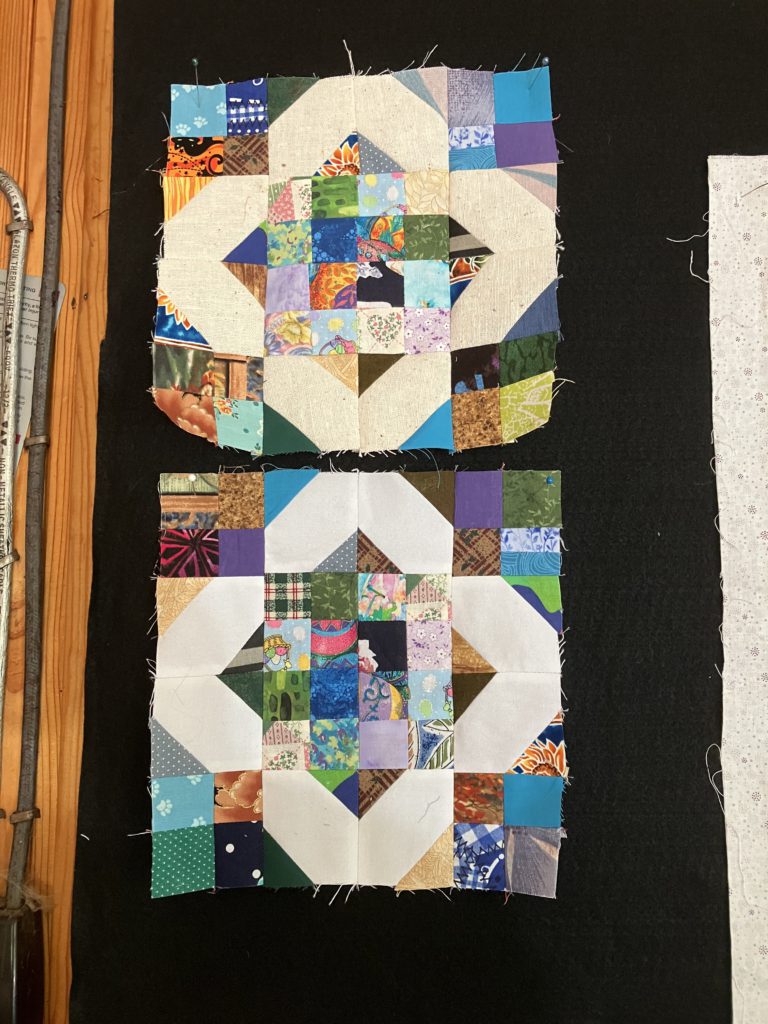
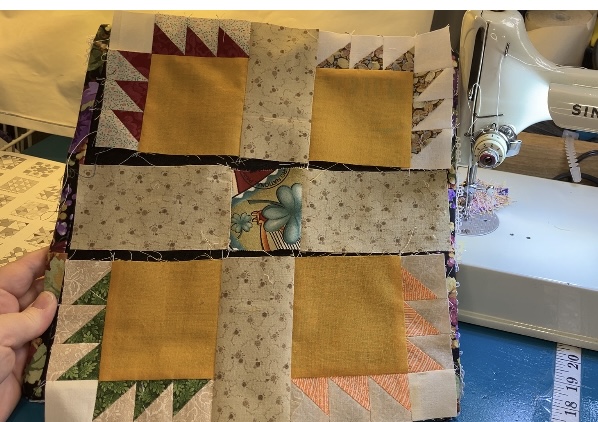
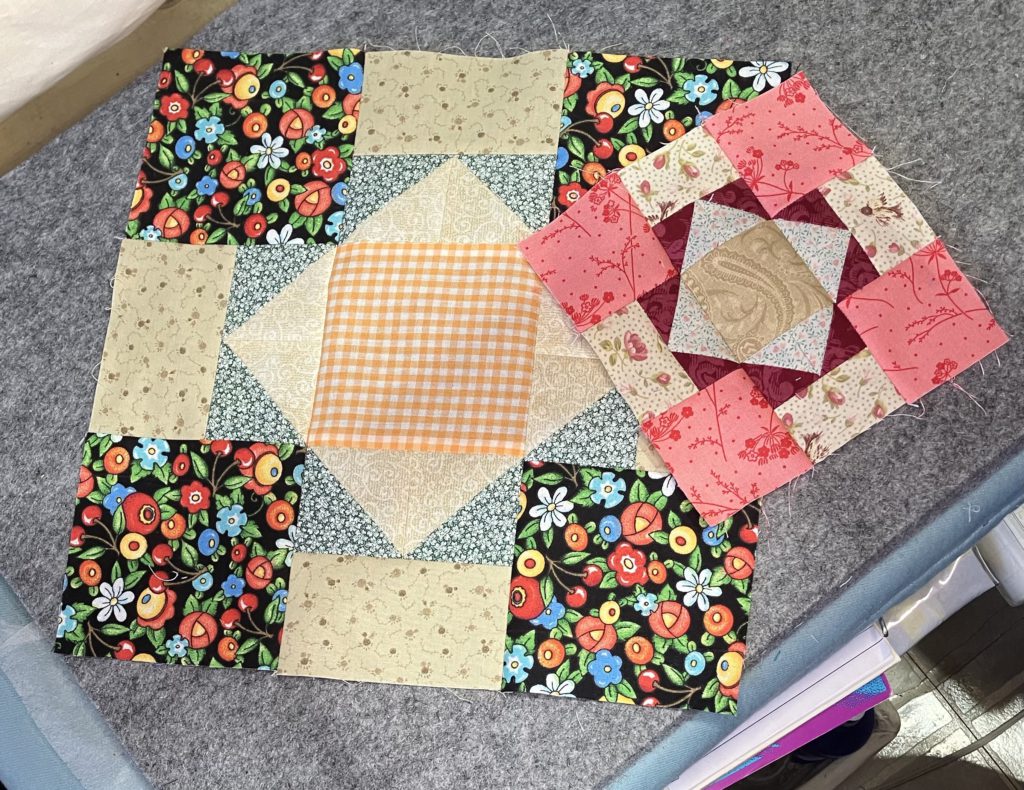
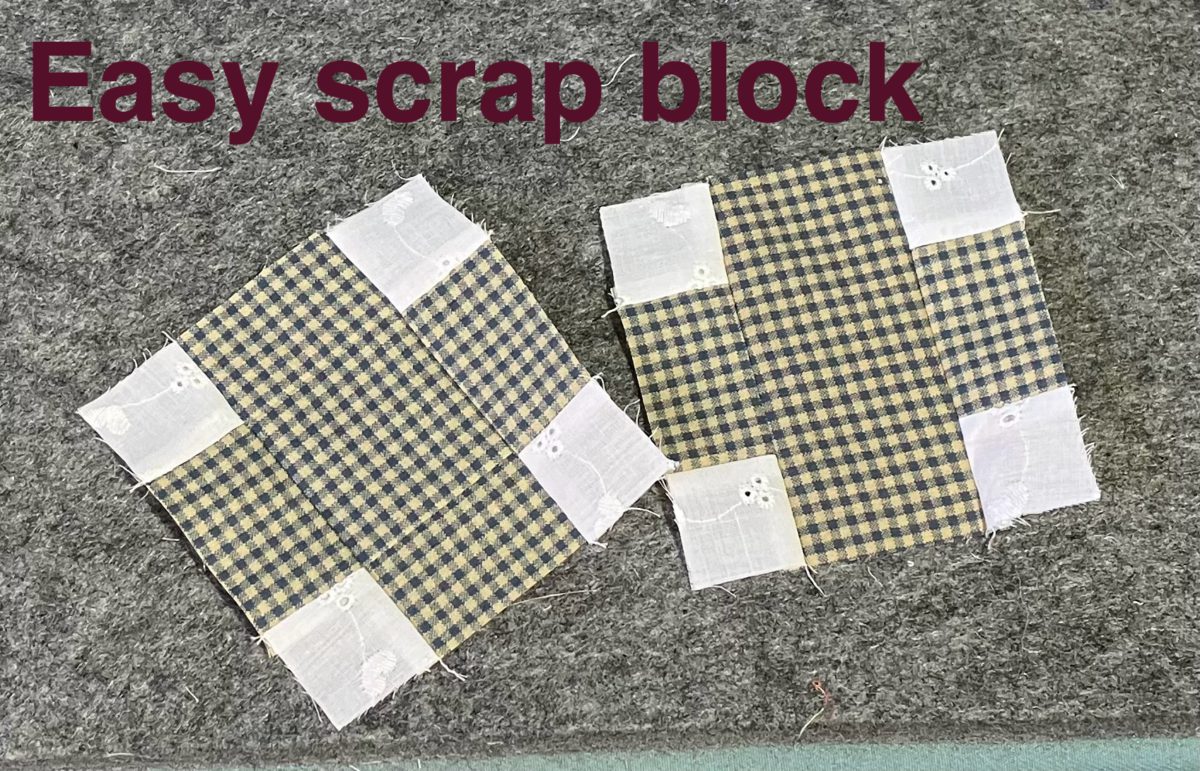
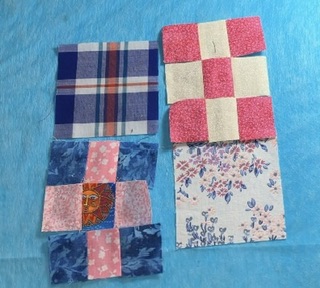
Here are both of the blocks that I made today. There is also a 9 1/2″ version in the chart below.
I hope you are enjoying this series on scrappy blocks. The blocks I have chosen for the next couple of months focus on using up those bonus half square triangle blocks. Time for me to go trim up some more of those!
What scrap blocks are you making? Please feel free to share your thoughts and pictures with me here or at my gmail account.
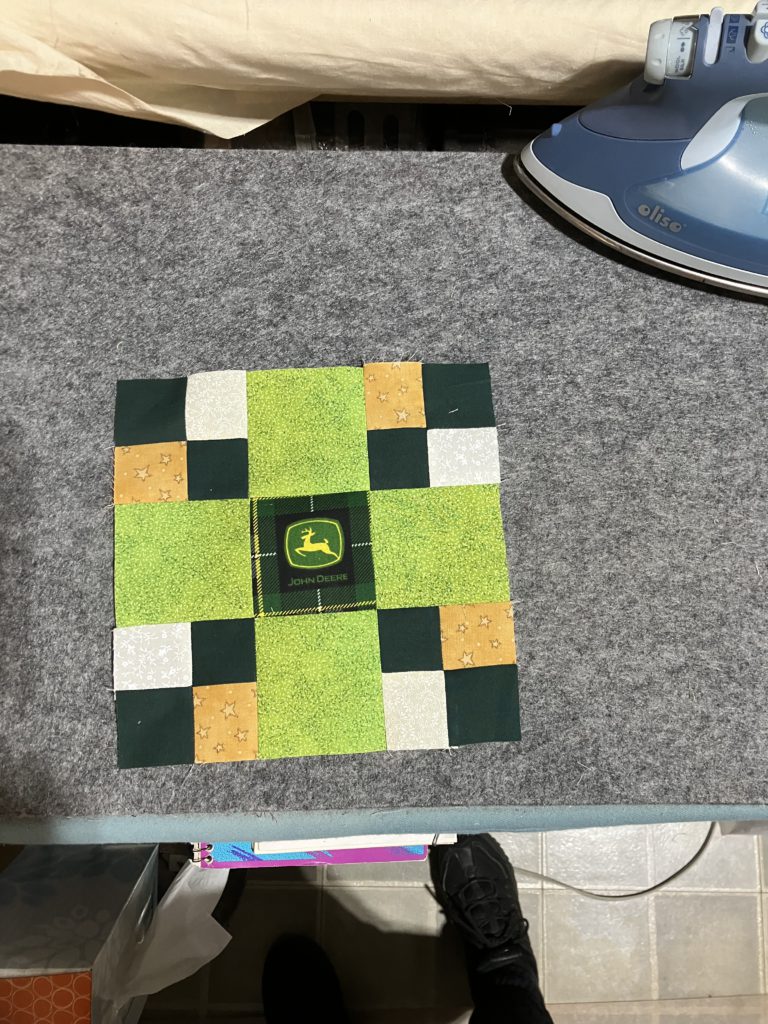
This is an easy, scrappy block, especially if you sort your scraps by certain sizes like I do…It just makes it faster to choose the bits and pieces to sew together. Here is a cutting chart for the three sizes show below:
This 12 1/2″ block is made from all 4 1/2″ and 2 1/2″ blocks…all straight line piecing! No triangles on this block!
Here is the breakdown of my choices:
This block goes together SOOOOO quickly!
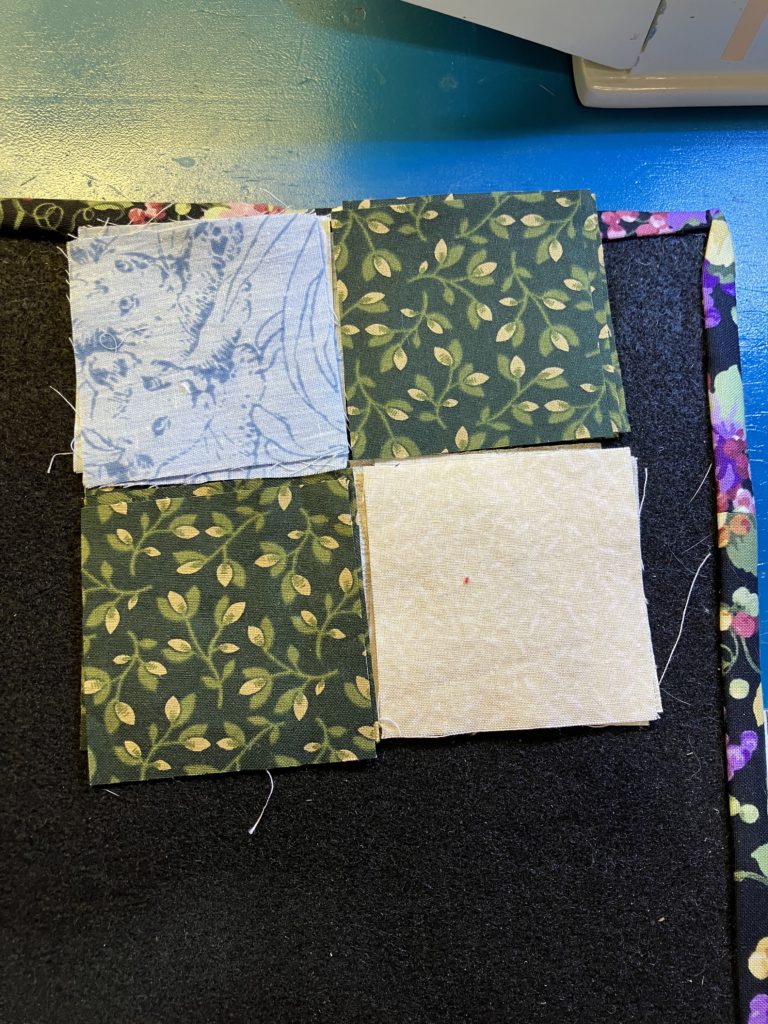
Make four 4-patch units. Please note the placement of the lights and darks in the picture below. All four units are identical. Zoom! Zoom! Speed piecing is a wonderful activity!
Normally, I show you an example of a small block with the seams pressed open. Since this is a bigger block this week, I pressed towards the darker fabrics in these 4-patches.
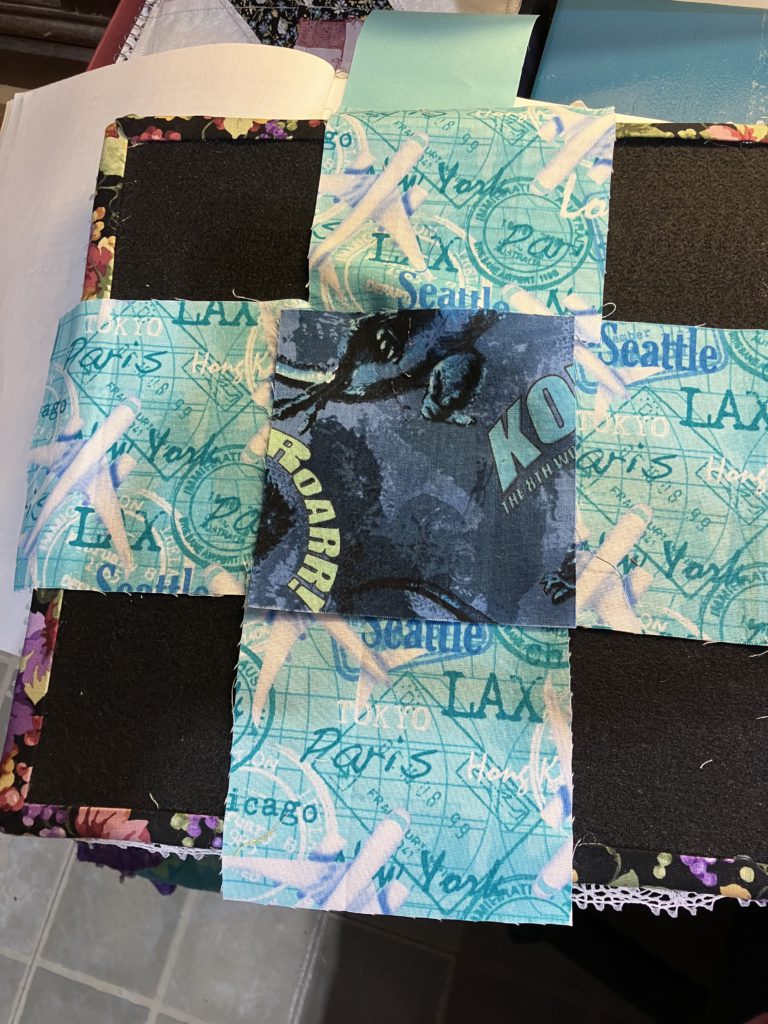
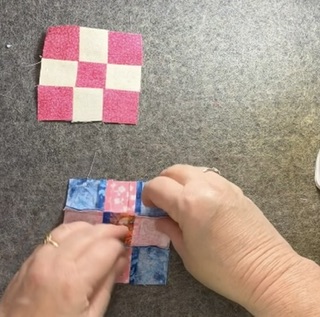
Now it is time to plug those beautiful and simple 4-patches into the main block.
Notice that all the dark blocks are towards the center block and radiate outward. Please note the placement of the blue and the background fabrics also.
Here is the 9 1/2″ example:
Here is the 6 1/2″ example:
Ta-duh! and Ta-done! This block would have a great secondary pattern if placed together. Easy…it would be great as a kid’s or baby’s quilt, too! Let me know what you think about this block. Have you tried it? If you have, please share pictures to my e-mail. I look forward to hearing from you.
I decided to add some pictures because this was such a short, quick post.
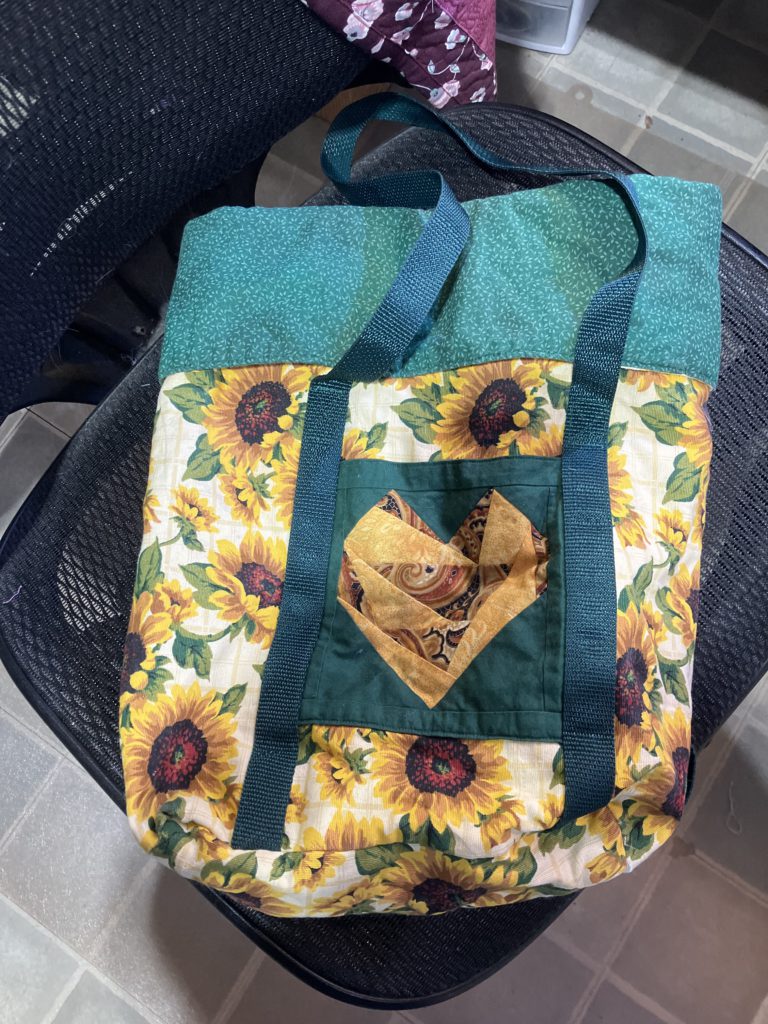
I found a stash of bags in my sewing room as I am zone organizing. I donated some. I washed the rest to repurpose.
This one was one that my friends and I made at quilt came with the Camp Frame Fireside quilters. The pocket is paper pieced and held on by the straps. It is lined. The top edge is a rolled down cuff, so the bag can actually be deeper if needed.
This block is just a few seams above cutting out a plain square! How is that for simple construction? I wish I had grabbed some brighter colored scraps for this block, but this was in my hand waiting to be used up!
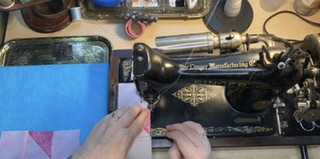
You can view the short video here of the block construction. It shows both of the ways to create this block. The first one pictured has two fewer pieces. Neither one is difficult.
I will add the variety of sizes chart at the very end of the post…after my sign off and final comments, if you are interested. This should be a printable image.
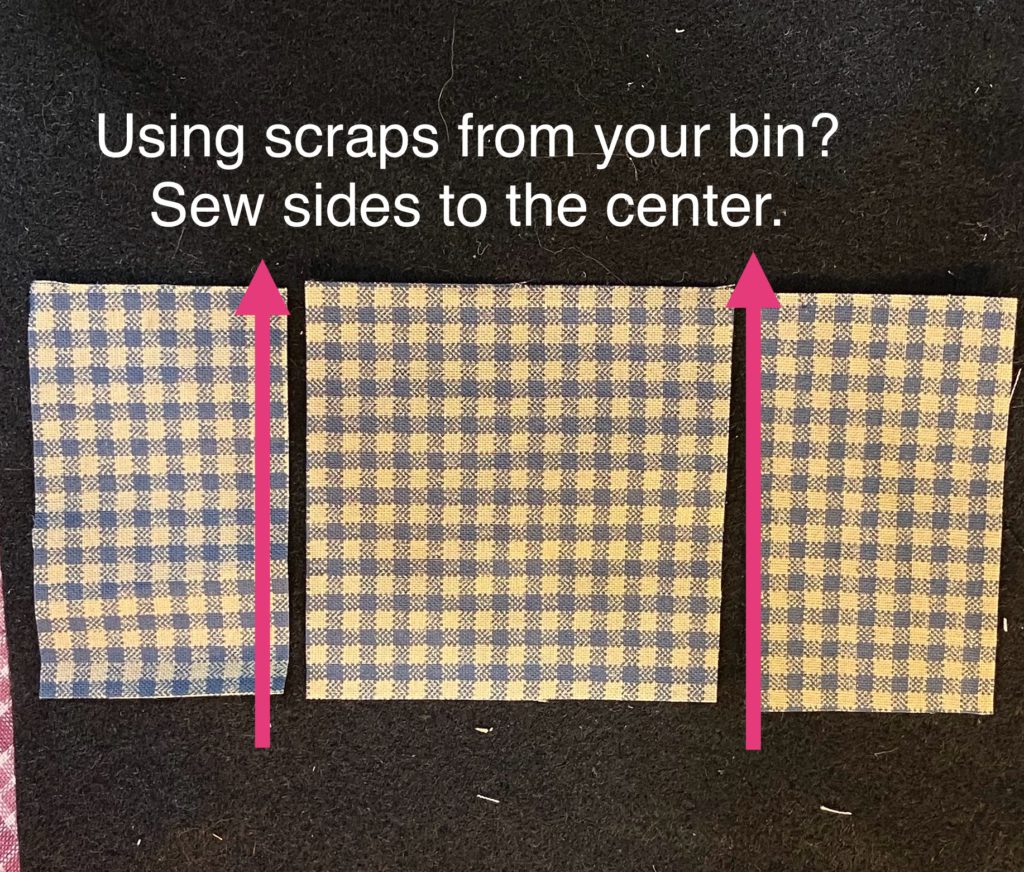
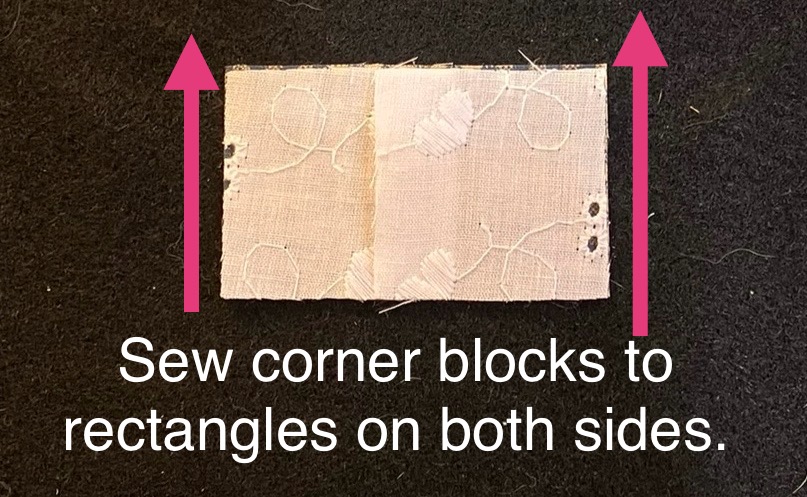
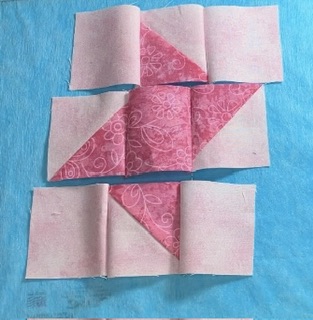
This example shows a 2 1/2″ x 4 1/2″ center. The top and bottom rows are made from two 1 1/2″ x 2 1/2″ pieces and four 1 1/2″ cornerstones. The block finishes at 4 1/2″ inches.
Sew the cornerstone squares to the rectangles on both sides. Use a 1/4″ seam.
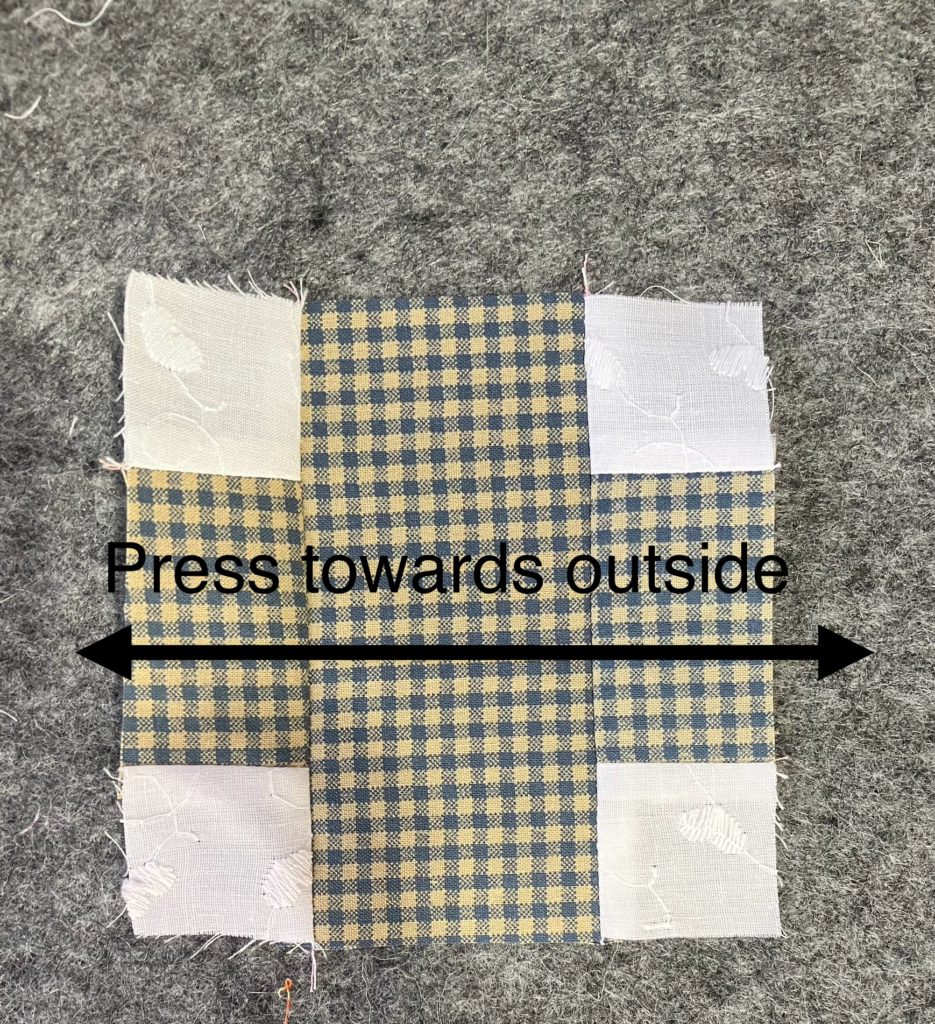
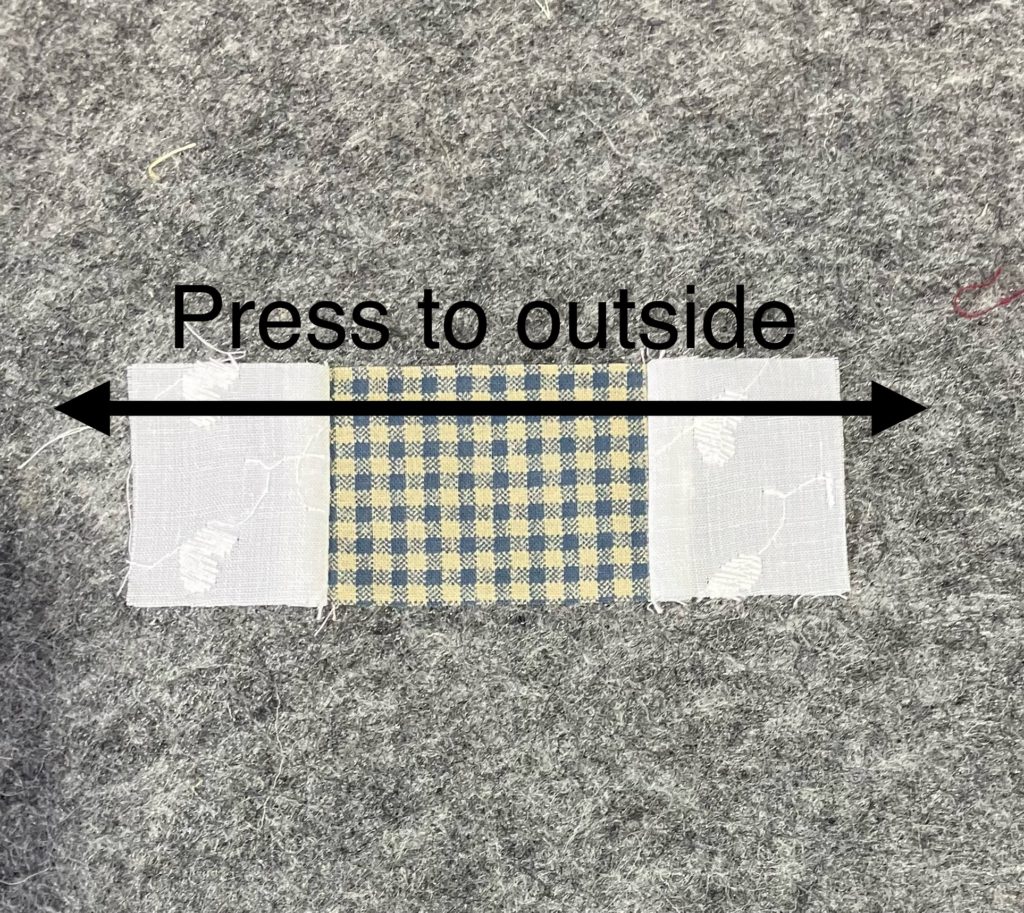
Press to the outside.
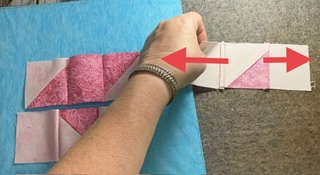
I always like to check my layout at this point, especially when I am speed piecing…just to make sure I haven’t lost any of those important pieces.
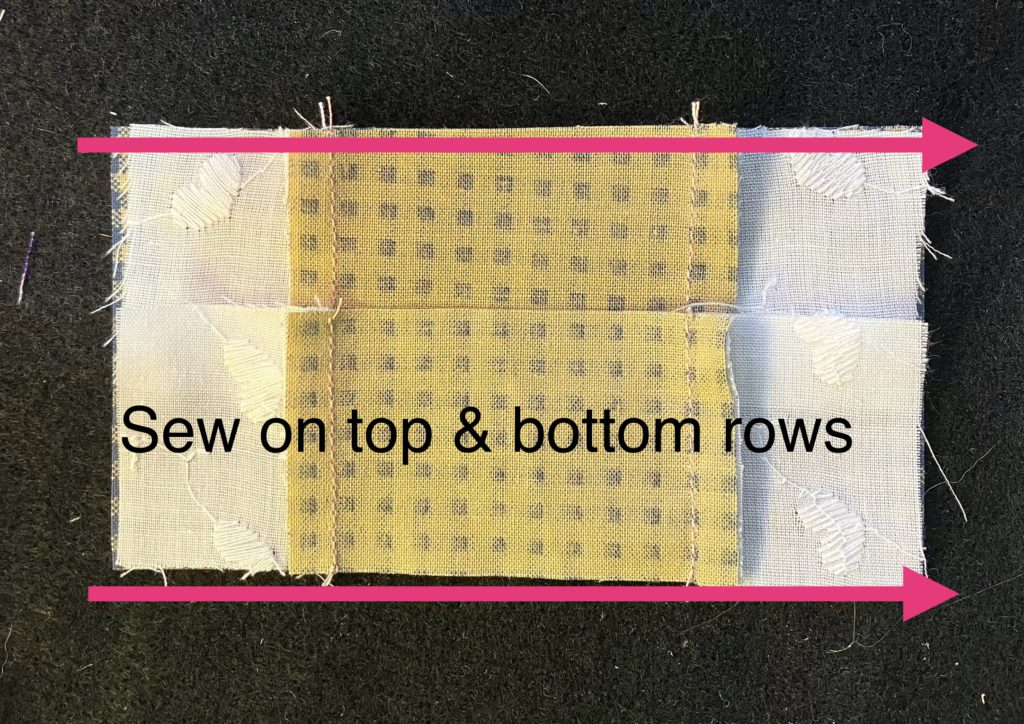
Sew on the top and bottom rows. Press to the outside. Tah-done!
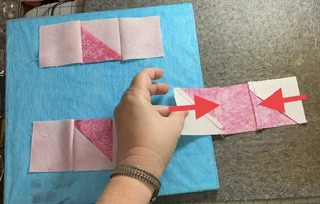
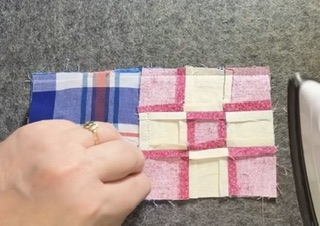
Example #2: Same block, just a little scrappier!
This example shows a 2 1/2″ square center. The top and bottom rows are made from two 1 1/2″ x 2 1/2″ pieces and four 1 1/2″ cornerstones. The side pieces are two 1 1/2″ x 2 1/2″ pieces that match the center square. The block finishes at 4 1/2″ inches.
Make a center unit. (This matches the center in the first example when you are finished sewing the pieces together.) Press this unit towards the inside…towards the block.
Assemble the top and bottom rows by sewing the cornerstones to the rectangles.
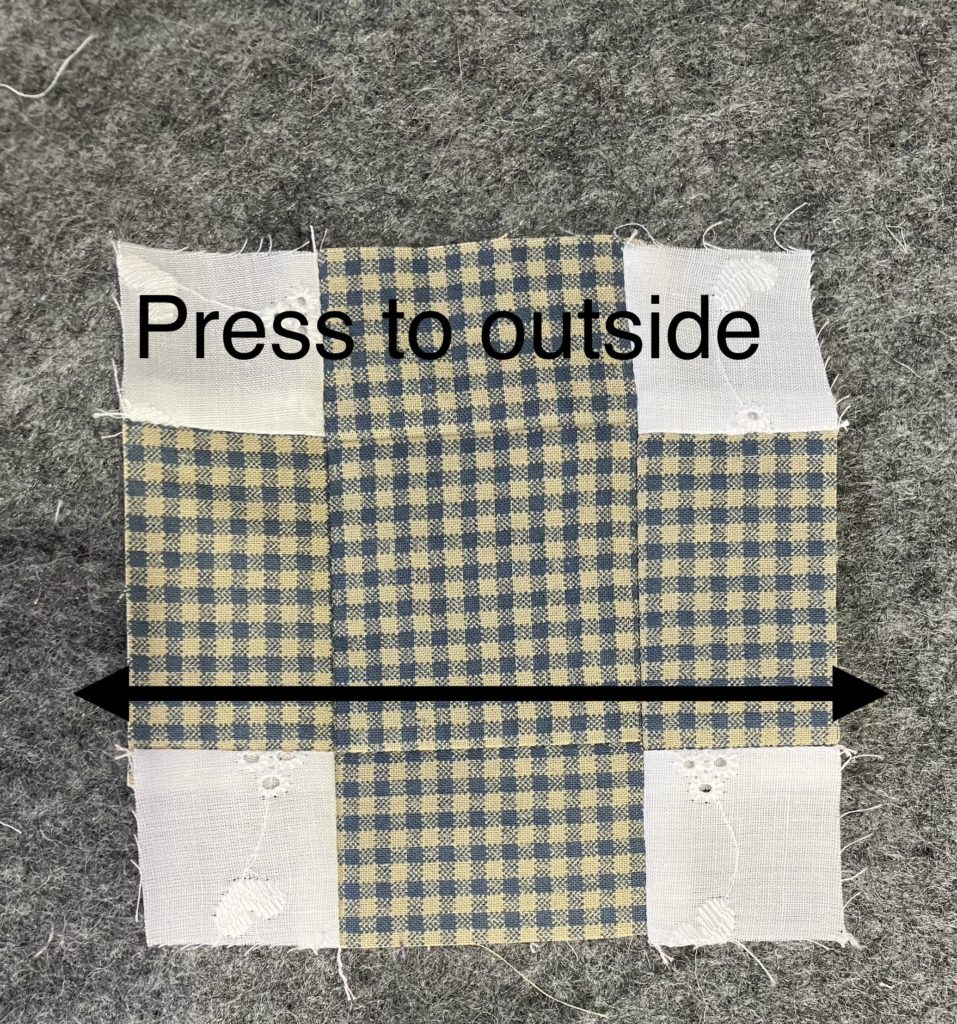
Press to the outside like pictured below.
Add the top and bottom rows to your center unit. Seams should nest together to make construction easier.
Tah-done! Press to the outside.
These blocks are quick and easy to construct. This would make a great leader/ ender project. I envision it with bright colored scraps for the center and a variety of backgrounds for the cornerstones set together with NO sashing. What a great scrap quilt that would be!
I can’t wait to make an entire quilt with these blocks! It would make a great donation or kid quilt! Would you make a quilt with these? Let me know in the comments! (about this quilt…not interested in Russian viagra or manifestos!)
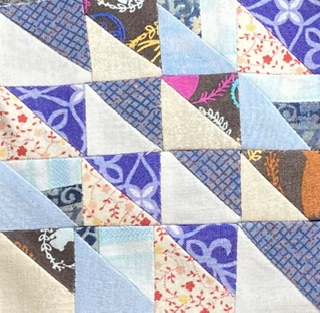
This block is made from 16 one and half inch squares. It makes a 4 inch finished block. It could easily be made using 2 1/2, 3 1/2, or 4 1/2 inch half square triangles to create an 8, 12, or 16 block. I made this block using all bonus pieces. You can see in the picture that I even used bonus triangles that are pieced pieces.
I start by laying out my pieces on a small design board. I actually had several similar bonus triangles to make a pattern…random is excellent and less stressful.
I sew the first to half square triangles from the left side of the block together, as well as the ones on the right. Speed piece is great…zoom, zoom.
I sew the units of two together to make rows of 4 pieces before I press. As a personal preference I press seams open. To the sides is okay, too, but open makes tiny blocks lay flatter. There are lots of seams there to squish.
I lay the pressed units back on the design board. If I am doing random pieces, I don’t really worry about this. If I have a design, I like to lay it out again to make sure I still have a design. (I am not going to pick these pieces apart if I have somehow reversed units though.)
Time to sew the rows together. Sew the rows together 2 at a time…so you can speed piece. Sew those two units together to complete the block. I do this before you press.
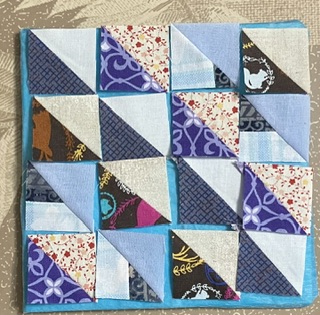
Press all seams open for a super flat block.
This is the easiest way to use bonus half square triangles into a completed block. These bonus triangles can be arranged into different shapes to be used for borders, etc. So versatile!
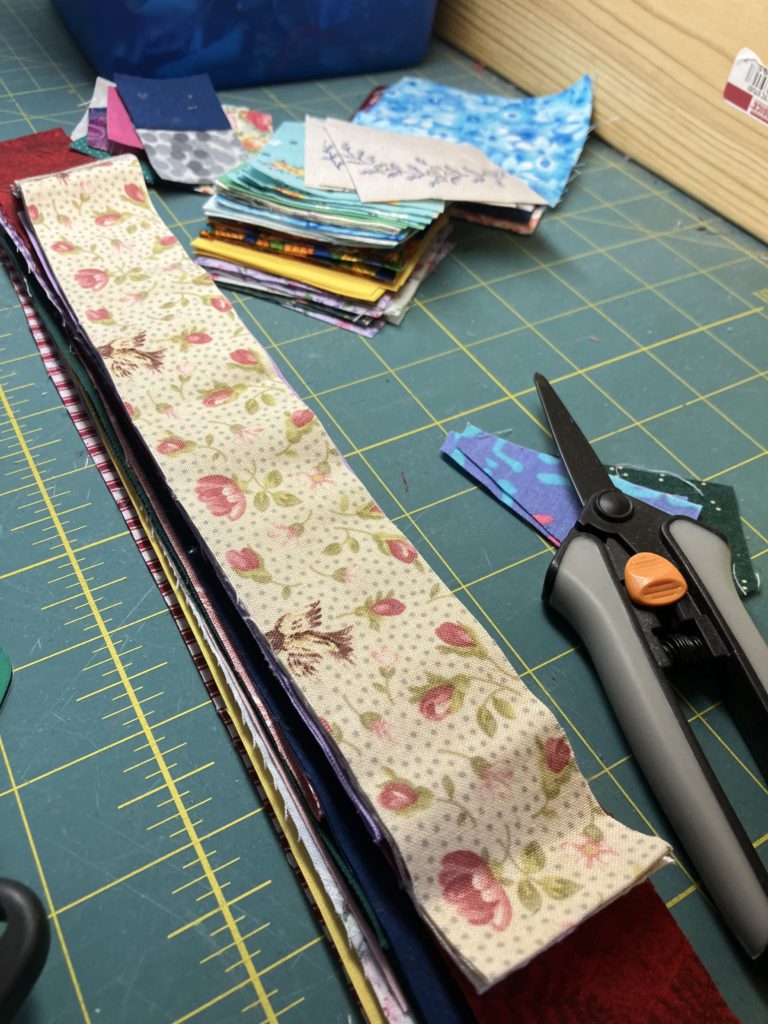
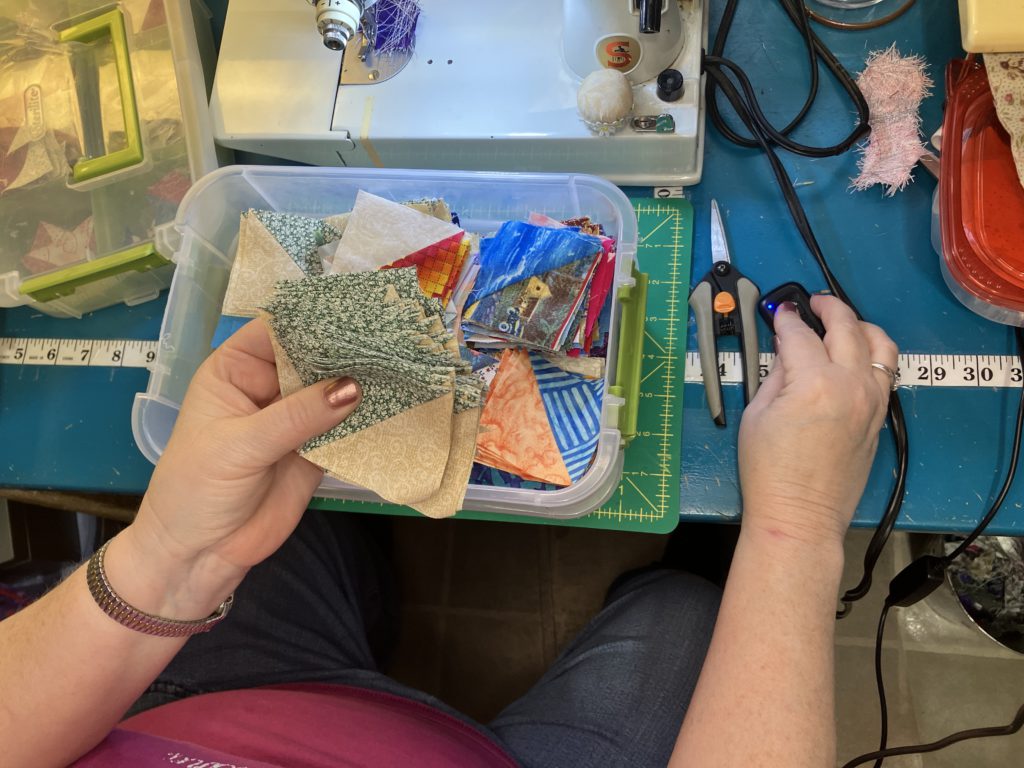
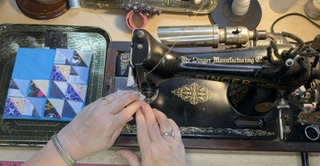
Now that I am trimming my collection of blocks, I am having lots of fun using these units.
Enjoy! One of these can be whipped up in 5 minutes, maybe less!
What bonus triangle blocks would you like to see me make? I look forward to hearing from you! Comments are open!
This post goes along with my YouTube short of the same title. It is part of my series on using up bonus half-square triangle blocks. I like friendship star blocks because they are simple. The asymmetrical aspect of the block makes me a little crazy. I always lay the pieces out ahead of time so I don’t have to pick them and fix them later.
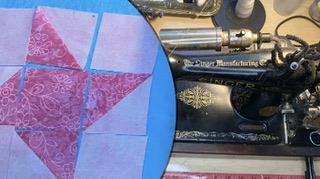
I will practice a little more with this fish-eye zoomed in view. It is an interesting perspective.
After laying out the pieces, sew the pieces together like you would any old nine patch.
After sewing the first two pieces together in each row, I lay the pieces back on the design board. Better safe than sorry!
Add the rest of the blocks of the blocks to each row. Lay them out again….safety, safety, safety.
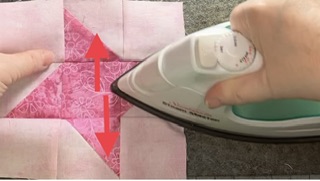
Press the top and bottom rows outward.
Press the middle row toward the center.
Sew the top and middle row together. Seams should nestle together.
Sew the bottom row to the unit you just created.
The little friendship star is assembled and ready to press.
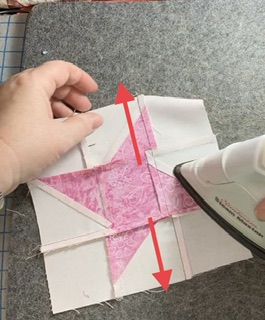
I heat the block first to make it more willing to press the way I want it to go.
I pressed the rows towards the outside, but you could press the seams open or towards the inside. This was just my personal preference today and at the moment.
I also gave the block an extra little press from the back.
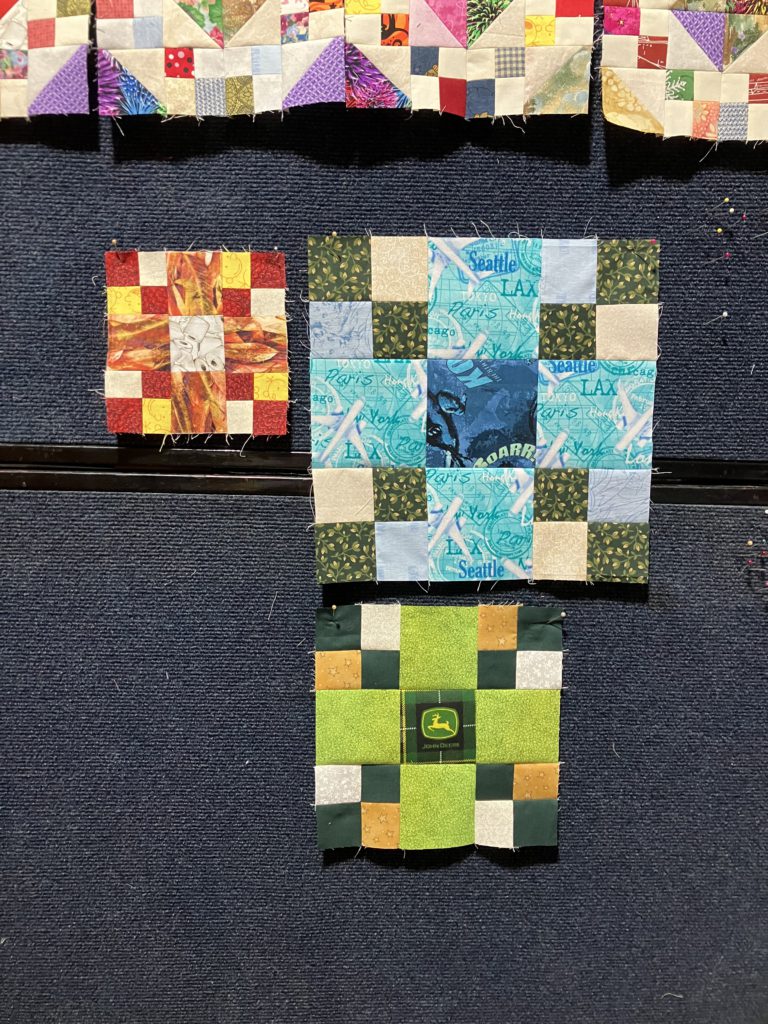
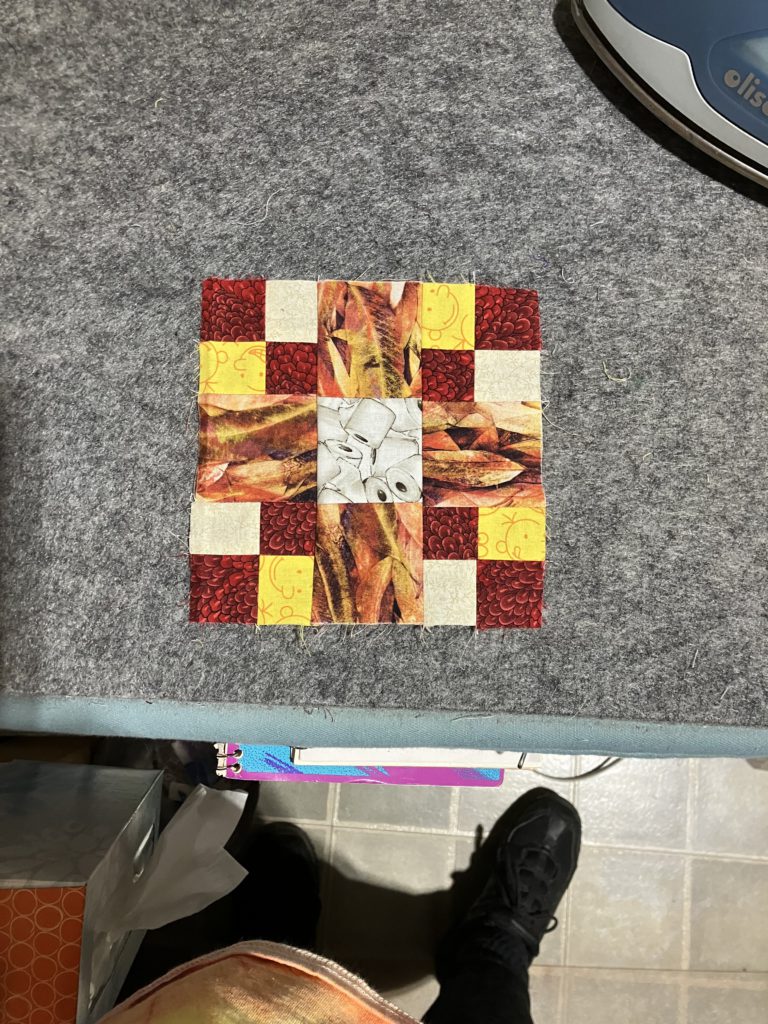
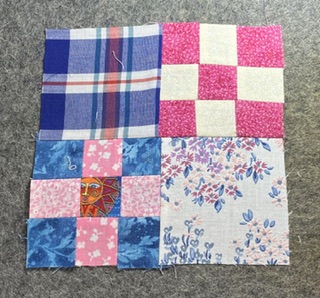
It is time to use up some more of those scraps! Let’s make another basic block…9 patches added to larger squares to create a 4 patch. These blocks are versatile. When set together, they make an adorable scrap quilt. See my YouTube short showing this same block. It is part of my series on using up bonus half-square triangle blocks.
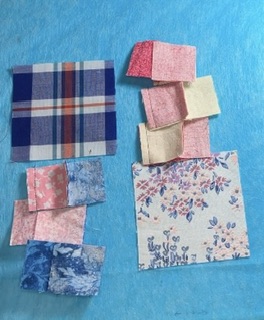
Here is a block waiting to be sewn. You will need the following pieces to make this 6 1/2″ block:
2- 3 1/2 inch squares
18- 1 1/2 inch squares to make both nine patch blocks
This block could easily be made in a variety of sizes: 12 1/2″, 18 1/2″, etc.
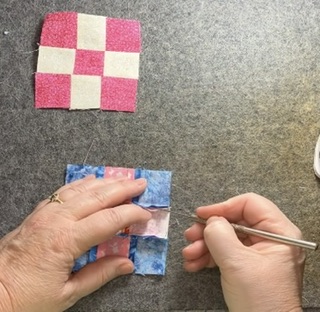
Start by speed piecing the rows of the nine patches.
Press the seams open…if you wish.
Sometimes I use my fingers to gently pull on the block so I can get the seam open to press it. Without burning my fingers, of course.
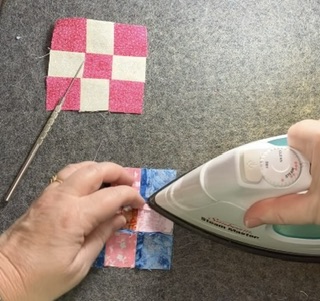
Look at those nice, little rows. Sew the rows together.
I press these seams open, too. It cuts down on the bulk and the blocks lay flatter.
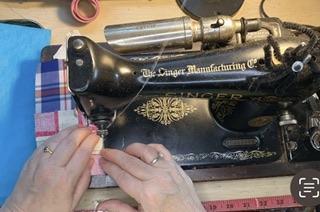
Occasionally, I have difficulty getting those seams open. I have a stylus…actually it is a dental tool from the hardware department of a flea market…that helps me grab the seam.
You can see my stylus a little better here in this picture.
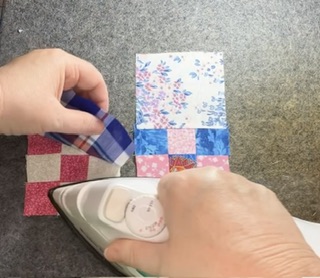
After the 9 patches are ready, sew the bigger blocks to them. Press towards the larger block.
When you turn the block pieces around, the seams will nestle.
Press the seam whichever direction you so desire…or open if you want.
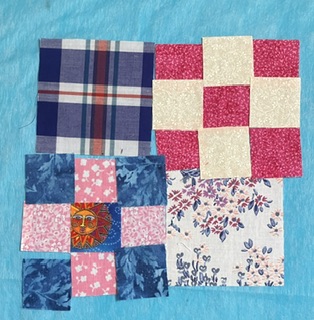
Tah-done! What a cute little scrappy block!
What blocks have you been making to use up your scraps? Please comment below. I can’t wait to hear from you!