Categories
Build a block

Build a Block: Summer Winds

This is the last block from EQ5 inspiration for a little while! Don’t worry, I have many other inspirational sources so that I can continue to make blocks with you!

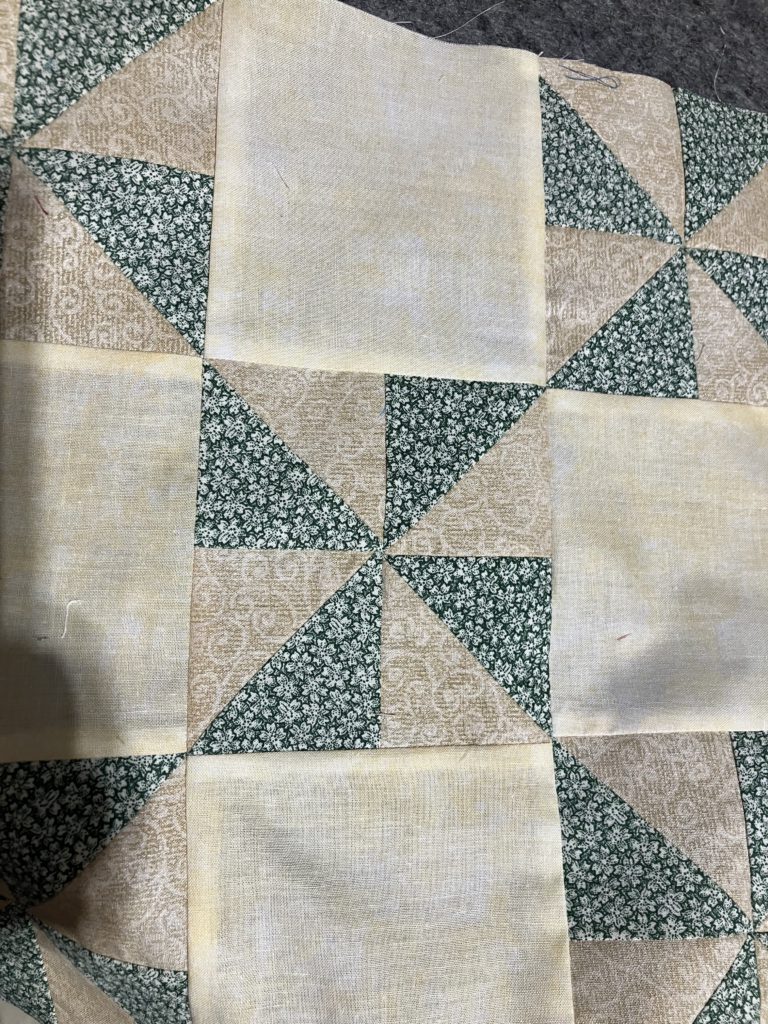
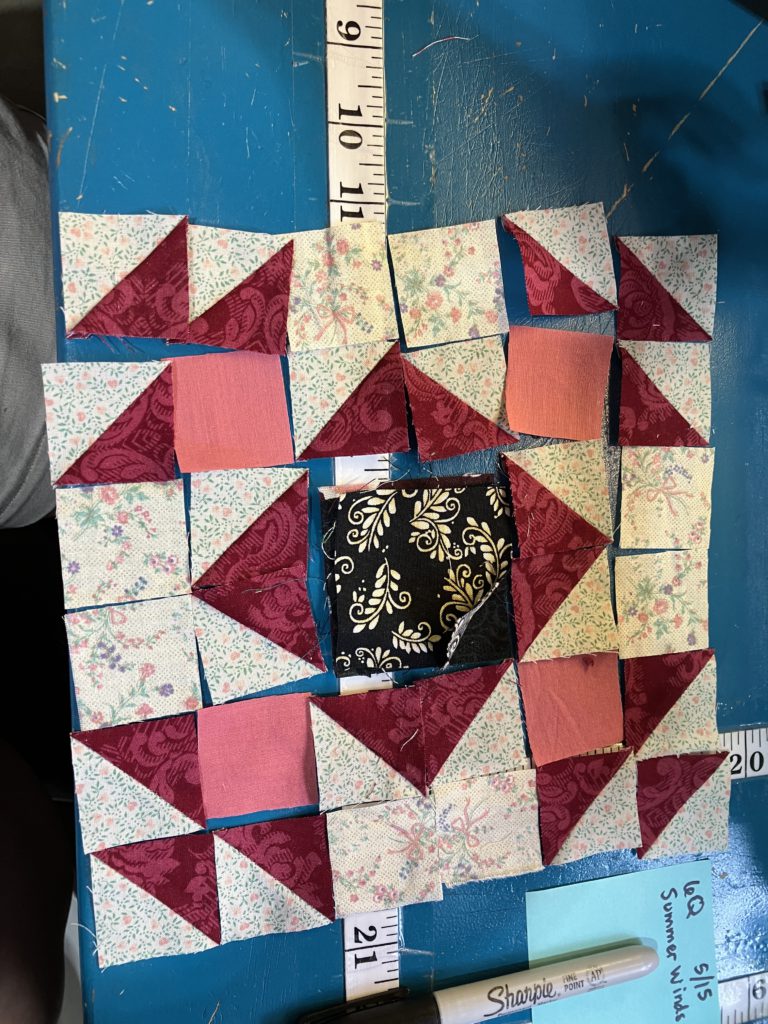
Here is the first summer winds block that I layed out for you in October of 2023:

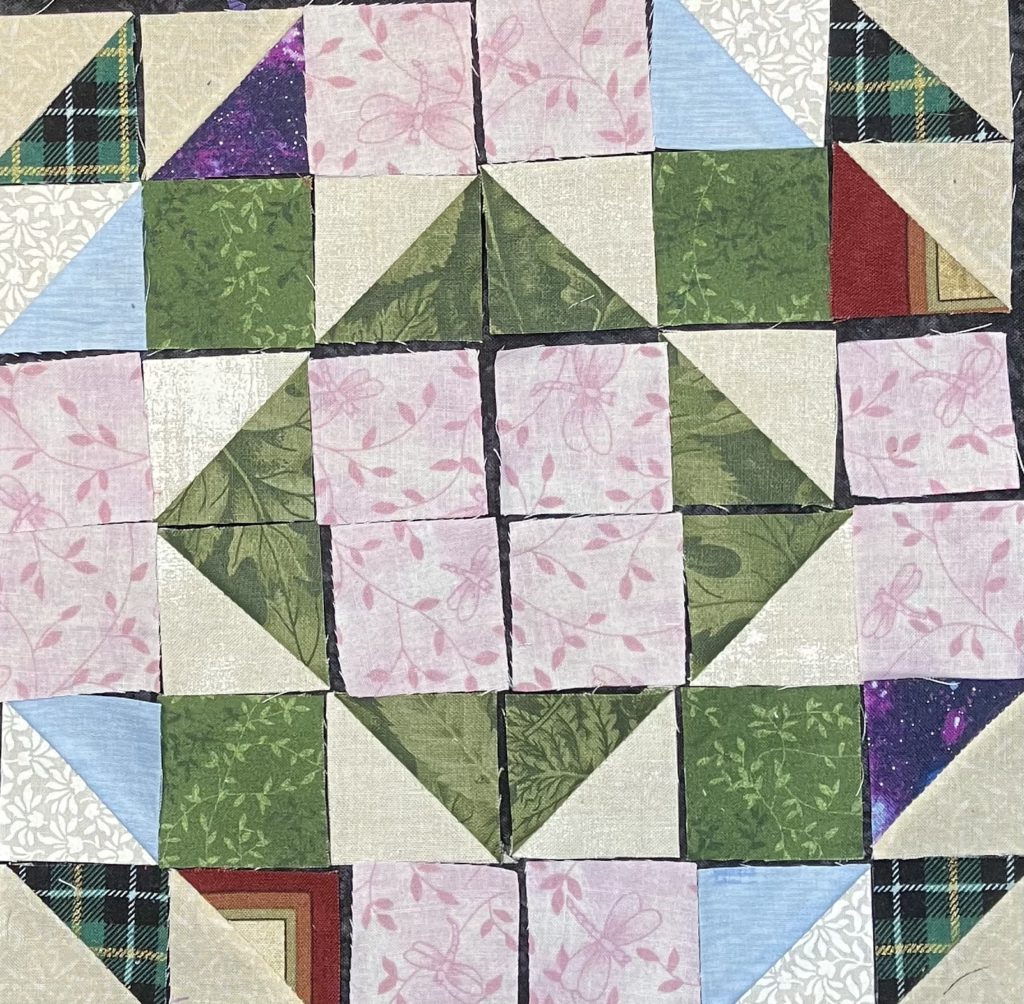
It is great in super scrappy. I did keep the center half square triangles the same color.

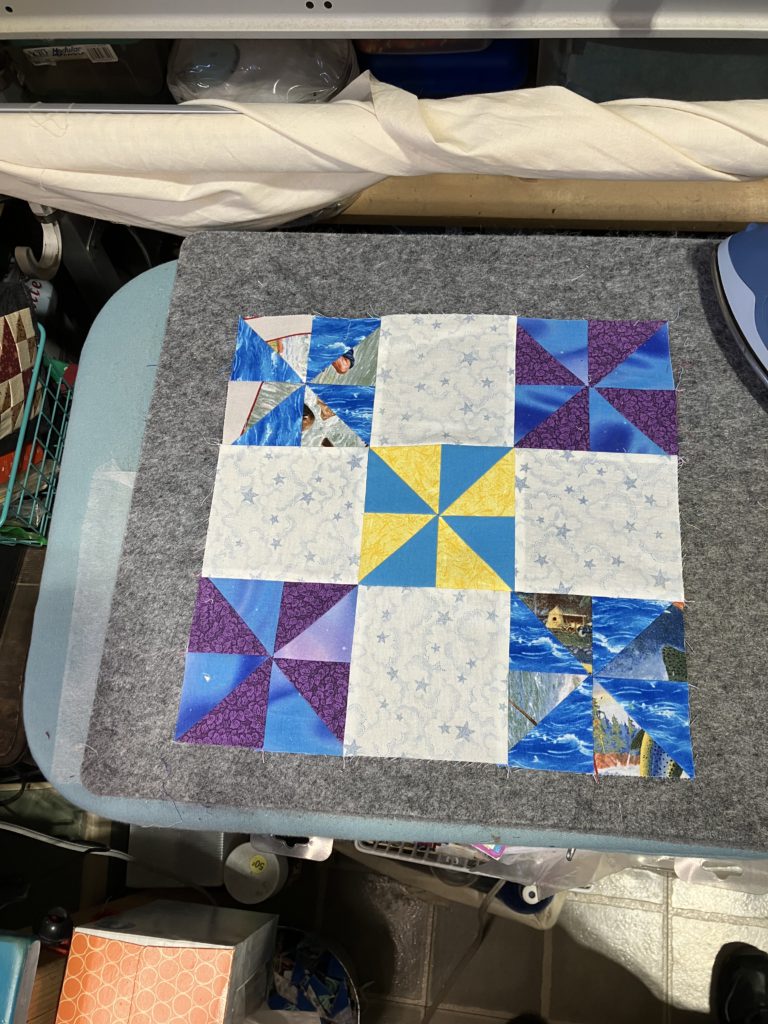
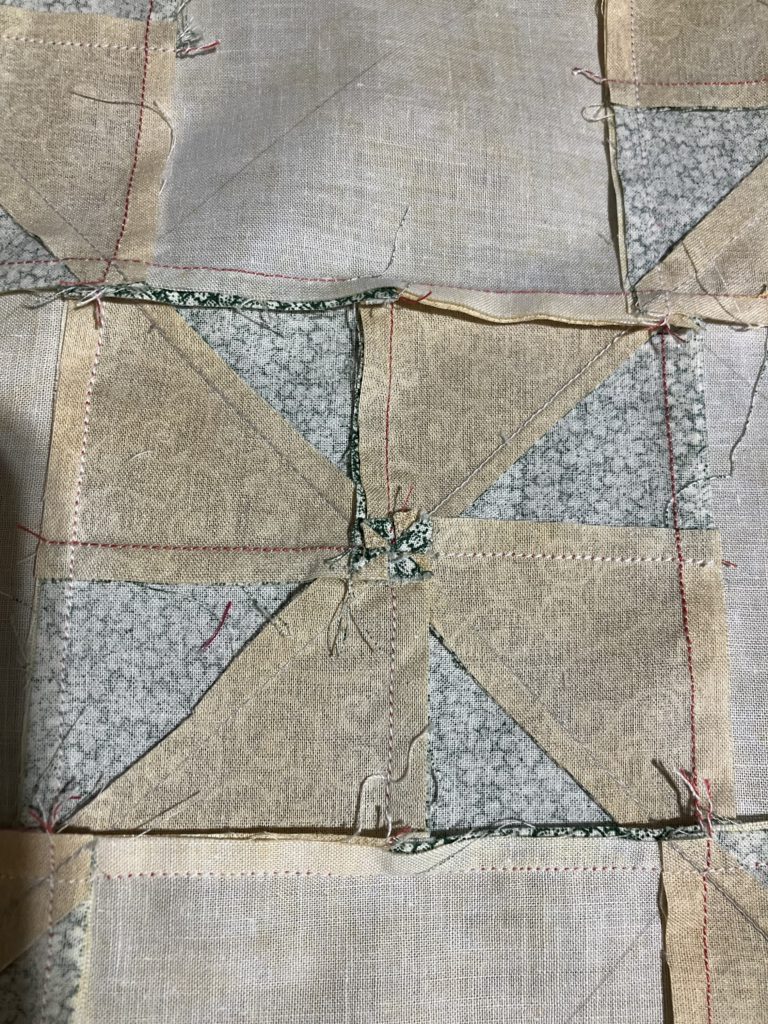
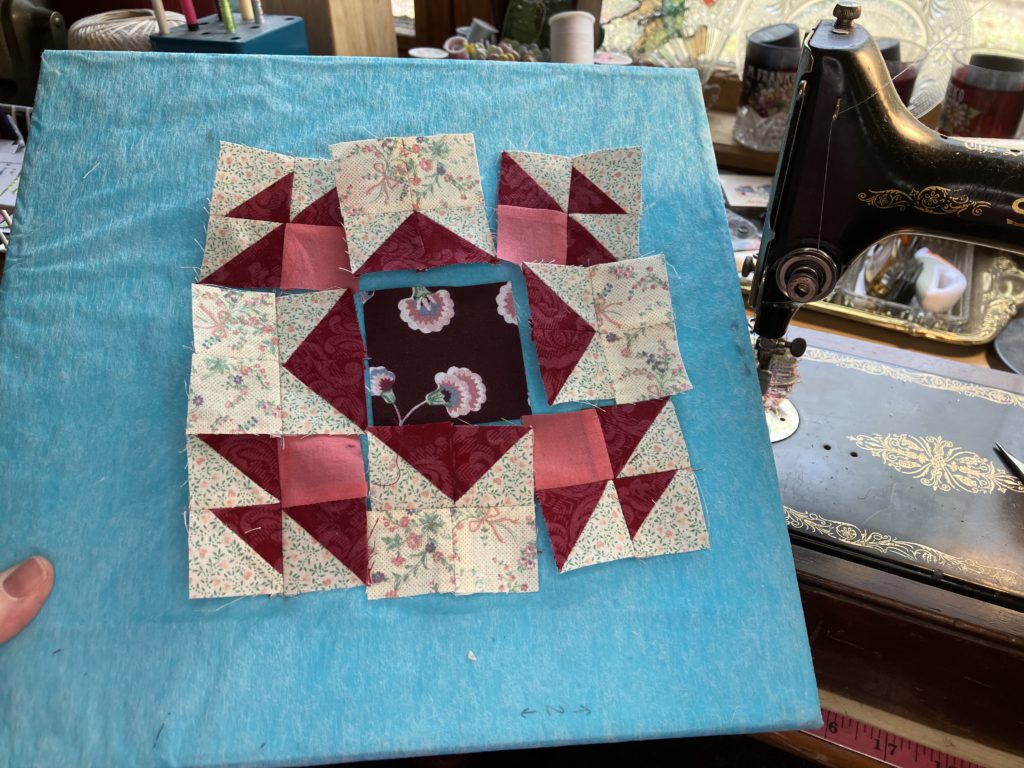
Here is the 6 1/2″ version that we are constructing today:

I changed the center block. I also pieced the block in units, so I could assemble it like a classic nine patch to finish it. I pressed most of the seams open to cut down on the bulk.

You can watch my YouTube video here.

A cutting chart is also at the end of this blog for you piecing pleasure.

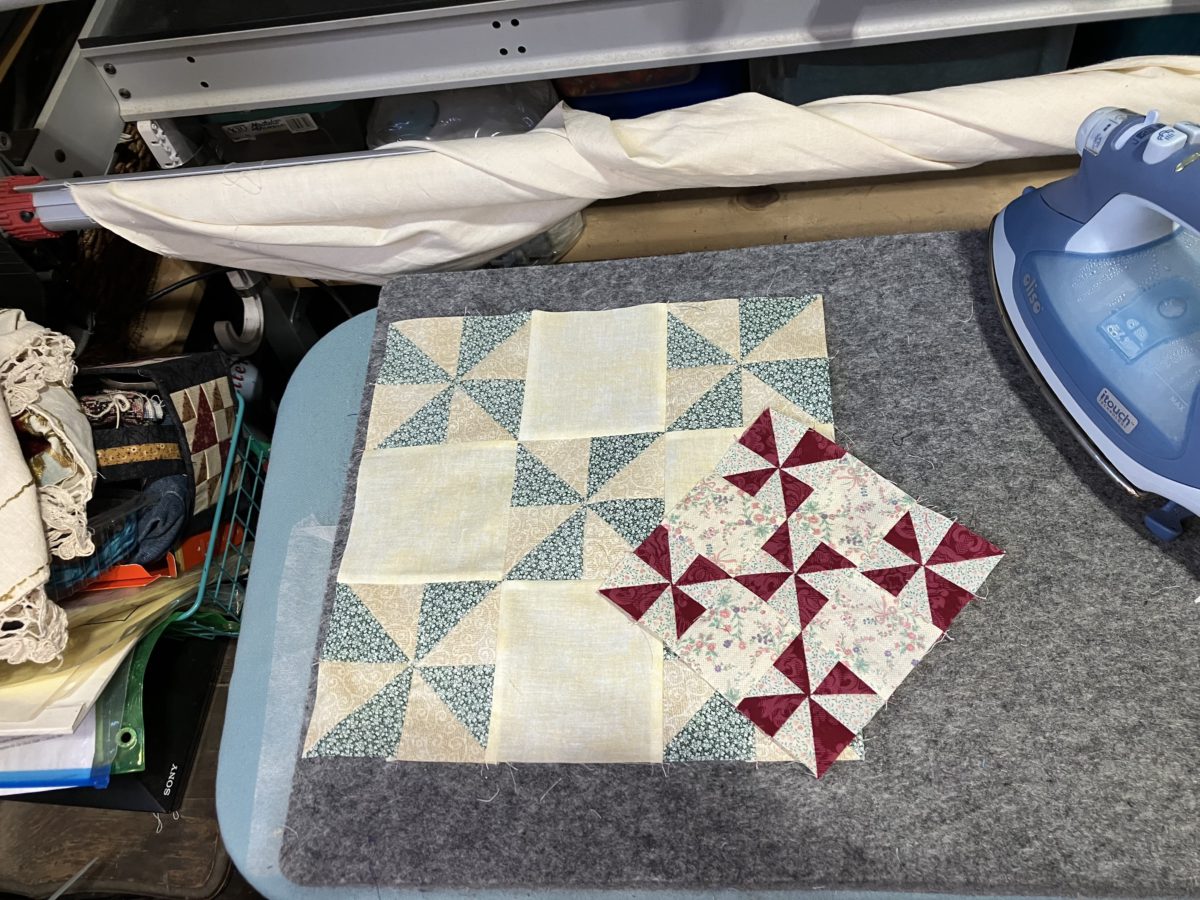
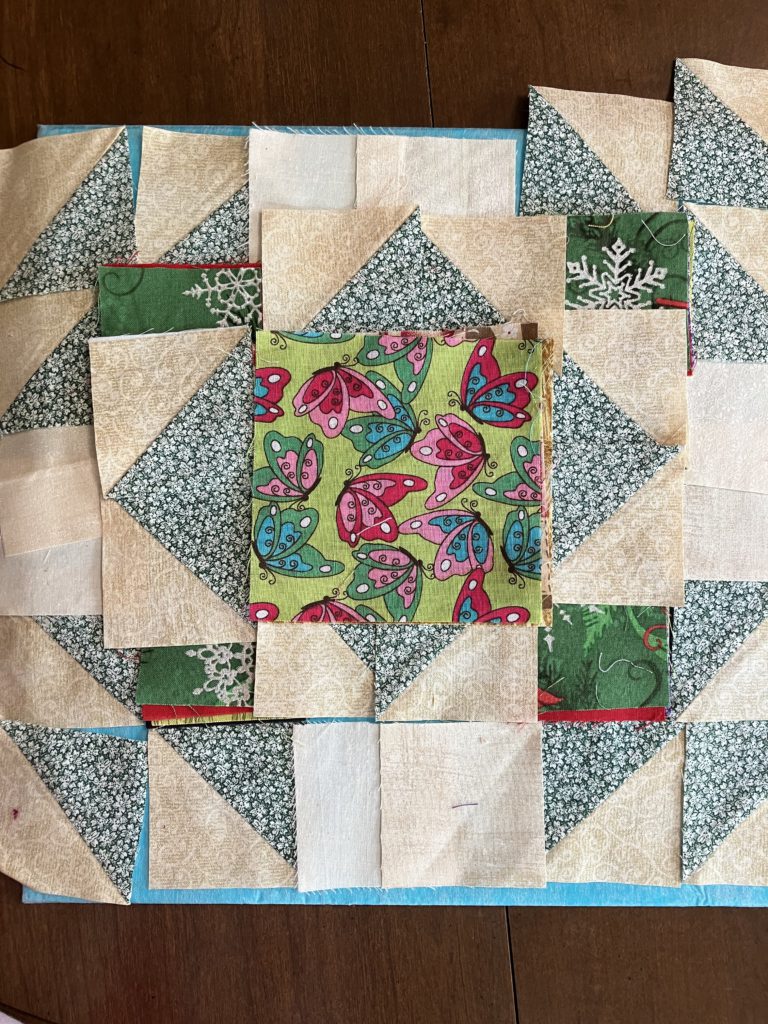
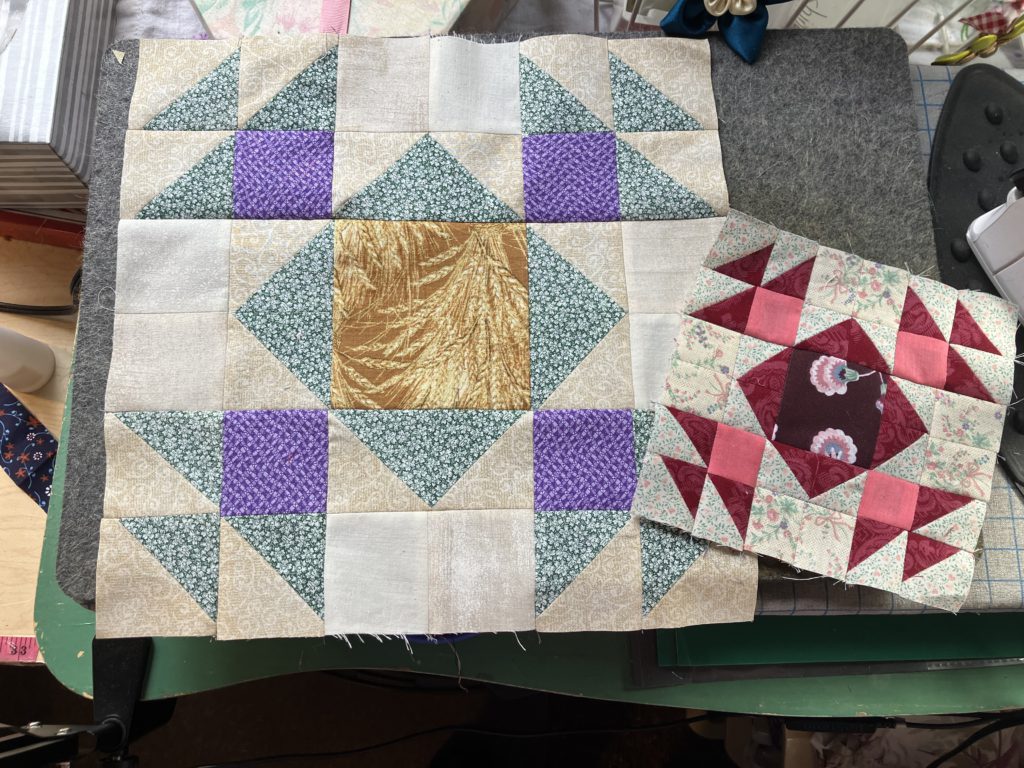
For the 12 1/2″ version, I had many choices to make.

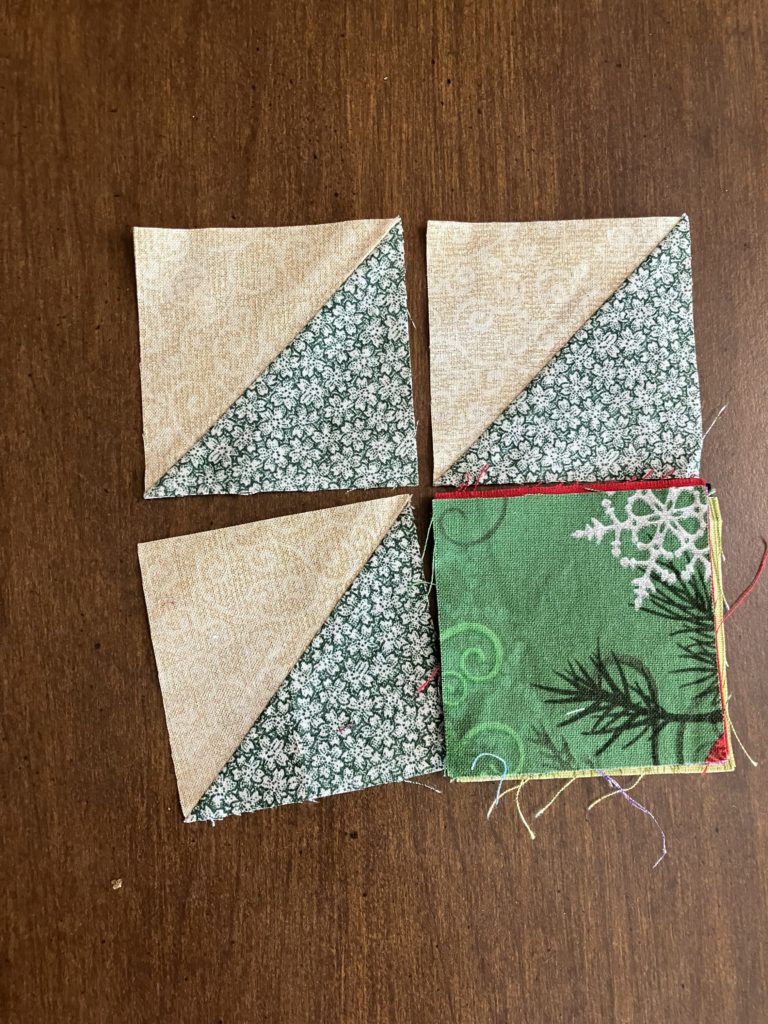
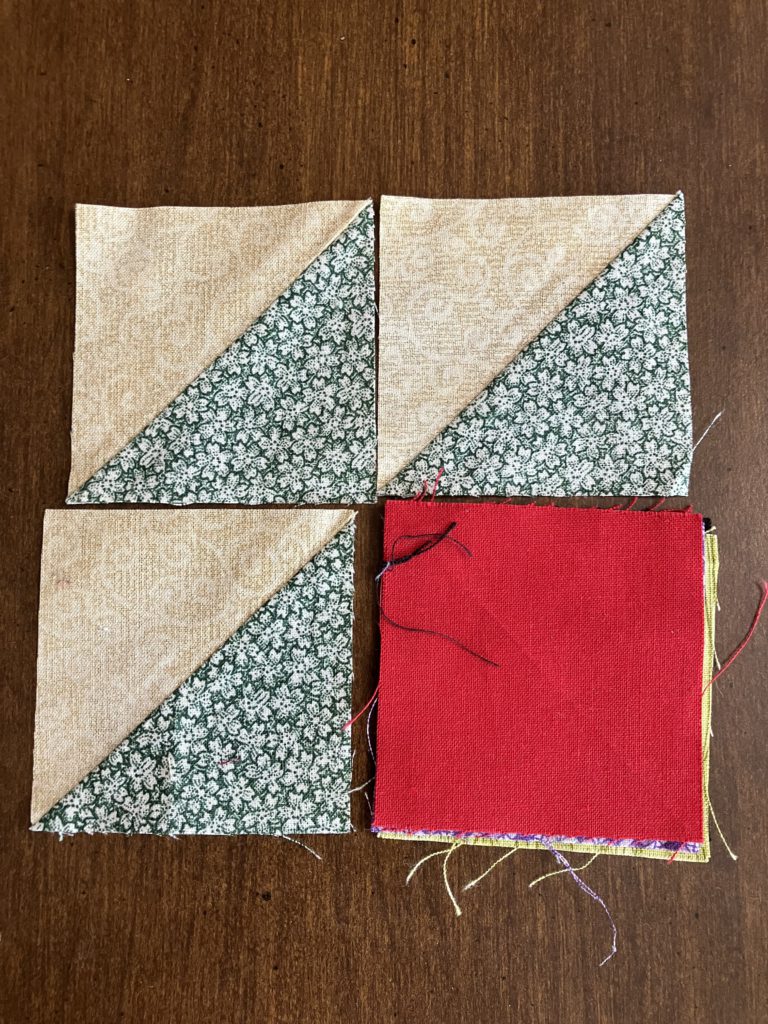
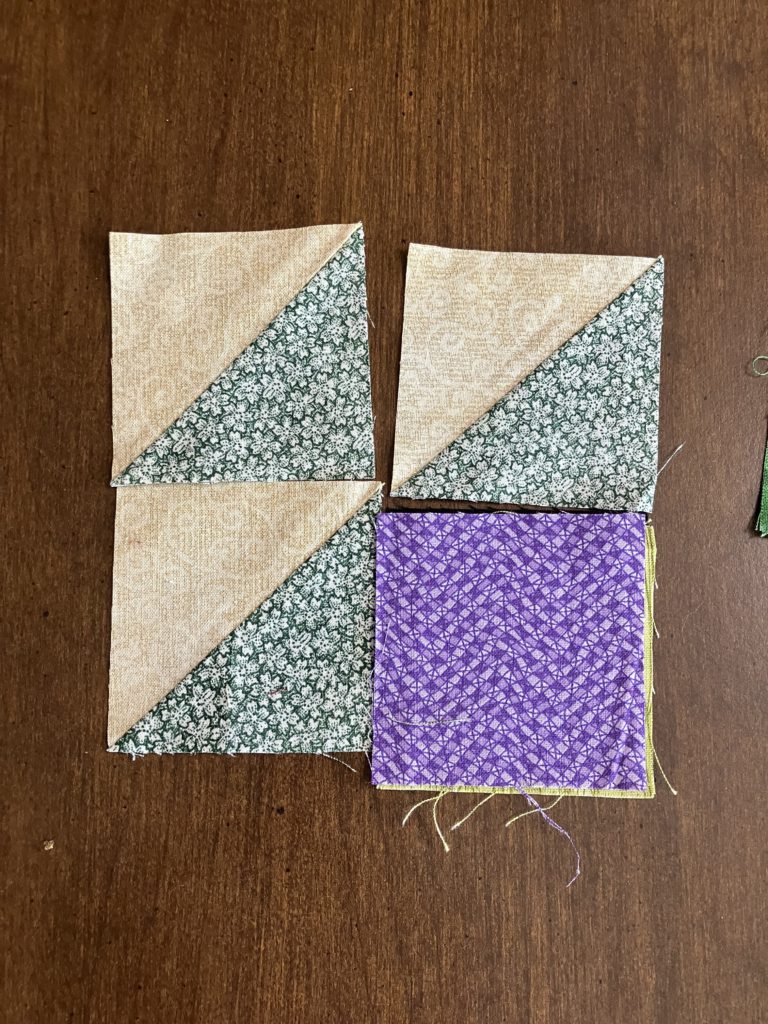
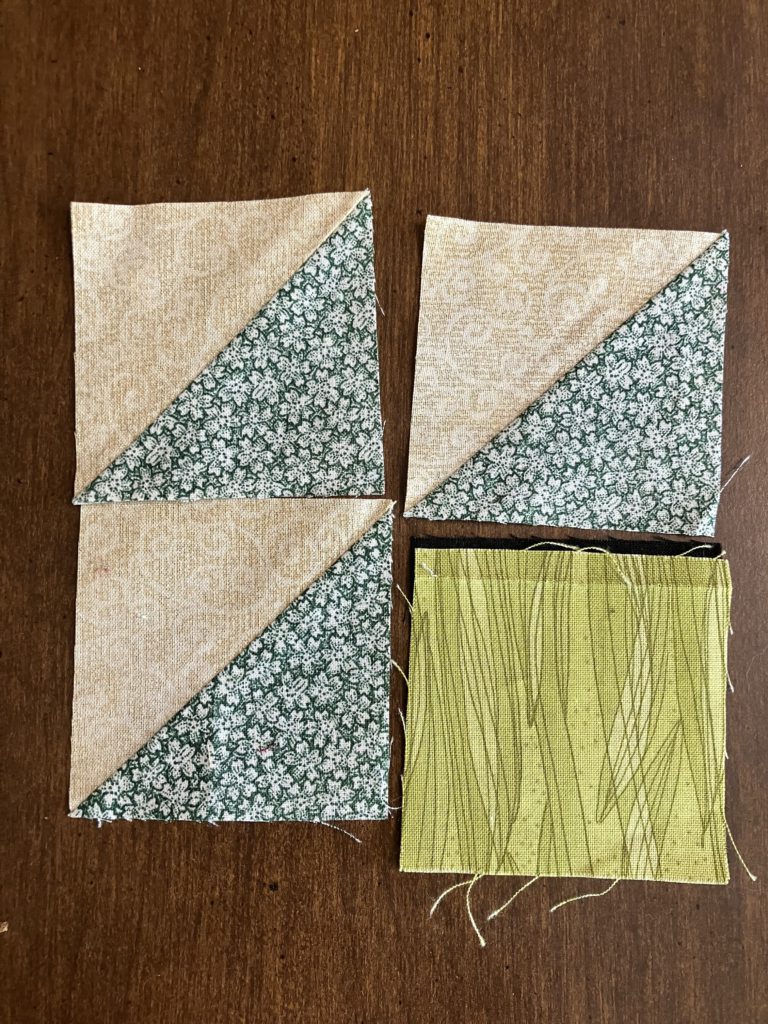
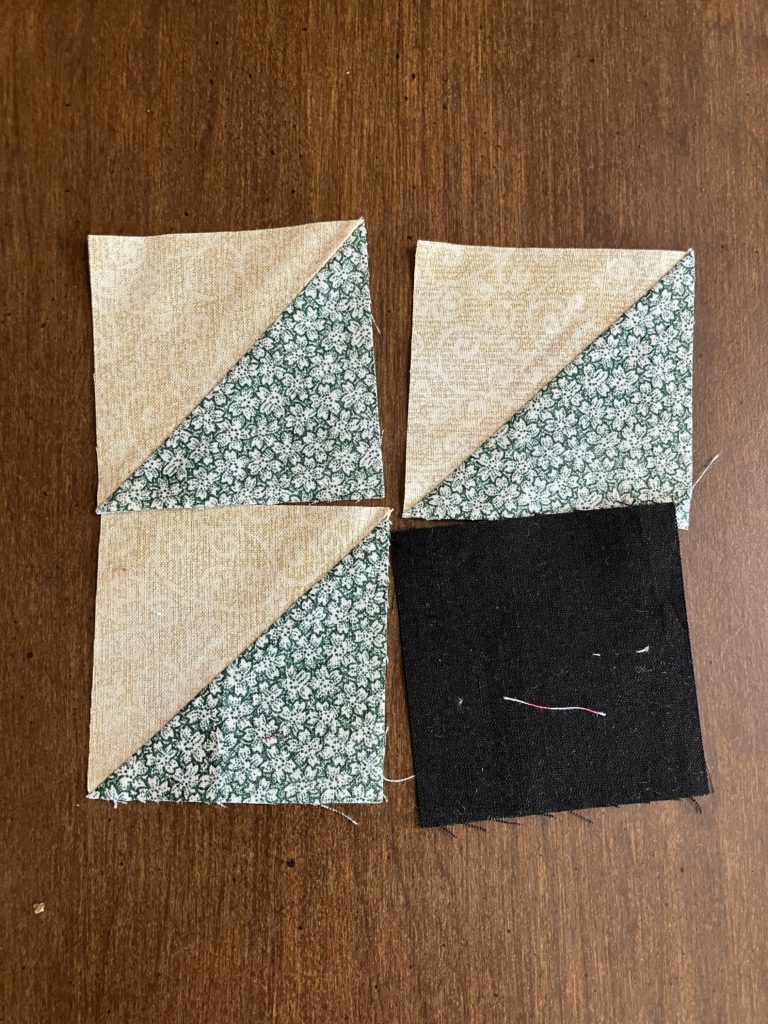
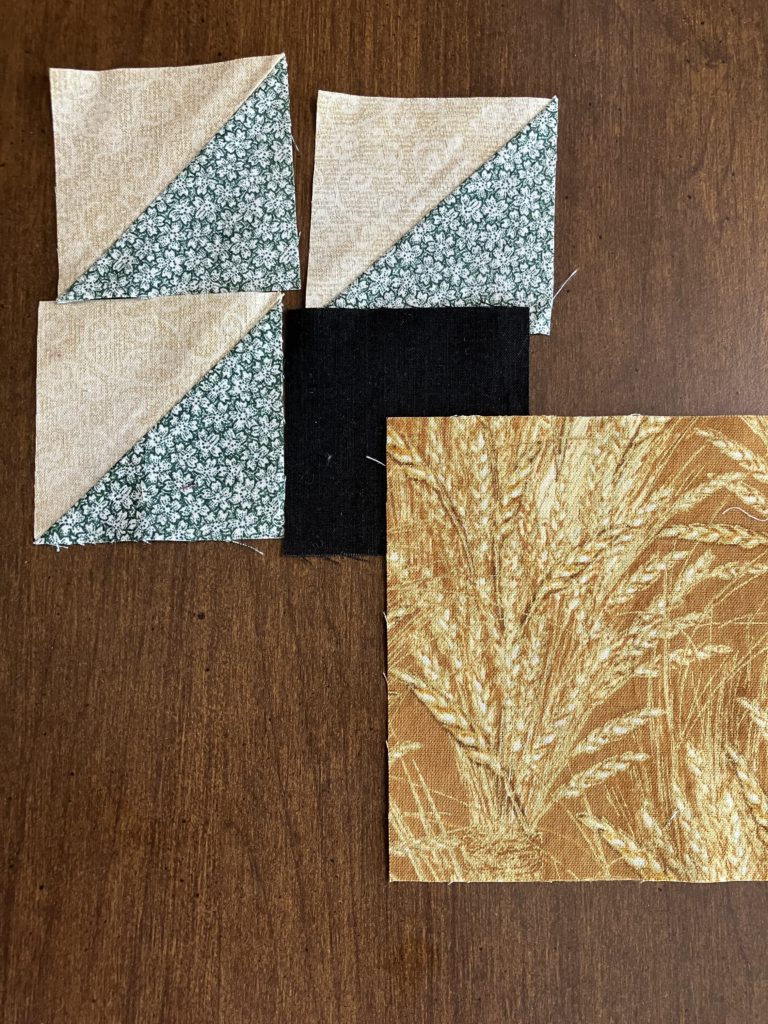
Which corner blocks did I like best with the green and tan half square triangles?

Christmas green with snowflakes?

Vibrant, solid red?

Wavy purple?

Grassy green?

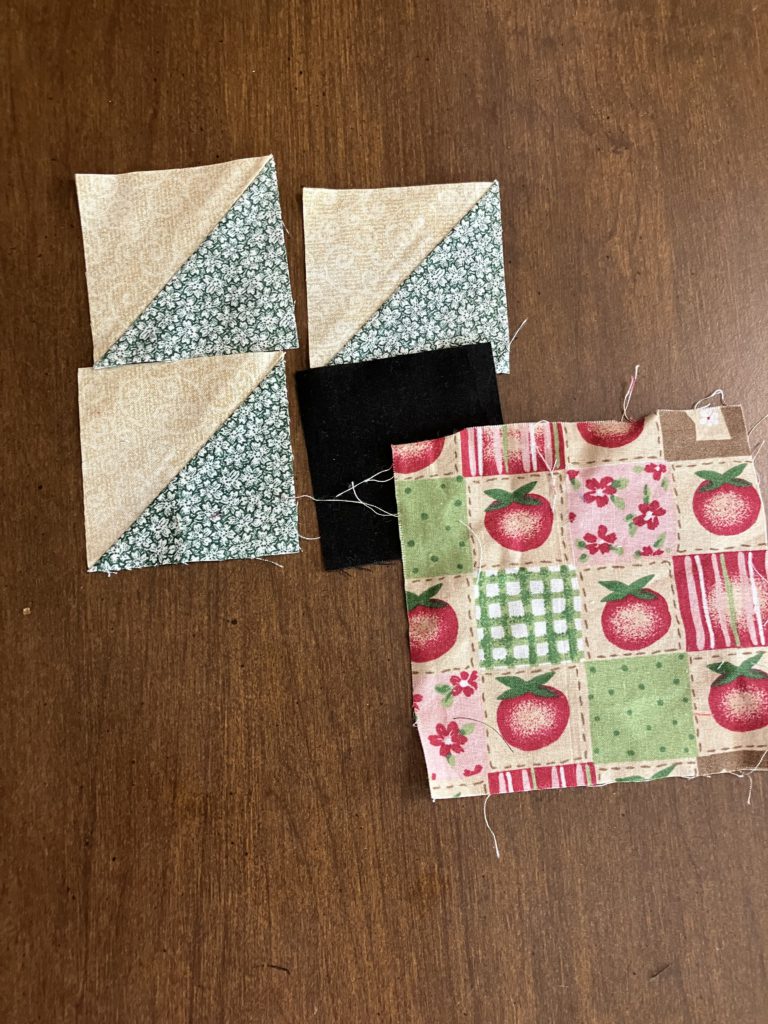
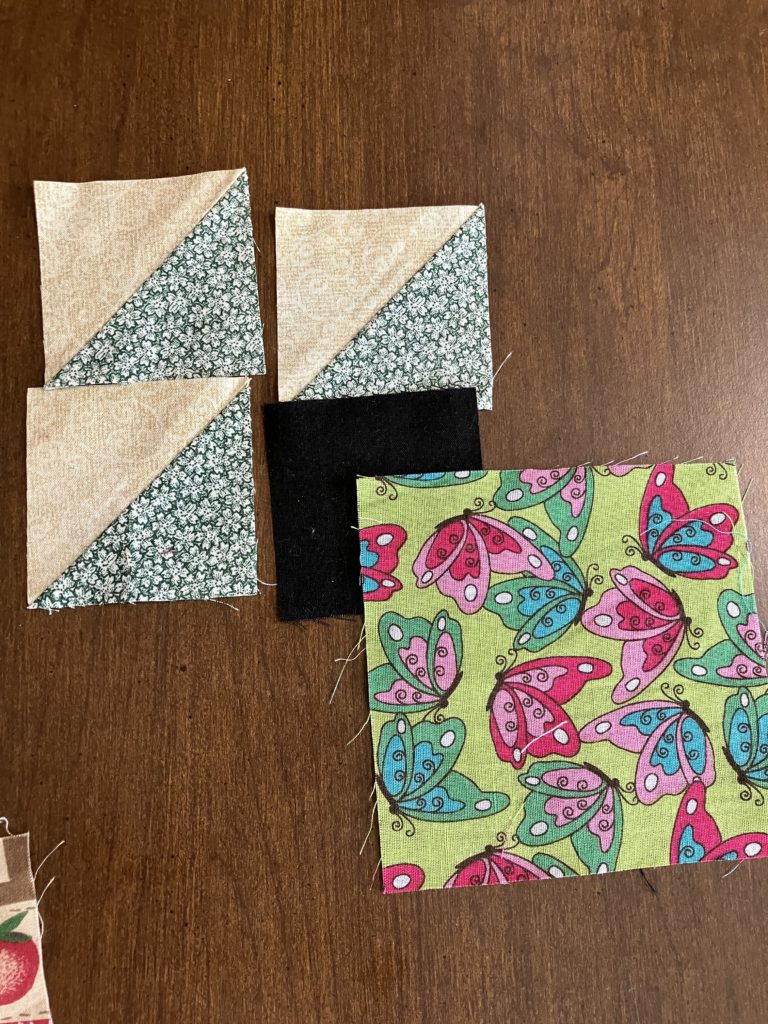
Solid black for a classic accent?

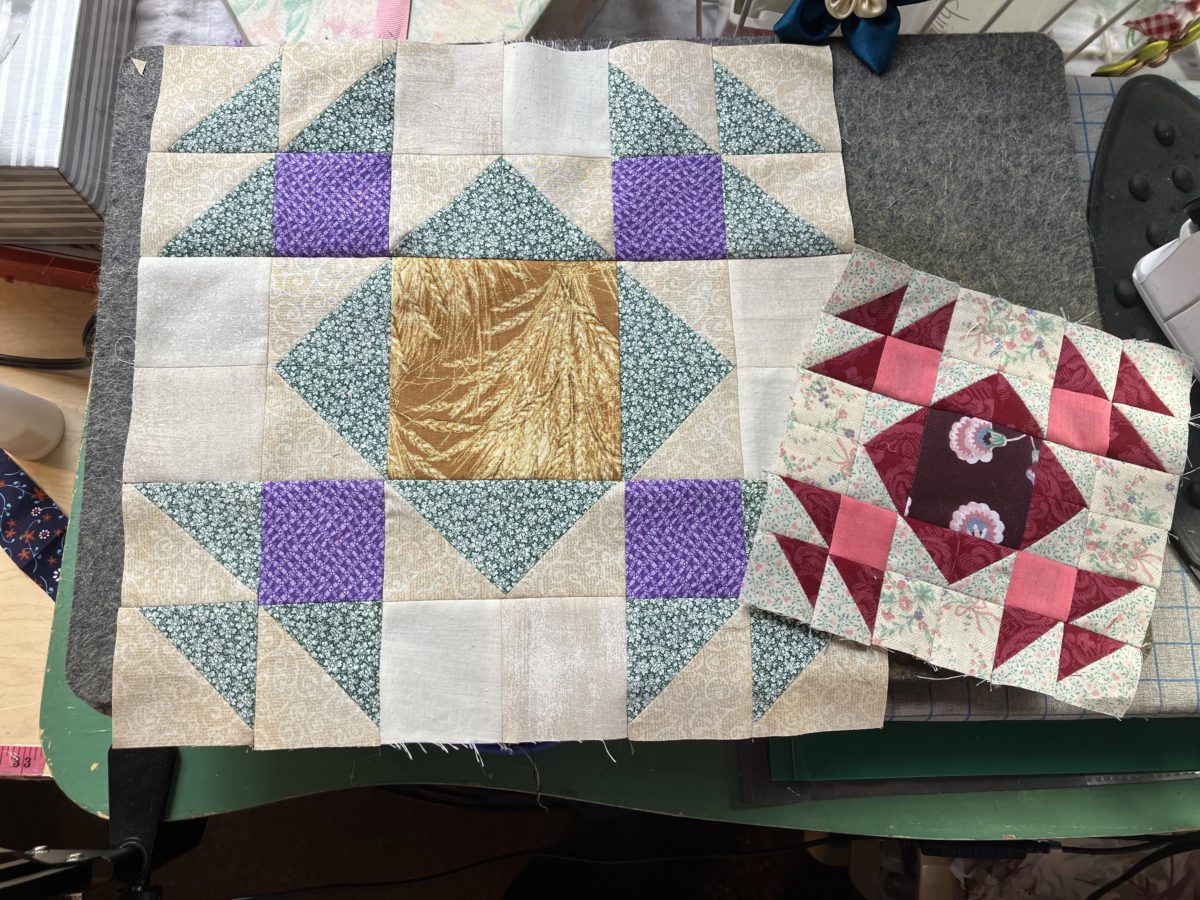
And then there were three different center choices!

Golden wheat (blowing in the summer wind)?

Apple and square cheater fabric?

Or butterflies on the wind?

With my friend Diane’s help, I chose to construct this version.

It is constructed in units and then like a classic 9 patch, just like the smaller version.

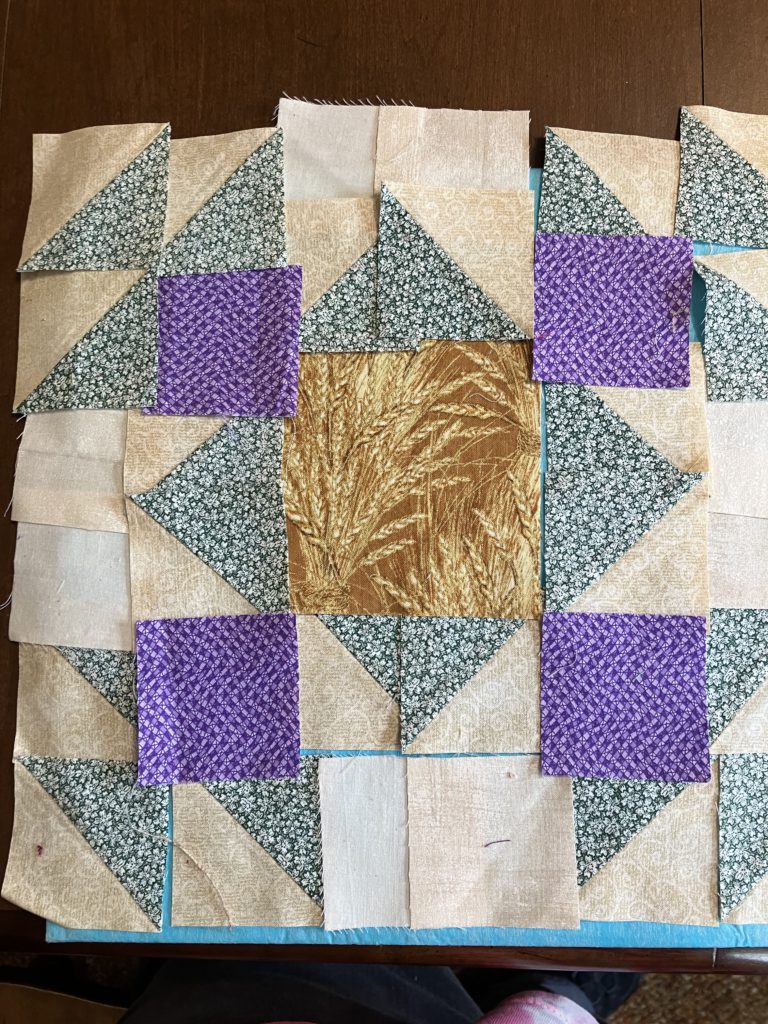
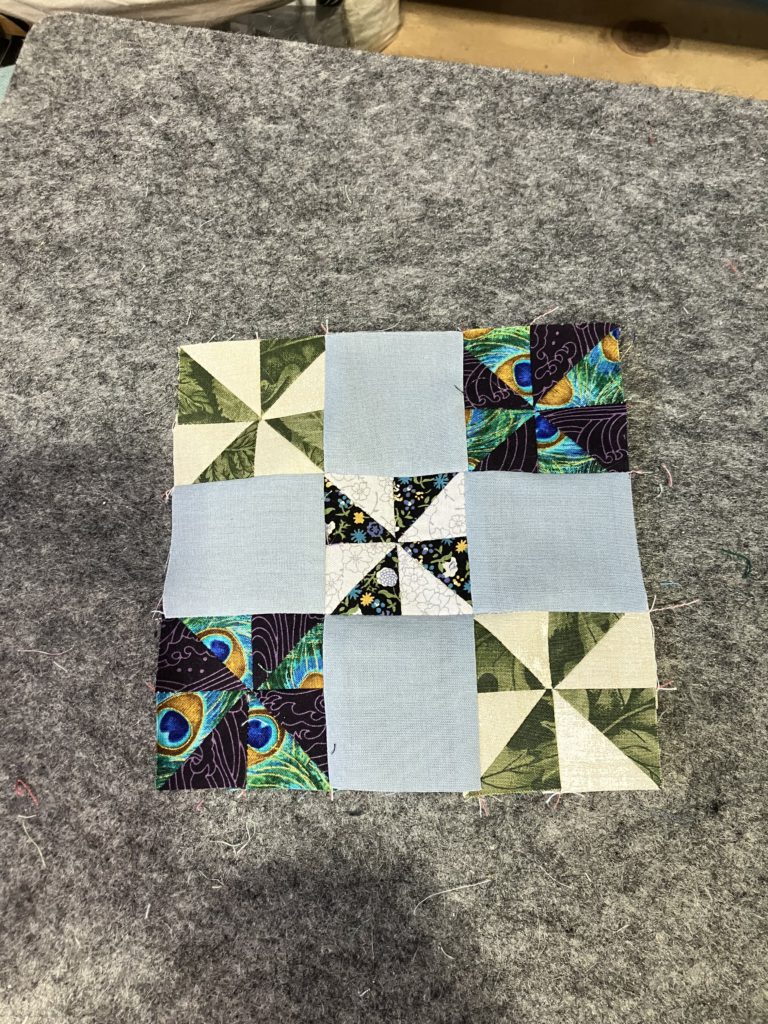
These blocks are easy to construct and great for using scraps. They would be great in a one block wonder quilt or as part of a sampler quilt.

Here is the printable cutting chart:

I hope you are enjoying this scrappy block series! Join me next week for another block!

If you have any special requests, please comment on the YouTube video above in this post.

Later,

Lorrie

Categories
Build a block quilting scraps

Build a Block: Pinwheel 9 Patch

This week I am using bunches of bonus half square triangle blocks…20 to be exact!  I am showing you this block in two sizes (12 1/2″ and 6 1/2″) and two different color ways (same pinwheels and scrappier pinwheels). Construction of both sizes and colorways is the same. 

There are a few tricks in my YouTube video that show how to make the pinwheel part of the block lay a little flatter. I used to avoid this step and struggled with a big lump in the middle.  It is worth the extra little bit of work!  Very worth it!

This block is constructed like a standard nine patch once you have made those swirling, little pinwheels. Did you realize that the pinwheels can swirl clockwise or counter clockwise?  Somehow I did not realize this! That fact completely passed me by! For more information on making the pinwheels, please see the video above.

Here are the “organized” scrappy blocks:

Here is the 6 1/2″ super scrappy block:

Here is the 12 1/2″ super scrappy block:

Looking at the above picture, I realize that some of my scrappy pinwheels stand out a little better than others, but then again, I am using up my scraps. C’est la vie!

I can’t resist tempting you more about the flat pinwheel technique. Look at how flat this one is…yes, it really does lay flat. I did not pin or fuss overly much to get it that way.

Here is the back center of that block. Look at that little mushed mess of seams. That is what makes this all work!

The video shows you how to pick out about 6 stitches (3 on each side of the connecting seam) to get this little pinwheel nest…three stitches! So worth it! This is coming from me…one of world’s biggest slackers!

If ever a product should sponsor me, this one is it! The “cadillac” of seam rippers!

Here are the cutting measurements for a variety of sizes:

Thank you for reading and watching! I am having great fun creating and sharing with you!

Just to let you know, I am turning off comments here on the blog. I am tired of the Russian manifesto and viagra comments…or just plain phishing comments. Please comment on my Facebook group or on individual YouTube videos. I do love hearing from you, but…

Have a wonderful day! Hope you are creating something fantastic from your scraps!

Later,

Lorrie