Categories
Build a block scraps sewing

Build a Block: Economy

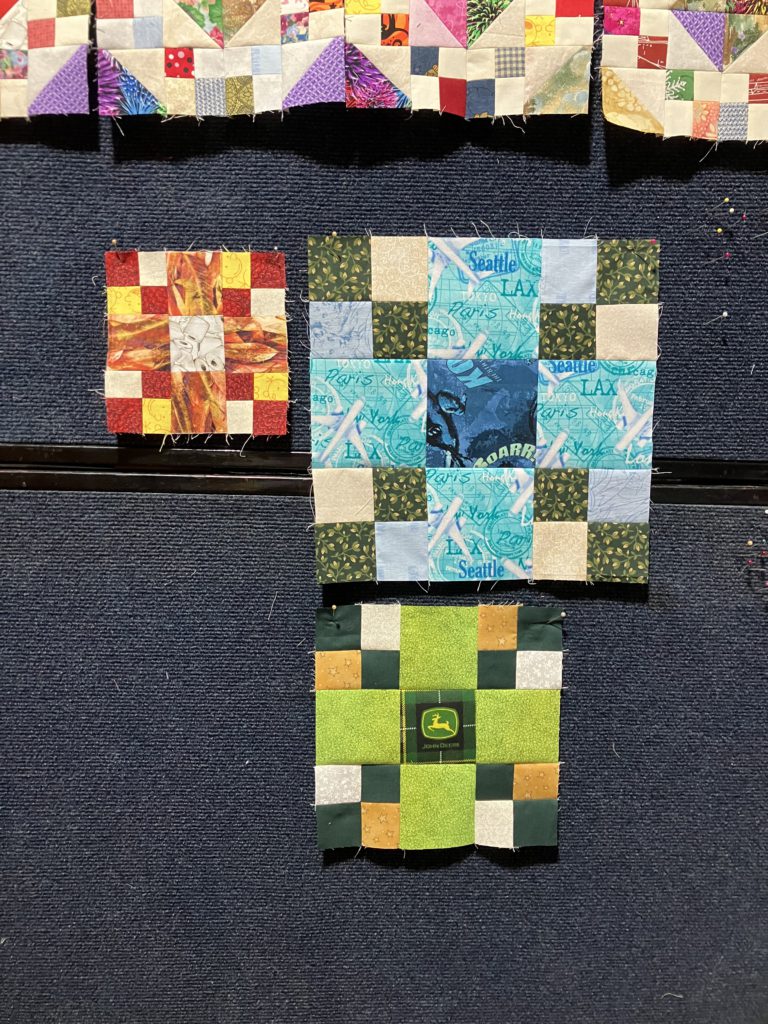
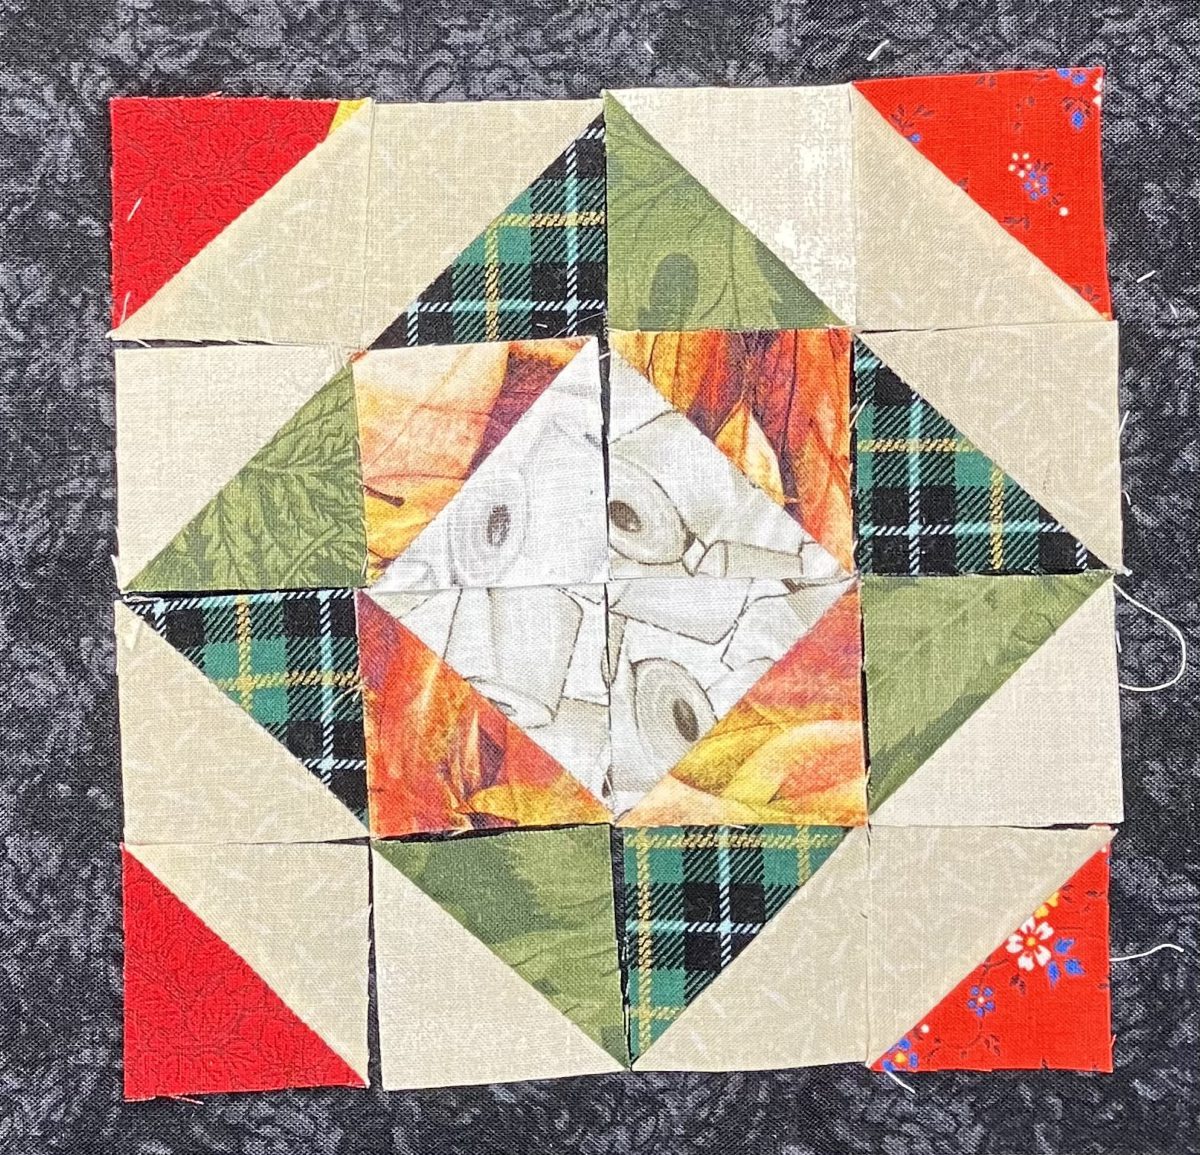
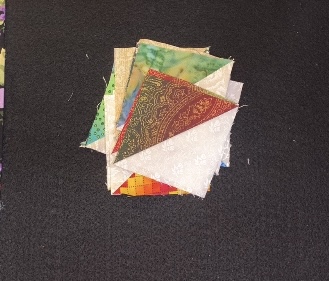
This is one of my favorite blocks to use up those bonus half square triangles. I am not sure that I am calling this block by its correct name. It is made up of 16 bonus half square triangle units. If you have a bunch of these hanging out in your sewing space, you will absolutely love this block. Grab a design board and let’s go!

Here is the video for the construction of this block.

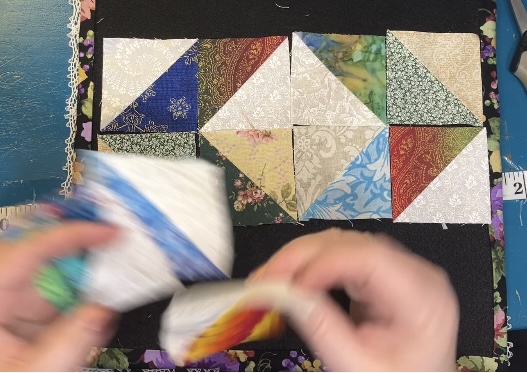
I am starting my layout in the center. The half square triangle pieces must be made from a distinct light and a distinct dark piece to be effective in this block. Color is not an issue in this scrappy block…only light and dark.

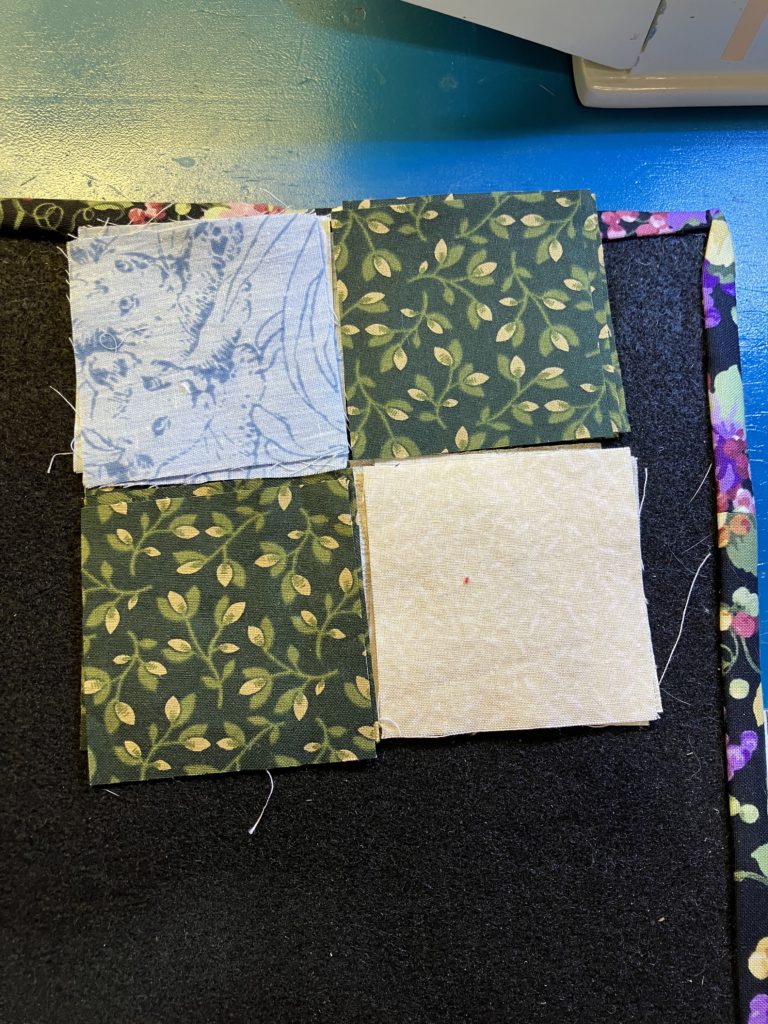
In this center, light fabric points towards the center.

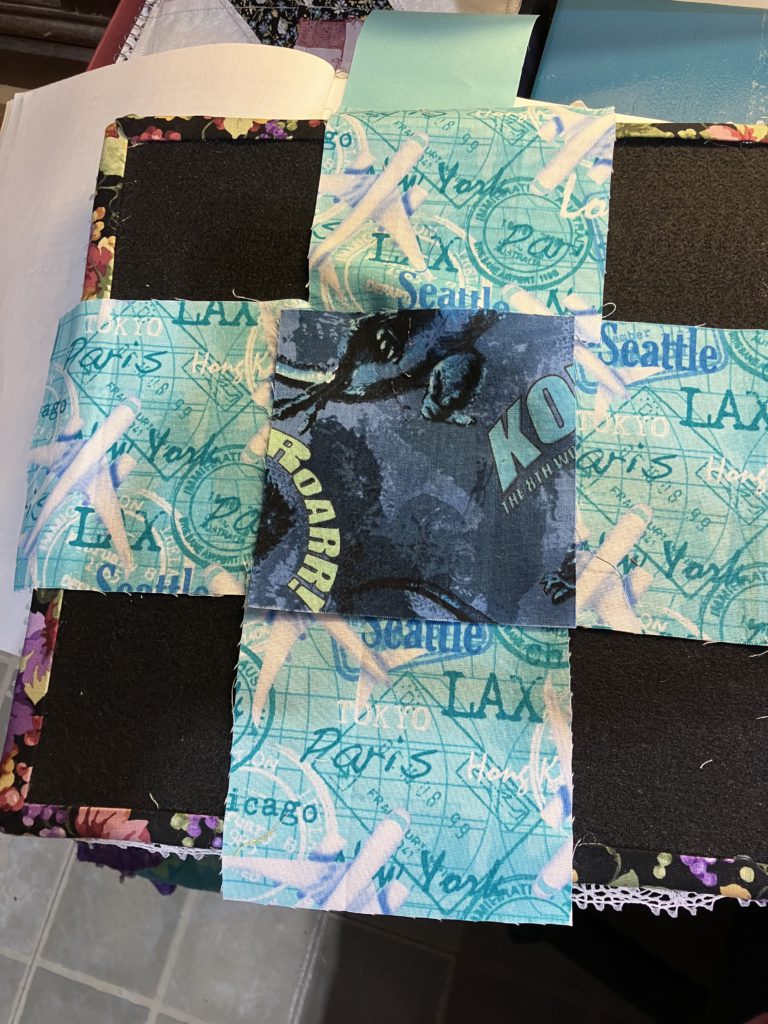
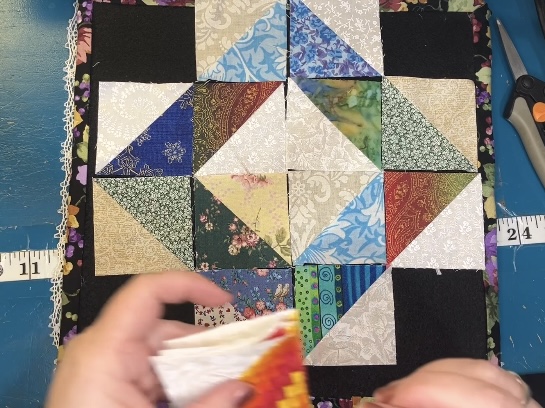
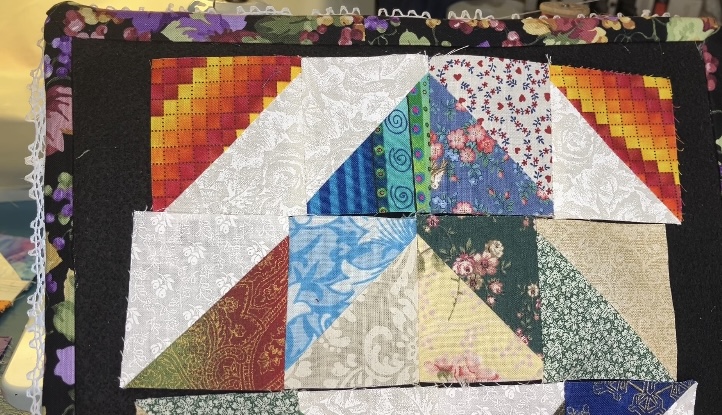
Next add more squares to create points going left and right. The “frame” is beginning to emerge.

Add top and bottom pieces to complete the frame.

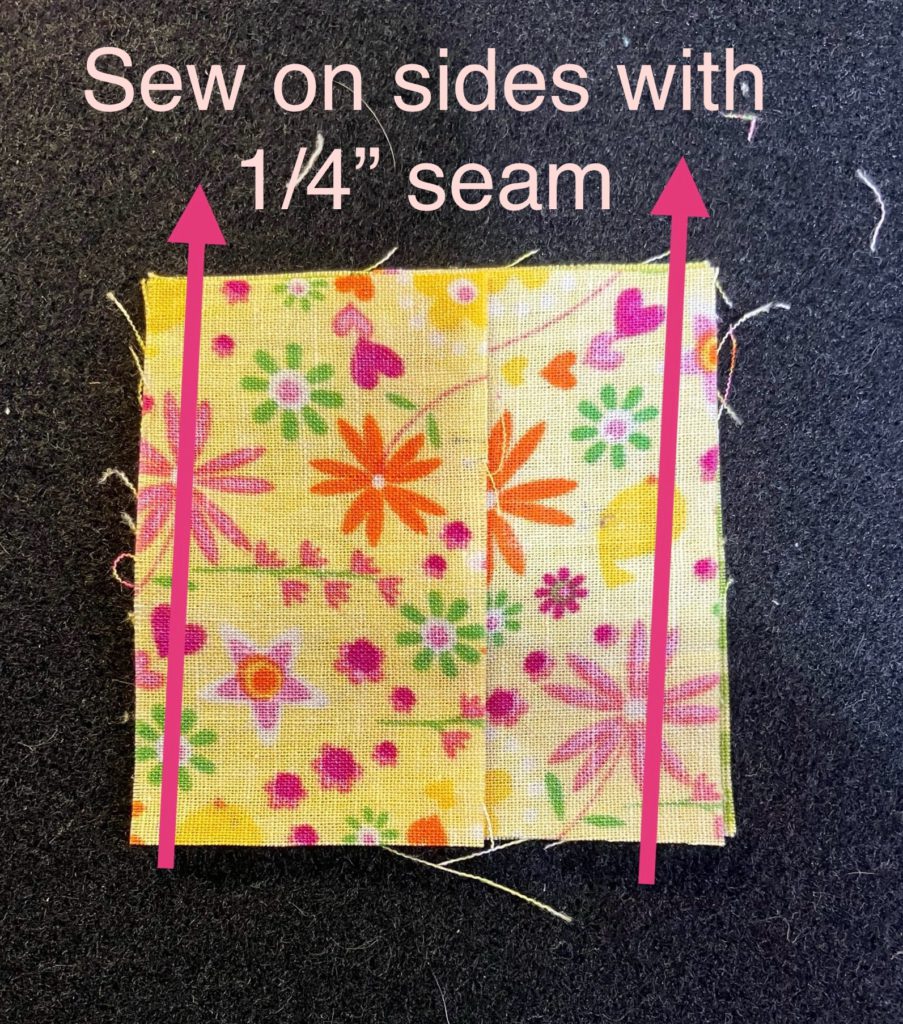
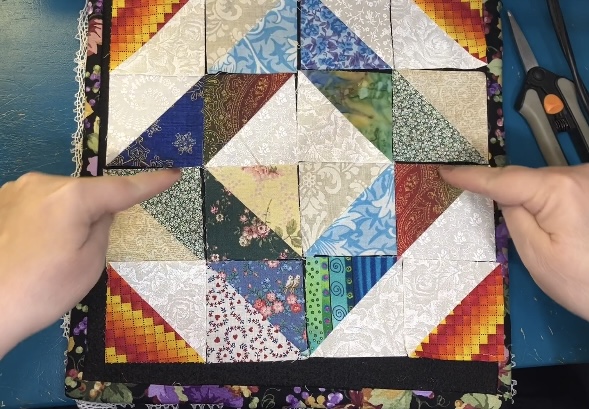
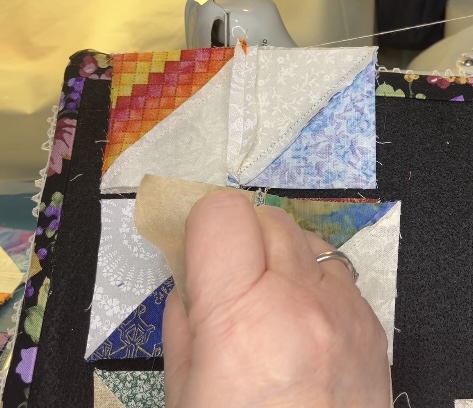
Add the outside corners to complete the block layout. In this case I used 4 matching corners, just because I could. Scrappy corners would have worked just as well…or better! Sew pieces together in pairs.

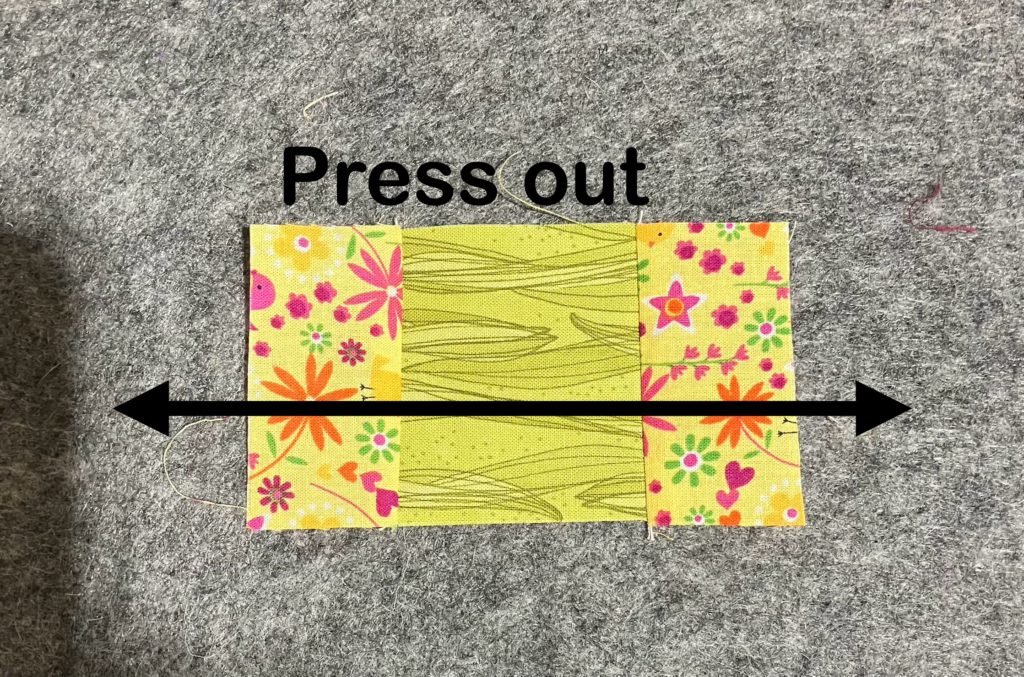
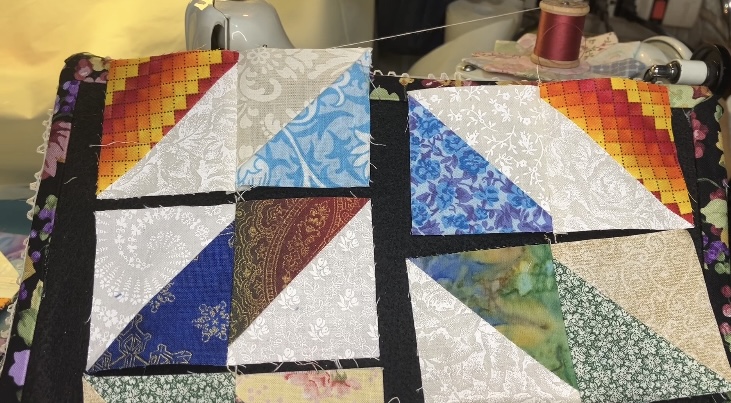
Now that you have pairs, lay your pieces out again. (I pressed seams open to reduce bulk.)

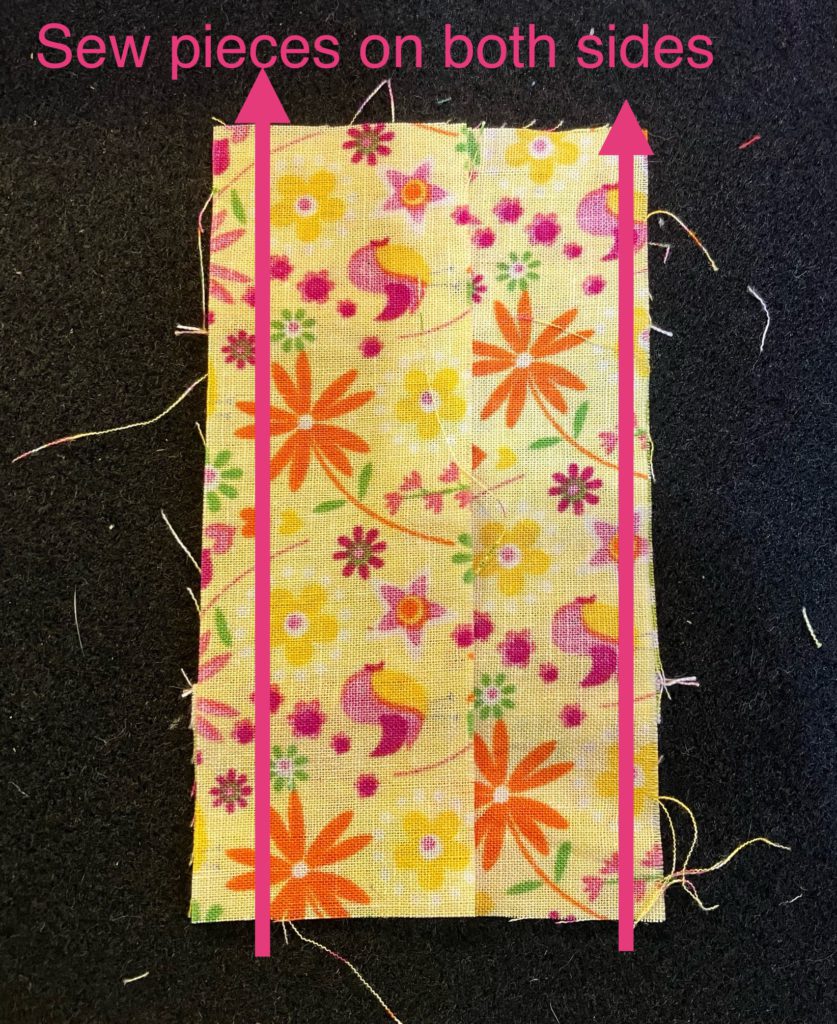
Join pair units into rows of four.

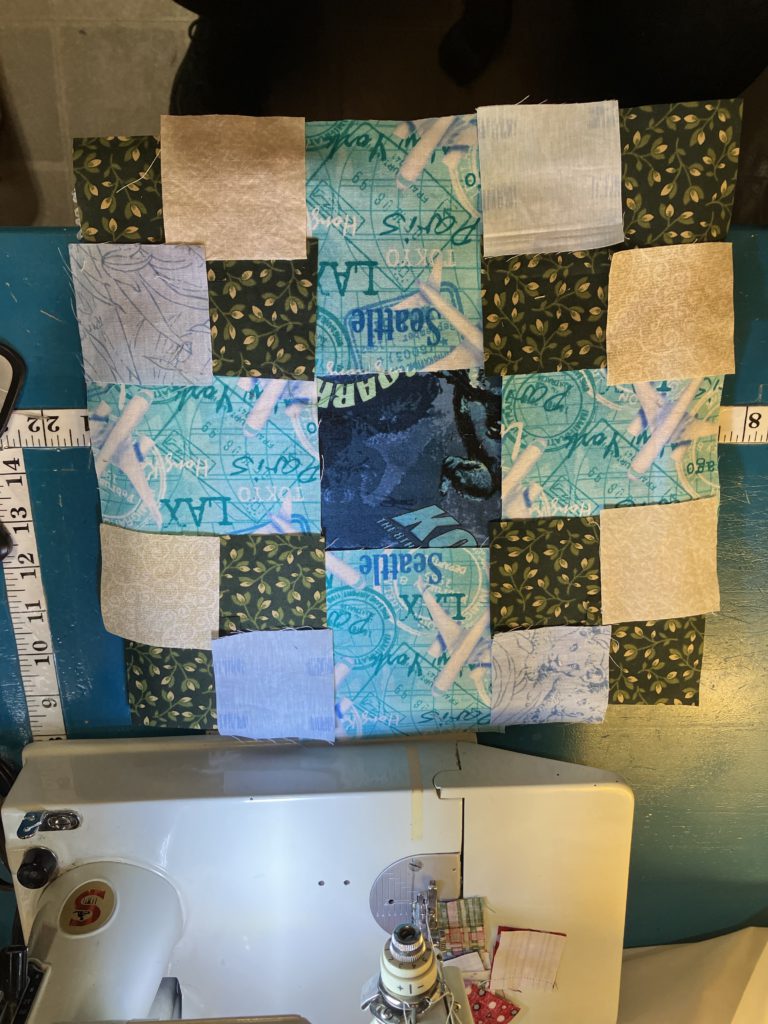
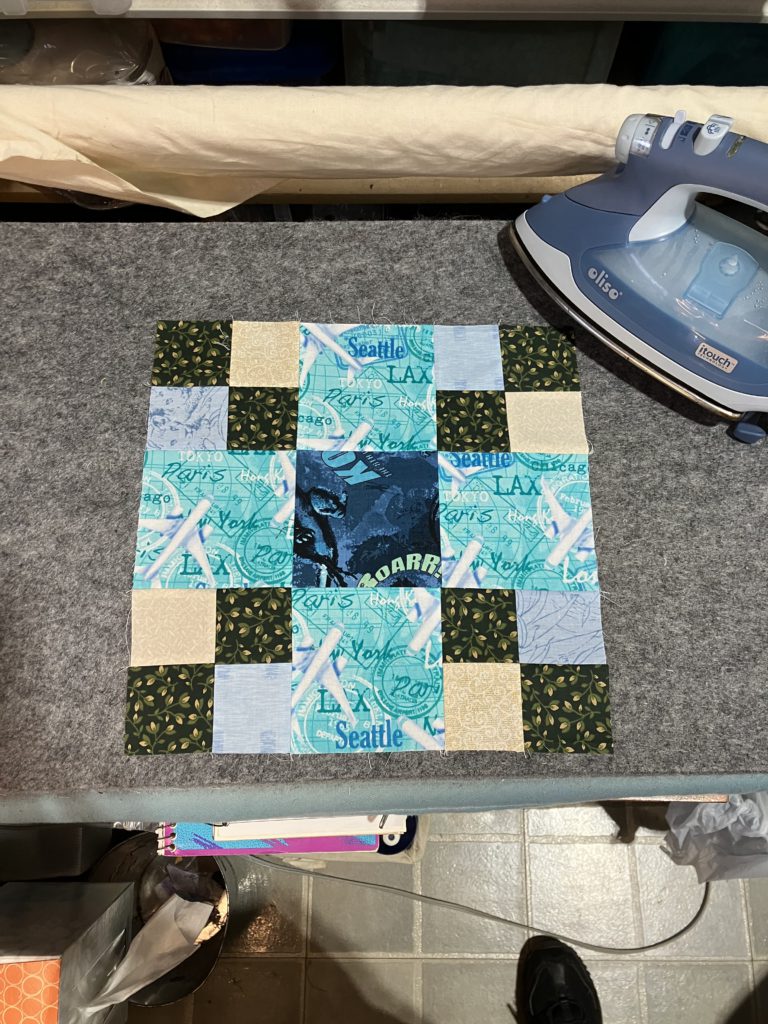
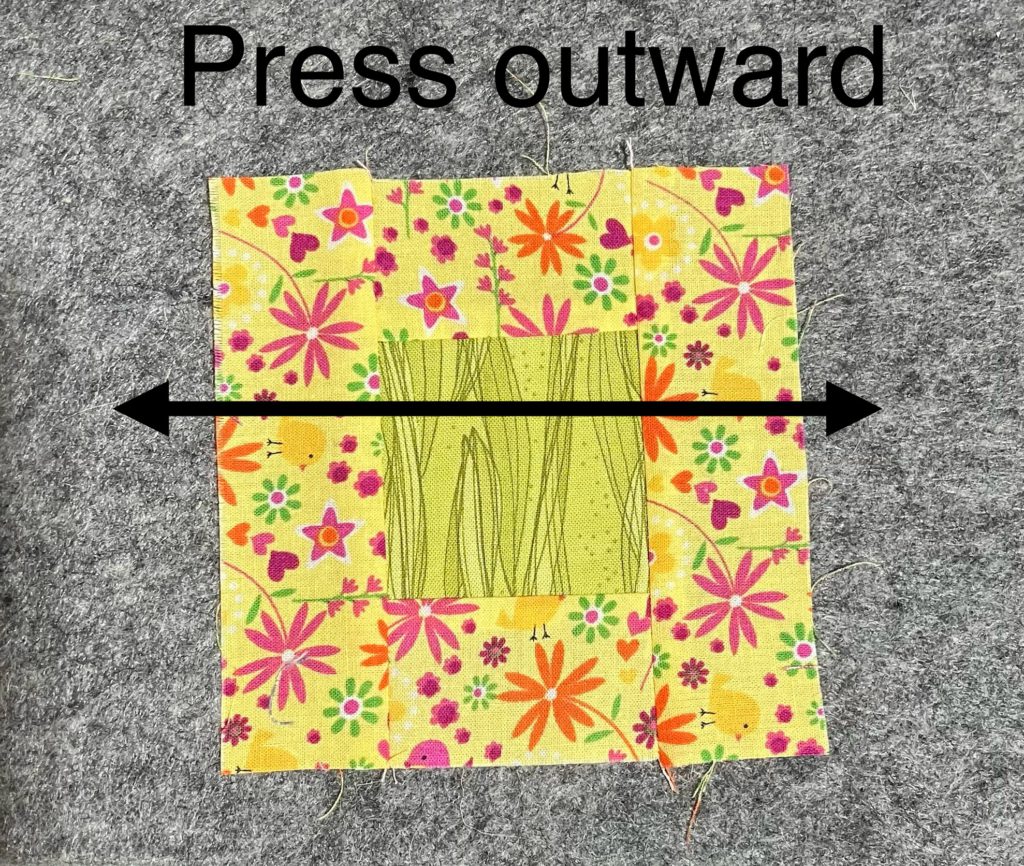
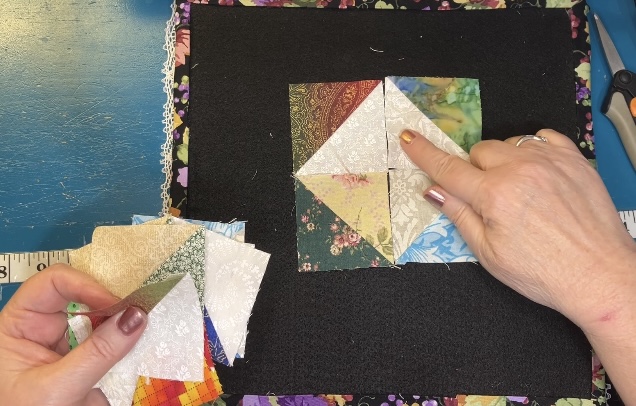
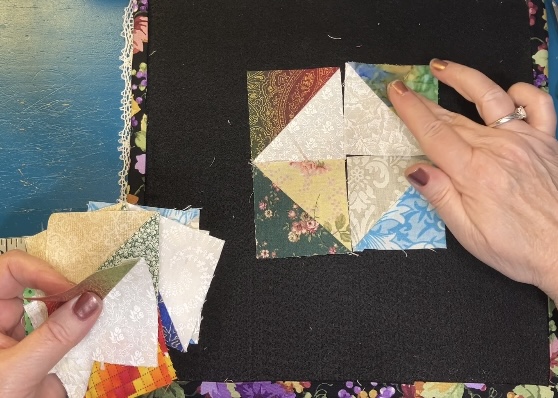
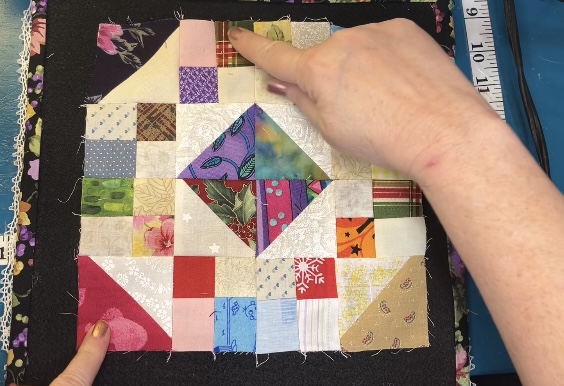
Lay your block out to check for correct placement.

Join two rows to make larger units. Notice that the top and bottom halves are the same layout turned around.

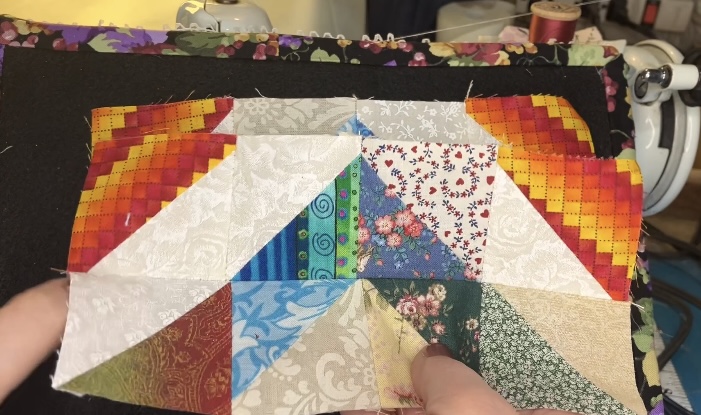
Also notice that this block could be pieced in quadrants. This four patch unit makes up the entire block.

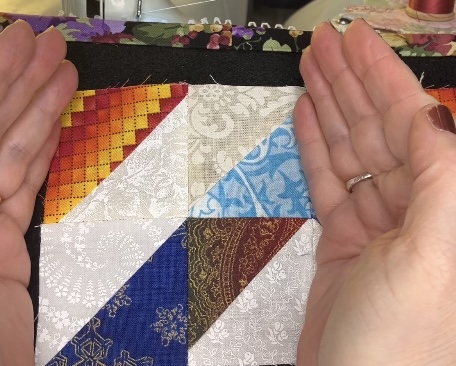
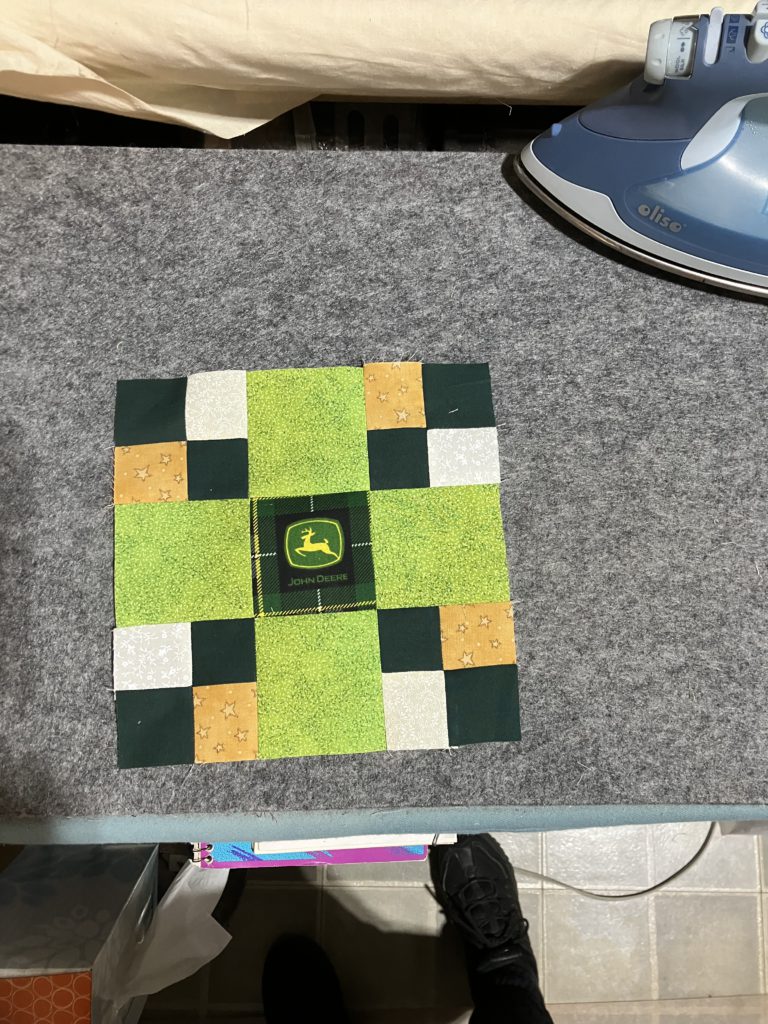
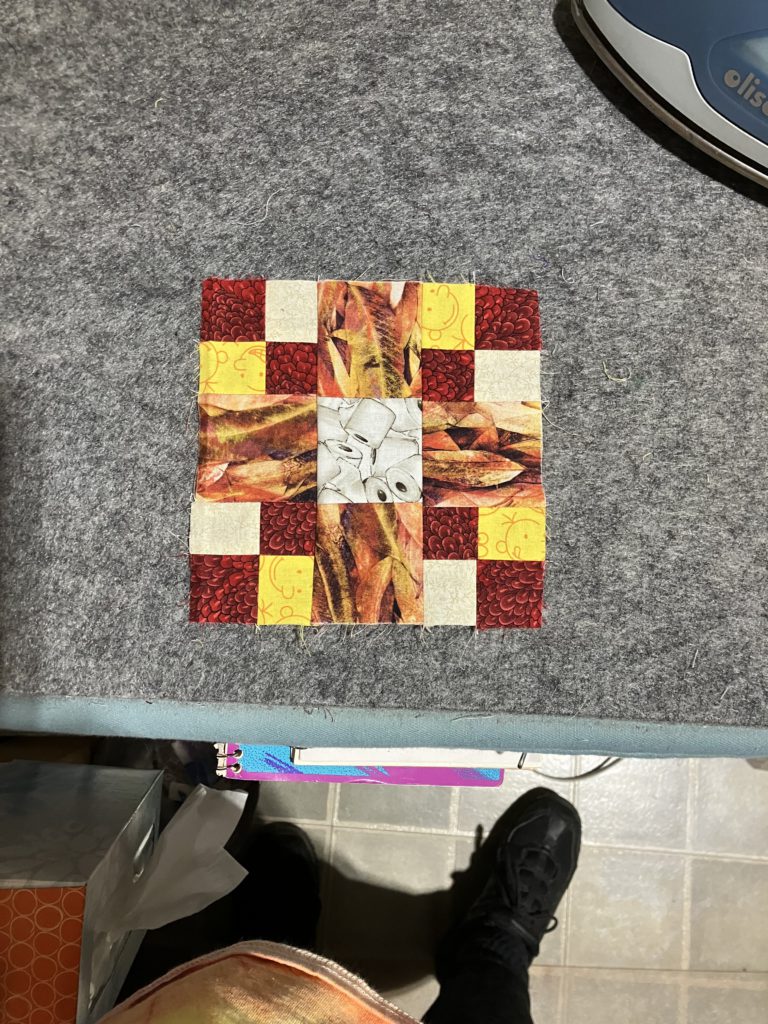
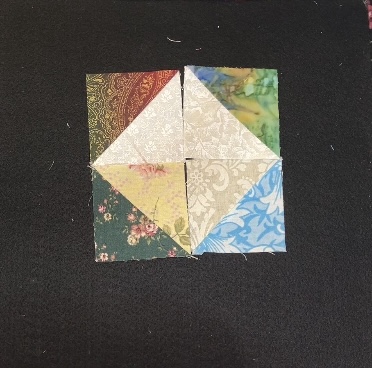
Join your larger units together to complete the block. Ta-done!

The jewel box block that we did a while ago also has the same “movement” as the frame in the economy block.

Here is the original version of this block from October in my YouTube series on Scrappy Blocks that use bonus half square triangle pieces. See the video here.

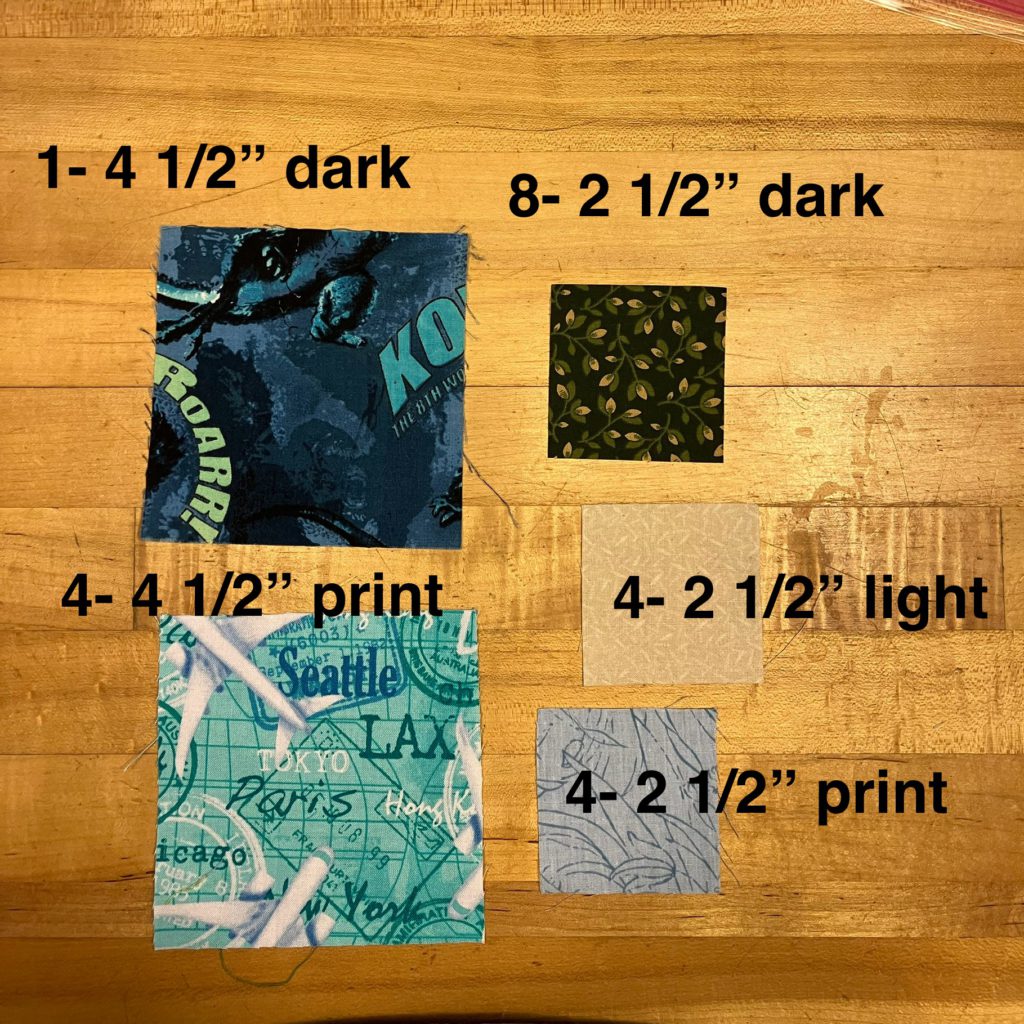
I hope that the cutting charts for this block are not confusing. They are presented in 2 charts…one for just using bonus blocks and the other for construction of half square triangles.

I hope you are enjoying this Build a Block series! Enjoy!

Later,

Lorrie

Categories
Build a block quilting scraps sewing

Build a Block: 5L Thrifty

This is an easy, scrappy block, especially if you sort your scraps by certain sizes like I do…It just makes it faster to choose the bits and pieces to sew together. Here is a cutting chart for the three sizes show below:

There is a video about this block on my YouTube channel.

This 12 1/2″ block is made from all 4 1/2″ and 2 1/2″ blocks…all straight line piecing! No triangles on this block!

Here is the breakdown of my choices:

This block goes together SOOOOO quickly!

Make four 4-patch units. Please note the placement of the lights and darks in the picture below. All four units are identical. Zoom! Zoom! Speed piecing is a wonderful activity!

Normally, I show you an example of a small block with the seams pressed open. Since this is a bigger block this week, I pressed towards the darker fabrics in these 4-patches.

Now it is time to plug those beautiful and simple 4-patches into the main block.

Notice that all the dark blocks are towards the center block and radiate outward. Please note the placement of the blue and the background fabrics also.

Here is the 9 1/2″ example:

Here is the 6 1/2″ example:

Ta-duh! and Ta-done! This block would have a great secondary pattern if placed together. Easy…it would be great as a kid’s or baby’s quilt, too! Let me know what you think about this block. Have you tried it? If you have, please share pictures to my e-mail. I look forward to hearing from you.

I decided to add some pictures because this was such a short, quick post.

I found a stash of bags in my sewing room as I am zone organizing. I donated some. I washed the rest to repurpose.

This one was one that my friends and I made at quilt came with the Camp Frame Fireside quilters. The pocket is paper pieced and held on by the straps. It is lined. The top edge is a rolled down cuff, so the bag can actually be deeper if needed.

On blabfest Fridays, on my YouTube channel, I have been talking about a car quilt for my son and his family. This quilt is made from all scraps…pieces that could have been thrown away, but were repurposed instead.

I need 24 of those jewel box blocks. I have 7 finished. Time to get busy!

Categories
Build a block quilting scraps sewing

Build a Block: center surrounded by 2 strips

This block is quick and easy to construct! I know that I say that almost every week, but it is true every time I say it. Using contrasting scraps is the best way to make this block pop! I pulled strips and squares from my “pre-cut” bins to make this a faster finish.

A one minute video of this block construction is available here on YouTube.

Presenting a New Feature at the bottom of this post! I have added a fantastic size chart for pieces to cut. It contains a variety of finished block sizes. Check it out at the end of this post!

The version shown below is constructed from a 2 1/2″ square in the center and 2 different 1 1/2″ strips surrounding it.

I did cut my strips to the following lengths:

  • 2- 1 1/2″ x 2 1/2″ (inside round color)
  • 2- 1 1/2″ x 4 1/2″ (inside round color)
  • 2- 1 1/2″ x 4 1/2″ (outside round color)
  • 2- 1 1/2″ x 6 1/2″ (outside round color)

This week I have words imbedded on the pictures, as well as arrows. This is a no brainer approach. Please remember to always use a good 1/4″ seam, no matter how crooked the arrows are in my photos.

Please add the 1 1/2″ x 2 1/2″ pieces to the center here.

There are not a lot of bulky seams here, so I press out.

Add the 1 1/2″ x 4 1/2″ pieces to the sides here.

Now is a great time to press it flat, flat, flat. By pressing now, the block will be crisper and flatter for the next round of strips.

Please add the 1 1/2″ x 4 1/2″ outer round pieces to both sides. (I forgot to take the picture before I sewed one of the pieces… oopsy!)

Give the strips a quick press outward.

Add the final two 1 1/2″ x 6 1/2″ strips to both sides.

Press outward one last time. If you want the block to be even flatter, give it a little shot of starch or Best Press at this point.

Tah-done! I love this little block! I told you it was quick and easy!

Below is the new size chart! This took some work to figure out how to embed this in a blog post…making the chart was the easy part!

Please let me know in the comments if you like this new feature. I look forward to hearing from you.

Later,

Lorrie