
I am in love with this scrap block! After I made one, I just couldn’t stop. I still do not have these blocks out of my system. I love the contrast of the scraps in this block. When multiple blocks are assembled together, a fantastic secondary design appears. (I show four of these blocks together at the end of this post.)
If you would like to see this presentation in video form, please view it on my YouTube channel here.

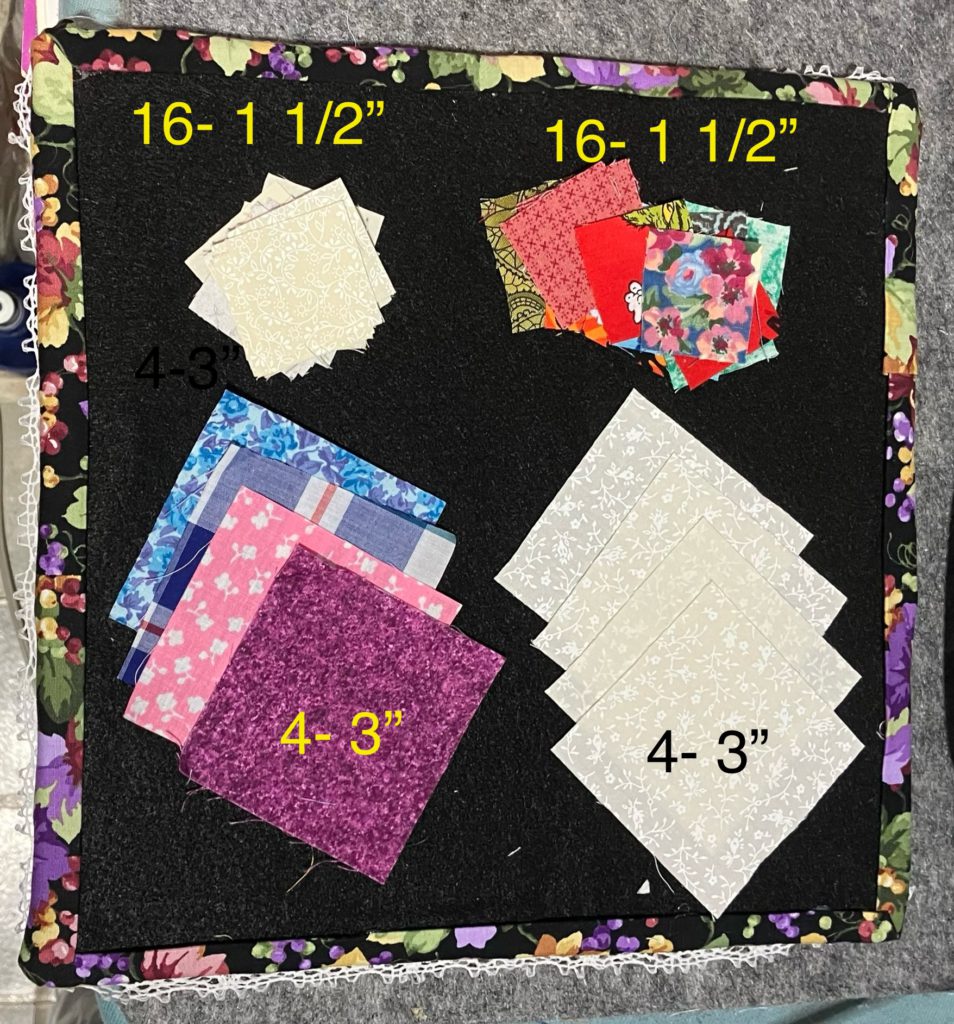
For this block, you will need: (alternate size chart is at the end!)
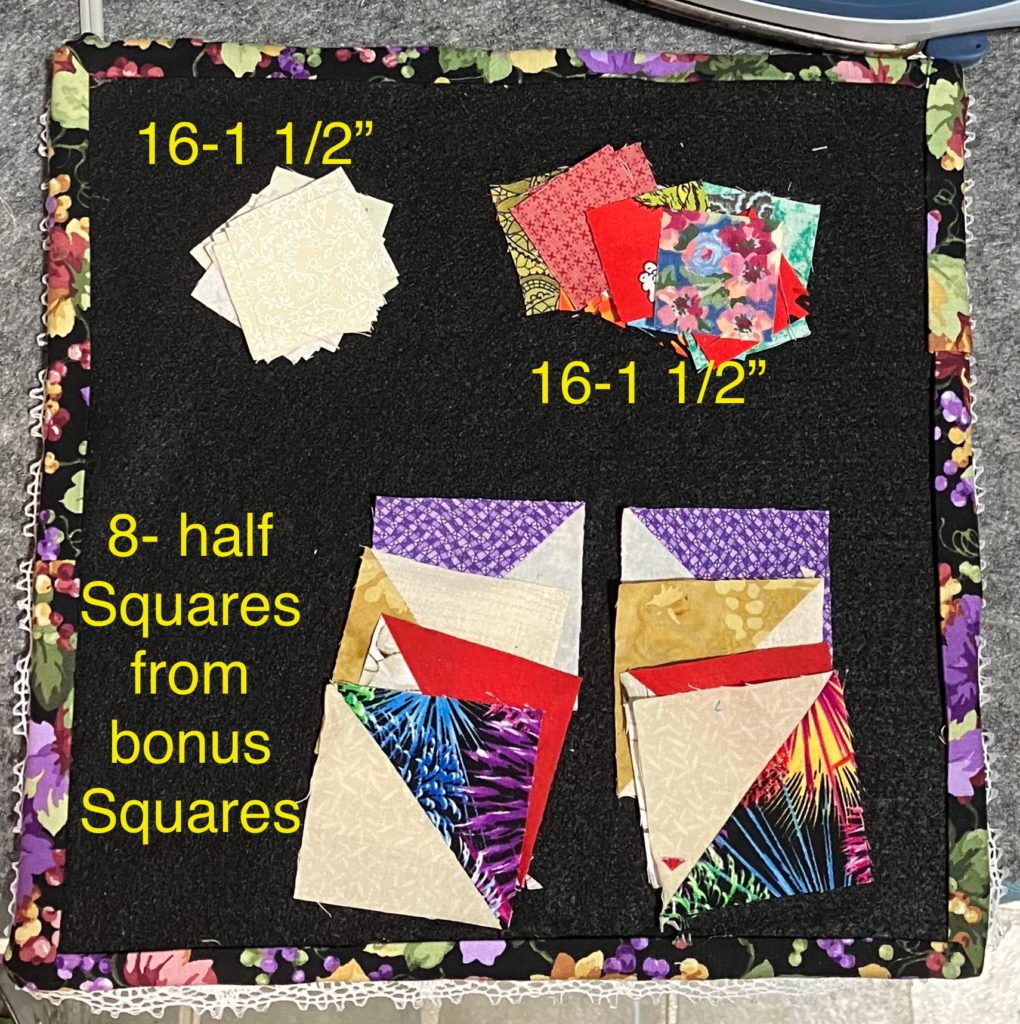
- 16- 1 1/2″ background squares
- 16- 1 1/2″ scrap squares
- 4- 3″ background squares
- 4- 3″ scrap squares
The pieces listed above uses the two at a time half square triangle method. That is a tutorial for another day.
OR if you have a bunch of bonus half square triangles, you can use 8 bonus half square triangle units that are 2 1/2″.
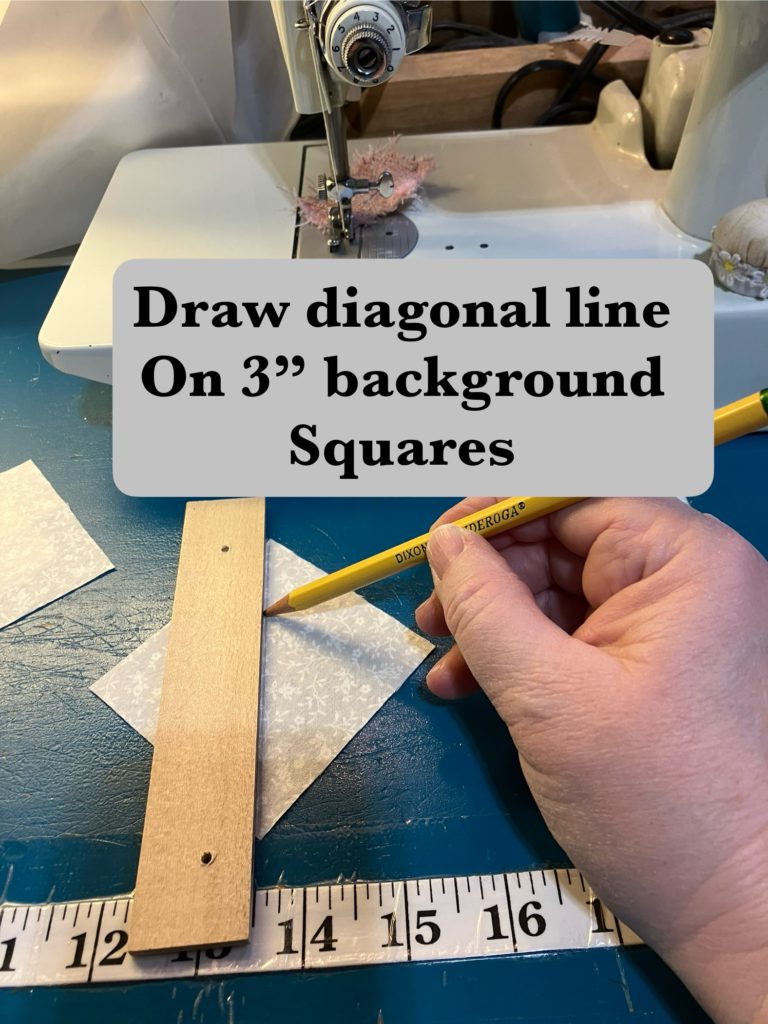
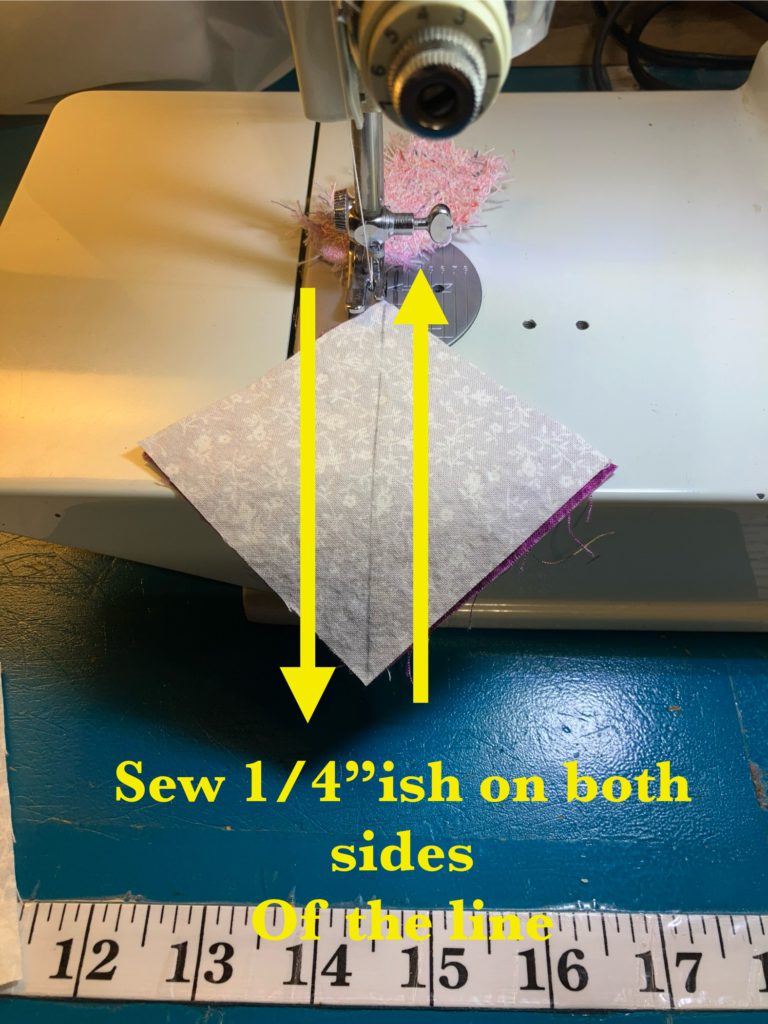
If you are using all squares, you will follow the next few steps to make your half square triangles.
More often than not, my sewing is a scant 1/4″ when I use this method. I would rather have a little extra to trim off than have a unit that is undersized.
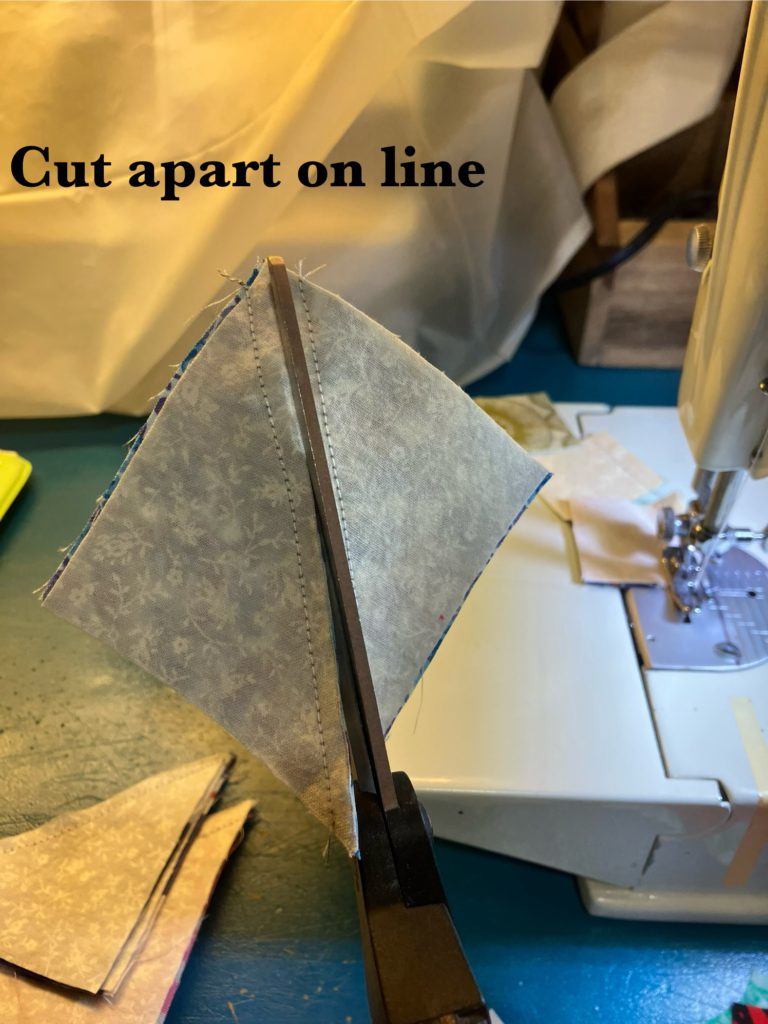
You can use your rotary cutter and ruler for this part if you wish, but I always just cut the pieces apart quickly with my scissors.
Press to the dark fabric. If you are using this method, you will need to trim. Fabric stretches, sometimes a little…sometimes a lot…during this method. Accuracy at this step will make your life so much easier when it comes to final assembly of the block.
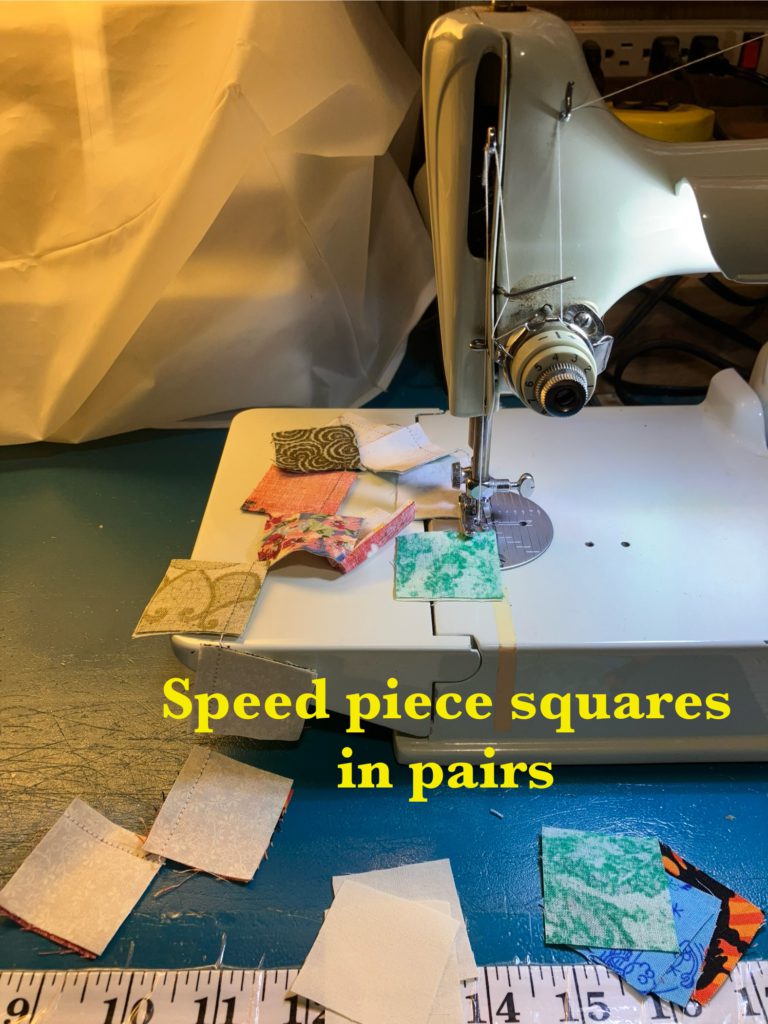
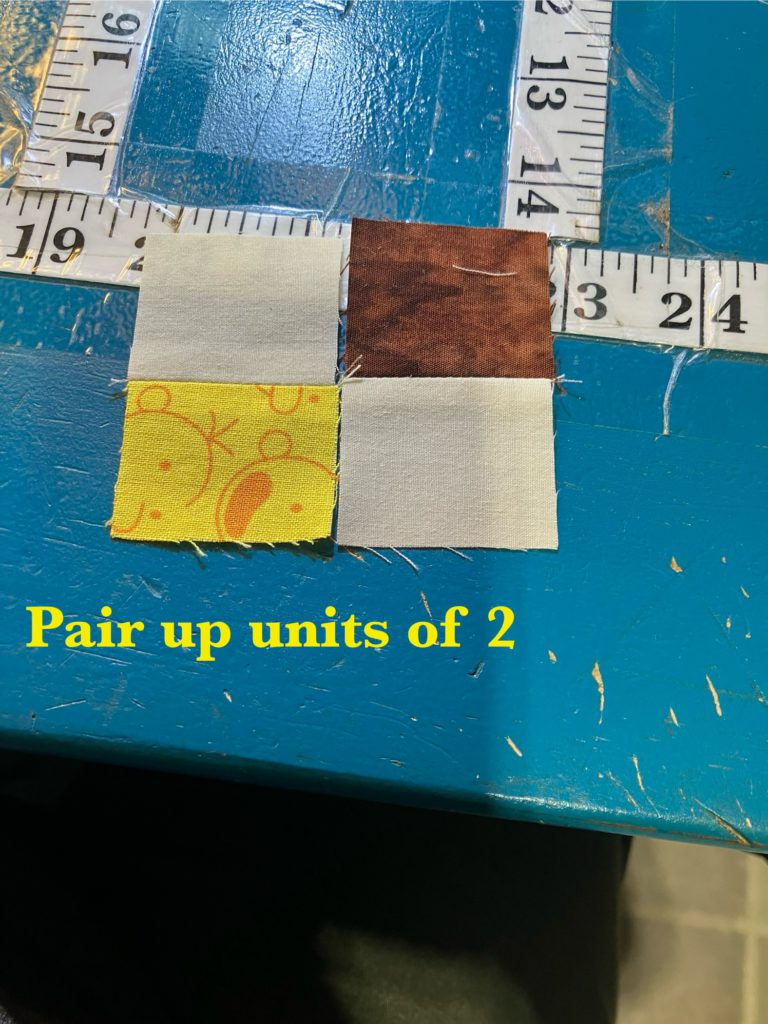
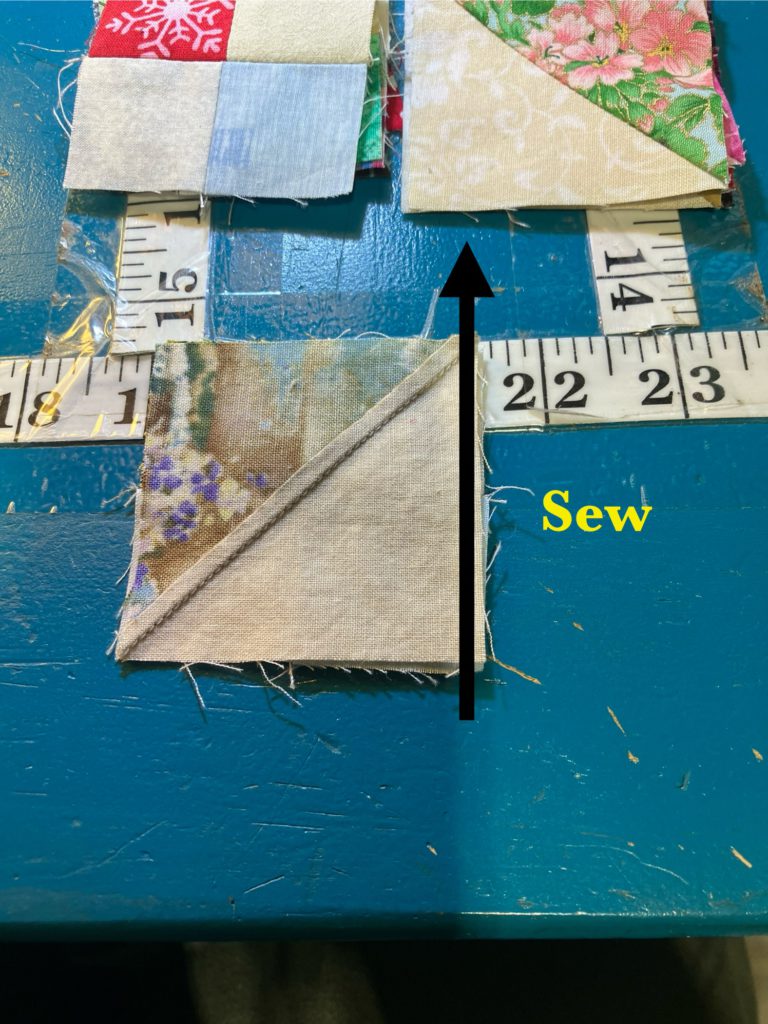
We are ready for the zoom zoom part of this block…speed piecing! Join all of the squares in pairs of 1 background to 1 scrap.
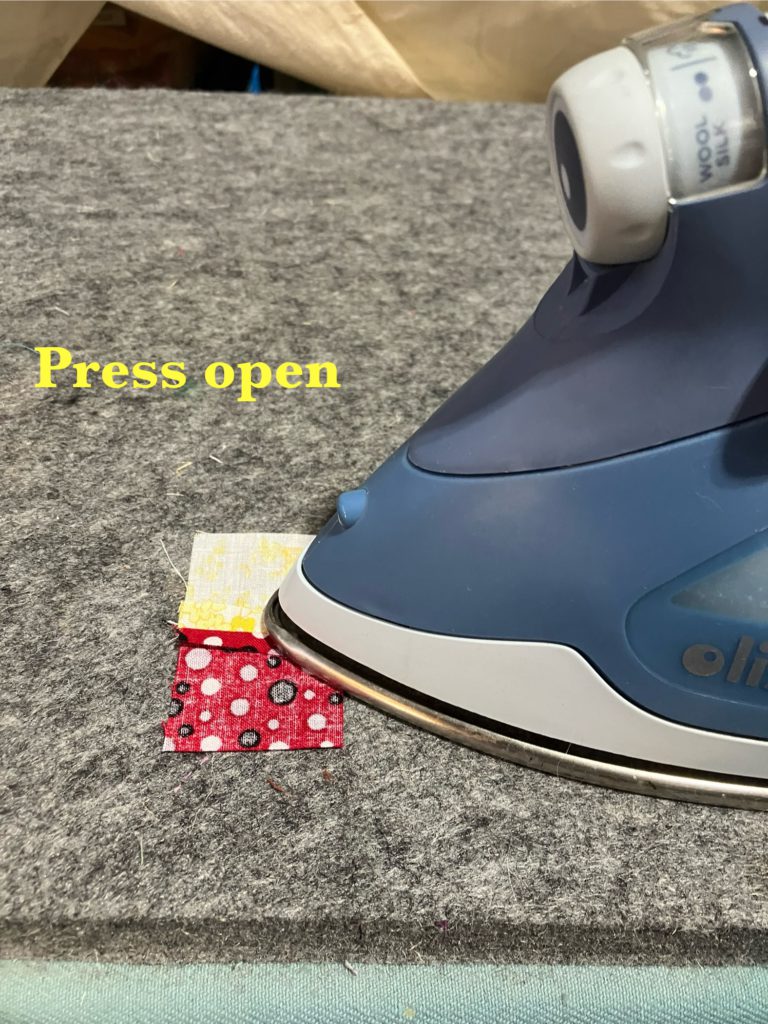
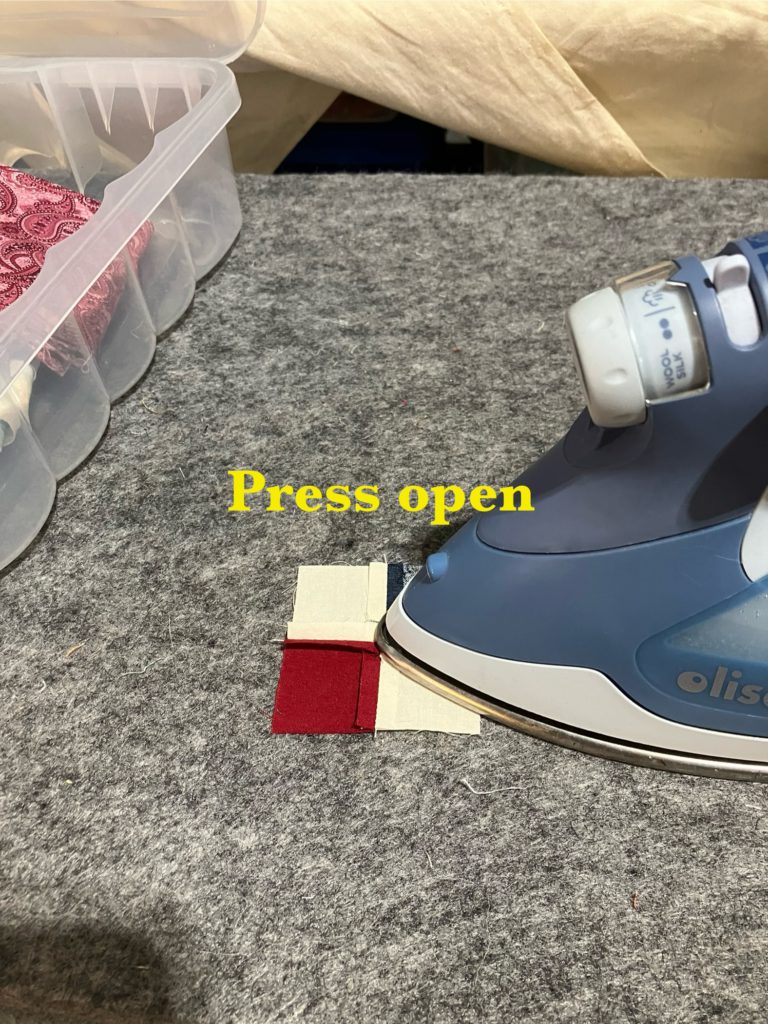
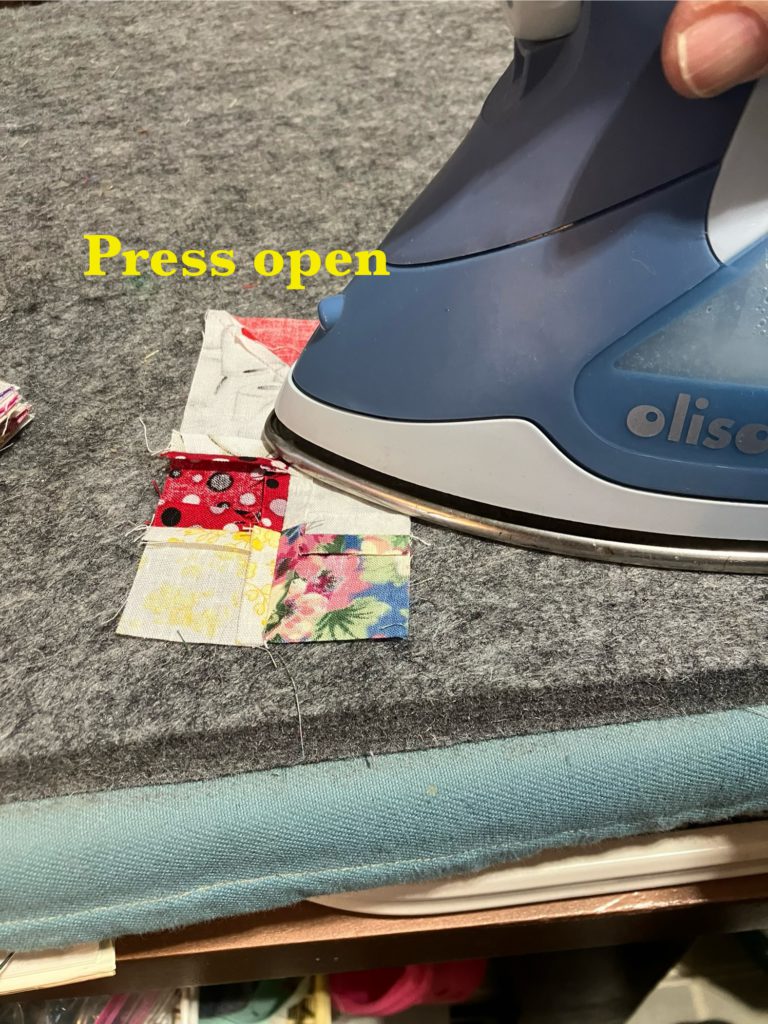
I am pressing open because I am piecing 1 1/2″ squares together. I want to reduce the bulk and chance of distortion. If I were making the largest size of block on the chart, I would probably press to the dark.
After you press all of you pieces to your heart’s desire, Match up pairs to make eight 4 patch units. If you pair them up before you start sewing, you can insure that you don’t have duplicates in any of your four patches…unless that does not bother you.
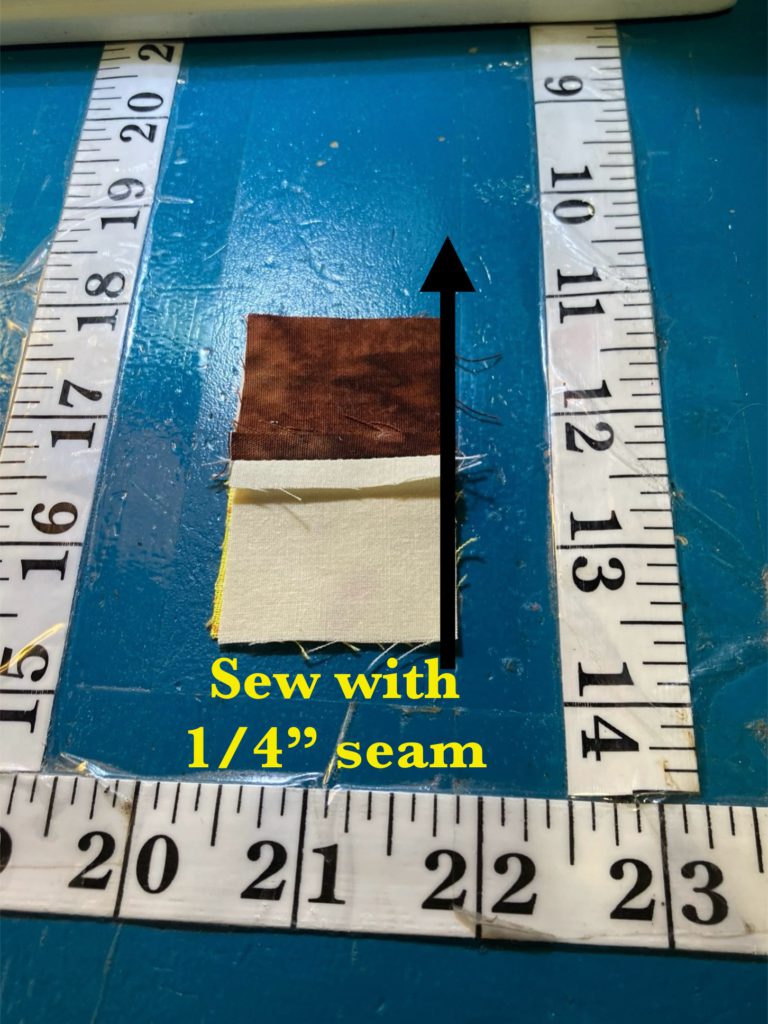
Sew pairs together.
Press to your heart’s desire.
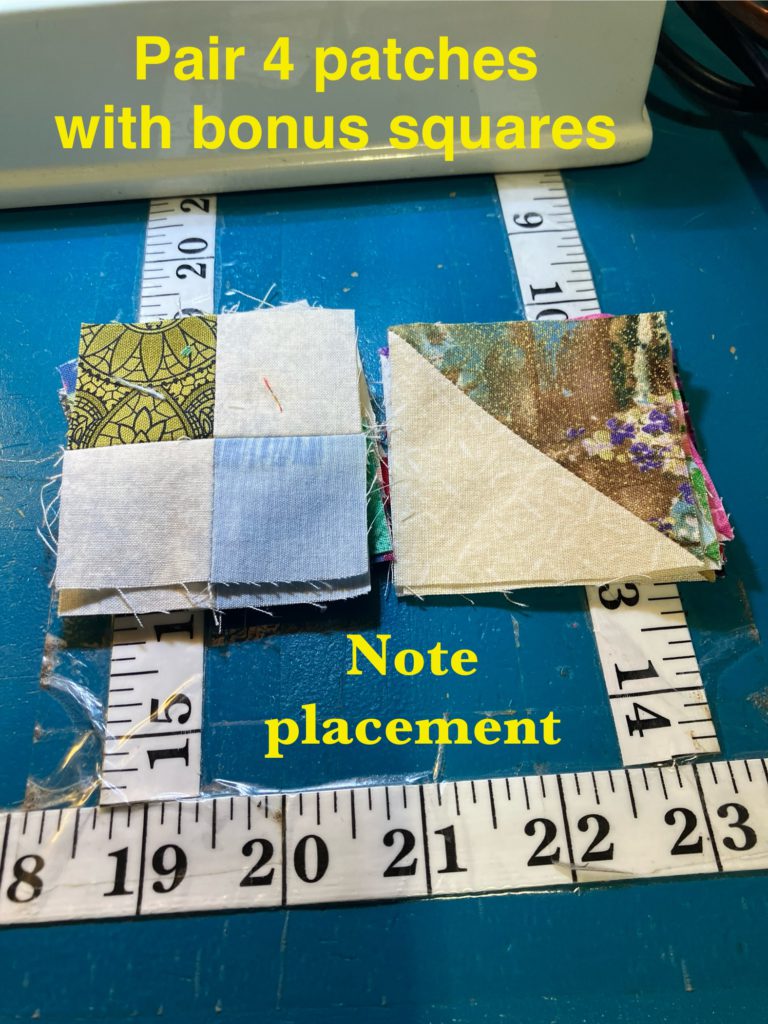
Here is the only tricky part…just be a little careful! You are pairing up the four patches with the half square triangles in this step. Pay close attention to the orientation of the blocks when you lay them out. You can stack all of the pieces in two piles to get ready for speed piecing. All of the units are the same.
Zoom, Zoom! Flip one block right sides together and sew together with an accurate 1/4″ seam. Be as careful as you can to keep seams flat. (If one gets flipped underneath, it is not the end of the world!)
Press to your heart’s desire.
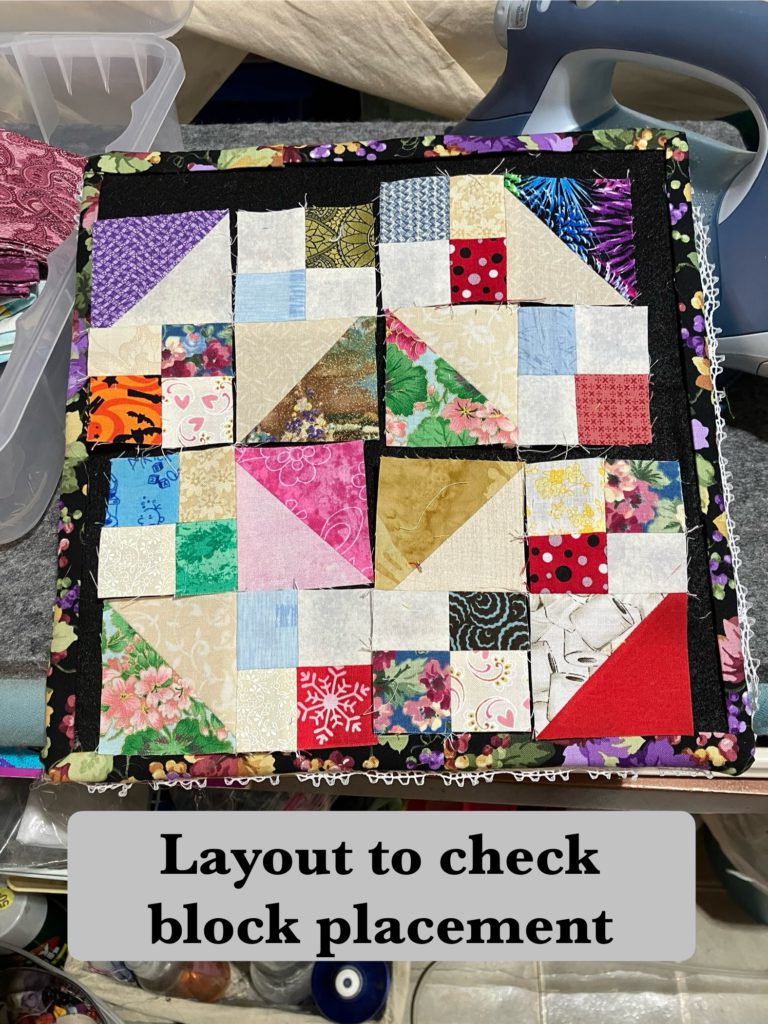
Layout your pieces. You will notice that some of the blocks will be turned horizontally and some will be turned vertically. It is all good!
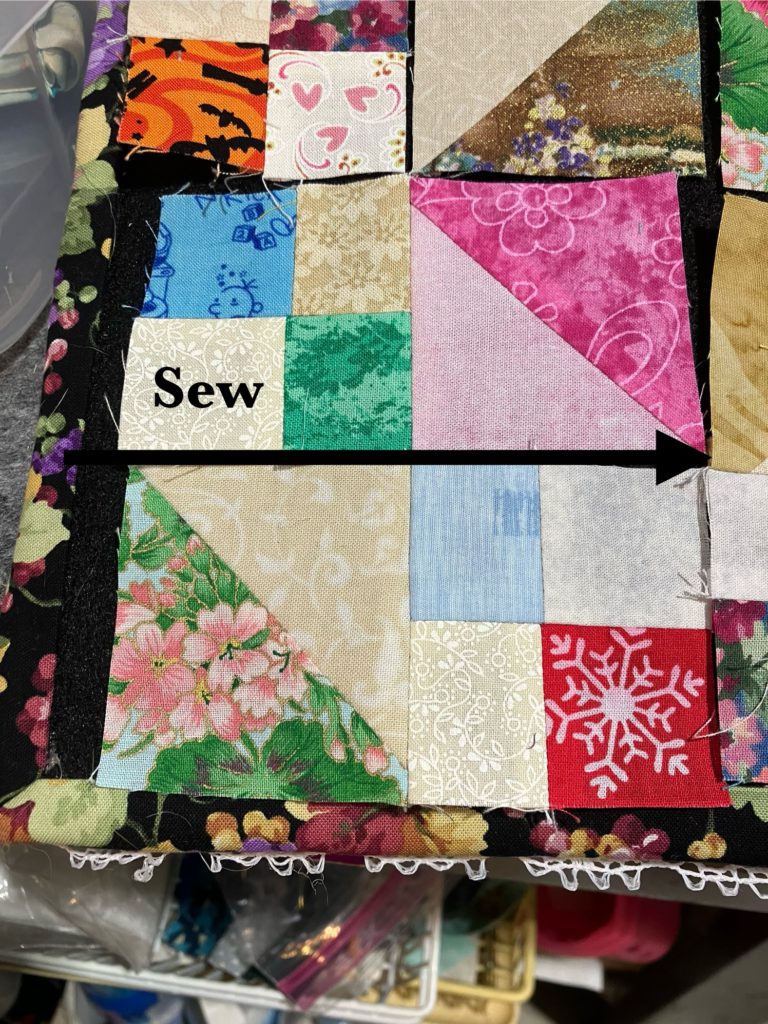
Sew the units together to make a new and improved 4 patch.
Press to your heart’s desire.

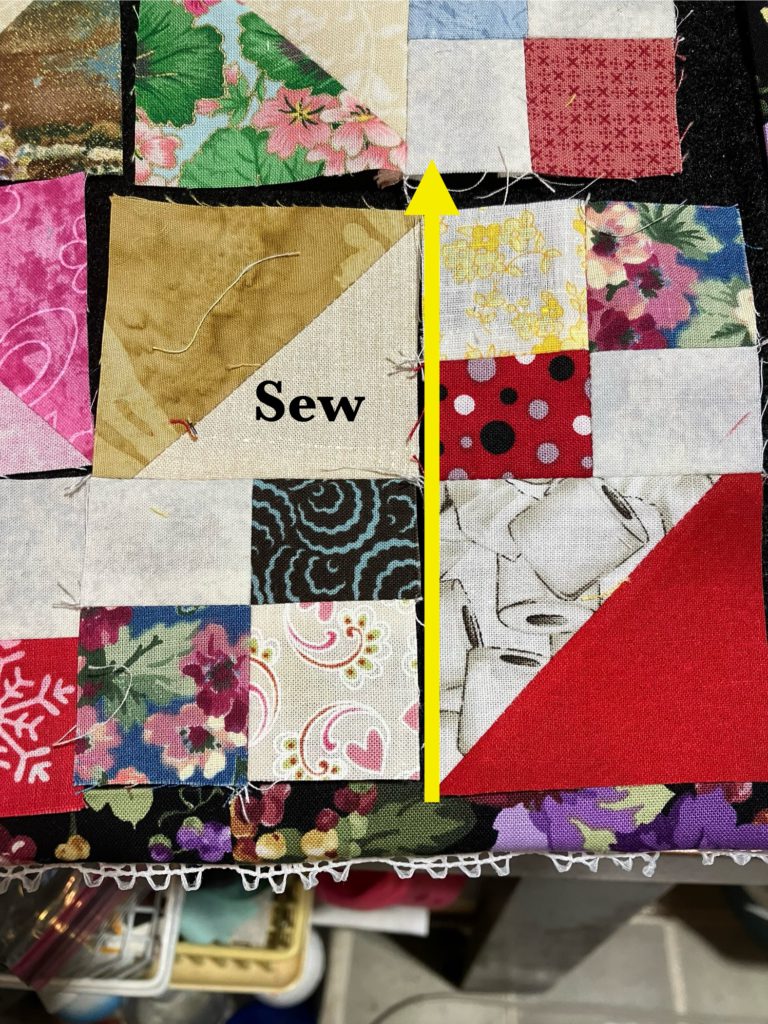
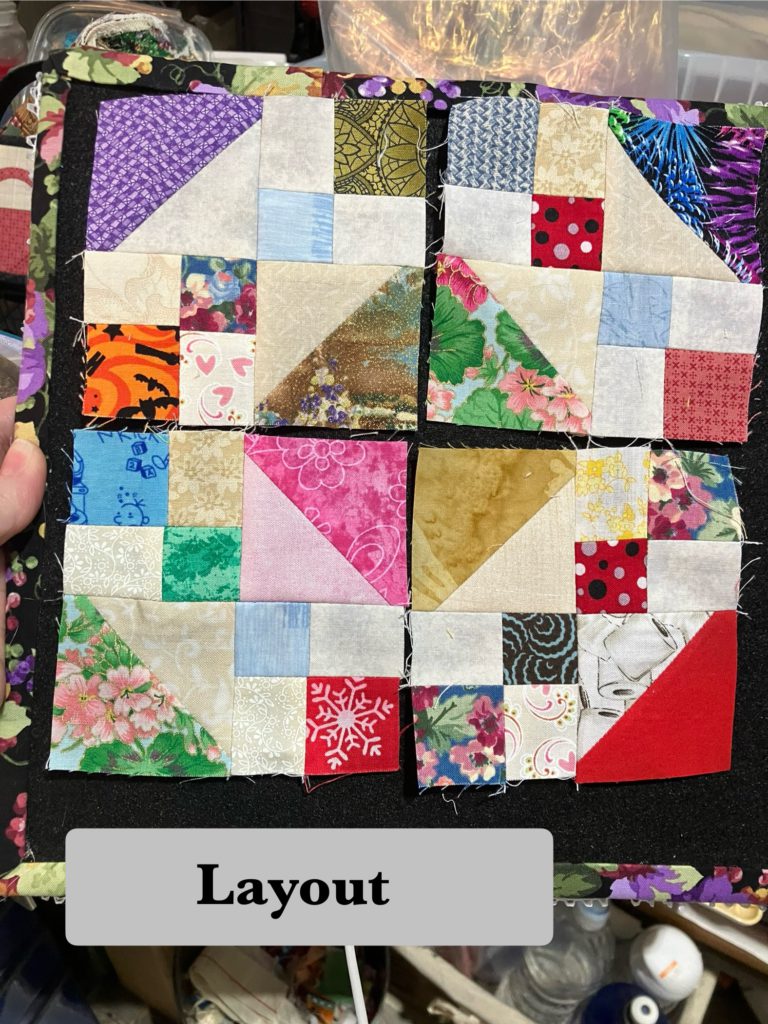
You now have 4 units. You are so close to being finished! Lay them out again to make sure they are oriented in the right direction.
Sew them together in pairs. You now have halves!
Press to your heart’s desire…again.

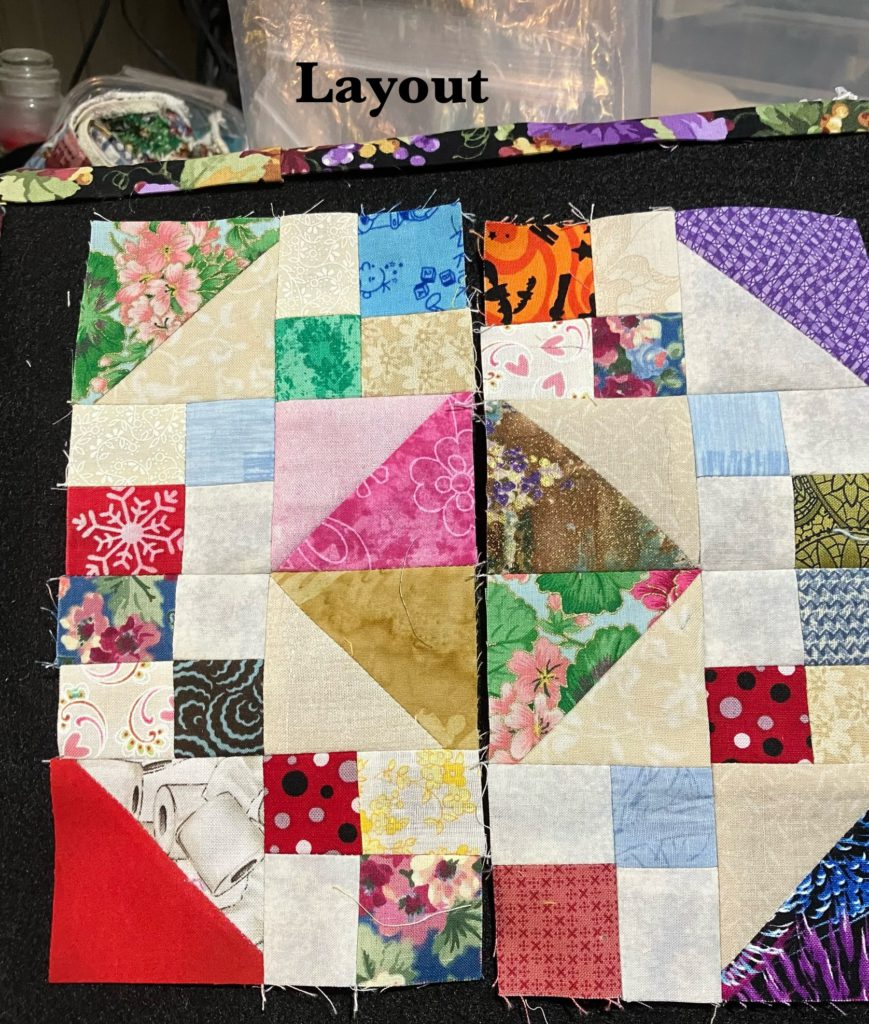
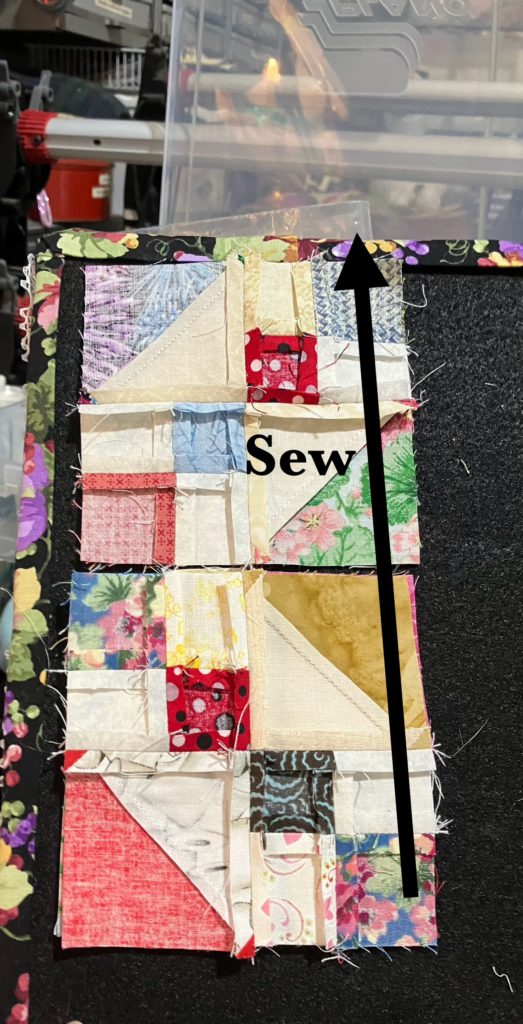
Sew the final seam…
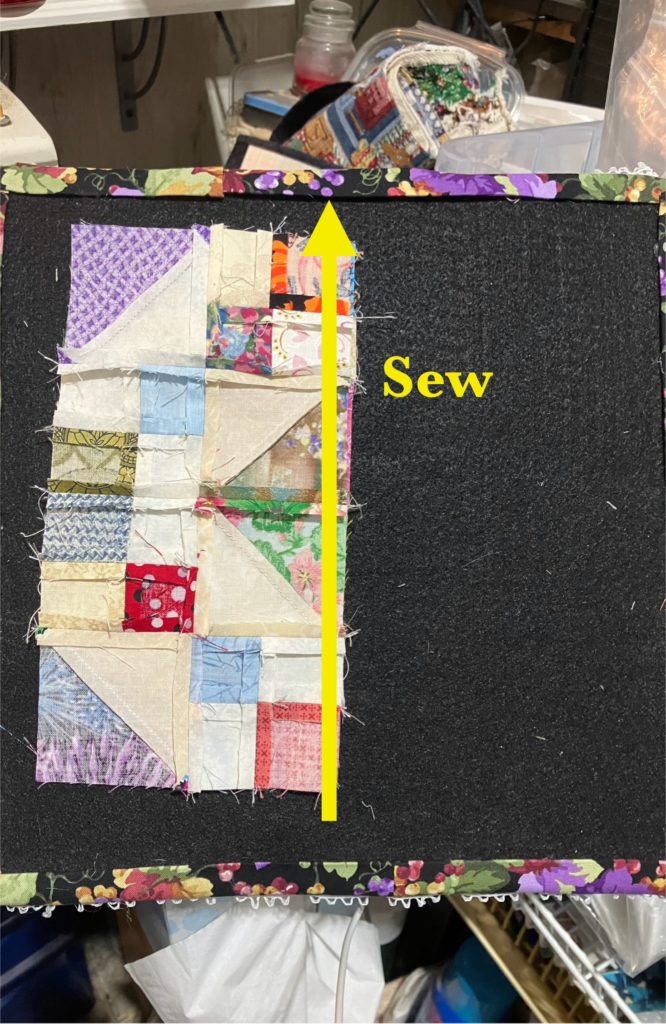
Press to your heart’s desire.
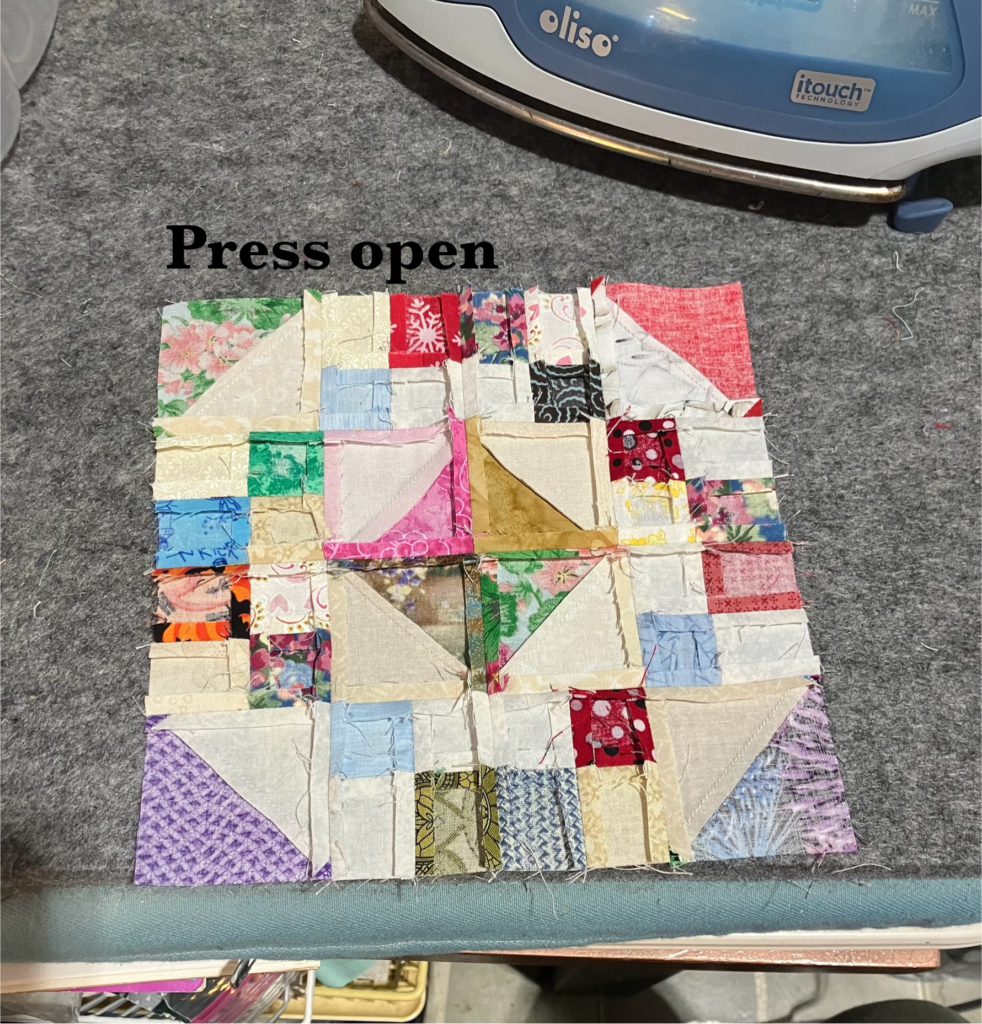
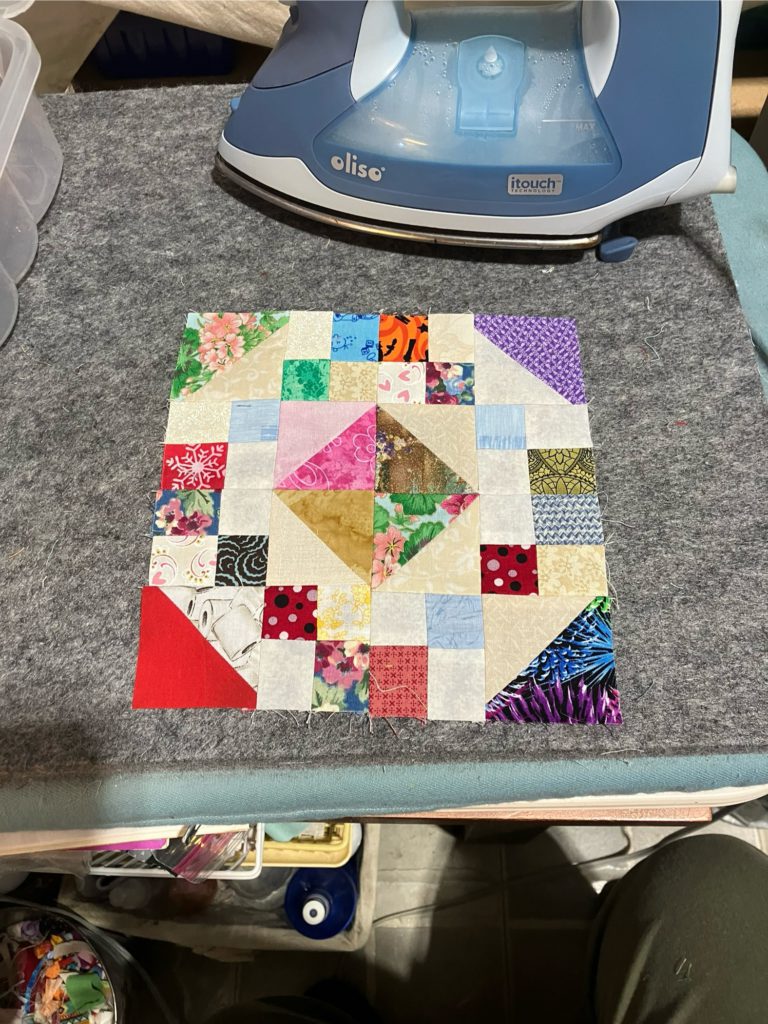
Give the front of the block a nice press. Beautiful!
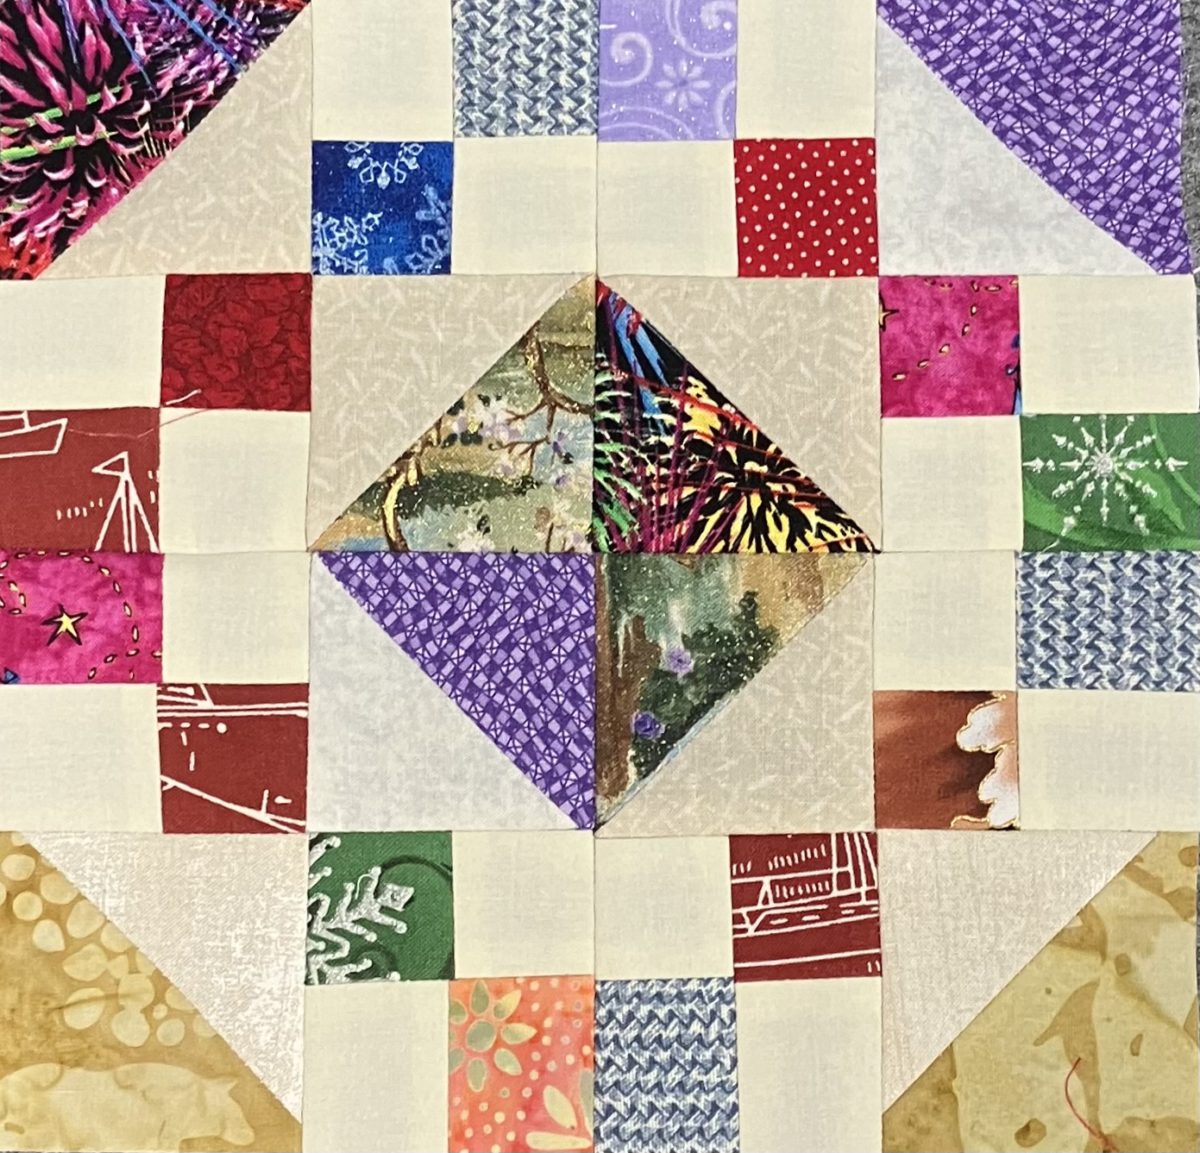
Here are four blocks set together.
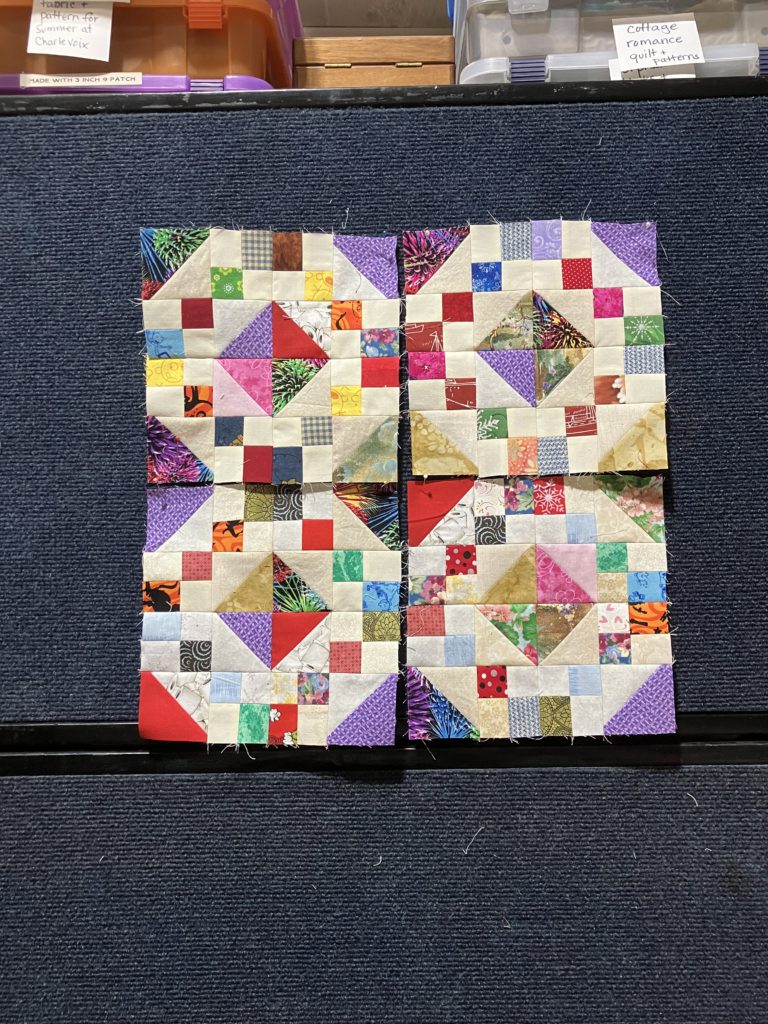
When I showed this block to my husband, he made a “meh” face. He didn’t really like the block…too busy. When I stepped back, across the room, he was much more impressed. When I showed him the four blocks together, he was even more impressed. These blocks are like moss…they grow on you!
Here is the cutting guide for the other size pieces:
I hope that you enjoy making this block. It is a great way to use up those bonus half square triangle blocks. It would be a great leader/ ender project.
I think that I am going to add a round of these blocks onto my son’s car quilt…but that is another story for another day, too.
Have you tried this block? Drop me a comment below…or send me a picture at gmail. I love to see your work!
Later,
Lorrie
