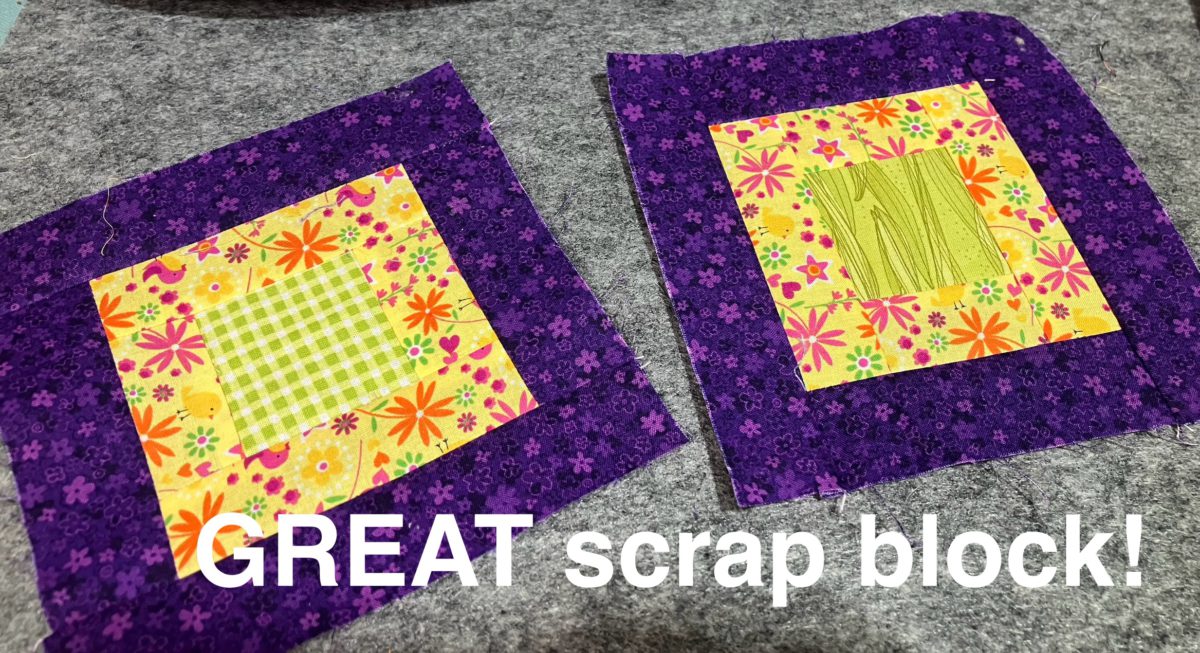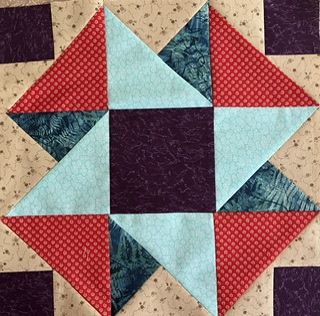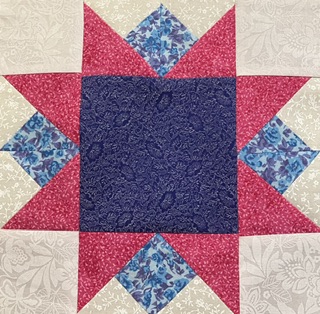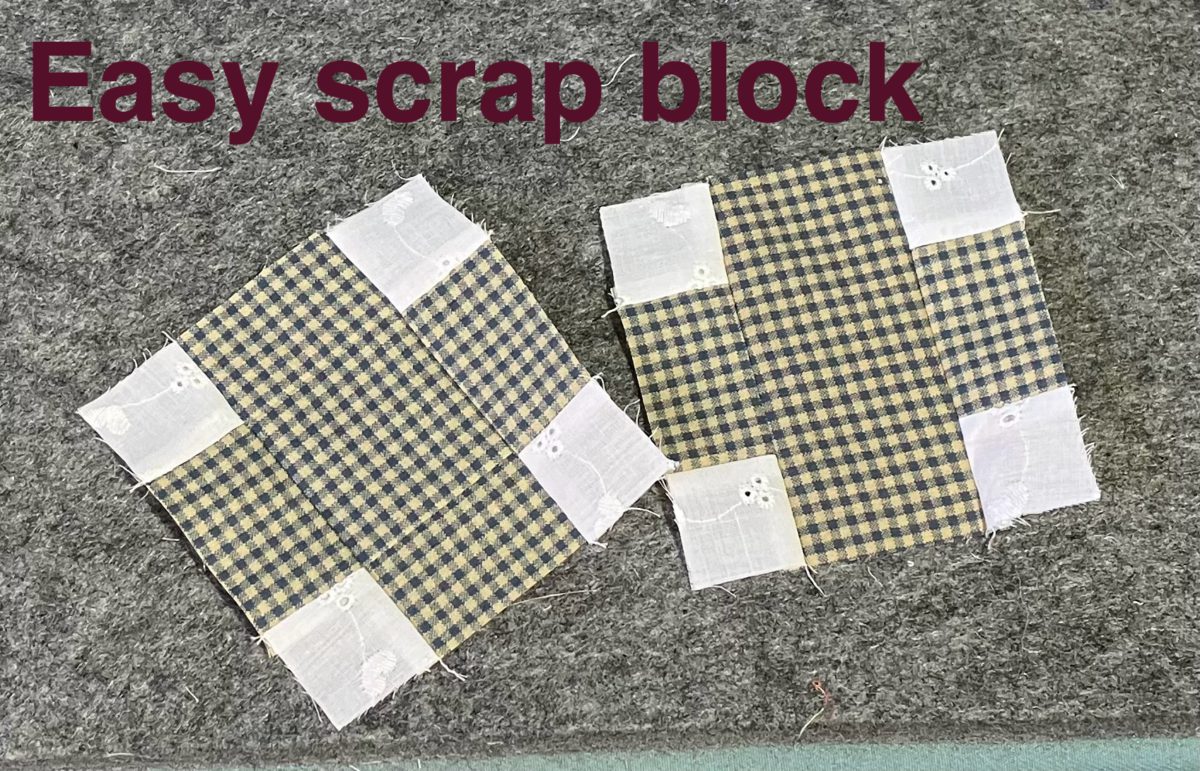
This block is just a few seams above cutting out a plain square! How is that for simple construction? I wish I had grabbed some brighter colored scraps for this block, but this was in my hand waiting to be used up!
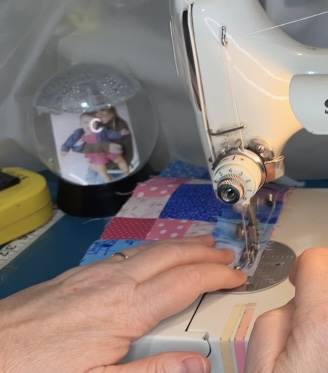
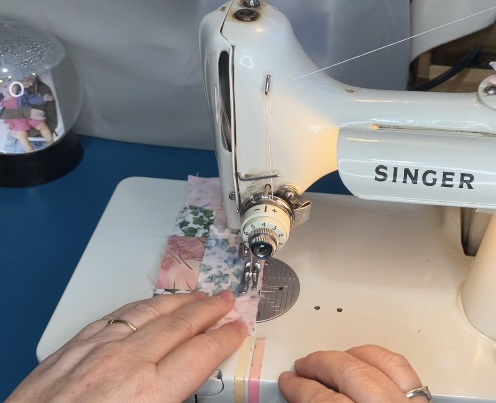
You can view the short video here of the block construction. It shows both of the ways to create this block. The first one pictured has two fewer pieces. Neither one is difficult.
I will add the variety of sizes chart at the very end of the post…after my sign off and final comments, if you are interested. This should be a printable image.
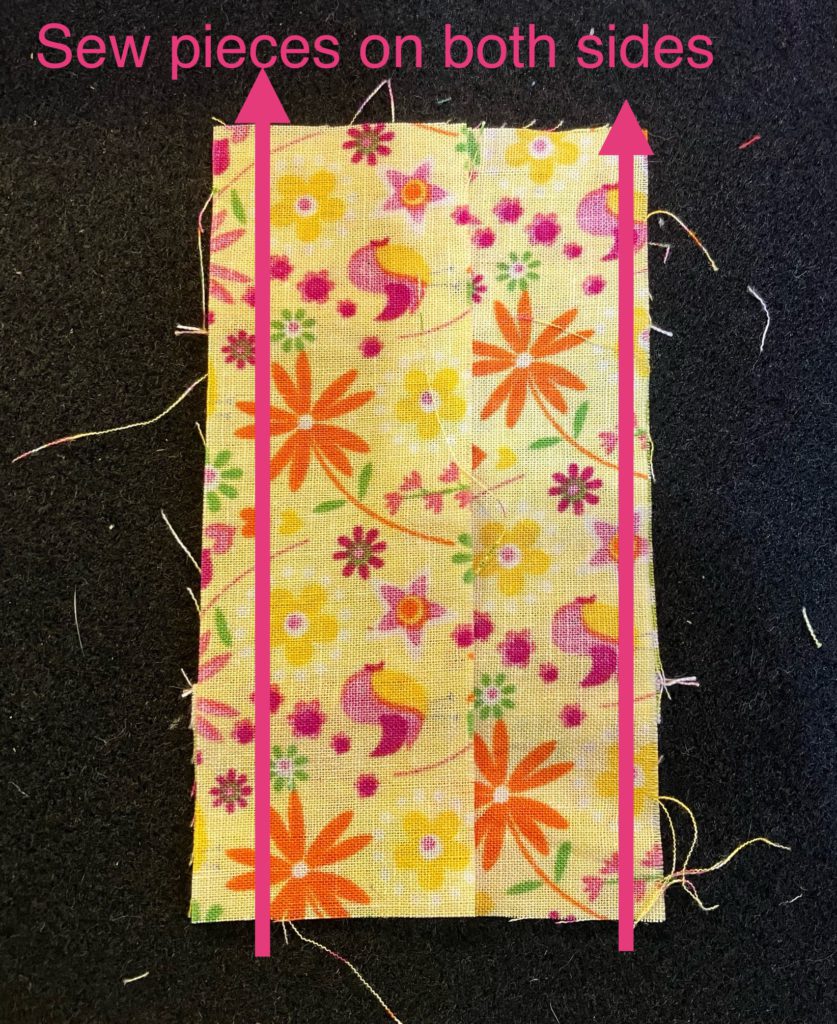
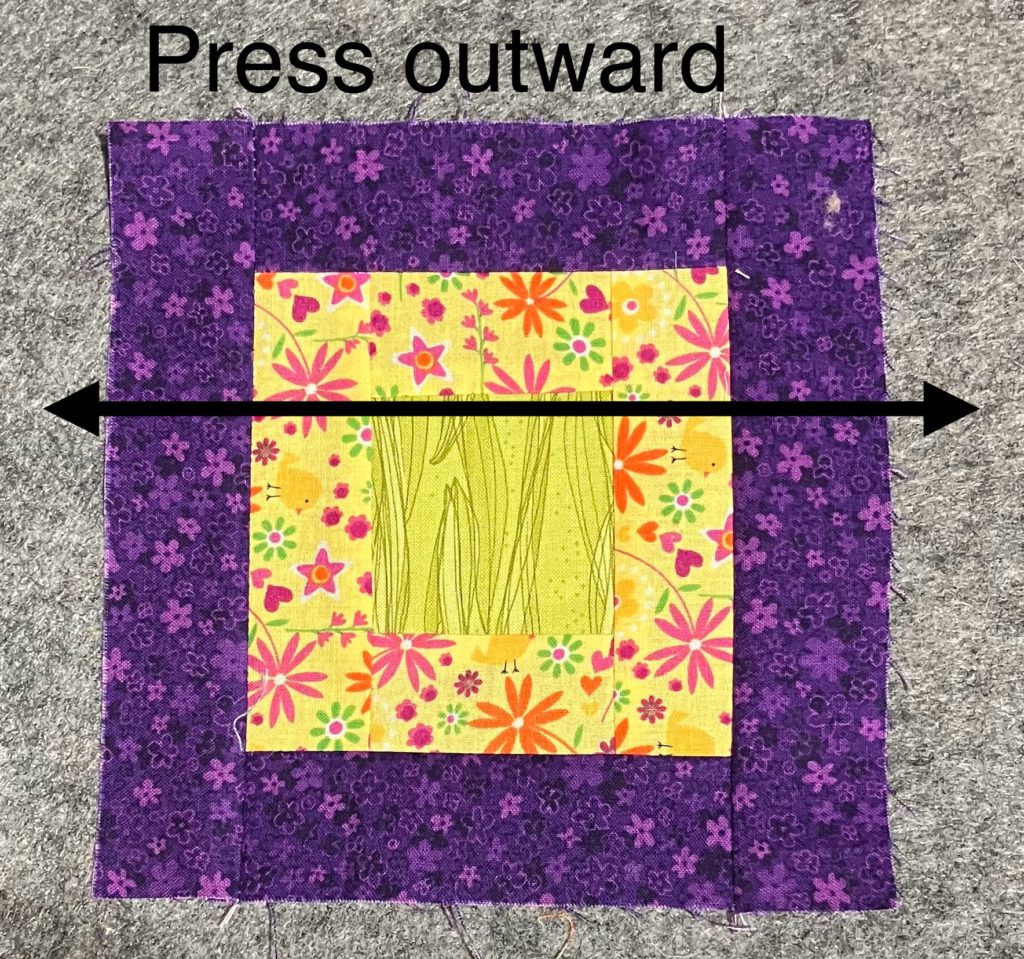
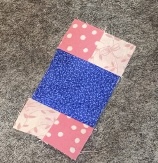
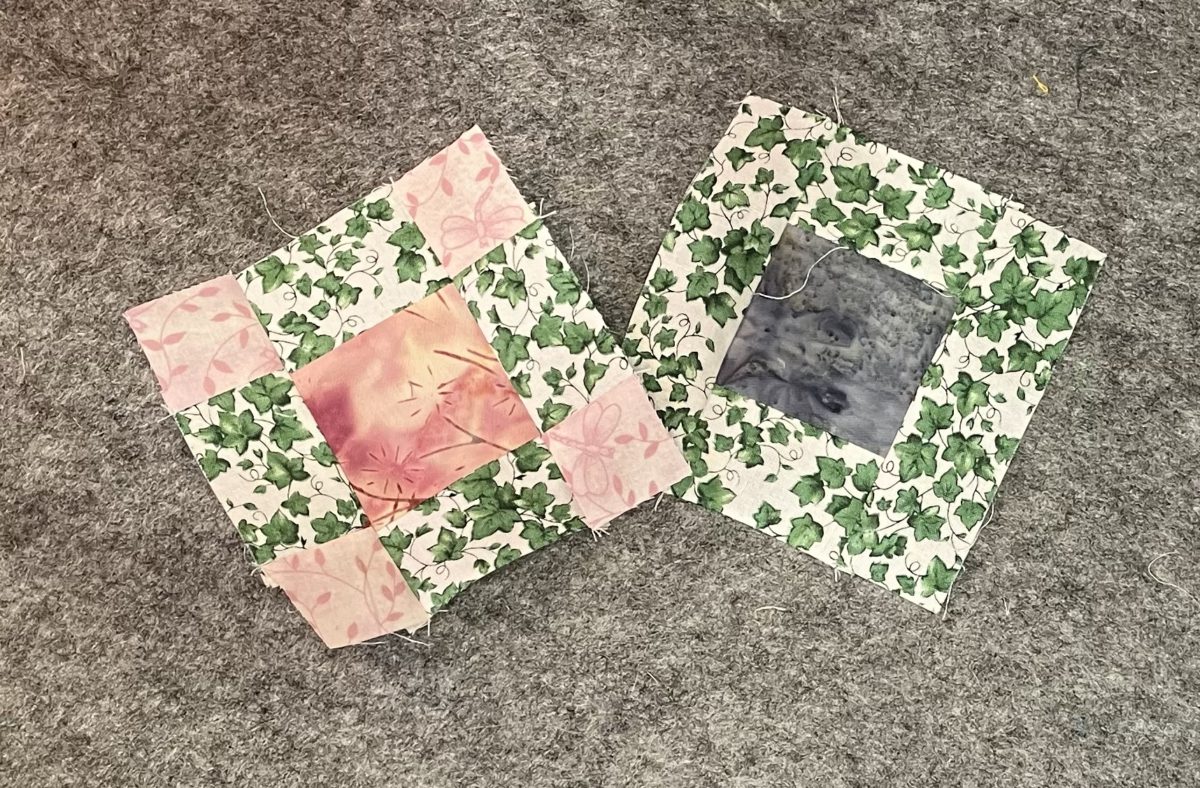
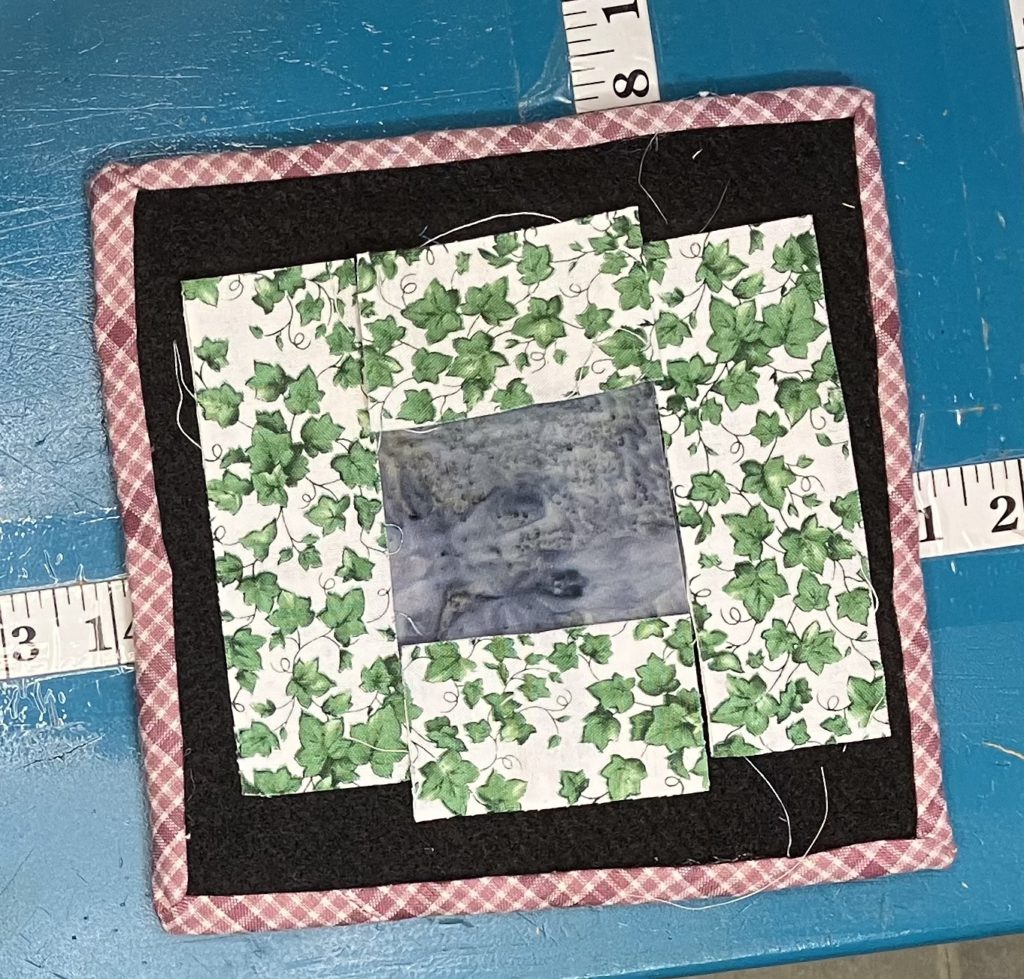
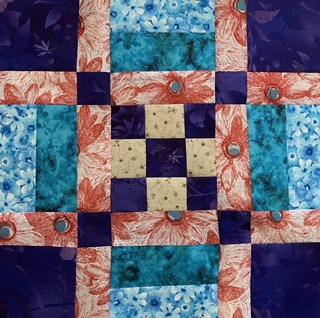
This example shows a 2 1/2″ x 4 1/2″ center. The top and bottom rows are made from two 1 1/2″ x 2 1/2″ pieces and four 1 1/2″ cornerstones. The block finishes at 4 1/2″ inches.
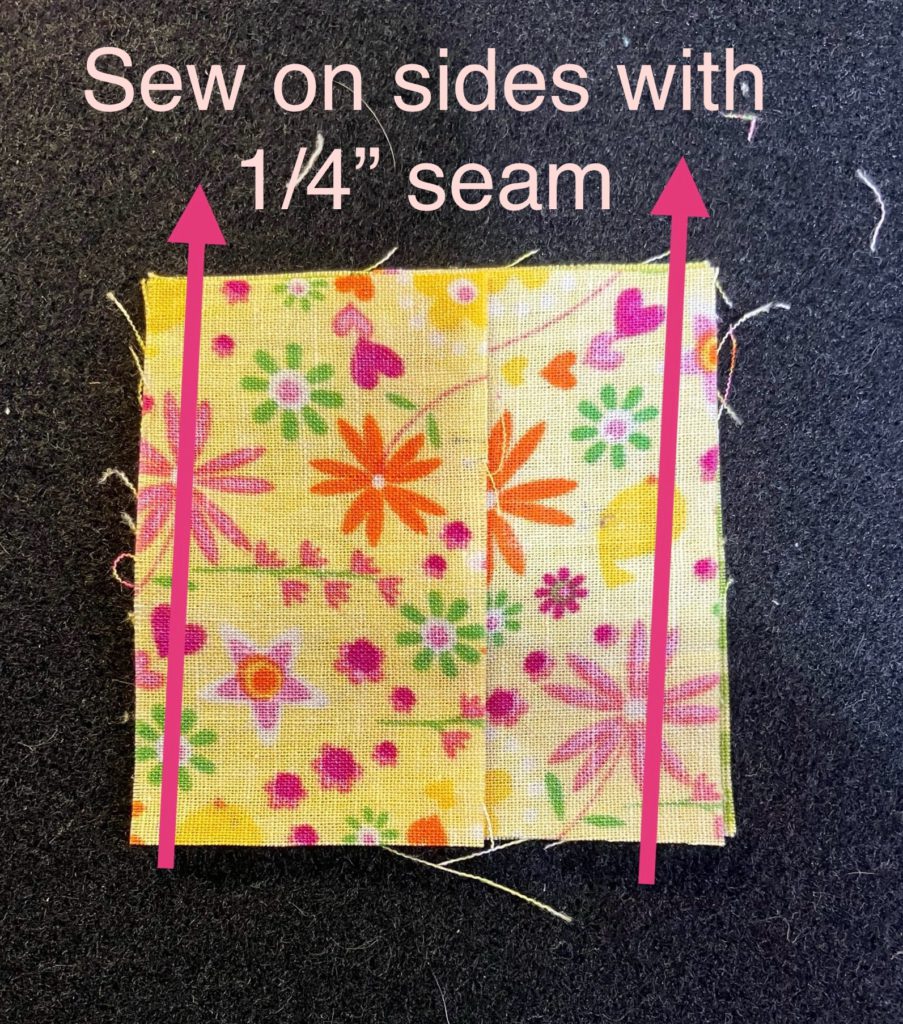
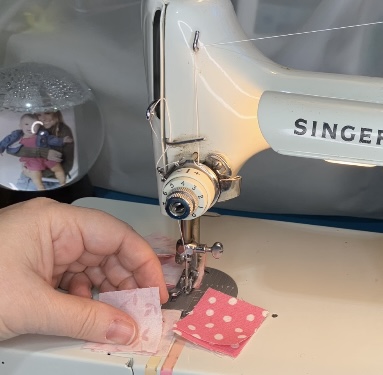
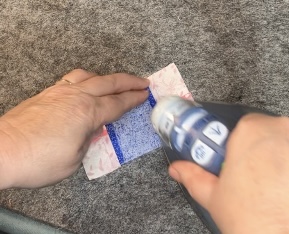
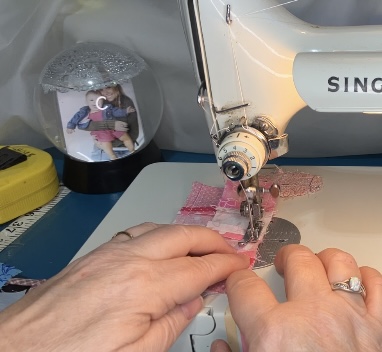
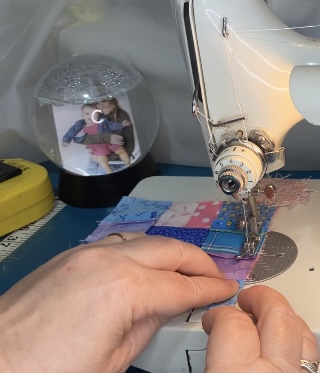
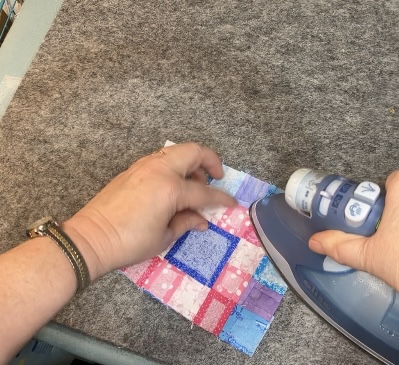
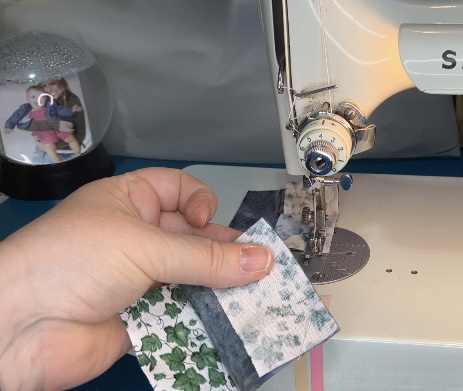
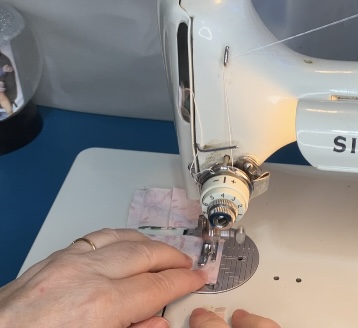
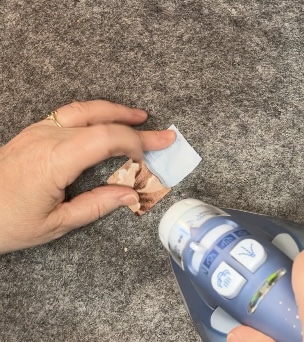
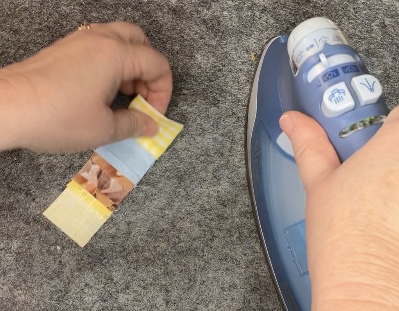
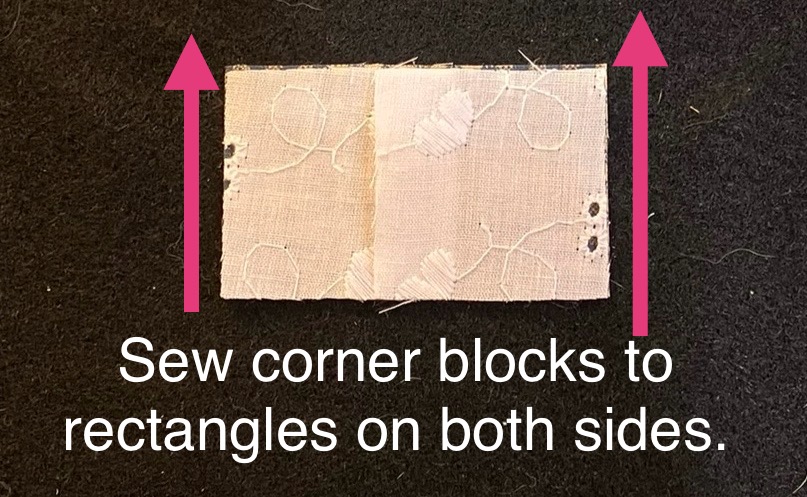
Sew the cornerstone squares to the rectangles on both sides. Use a 1/4″ seam.

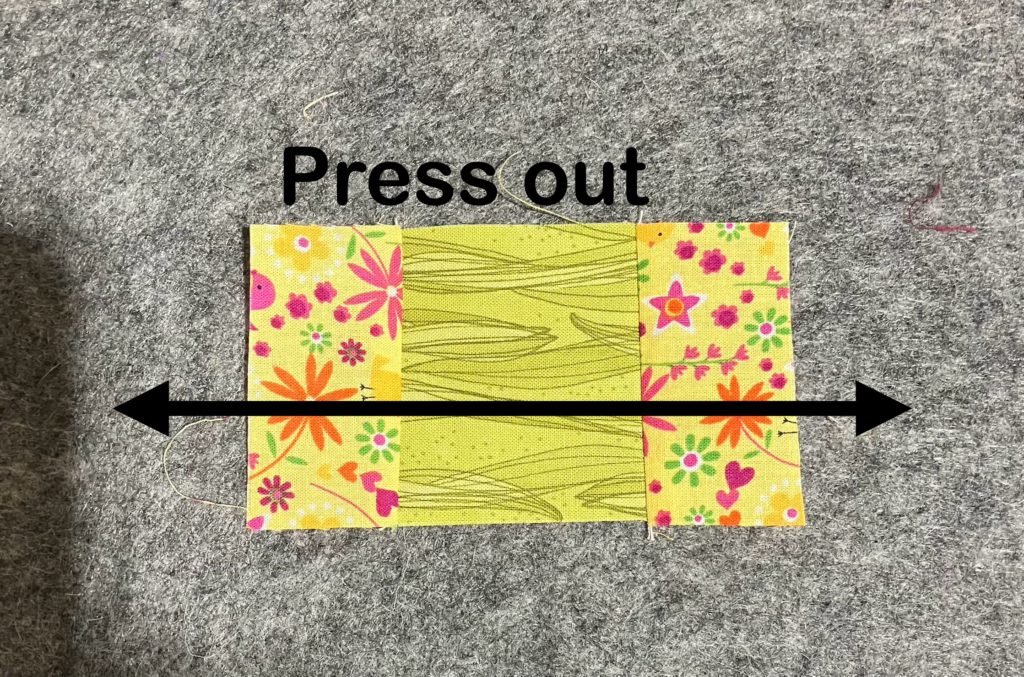
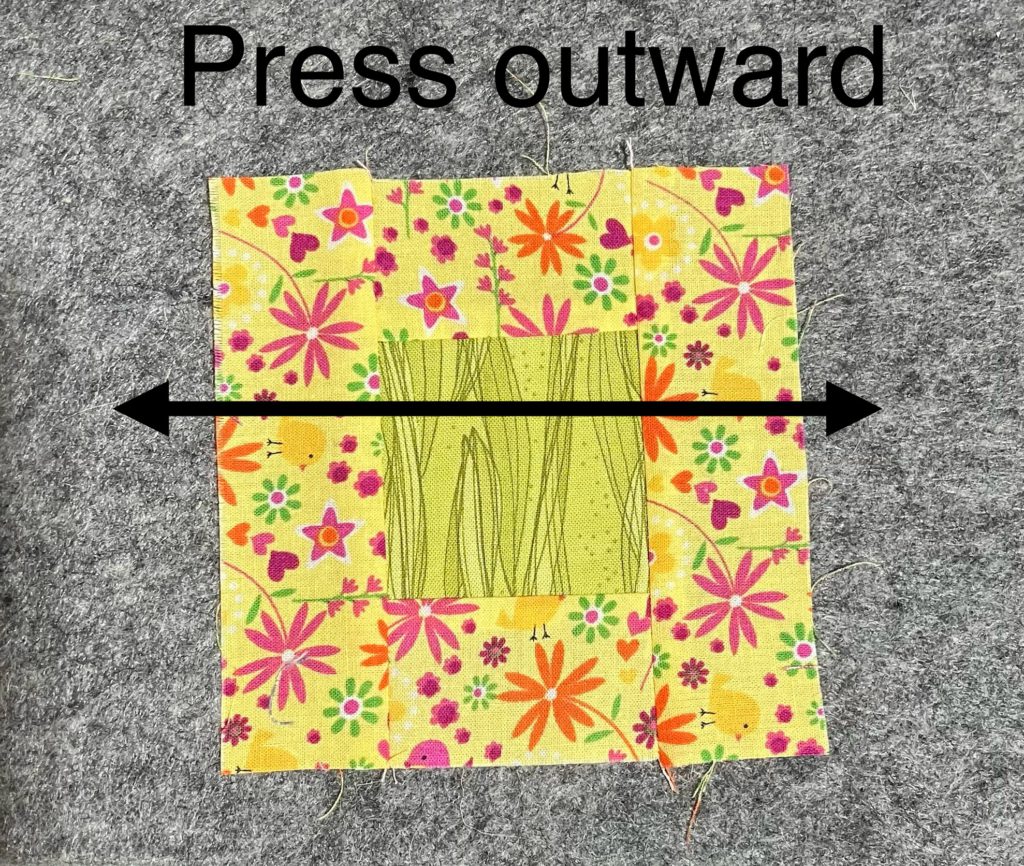
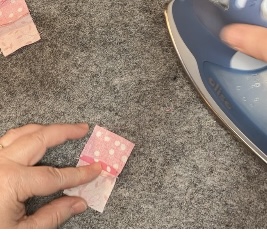
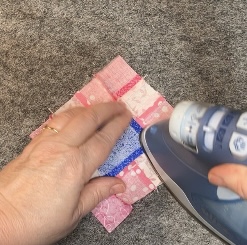
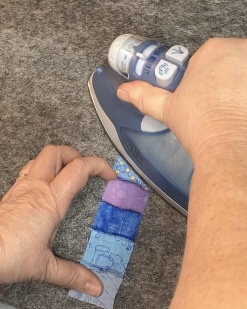
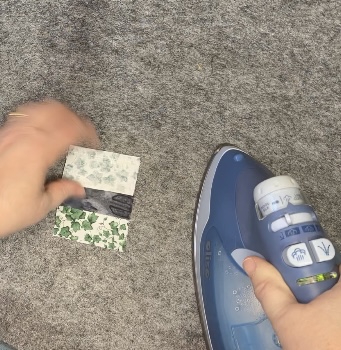
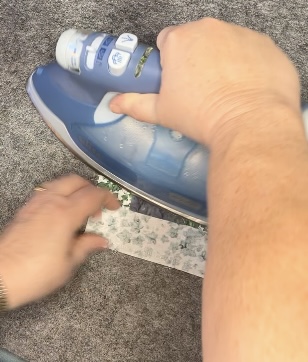
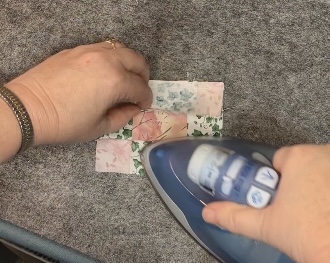
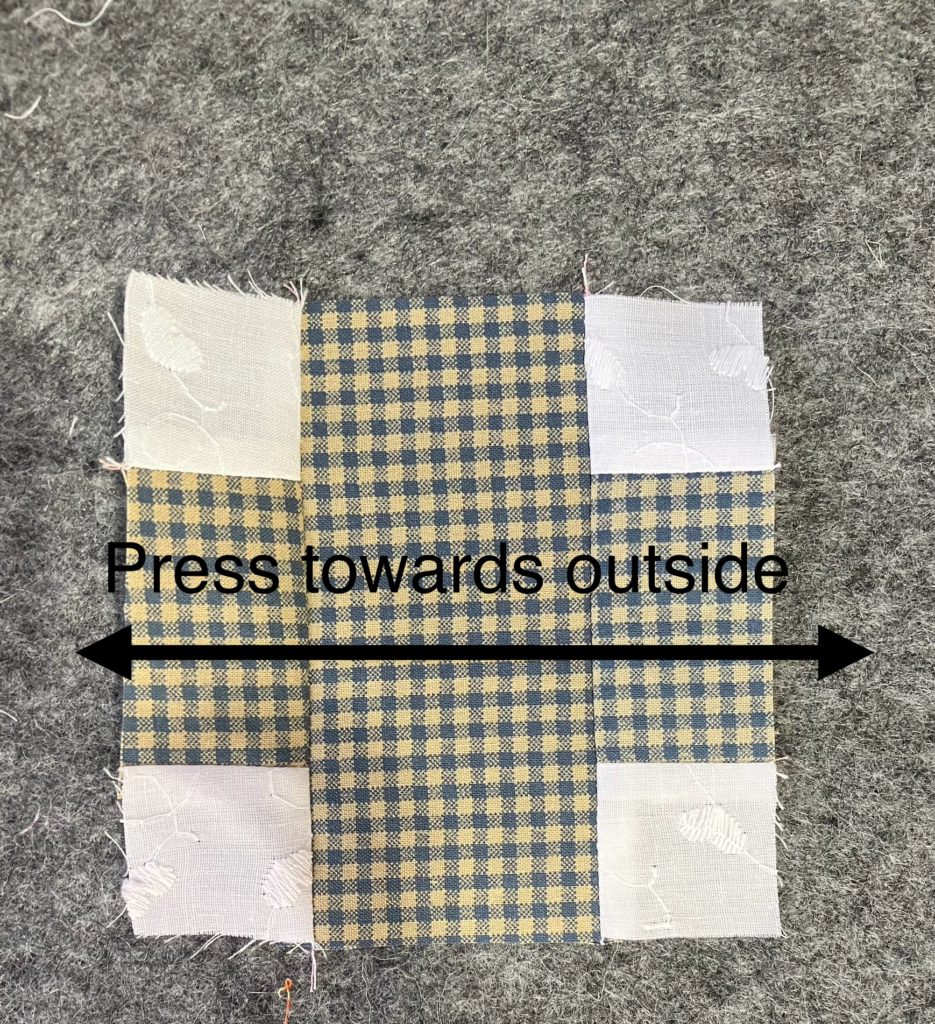
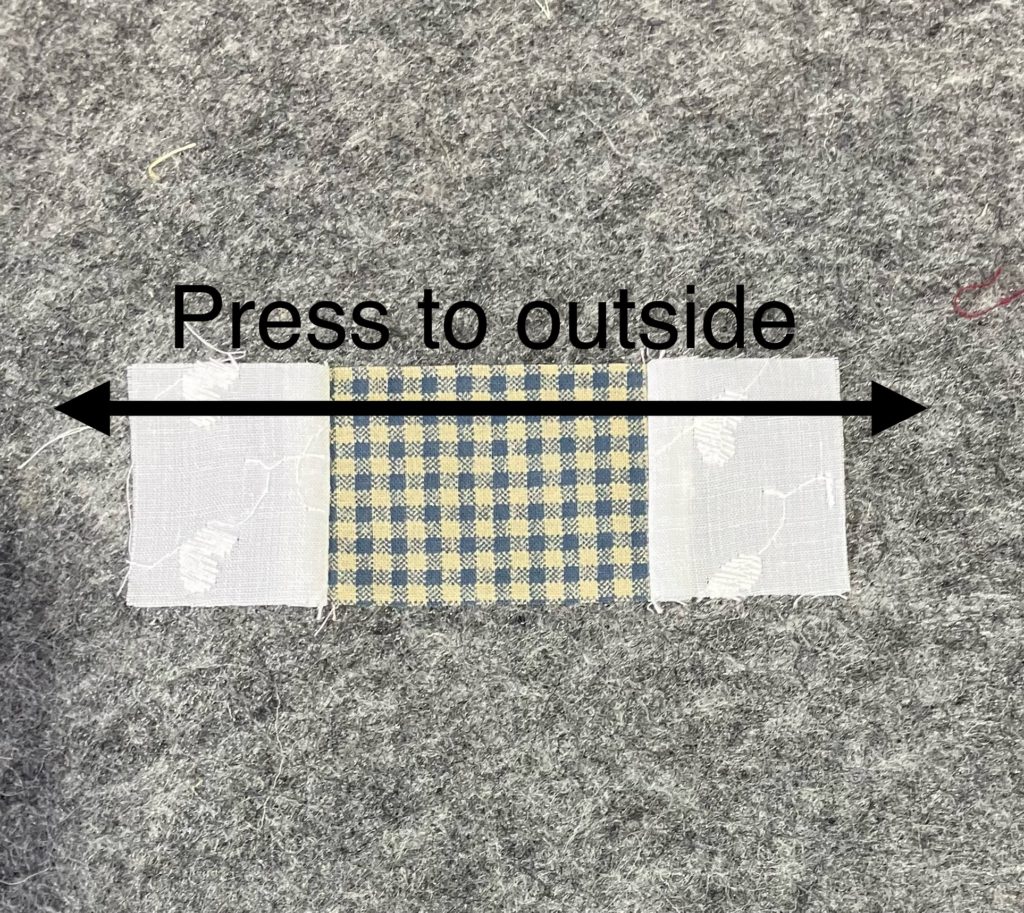
Press to the outside.

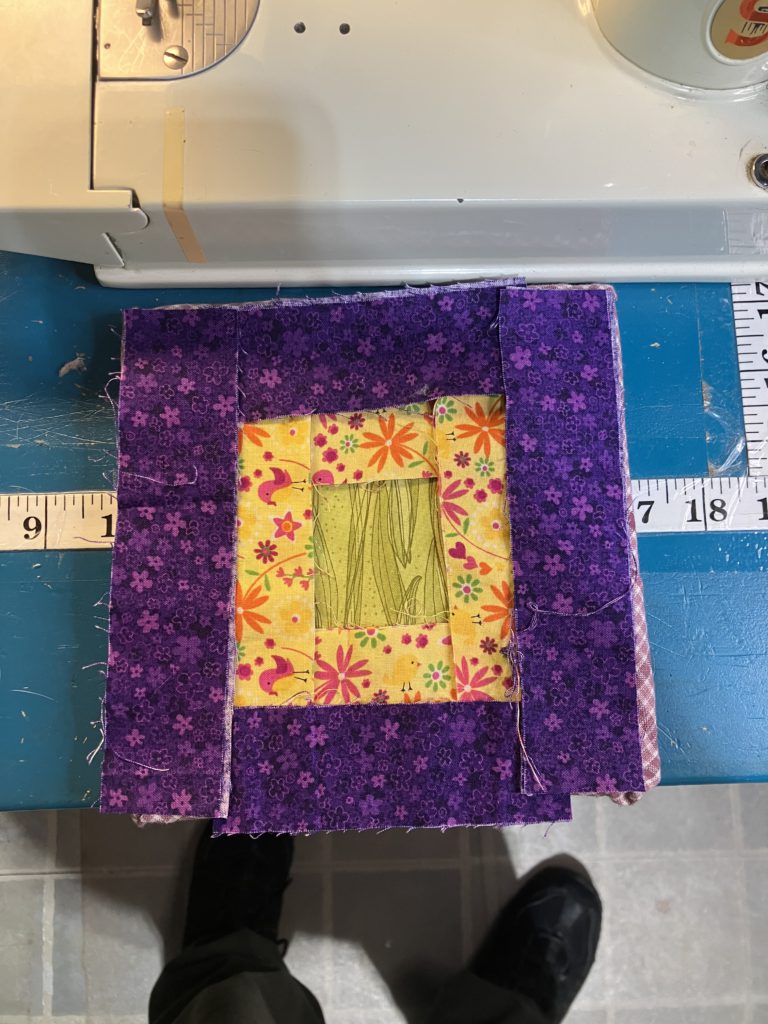
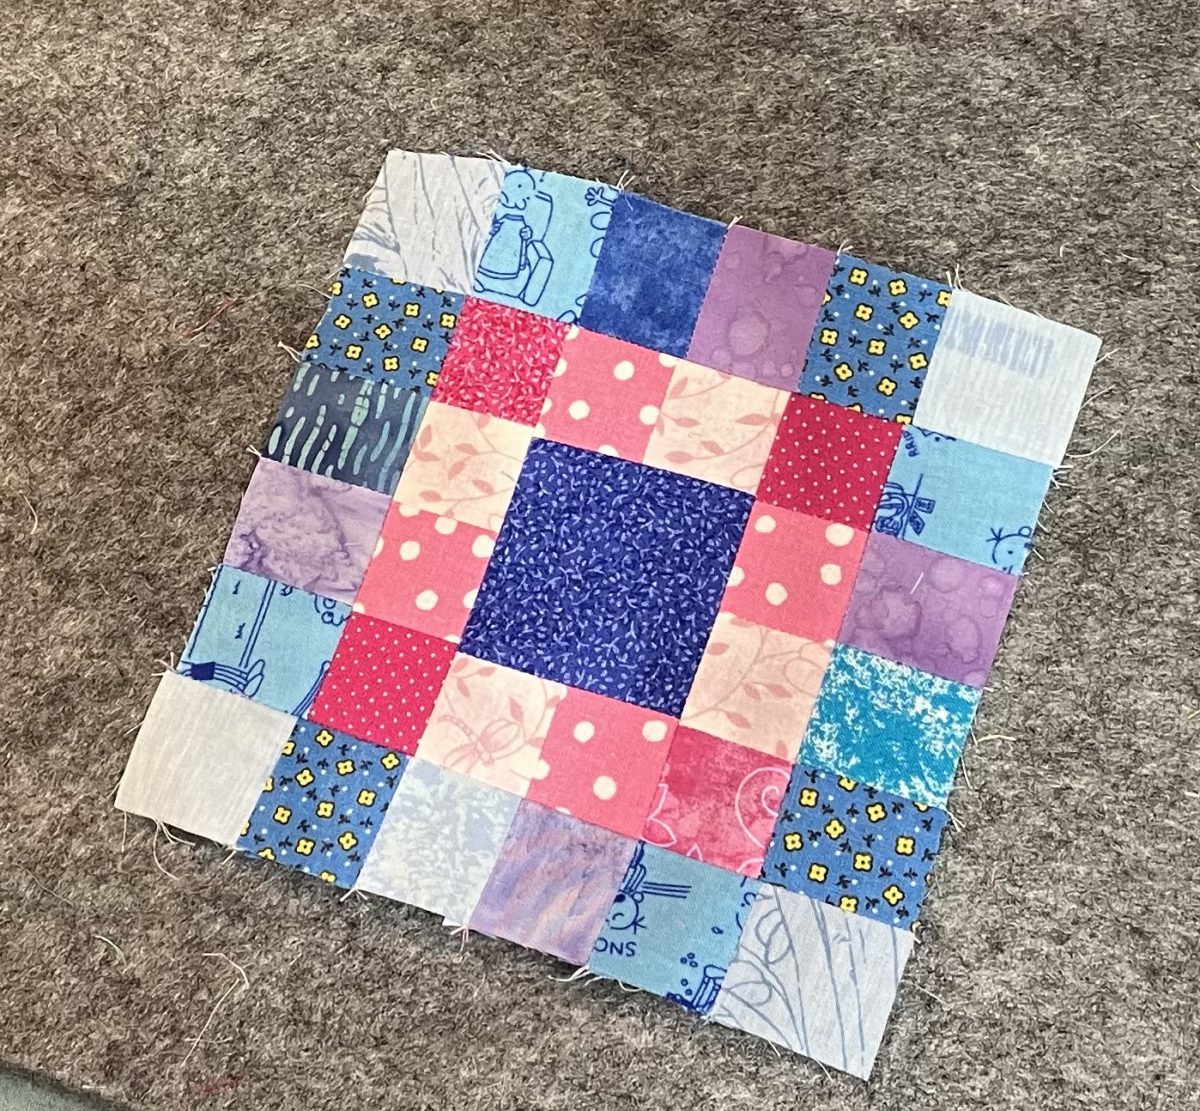
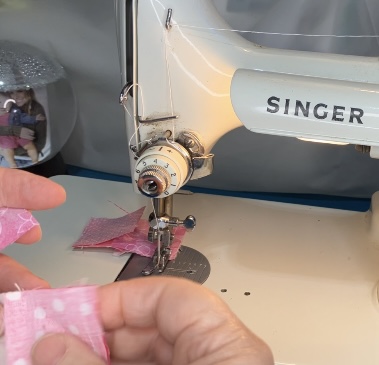
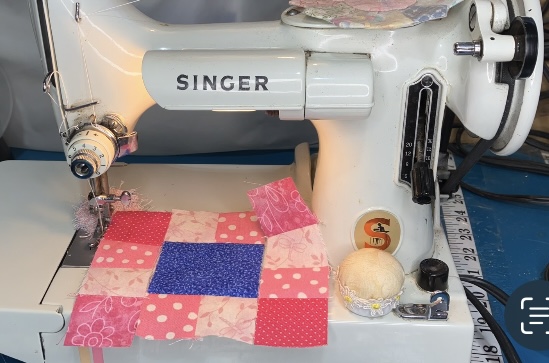
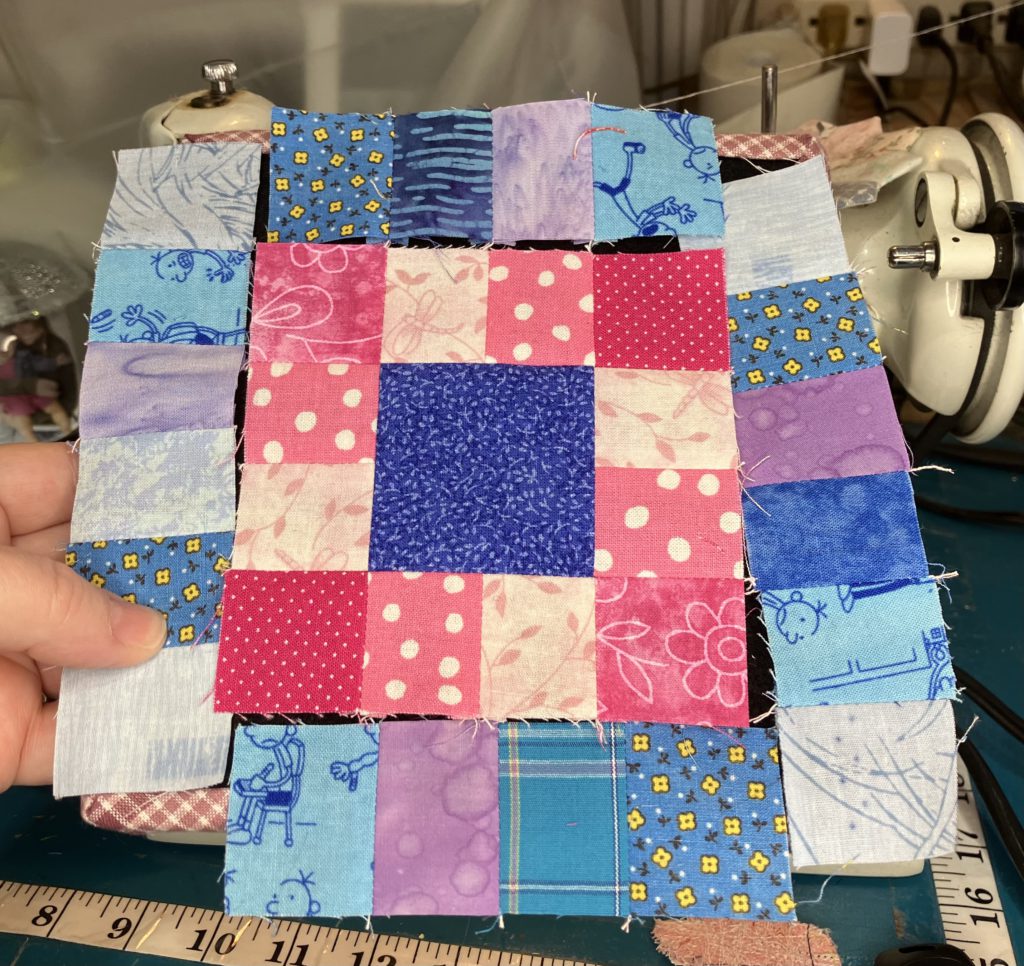
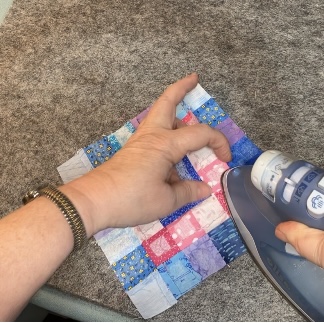
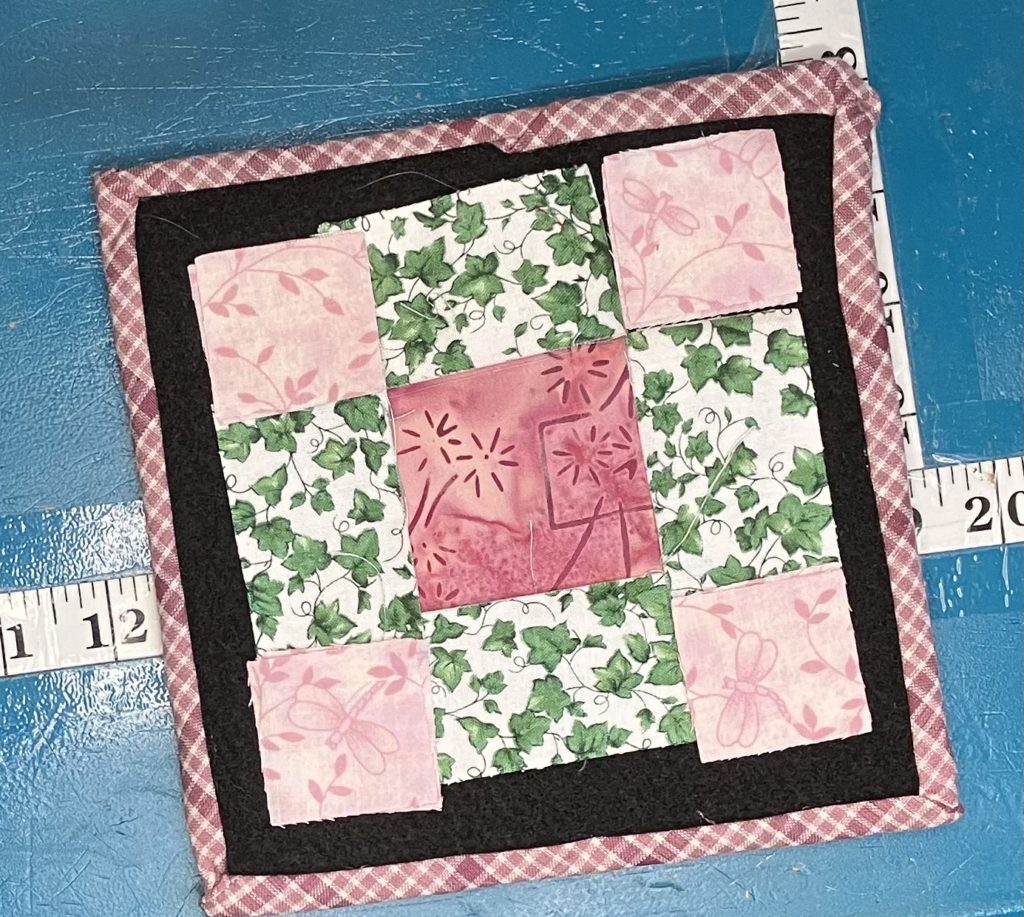
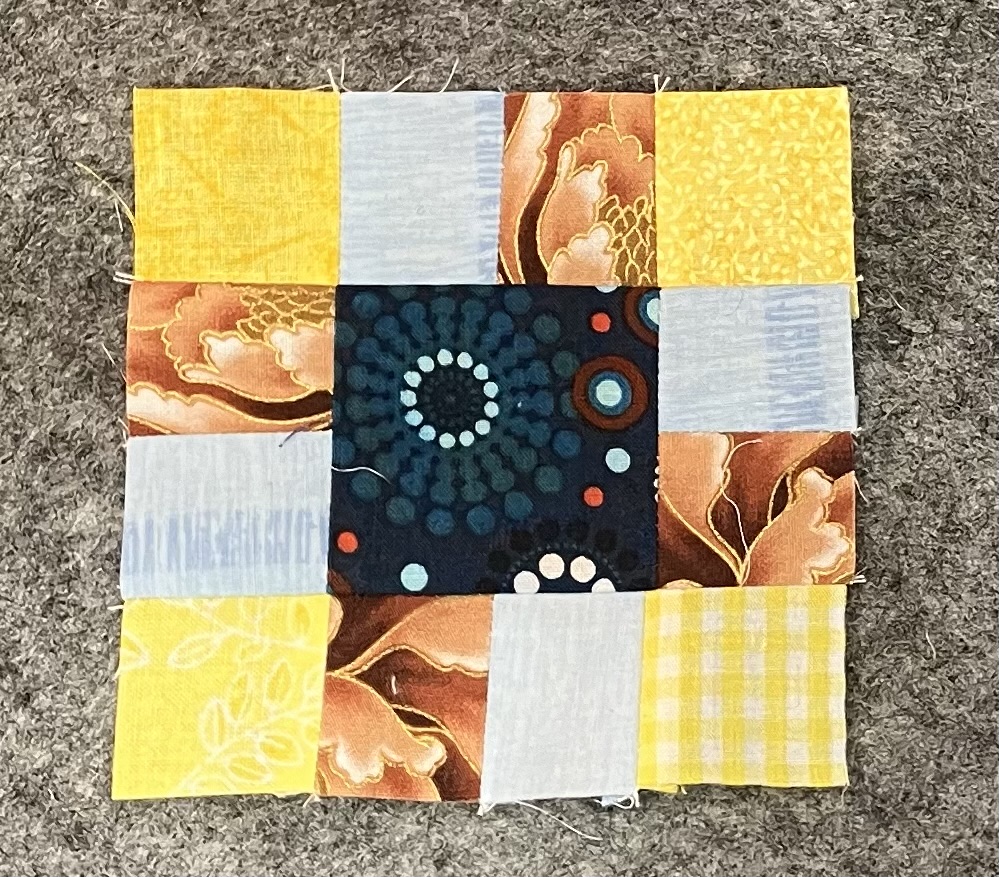
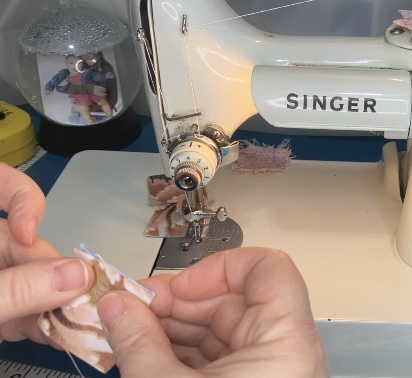
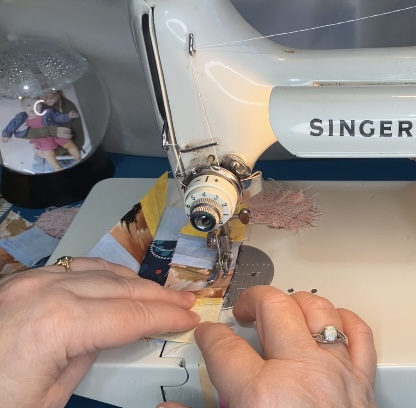
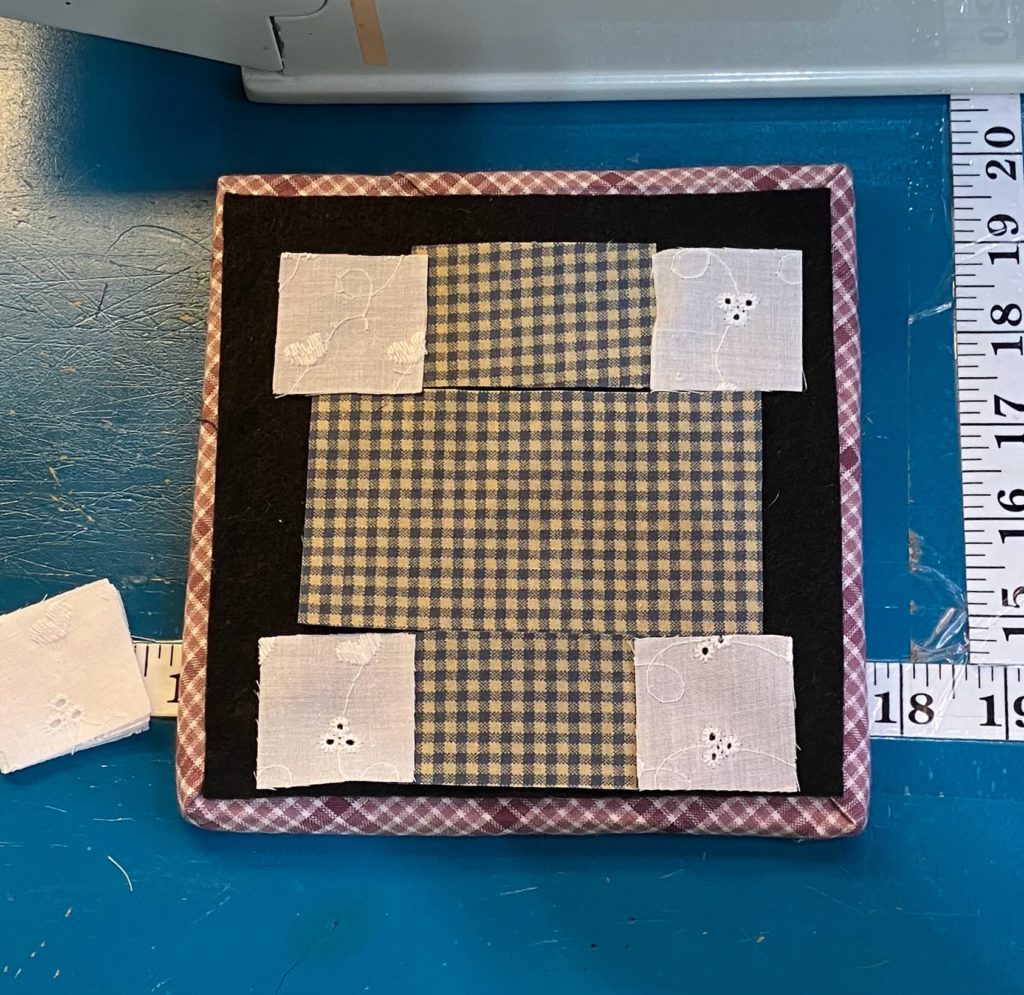
I always like to check my layout at this point, especially when I am speed piecing…just to make sure I haven’t lost any of those important pieces.

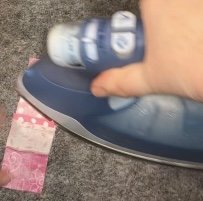
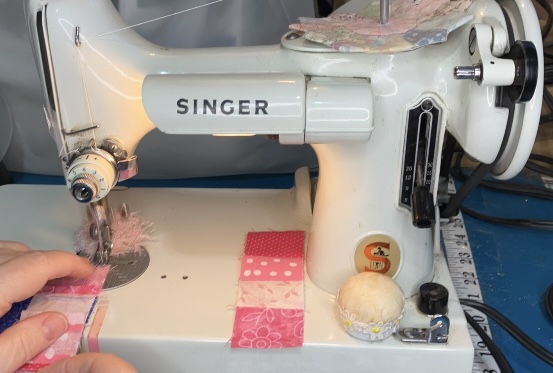
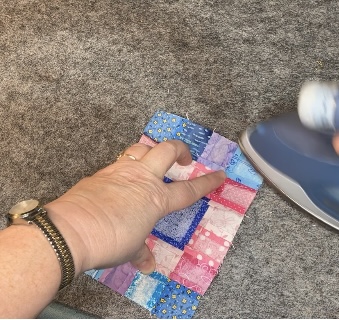
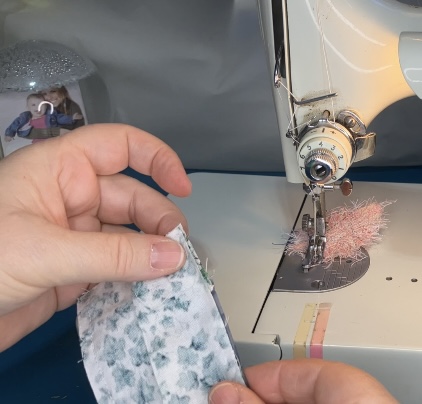
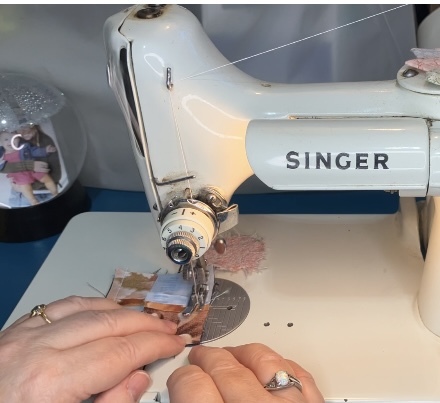
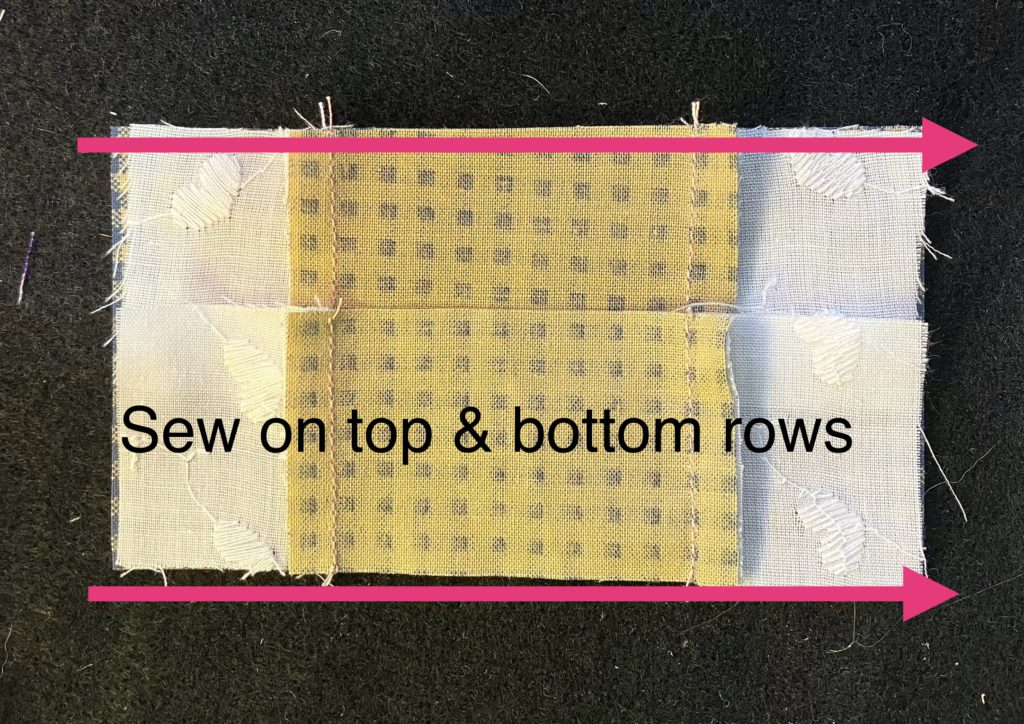
Sew on the top and bottom rows. Press to the outside. Tah-done!
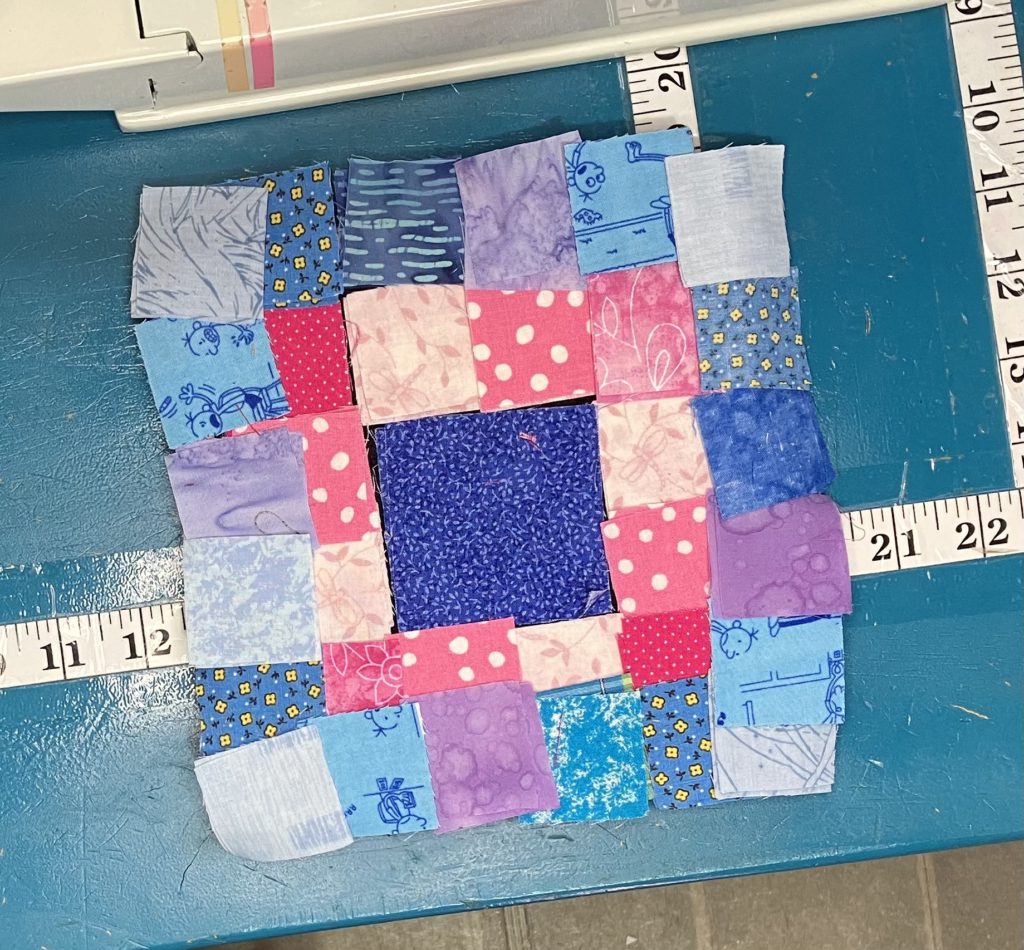
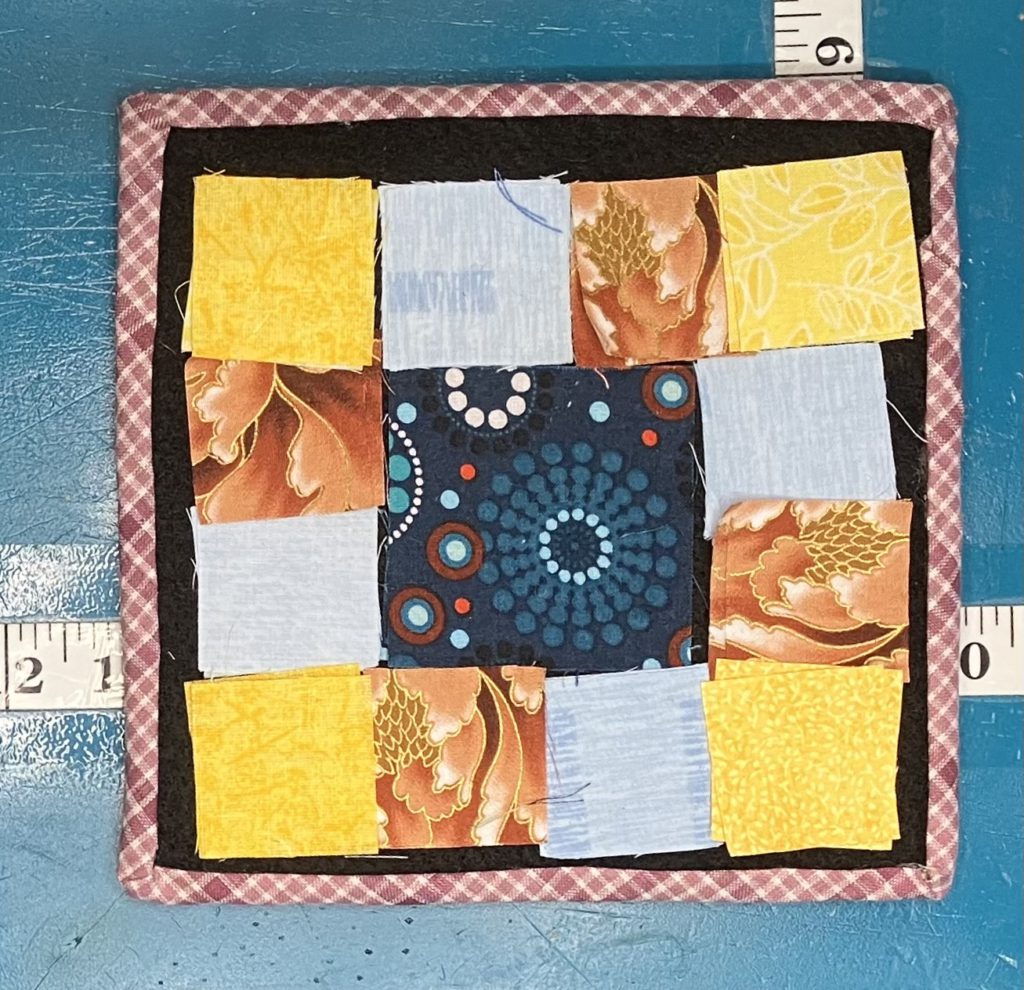
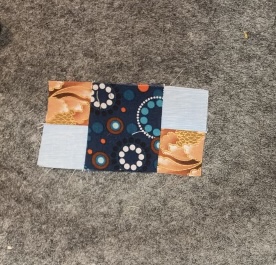
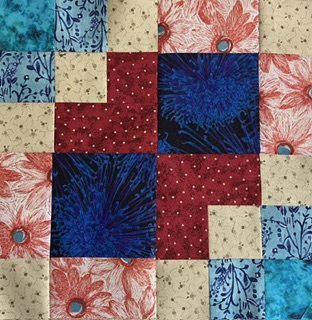
Example #2: Same block, just a little scrappier!
This example shows a 2 1/2″ square center. The top and bottom rows are made from two 1 1/2″ x 2 1/2″ pieces and four 1 1/2″ cornerstones. The side pieces are two 1 1/2″ x 2 1/2″ pieces that match the center square. The block finishes at 4 1/2″ inches.
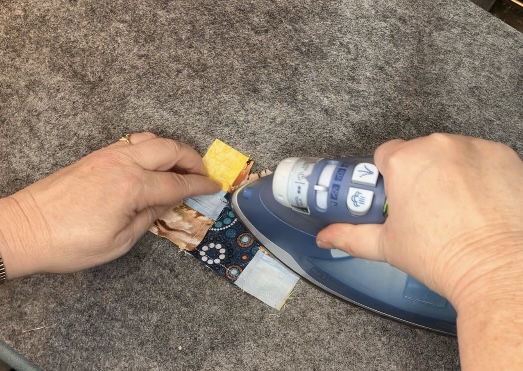
Make a center unit. (This matches the center in the first example when you are finished sewing the pieces together.) Press this unit towards the inside…towards the block.
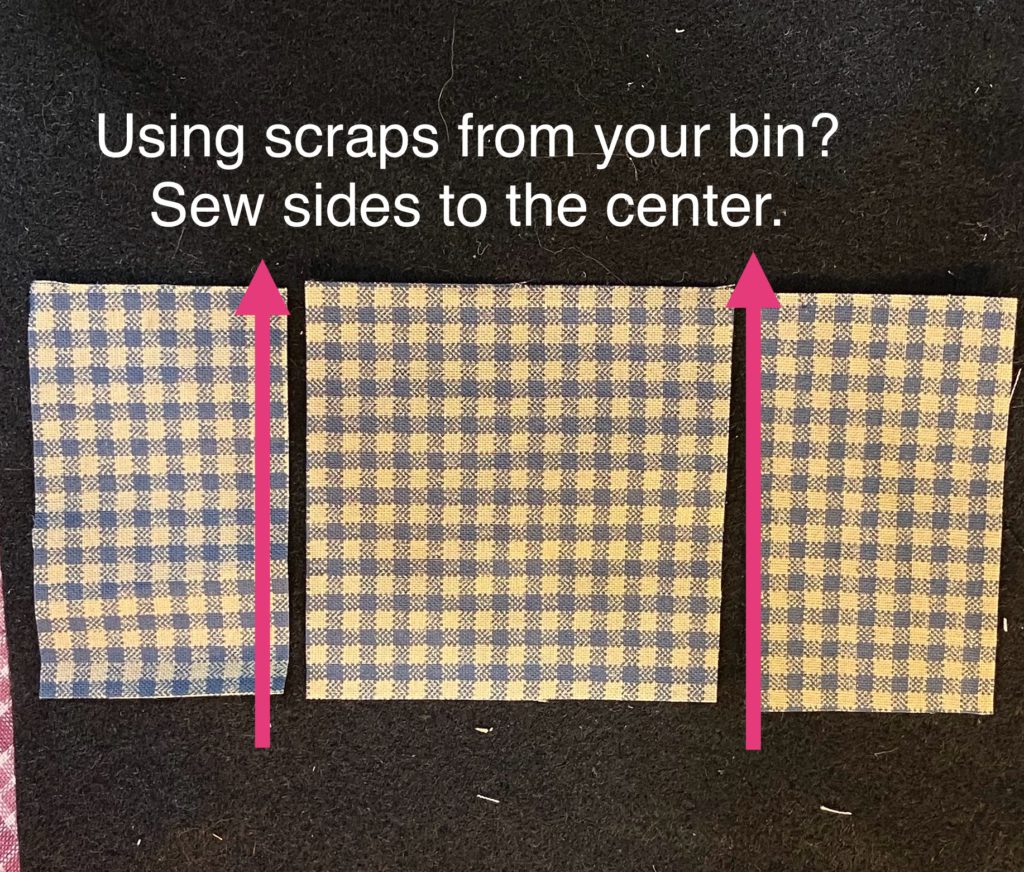
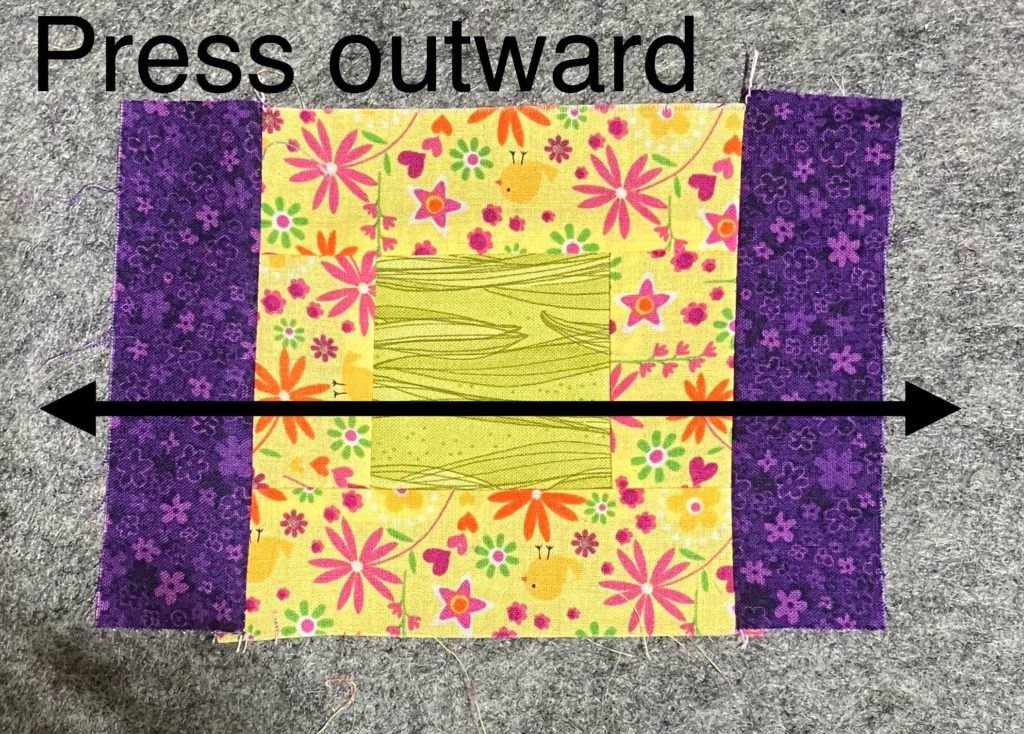
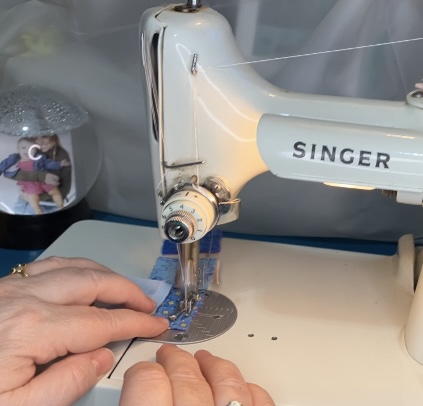
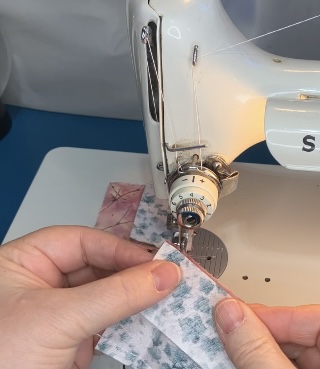
Assemble the top and bottom rows by sewing the cornerstones to the rectangles.
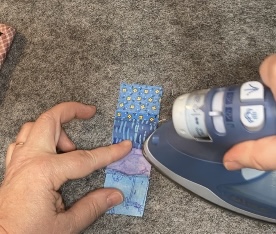
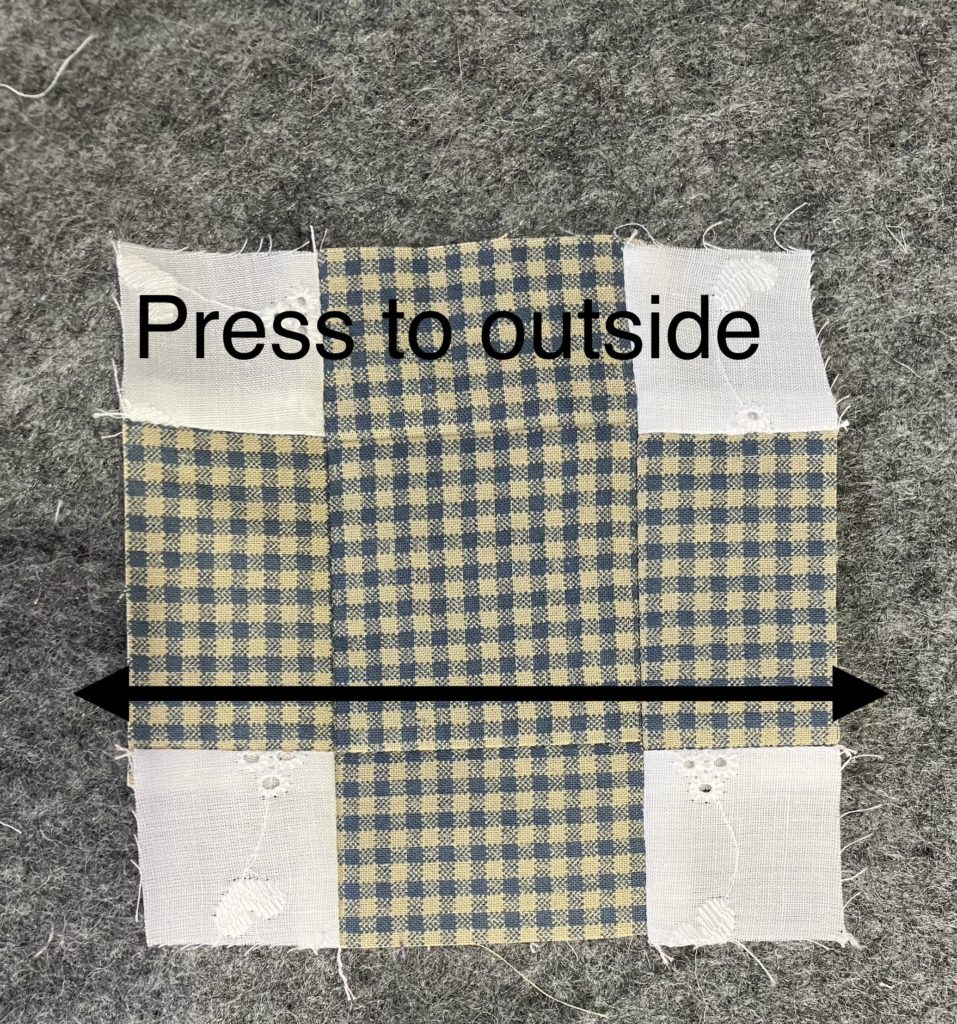
Press to the outside like pictured below.
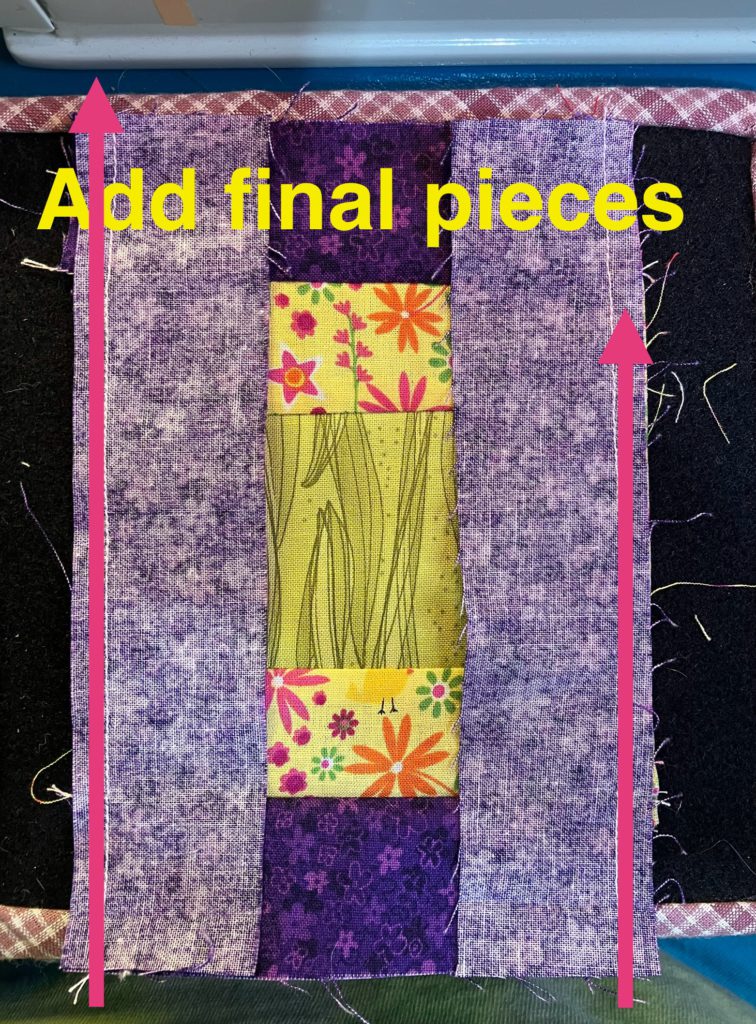
Add the top and bottom rows to your center unit. Seams should nest together to make construction easier.
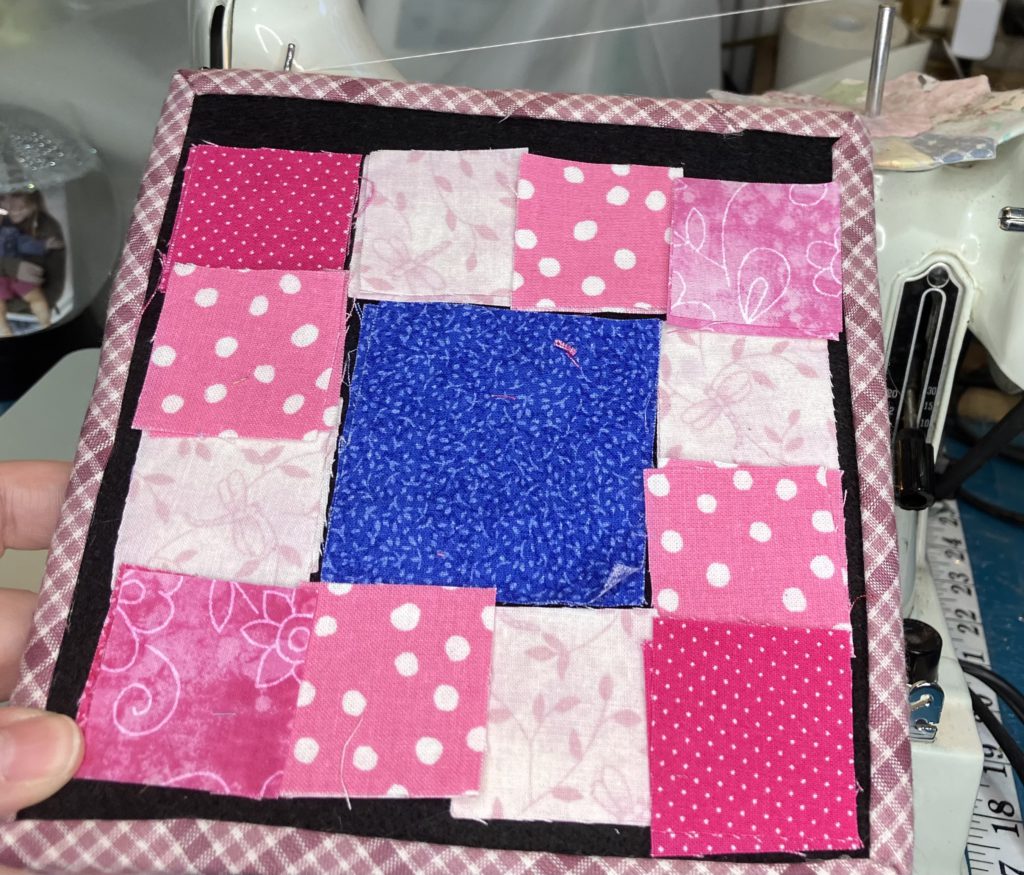
Tah-done! Press to the outside.
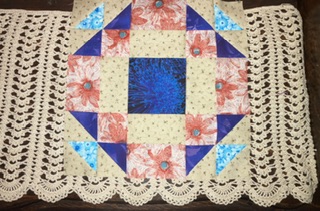
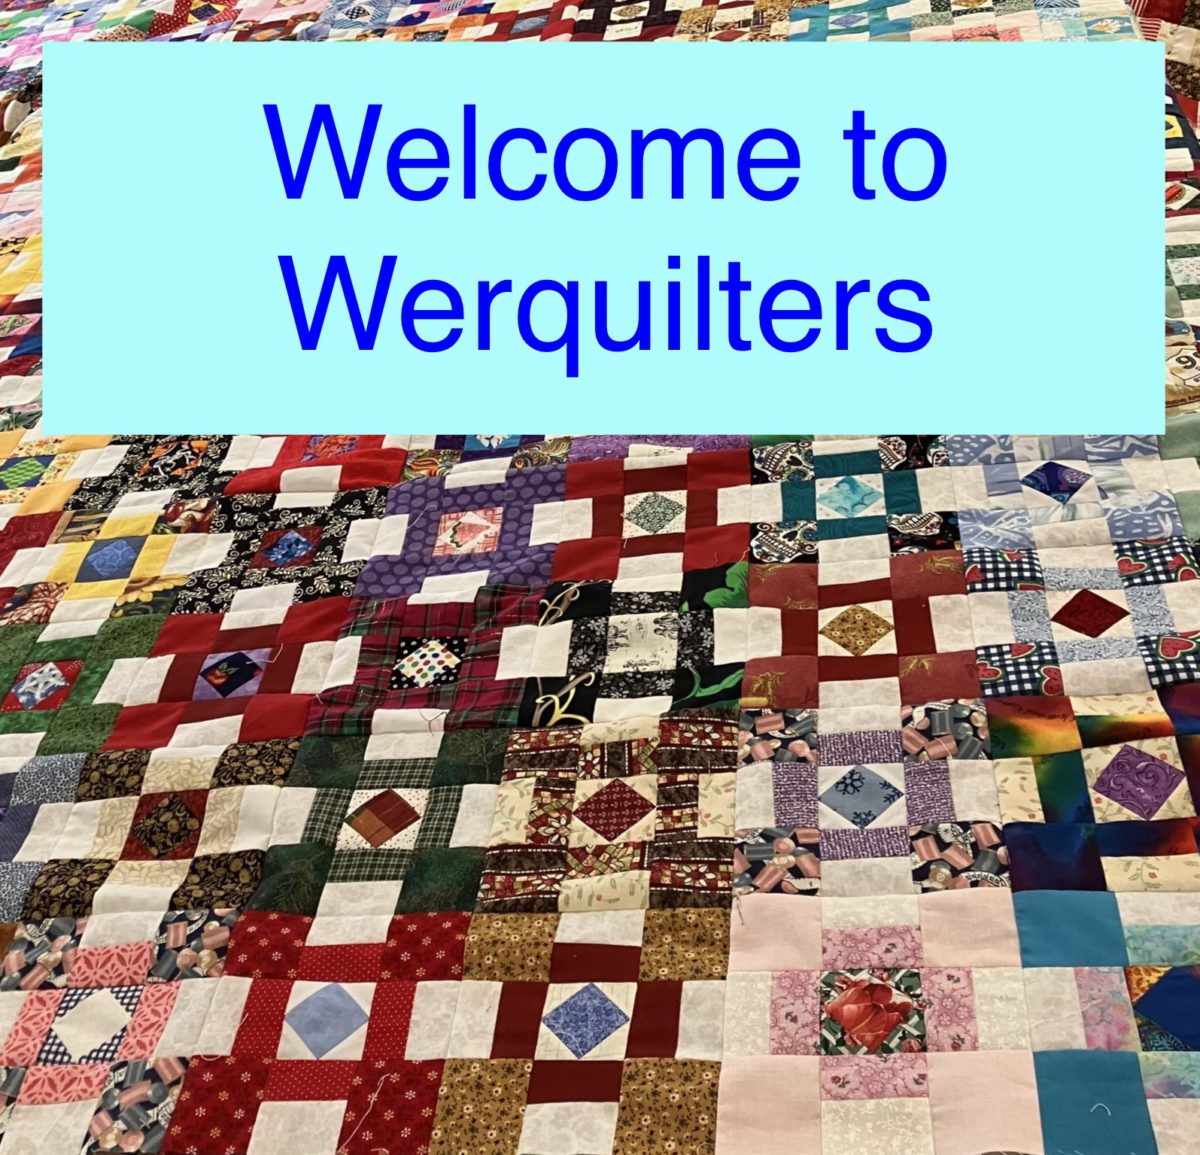
These blocks are quick and easy to construct. This would make a great leader/ ender project. I envision it with bright colored scraps for the center and a variety of backgrounds for the cornerstones set together with NO sashing. What a great scrap quilt that would be!

I can’t wait to make an entire quilt with these blocks! It would make a great donation or kid quilt! Would you make a quilt with these? Let me know in the comments! (about this quilt…not interested in Russian viagra or manifestos!)
Later,
Lorrie