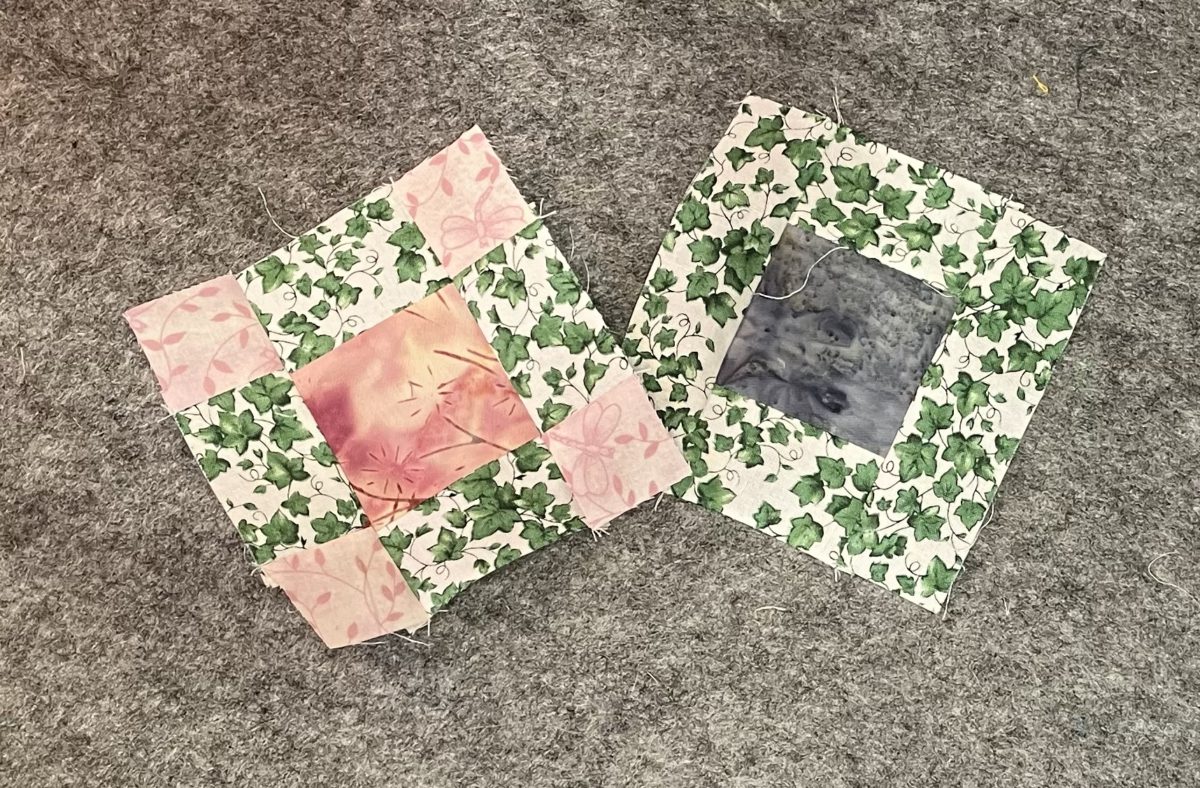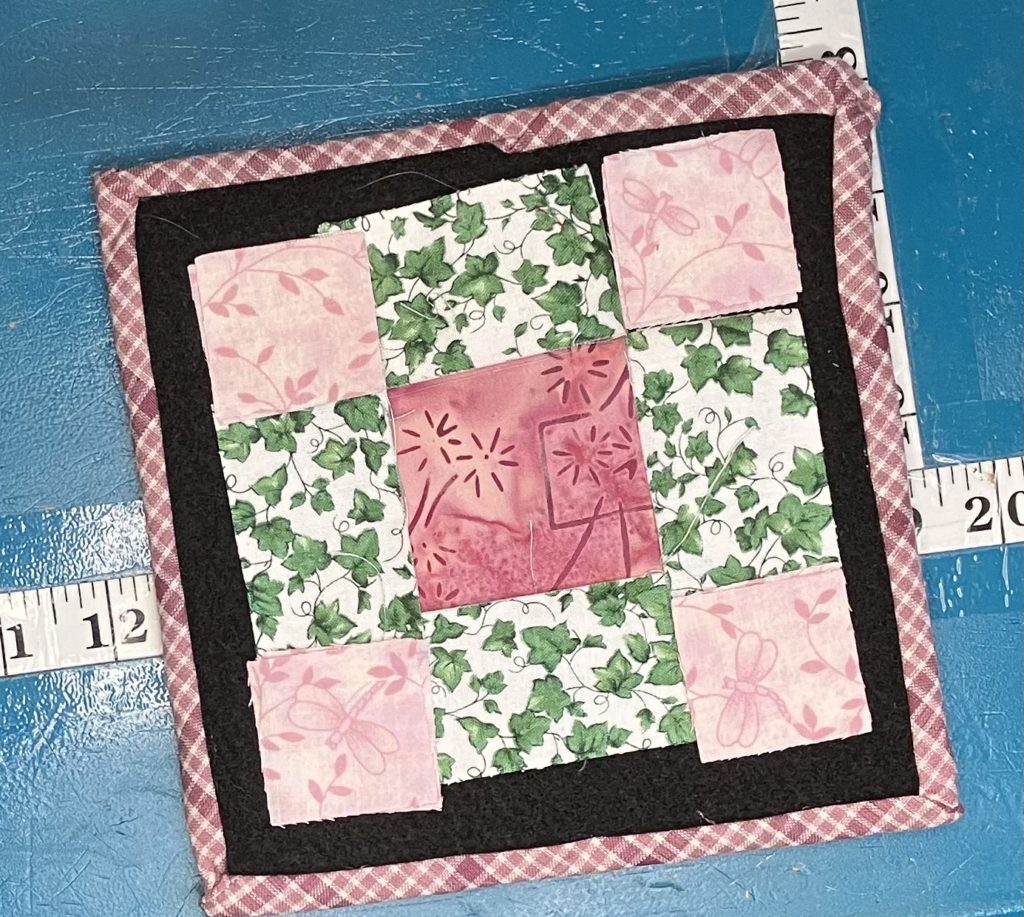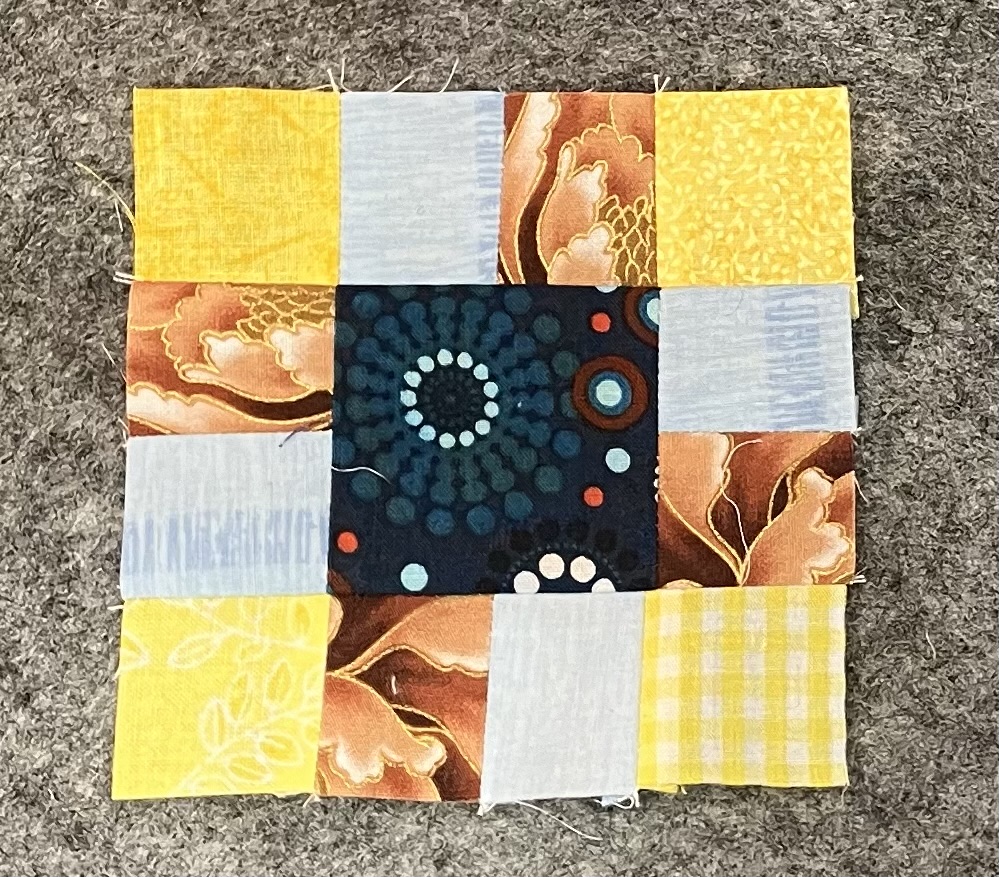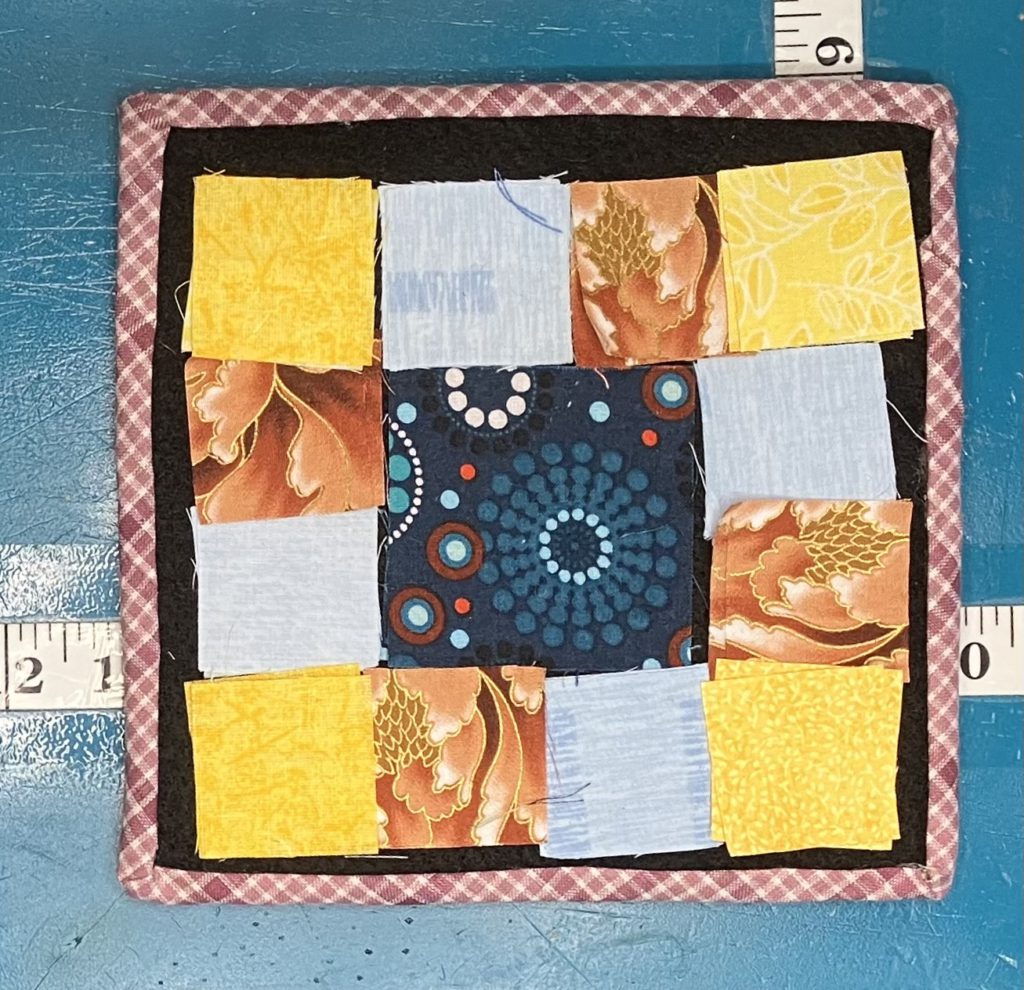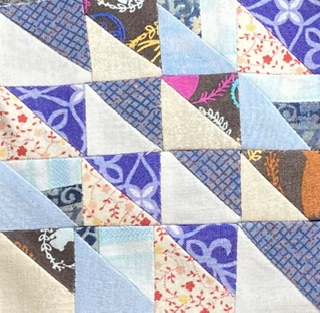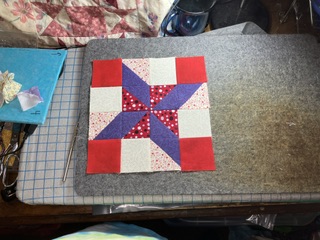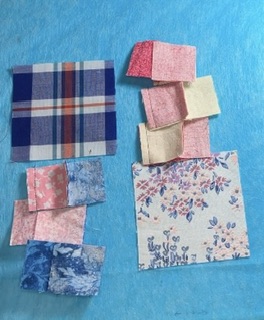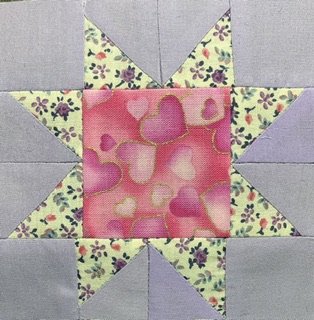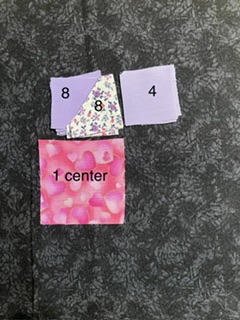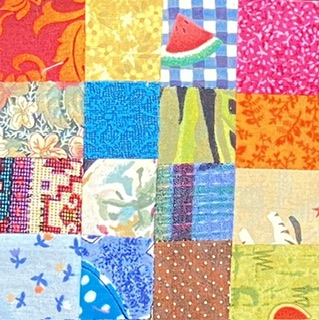
This lovely block uses up lots of little scrap blocks. It is easily adaptable to larger sizes, too. It would be a fantastic leader/ ender project. As it is shown, it finishes at 6 1/2″.
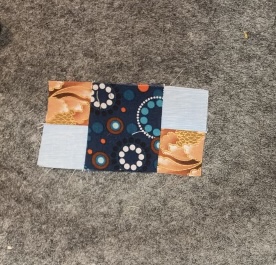
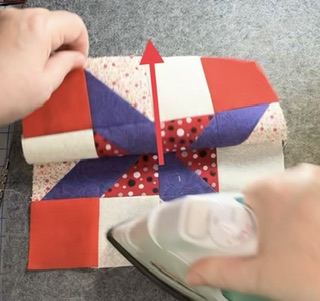
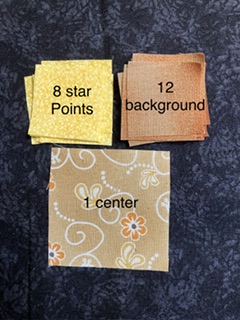
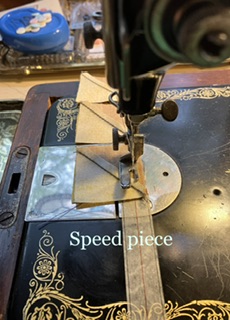
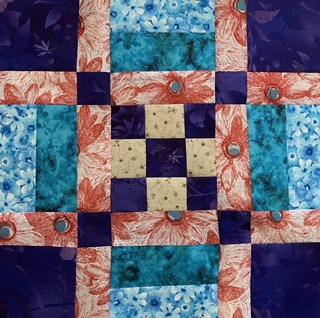
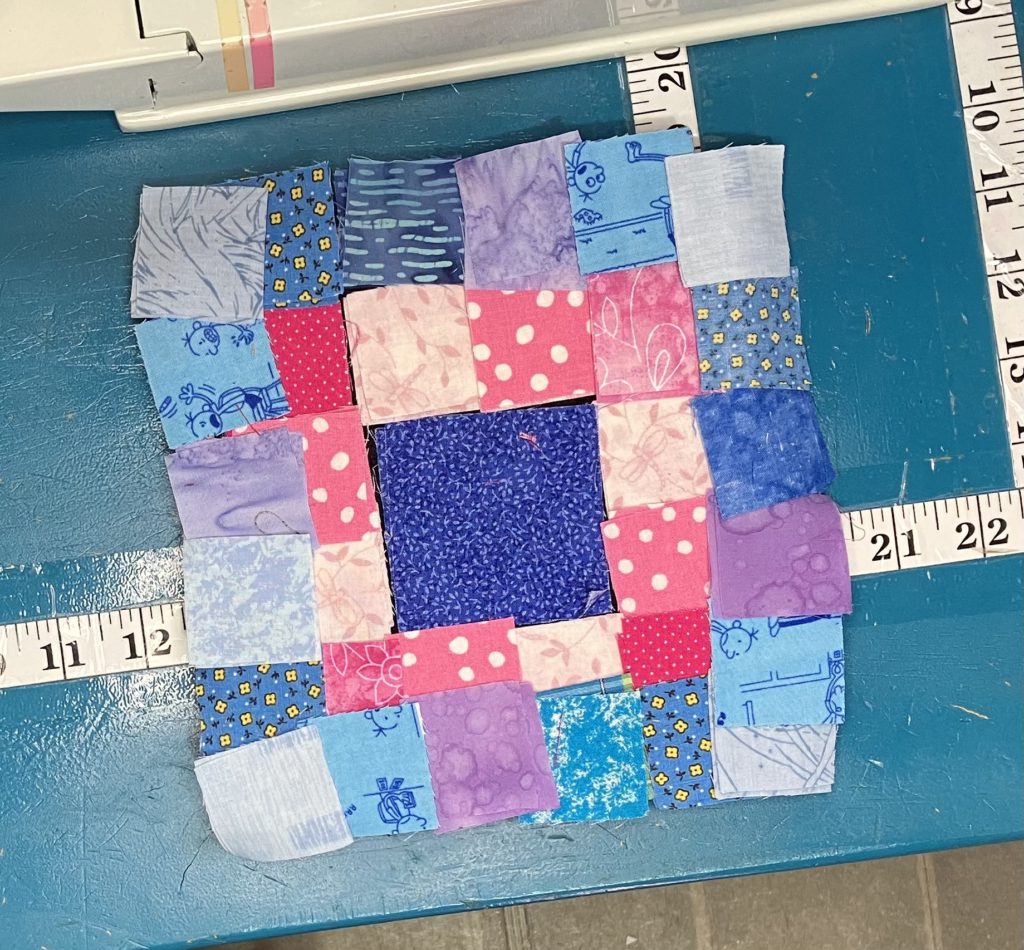
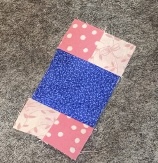
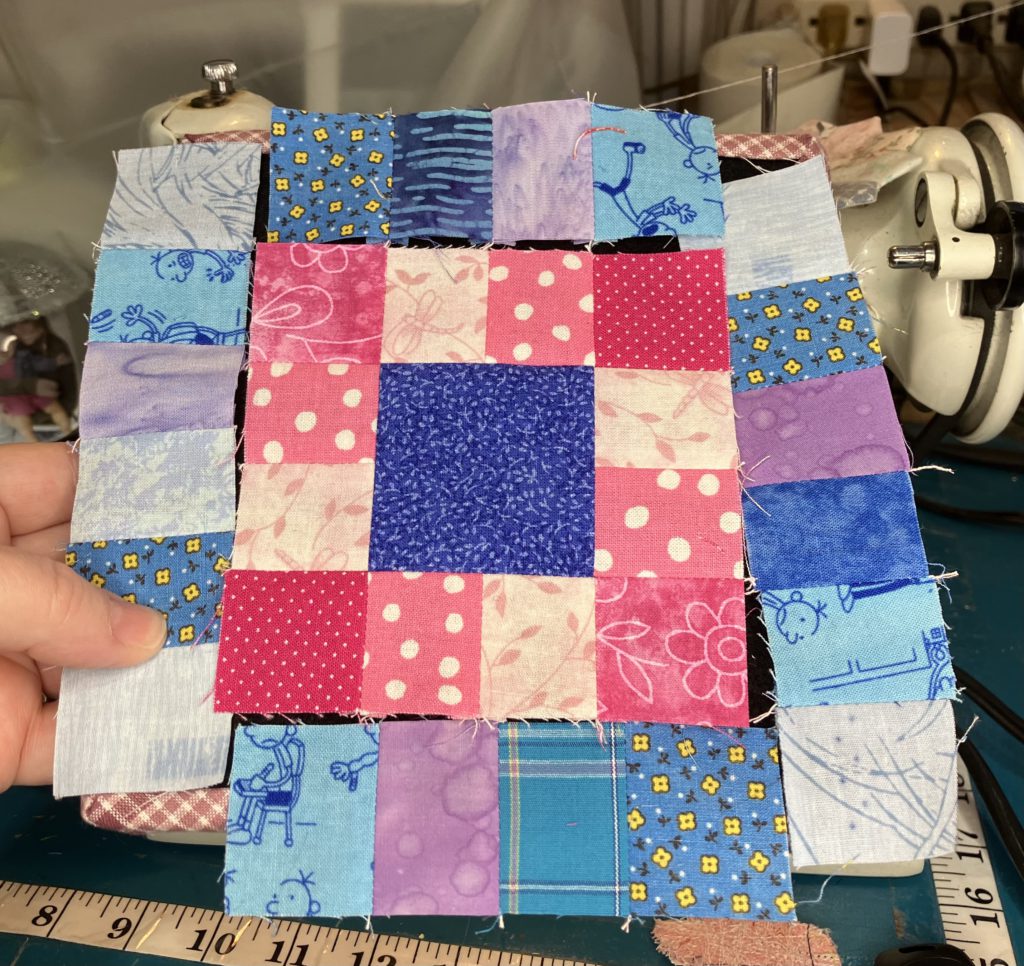
The center square is 2 1/2″. The surrounding rounds are made from 12- 1 1/2″ inner ring blocks and 20- 1 1/2″ outer ring blocks. I used pink and blue to make it easier to see the block rounds. This would be a great block made up in all scraps or other high contrasting rounds. My YouTube speedy Build a Block video can be found here.
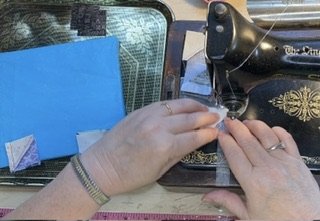
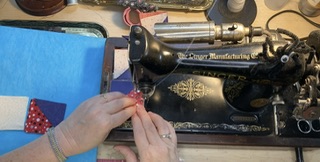
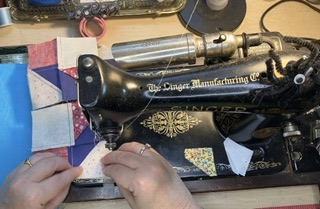
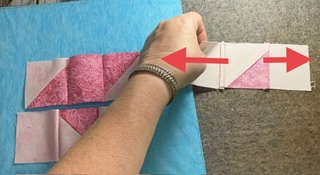
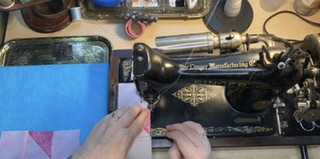
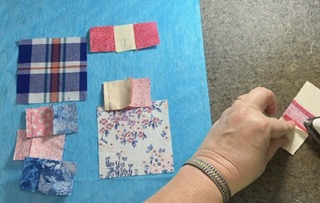
I start by moving the outer round of blocks to the side. I can only focus on one task at a time these days.
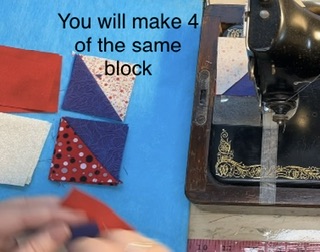
If you were doing this as all scrappy you could easily sew all the blocks in sets of two and then make the necessary 4-4 block units and 2-6 block units without worrying about placement.
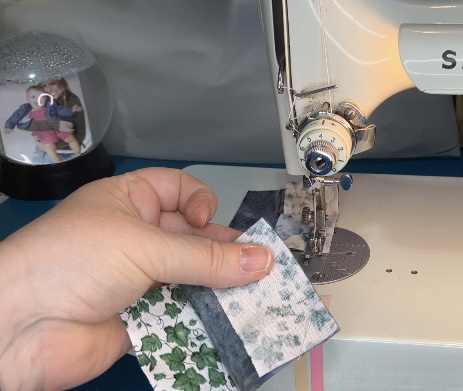
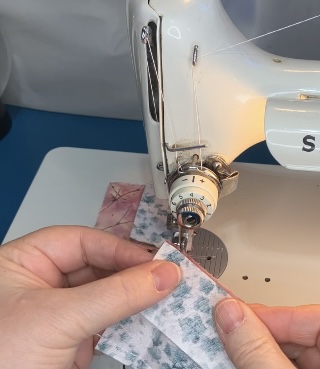
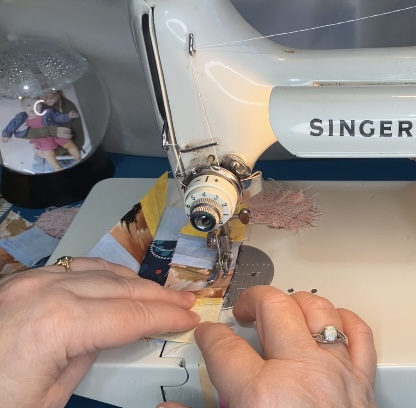
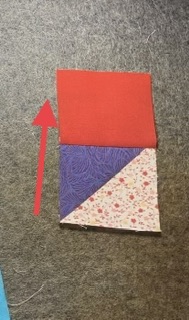
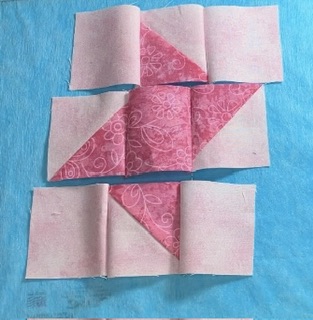
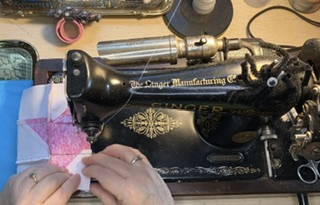
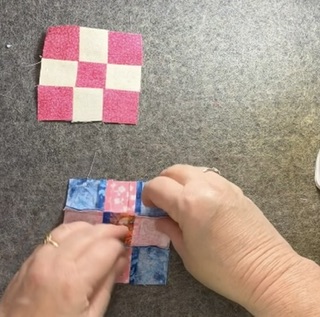
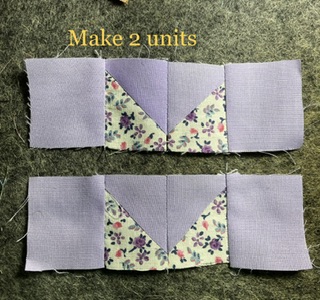
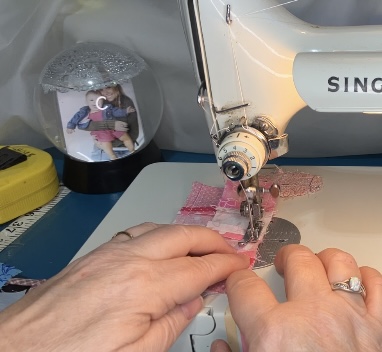
Sew blocks that touch the center into 4 pair units. Two of these units will be sewn to the center soon.
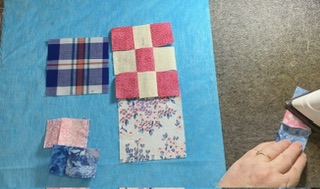
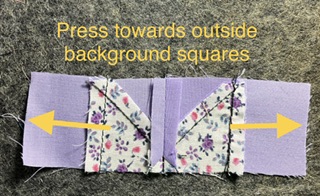
Add the corner blocks to two of those pair units to make 2- four block units.
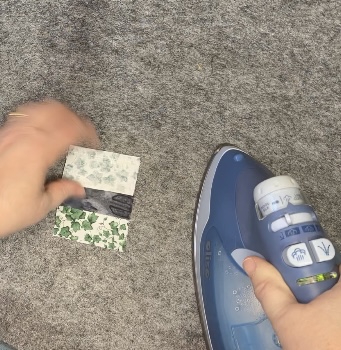
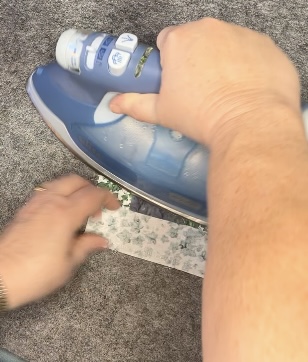
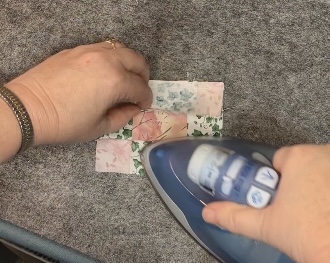
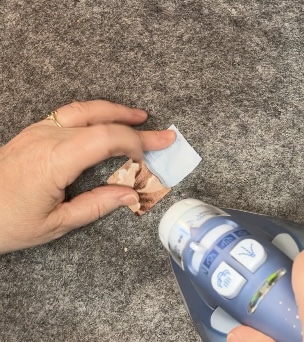
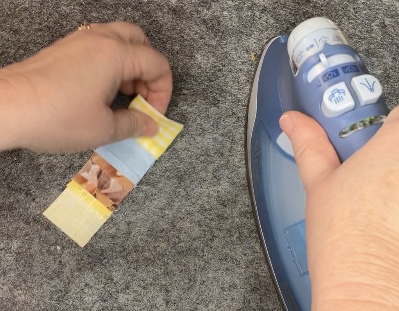
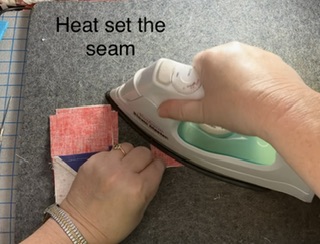
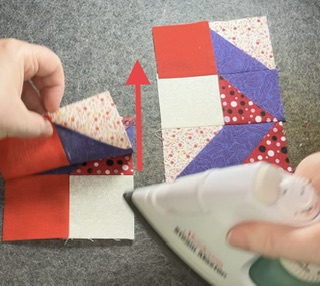
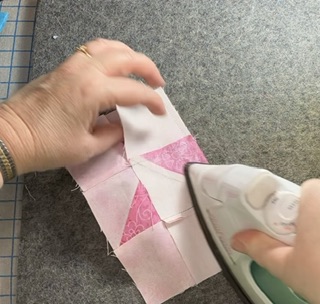
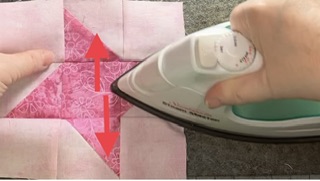
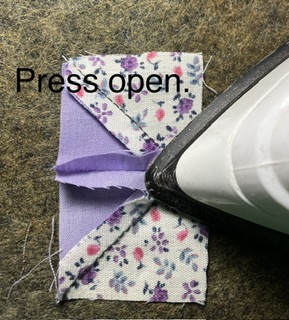
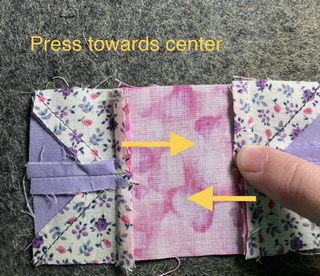
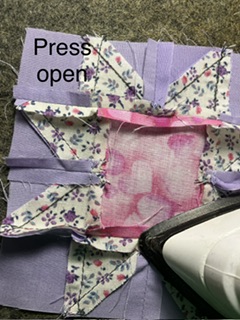
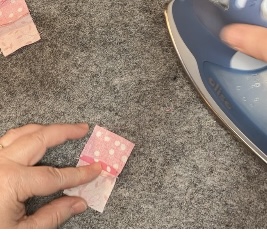
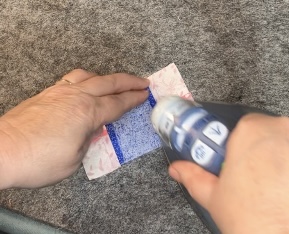
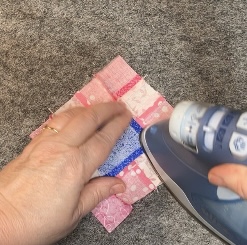
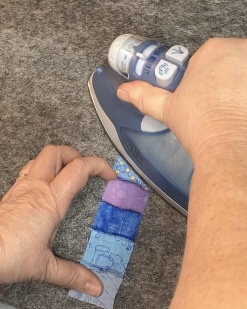
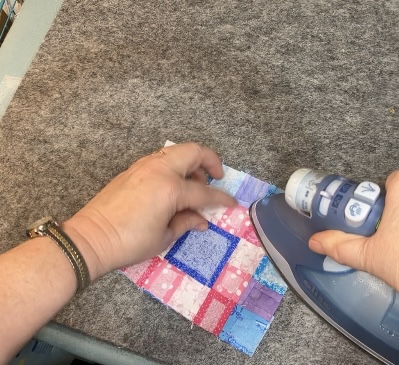
To reduce bulk, press seams open.
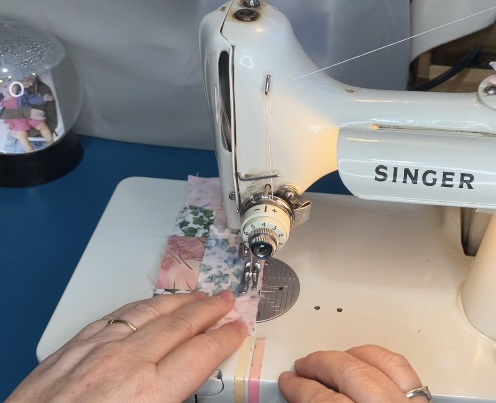
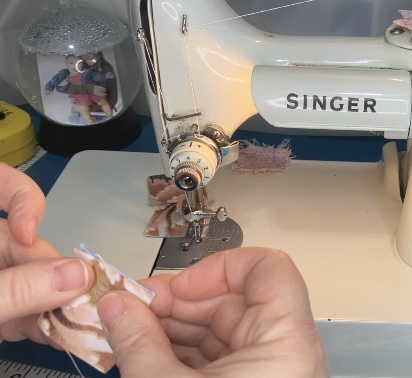
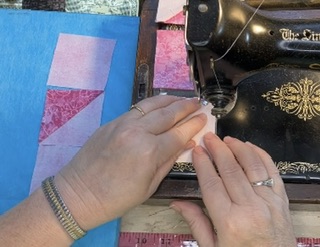
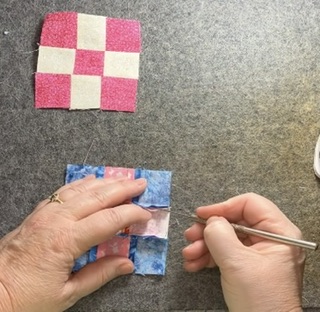
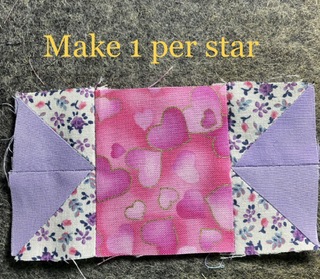
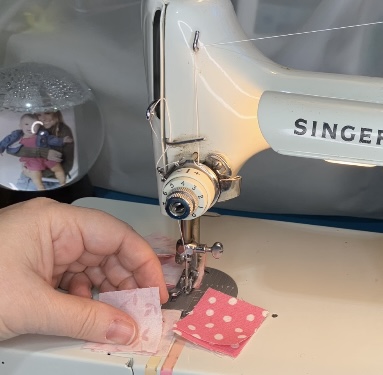
Sew both pair units to the center square.
To reduce bulk, press open…or however you wish to press. No quilt police here!

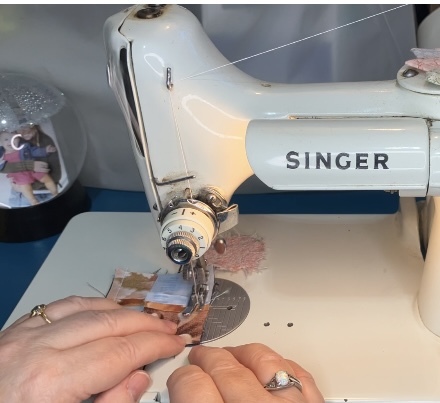
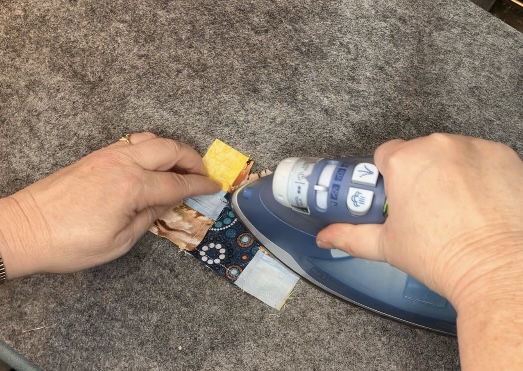
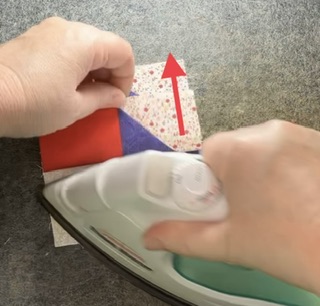
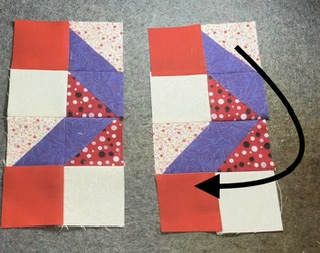
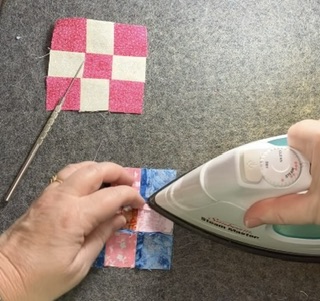
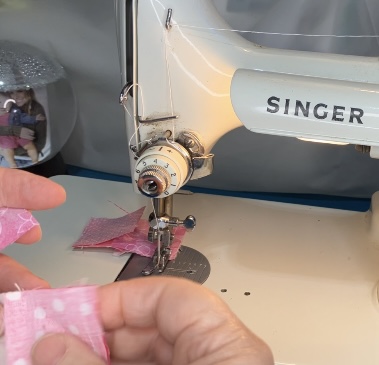
Add the 4 block units to the new central unit.
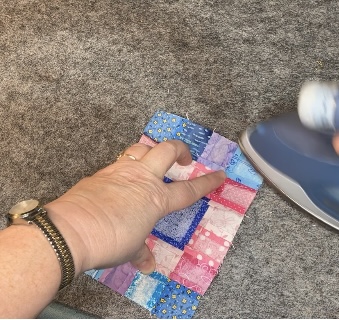
To reduce bulk, press seams open.
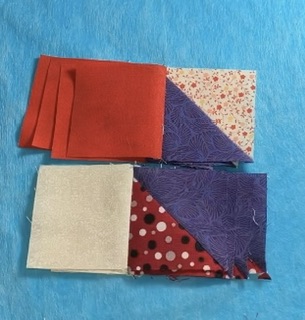
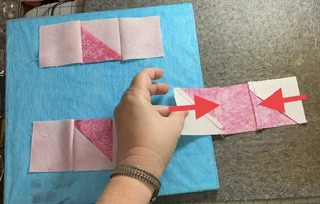
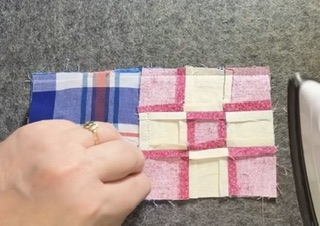
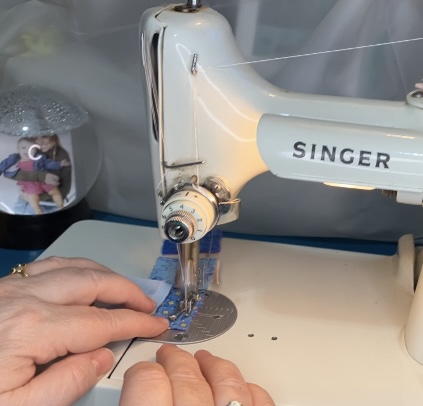
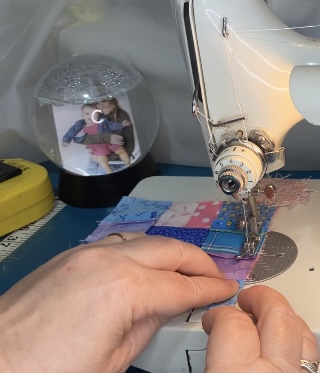
Sew all of the outer blocks in pairs, then sew pairs together until you have 2- 4 square units and 2- 6 square units.

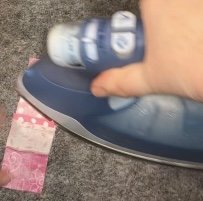
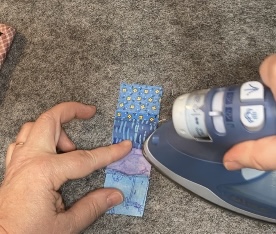
Press open to reduce bulk. (You knew I was going to say that, but that doesn’t make you a psychic!)
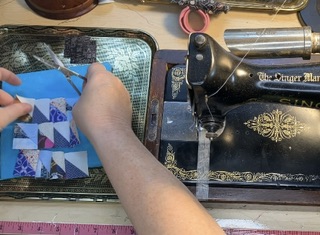
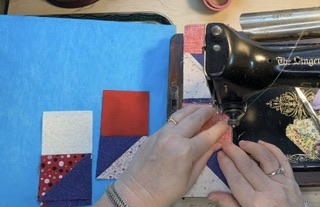
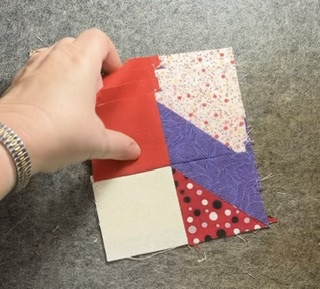
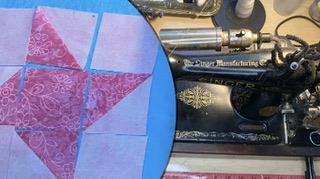
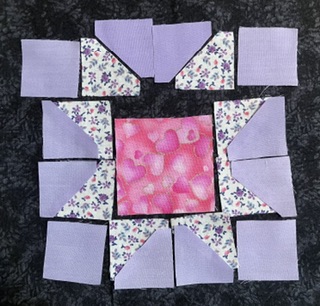
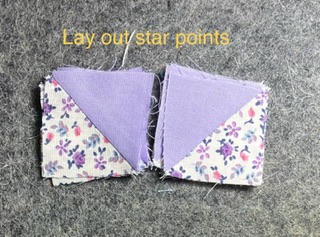
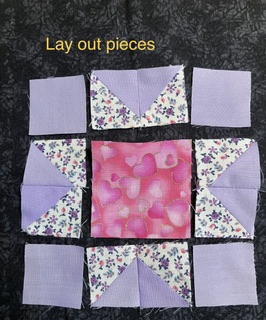
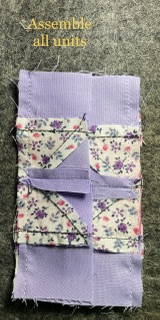
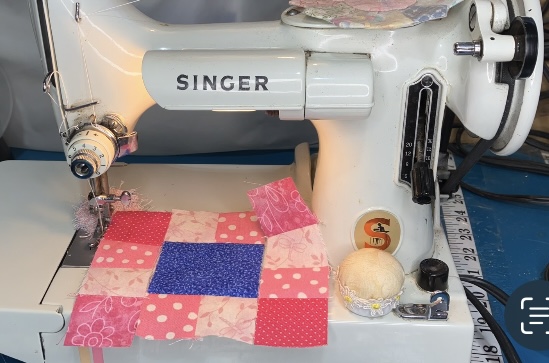
I always like to lay out the block at every step, just to make sure I have placement the way I intended it to be when I started. I am fairly quick with the seam ripper these days, but I still don’t enjoy that process.
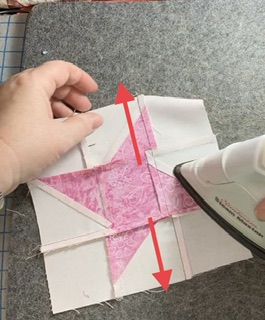
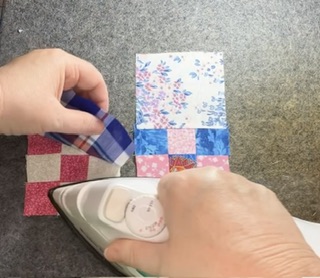
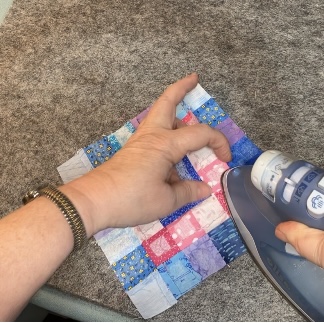
Add both of the 4 block units to the sides of the center unit.
You know what I am going to say! Press seams open to reduce bulk.
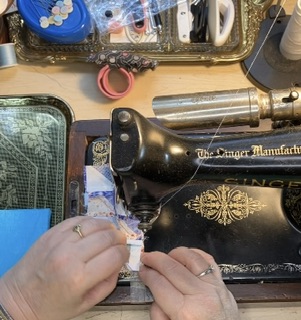
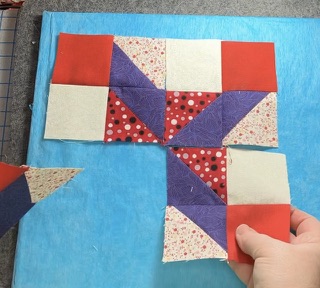
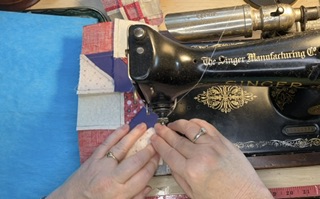
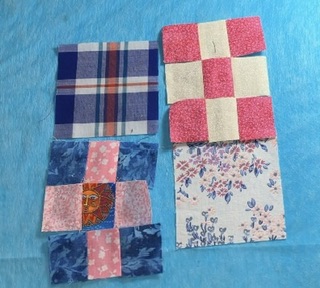
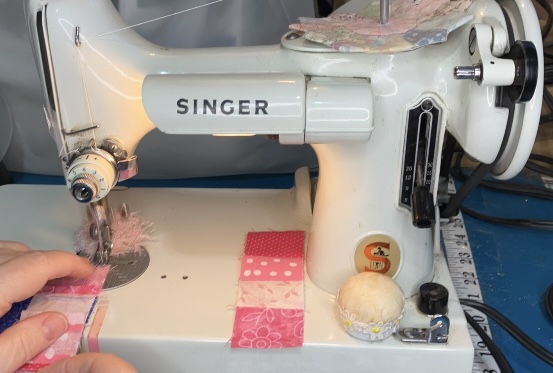
Add the 6 block units to the last two sides of the center unit.
Not saying…you know!
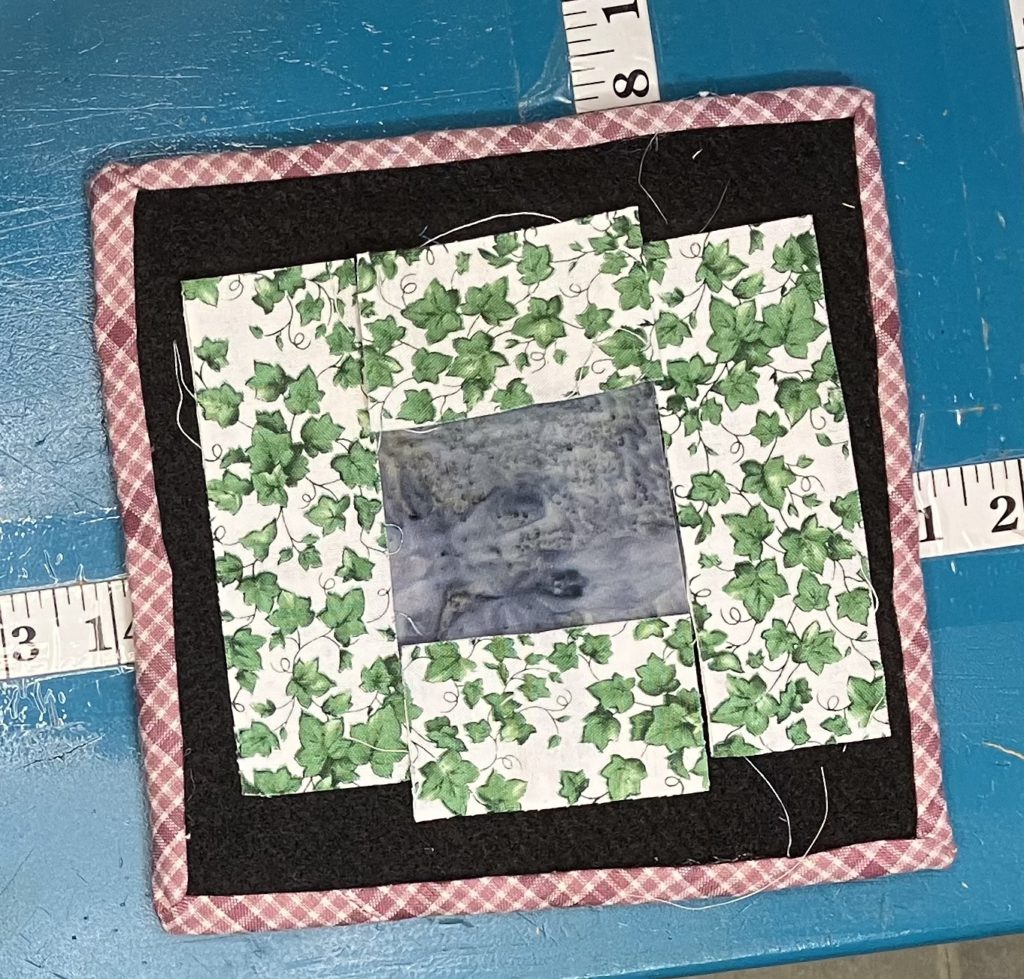
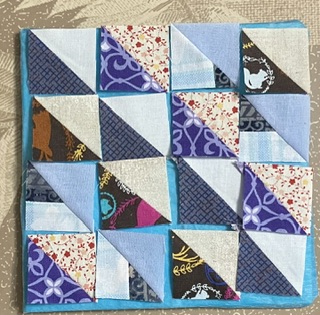
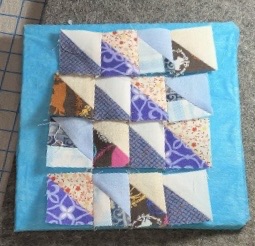
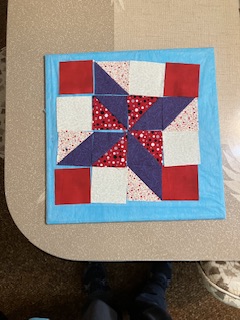
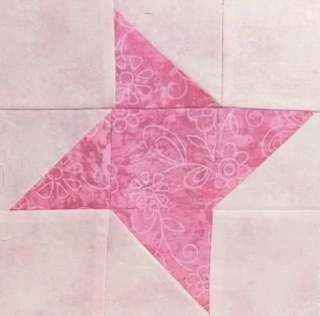
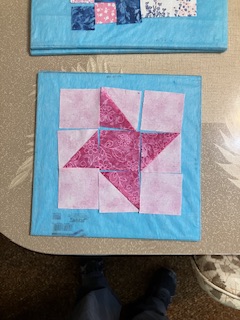
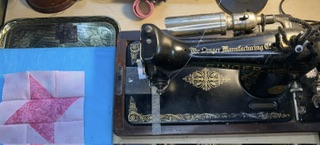
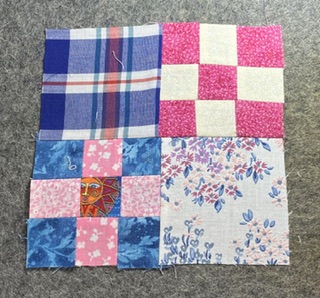
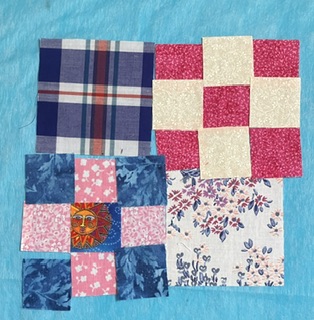
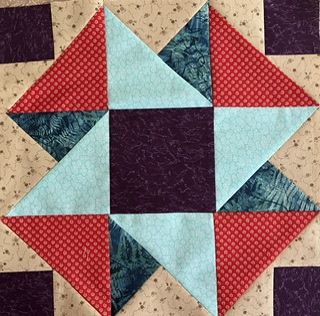
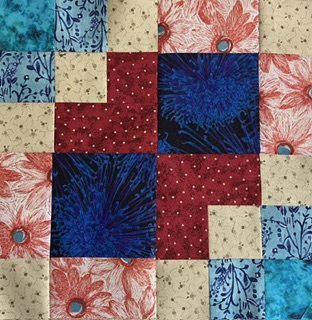
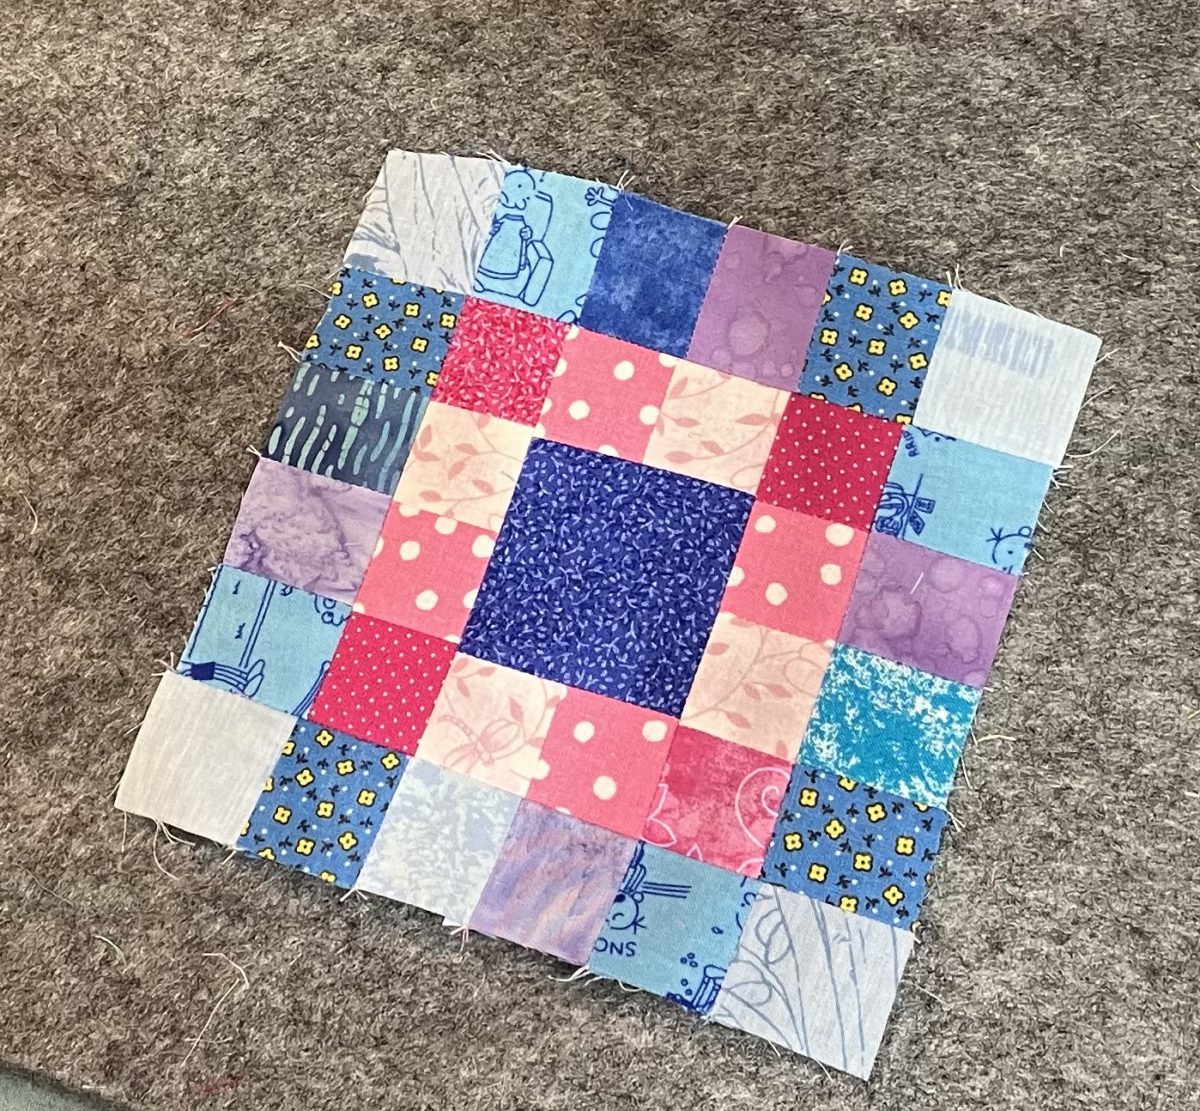
Tah-done! Another beautiful scrap block! This one used up LOTS of little pieces.

I hope that you are enjoying this Build a Block series of simple blocks. I am starting to have a nice little pile of these blocks just by creating ones to picture in these tutorials. I hope you are, too.
Thank you for stopping in to look at my pictures and read my block making narrative. What are you creating today? I hope it is simple and relaxing! I would love to see pictures of your work over on my Facebook page. Come join my group!
Later,
Lorrie