This post goes along with my YouTube short of the same title. It is part of my series on using up bonus half-square triangle blocks.
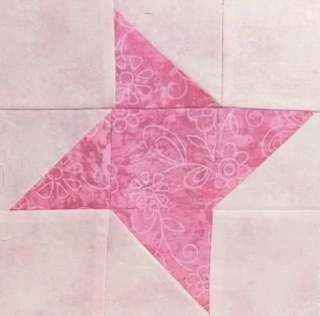
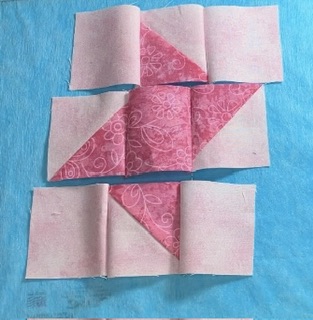
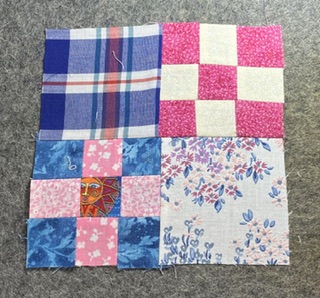
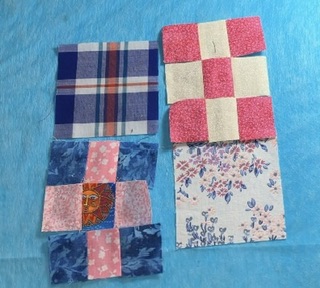
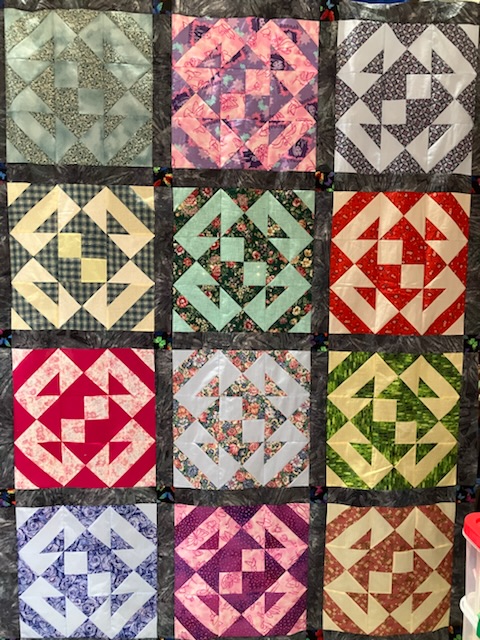
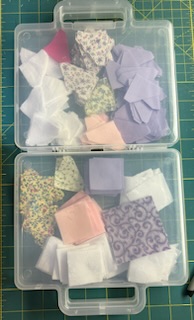
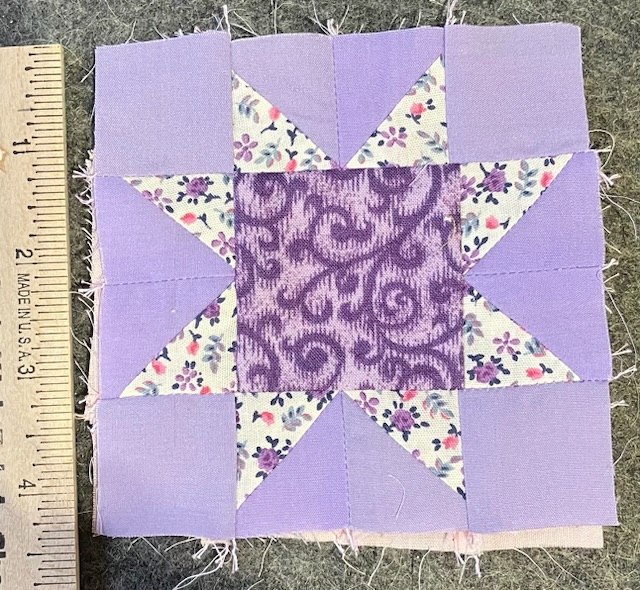
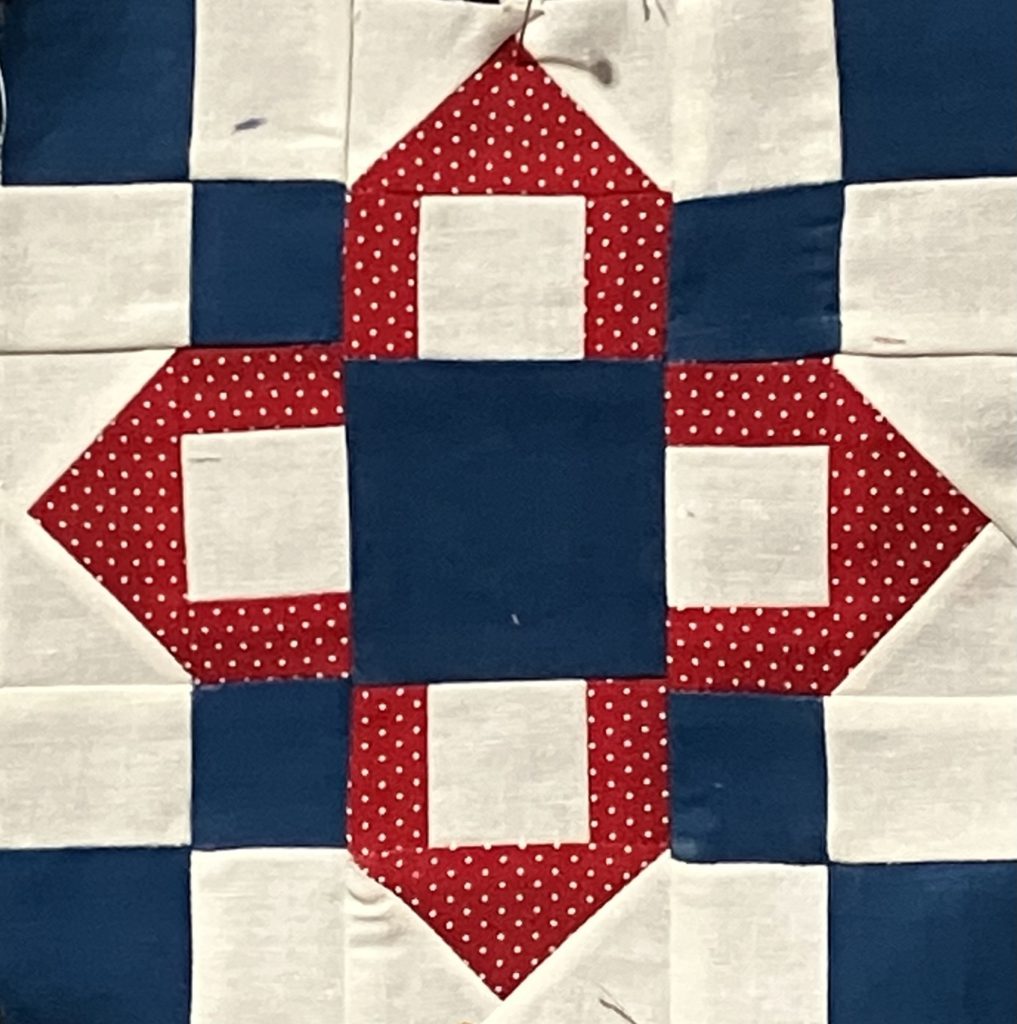
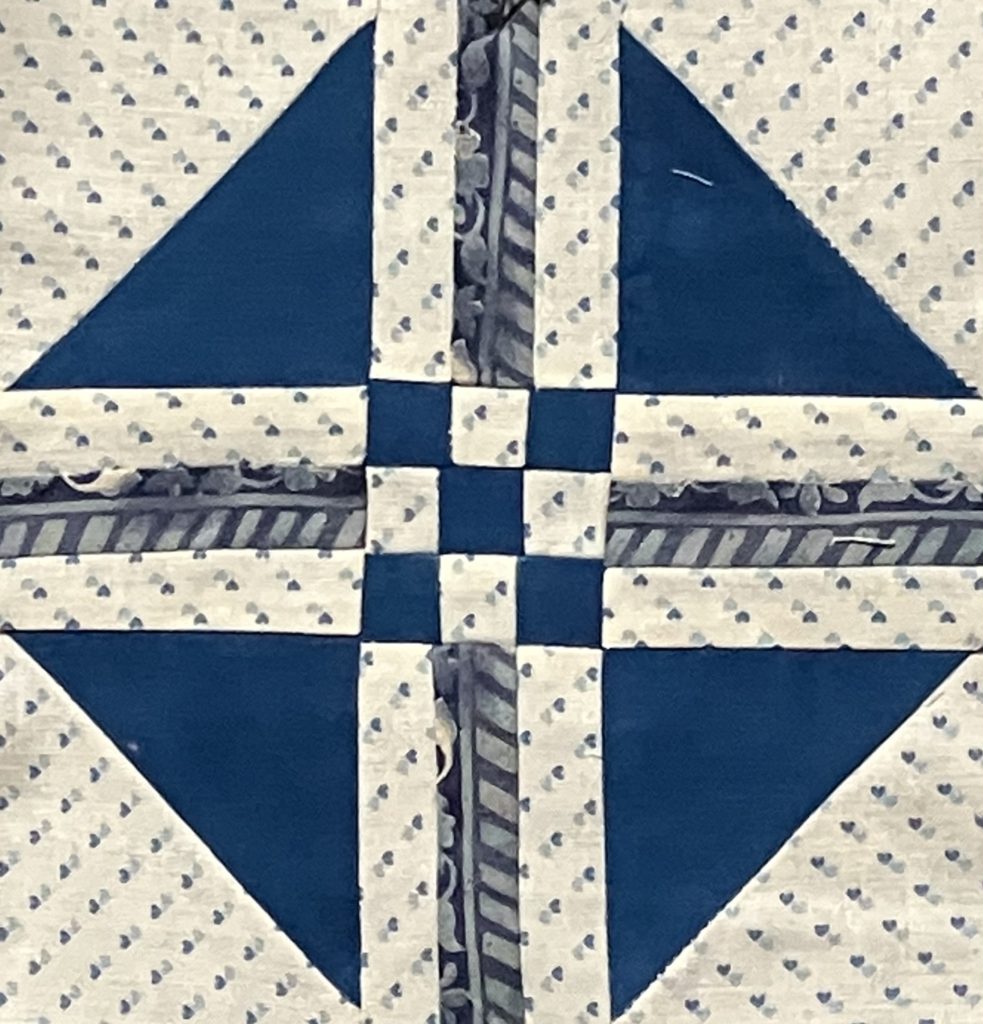
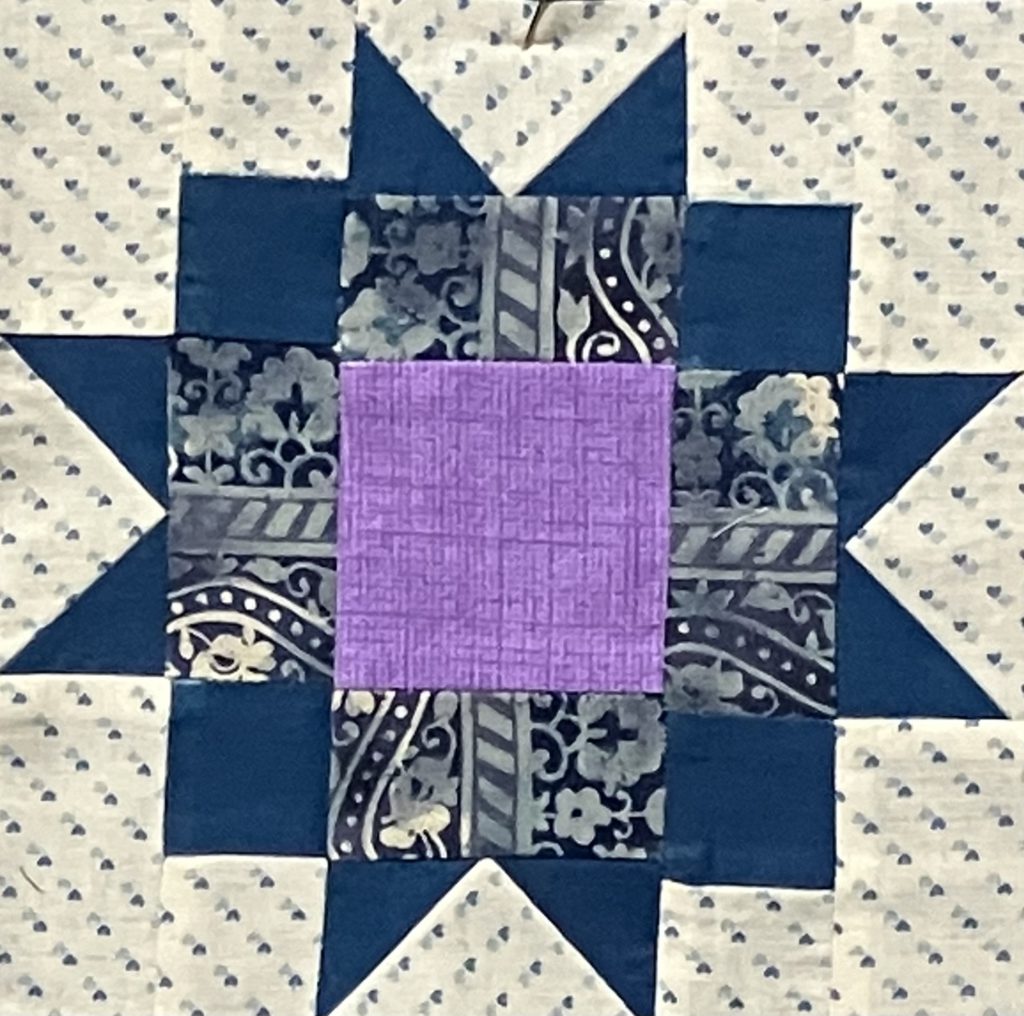
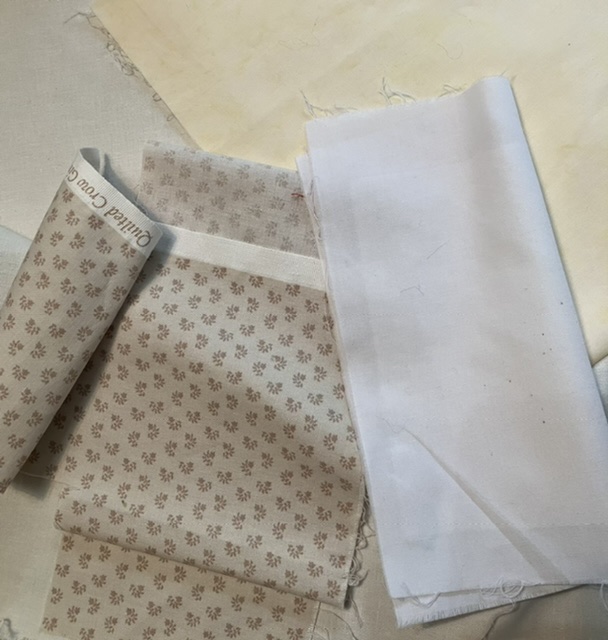
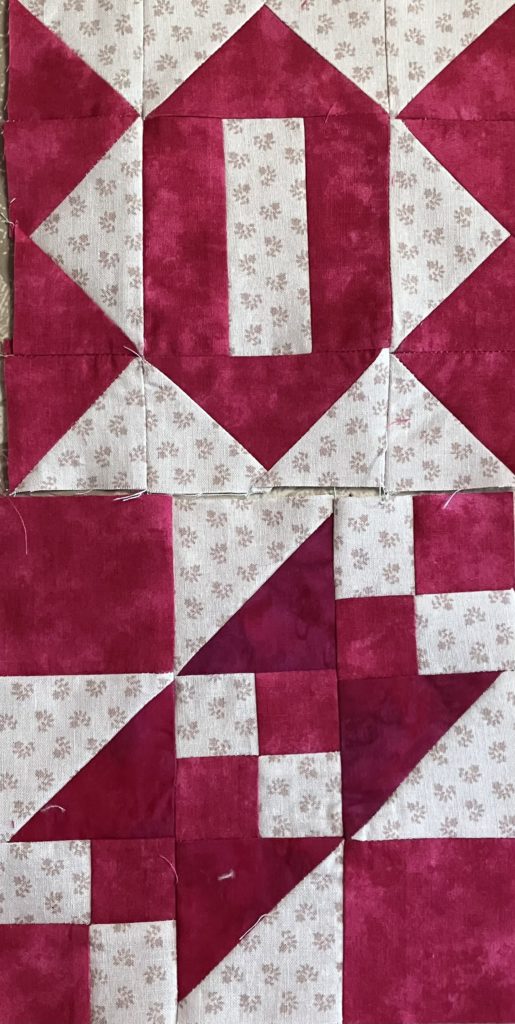
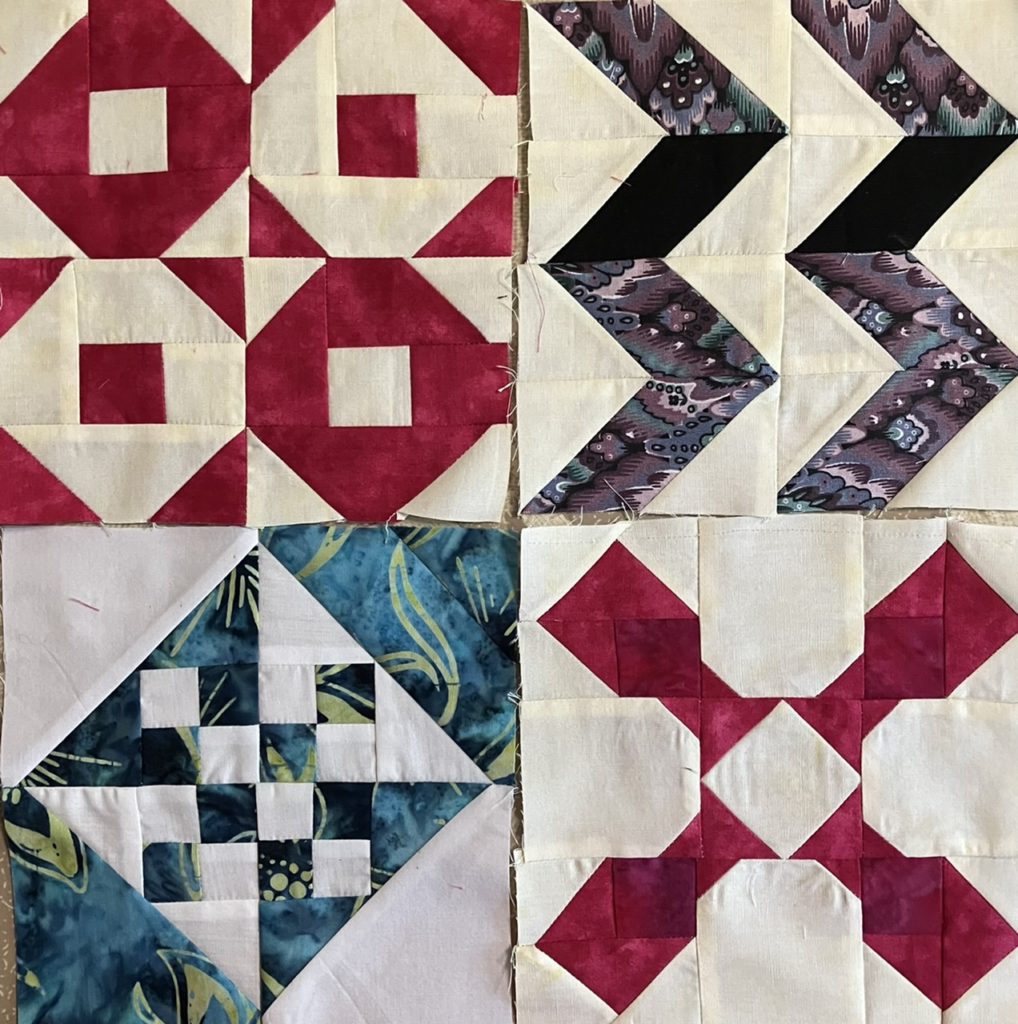
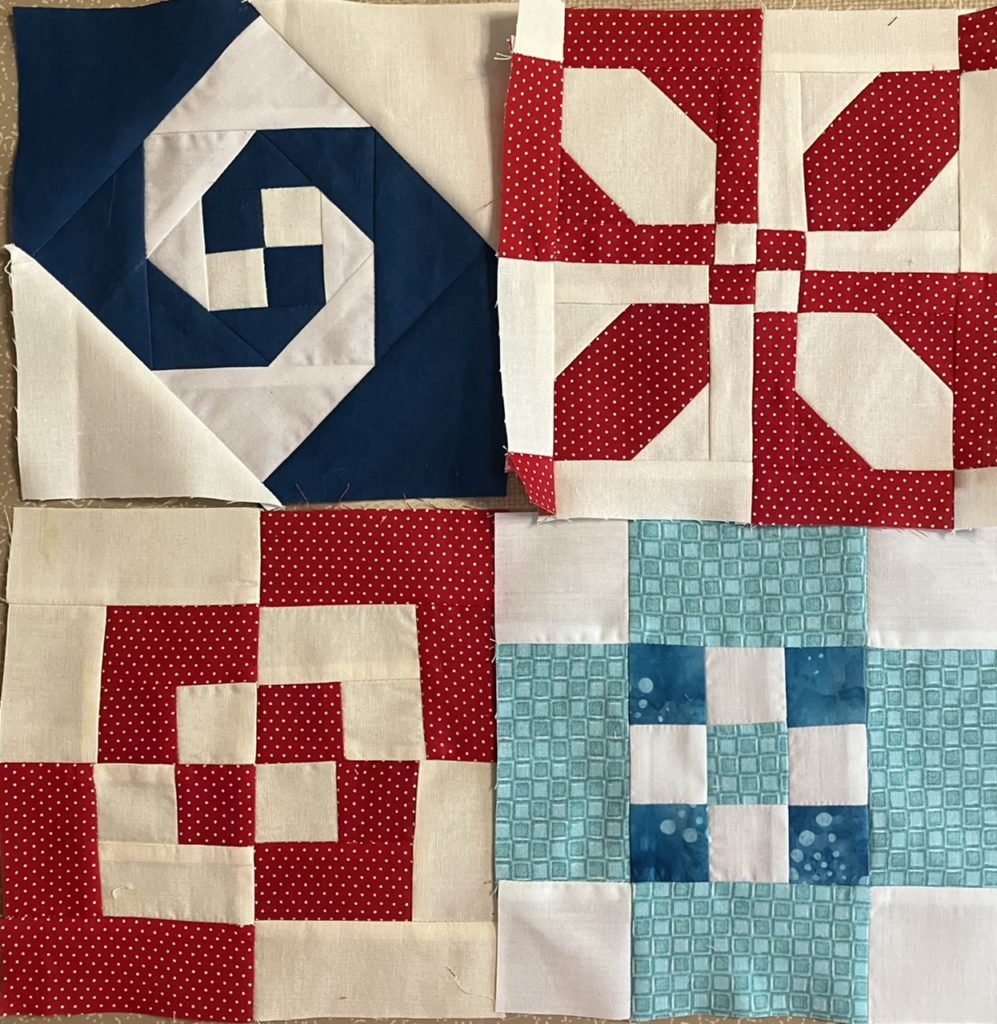
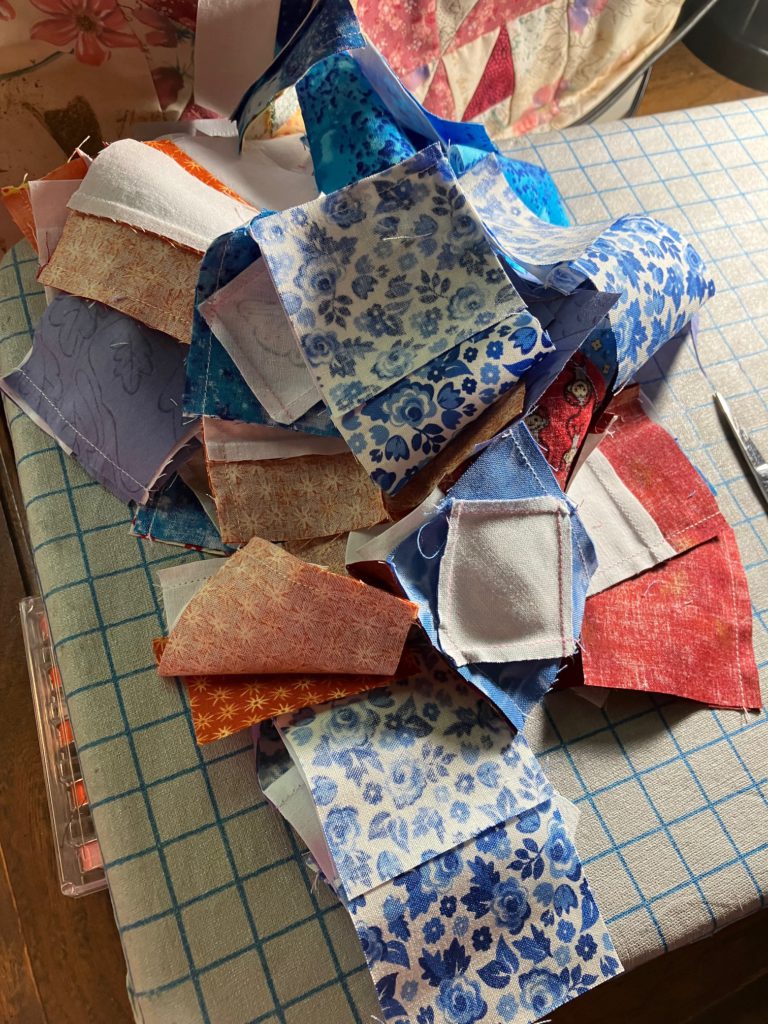
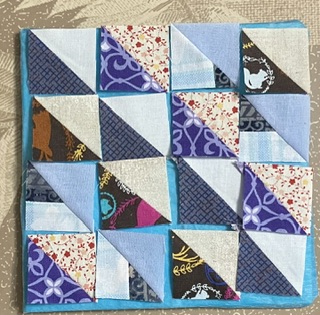
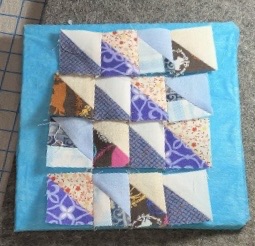
This block is made from 16 one and half inch squares. It makes a 4 inch finished block. It could easily be made using 2 1/2, 3 1/2, or 4 1/2 inch half square triangles to create an 8, 12, or 16 block. I made this block using all bonus pieces. You can see in the picture that I even used bonus triangles that are pieced pieces.
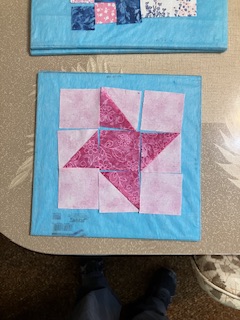
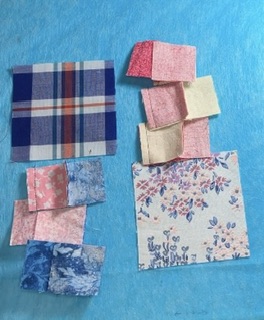
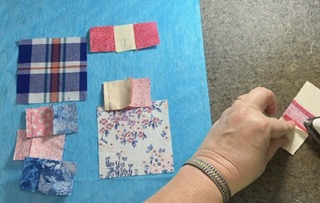
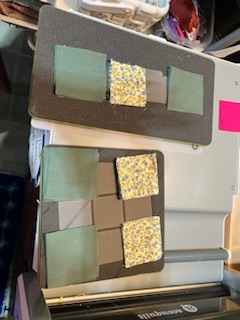
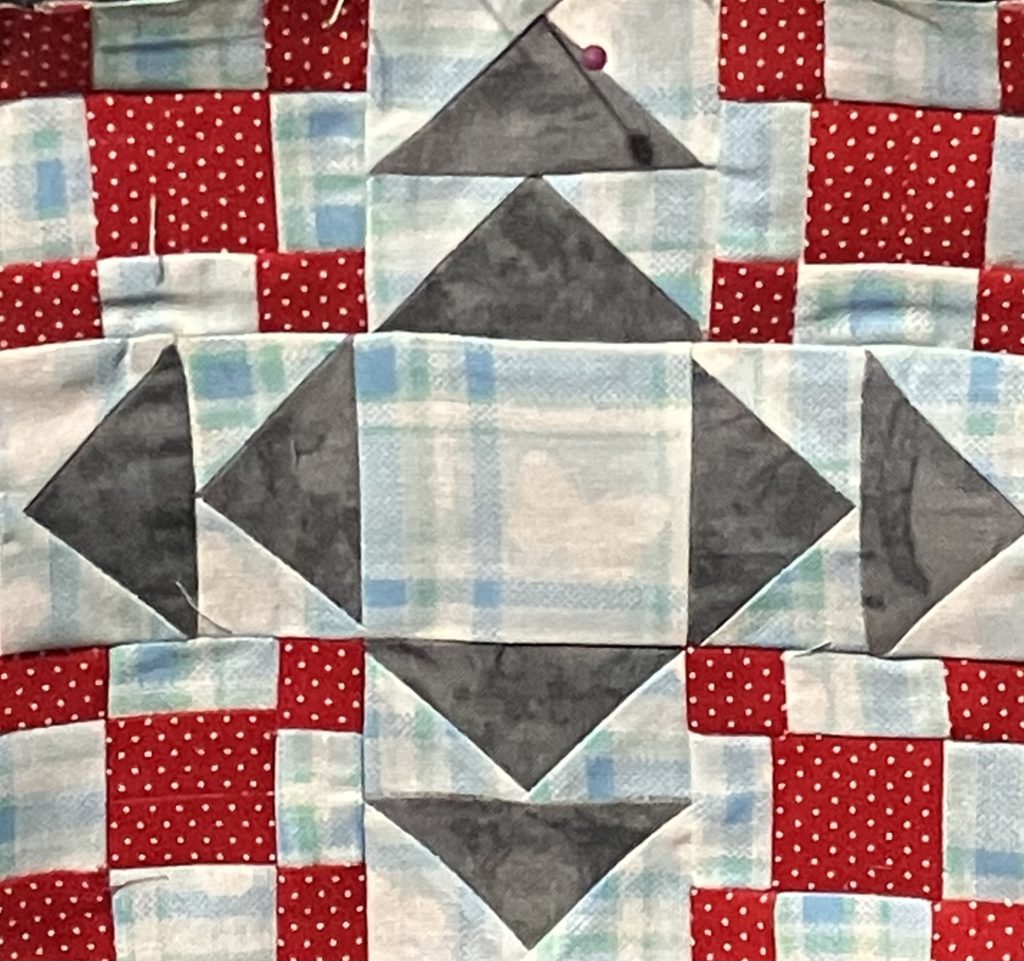
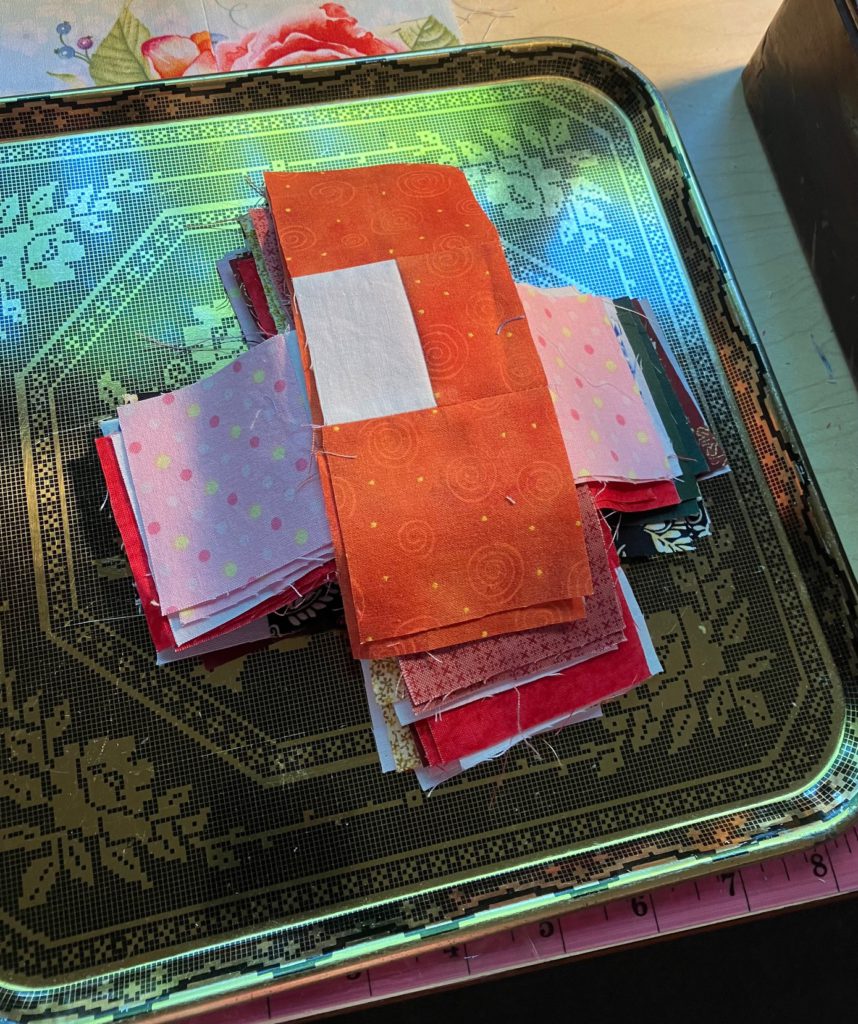
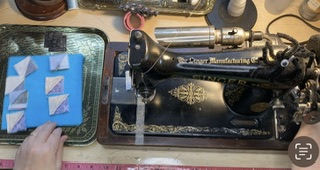
I start by laying out my pieces on a small design board. I actually had several similar bonus triangles to make a pattern…random is excellent and less stressful.
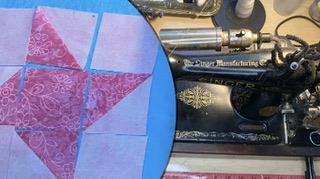
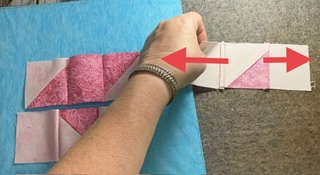
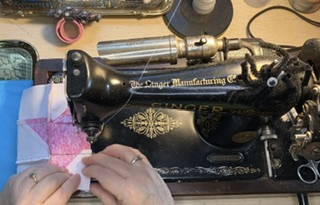
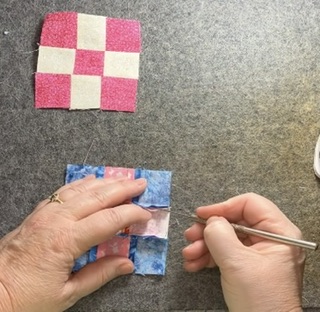
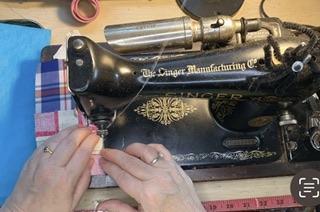
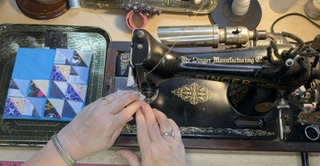
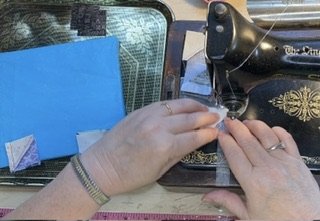
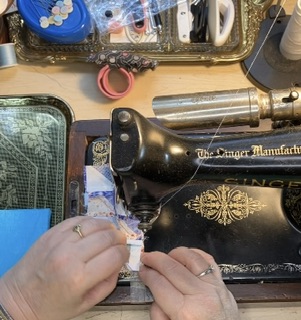
I sew the first to half square triangles from the left side of the block together, as well as the ones on the right. Speed piece is great…zoom, zoom.
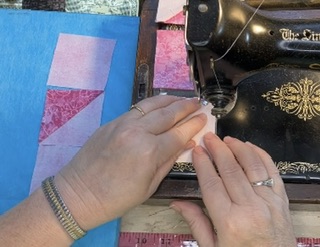
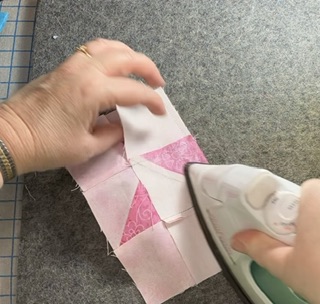
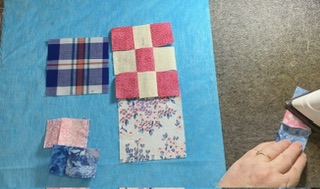
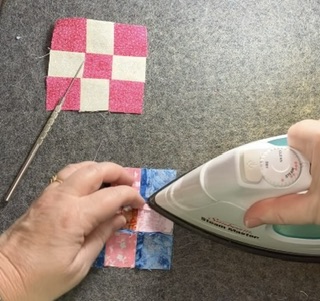
I sew the units of two together to make rows of 4 pieces before I press. As a personal preference I press seams open. To the sides is okay, too, but open makes tiny blocks lay flatter. There are lots of seams there to squish.

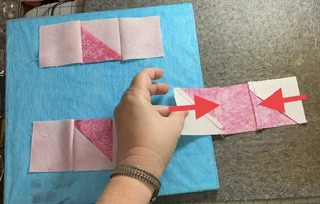
I lay the pressed units back on the design board. If I am doing random pieces, I don’t really worry about this. If I have a design, I like to lay it out again to make sure I still have a design. (I am not going to pick these pieces apart if I have somehow reversed units though.)
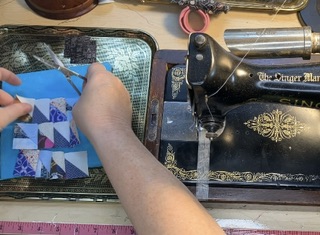
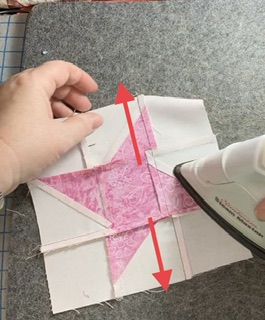
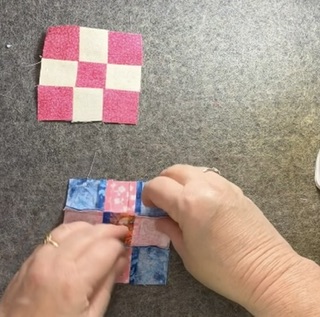
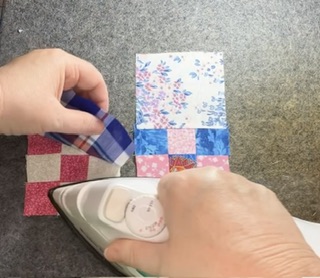
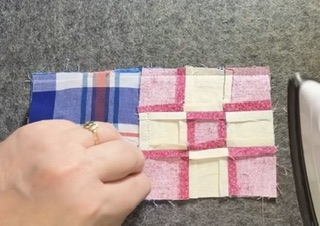
Time to sew the rows together. Sew the rows together 2 at a time…so you can speed piece. Sew those two units together to complete the block. I do this before you press.
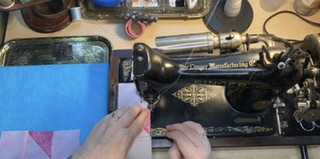
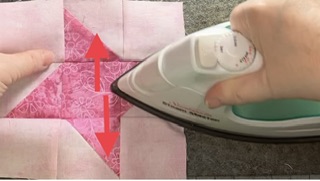
Press all seams open for a super flat block.
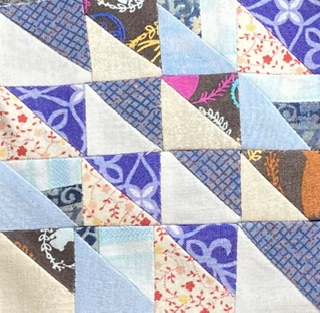
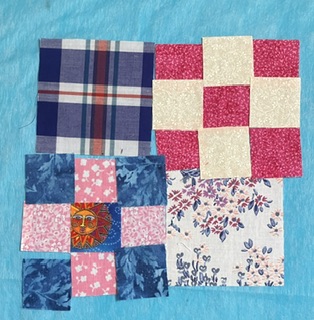
This is the easiest way to use bonus half square triangles into a completed block. These bonus triangles can be arranged into different shapes to be used for borders, etc. So versatile!
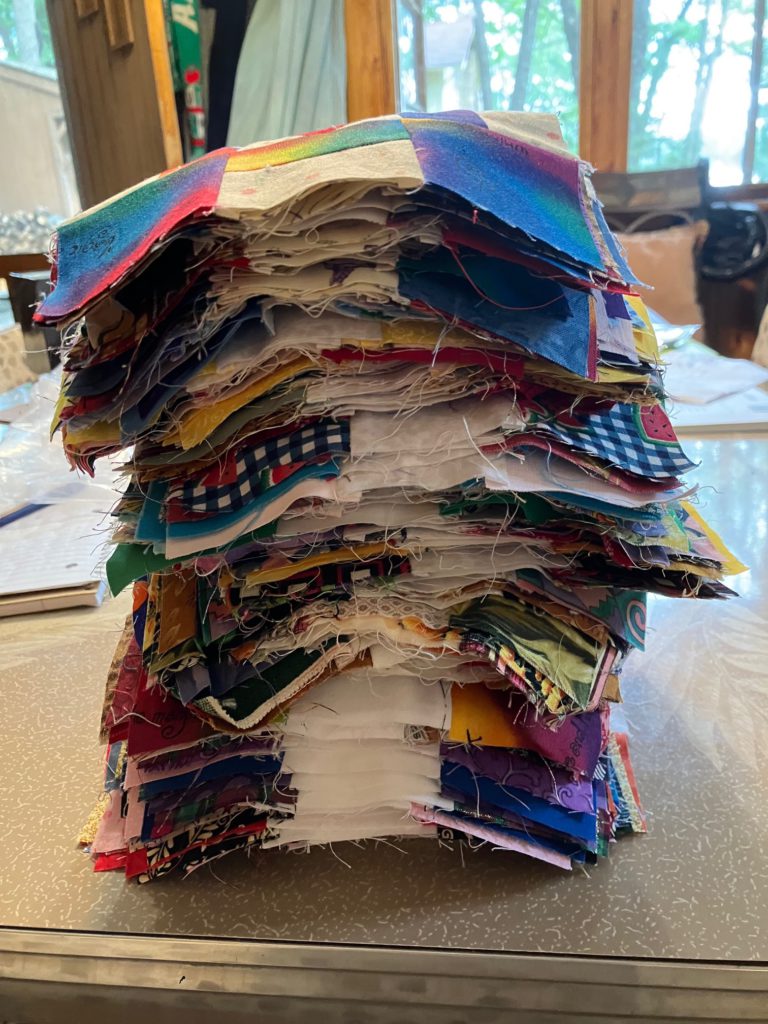
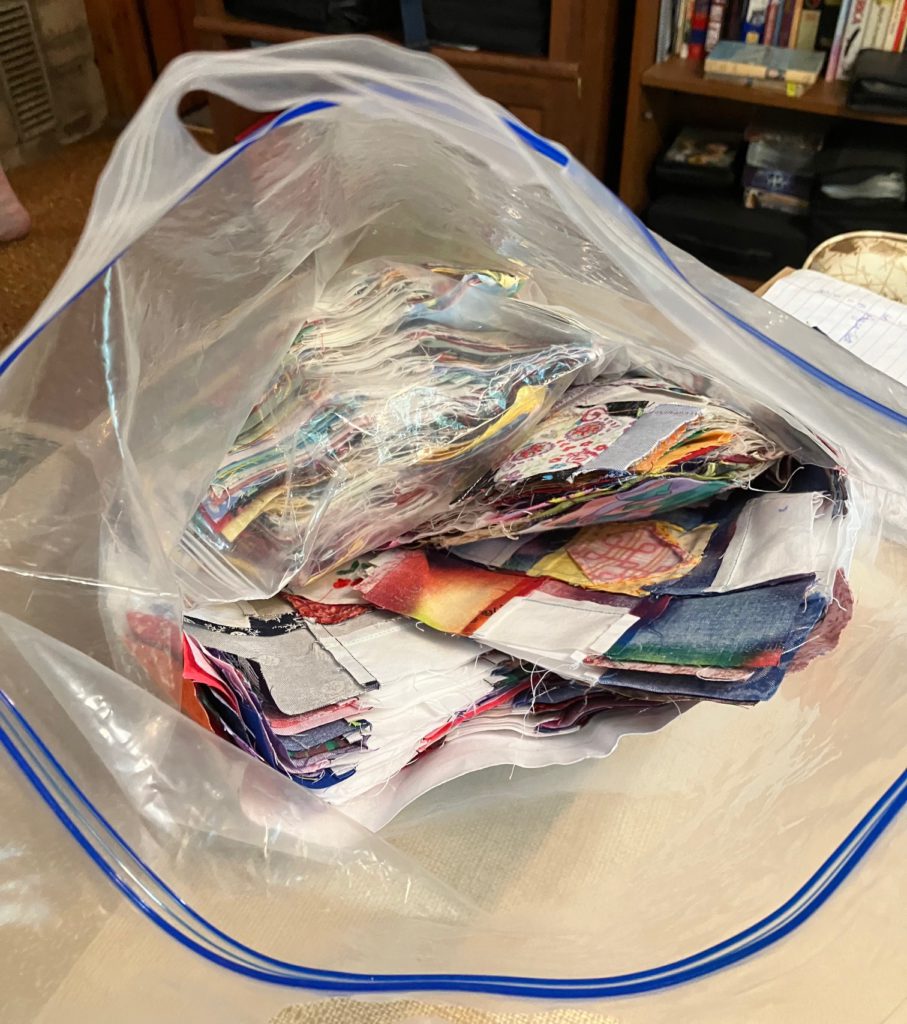
Now that I am trimming my collection of blocks, I am having lots of fun using these units.
Enjoy! One of these can be whipped up in 5 minutes, maybe less!
What bonus triangle blocks would you like to see me make? I look forward to hearing from you! Comments are open!
Later,
Lorrie