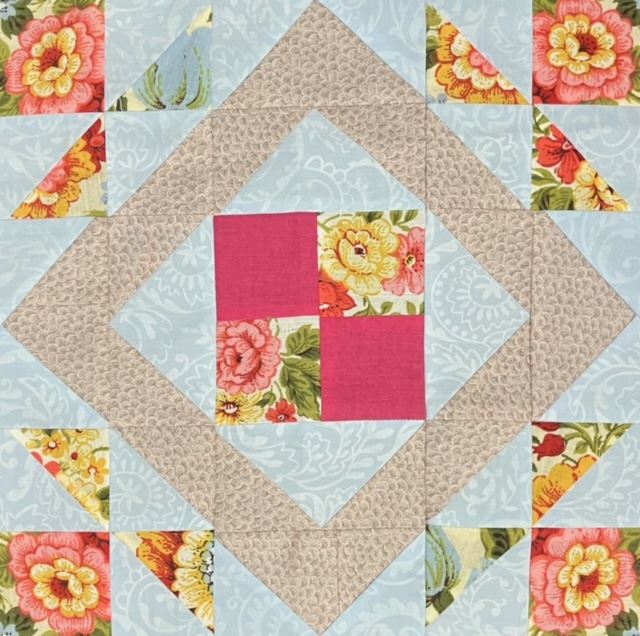
This is the block for part one, chapter 6…or should I say blocks. The directions below have the cutting chart for the 14 blocks that we will need for the quilt.
Here is the pattern page:
I hope you are enjoying these blocks and this sew along!
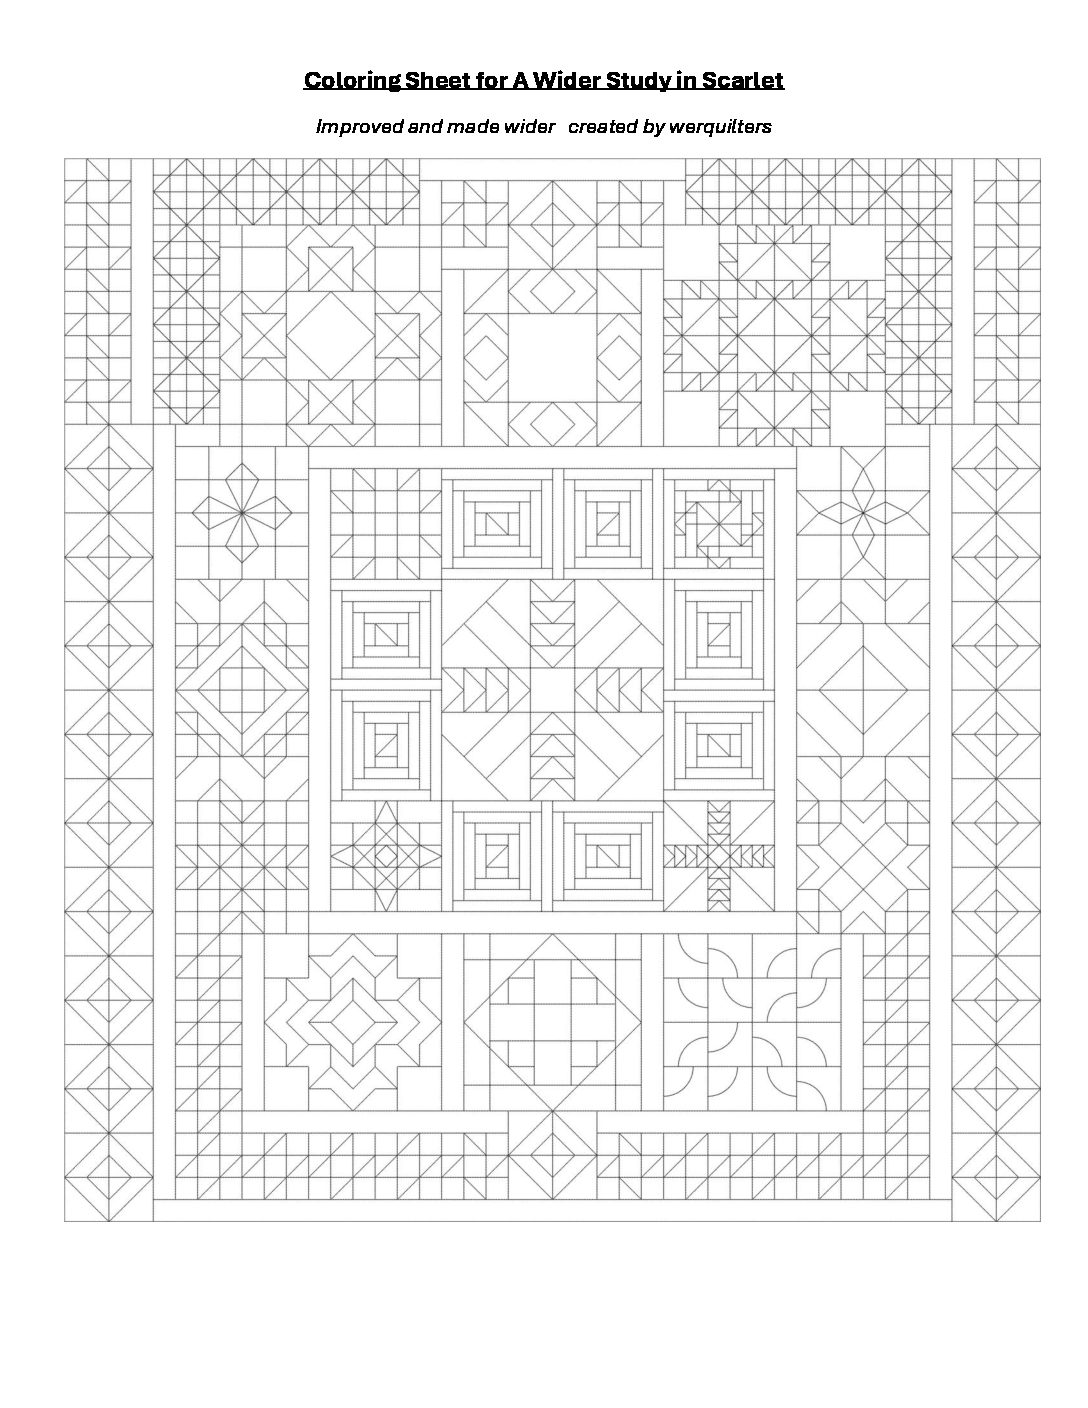
After some thinking about quilt sizes, I realized that 72″ x 96″ was disproportionate. I like a quilt that is rectangular, but this one is not wide enough for two adults to share it comfortably. I decided that it needs to be a little wider. Here are the printable documents that explain the math and a new, wider coloring sheet. The new finished size in 88″ x 96″.
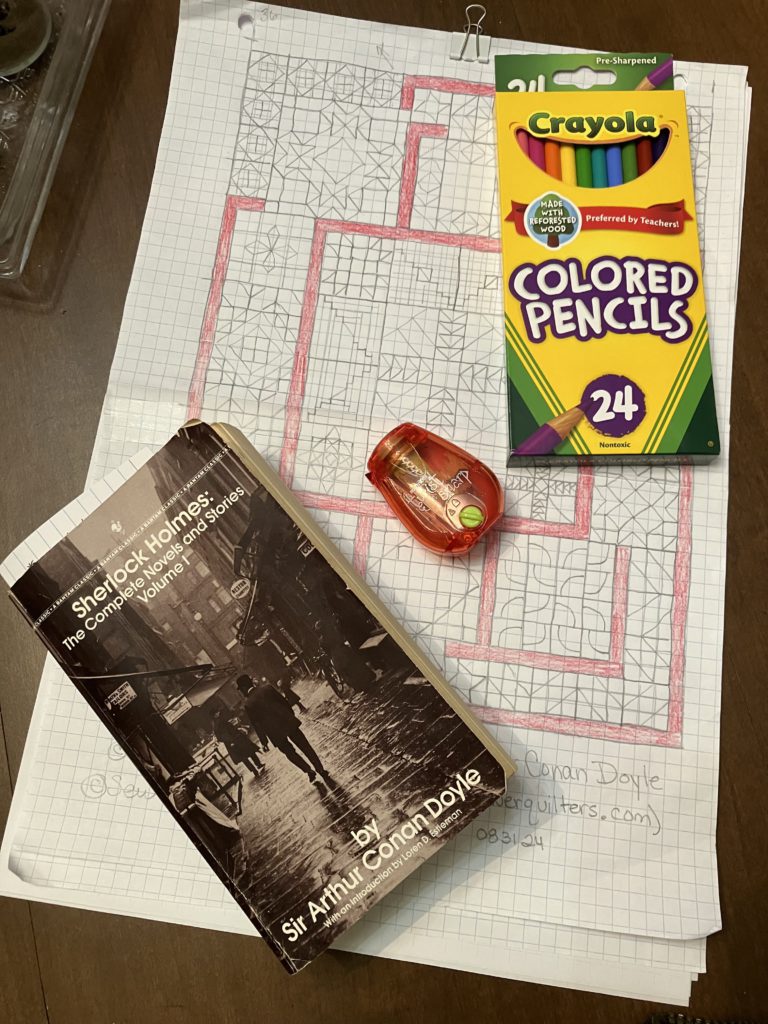
In chapter 3 of A Study in Scarlet, Sherlock Holmes and Dr. Watson collaborate on their first case. When they arrive at the scene of the crime, Sherlock finds his first clues in the garden in front of the house.
I know that very few of my YouTube friends… or in-person friends, for that matter… make it to this blog. I may be the only one reading it as I proofread. This is my old school technology habit. This is a nice place to post patterns, etc. as a back up to the comment box on YouTube.
Looking back at my play list…I started the embellishment series in July of 2024 with this video…check out the playlist. I have been publishing a new video every week since then. I have decided to take a “break” from introducing new embellishments for the month of February. In other words, we are going to review and/or combine some of the skills I have already shared. This should be fun and relaxing. By March, I will be refreshed and ready to go forward with new skills in this series.
I also have a set of 12 inch blocks that are blinged out and ready to share. Years ago, I ran a Yahoo group…called werquilters. In the group, we had many fun round robin quilt blocks. One of the round robins was a Victorian quilt block swap.
The rules were simple. You constructed a block with a muslin base. I provided an address list to each participant. You sent your block and tracking sheet out into the world via US postal service. Each month you sent the blocks that you had in your possession on to the next person on the list after you added a little bit of bling. Postage was $1.95 for one of those little 2-day boxes…life was good! If you did want to send it in a box, large envelopes could be stuffed, too. There was no limit to thickness…and no extra postage for thickness! Oh, life was sweet for us quilters. Not so much for postal carriers…sorry!
The A Study in Scarlet quilt project is moving forward. I set a slow pace for this project. It seems that everyone has a sew along going, starting in January. I have even joined a few of them myself. You will have to watch episodes of Blabfest Fridays to get more information about which ones I couldn’t resist…ha ha!
As I am typing this, I am waiting for the arrival of a new camera tripod. This one is up to 70″ tall, easily movable, and tracks motion. It is not as expensive as it sounds. It should make various angle shots much easier…and you won’t have to tolerate the machine vibration as I am filming sewing on my little white singer or on the midarm quilt machine! Life just keeps getting better and better!
I hope that you are enjoying your life, too! Do something everyday that makes your heart sing…pet the cat, hug your loved ones, sew & quilt…something to make you happy!
Later,
Lorrie
P.S. Please remember that comments are turned off here because of spam attacks. Ten screens of something in Russian is not a comments. I am not interested in anyone’s manifesto as a comment! Sorry!
I bet that you do not have as many UFO’s as I do! My husband says I am the best “topper” he has ever met…but actually assembling the final quilt! That is like work!
To help you, and myself, I am issuing a challenge. Choose eight UFO’s (unfinished objects). Try to finish one a month for the next 8 months. Not a big committment…should be easy enough, right? (I know I will do a better job this year…last year I hit a 25% completion rate. So sad!)
If you would like to play along, print the form below. Fill it in…and occasionally refer back to it. If you would like to share your list to make you feel more accountable, please e-mail it to me at my gmail address.
A group I belong to will pick a number on the first Thursday of every month of the project to work on…or you can just choose one from your list.
As we work through our lists, we will have projects to share. Everyone is inspired by completed work, no matter how big or small…or even still in progress!
Please join in!
I look forward to seeing and hearing about your progress!
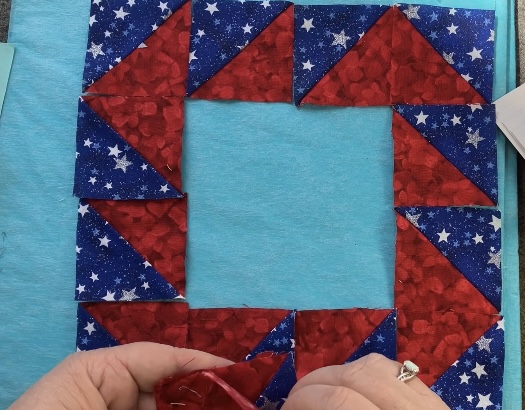
This week we are making four at a time flying geese to accent those cute little stars that swirl around the middle block. We will need 32 flying geese to frame up those stars. Since we are making them for a time, we will need to make eight geese units.
Trimming the assembled geese makes them perfect to add to the setting star blocks. Please note the direction of your star blocks if you used directional or fussy cut fabrics.
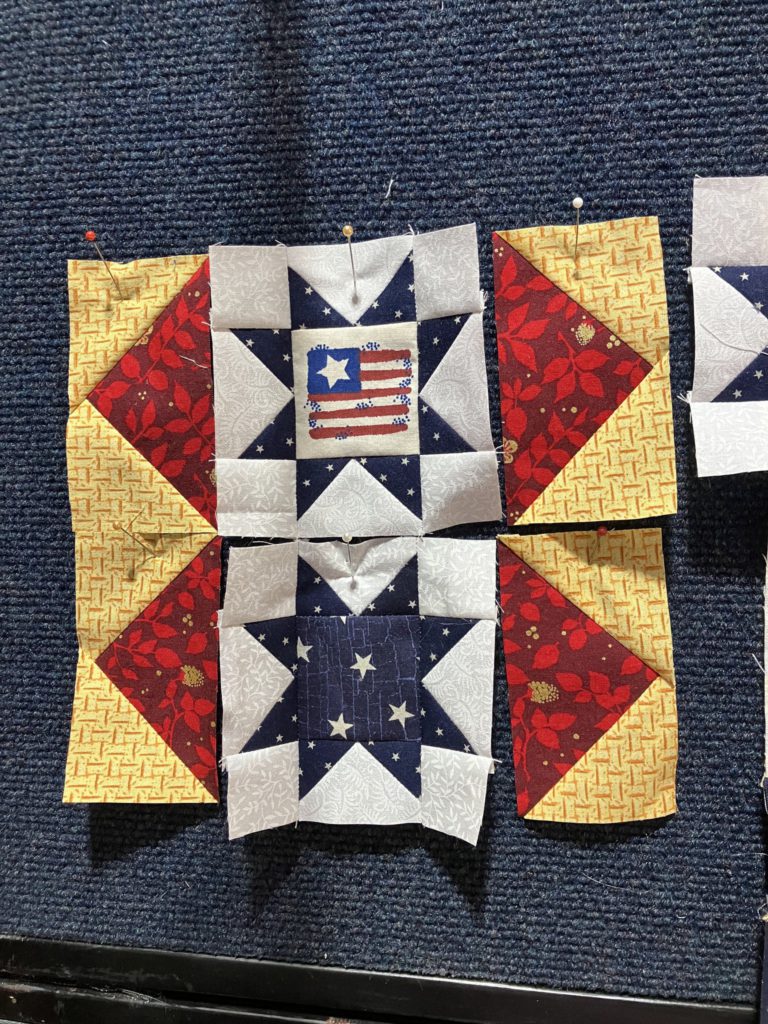
We are in the home stretch of this series. We are down to some of the last setting pieces. This week, we are making 22 pieced variable stars.
In the cutting document, I provided a chart for one star OR (in the second chart) 22 stars. You will need to make adjustments based on your color choices and scrap selections.
Remember that this is a free printable pattern. Enjoy!
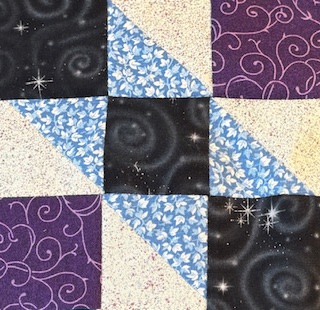
This is a nice and easy block for week 6 of the build a block. For complete directions, please watch the video on YouTube.
The spinning graphic of this block reminds me of all of the commercials about the current elections here is the USA. They make my head spin! How can 2 candidates say opposite things about each other, but everyone is telling the “truth”? Oh, my! I am glad to turn off the television, put on some music, and sew some quilt blocks!
Here is the placement guide for the block in the quilt:
Here is the pattern, with 2 choices of cutting/sewing methods:
I hope you have enjoyed creating this block! I can’t wait to see pictures of progress you have made!
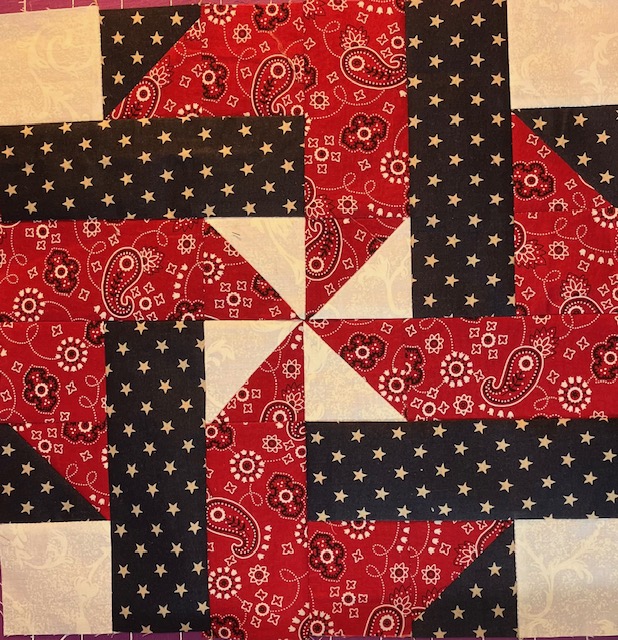
Another block with half square triangles! These triangles will spin and swirl their way into your heart!
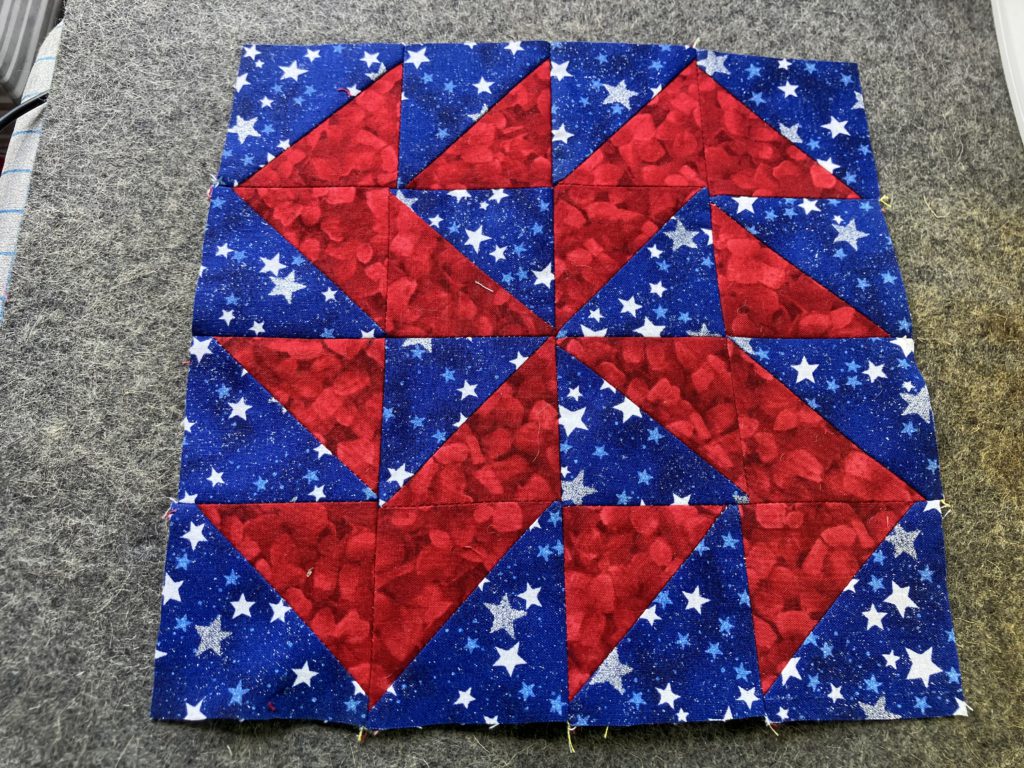
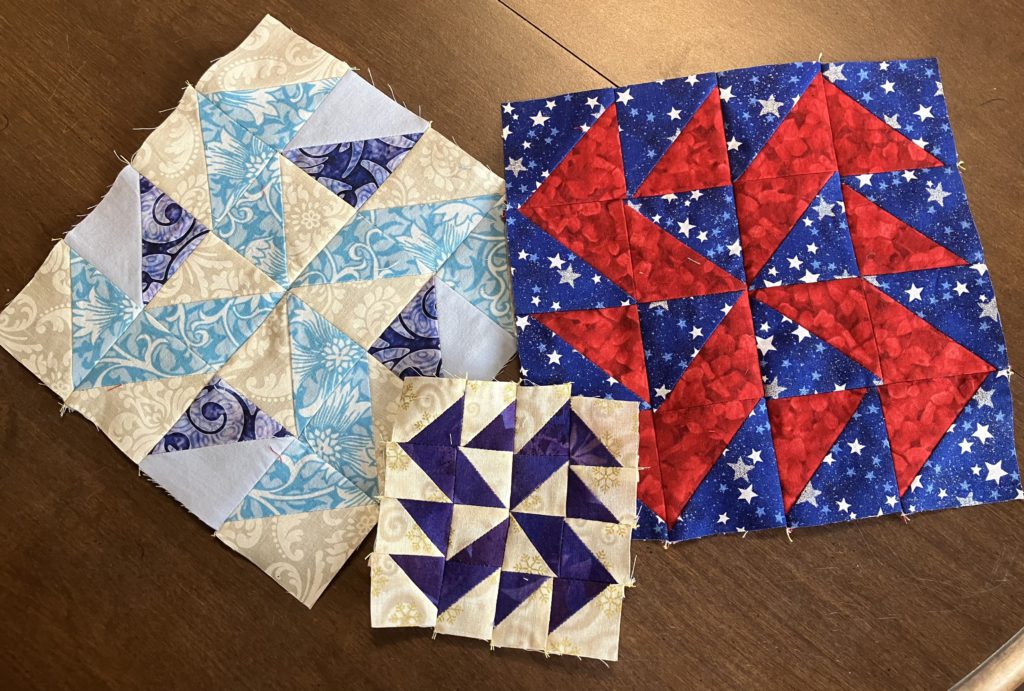
Yankee Puzzle is made from 16 half square triangles. If you are making the two color version like the one below, you will need 12 units for the big swirl and 4 for the contrast color.
Here is the YouTube video. The cutting chart is toward the bottom of this post. It is a free printable.
The example below and the red, white, and blue example are both made from 2 1/2″ half square triangles.
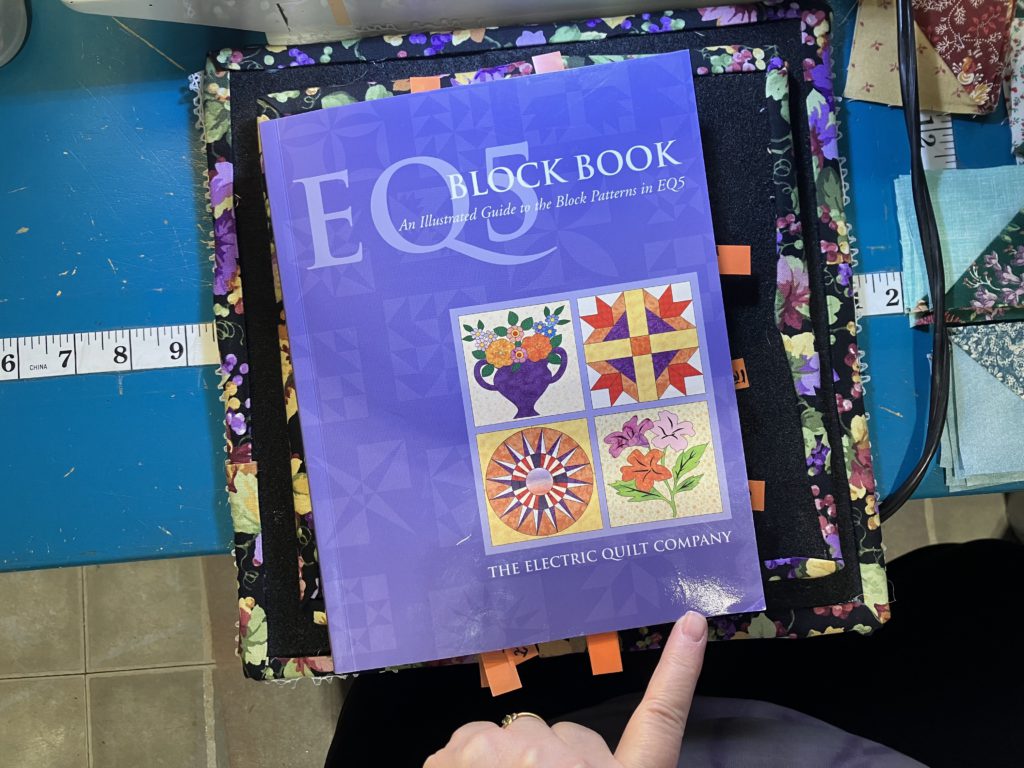
My inspiration is coming from this old EQ5 book again this week…best quarter I ever spent at a yardsale!
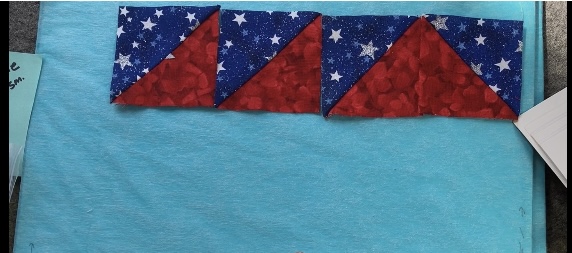
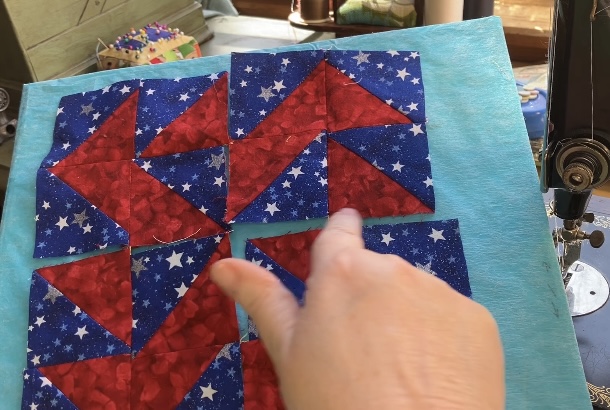
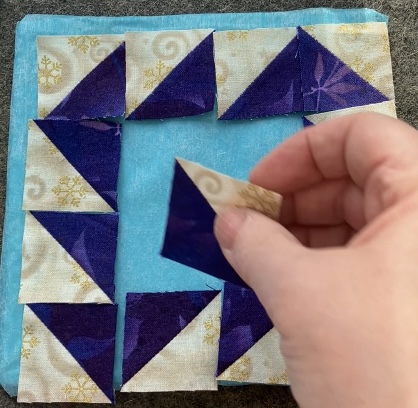
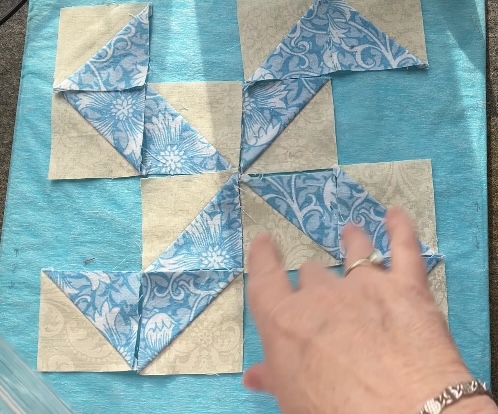
Here are the units layed out. Notice that three of the blocks, starting at the left, go the same direction. The last block on the right is turned a quarter turn to make a flying goose.
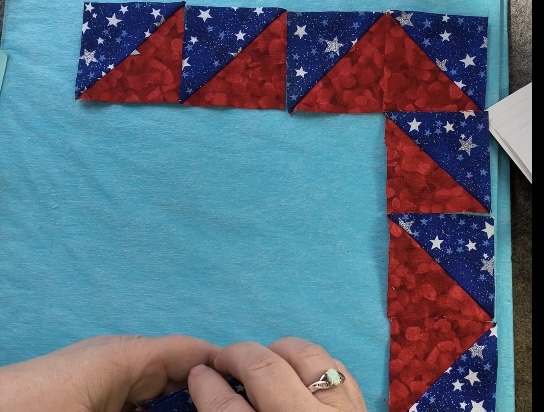
Continuing along the right side of the block…
Along the bottom…are you seeing the pattern yet? Three in the same direction, then goose…
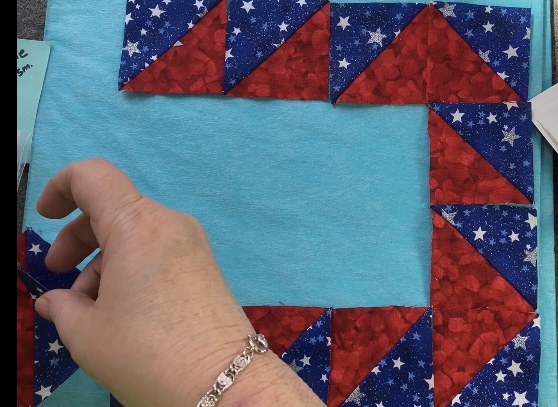
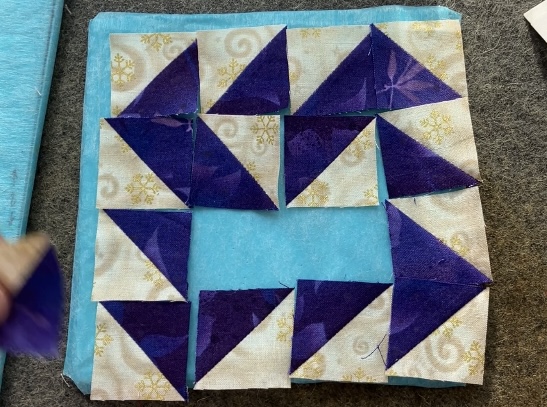
The rest of the outside frame…next add a pinwheel to the center (scroll down a little more to see…)
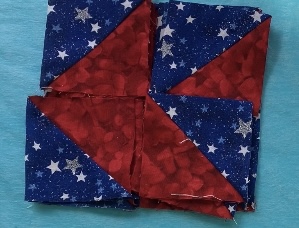
This block can be sewn in quadrant pieces. Here is the stacked pile of quadrants ready to sew…zoom, zoom, baby!
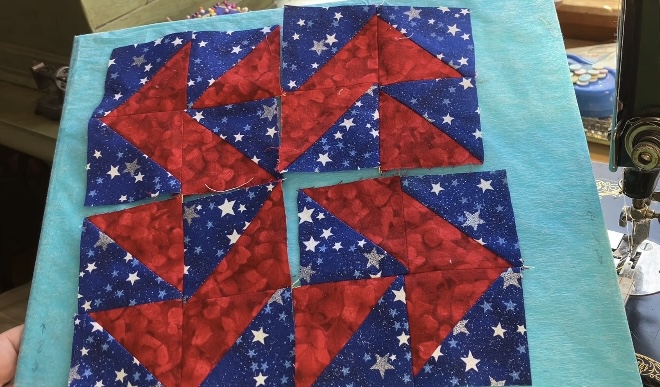
After the quadrants are sewn, lay out is as simple as a quarter turn. A large swirling pinwheel will form in the center when pieces are layed out correctly.
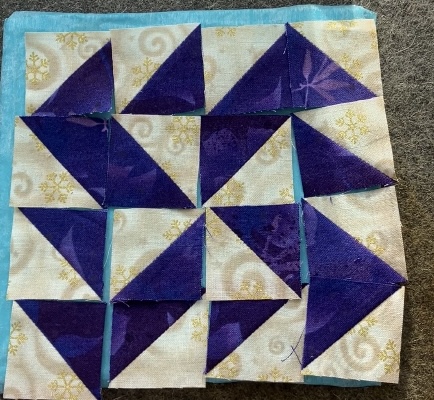
Sew the quadrants together…then sew the halves together…
Ta-dah! Ta-done!
Now for the example made from 1 1/2″ pieces. It finishes at 4 1/2″. (You know I couldn’t resist!)
Finished reveal of this little beauty will be at the end of the post!
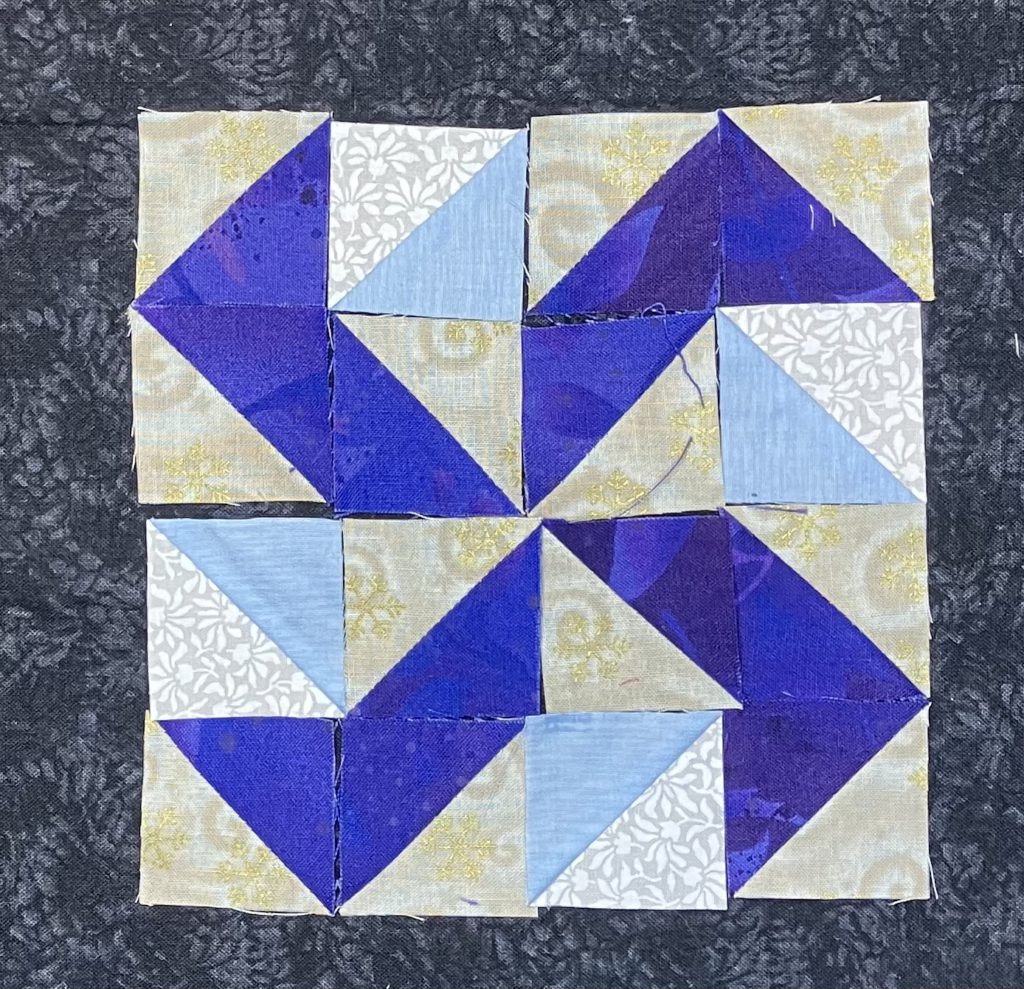
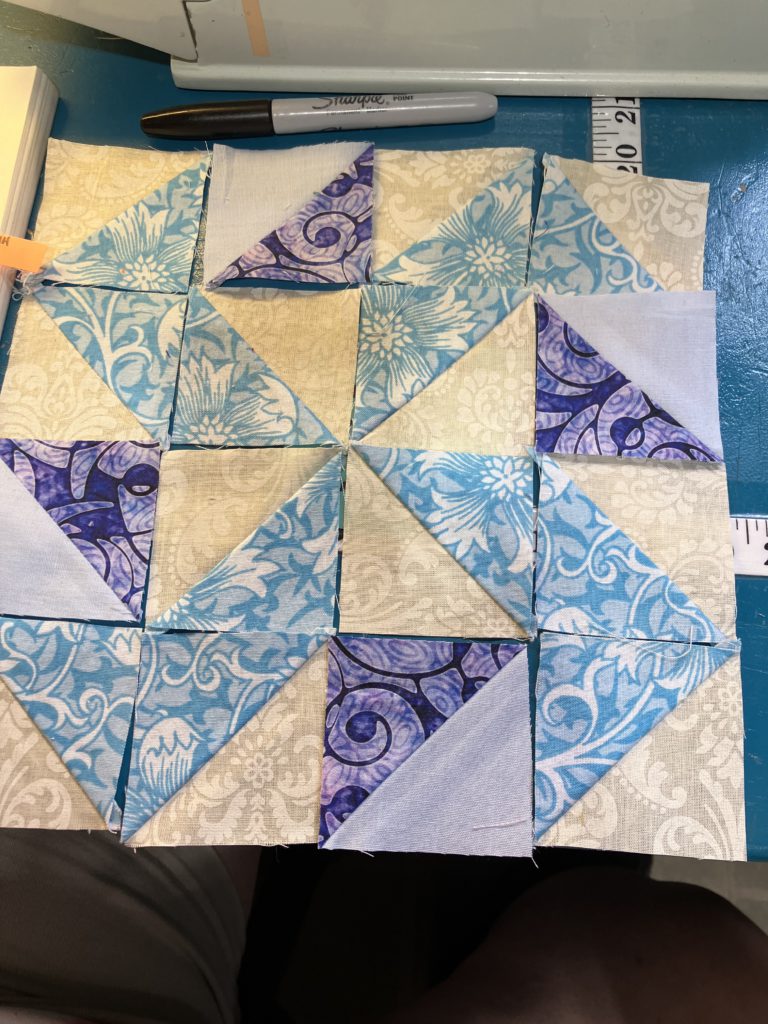
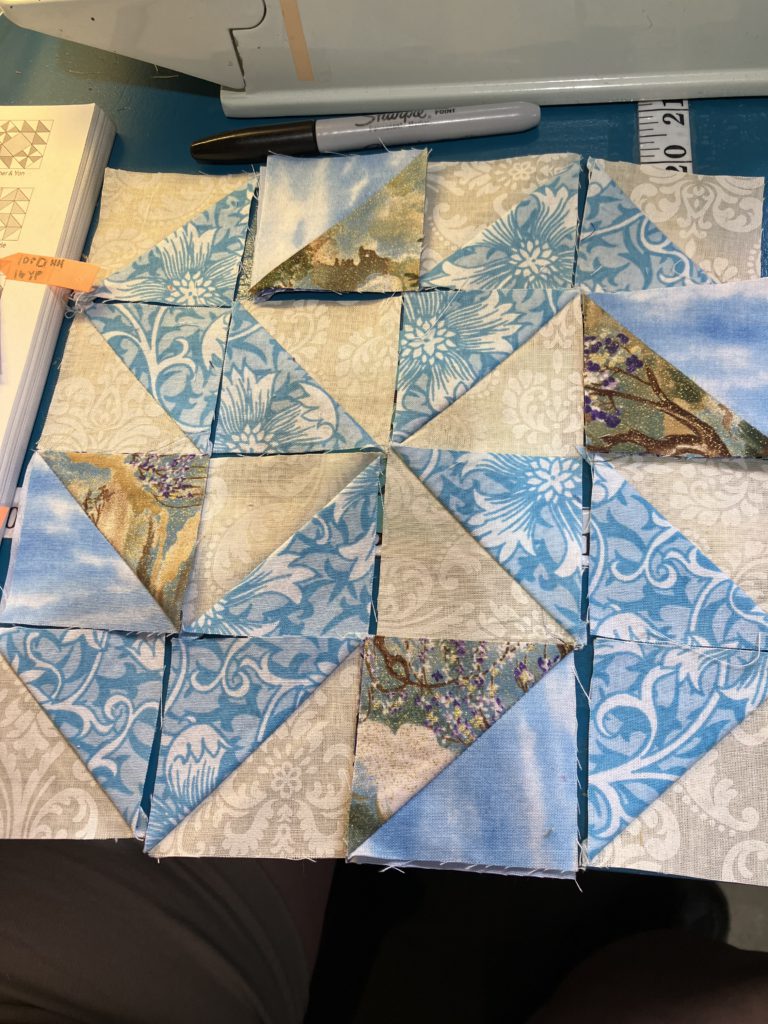
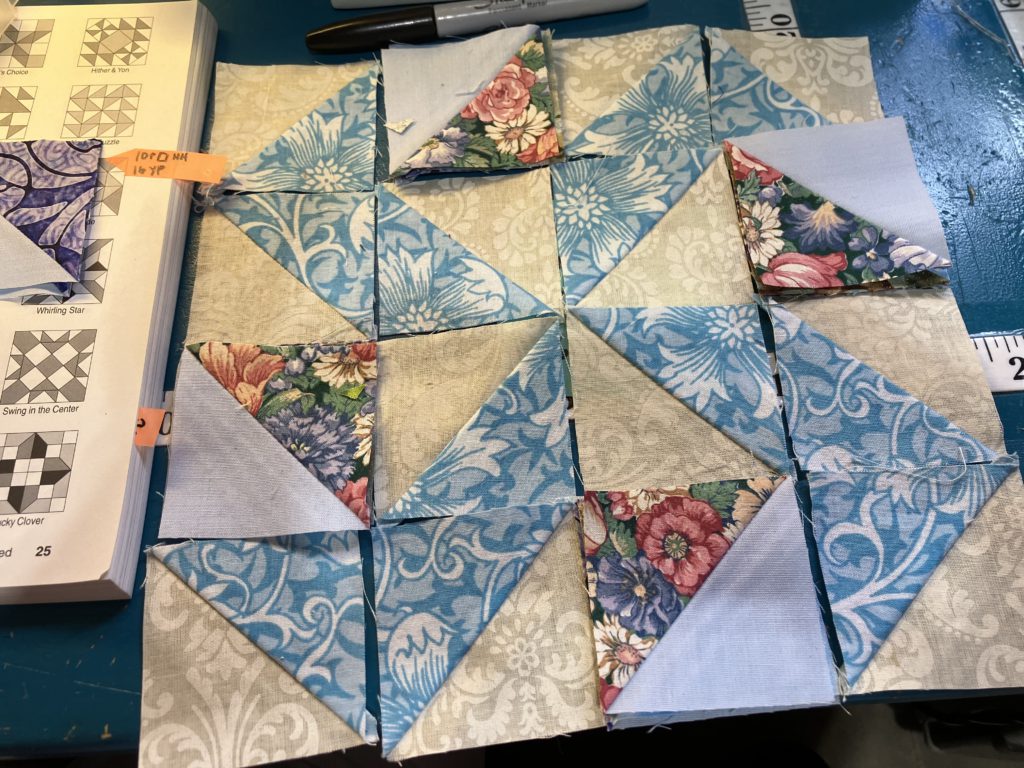
Now for my version of the 2 color layout! I creat the large swirling pinwheel (12 half square triangles) with one color.
I add in the second color…
Or maybe this version…
Or this one?? Oh, the decisions!
Here they are finished and ready to use in a beautiful scrap quilt!
Here is the printable cutting chart:
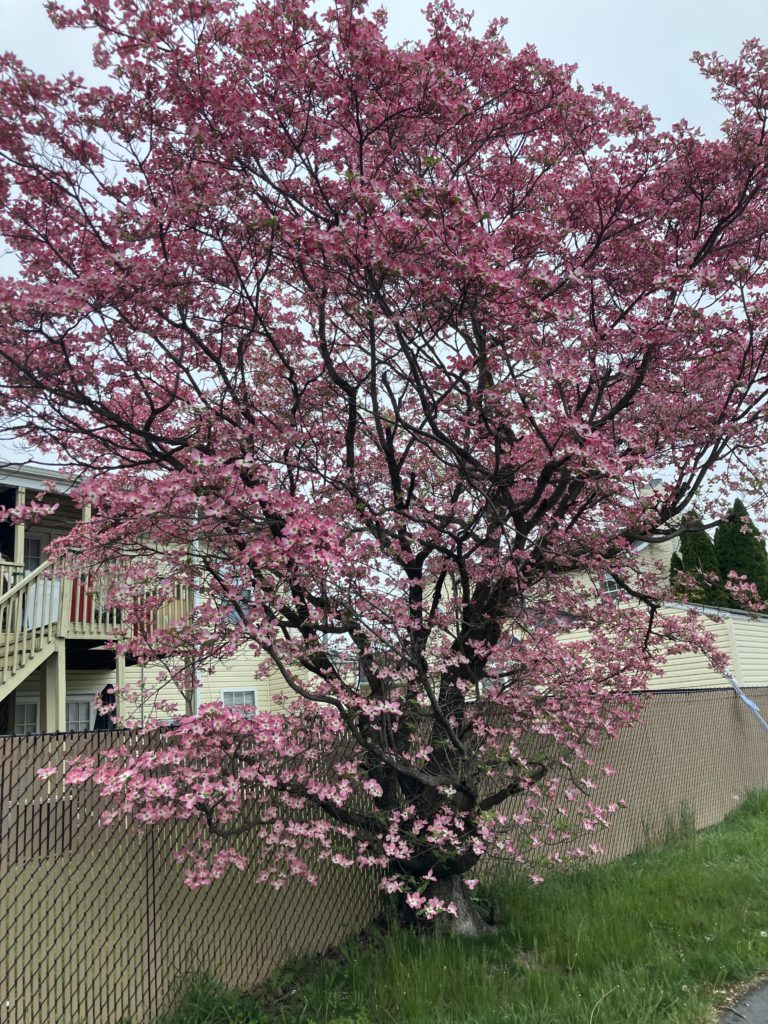
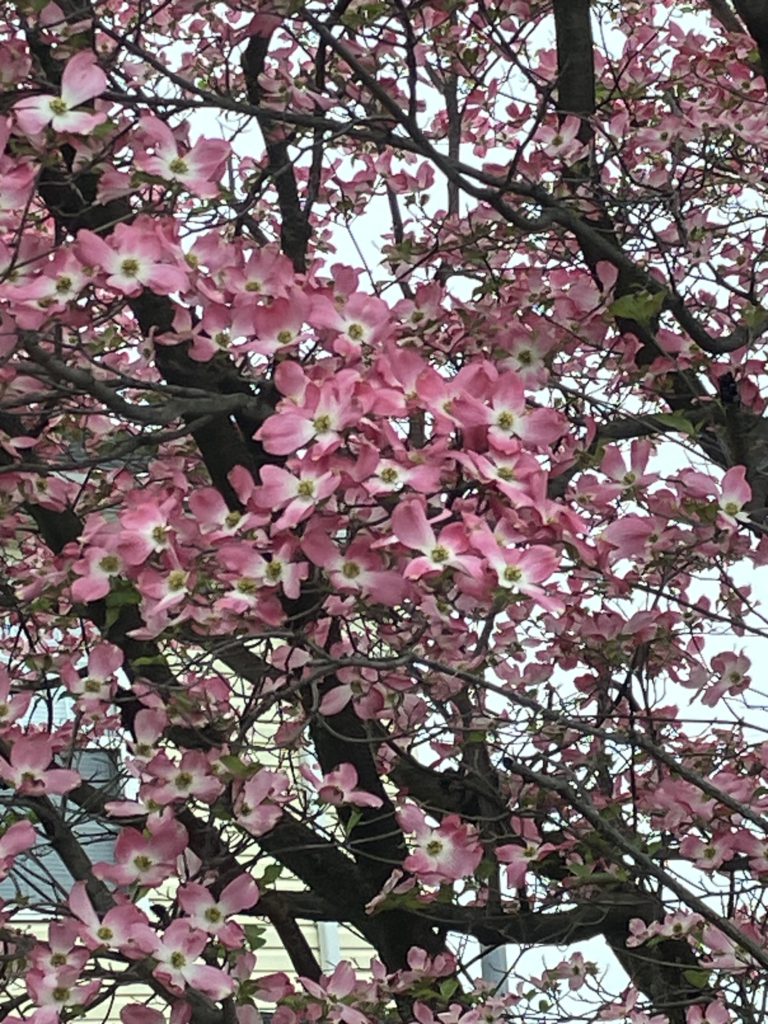
I couldn’t resist adding this beautiful dogwood picture from the post office in Inwood, WV.
And now for a close up…
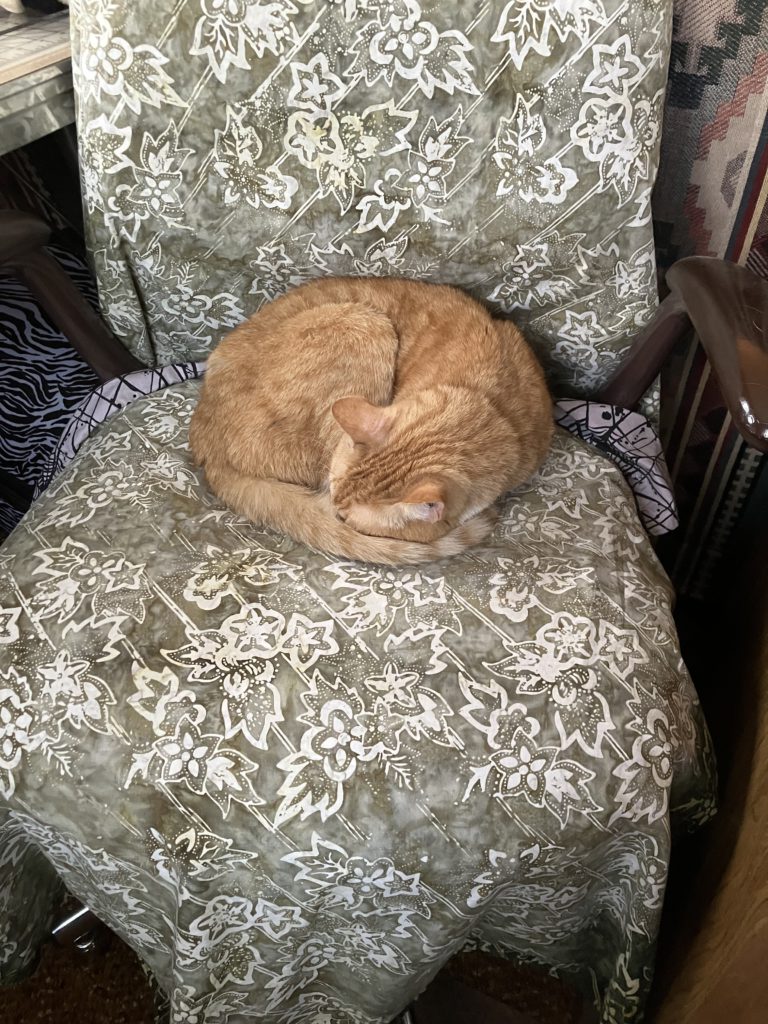
Simba is enjoying a nice nap on my sewing chair. (The green fabric was put on the chair to prevent her fur from becoming a permanent part of my upholstery!)
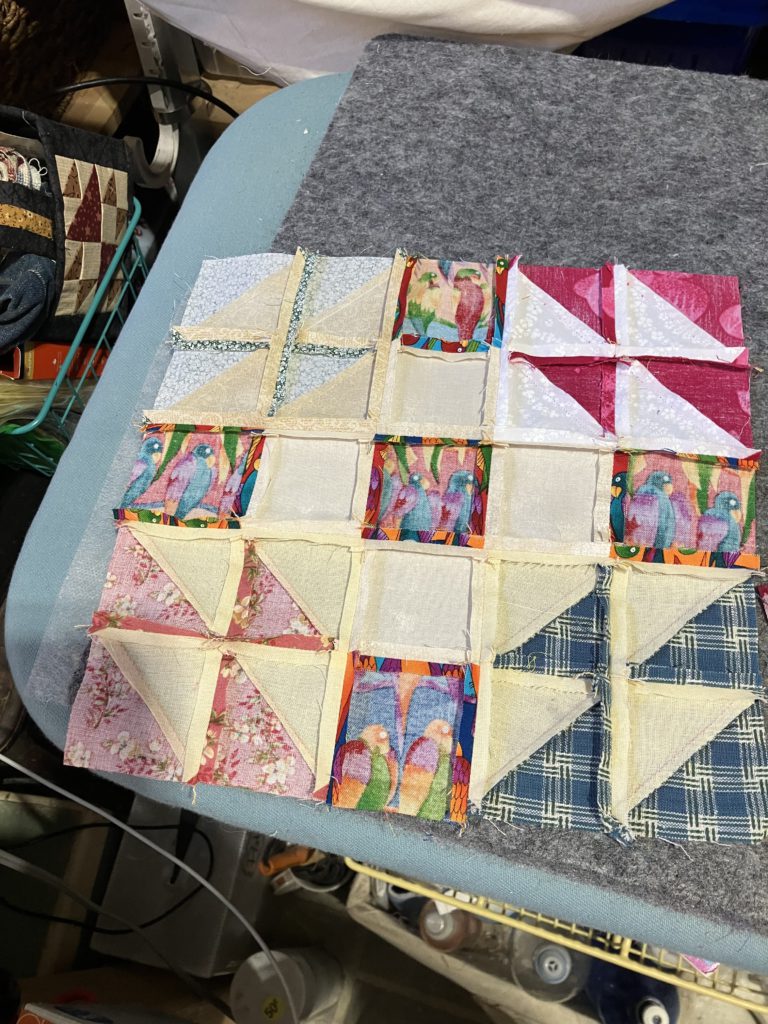
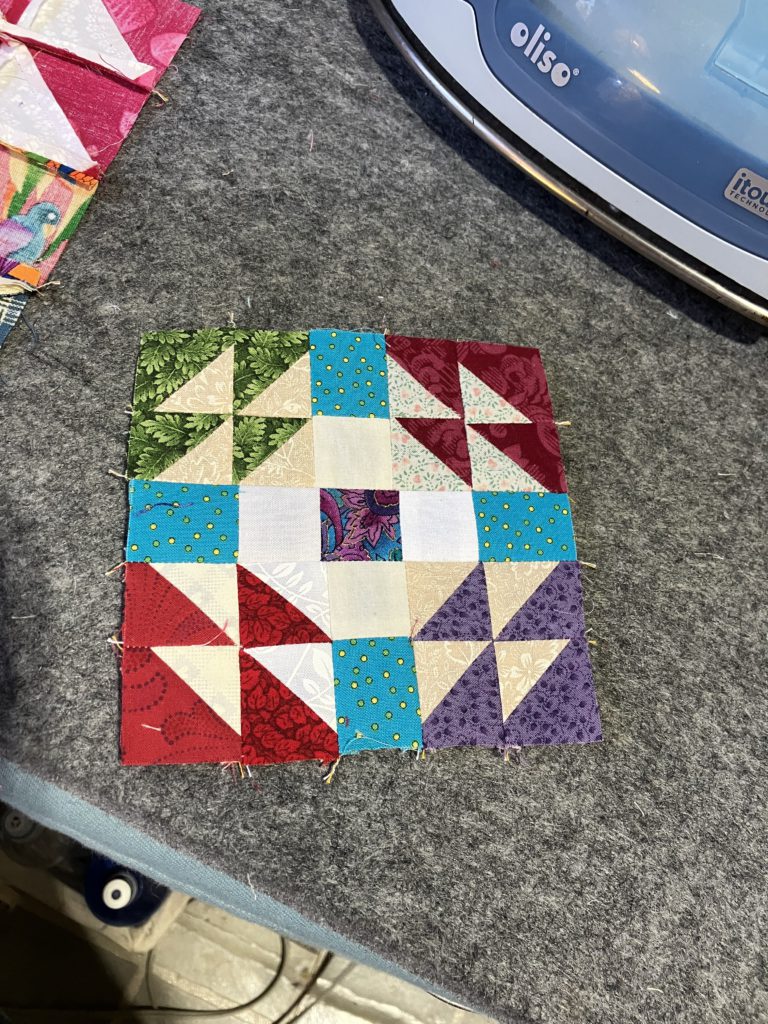
Here is the “rough copy” from my video from back in October. I showed the block layed out, but never sewed it.
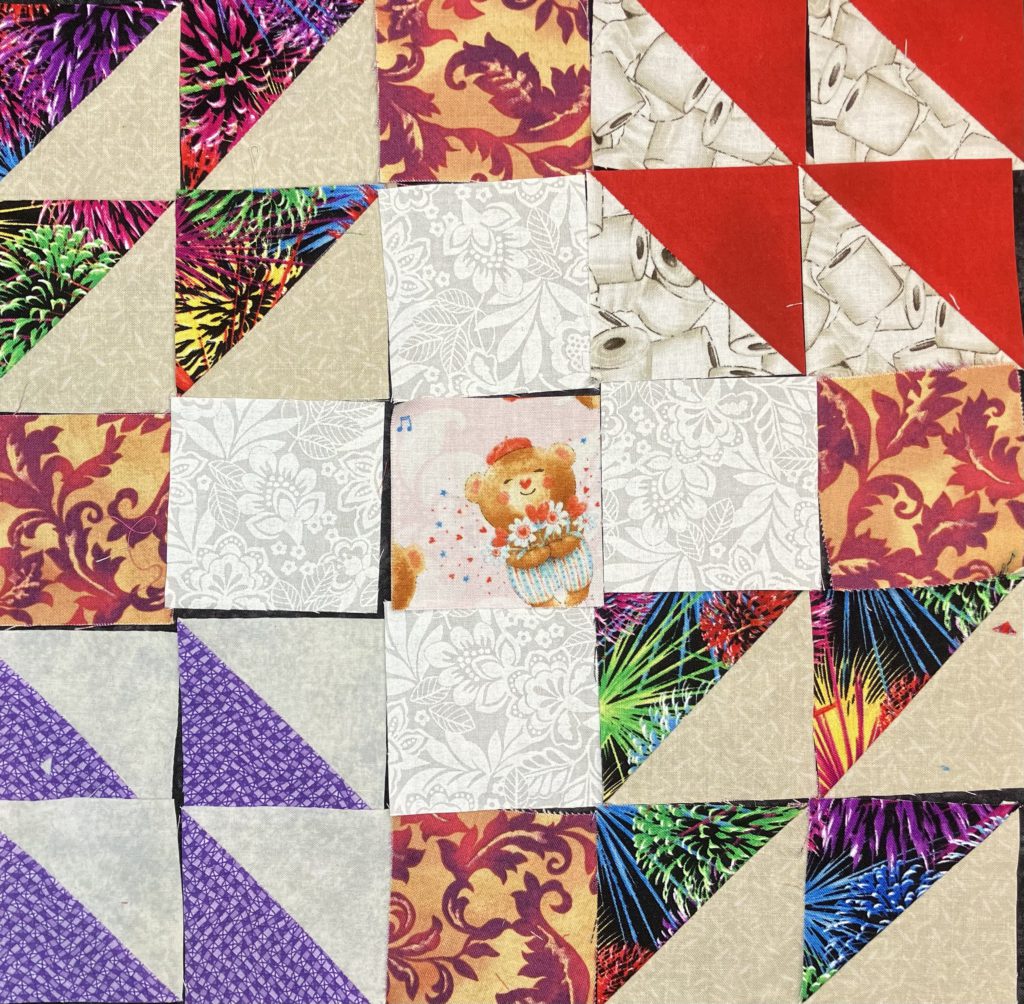
For this block, you will need:
16 (bonus) half square triangles, 5 darks, and 4 lights. These blocks should all be the same size. The ones shown below are the 2 1/2″ blocks. The picture below shows all seams pressed open for ease of assembly.
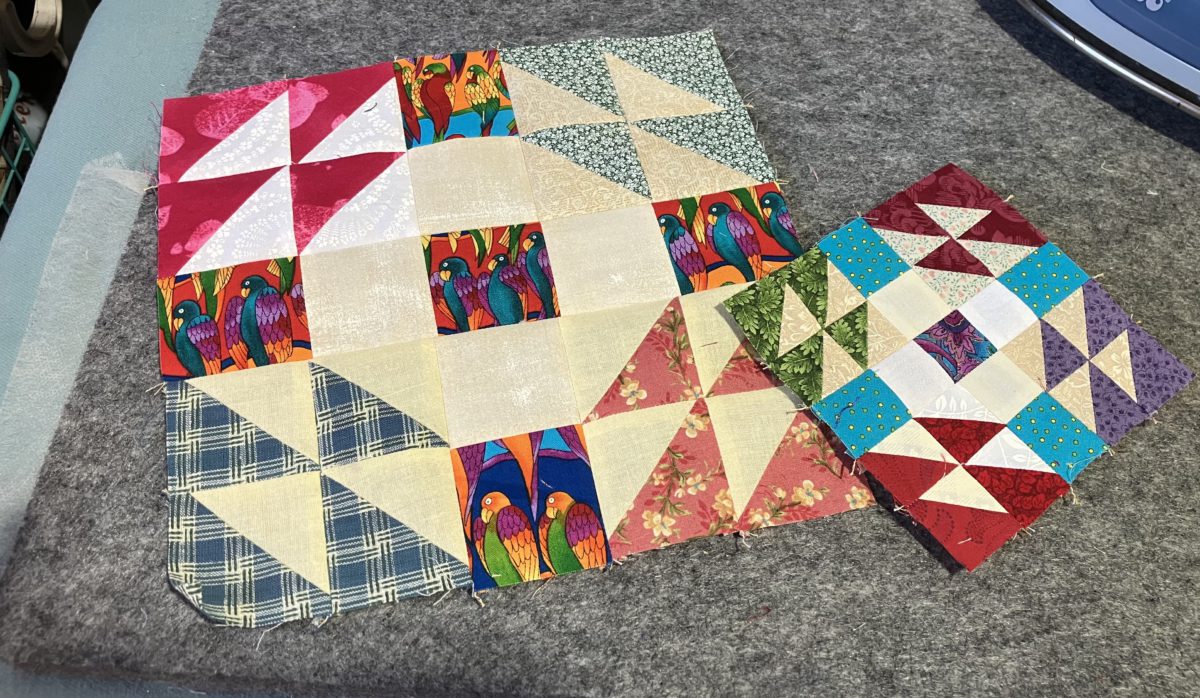
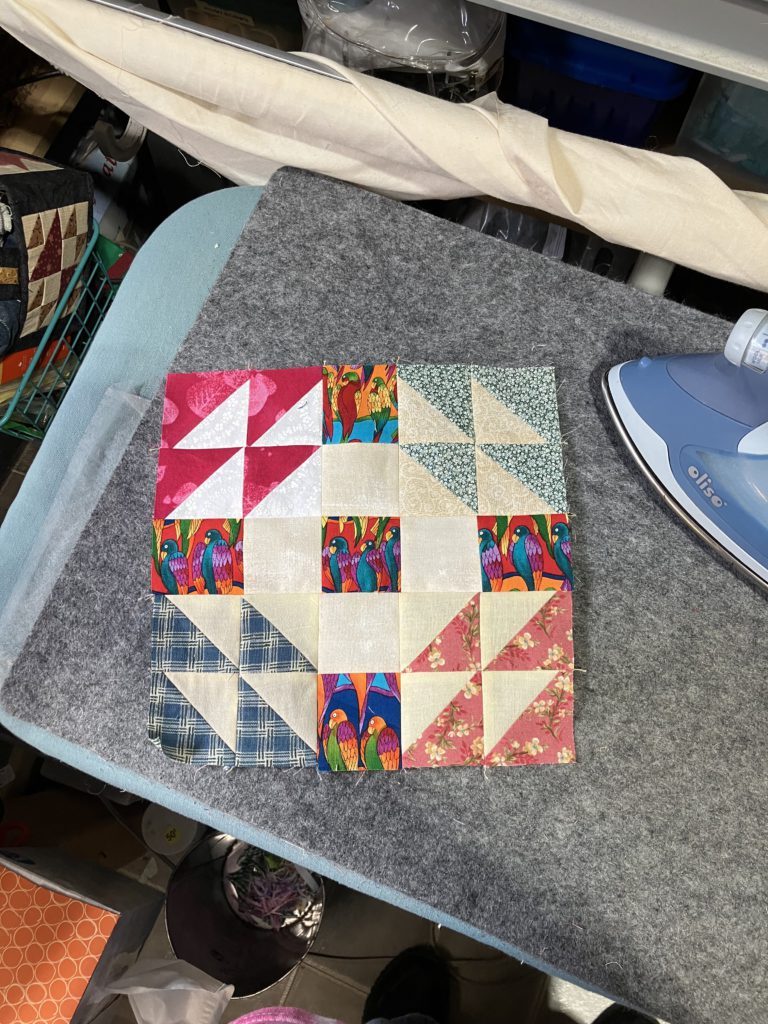
Here is the completed block. It finishes at 10 1/2″. Love those colorful birds!
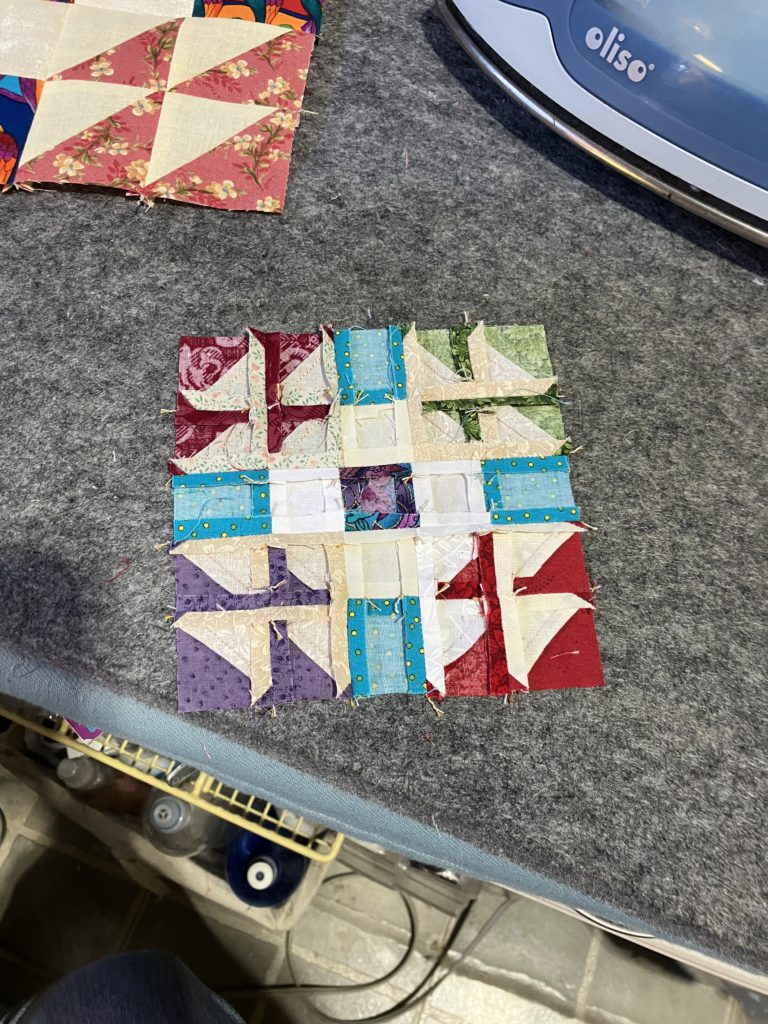
Here is a smaller 5 1/2 inch version made with 1 1/2″ blocks.
Again, all seams are pressed open.
Here are both examples the 10 1/2″ and the 5 1/2″. As you can see in the picture below, it changes the look of the block when it is on point. (I didn’t notice this until I sat down and started typing the text than went with this post!)
Now for the cutting charts I have been promising:
The cutting chart above is printable, but you will need to download it and save it in your downloads file first.
I hope you enjoy making this great scrappy block! Please contact me on facebook or at my gmail account. Comments have been turned off because I am not interested in black market viagra!