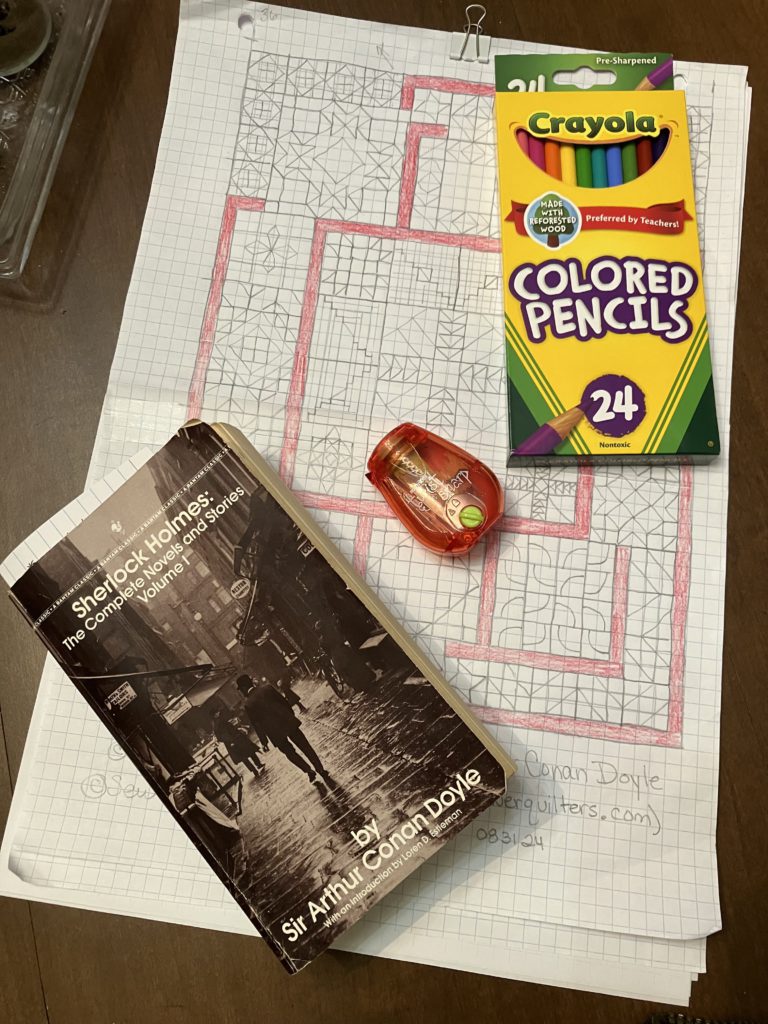
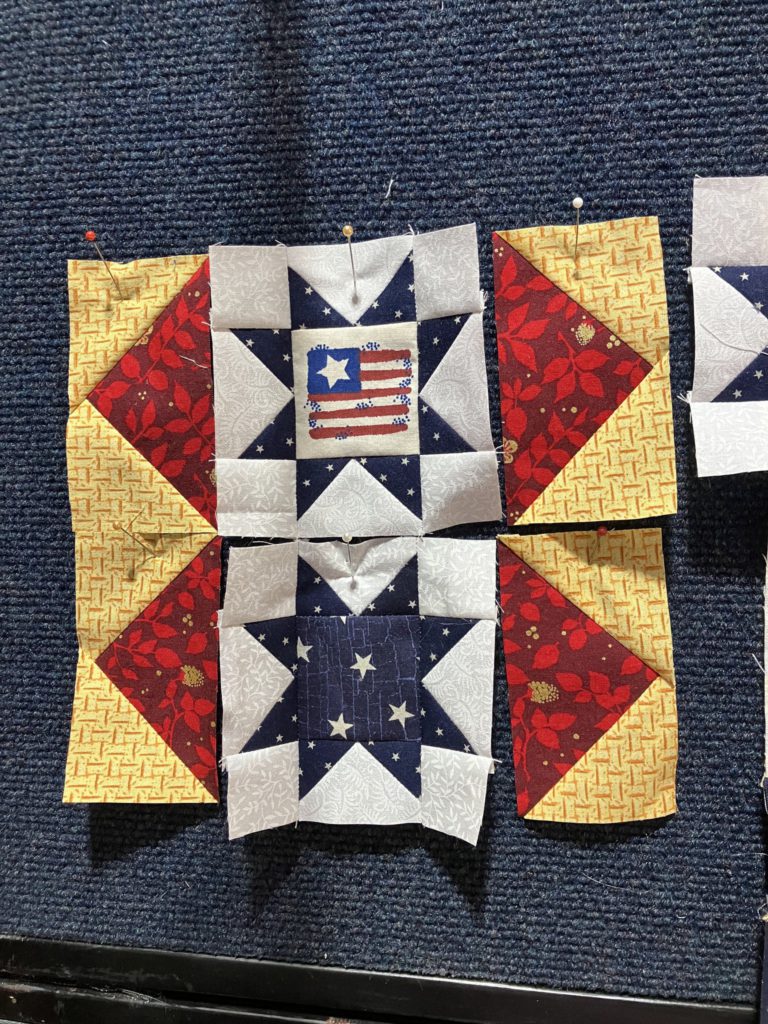
In chapter 3 of A Study in Scarlet, Sherlock Holmes and Dr. Watson collaborate on their first case. When they arrive at the scene of the crime, Sherlock finds his first clues in the garden in front of the house.
I know that very few of my YouTube friends… or in-person friends, for that matter… make it to this blog. I may be the only one reading it as I proofread. This is my old school technology habit. This is a nice place to post patterns, etc. as a back up to the comment box on YouTube.
Looking back at my play list…I started the embellishment series in July of 2024 with this video…check out the playlist. I have been publishing a new video every week since then. I have decided to take a “break” from introducing new embellishments for the month of February. In other words, we are going to review and/or combine some of the skills I have already shared. This should be fun and relaxing. By March, I will be refreshed and ready to go forward with new skills in this series.
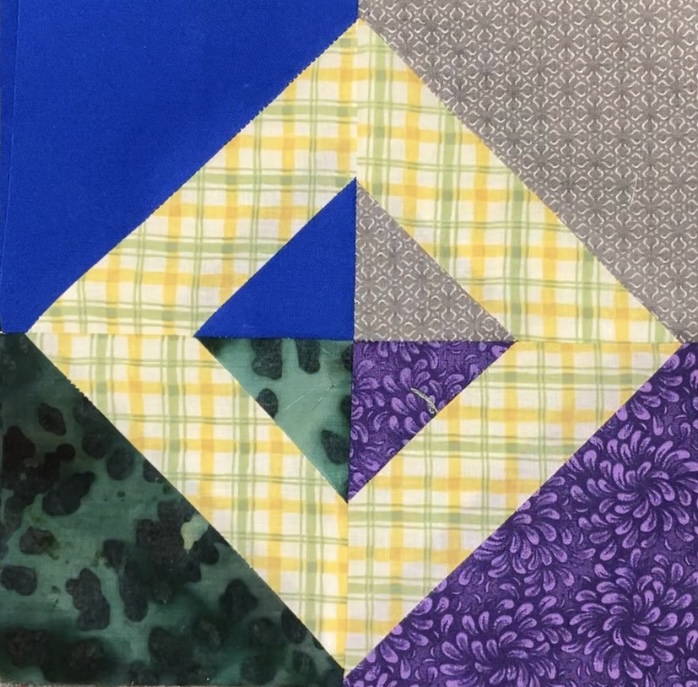
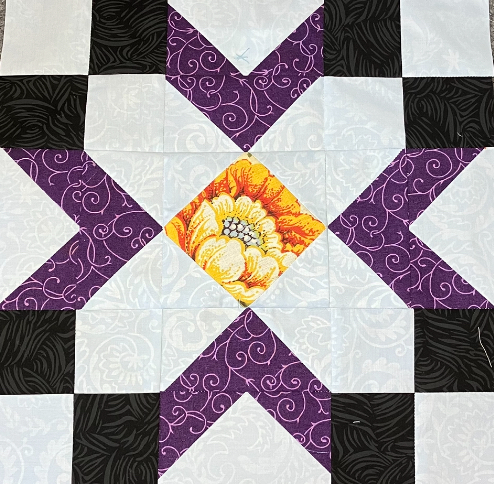
I also have a set of 12 inch blocks that are blinged out and ready to share. Years ago, I ran a Yahoo group…called werquilters. In the group, we had many fun round robin quilt blocks. One of the round robins was a Victorian quilt block swap.
The rules were simple. You constructed a block with a muslin base. I provided an address list to each participant. You sent your block and tracking sheet out into the world via US postal service. Each month you sent the blocks that you had in your possession on to the next person on the list after you added a little bit of bling. Postage was $1.95 for one of those little 2-day boxes…life was good! If you did want to send it in a box, large envelopes could be stuffed, too. There was no limit to thickness…and no extra postage for thickness! Oh, life was sweet for us quilters. Not so much for postal carriers…sorry!
The A Study in Scarlet quilt project is moving forward. I set a slow pace for this project. It seems that everyone has a sew along going, starting in January. I have even joined a few of them myself. You will have to watch episodes of Blabfest Fridays to get more information about which ones I couldn’t resist…ha ha!
As I am typing this, I am waiting for the arrival of a new camera tripod. This one is up to 70″ tall, easily movable, and tracks motion. It is not as expensive as it sounds. It should make various angle shots much easier…and you won’t have to tolerate the machine vibration as I am filming sewing on my little white singer or on the midarm quilt machine! Life just keeps getting better and better!
I hope that you are enjoying your life, too! Do something everyday that makes your heart sing…pet the cat, hug your loved ones, sew & quilt…something to make you happy!
Later,
Lorrie
P.S. Please remember that comments are turned off here because of spam attacks. Ten screens of something in Russian is not a comments. I am not interested in anyone’s manifesto as a comment! Sorry!
I bet that you do not have as many UFO’s as I do! My husband says I am the best “topper” he has ever met…but actually assembling the final quilt! That is like work!
To help you, and myself, I am issuing a challenge. Choose eight UFO’s (unfinished objects). Try to finish one a month for the next 8 months. Not a big committment…should be easy enough, right? (I know I will do a better job this year…last year I hit a 25% completion rate. So sad!)
If you would like to play along, print the form below. Fill it in…and occasionally refer back to it. If you would like to share your list to make you feel more accountable, please e-mail it to me at my gmail address.
A group I belong to will pick a number on the first Thursday of every month of the project to work on…or you can just choose one from your list.
As we work through our lists, we will have projects to share. Everyone is inspired by completed work, no matter how big or small…or even still in progress!
Please join in!
I look forward to seeing and hearing about your progress!
This week I am going to keep the text nice and short. I am feeling a bit under the weather. My immune system is working on getting rid of whatever crudge I was exposed to over the holidays…ugh! It is an excellent day to take a nap here in the Northeast part of the United States. Schools have been cancelled. The weather outside is frightful. There is no place to go.
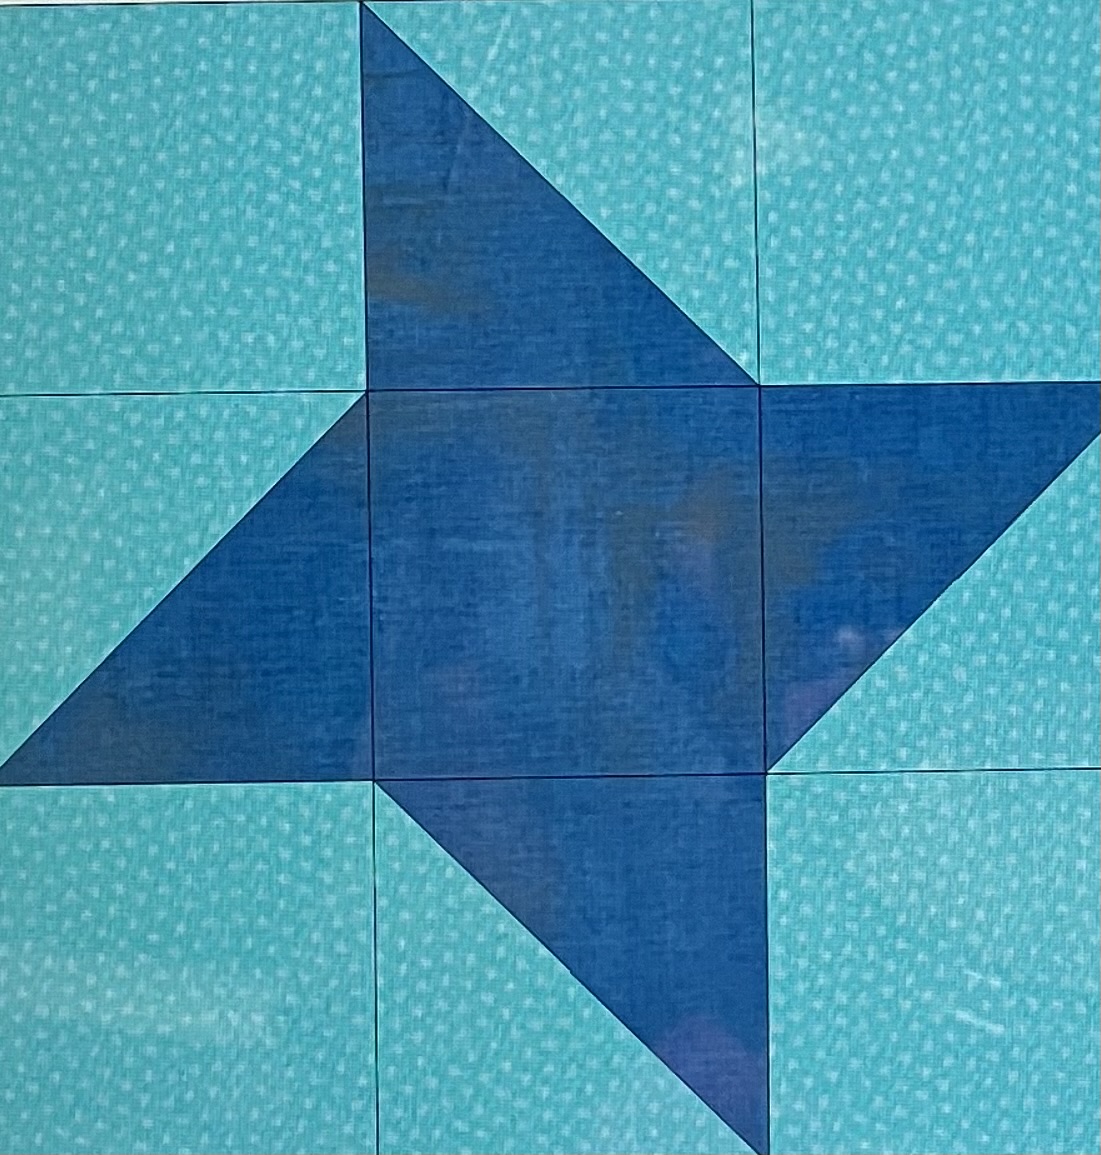
The block(s) this week are basic and simple…4 traditional friendship stars. You can make them super scrappy or all the same…the preference is up to you! Have fun and enjoy!
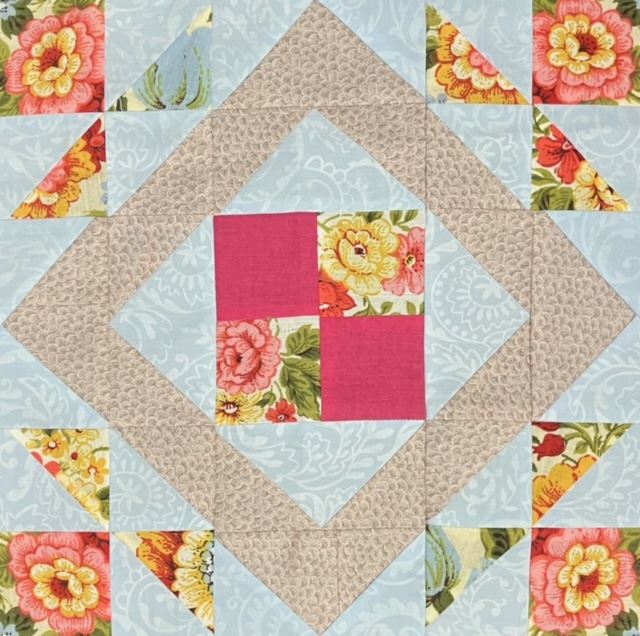
Here is the direction sheet for Part 1, Chapter 2 of the Study in Scarlet quilt:
The blocks for this quilt are based on 1) titles given for the blocks and 2) themes and topics in the chapters.
This first block finishes at 12″ in the quilt. It is called Friendship.
The audio file can be found here on YouTube. It does not have much in the way of visual entertainment. I recorded it so that you can sew while you listen. A new chapter will be released on the first of every month starting December 2024.
This pattern page can be printed at anytime. At the end of the sew along, I will compile all the pages into one very long document.
I hope you enjoy playing along as we make this quilt. Please comment on YouTube if you are playing along. Comments are turned off here because of spam issues.
I am going to keep my post short and sweet today. I want you to have lots of time to choose your colors for your quilt. Get out those colored pencils! Please print as many of the free coloring pages as you desire…Let’s play with color!
I would love to see your fabric choices and your coloring sheet plan! Please send photos to my gmail and I will share them on a Friday Blabfest. We are all inspired when we share!
This week we are making four at a time flying geese to accent those cute little stars that swirl around the middle block. We will need 32 flying geese to frame up those stars. Since we are making them for a time, we will need to make eight geese units.
Trimming the assembled geese makes them perfect to add to the setting star blocks. Please note the direction of your star blocks if you used directional or fussy cut fabrics.
We are in the home stretch of this series. We are down to some of the last setting pieces. This week, we are making 22 pieced variable stars.
In the cutting document, I provided a chart for one star OR (in the second chart) 22 stars. You will need to make adjustments based on your color choices and scrap selections.
Remember that this is a free printable pattern. Enjoy!