Sometimes inspiration comes from the most unlikely places, I mean yard sales. I have been avoiding applique for many years. Now that I have lots of time on my hands and a need to keep myself occupied, I have decided that this technique can be soothing. It is actually meditative. I decided to dive right in…
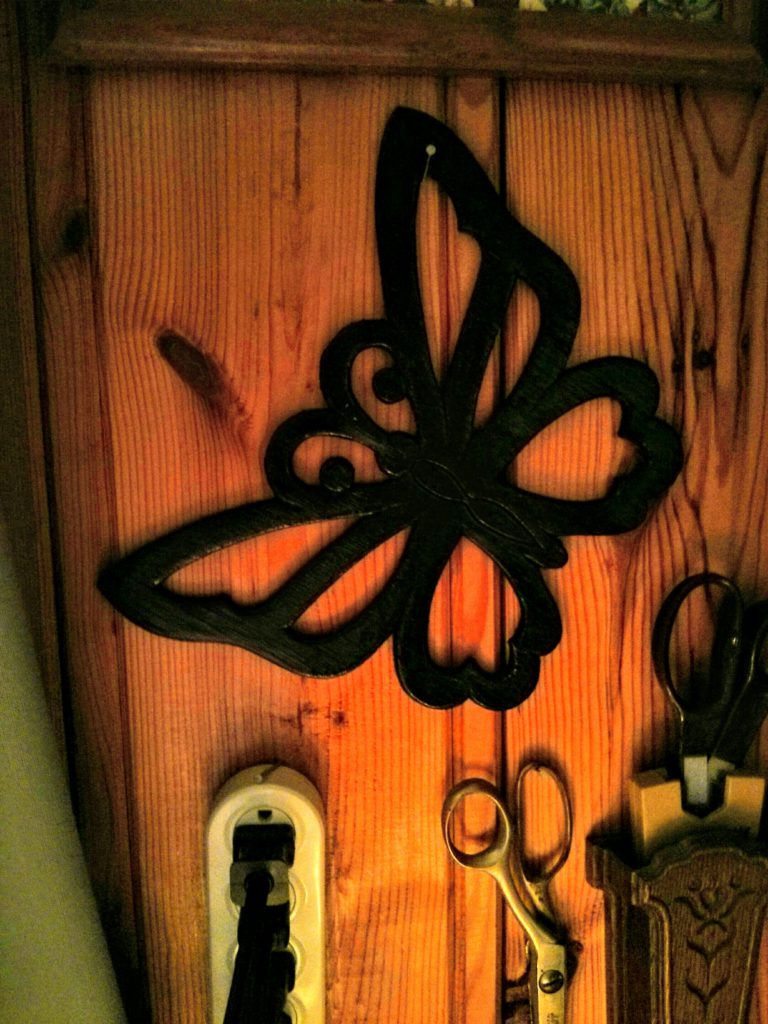
The butterfly is made of wood. It was in rough shape, so I sanded and spray painted it.
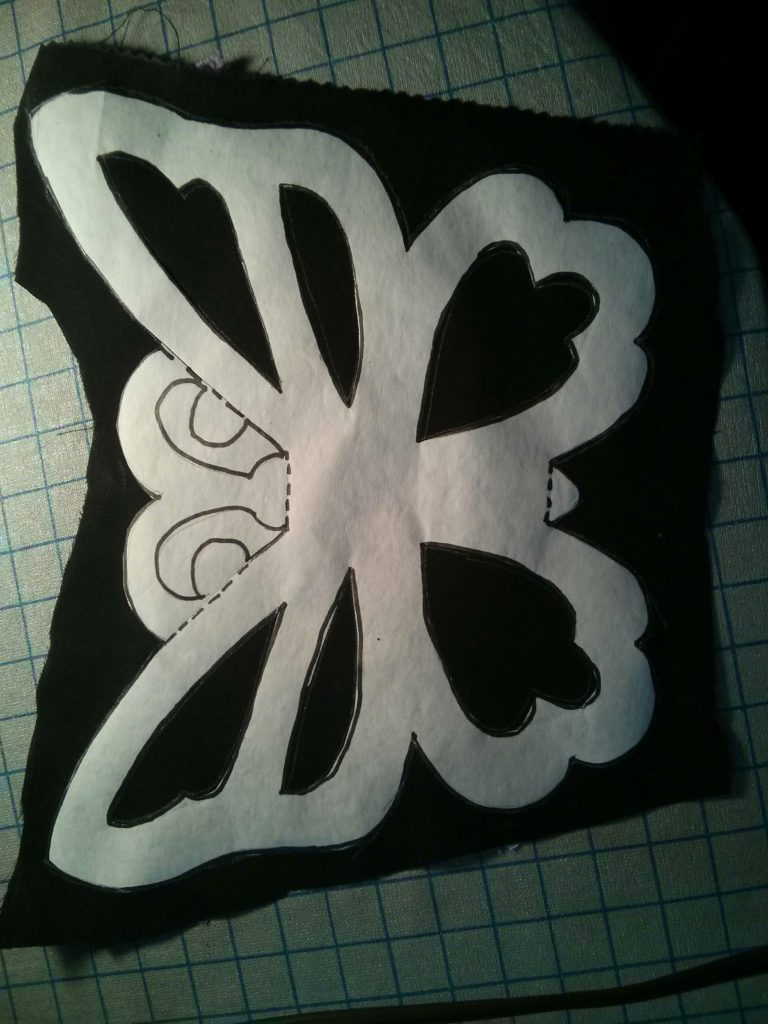
To make a pattern, I had to go buy some freezer paper. Unfortunately, it only comes in a huge roll. Last time I bought this, it was available in smaller rolls, too. I now have enough to last me the rest of my lifetime. I traced around my wooden butterfly with a sharpie marker. Some of the parts (where there are dashed lines) are cut from other fabric and added on top later.
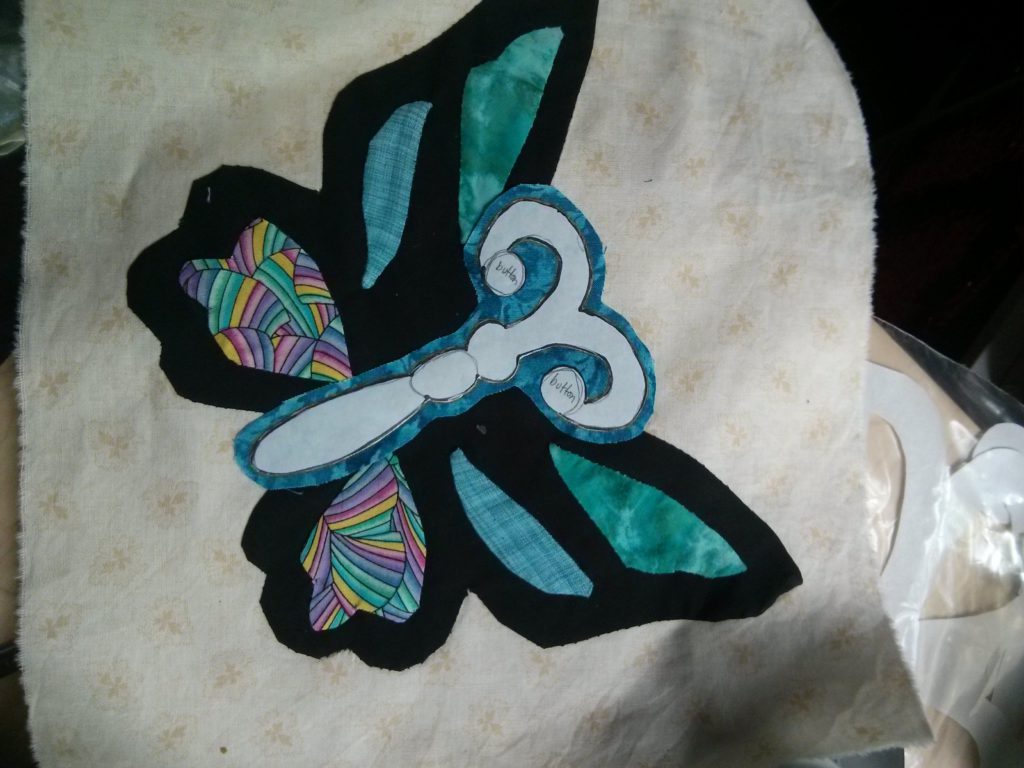
I have been using this pattern to try out different ways to do applique. At first I tried appliqueing the colorful shapes onto the top of the butterfly wings. I used a template and starch to make them the right size and shape. Here is a tutorial of this applique technique.
This method has some positives. All the pieces are prepped before you actually start sewing. You can use hand or machine applique.
This method also has some drawbacks. You have to have matching thread for each applique piece (unless you are using invisible thread…that has its own set of worries). Small pieces are sometimes difficult to iron, even when you use a skewer or other instrument to save your fingers. Placement of pieces onto the background can also be a challenge.
I used regular needle turn applique and a simple version of reverse needle turn applique. I decided that for this butterfly project I liked needle turn the best.
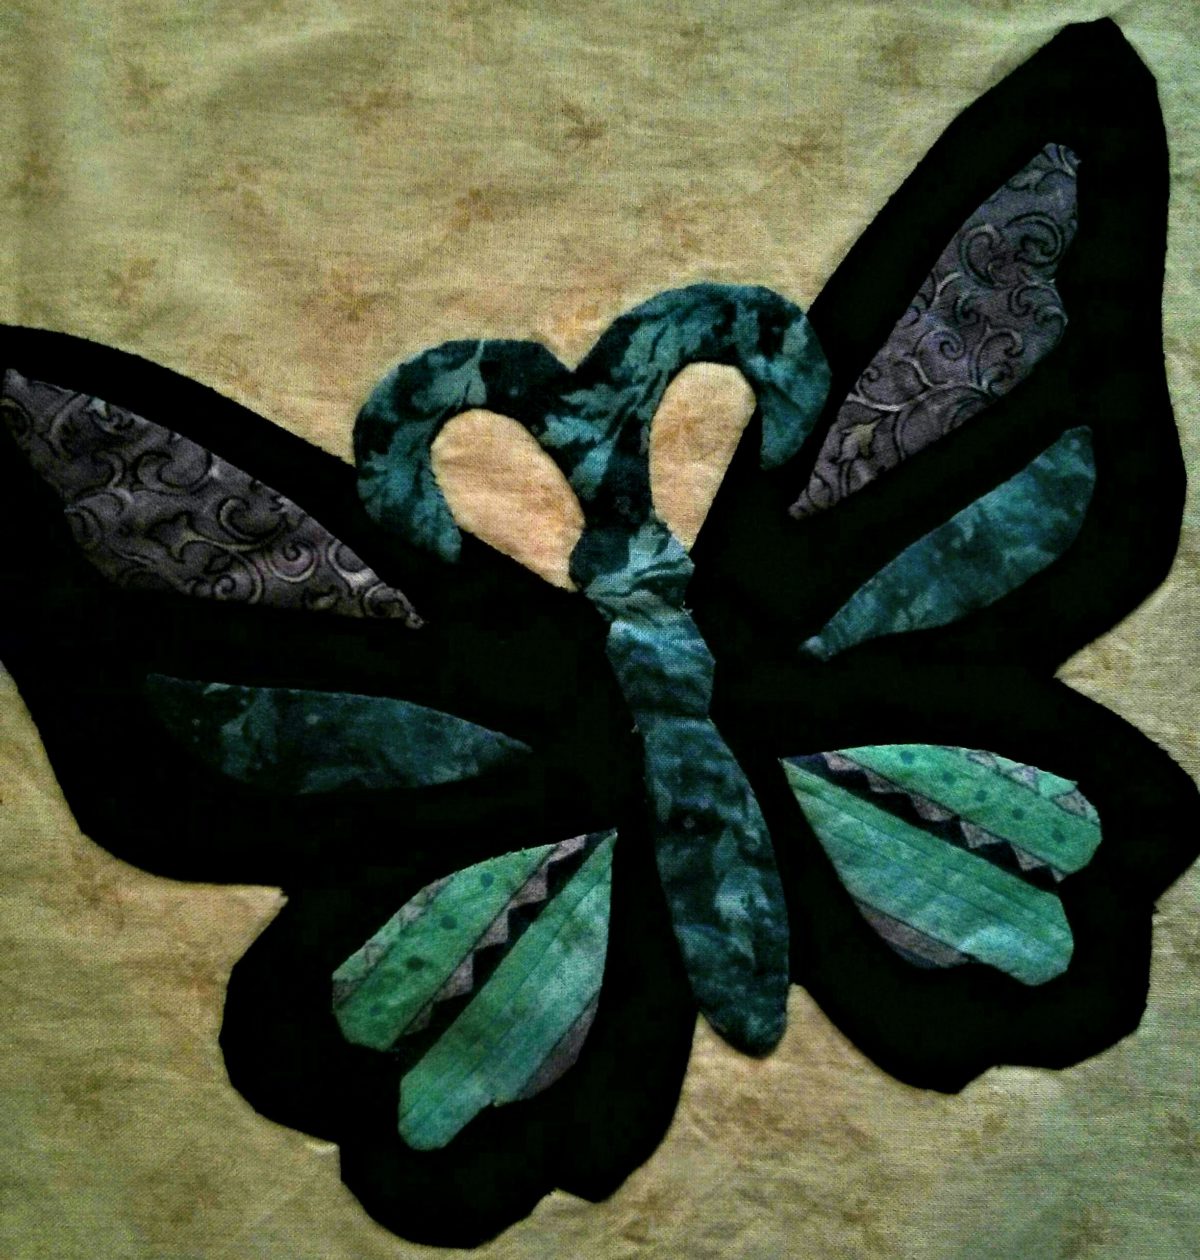
Here is a finished block:

I have decided to make 20 of these! Three done and one more on the way! I have an idea about embroidering inspiring words on each block like “hope”, “peace”, etc.
I hope that you have a chance to check out the applique links above. I wish these tutorials had been available to me when I was 20 and could see without bifocals or reading glasses. Give it a try! If it doesn’t turn out well, tell everyone you were going for the rustic look!
Looking for other butterfly projects to make with your children? Here is a great link to a list of crafts you can do with young ones. (This is one of my favorite sites to get ideas about all kinds of crafts.)
Later,
Lorrie
