
Have you seen the embellishment series that I have been putting out there on YouTube? It is all in a playlist titled: Pop, Zing, Bling Embellishments. It has LOTS of videos for your enjoyment. You can find the playlist here: https://www.youtube.com/playlist?list=PL_nXpopvmBwYNMWaQV6KyL8ntx1OehNGd
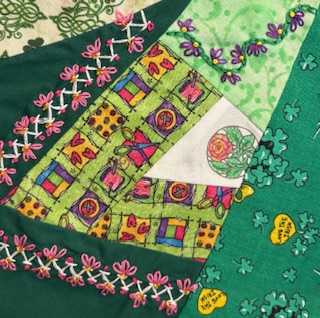
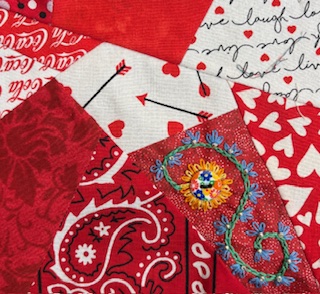
Here are this week’s examples:

I hope that you check out this series!
Later,
Lorrie
