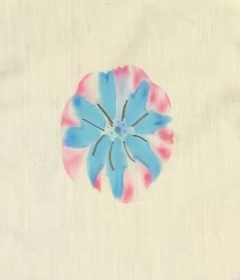
This was my favorite sample of this technique for today. To make faux tie-dye, you only need a few materials.
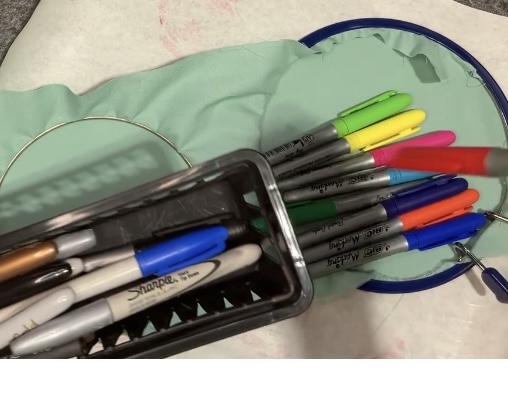
Permanent markers, some colors and brands work differently than others. Some permanent markers do not spread with alcohol and should be not be used in this project. My example from this block would be a metallic sharpie that did not work for a tie-dye effect, but made excellent accent marks.
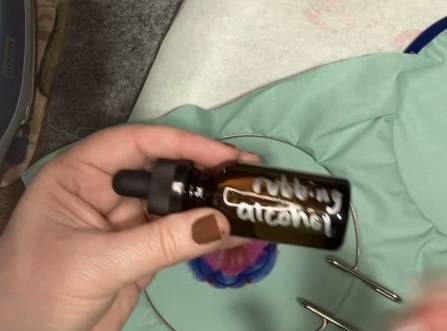
Rubbing alcohol, 70% or higher. I happen to have a dropper bottle handy so I poured my alcohol into it and label it for this project. You could also use a spritzer bottle. Be careful not to inhale the mist if you use a spritzer bottle.
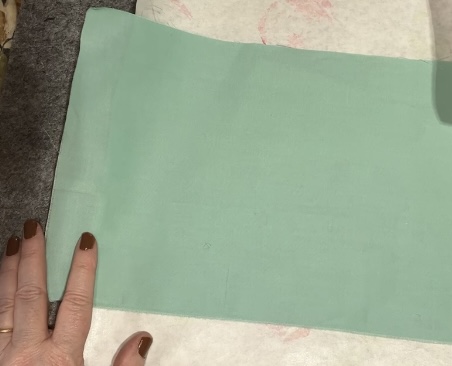
I used freezer paper behind my fabric to protect my surfaces. It has a nice plastic layer that will keep things like marker or alcohol from bleeding through.
To hold the fabric a little tighter, I did use an embroidery hoop, but it is not an entirely necessary for this technique.

The key to drawing on the fabric is to let space between your shapes and colorful designs. My permanent markers were fairly juicy, so the designs needed to have space. I also chose only a few colors for each tie-dye design. I used simple shapes, like triangles and swirls.
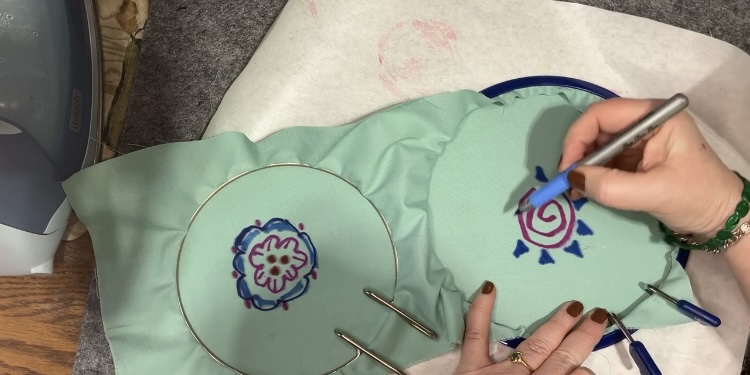
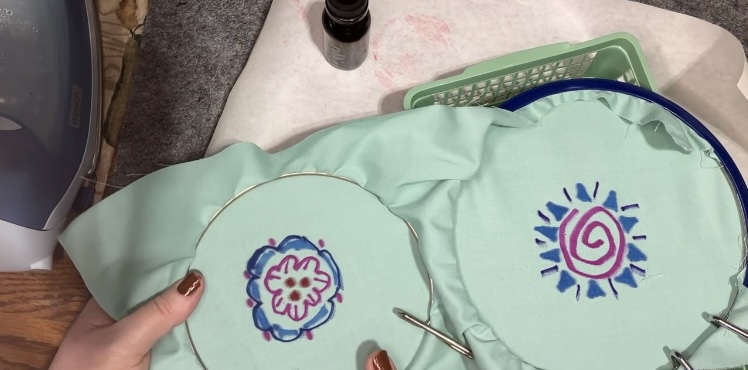
After your design is complete or as complete as you want it to be, it is time to drip on some alcohol.
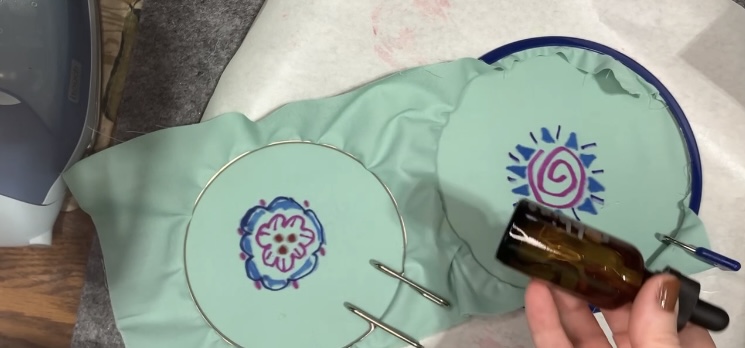
Note that I put plastic baskets under the designs so that there would be someplace for the alcohol to go instead of just pooling on the plastic coating of the freezer paper. I started with four or five drops in the center.
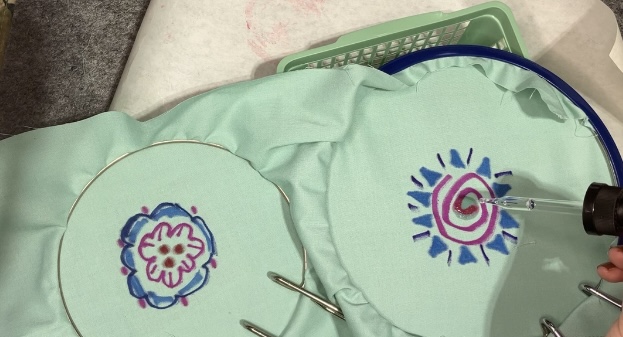
The colors will start to bleed out of your drawing immediately.
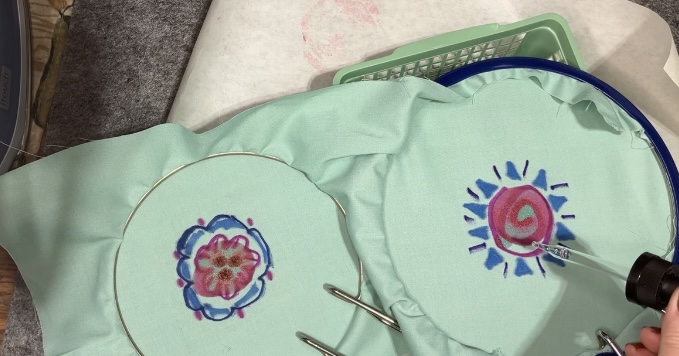
If the wicking of the color slows down, add more drops of alcohol… A few at a time.
once the alcohol seems to have done the trick, allow the fabric to dry. Some other videos that I watched sped this process up by ironing it dry. I hesitate to do this with rubbing alcohol because it is flammable.
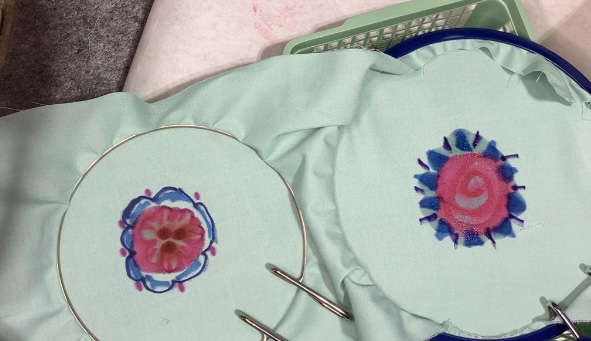
This is a finished sample that has been heat set and set with vinegar and salt.
There are several ways to help set the dye to make it more permanent. You can use a bowl of cold water with one cup of vinegar and 1 tablespoon of salt. Let your work soak for one hour.
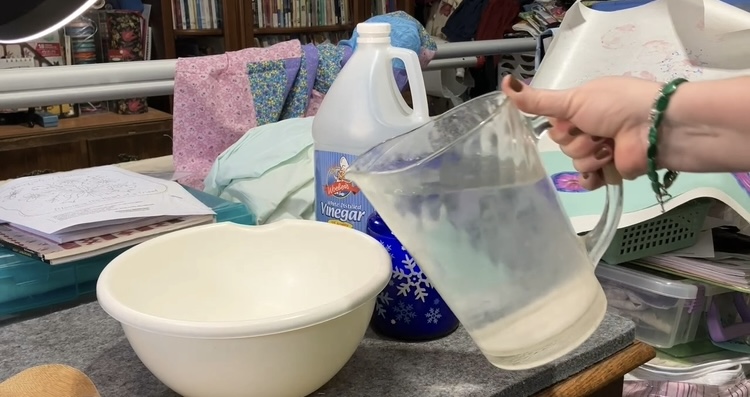
there are also commercial products available to set your dies. The following two are examples from Amazon.
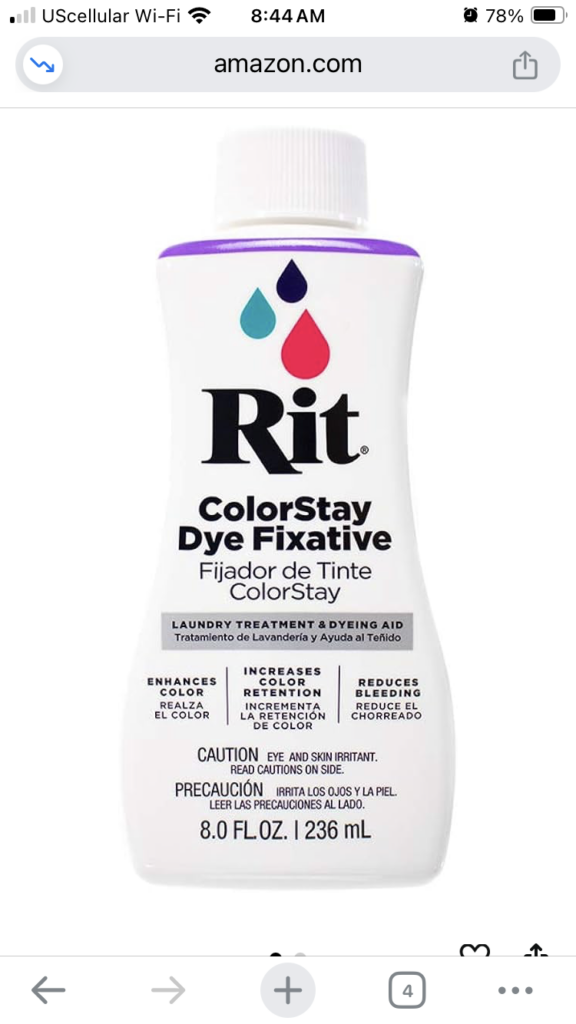
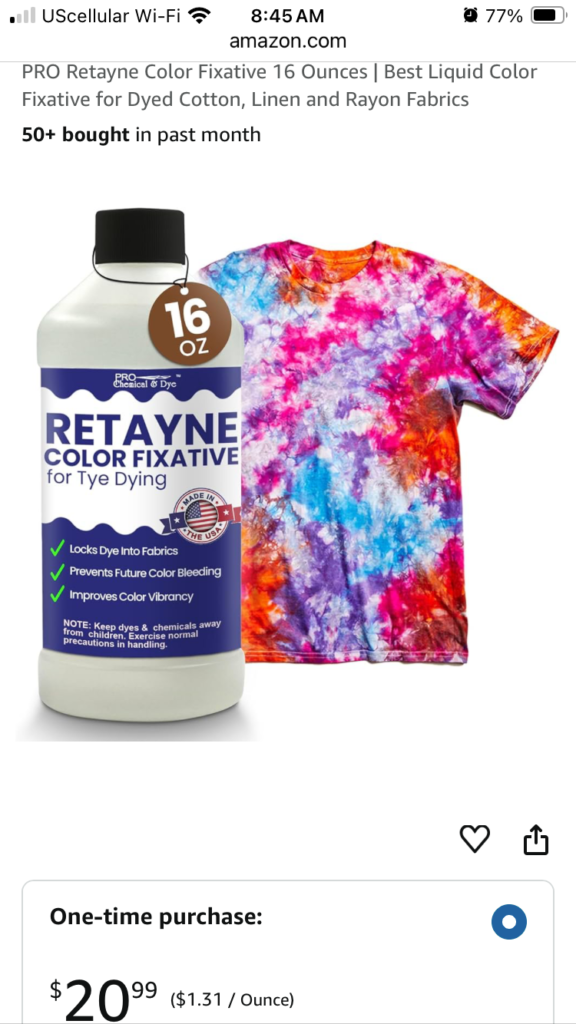
After setting with vinegar, salt and water, rinse your fabric thoroughly. Wring thoroughly. No need to be gentle. Dry on high in the dryer or iron dry to add another layer of heat set.
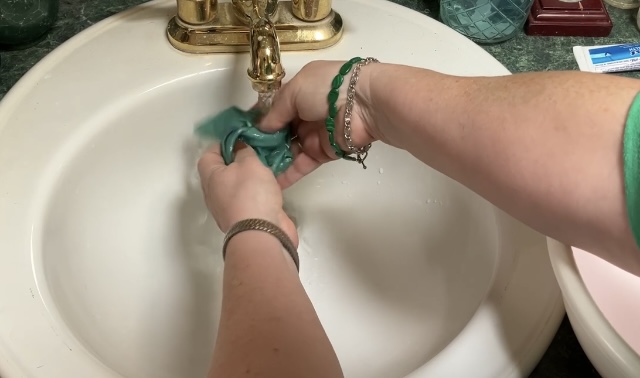
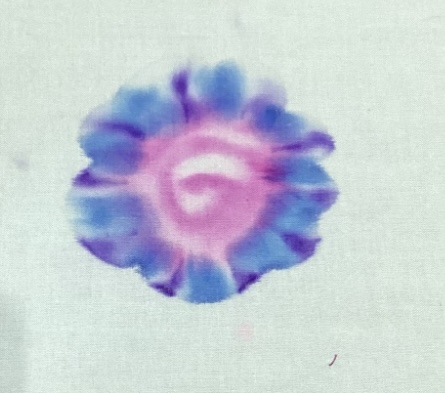
Here is the rinsed wet example.
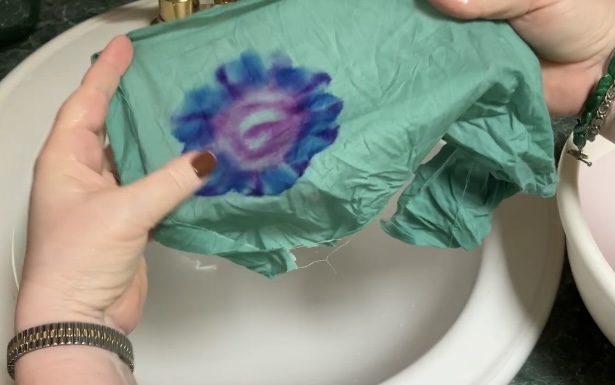
Here is the other example. You will notice that the dark blue marker did not wick very well. Red and pinks had a bigger tendency to bleed onto other portions of the fabric.
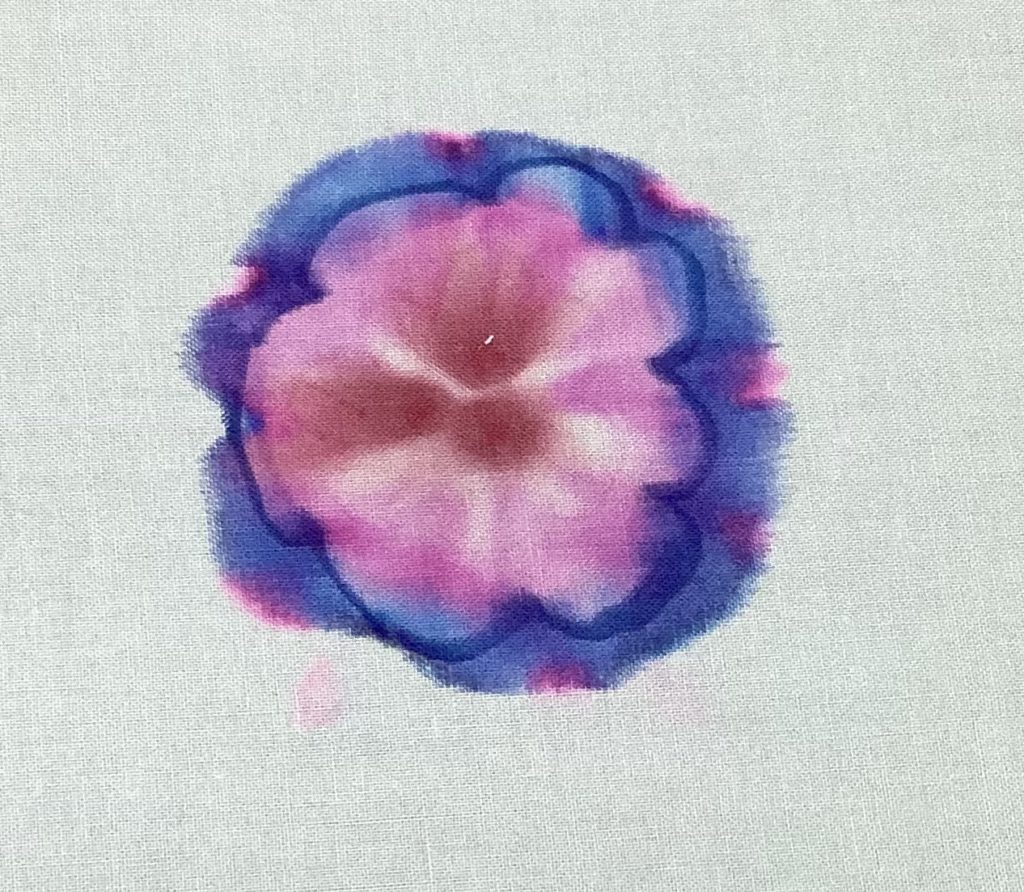
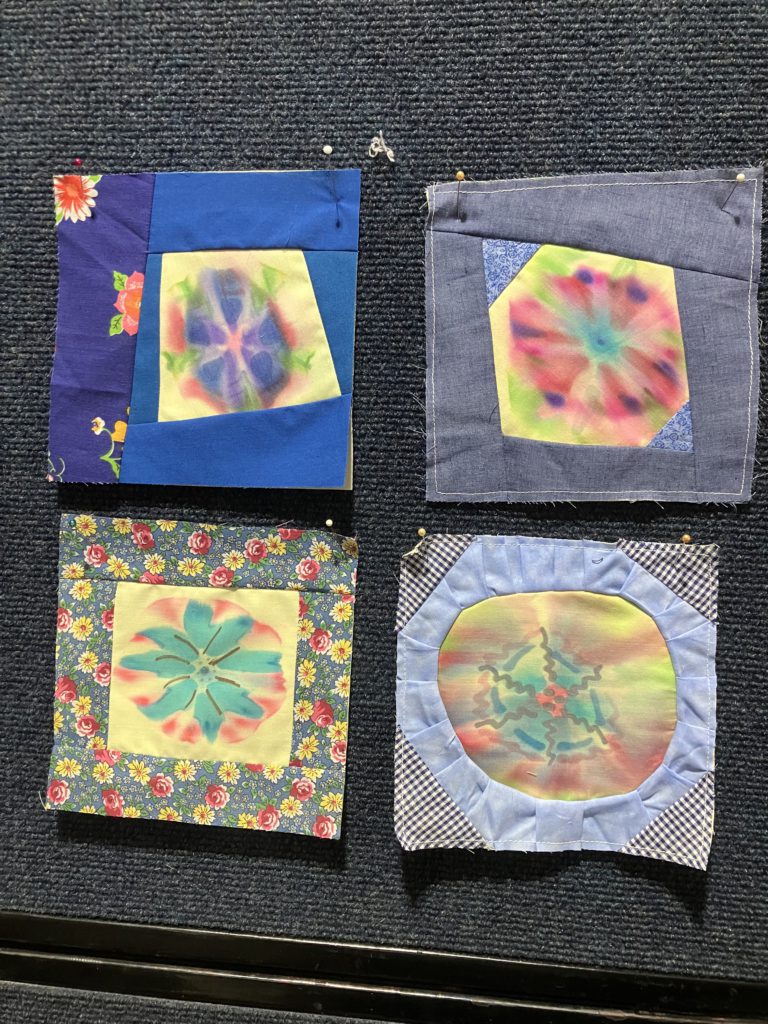
Here are some other examples:
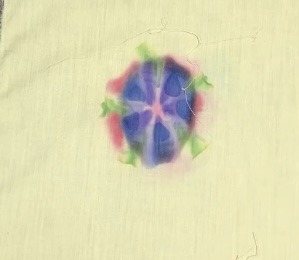
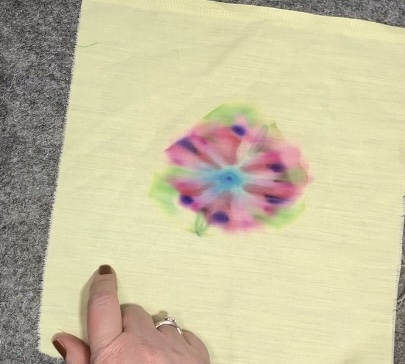
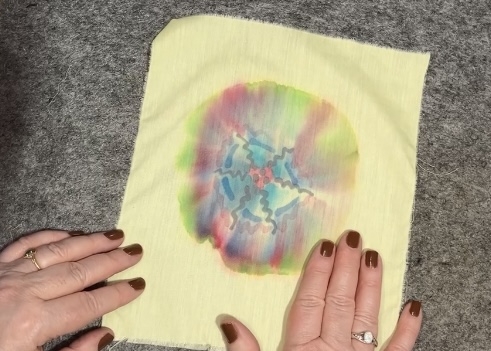
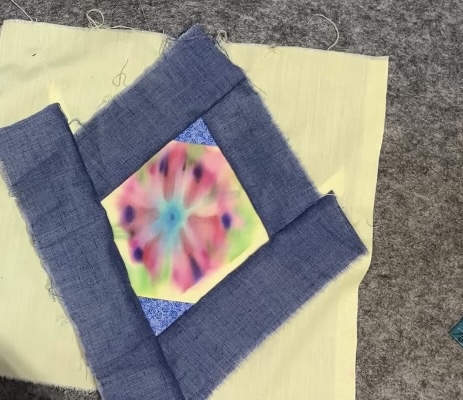
Here I’m using some scraps to make these examples into 6 1/2 inch blocks
This technique is kid friendly. My friend Barb who is a retired art teacher used to do this with fourth and fifth graders. It is a great technique to use on shirts and silk.
I hope you are enjoying our little experiments with embellishments. If you would like to see a video presentation of this technique, please click here.
Later,
Lorrie

