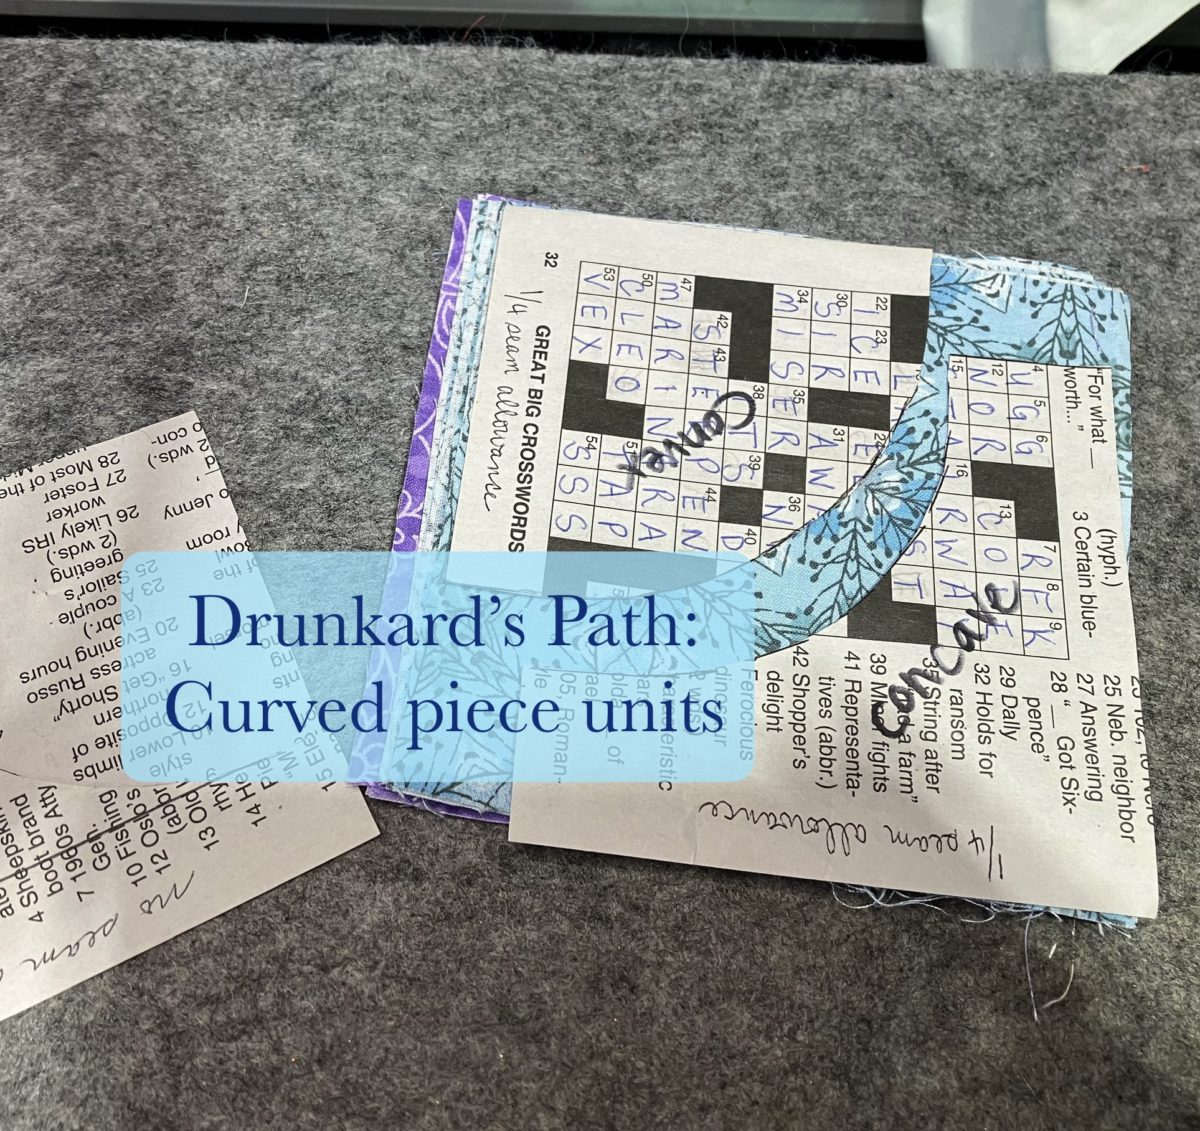
Today we are constructing the units for the Drunkard’s Path block in the Study in Scarlet quilt that I designed to go along with the read aloud podcast found here.
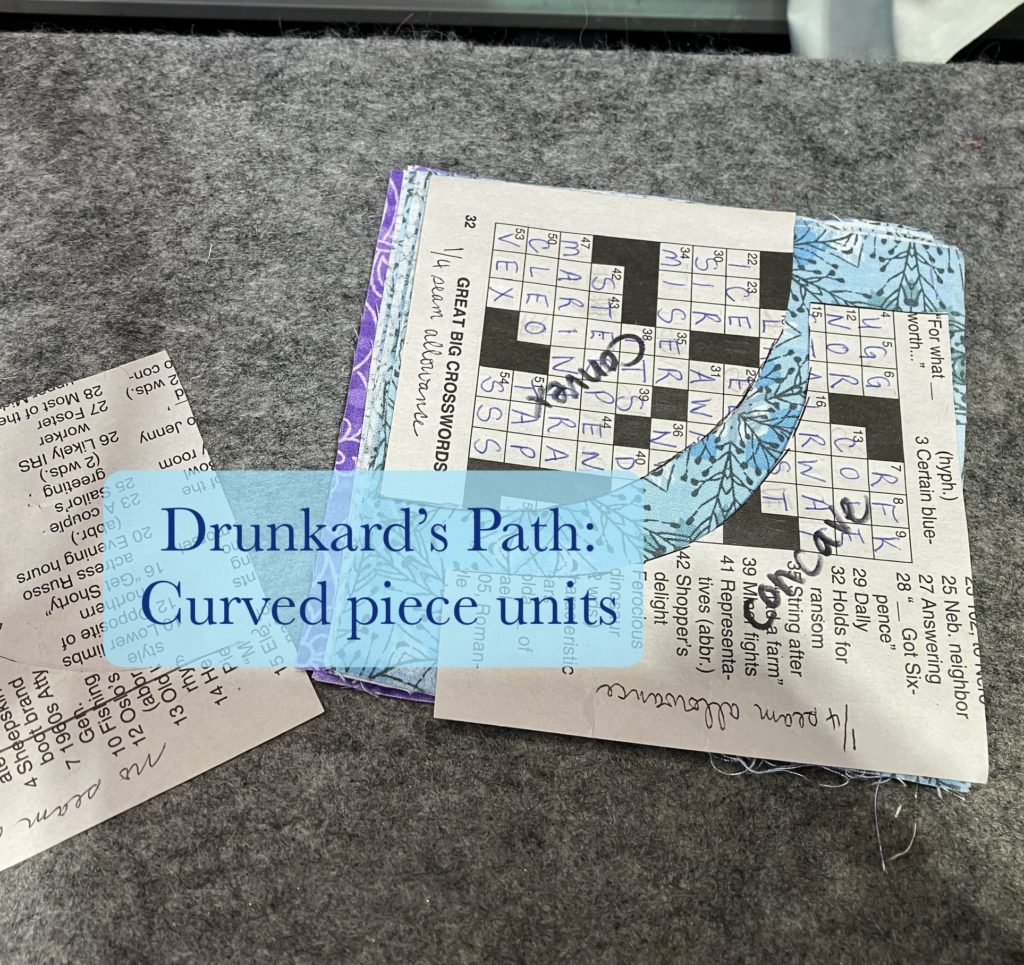
Last week, I showed you how to create your own templates…no purchase necessary! No need to be afraid. See that video here! This week we are going to put those templates to good use.
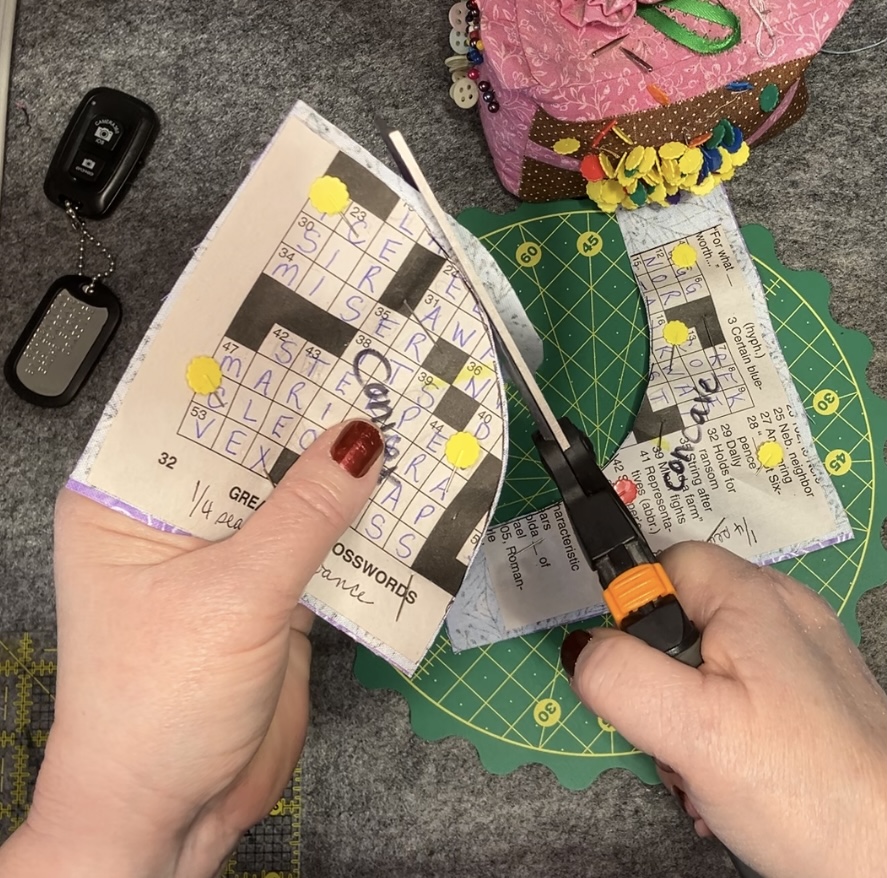
To watch the video that goes with the following pictures, click here. I am pinning my templates to my squares…using a generous amount of pins. Then I am going old school…using scissors to cut out the fabric!
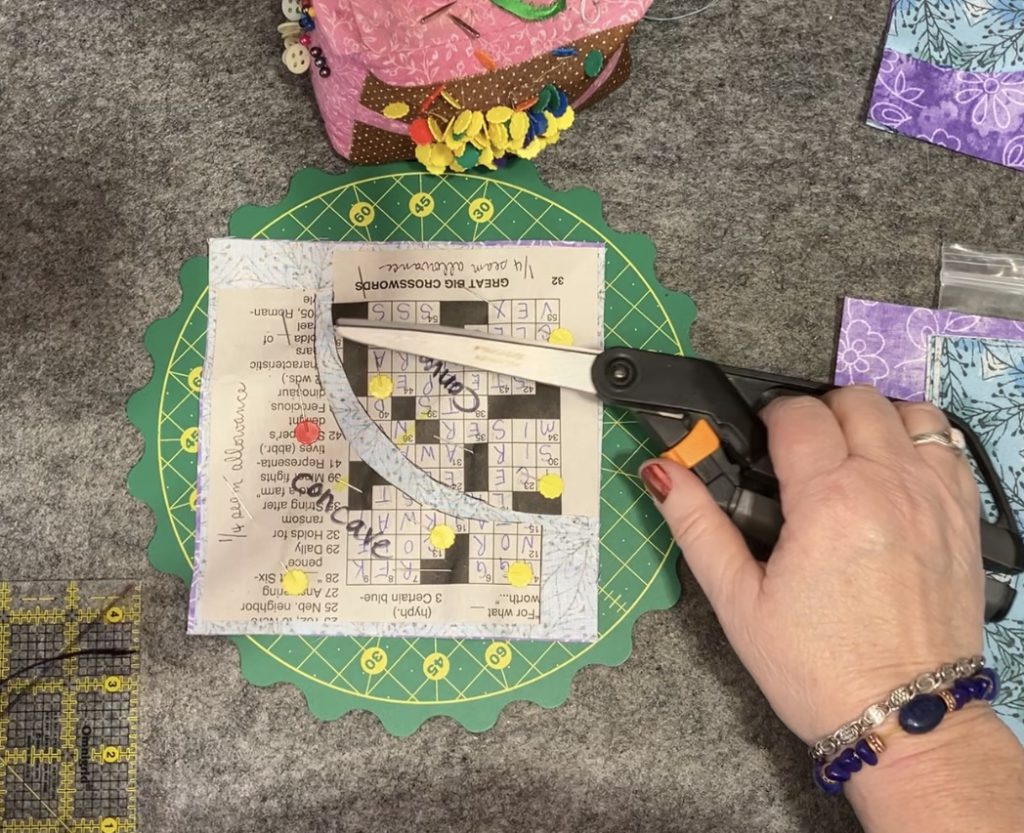
Be careful not to cut into the paper! I cut the curves first.
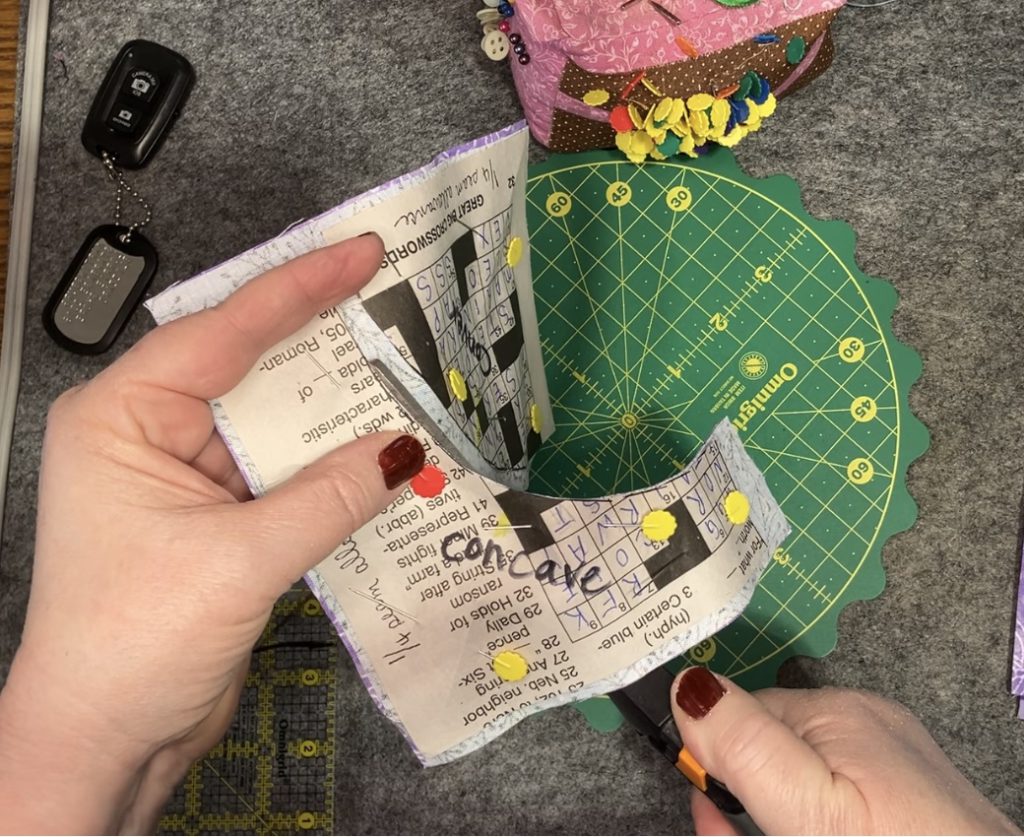
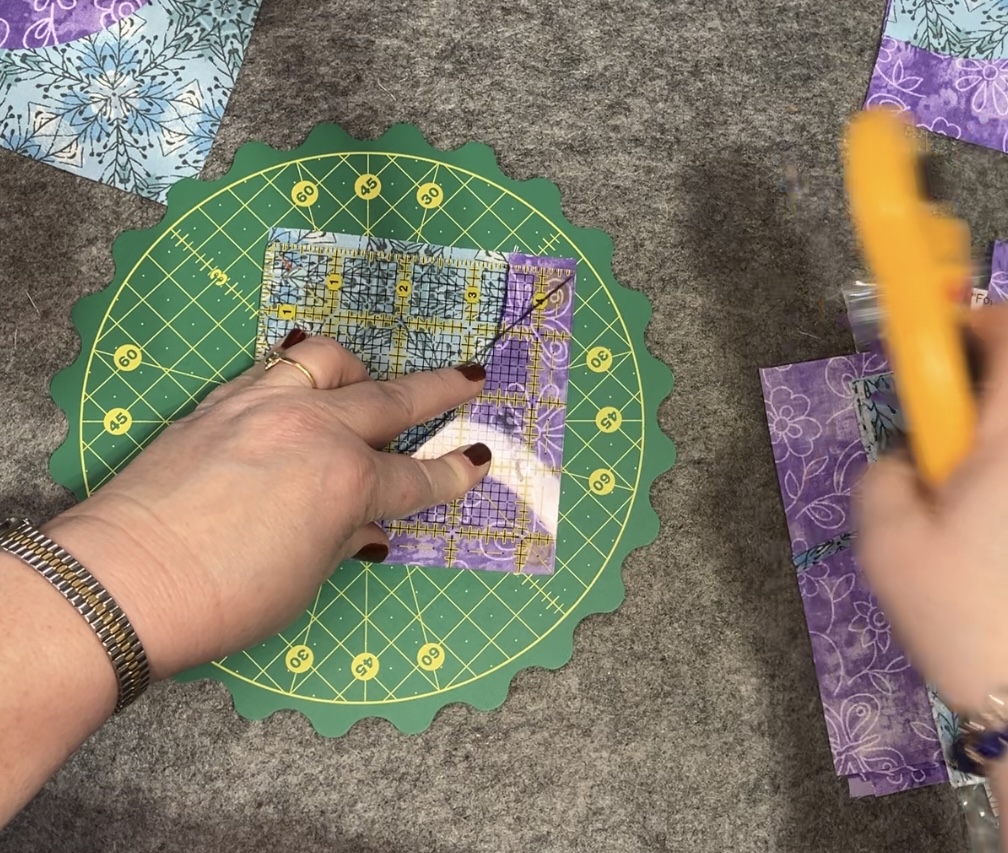
I use a ruler and rotary cutter to trim the straight edges of the pieces.
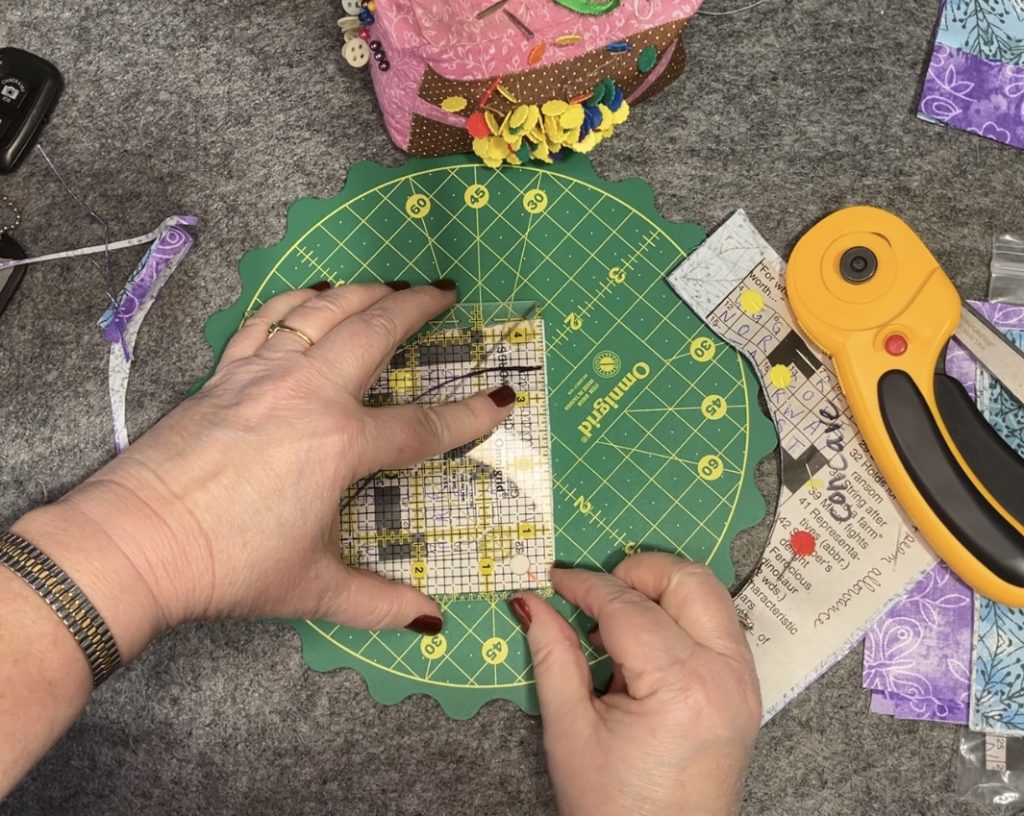
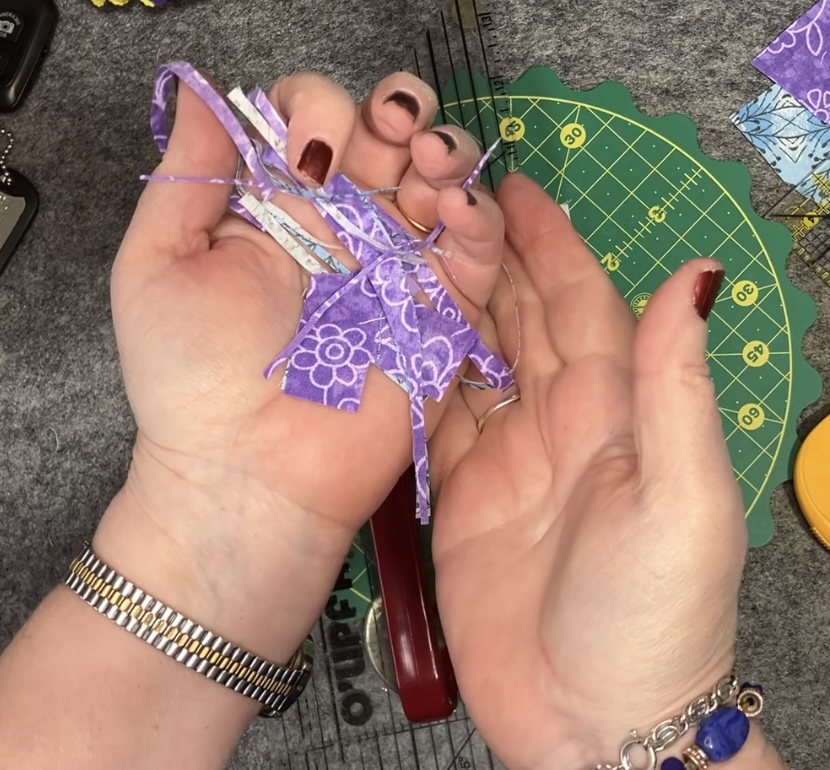
There is not much waste after the pieces are all trimmed out. These scraps are destined for the fire starter bucket.
To properly align these blocks, I crease the middle of the curved pieces.
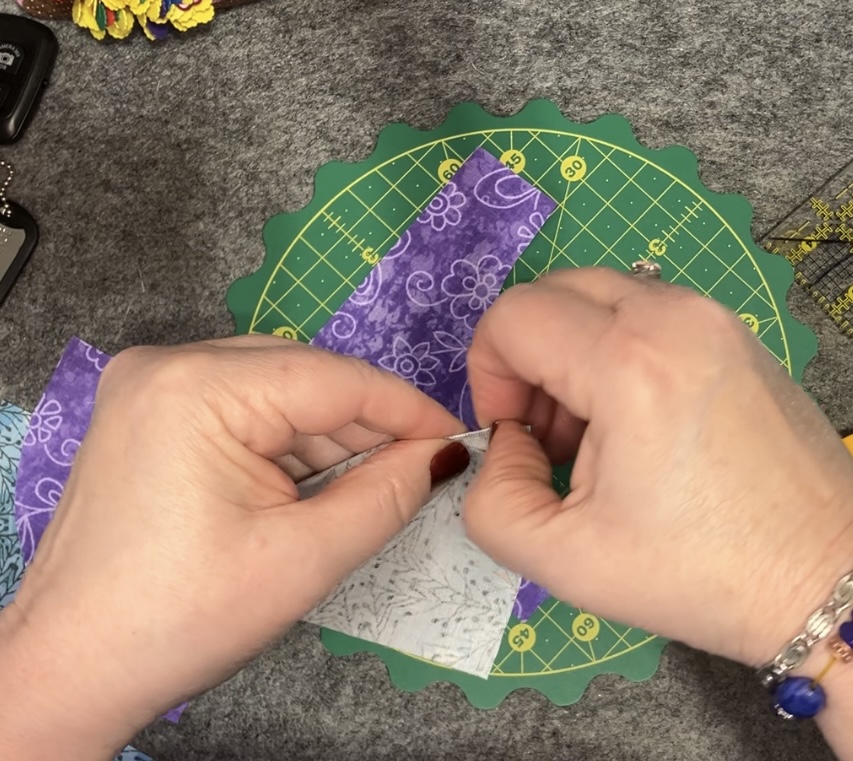
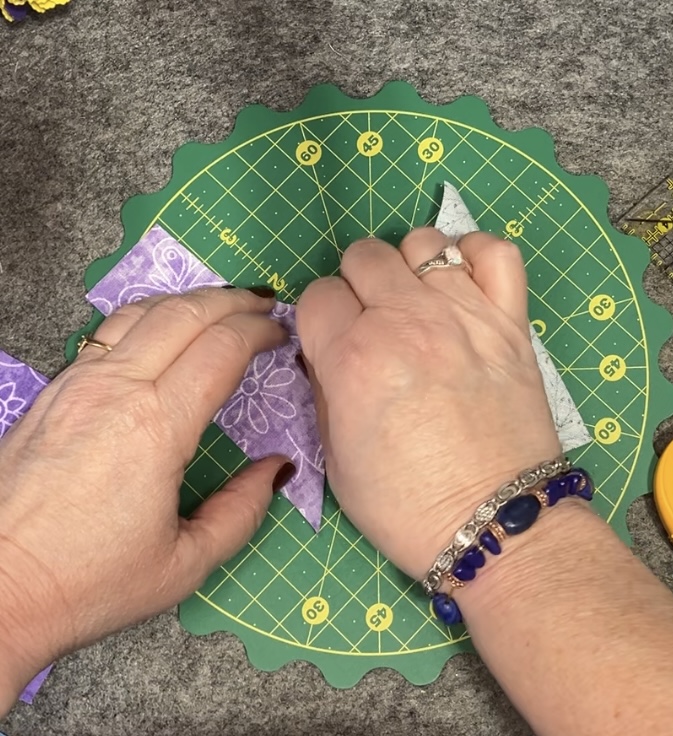
Next, I line up the creases. Time to pin…one pin!
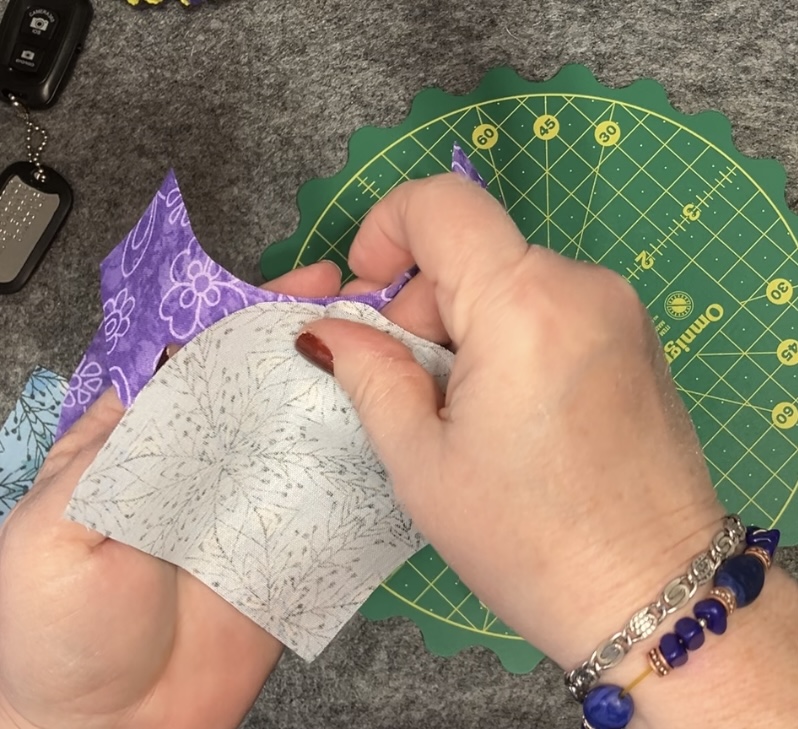
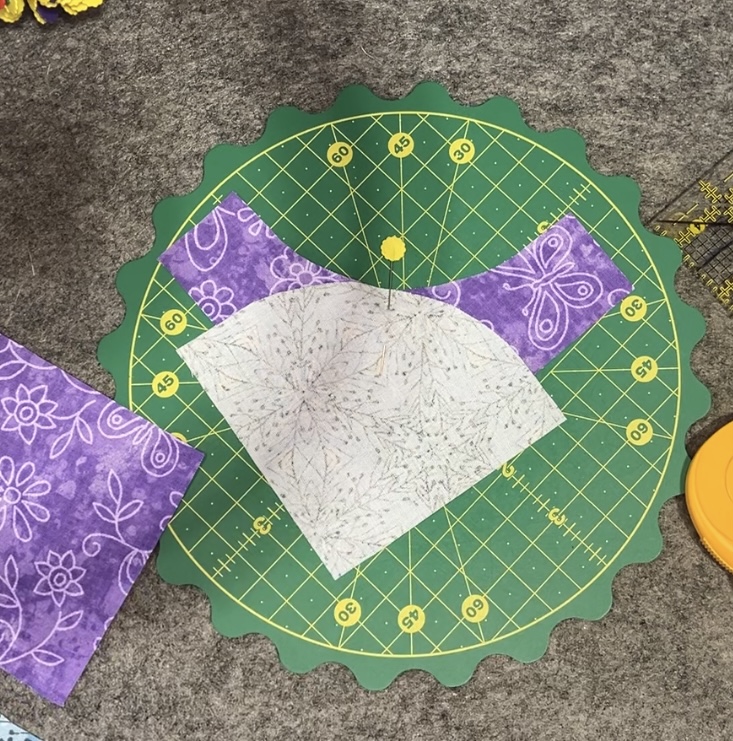
I prefer to sew with the concave piece on top. This is my personal preference. You will have to decide the positioning of the pieces after practicing a little. Line up the straight pieces on the outside.
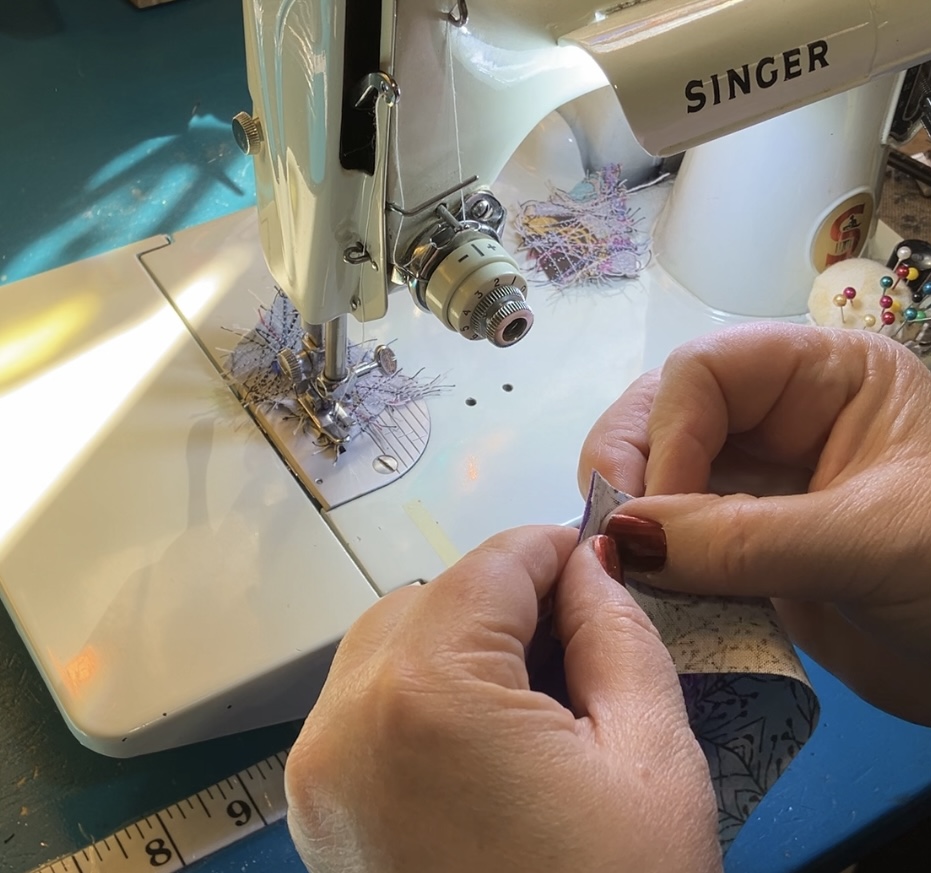
Using a stilleto, pin, etc., keep the pieces lined up straight. Slowly sew…carefully line up the edges up the fabric as you go. Stop as often as you need to as you go. Be careful not to create any tucks in the fabric.
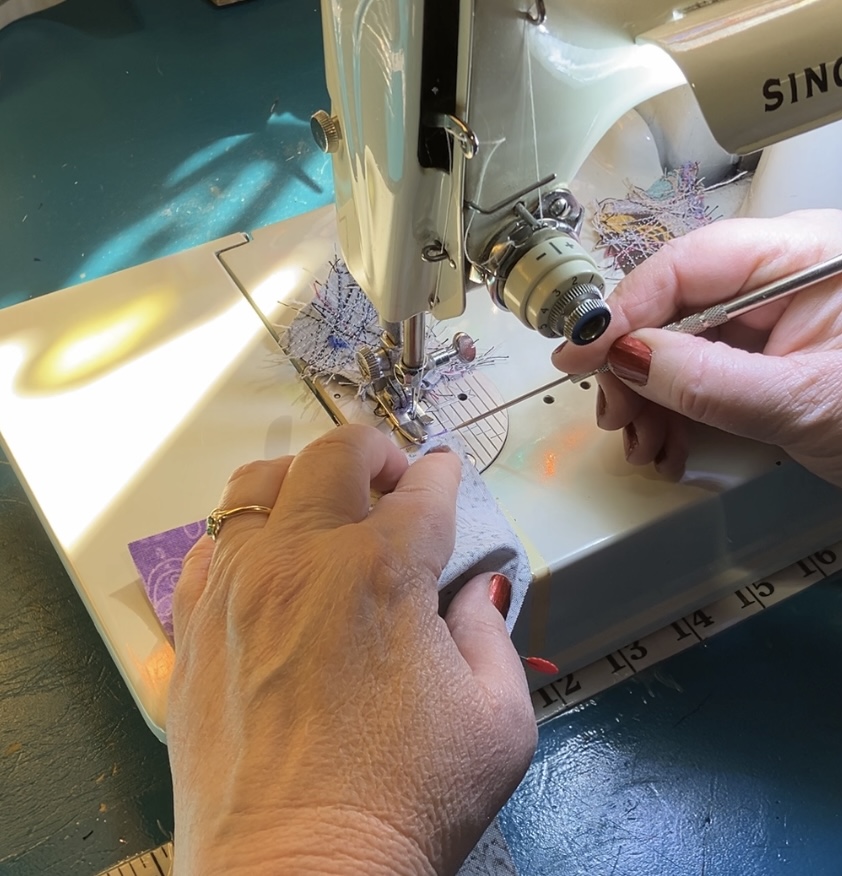
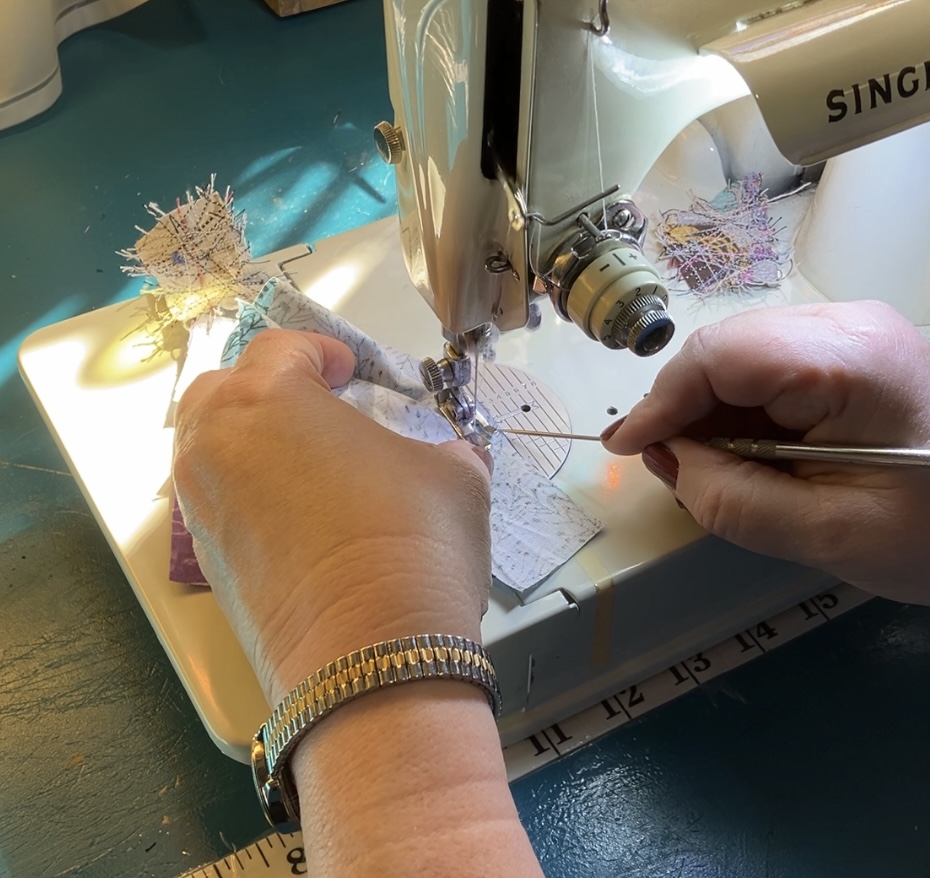
And the ah-ha moment…
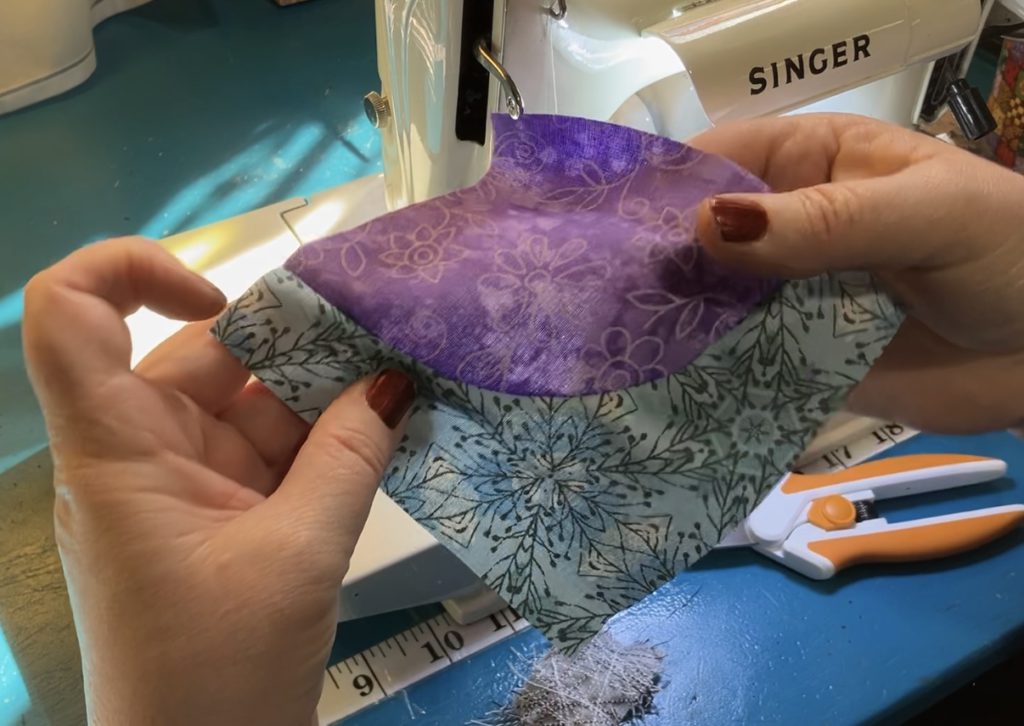
I found it easiest to iron or to press this block from the back. I pressed the “pie” shape flat. No need to clip the curve if you press in this manner. Next, I gave the block a good press from the front.
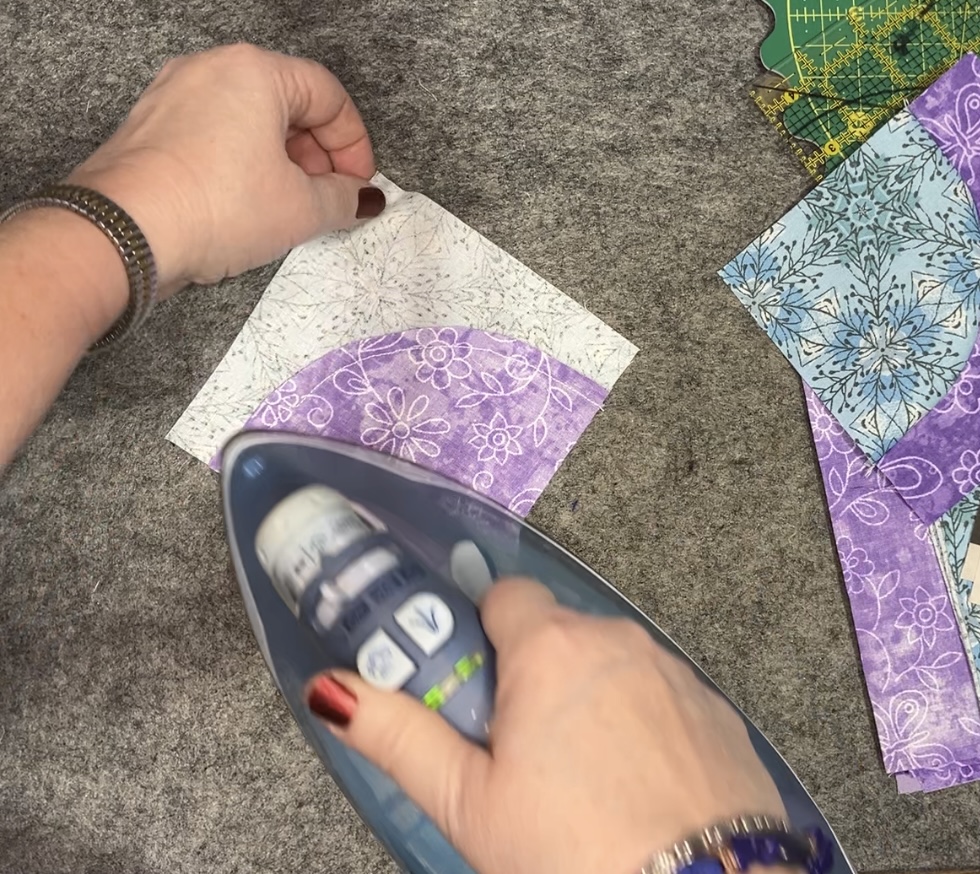
My templates were designed to be generous and allow for trimming to 4 1/2″. Make 16 blocks. This block finishes at 16 1/2″.
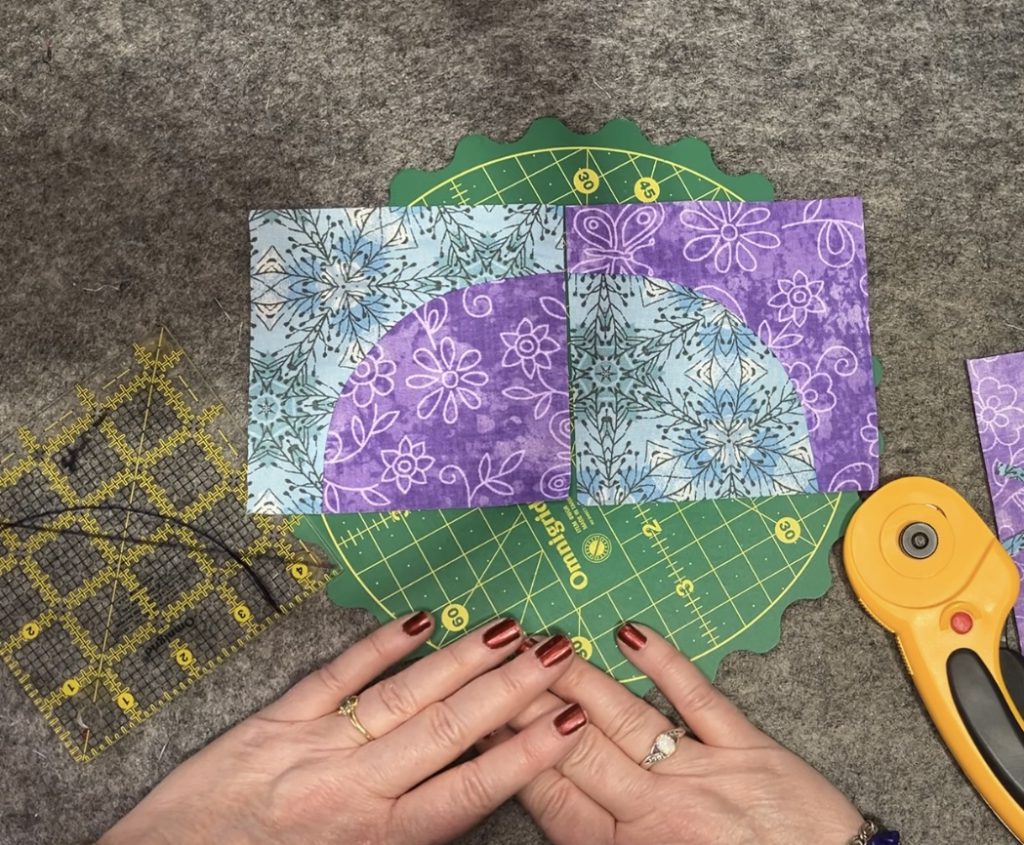
Here are two of the finished units.
Join me next week for variations on the Drunkard’s Path.
I hope you enjoy this technique! Give it a try!
Later,
Lorrie
