Categories
Build a block quilting

Faux Tie Dye

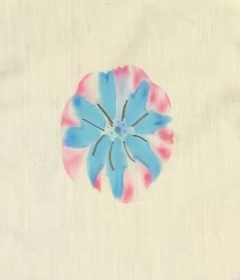
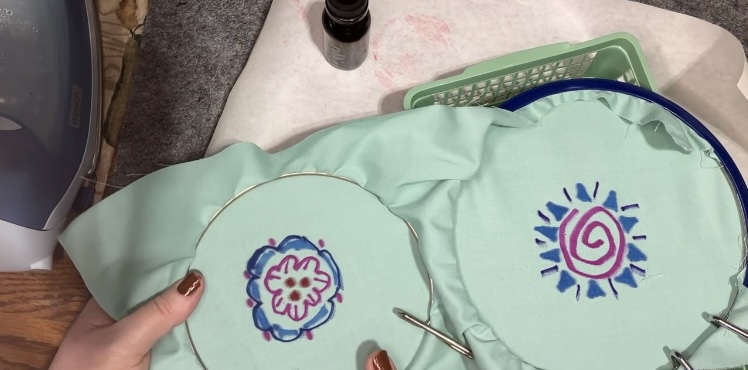
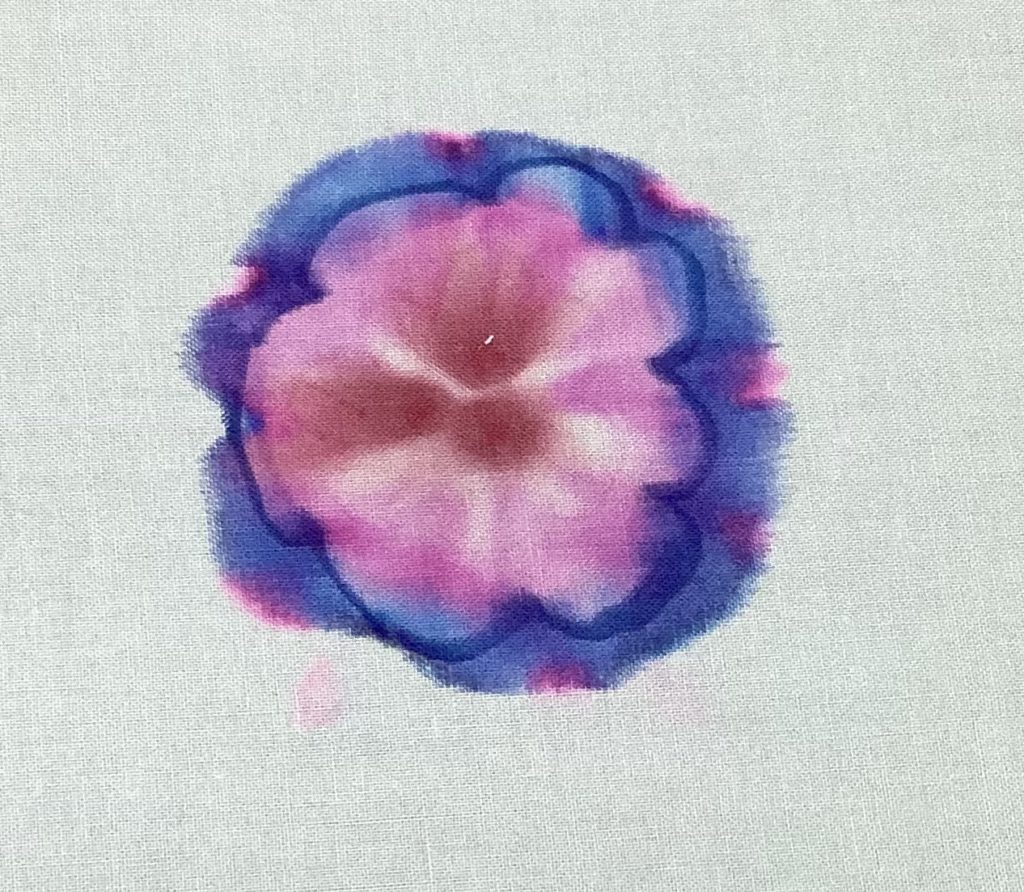
This was my favorite sample of this technique for today. To make faux tie-dye, you only need a few materials.

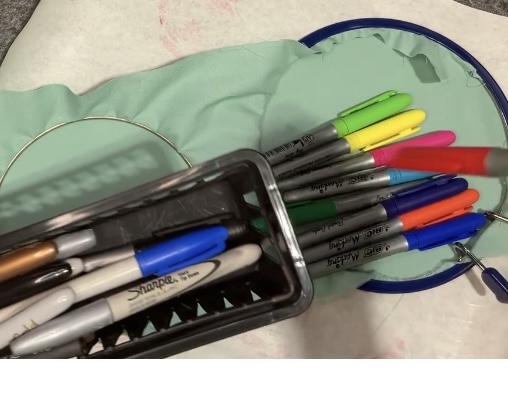
Permanent markers, some colors and brands work differently than others. Some permanent markers do not spread with alcohol and should be not be used in this project. My example from this block would be a metallic sharpie that did not work for a tie-dye effect, but made excellent accent marks.

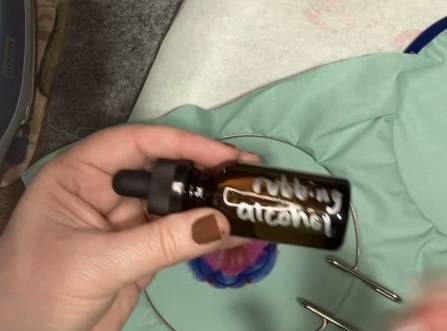
Rubbing alcohol, 70% or higher. I happen to have a dropper bottle handy so I poured my alcohol into it and label it for this project. You could also use a spritzer bottle. Be careful not to inhale the mist if you use a spritzer bottle.

I used freezer paper behind my fabric to protect my surfaces. It has a nice plastic layer that will keep things like marker or alcohol from bleeding through.

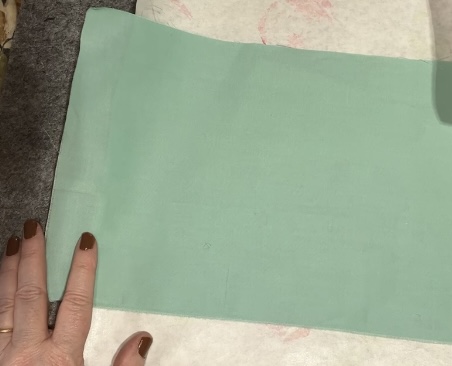
To hold the fabric a little tighter, I did use an embroidery hoop, but it is not an entirely necessary for this technique.

The key to drawing on the fabric is to let space between your shapes and colorful designs. My permanent markers were fairly juicy, so the designs needed to have space. I also chose only a few colors for each tie-dye design. I used simple shapes, like triangles and swirls.

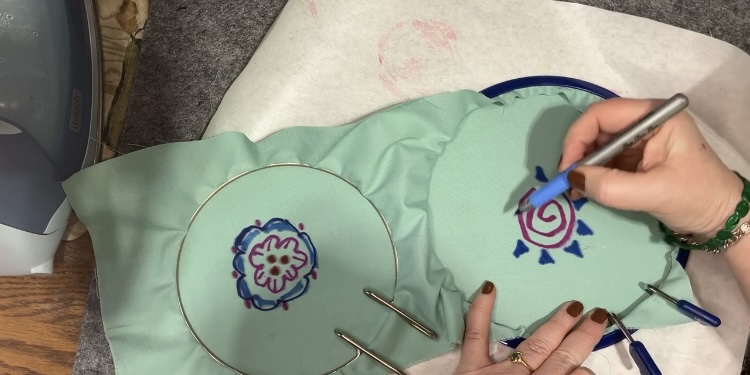
After your design is complete or as complete as you want it to be, it is time to drip on some alcohol.

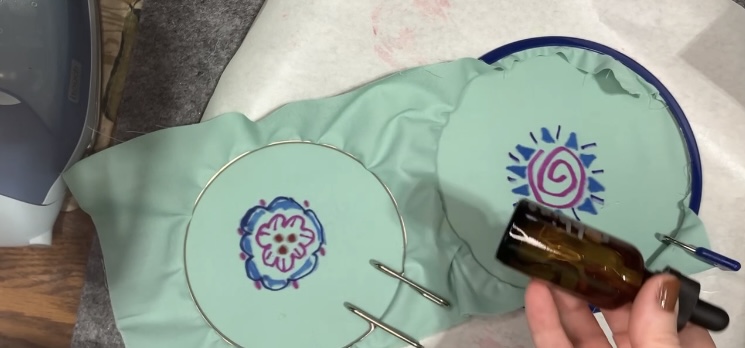
Note that I put plastic baskets under the designs so that there would be someplace for the alcohol to go instead of just pooling on the plastic coating of the freezer paper. I started with four or five drops in the center.

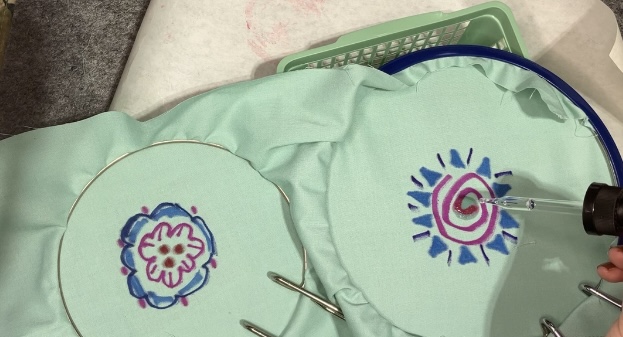
The colors will start to bleed out of your drawing immediately.

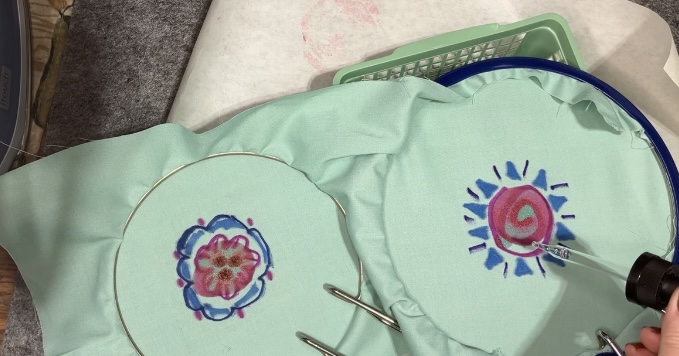
If the wicking of the color slows down, add more drops of alcohol… A few at a time.

once the alcohol seems to have done the trick, allow the fabric to dry. Some other videos that I watched sped this process up by ironing it dry. I hesitate to do this with rubbing alcohol because it is flammable.

This is a finished sample that has been heat set and set with vinegar and salt.

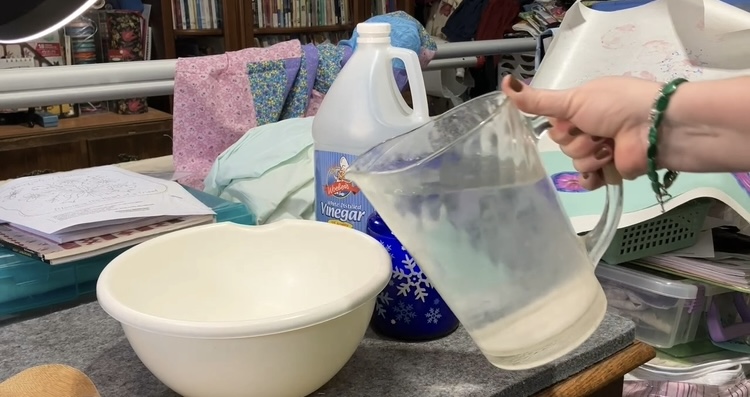
There are several ways to help set the dye to make it more permanent. You can use a bowl of cold water with one cup of vinegar and 1 tablespoon of salt. Let your work soak for one hour.

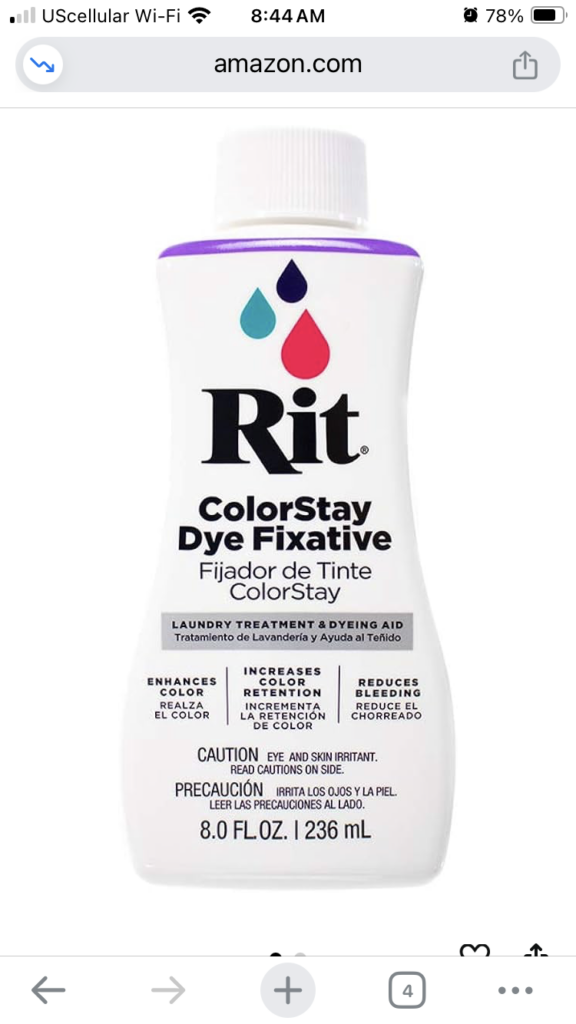
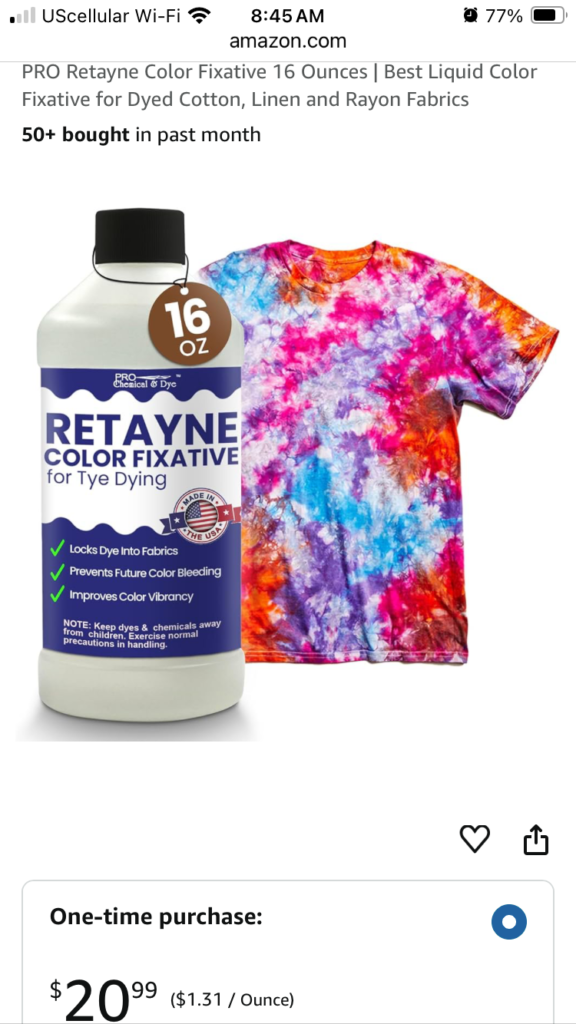
there are also commercial products available to set your dies. The following two are examples from Amazon.

After setting with vinegar, salt and water, rinse your fabric thoroughly. Wring thoroughly. No need to be gentle. Dry on high in the dryer or iron dry to add another layer of heat set.

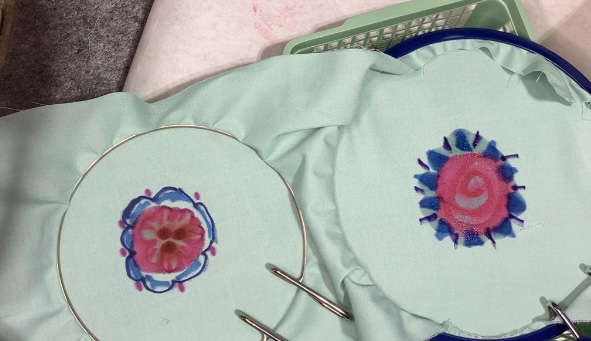
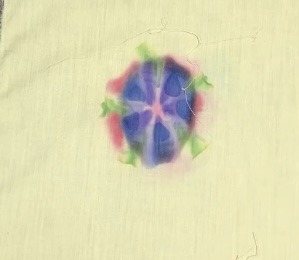
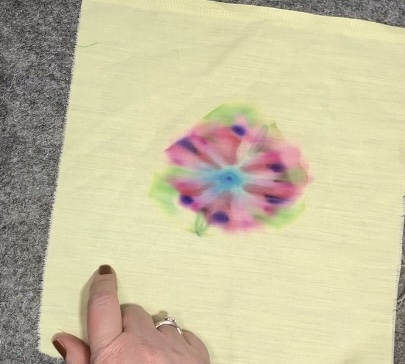
Here is the rinsed wet example.

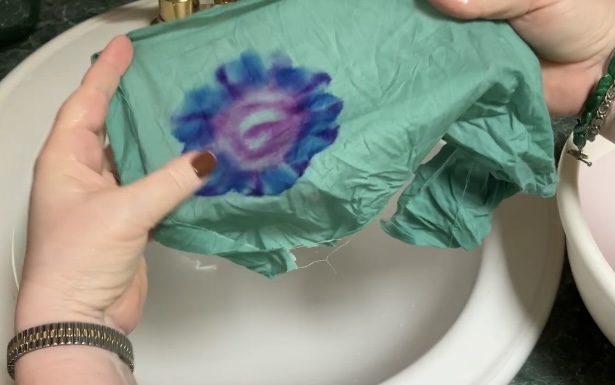
Here is the other example. You will notice that the dark blue marker did not wick very well. Red and pinks had a bigger tendency to bleed onto other portions of the fabric.

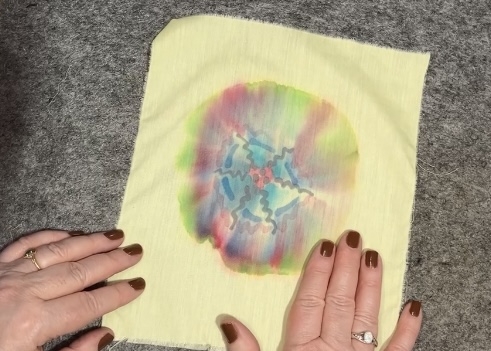
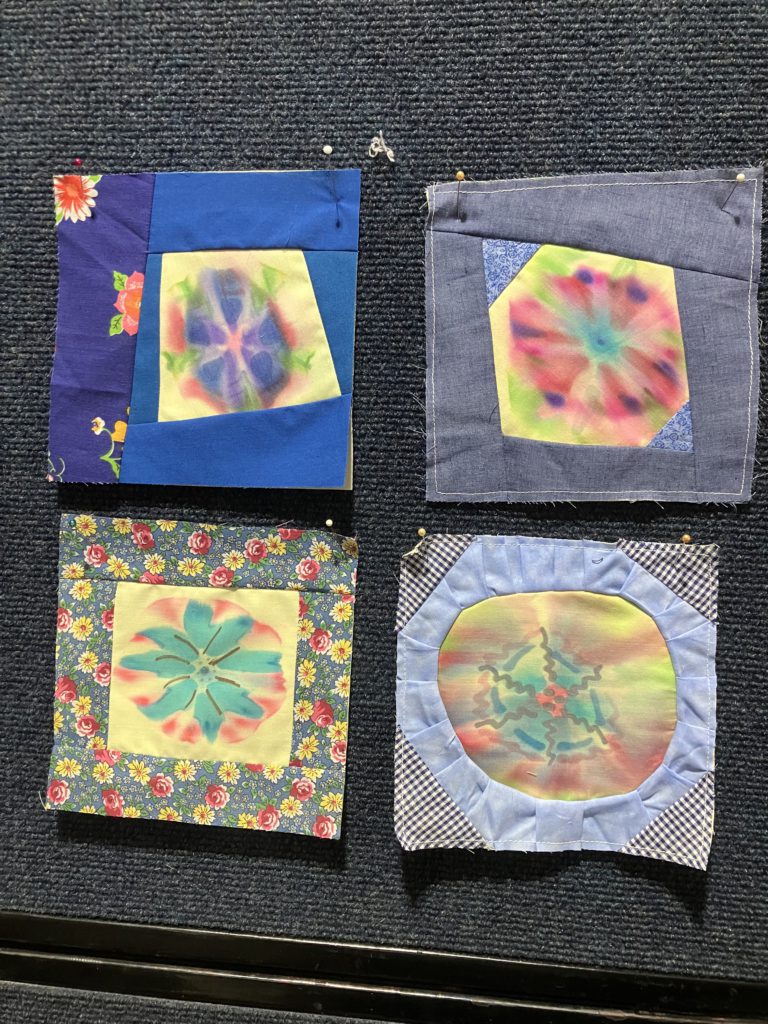
Here are some other examples:

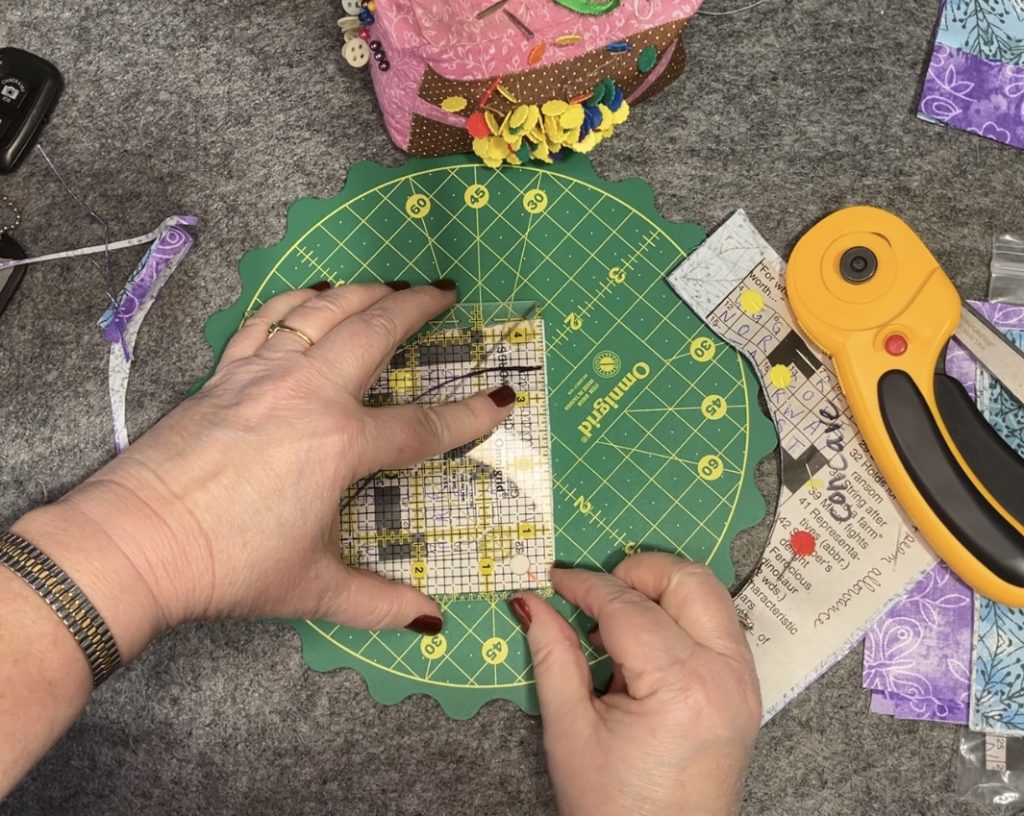
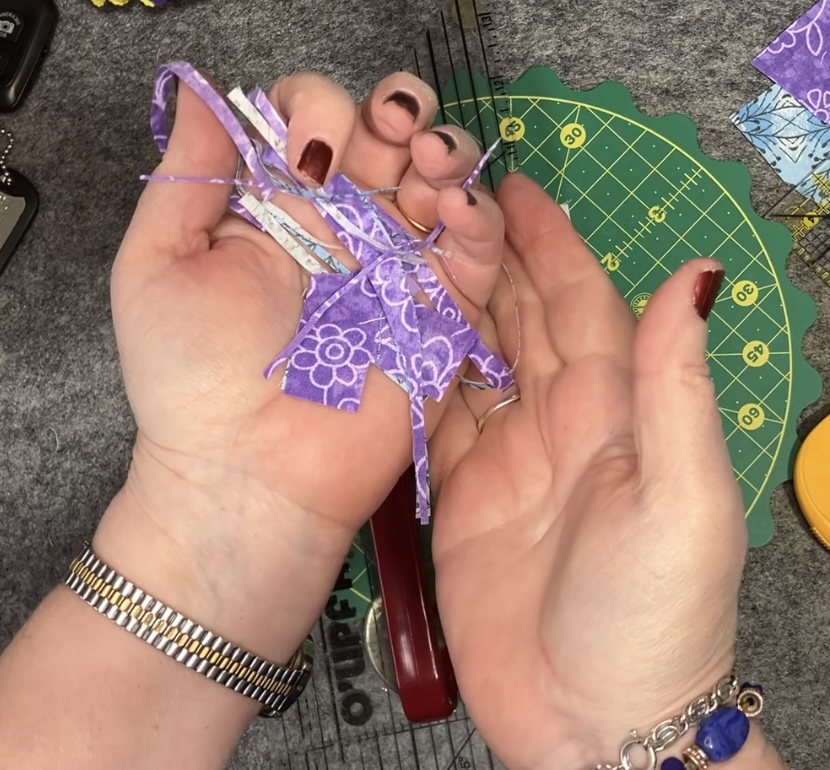
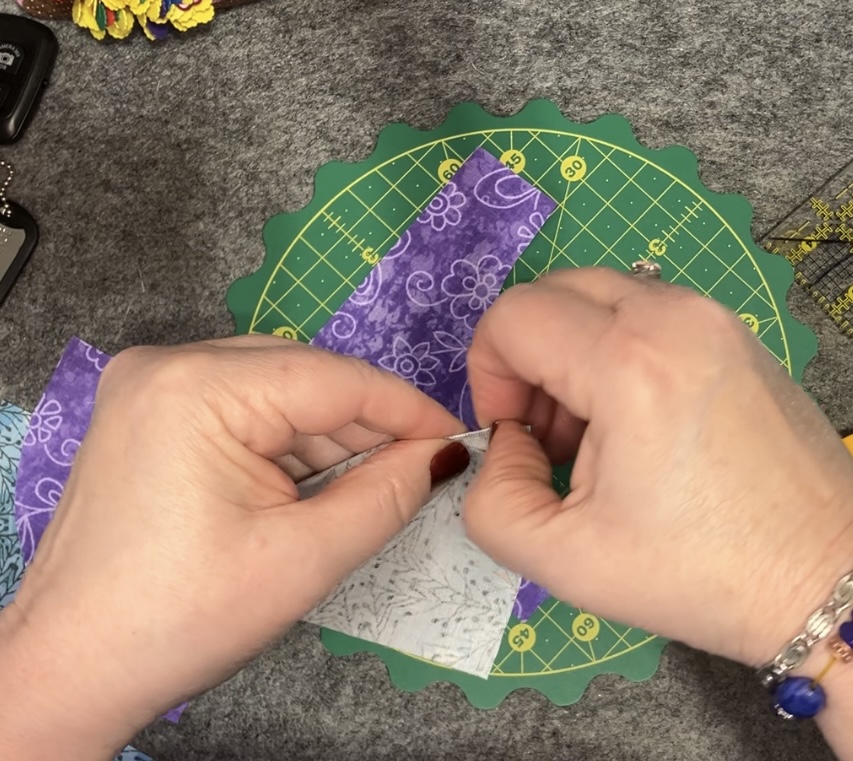
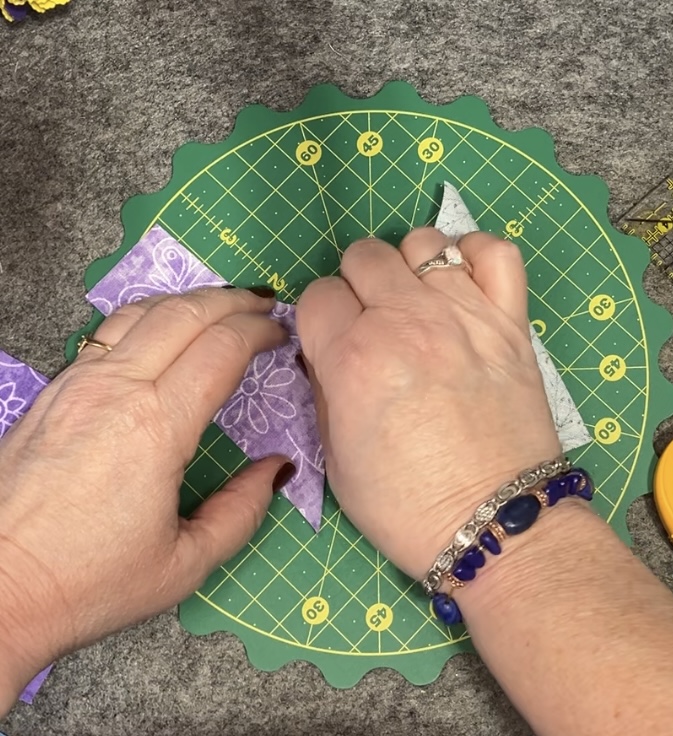
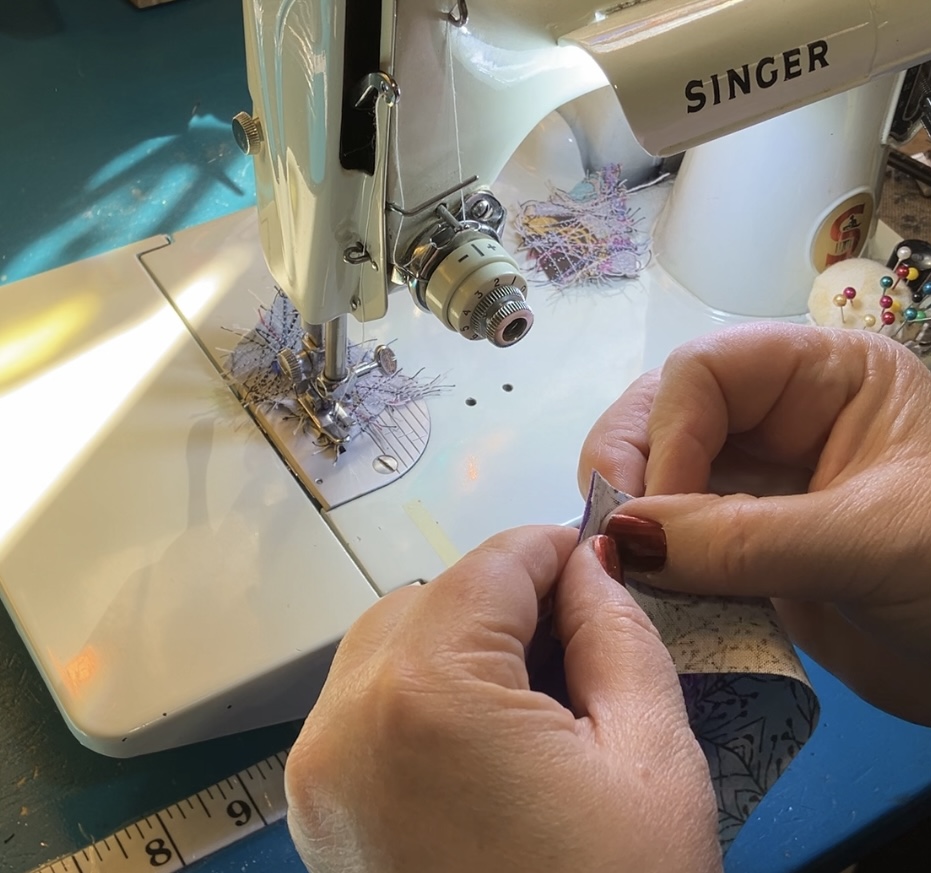
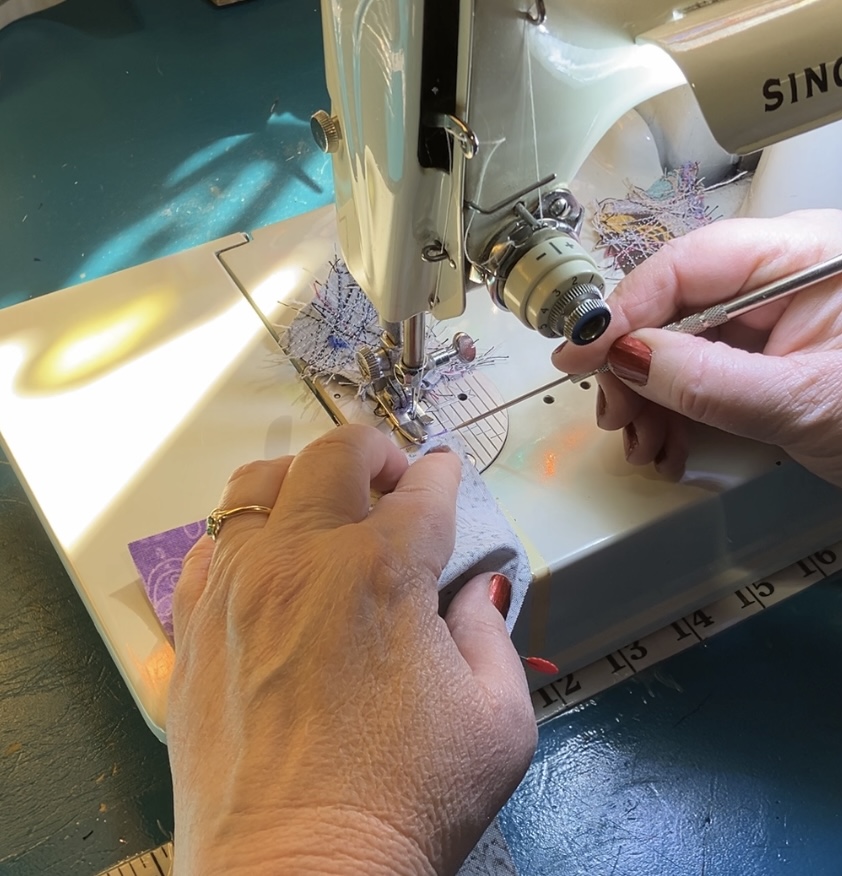
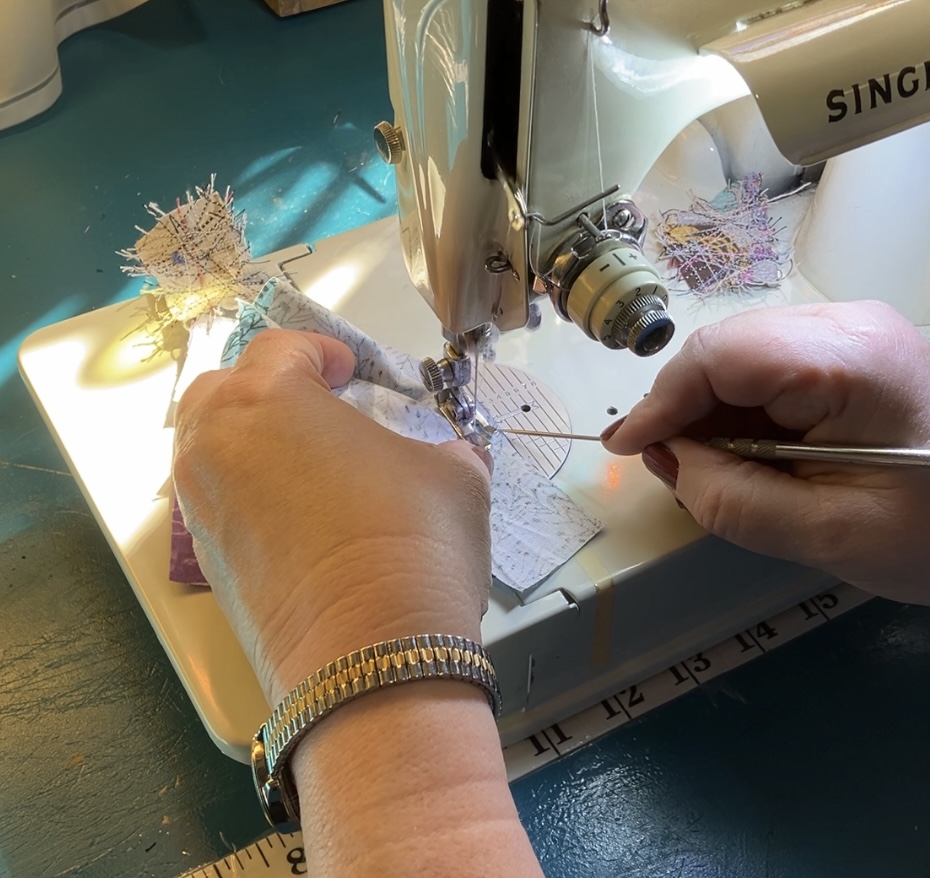
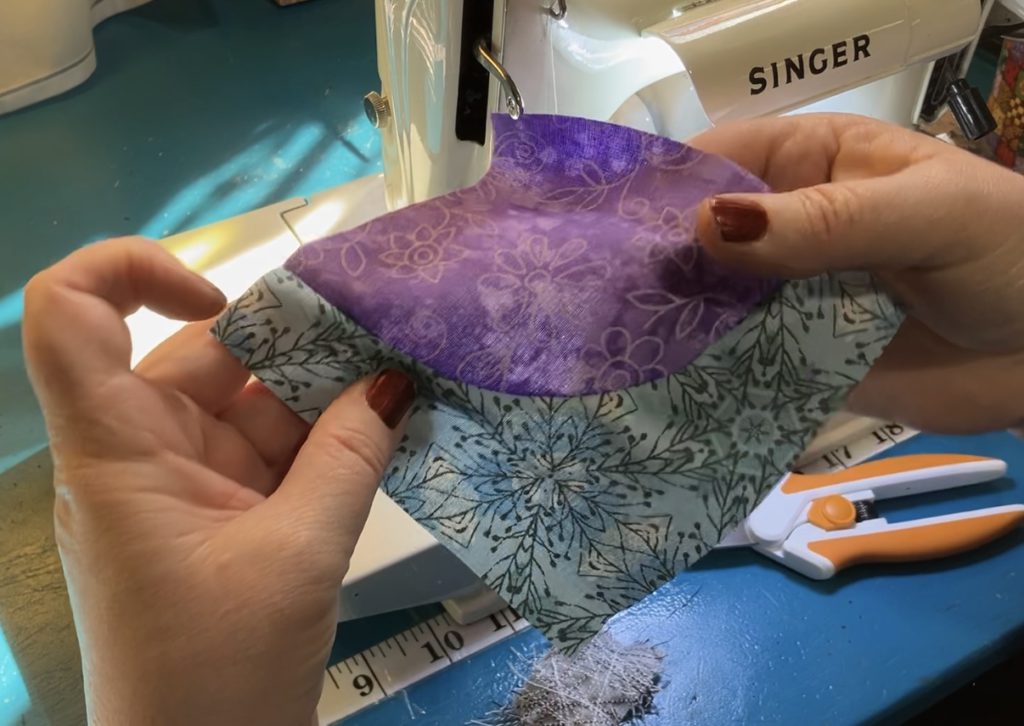
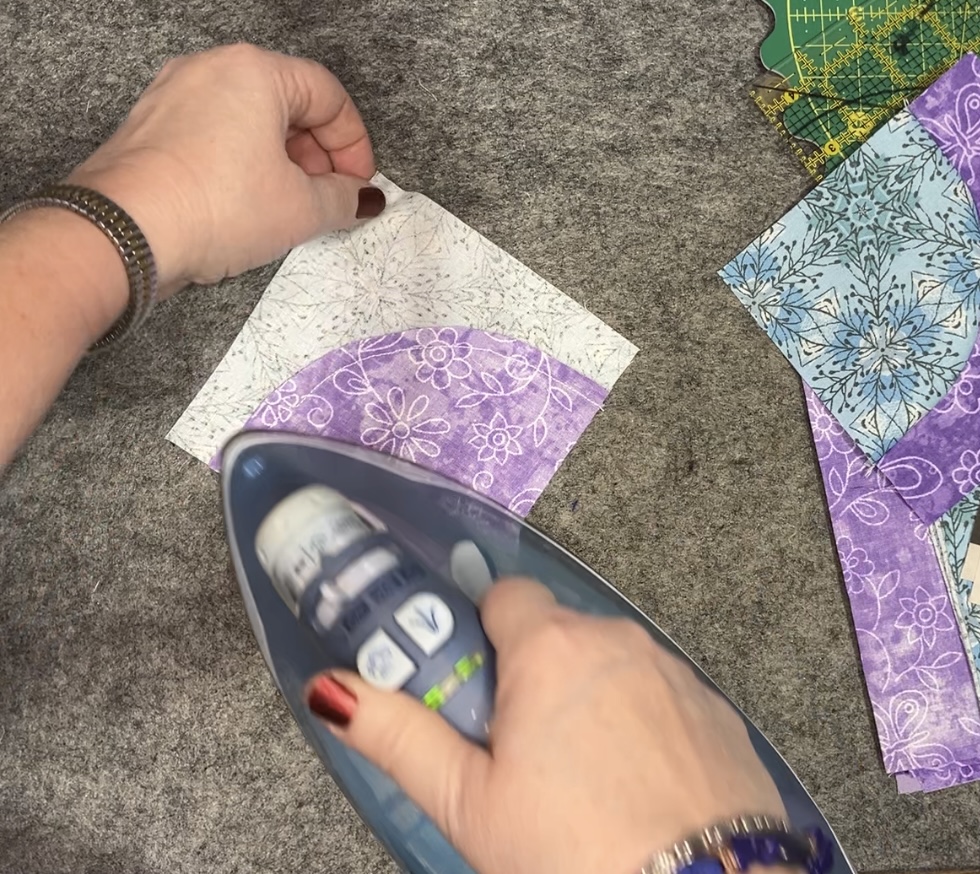
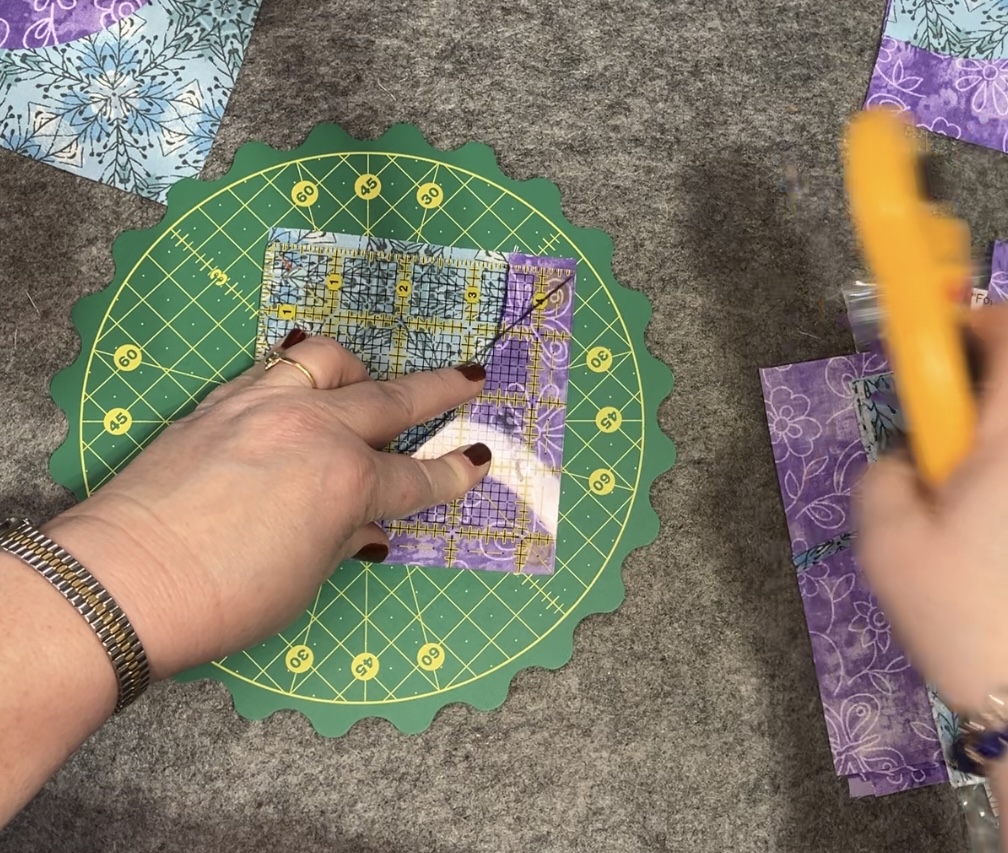
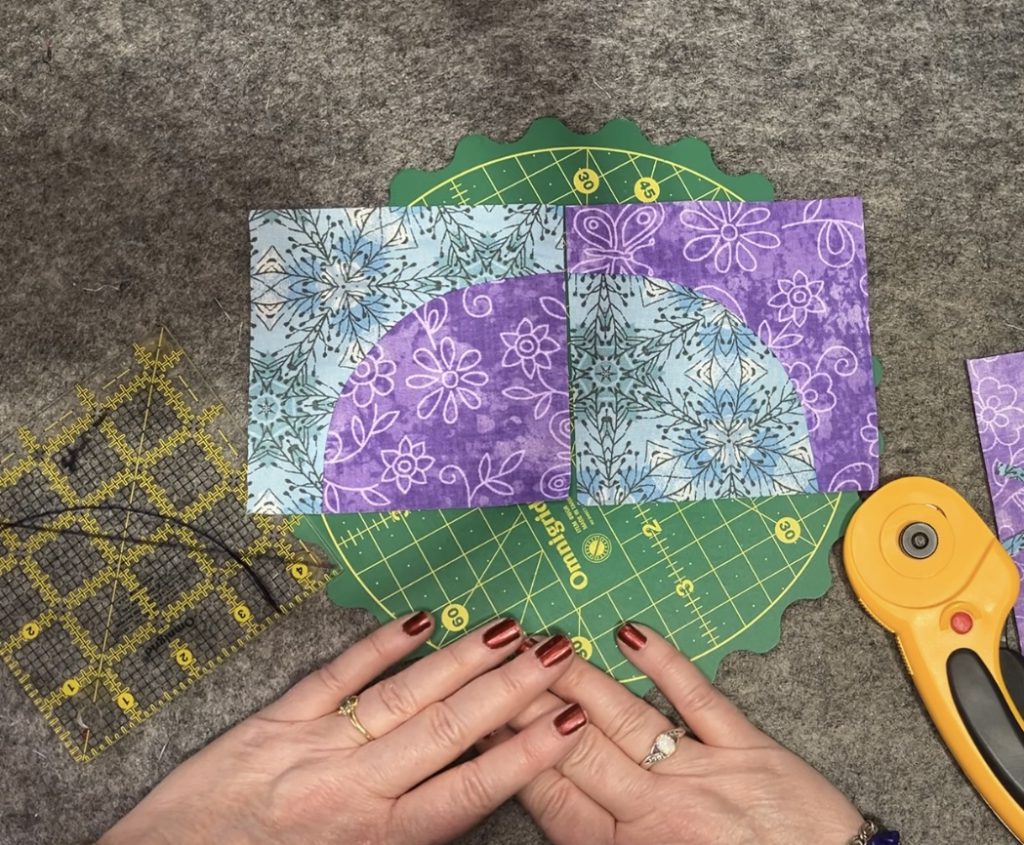
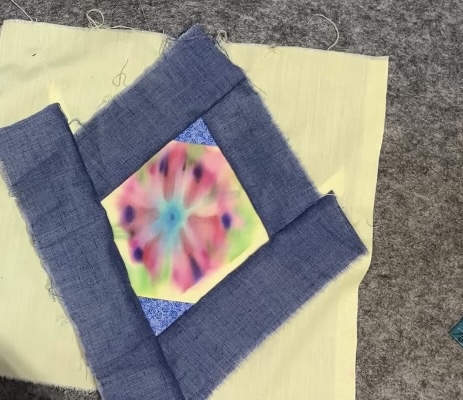
Here I’m using some scraps to make these examples into 6 1/2 inch blocks

This technique is kid friendly. My friend Barb who is a retired art teacher used to do this with fourth and fifth graders. It is a great technique to use on shirts and silk.

I hope you are enjoying our little experiments with embellishments. If you would like to see a video presentation of this technique, please click here.

Later,

Lorrie

Categories
Build a block Study in Scarlet

Drunkard’s Path: One pin wonder units

Today we are constructing the units for the Drunkard’s Path block in the Study in Scarlet quilt that I designed to go along with the read aloud podcast found here.

Last week, I showed you how to create your own templates…no purchase necessary! No need to be afraid. See that video here! This week we are going to put those templates to good use.

To watch the video that goes with the following pictures, click here. I am pinning my templates to my squares…using a generous amount of pins. Then I am going old school…using scissors to cut out the fabric!

Be careful not to cut into the paper! I cut the curves first.

I use a ruler and rotary cutter to trim the straight edges of the pieces.

There is not much waste after the pieces are all trimmed out. These scraps are destined for the fire starter bucket.

To properly align these blocks, I crease the middle of the curved pieces.

Next, I line up the creases. Time to pin…one pin!

I prefer to sew with the concave piece on top. This is my personal preference. You will have to decide the positioning of the pieces after practicing a little. Line up the straight pieces on the outside.

Using a stilleto, pin, etc., keep the pieces lined up straight. Slowly sew…carefully line up the edges up the fabric as you go. Stop as often as you need to as you go. Be careful not to create any tucks in the fabric.

And the ah-ha moment…

I found it easiest to iron or to press this block from the back. I pressed the “pie” shape flat. No need to clip the curve if you press in this manner. Next, I gave the block a good press from the front.

My templates were designed to be generous and allow for trimming to 4 1/2″. Make 16 blocks. This block finishes at 16 1/2″.

Here are two of the finished units.

Join me next week for variations on the Drunkard’s Path.

I hope you enjoy this technique! Give it a try!

Later,

Lorrie

Categories
Build a block Study in Scarlet

Drunkard’s Path: proportion and templates

To make the drunkard’s path block, I had a lot of inspiration. The basic block is the same. Sometimes the proportions of the pieces are just a little different.
This first book was the only book that had a suggestion of a pattern that you could trace and use, but no tips on sewing the curves.

The proportions in this book are about 1/3 to 2/3 with the pie crust or concave part being the 1/3.

This book doesn’t really have a pattern. It has a picture. What you see is what you get.

This book has fantastic pictures of blocks. All of them finish at 4 1/2 inches. I love small blocks with fiddly pieces because they look so cute when they are finished… But not today. I’m looking for a 16 1/2 inch block for the Study in Scarlet quilt. This book is great for inspiration, but not reality.

This book is filled with tons of block, layouts and suggestions… Not really patterns, but great ideas. I will use this more when I talk about alternate layouts next week.

Noticed that the proportions in this block are about half on the side.

This last book isn’t a pattern book, but it has wonderful pictures of quilts. This one calls the block robbing Peter to pay Paul.

The bottom quilt is the one that we are actually making a block like this week. I love the top quilt. It has some extra solid squares in the corners and creates a butterfly or bat pattern. I think it is absolutely a beautiful pattern. Maybe I’ll do that later on .

Now that I talk to you about different proportions, you can choose your own to create templates to make this block. My YouTube video this week is all about templates.

Watch the video here .

I have a fur baby helper in my room this weekend. This is Honey. She has been at our house for exactly one week today. She is so sweet and such a good helper she even got a new doggy bed from a cheap Walmart pillow and one of bandits recycled blankets.

She’s not sharing her toys, so I’m not letting her use my sewing machine! Have a great weekend! Enjoy sewing!

Later,

Lorrie